
I finally did it—I made a quilt for my mom. After making several for other family members, non-relatives and donating a couple, I felt it was about time. (I think she might have been waiting for one for quite some time, too).
When asked what she wanted, I got a few easy requests: the quilt be made from my own pattern, Boxed Candy Toss Quilt that I use pastel-colored fabrics; and that I do my own quilting, design included. Done, done and done.
At first I thought I’d work on it with no time frame, then I resolved to have it done by Christmas. Since I started early enough, I decided to document the process and share some of the tips and techniques I used when making it.
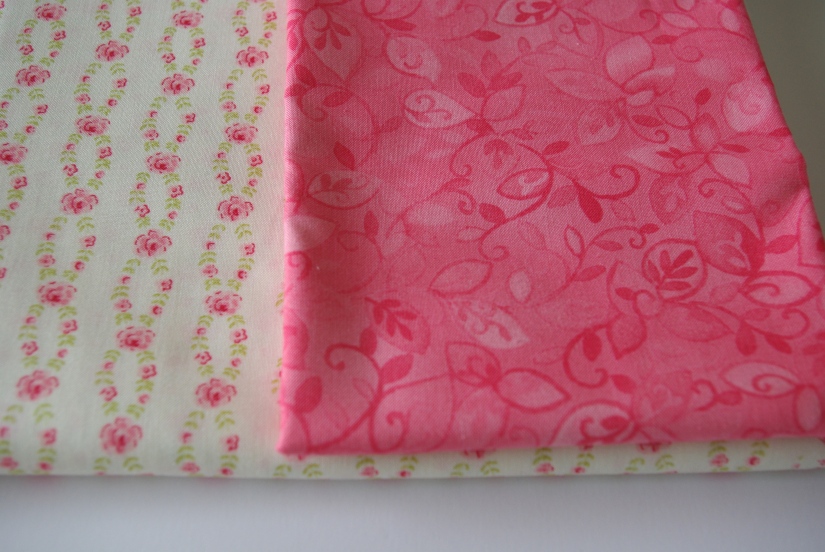
First, the fabric. The quilt top fabric collection is Colette by Chez Moi for Moda (an older collection that I had to have, luckily found on Etsy). The background fabric is Kona Cotton Snow.


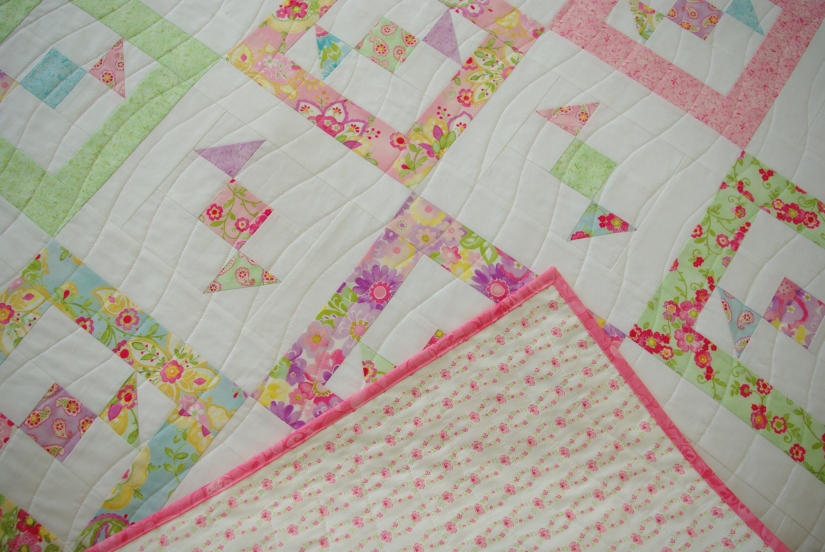
The backing (left) is Fleur by Brenda Riddle Designs for Moda and the binding is also Chez Moi from the Nanette collection. I used Aurifil 50wt 2026 for piecing and quilting.
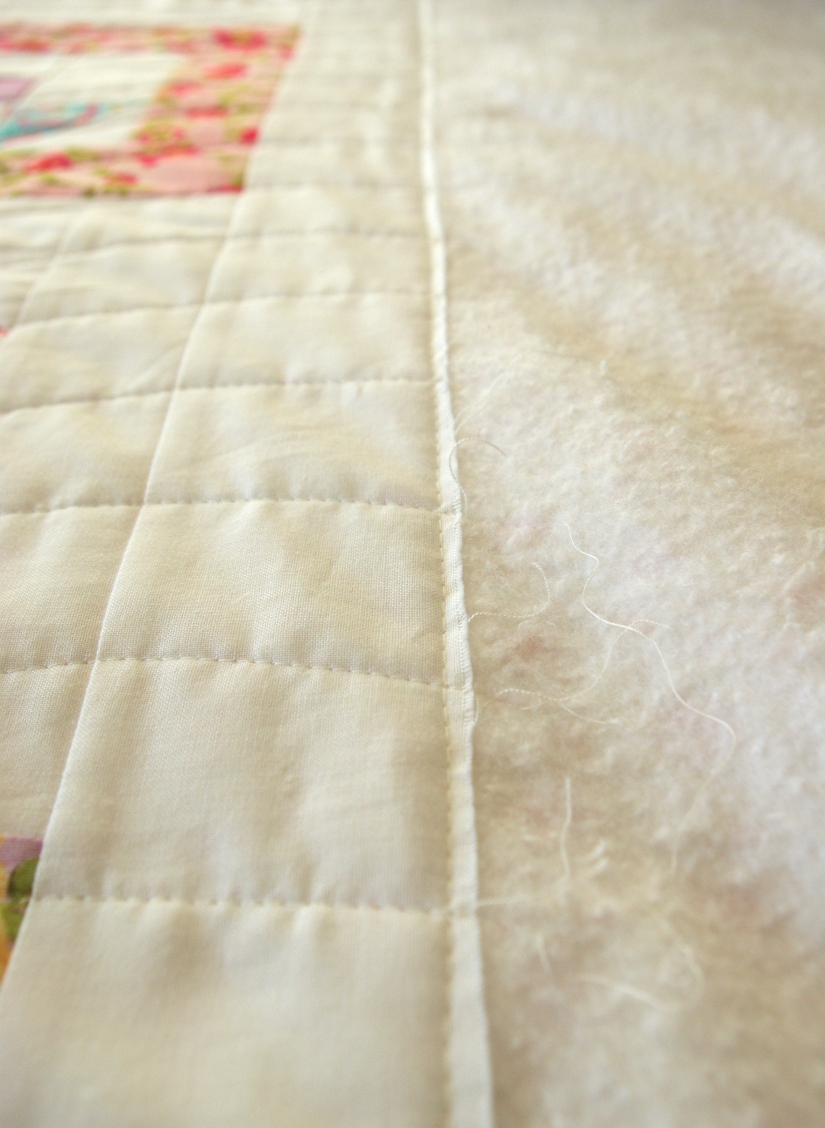
I have to admit it was a bit weird following my own tutorial, but soon the blocks were done and my quilt top was finished and sandwiched. Before I began quilting, I sewed a basting stitch along the top edge, approximately 1/8″ down, to help to keep everything from shifting and pulling. This is the first time I ever did this and I highly recommend it; it worked great.
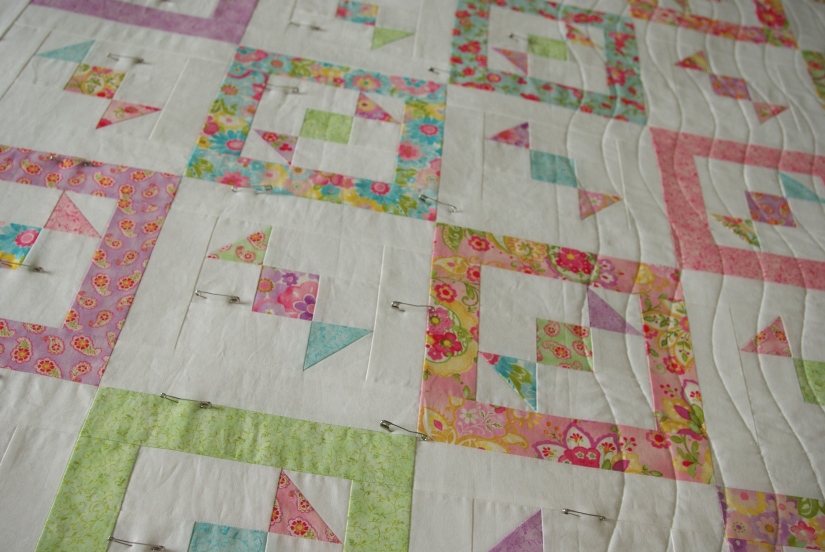
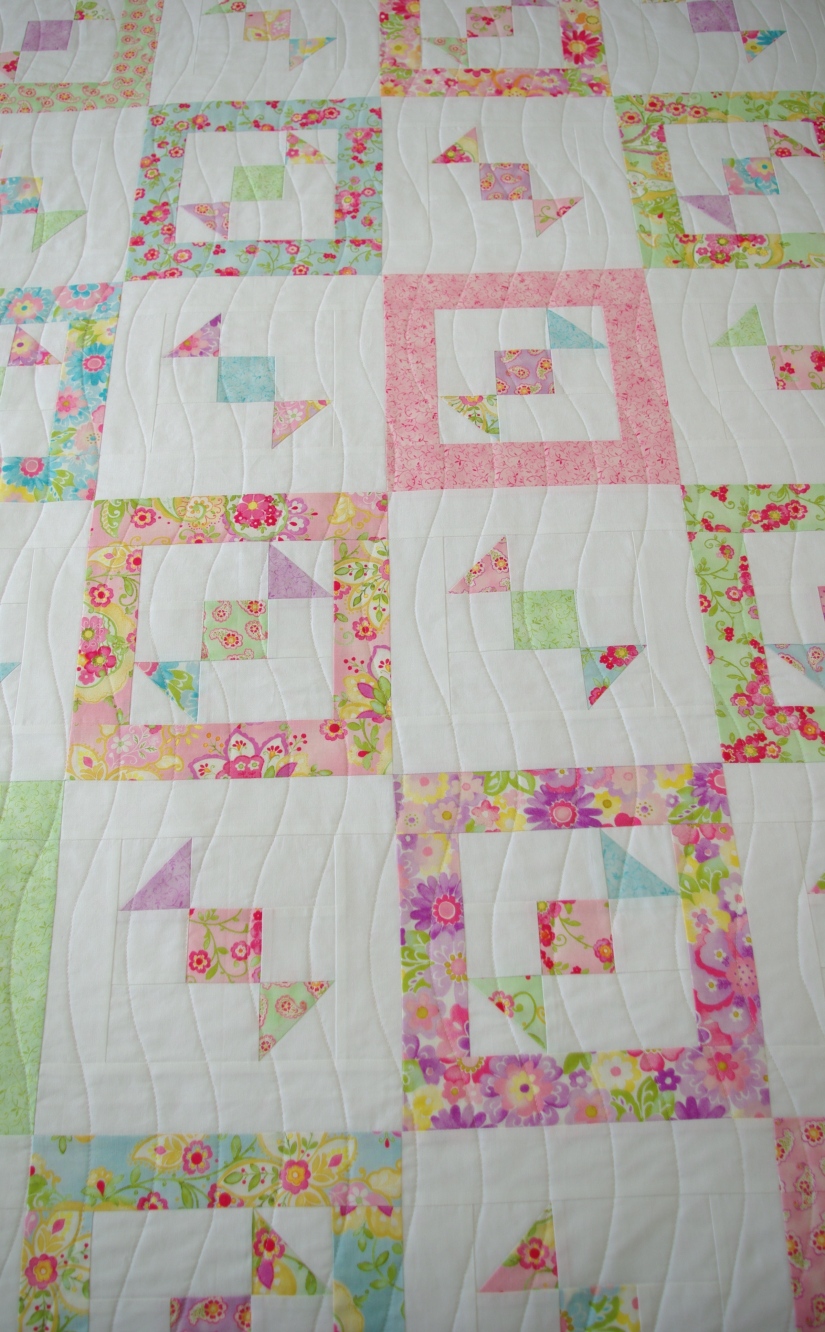
I often think it would be interesting to know how much time we actually spend making a quilt, especially if we do the quilting ourselves. I spent several hours quilting this one, mainly because I used a hera marker for marking the lines (I had to go over them a few times) and the rounded quilting design is more of a challenge than just a straight line—but still fun!
For the wavy lines, I created a quilting template by drawing the design I wanted then tested it to make sure I’d be able to maneuver it through my machine with fluidity. Once I determined it was manageable, I transferred the pattern onto poster board. Something sturdier would have been better, but it worked out OK.
I always make my binding 2 ½” wide and sew it on using my ¼” foot. Once attached, I secure it with wonder clips and run a basting stitch by hand before sewing it down. In the past, I’ve tried removing the clips while machine sewing, but I ended up with crooked binding on the back. The basting stitch keeps everything secure when sewing, especially if machine sewing the binding. Sure, it’s another step but it’s well worth the extra time and effort.

I chose to machine bind this quilt using my stitch-in-the-ditch foot (as I always do when machine binding). In this case, I put my needle setting on 7mm instead of ¼” when I attached the binding to the front.
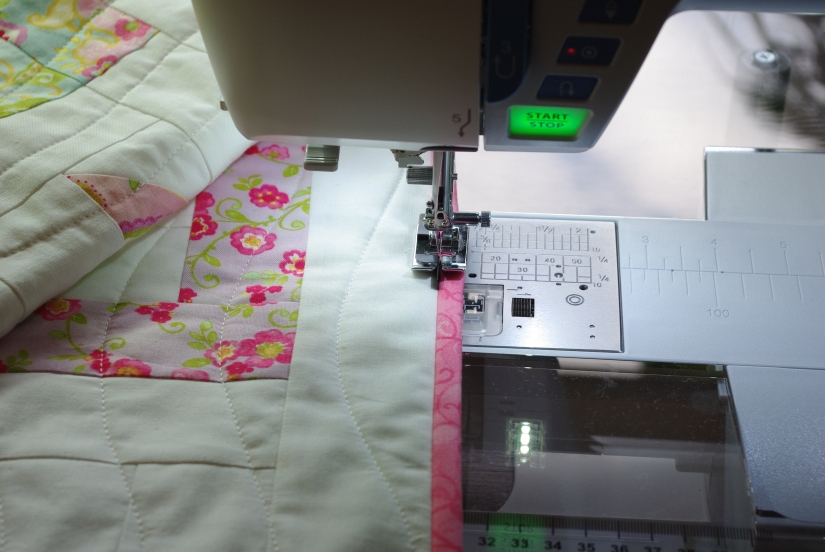
I only use the 7mm setting if there is a border or if cutting off points on blocks is not an issue (as 7mm is a bit wider than ¼”). And here’s why I chose to do this…
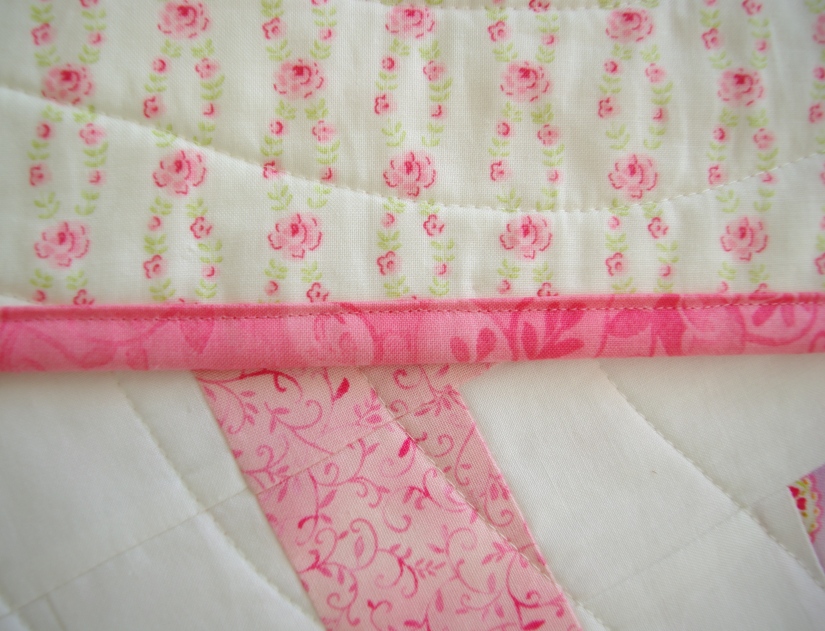
the stitching on the back ends up nice and close to the binding edge. That extra width makes quite a bit of difference!
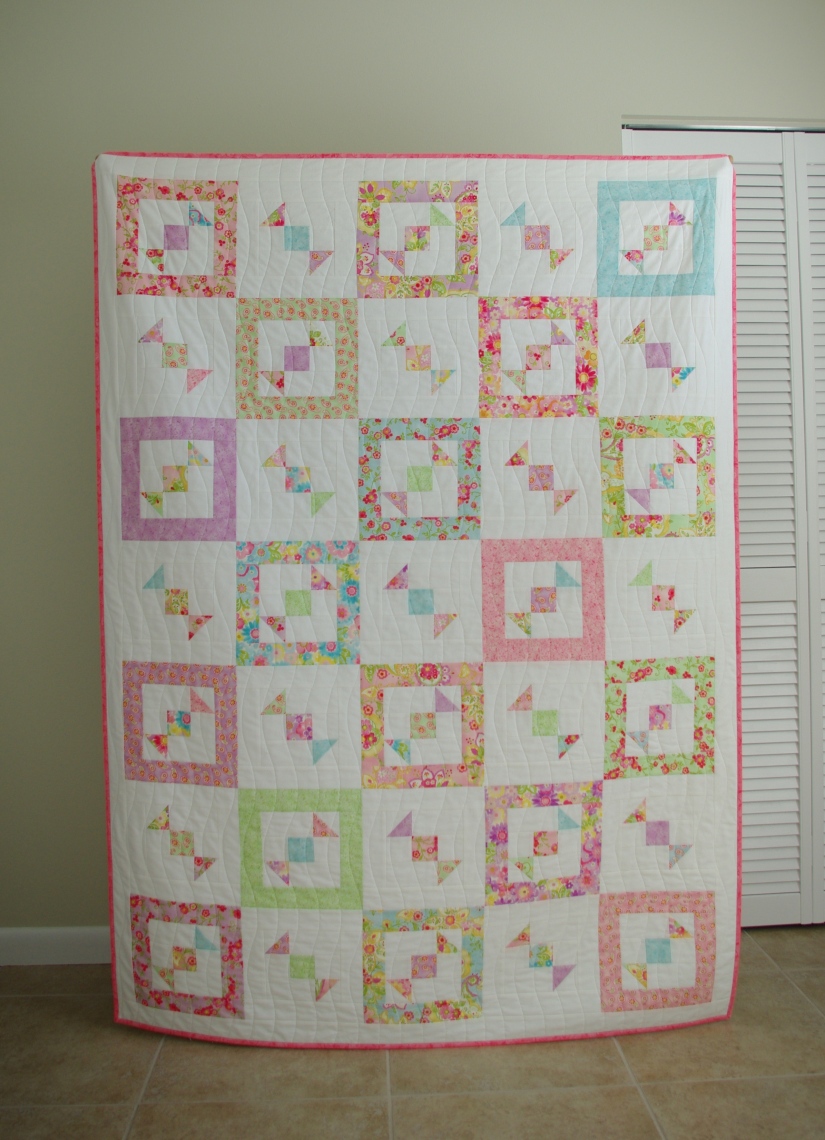
At last, the finished quilt!

I hope you’ll try out some of these methods if you haven’t used them in the past. Feel free to leave me comment if you do try something; I’d like to know how it works for you.

What a beautiful, perfectly finished quilt. Your mother is very lucky to get such a wonderful gift
LikeLike
Thank you so much for the lovely compliment. My mother was very happy to receive the quilt, and I was happy she liked it, too!
LikeLike
Hey DEB, I love this. Such a great quilt top fabric collection. Each and every background design model is an elegant look & eye-catching colors choice. well done!
LikeLike
Thank you James for such nice compliments! Boxed Candy Toss was the first quilt I ever designed so it’s kind of special to me. Thanks for commenting.
LikeLike