In 2017 I told my daughter I would make her a bed size quilt, but to be honest I never got around to it that year. Enter 2018 and I knew I had to keep my word. That said, I had her choose both the fabric and the quilt pattern because if I was going to take a lot of time to make something so big (and expensive), I wanted her to be happy with it.
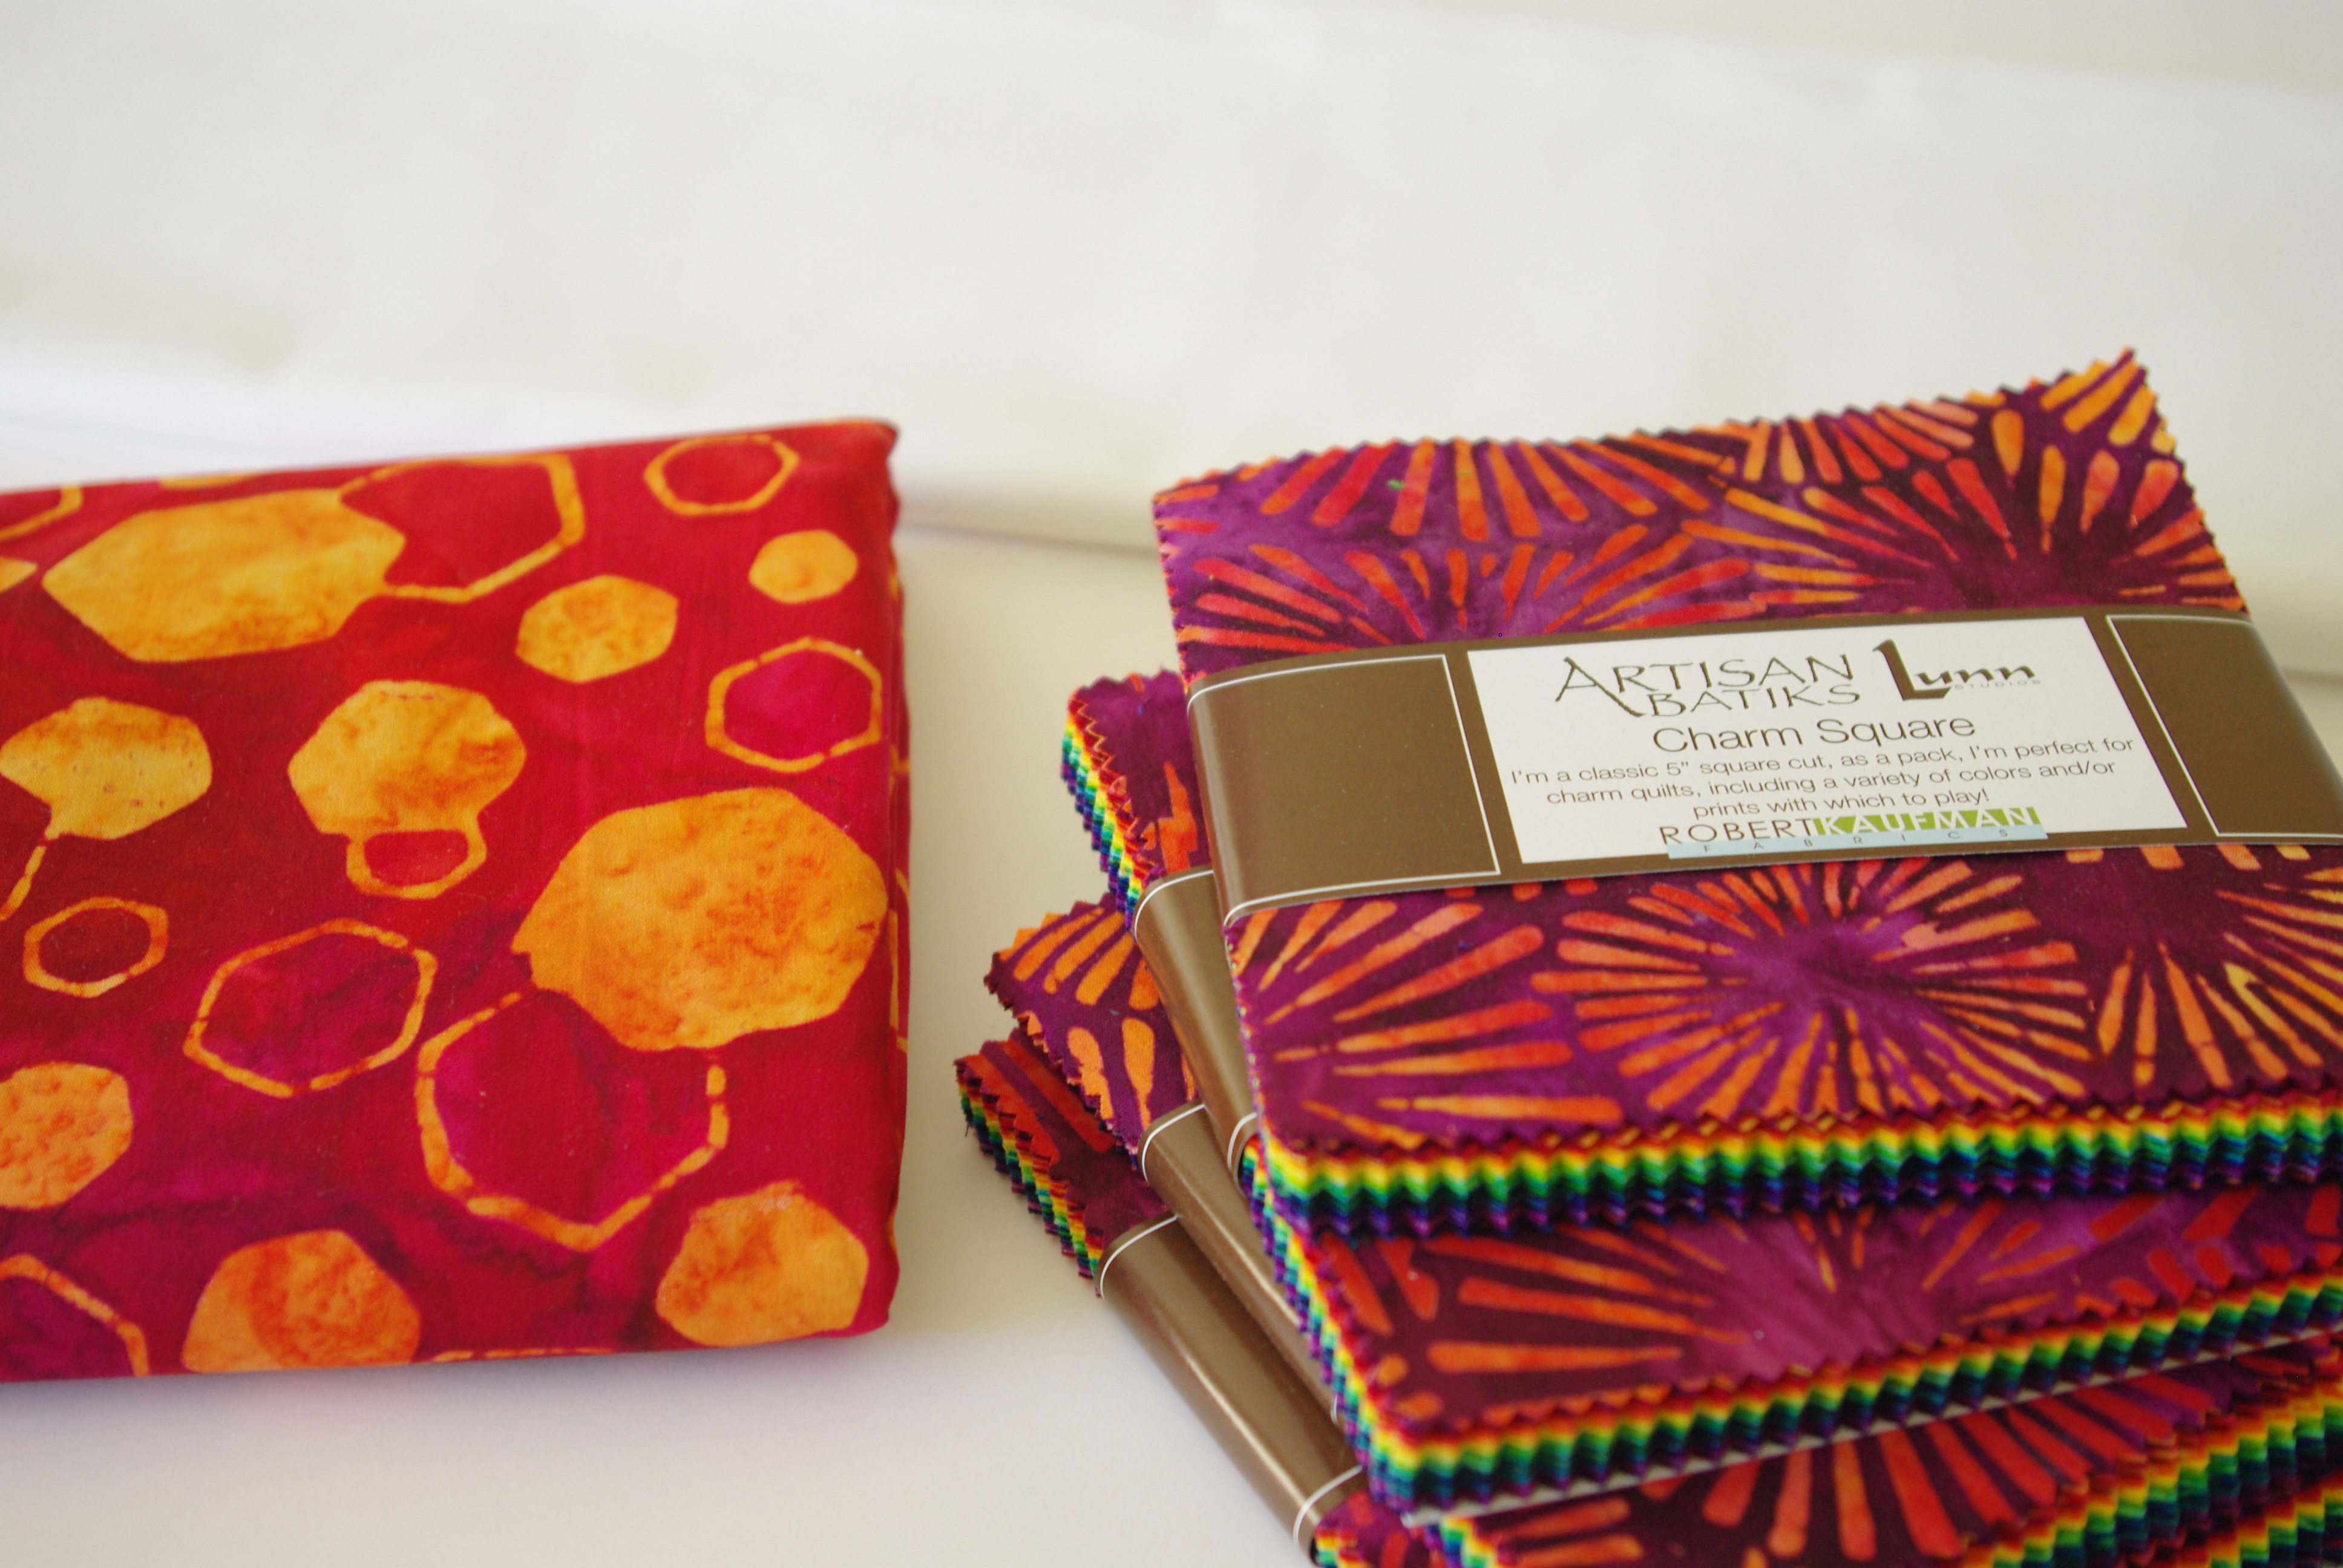
After searching around she decided on Robert Kaufman’s Artisan Batiks/Retro Metro by Lunn Studios. This would be my first time working with batiks and I was ready to try something new.

Her pattern choice was the Hunter’s Star quilt based on the video tutorial by Missouri Star Quilt Company. We all love Jenny Doan, don’t we? I know I’m a fan of her videos and patterns, and store too, for that matter. The video tutorial I followed is Hunter’s Star Made Easy. It’s a great tutorial but there were a couple of things I found challenging and I’d like to share them with anyone who decides to make this quilt from the video.
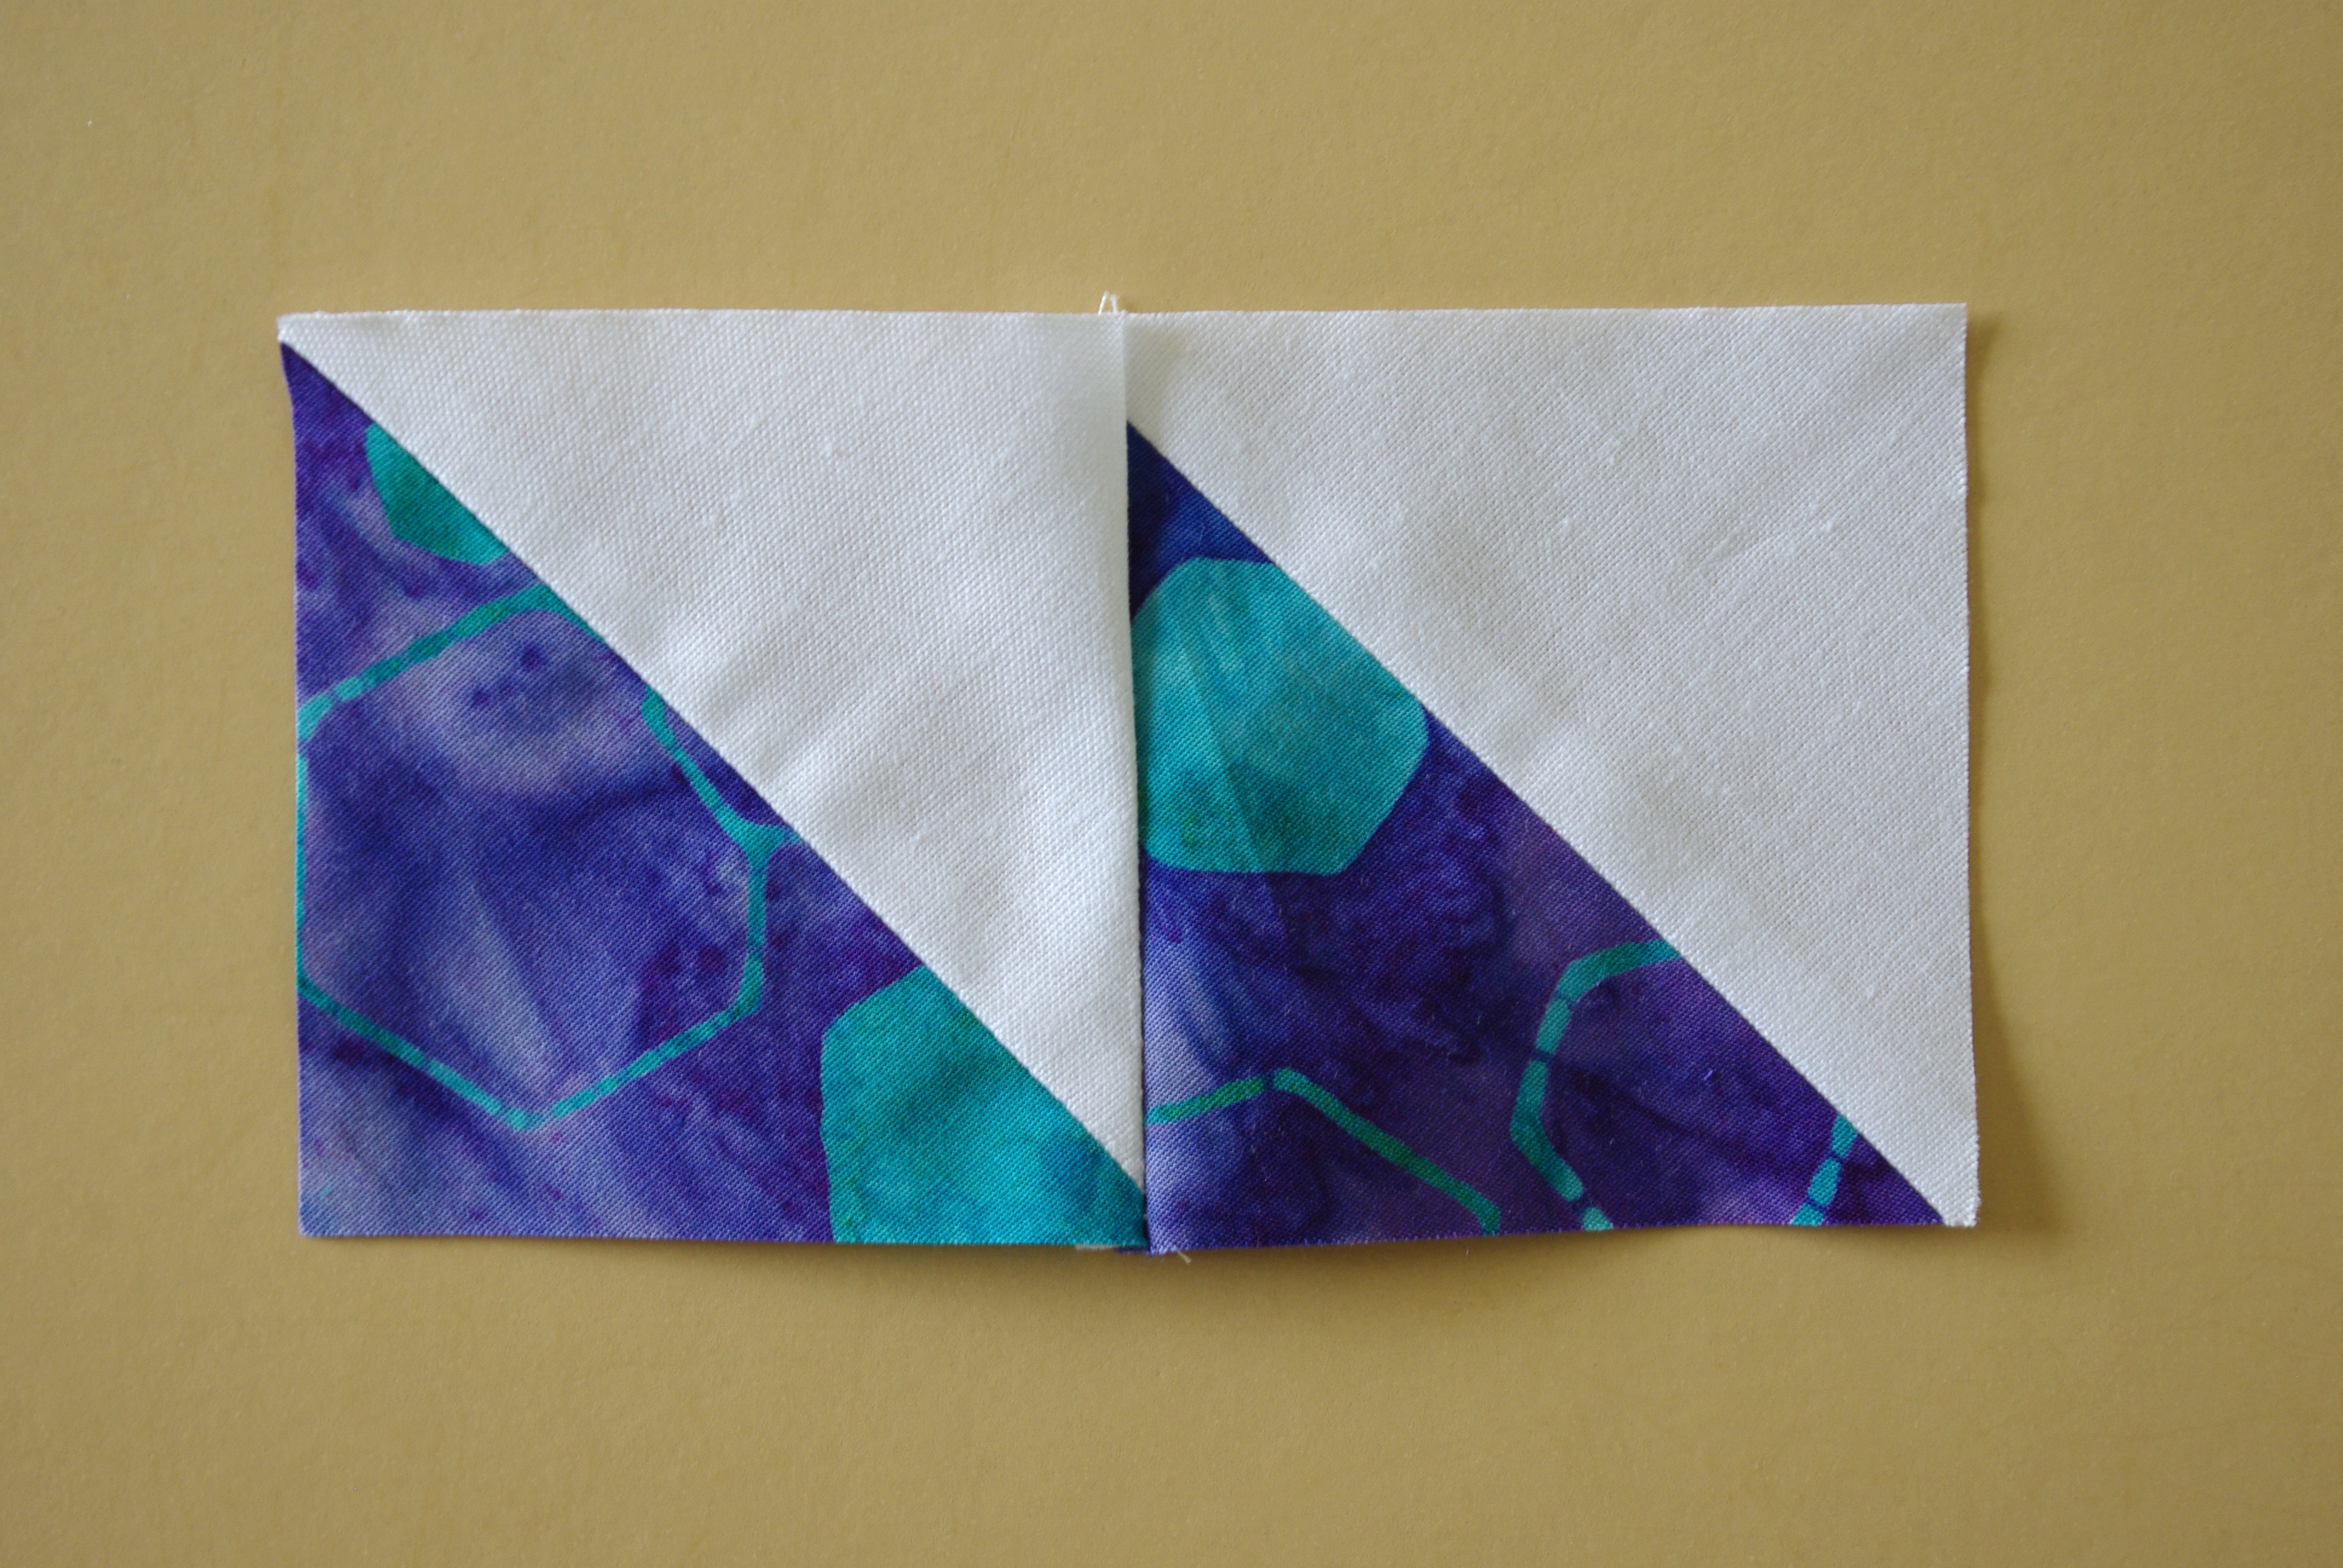
First, making the half square triangles (HSTs). By using the method in the tutorial you need to know that all the fabric edges will be on the bias! Meaning everything is going to be stretchy so handle with care. Personally, I don’t like making HSTs this way because of that, but in this case I just used extra caution. If you’re a beginner quilter be aware if and when you use this method.
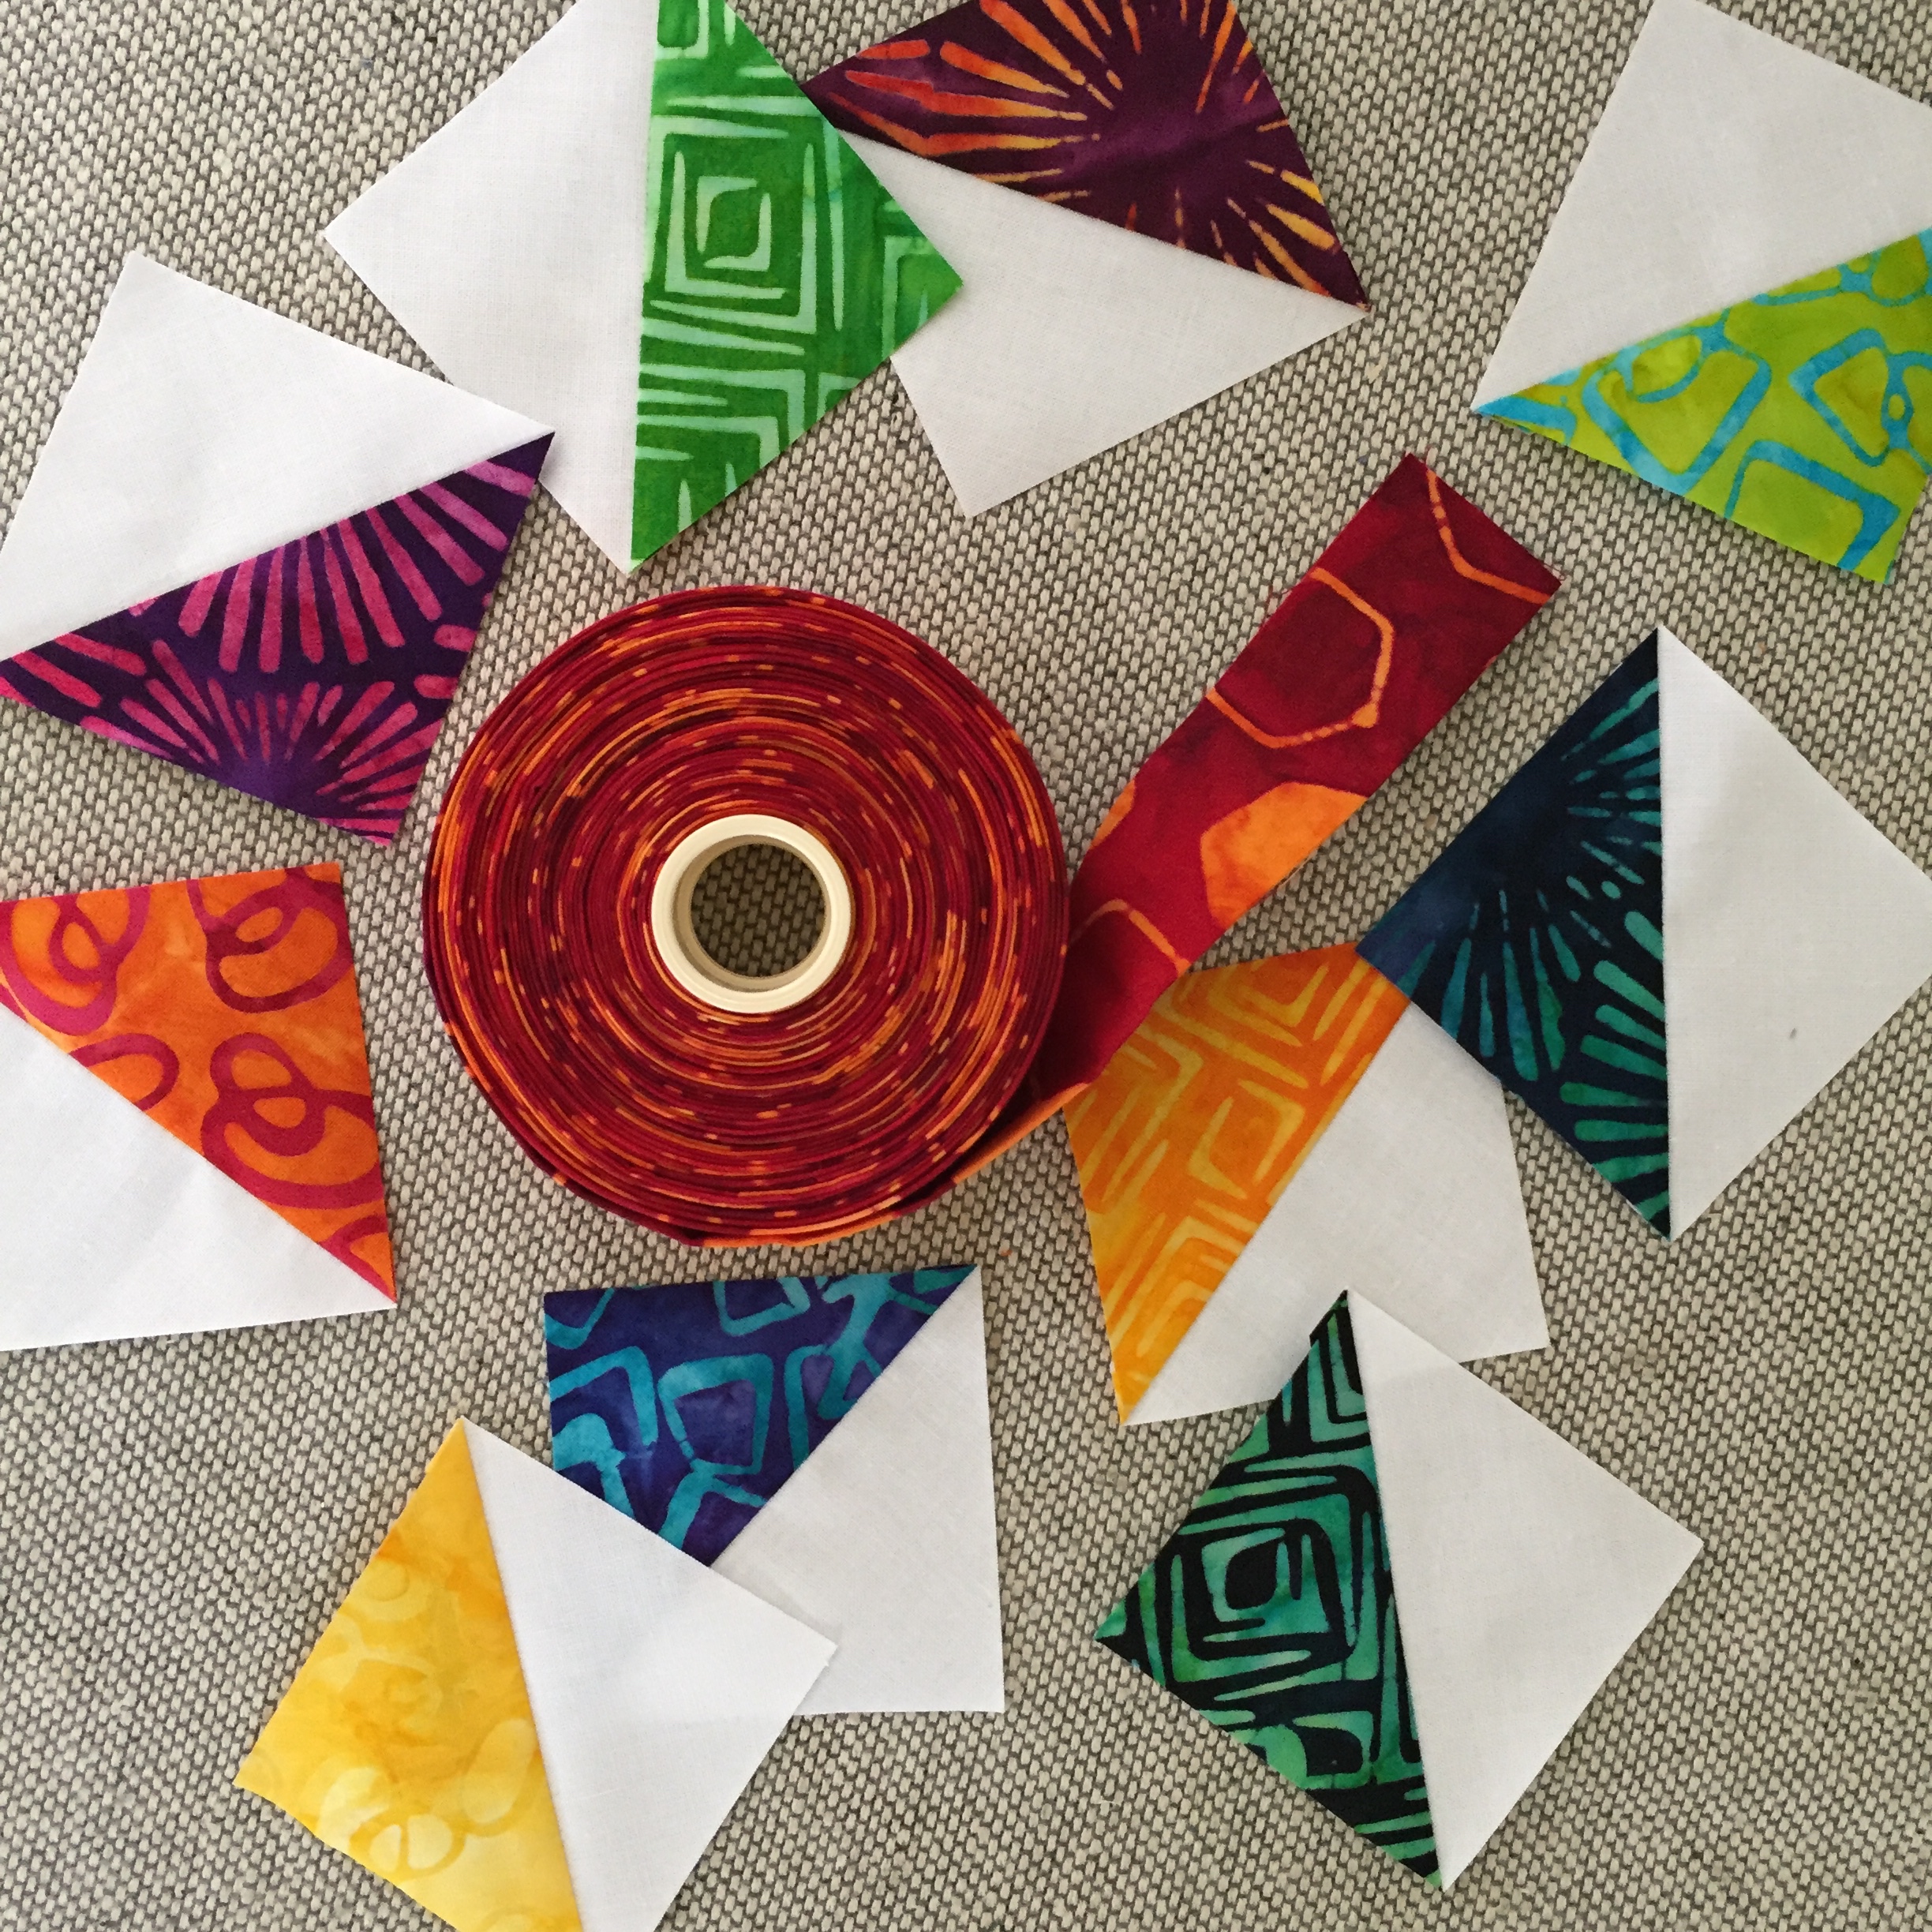
I needed 720 HSTs for the entire quilt, that’s a lot! Here’s a stack of just 168, trimmed and ready for blocks.

How to press your seams is important, and I found it worked best pressing the HSTs seams open—but—if you’re using a Bloc-Loc ruler, trim them first, then press seams open. I pressed a few open first and they were off, so I didn’t end up with a ¼” seam once sewn. It wasn’t until afterwards that I realized why that happened, but thankfully I didn’t do too many.

After I got that right everything lined up nicely! The pressed open seams made for a nice, flat lying block.


Here are a few more tips from my experience that are really useful.
After laying out the blocks, take a photo. It’s easy to get blocks turned around and having a photo reference is a lifesaver.
Pin, pin, pin! Some quilters don’t like to pin because it slows them down. I like the accuracy of pinning so I’ll take the extra time. It’s definitely worth it.

Before I began sewing rows together I numbered the back of each block in the seam, in order per row using a Frixion pen (you can see my sideways #8 in the above photo). If you end up making a mistake, having had the blocks numbered will definitely help. I actually sewed one entire row upside down AND backwards! I was glad I had the blocks numbered as it helped me fix the problem and it helped me to realize I had done it wrong.
I also pinned at both side seams and the center seams within the top block before I sewed my rows together. This keeps everything aligned.

Lastly, when I sewed the blocks into rows, I pressed seams to the four patch. That way, blocks in every other row were pressed opposite and my seams nested perfectly. Also, when I sewed my rows together I pressed seams to the row that had the most four patch blocks because pressing the star block seam flat cooperated better.

Here are a few photos of my process as I went along.


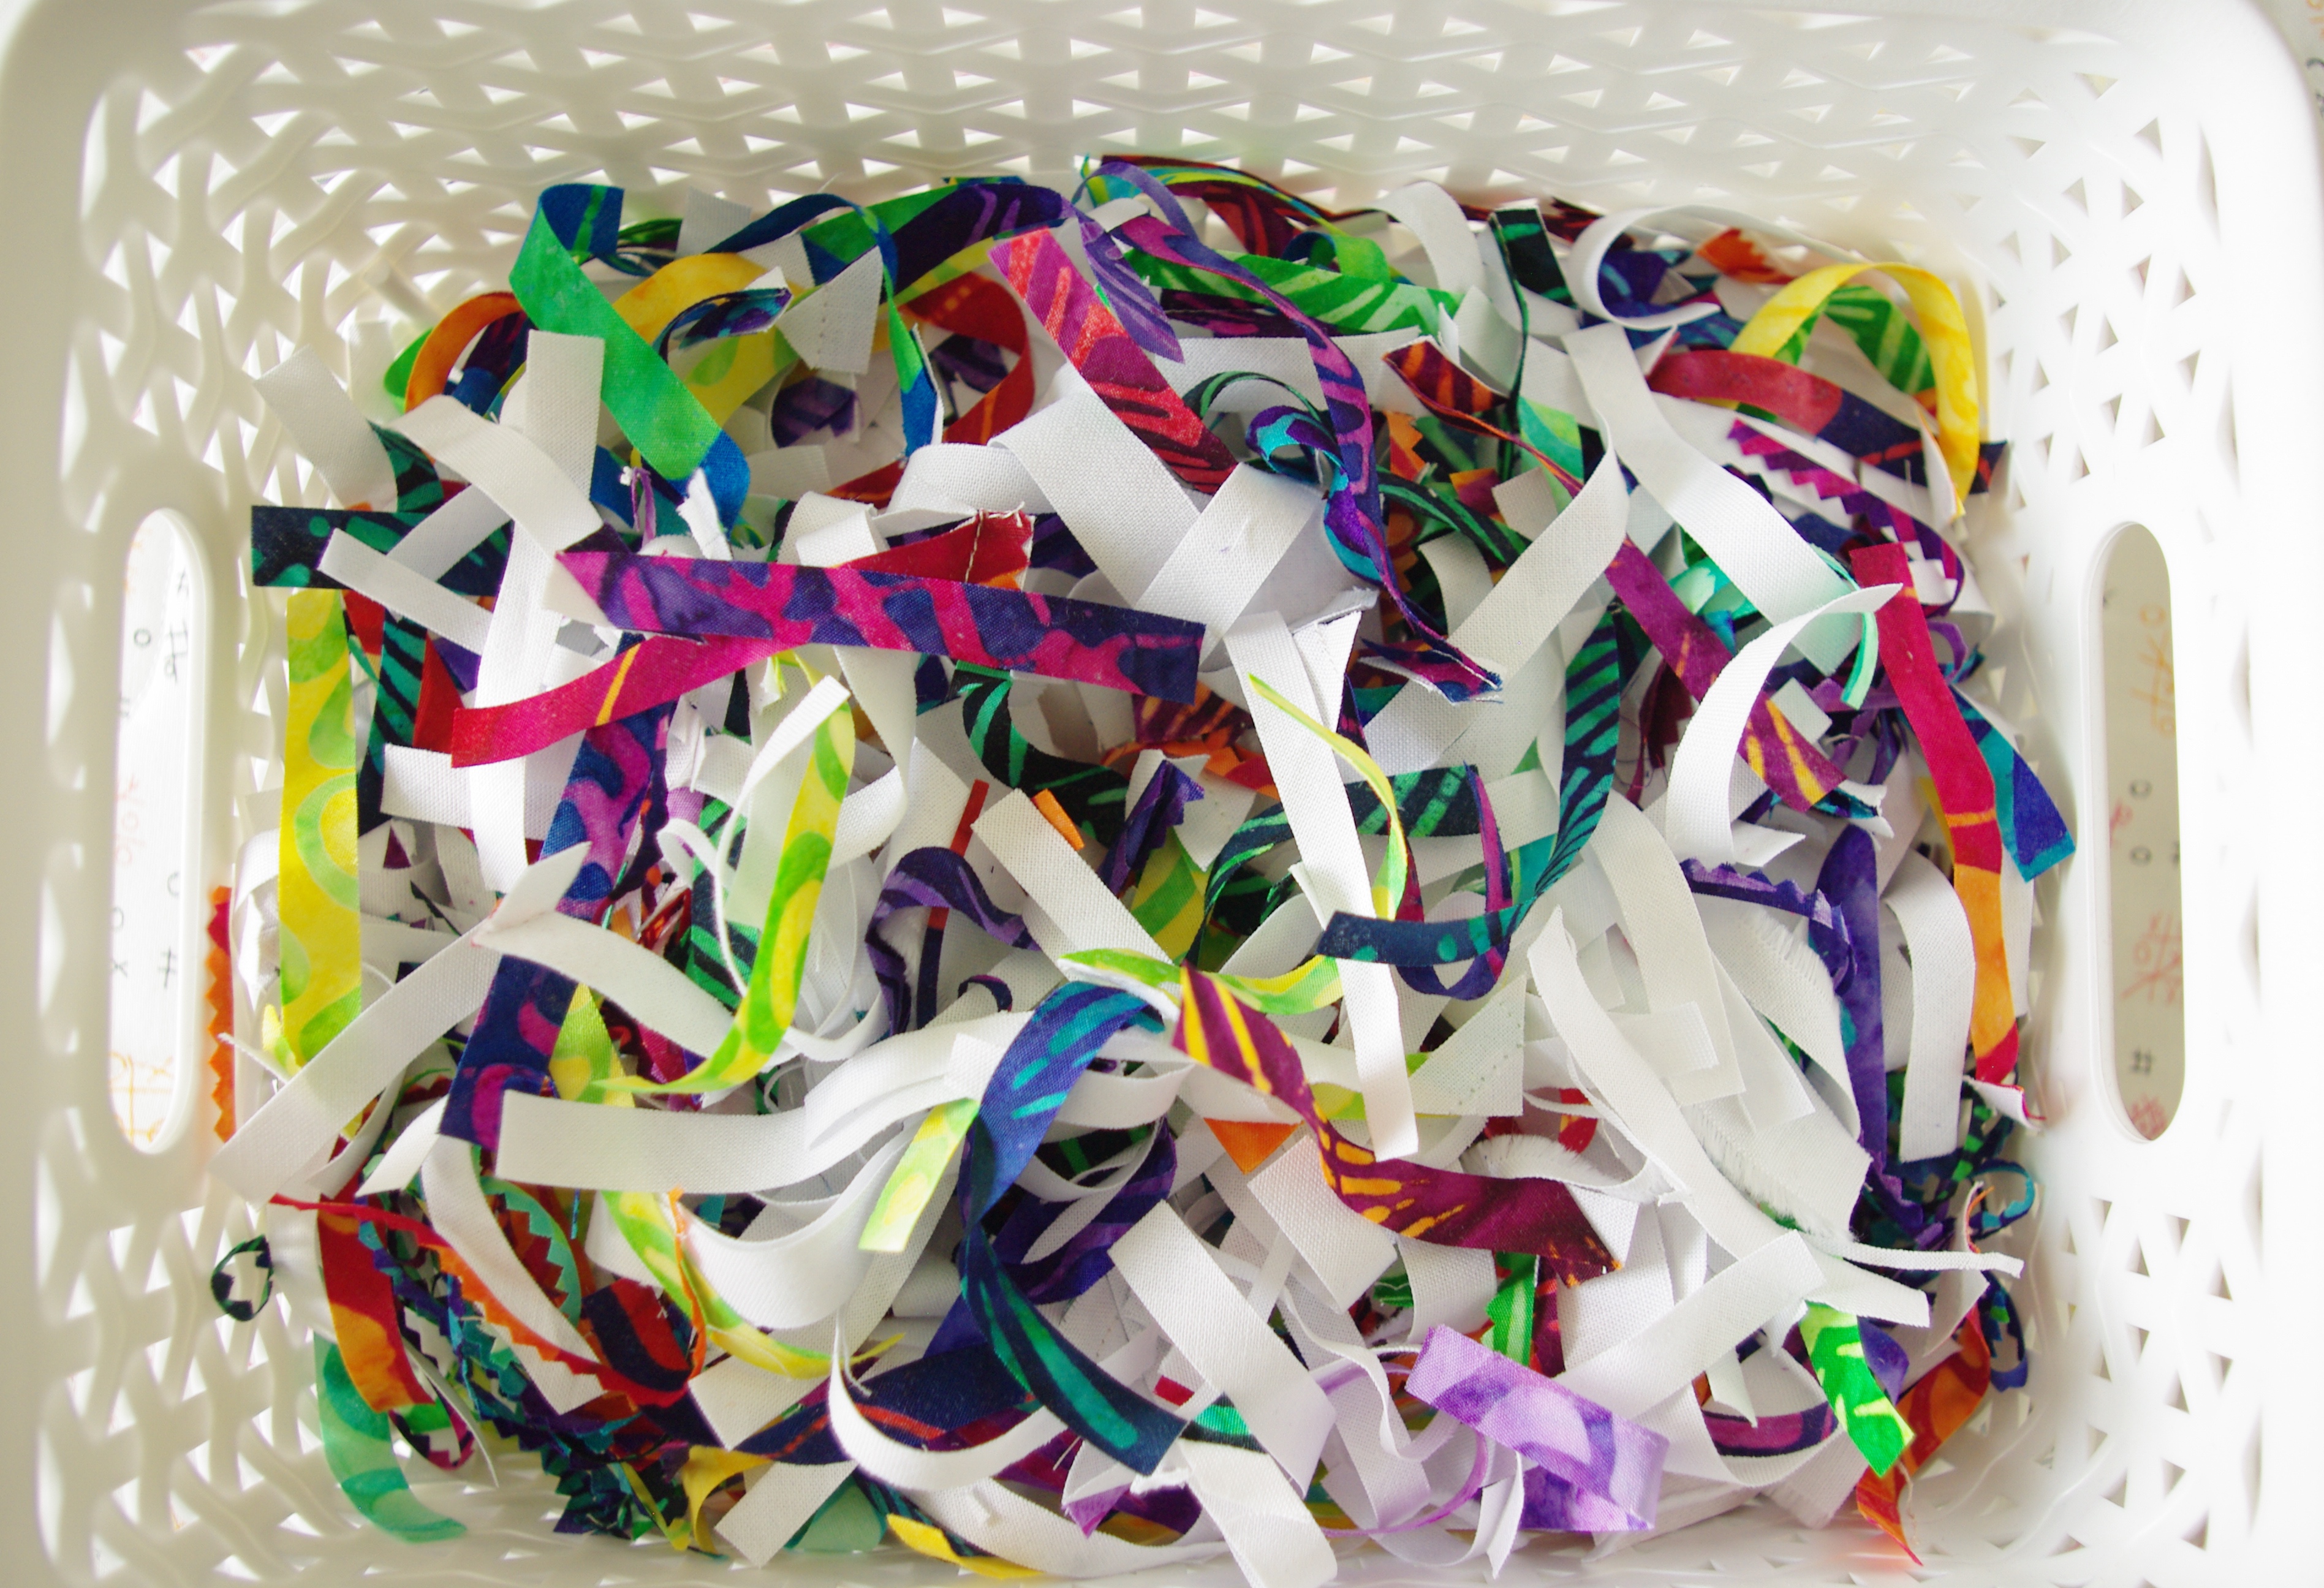
I absolutely loved the batiks. They’re so nice and crisp and are just a dream to work with. This collection has such vibrant colors that even the scraps were gorgeous. 🙂

Because this quilt was so large I needed 9 yards of backing. So much fabric!

I also had my daughter choose what quiliting pattern she wanted. Here’s a close up of the mod squares motif she chose. I think it goes great with the fabric’s retro look.

And finally, the finished quilt! By far, it’s the largest one I’ve ever made. It’s queen size and measures 95 ½” x 104 ½” which is pretty massive for a quilt!

My daughter was so happy with it and it brings tons of color into her bedroom, just like she wanted. And I’m pretty pleased with how it turned out too. I do have to admit that this was a huge undertaking and I’m pretty sure I’d only work that hard for one of my kids!
I promised my son one this year…I guess I better get busy. 🙂

I made one of these this year too using that pattern. I found the trimming to be tedious. I would use a different method to make the half square triangles too. Your quilt is gorgeous! Great work!
LikeLike
There were far too many HSTs to trim! This pattern was definitely a one-and-done for me! Thank you for the lovely compliments on my quilt.
LikeLike
Totally beautiful, how many charm packs did you use?
LikeLike
Thank you! I used 7 charm packs…I’m guessing I had about a dozen individual squares left over.
LikeLike
Absolutely gorgeous. Great fabric selection.
LikeLike
Thank you so much, I appreciate your comments.
LikeLike
Deb, your daughter’s quilt is beautiful — the batiks are amazing! I too press my seams open, use lots of pins and starch my fabric before cutting — I’ve noticed a big improvement with how flat my blocks lay!
LikeLike
Thank you Karla! It sure was a lot of work but my daughter loved it so it was worth it. I really enjoyed working with the batiks. It’s it funny what we’ll do for nicely pressed blocks? 🙂
LikeLiked by 1 person
Absolutely stunning. What is the measurement of each unfinished block?
LikeLike
Thank you Janet. The unfinished blocks measure 8 1/2” square.
LikeLike
What is the size of the unfinished block before you cut the triangles for Hunter Star. Thanks.
LikeLike
I believe all the pieces are 2 1/2” square but you might want to watch the video because I can’t remember for sure!
LikeLike
Your quilt is so beautiful! Love the colors and I have made Jenny’s hunters star for the American Heroes Quilts. I hope your daughter appreciates the the time and talent you have given her. Don’t forget to make a tag for it so the history is never lost. Kay Wilson
LikeLike
Thank you Kay for such nice compliments, I appreciate it. My daughter is an avid knitter (and makes beautiful things) so she definitely can appreciate the time and energy that went into making her quilt, it was no easy feat!
LikeLike
Loved the quilt. Getting ready to make one for my grandson but I don’t have a quilt machine. Is it possible to quilt as you go so I can do it on my sewing machine.
LikeLike
Thanks Dianna for complimenting my quilt. I’ve never tried quilt-as-you-go so I’m not sure how it would work for a larger sized quilt.
LikeLike
Thank you so much for sharing. I hope mine is half as beautiful as yours. Your Star points are perfect.
LikeLike
Hi Virginia, Thank you for the wonderful compliments on my quilt. A Hunter’s Star is a lot of fun to make, I’m sure you’ll be happy with your results. Thanks for stopping by my website!
LikeLike
Loved the quilt , pillow cases would be awesome !
LikeLike
Thank you, and yes, great idea!
LikeLike
Beautiful! I’m sure your daughter will treasure it always!
LikeLike
Thank you Cindy. She loves it! Thanks for stopping by.
LikeLike
I just bought fabric to make this pattern for my grandson. Loved your photos and added info. Thank you for sharing!
LikeLike
I’m glad my post was helpful Nancy. I hope you enjoy making your grandson’s quilt, it’s fun to see everything come together. Thanks for the compliments and for stopping by my website!
LikeLike
Did you make your BEAUTIFUL Hunter’s Star quilt bigger than the pattern?
LikeLike
Thank you for the compliment on my quilt Kathy. Yes, I made this one quite a bit larger than the tutorial. I added additional vertical and horizontal rows but since it’s been so long I can’t remember how many!
LikeLike
Absolutely stunning quilt …i have to try that
LikeLike
Thank you Lynda. It’s a fun one to watch come together.
LikeLike