
Sometimes when working on a quilt that’s taking a lot of time, I feel I need a break to make something with a fast finish. Over the summer I received a free sailboat pattern from Ellis and Higgs and I thought it would make a nice pillow as a gift for my sister since she lives on the bay and has a nautical theme throughout her house.
I’d been wanting to learn how to make an envelope pillow because I think they look better than a zipper, so what better time to try it out? I found a few tutorials and combined the best of them and came up with one to pass along. It’s really easy and can be made in less than an hour!
For mine, I pieced the front and used interfacing to keep everything in place, but you can make the front easily with a cut of fabric. Here’s how to make a cover for a pillow insert, and also what you’ll need:
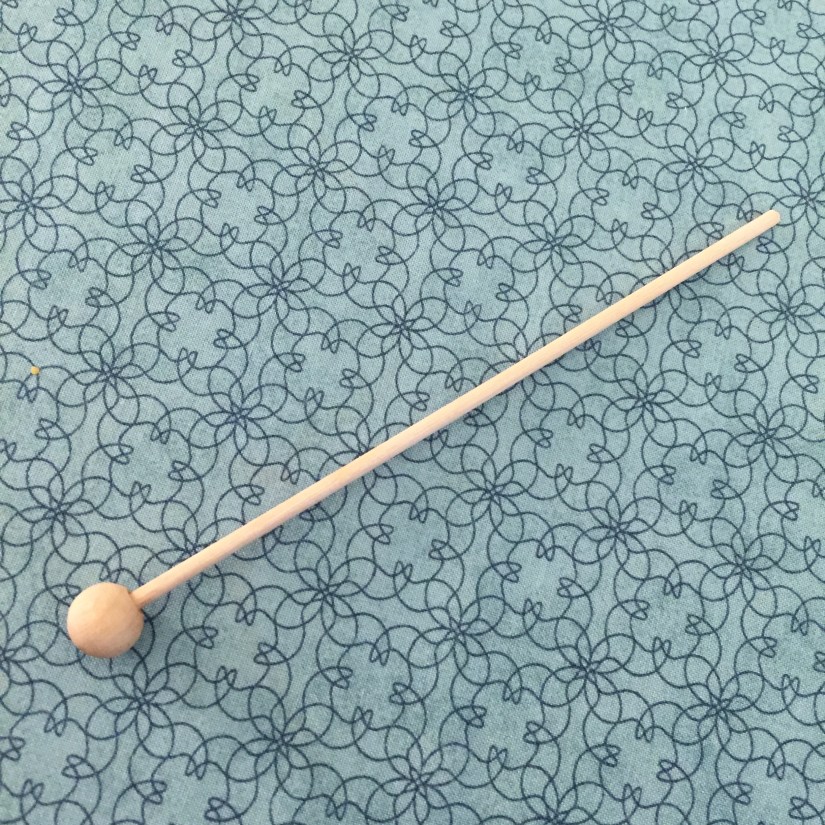
MATERIALS: Either a pieced block with interfacing fused on OR fabric for the front, fabric for the back, pillow insert, hot ruler (optional), bluntly pointed stick, sewing machine, iron, general sewing supplies.
For the pillow FRONT: Make your block to measure the same size as your pillow form. If you choose to make a fabric front, the same measurement applies, cut your fabric to the pillow form size.
For the pillow BACK: You will need one piece of fabric to be cut into two (or two pieces). The width will be the same as your pillow form, but the length will be the size of the pillow form plus 6″.
Examples:
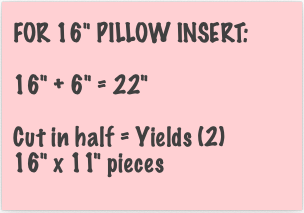
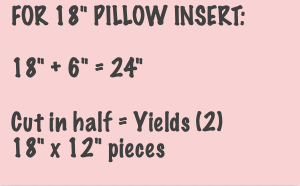
If you’re using a quilt block and it’s too small, just add borders. For example, I added 2″ borders to my sailboat block to get it to measure 16″ x 16″.
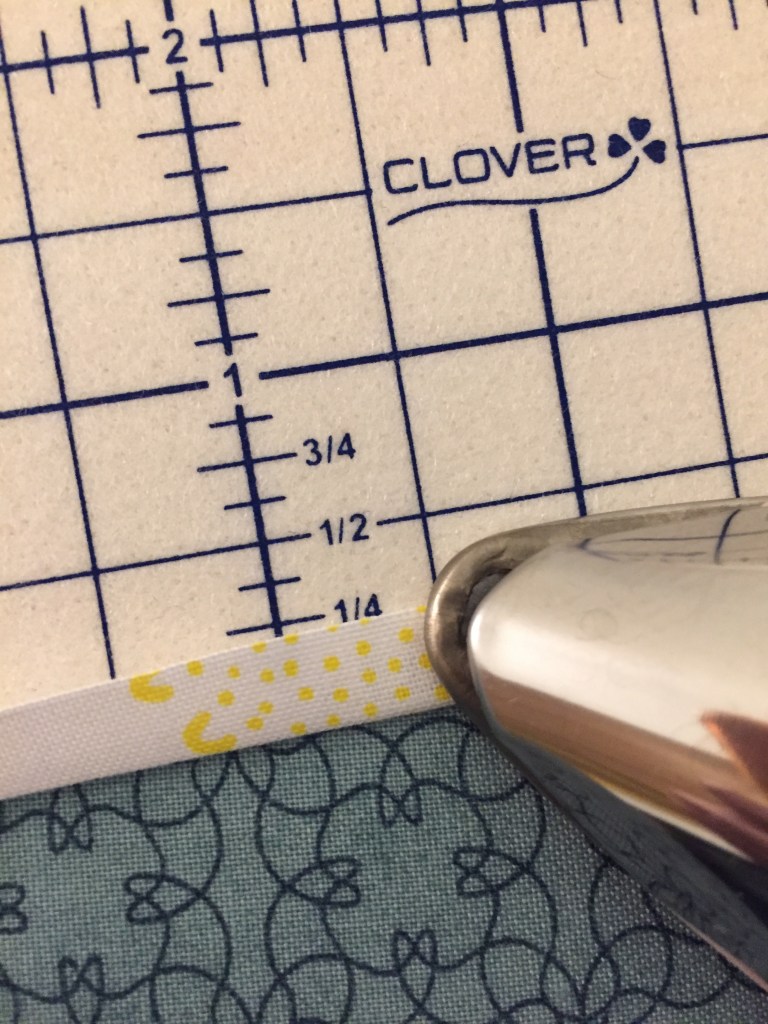
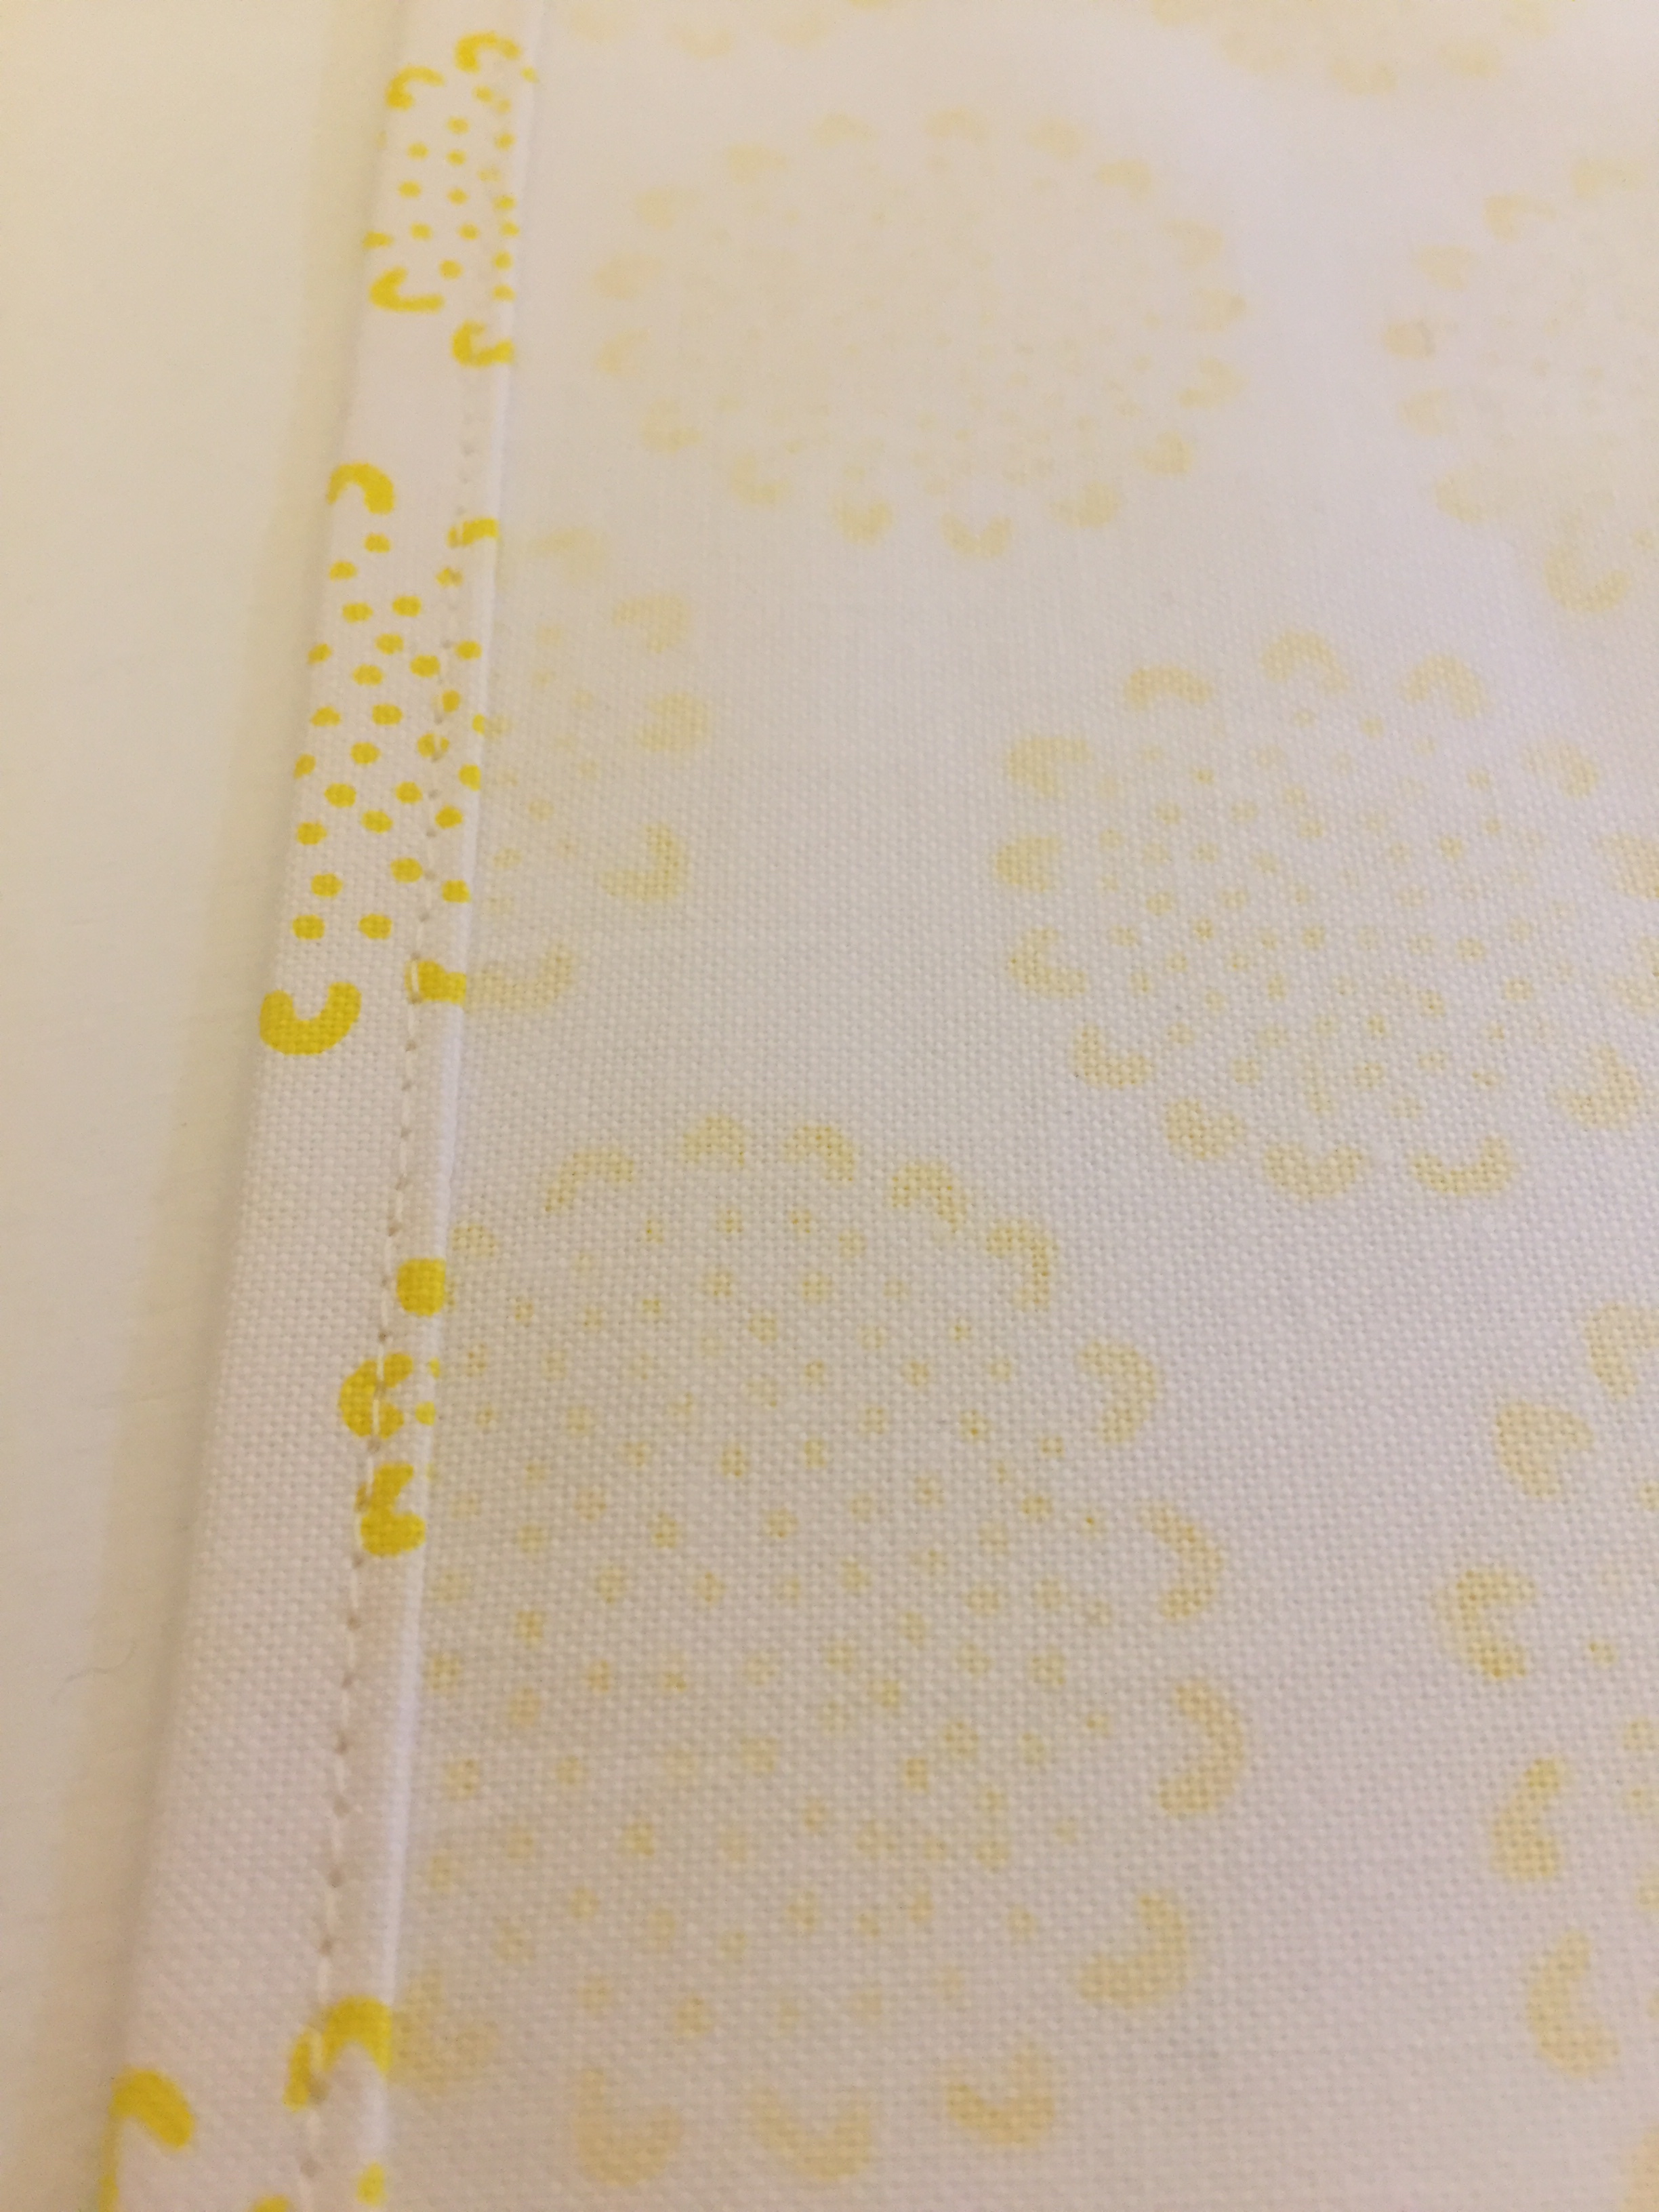
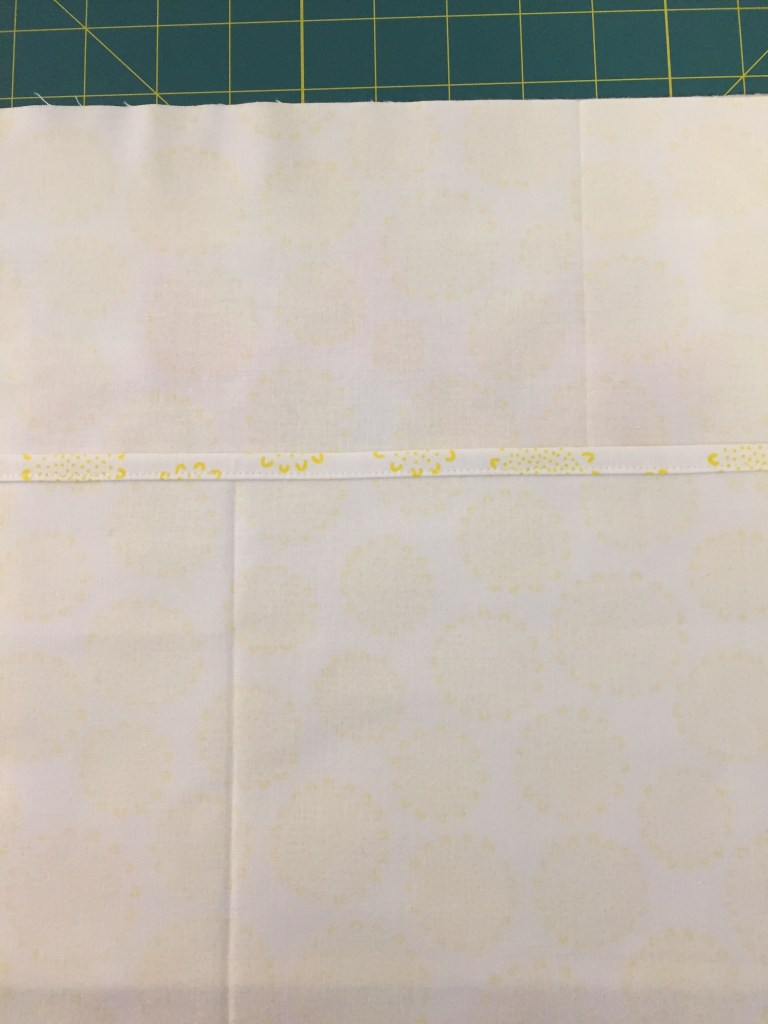
Once the pieces are cut to size, fold under one edge of each back piece 1/4″ and then again 1/4″ to form a small hem for the flaps. A hot ruler works great here.
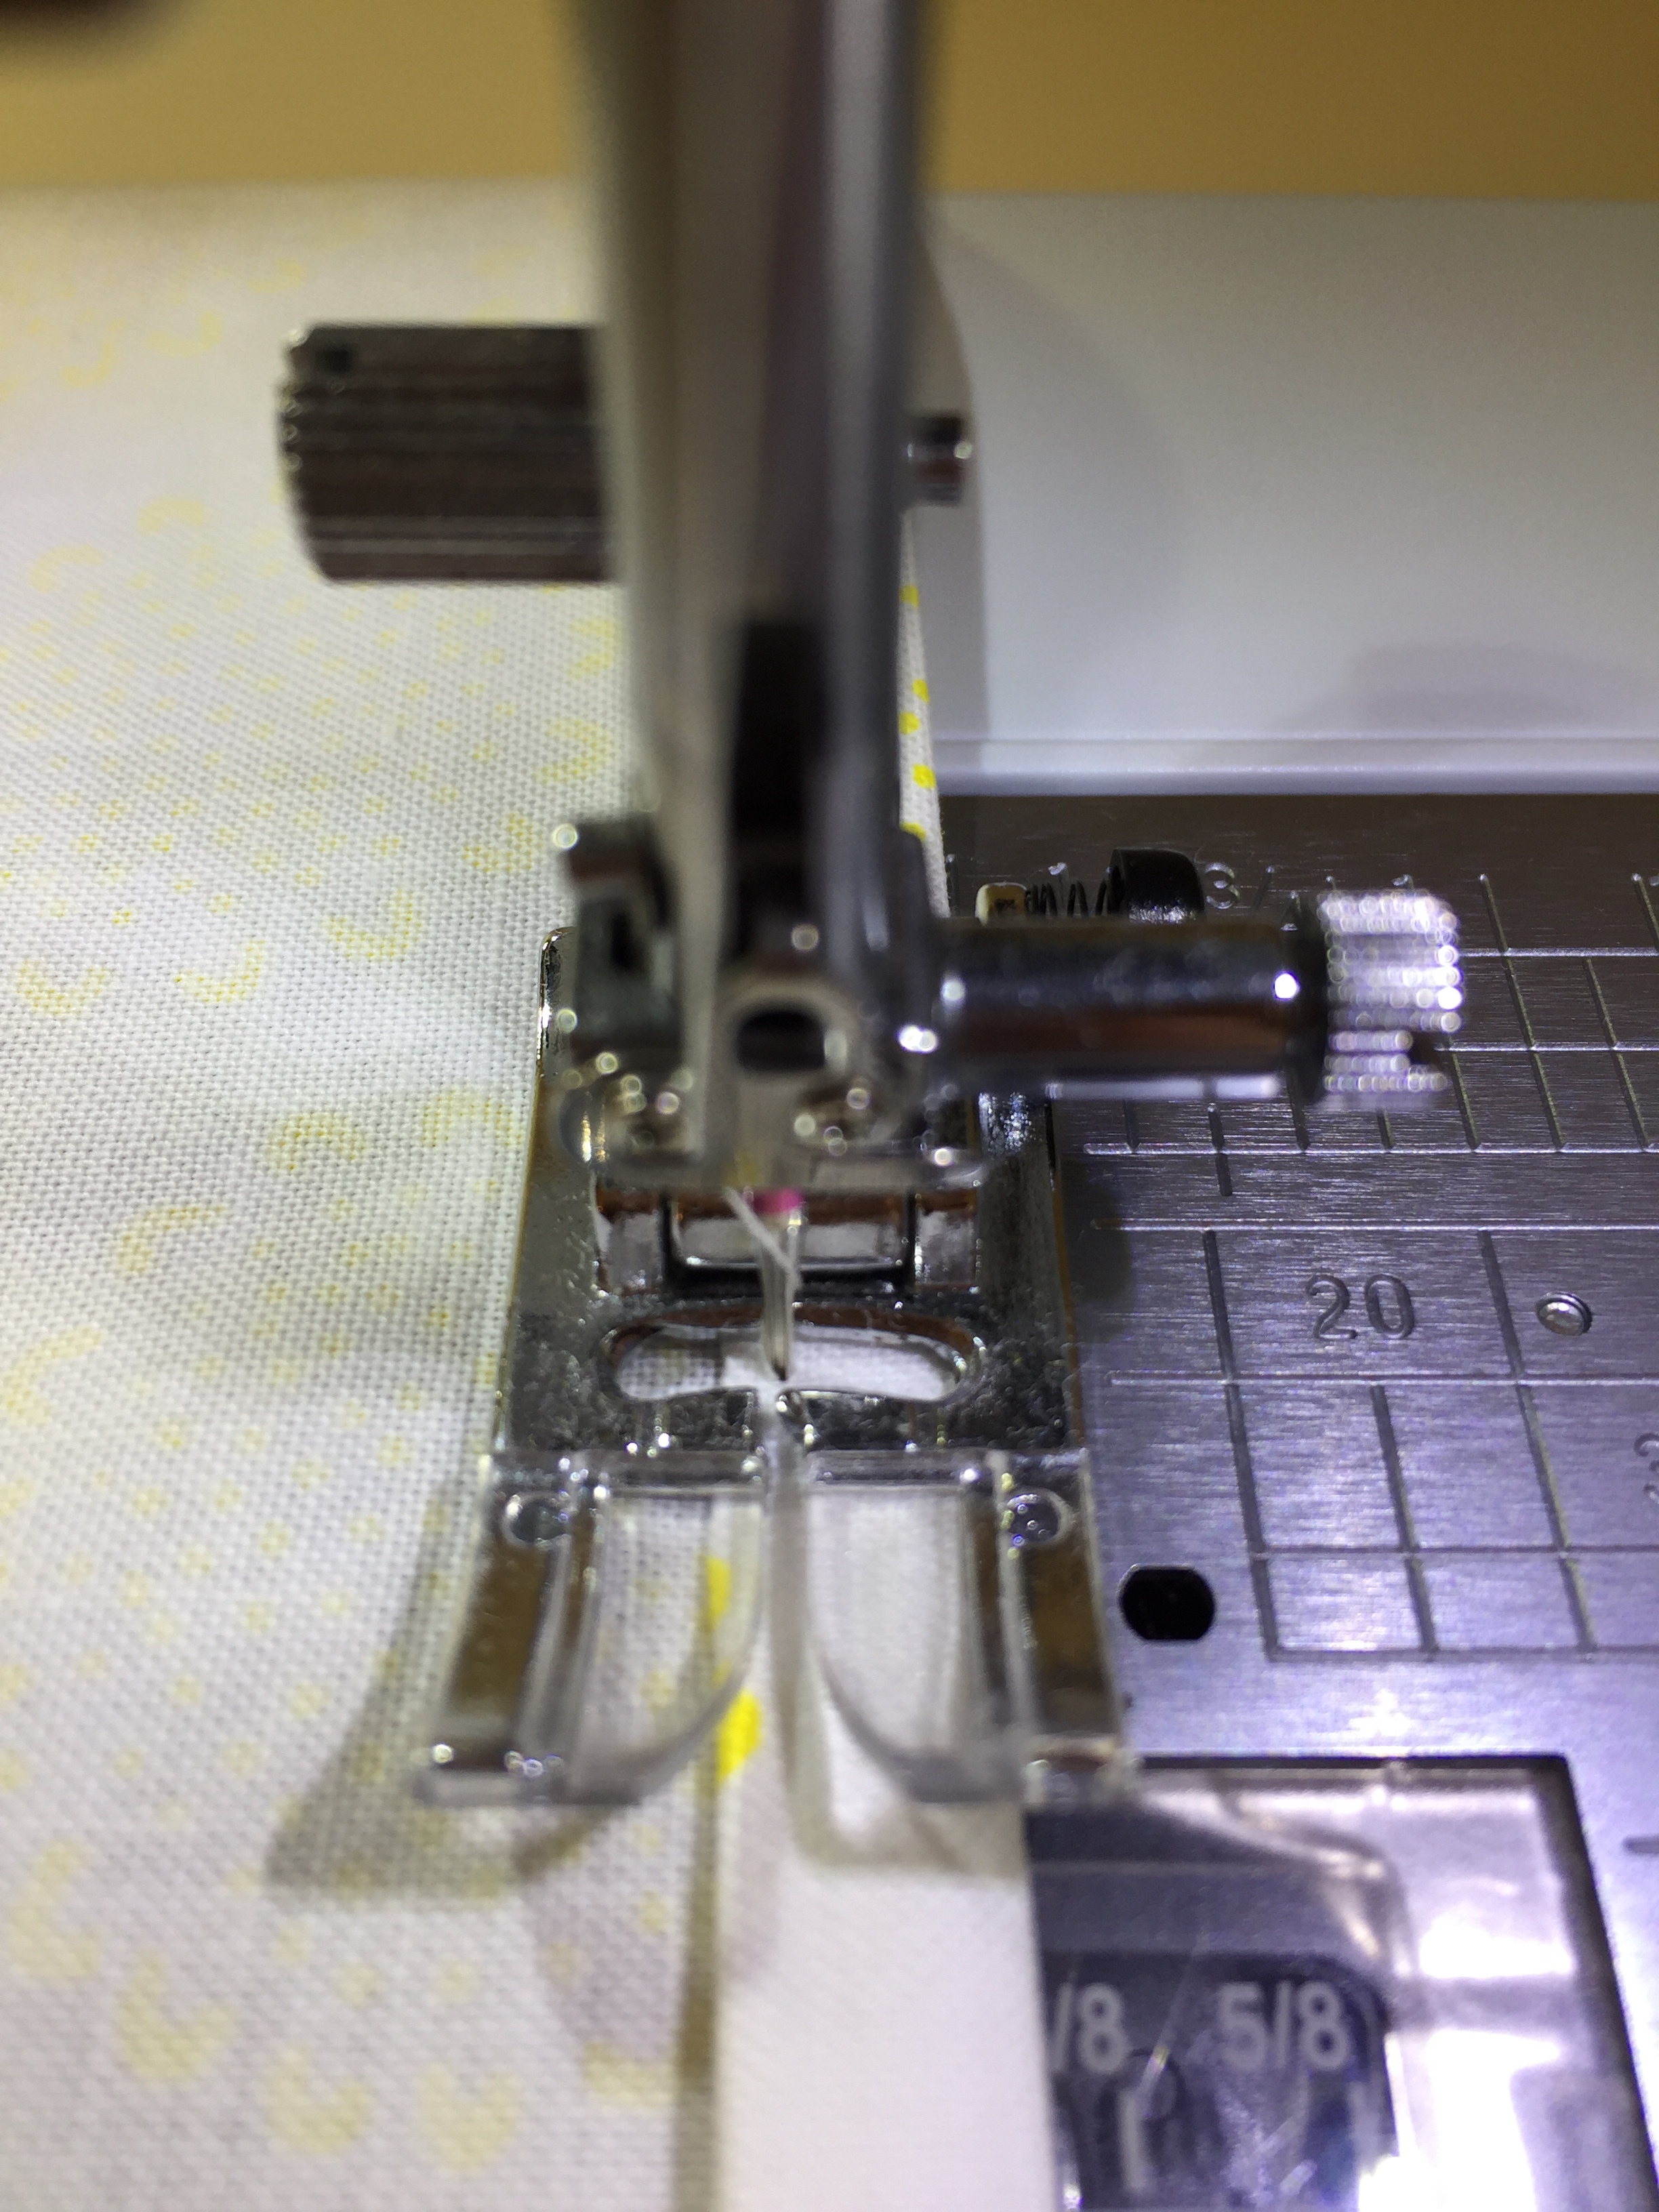
Sew the hem for the flaps, stitching close to the edge. Press the seam.
Next; sewing everything together. Pin the front and back pieces right sides together with the two back pieces overlapping in the middle. It will look upside down and backwards, but it ends up as it should once you turn it right side out.
Sew around all four sides of the pillow cover using a 1/2″ seam allowance. If you want to keep the raw edges from fraying, add a zigzag stitch around all the edges.
Once sewn, trim away the corners and turn the cover right side out, making sure to push out the corners. Using a bluntly pointed object helps get the corners sharp.
Lastly, give it one final press and insert the pillow form. And you’re done!
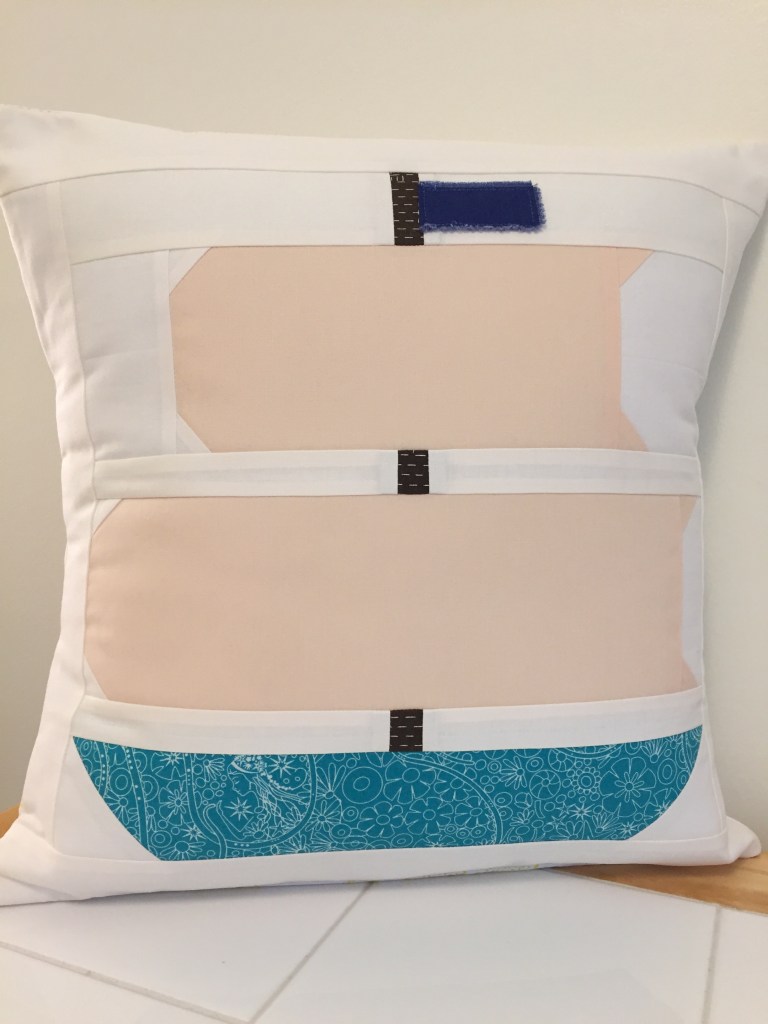

Not only are these pillows easy and fun, they’re an inexpensive way to add a splash of color and style to your living space.

Hi Deb, great tutorial/review for making envelope pillows! I love love the Clover perfect press ruler — I have two ♥♥
LikeLike
Thank you Karla. I love how this method is so easy! I never heard of hot rulers until I used my daughter’s (then decided I needed my own) 🙂
LikeLiked by 1 person