This post contains an affiliate link. If you make a purchase through this link, I may receive a small commission, at no extra cost to you.
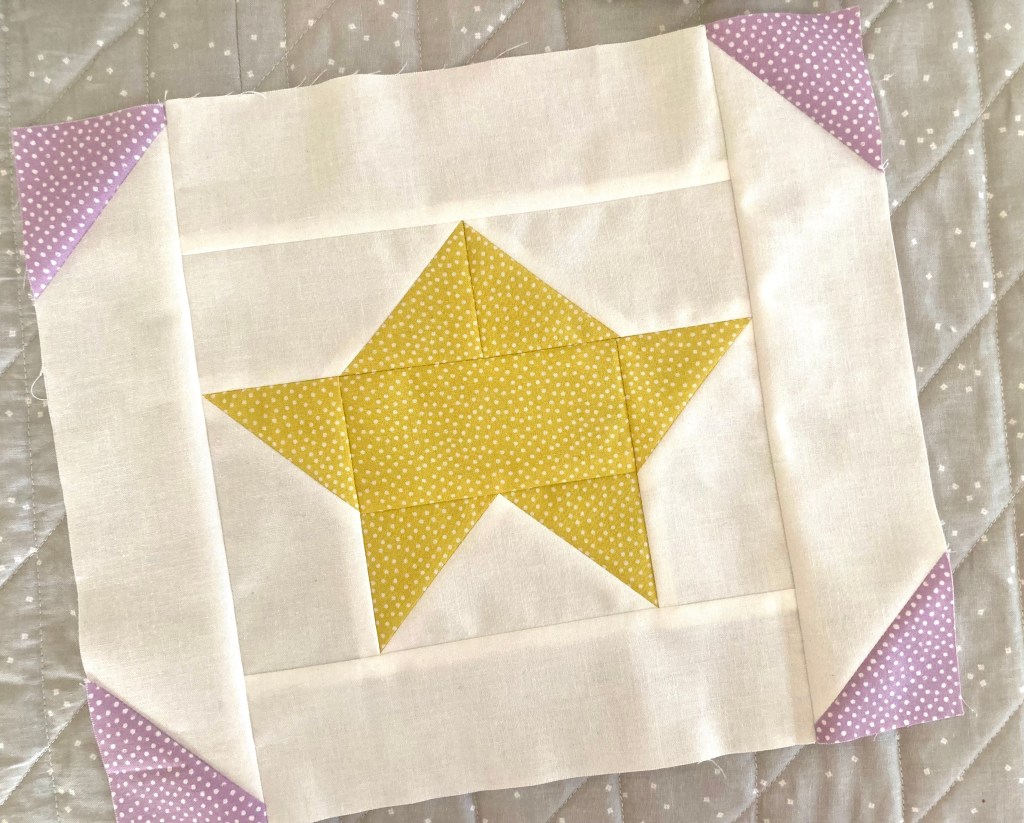
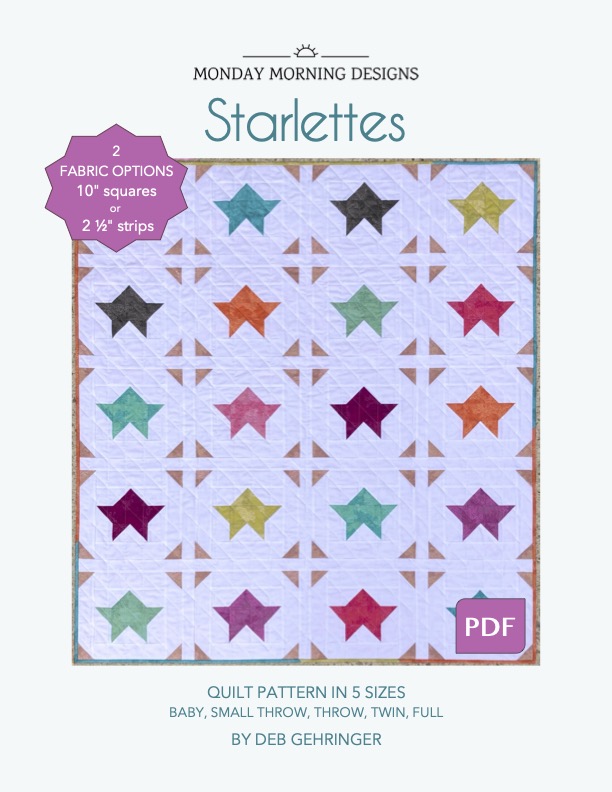
New year, new pattern! The newest pattern in my Etsy shop is Starlettes. Since most quilters love starry patterns, I designed one that’s modernly different from traditional star blocks and it’s something new to add to your quilting repertoire
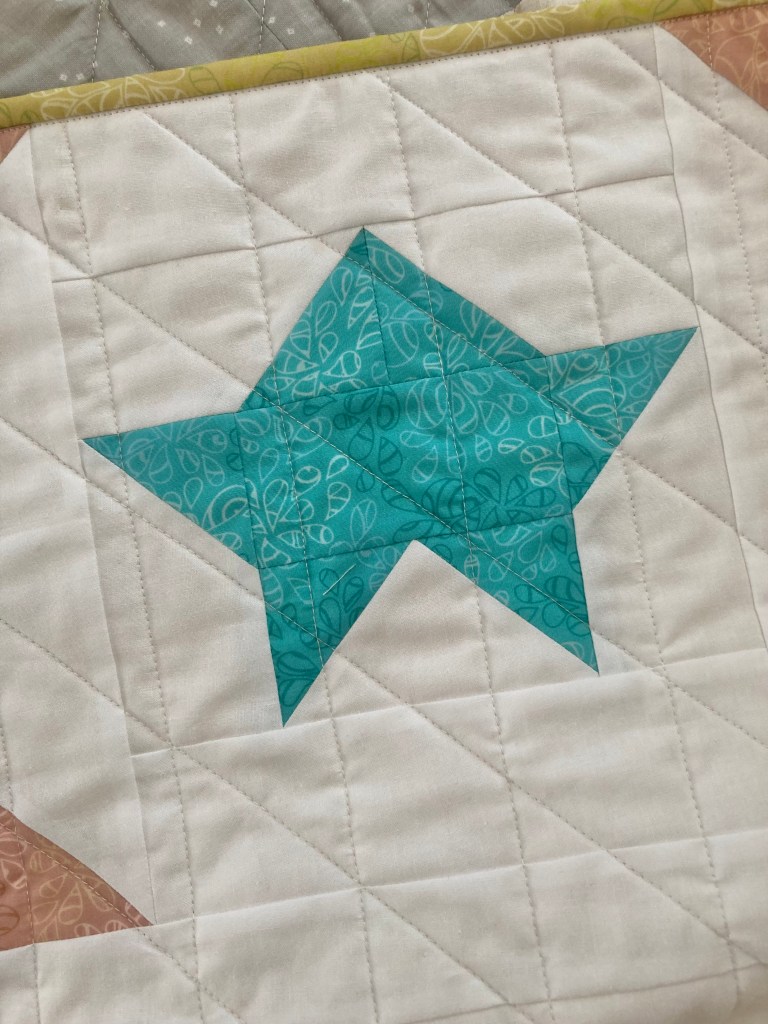
This little star is chunky and funky, and it’s SO easy to make!
Starlettes is also written for interchangeable precuts, meaning you can use both 2 1/2″ precut strips and/or 10″ squares at the same time OR by themselves. It’s a great way to stash-bust.
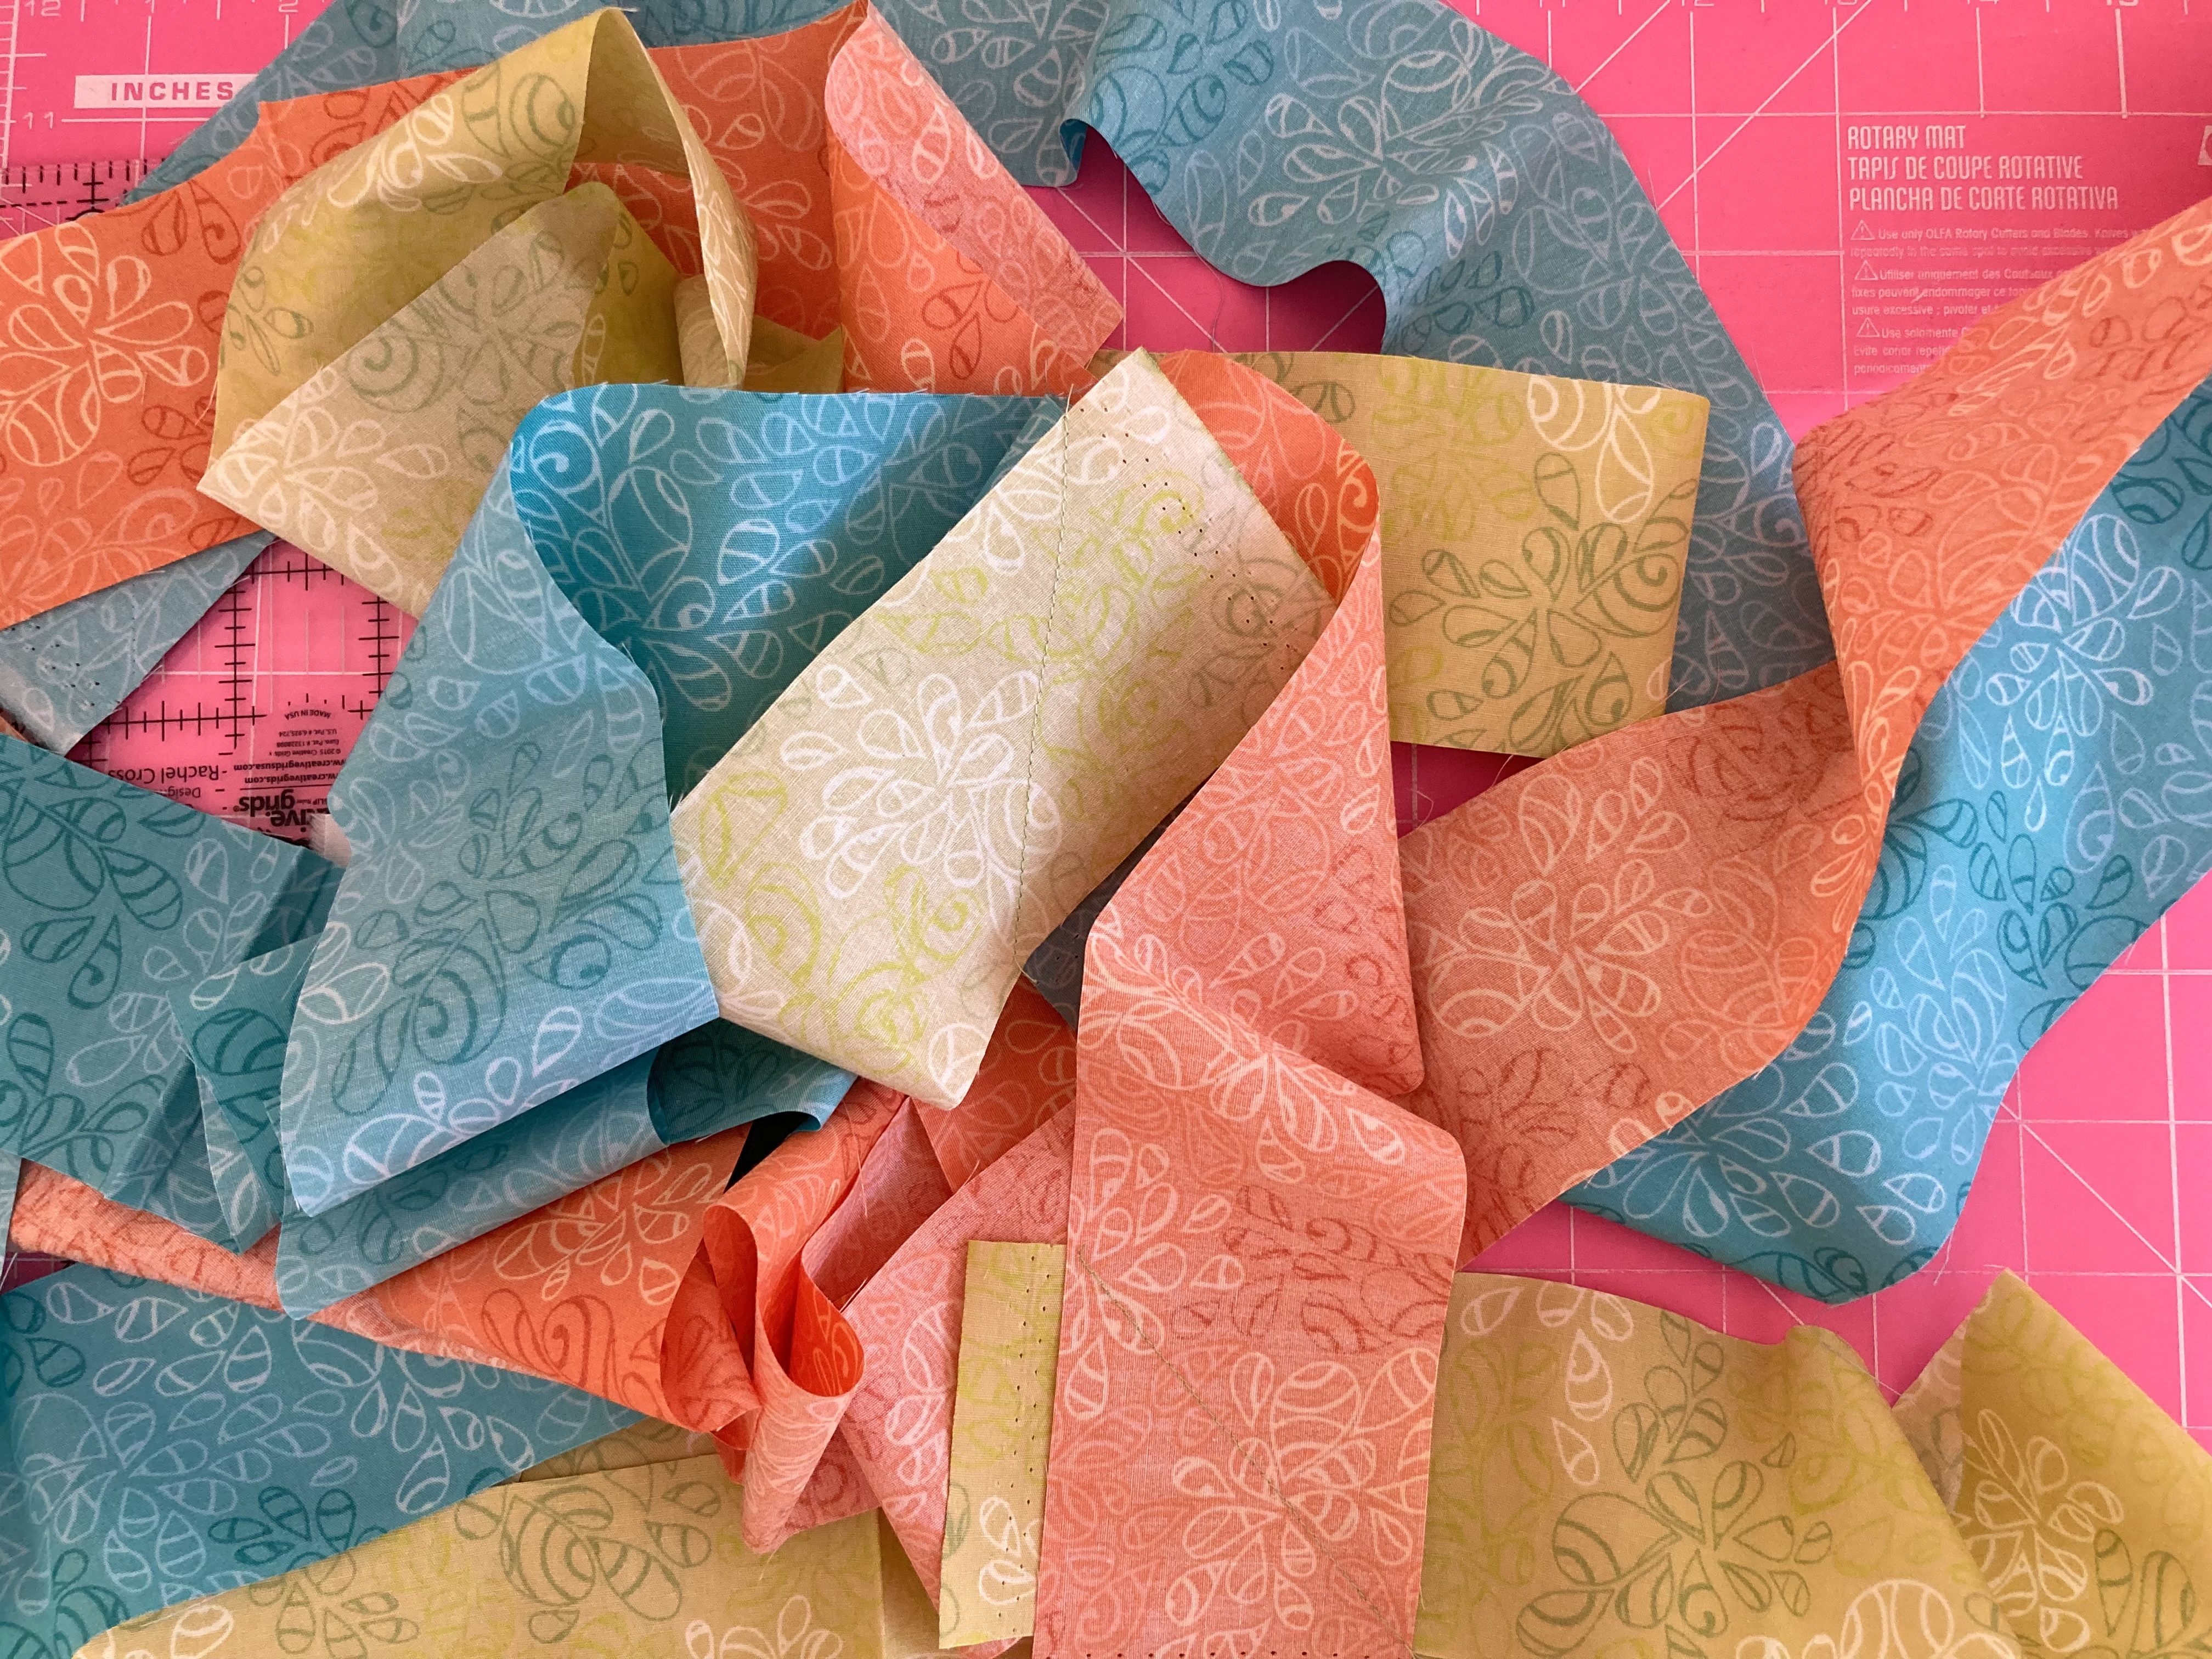
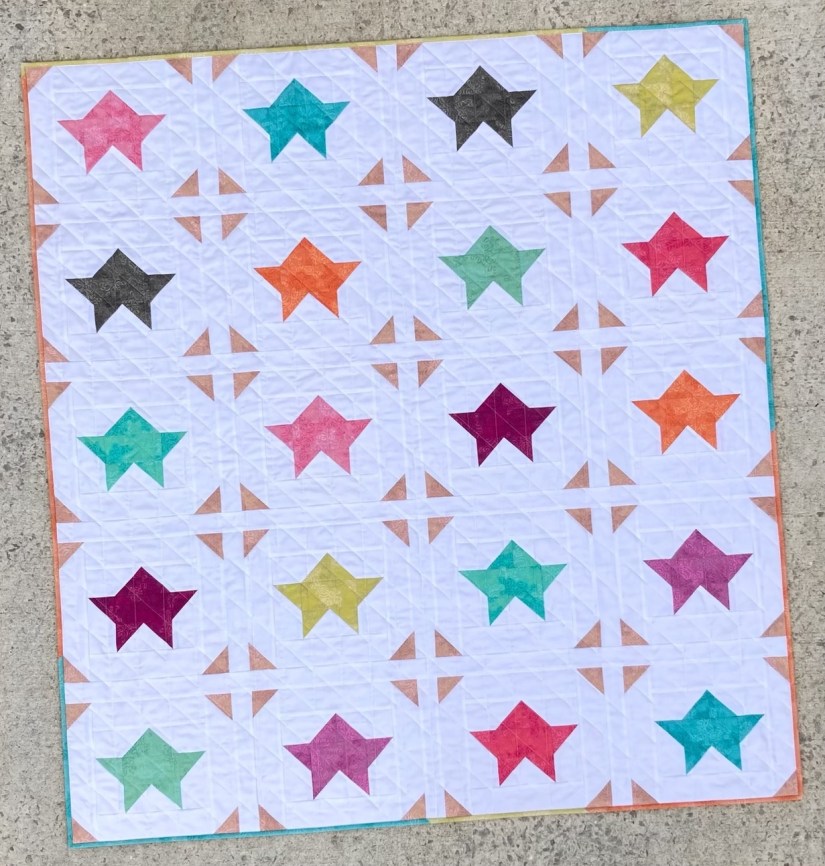
If you don’t have precuts, don’t worry, fat quarters and yardage work just as well. I used Art Gallery’s yardage of Nature Elements in a variety of colors, and used the leftovers for a colorful binding.
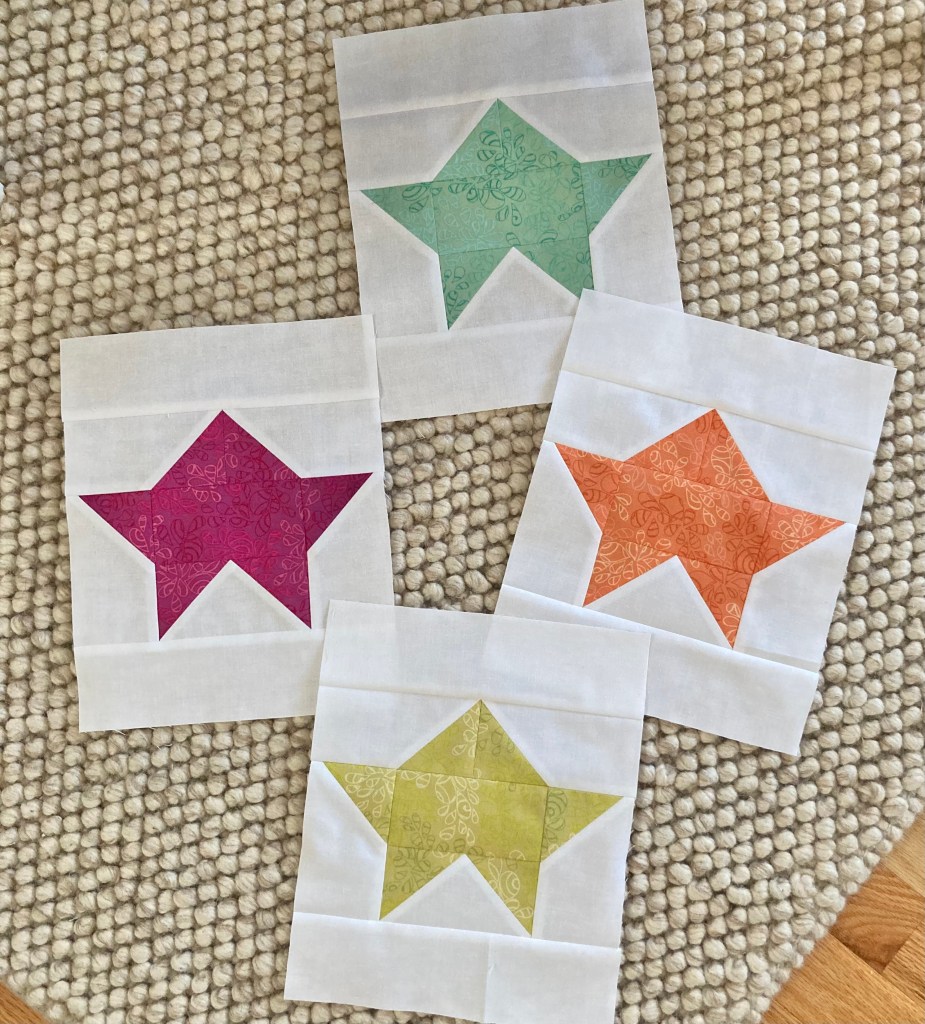
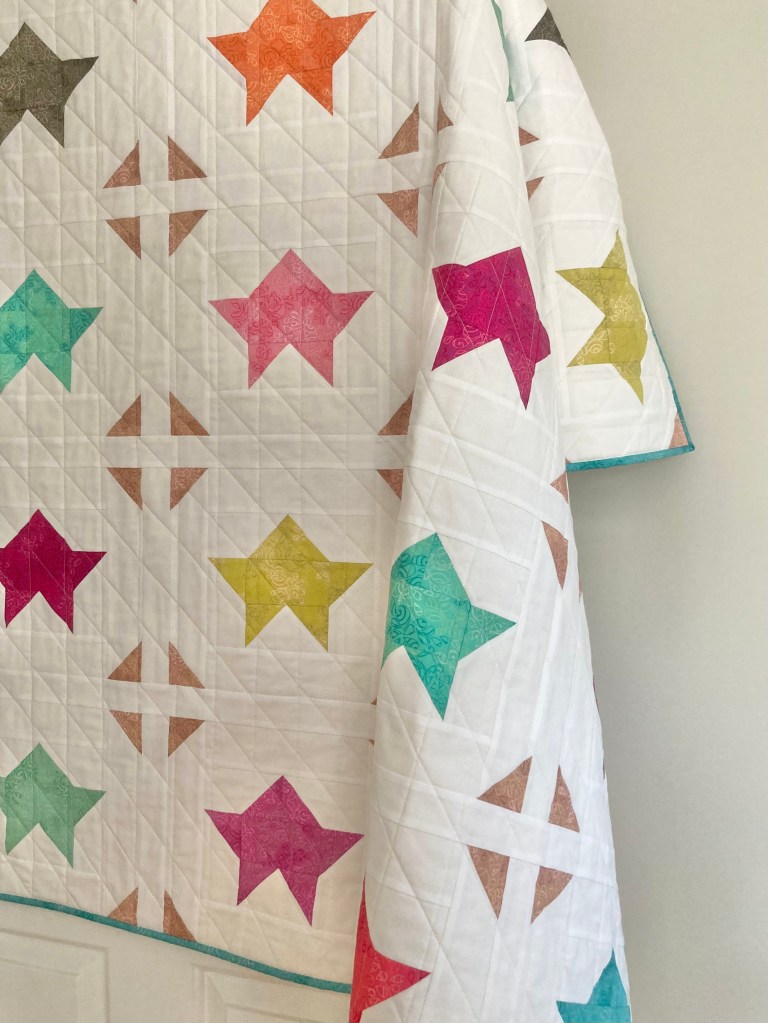
Starlettes offers 5 sizes: baby, small throw, throw, twin and full. I made mine small throw size which is perfect for a toddler or small child. As an adult, it works great as a lap quilt. 😉
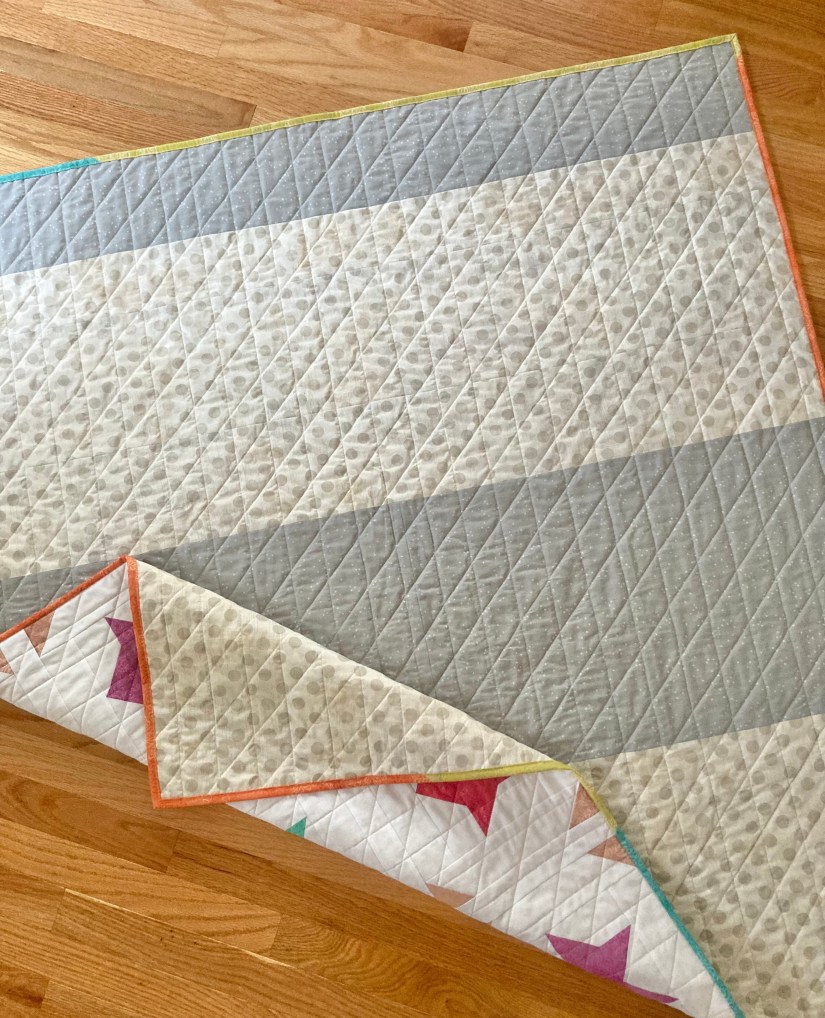
I also chose to piece my backing. I used Riley Blake Blossom and Moda Dot Grunge for a cute striped back. This also used what I had on-hand from other quilt backings.
Anymore, I don’t do much ‘quilting’ but since this one was a smaller size, I did it myself. I quilted straight lines about 1 3/4″ apart then quilted one diagonal line the same distance apart. I think this gives it a different, modern look and compliments the design nicely. And as always, I designed this pattern in EQ8.
Here’s a few photos of my completed quilt. It’s just so fun!
Lastly, Starlettes was designed with the beginner in mind–if you’ve made a few quilts this one will be a breeze!
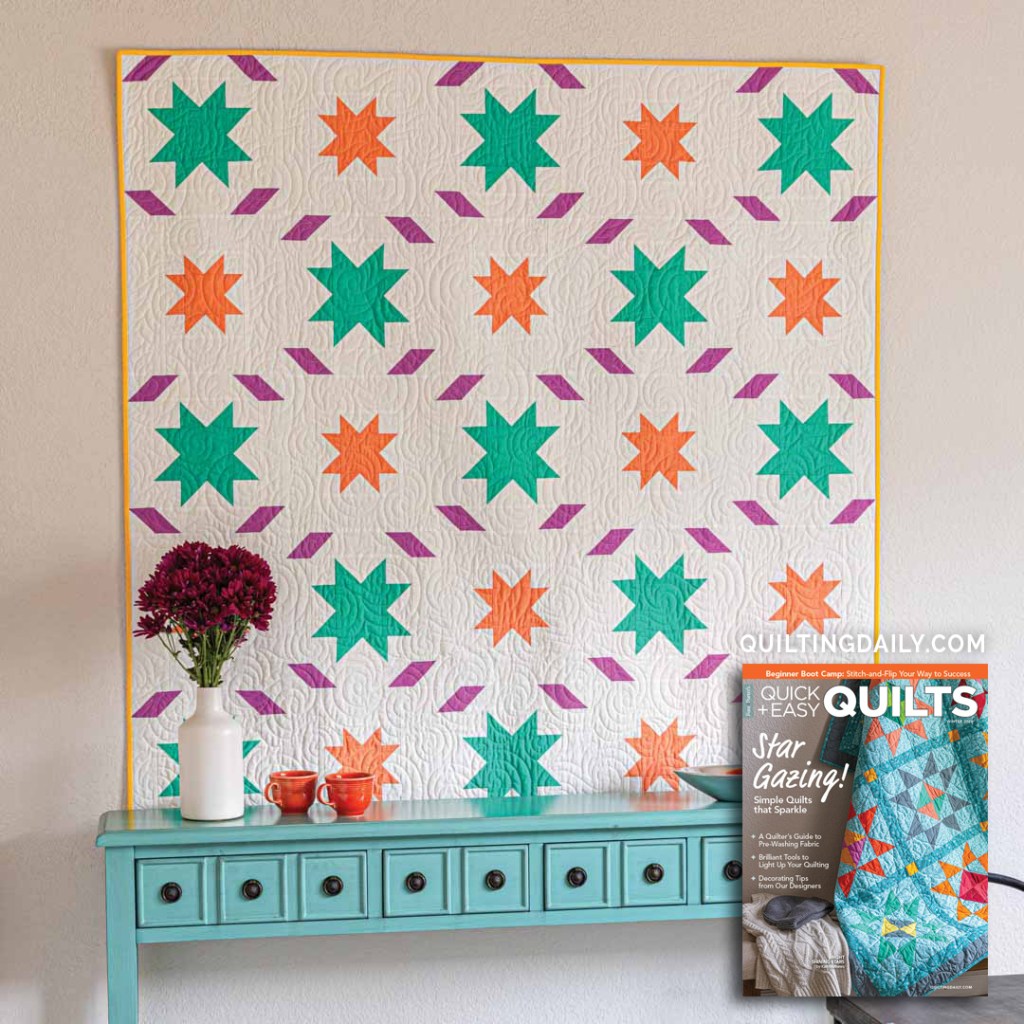
I’m excited to share that my throw quilt, Starry Duet, is published in the latest Fons & Porter’s Quick + Easy quilts.
Starry Duet is definitely quick AND easy! All you’ve got to do is make two different blocks, sew your rows together and it’s done. No sashing, no borders.
For my quilt, I chose three solid fabrics and a white solid background but you could go scrappy, sew it in prints, anything–just use your imagination.
Here’s a look at mine from the magazine.
If you love the star quilts, then this issue is for you!
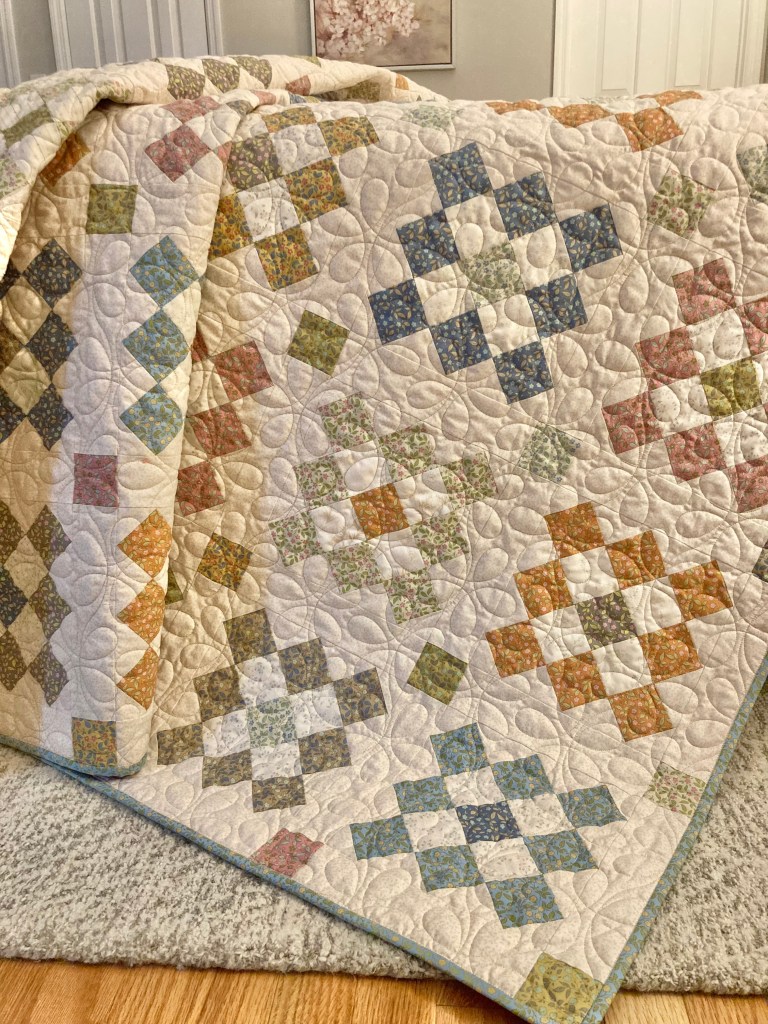
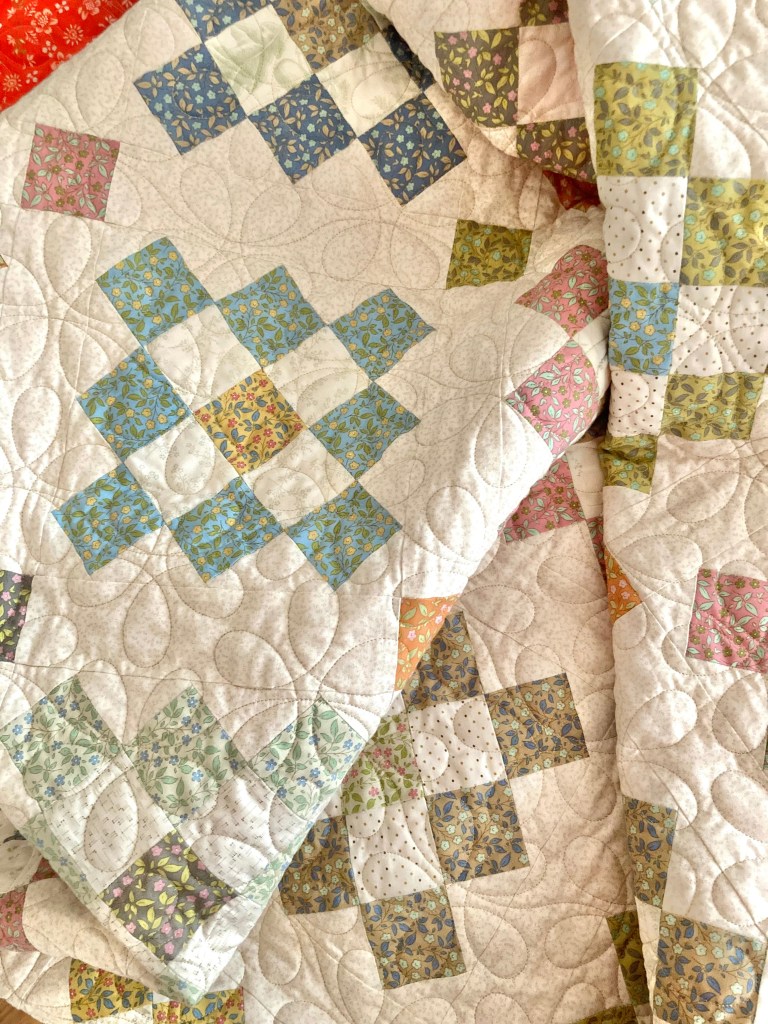
My granny square quilt is finally finished and in use; just in time for the cold weather.
A post in August showed the process of making this quilt, and now it’s time to show photos of the last making stages and then completed.
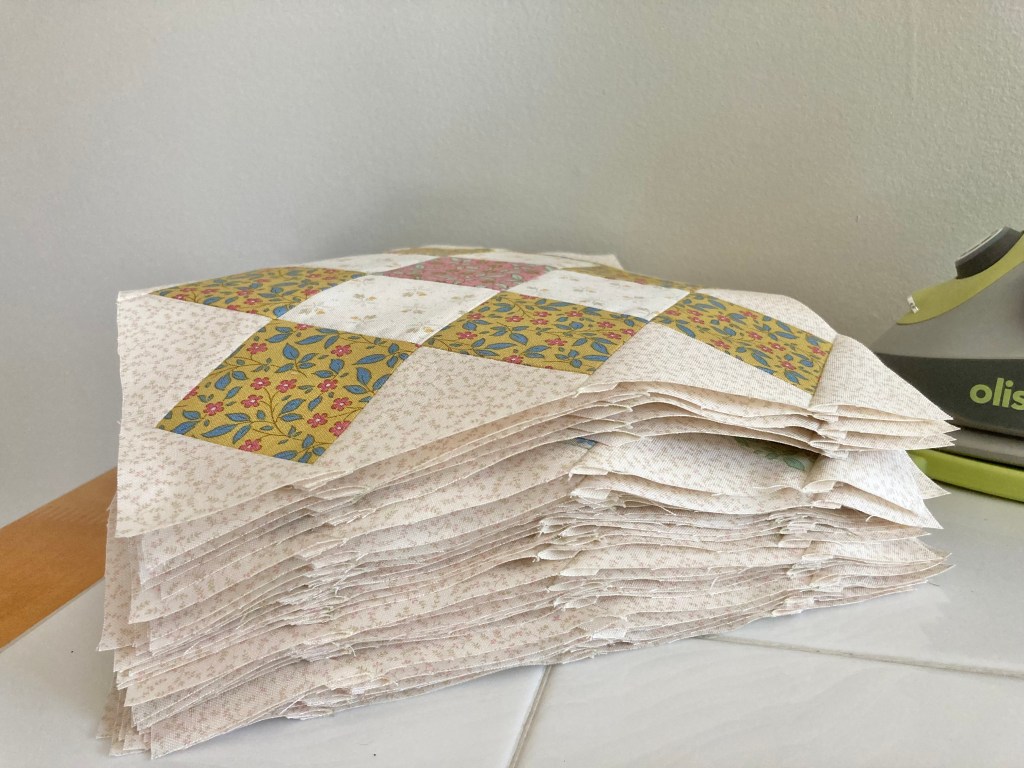
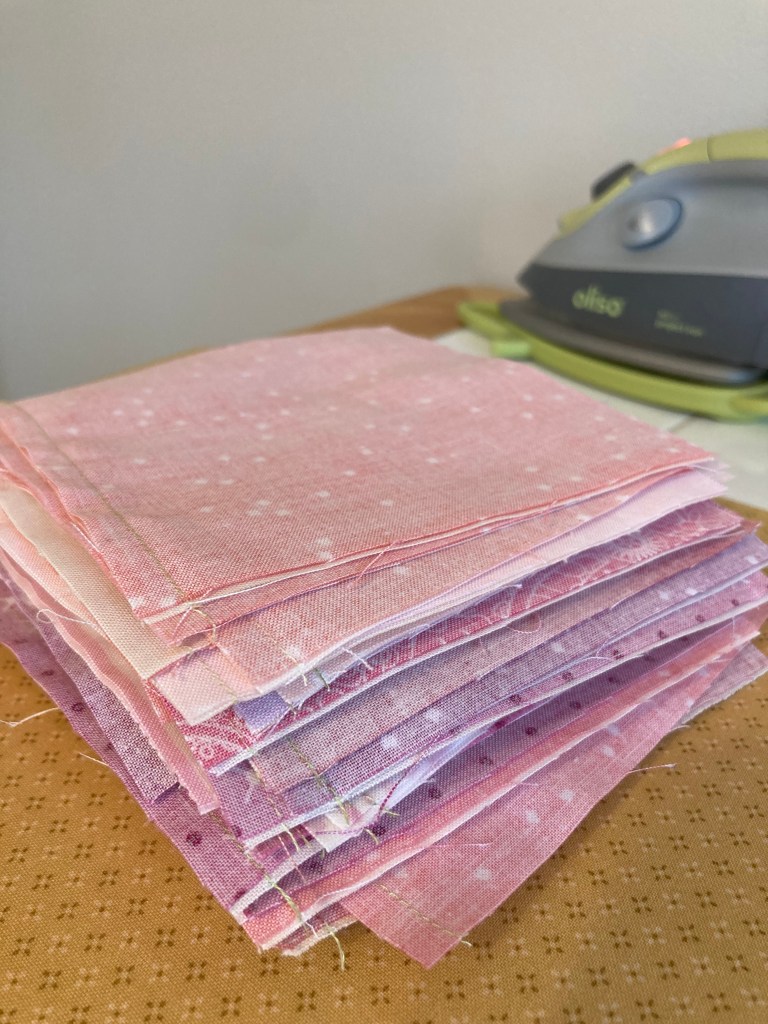
As always, I find that trimming the finished blocks (even if just the smallest amount) the quilt top lines up so much easier and more accurately. Even though it’s a time consuming task it’s worth it in the end.
Here’s a stack of freshly trimmed, pressed and starched blocks.
Here’s a partial layout on my floor before trimming threads off the back. There are 6 blocks per row, 7 rows total.
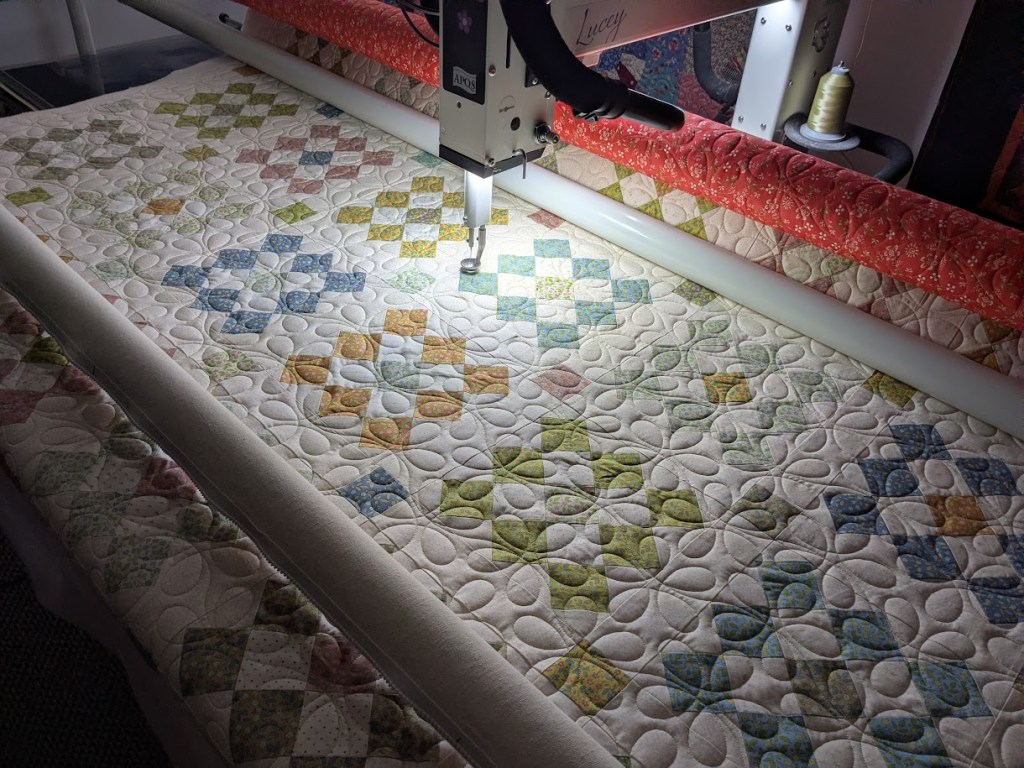
In keeping with a totally floral theme, I also choose a floral quilting motif. My longarmer, Carrie at Lovebug Longarming, is always kind enough to send me a shot or two from her machine. 🙂
I chose a yellow flower with a medium blue background for the binding, also from the Tilda Sunday Brunch collection. It’s kind of funny because I almost never incorporate blue into my quilts—Tilda fabrics have changed my mind!
Just a few other shots taken in my sewing room. I couldn’t resist including my latest addition of a 1957 Singer Featherweight! It’s a fun little machine and I just love the sound it makes…such a great piece of history.
All in all I really enjoyed making this quilt and I love the outcome! It only took me 11 years of quilting to finally make a quilt for myself. 😉
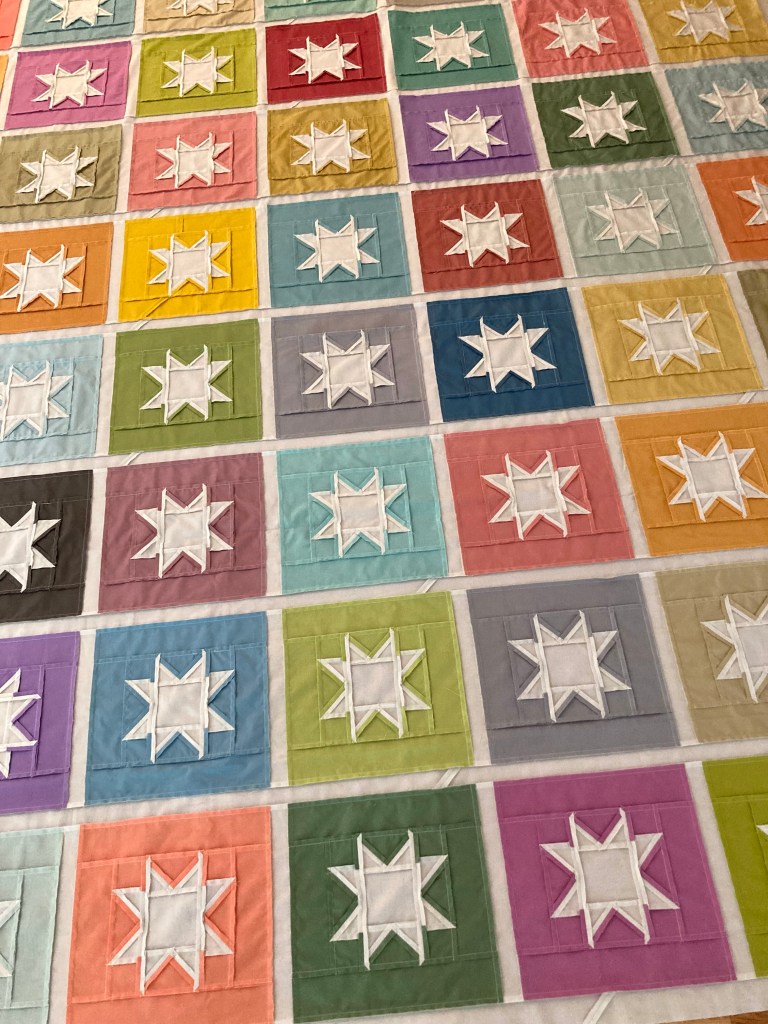
Throughout my quilting years, over 11 now, I’ve noticed that the majority of quilts I’ve made have a light-colored background. Actually, most quilts do. But, being one who loves color, I wanted to design a quilt that shows mostly that—color! I also wanted it to showcase stars and as a result, my latest pattern, Twinkly Stars.
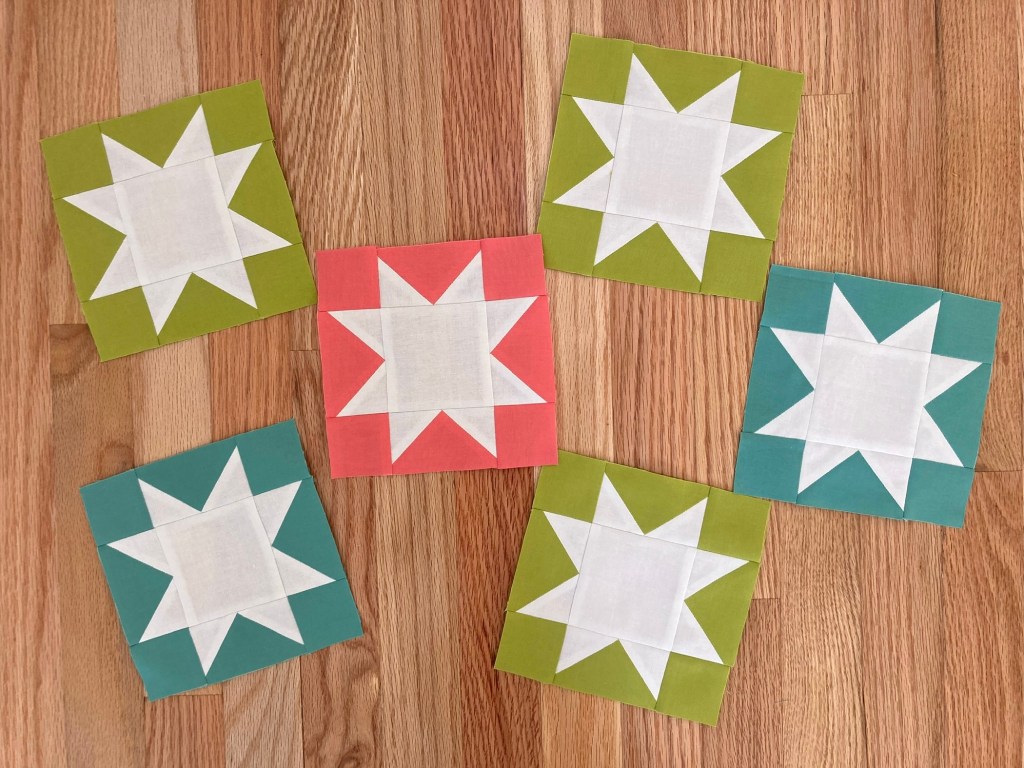
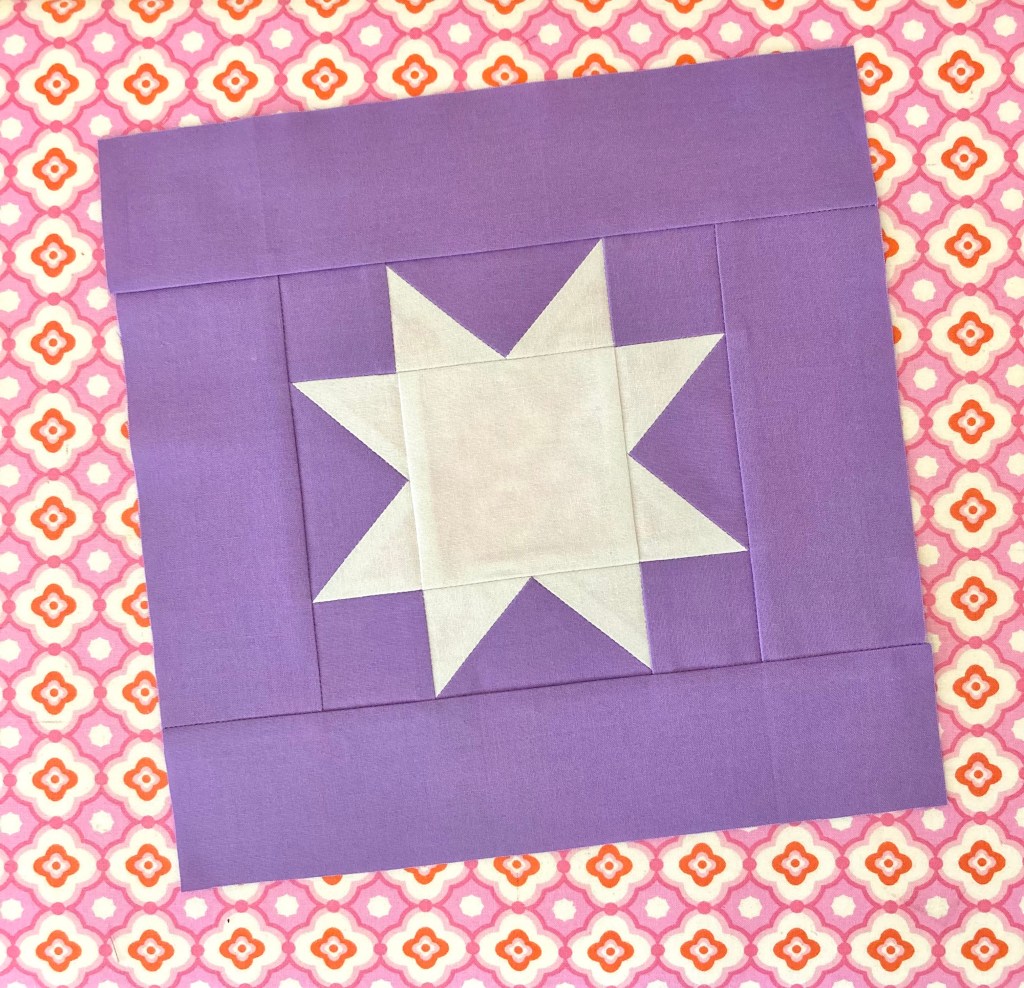
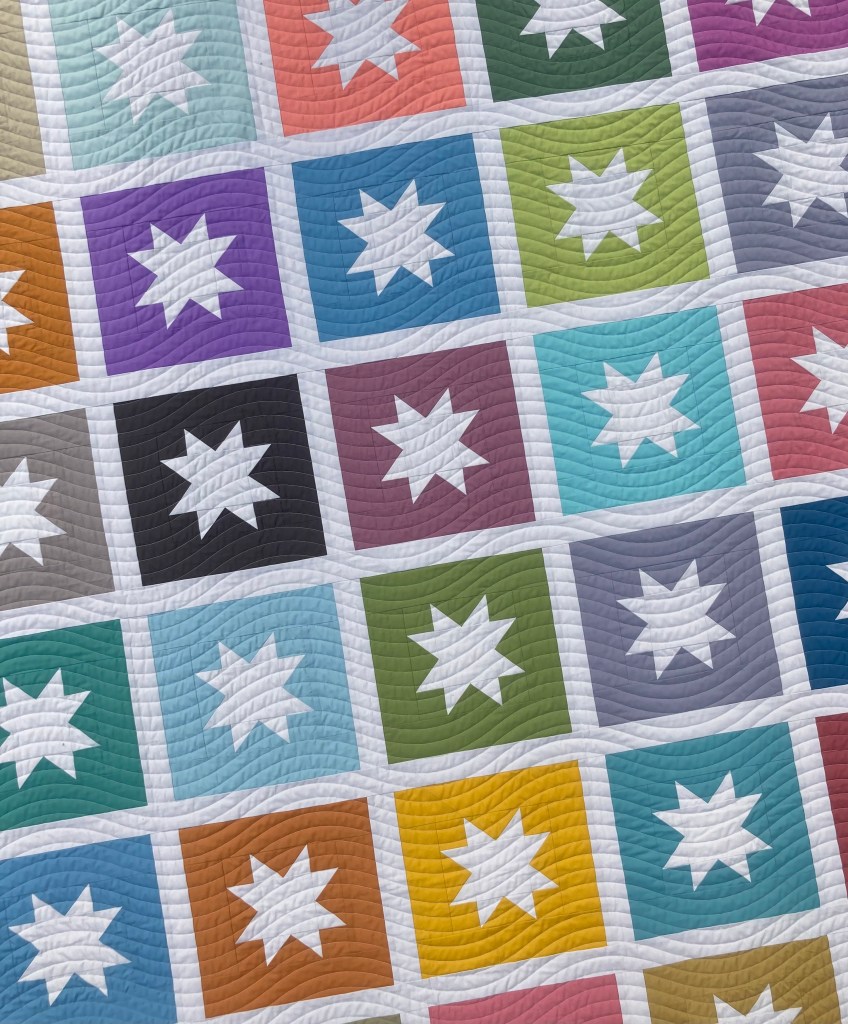
Twinkly Stars is the classic sawtooth star surrounded by various colored backgrounds bordered with the same color of the stars. Often times I go for bold and bright, but I wanted to lean toward muted colors for this one.
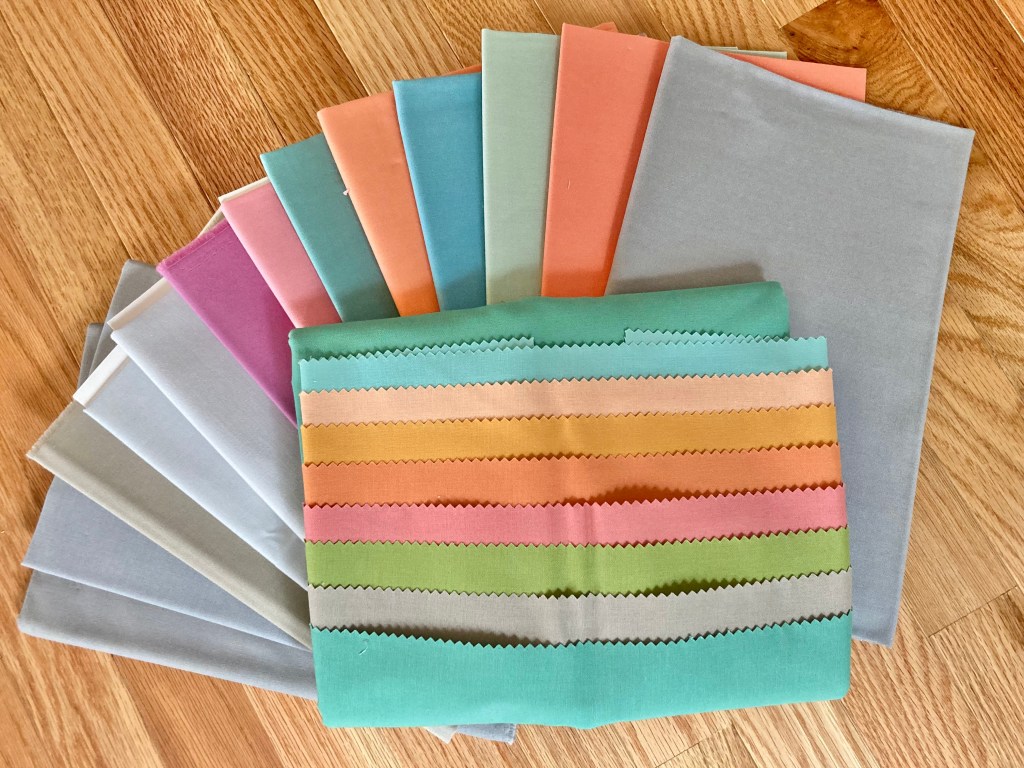
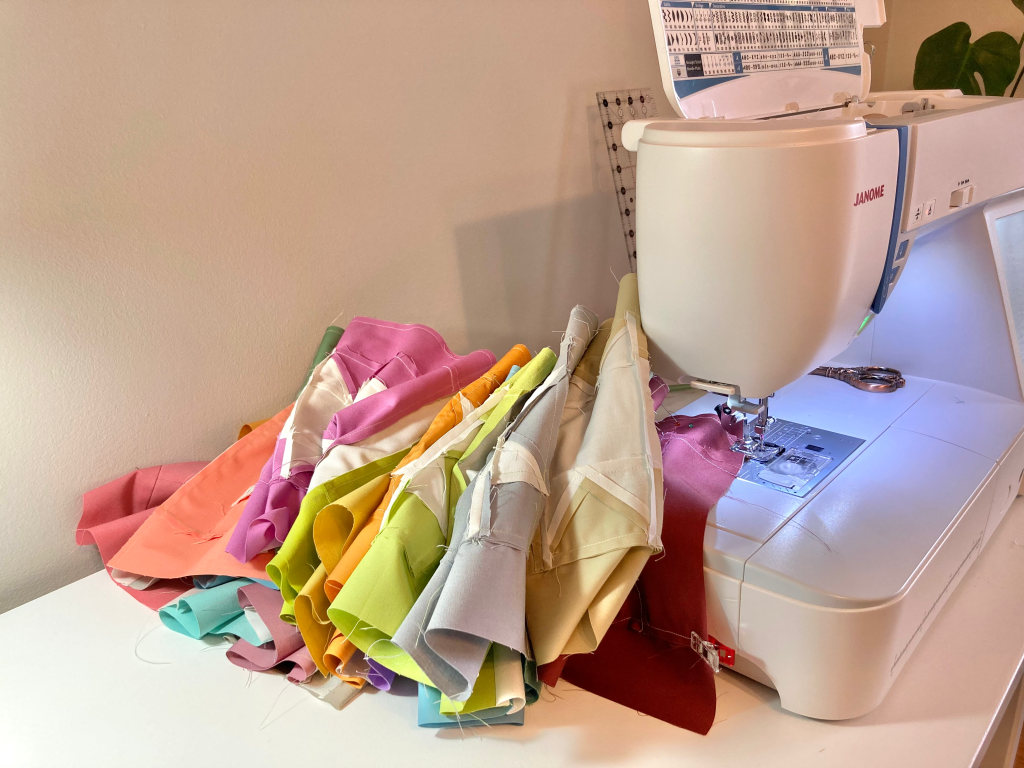
The plan was to make a queen size for my bed (another one?) using only solids. Since I’d need a variety of colors and hues, I raided my solids stash first.
A while back I’d purchased a Bountiful Blooms Coordinates fat quarter bundle by Moda, and this was the perfect project for them.
The pattern is designed for fat quarters, yet yardage works too, so I used both. I needed more than pictured above so I purchased a fat quarter bundle of New Century Solids by Andover Fabrics, and it is gorgeous!
The queen size quilt requires a whopping 72 blocks, so I had a lot of cutting to do.
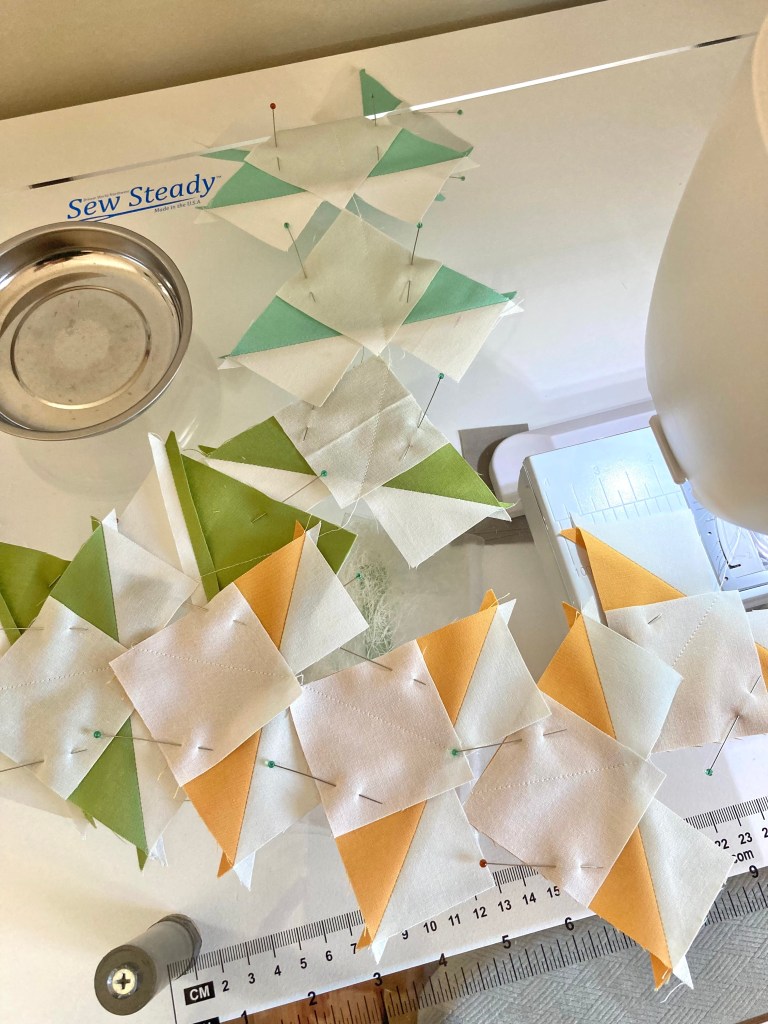
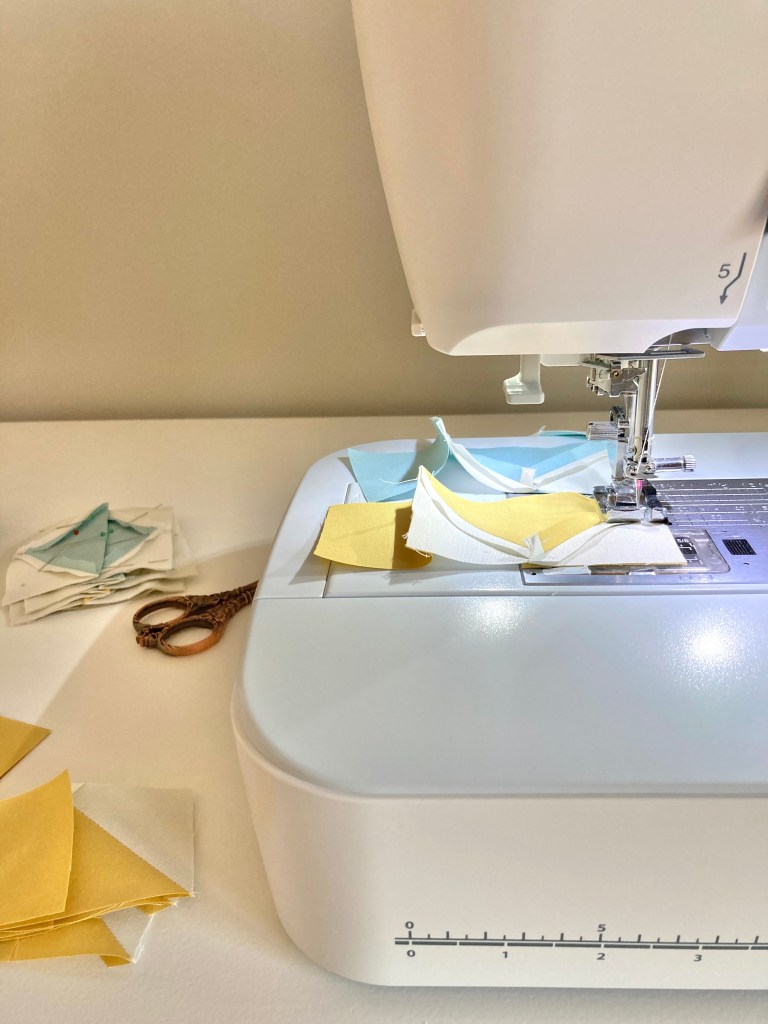
Since there was quite a bit, I didn’t cut and make all the blocks at one time, I did them in batches of 5 or 6 stars.
The stars are made using flying geese so there’s plenty of opportunity for chain piecing to speed things up.
Here’s a look at a few star centers from the Bountiful Blooms Coordinates.
These were from my stash…
This was definitely a project that I worked on at my leisure. It was very relaxing because of the simplicity of the blocks. While I was in no hurry to finish, chain piecing the blocks made the process go faster.
Here’s a finished block in one of my favorite colors. 🙂
Once all the blocks were complete, trimmed and starched, it was time for layout. Because there were so many tone variations in addition to several different colors, I used this placement method for keeping like-colored blocks from one another:
To start, I kept approximate blank spaces on the floor for rows and columns. For layout example, because there were 2 same-colored blocks for most colors (stacked in pairs) I would lay out a block say ‘first in the first row’ and to keep it separate from it’s mate, I’d lay the second one say ‘sixth in the fourth row’.
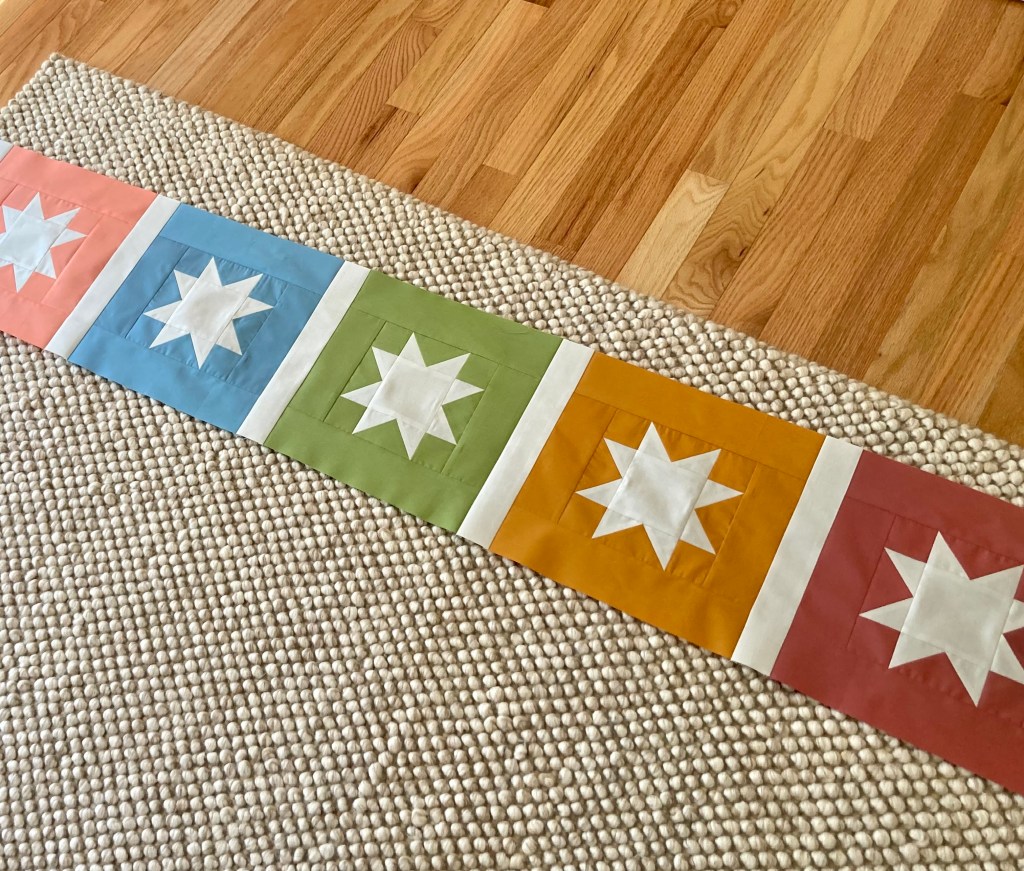
I would continue with this process until I filled all 72 spaces. Additionally, I’d coordinate ‘next to’ colors with blocks already laid. For the most part, I didn’t have to make many adjustments once my layout was complete. Here’s the first row finished.
Here are more rows with sashing…
And so on…
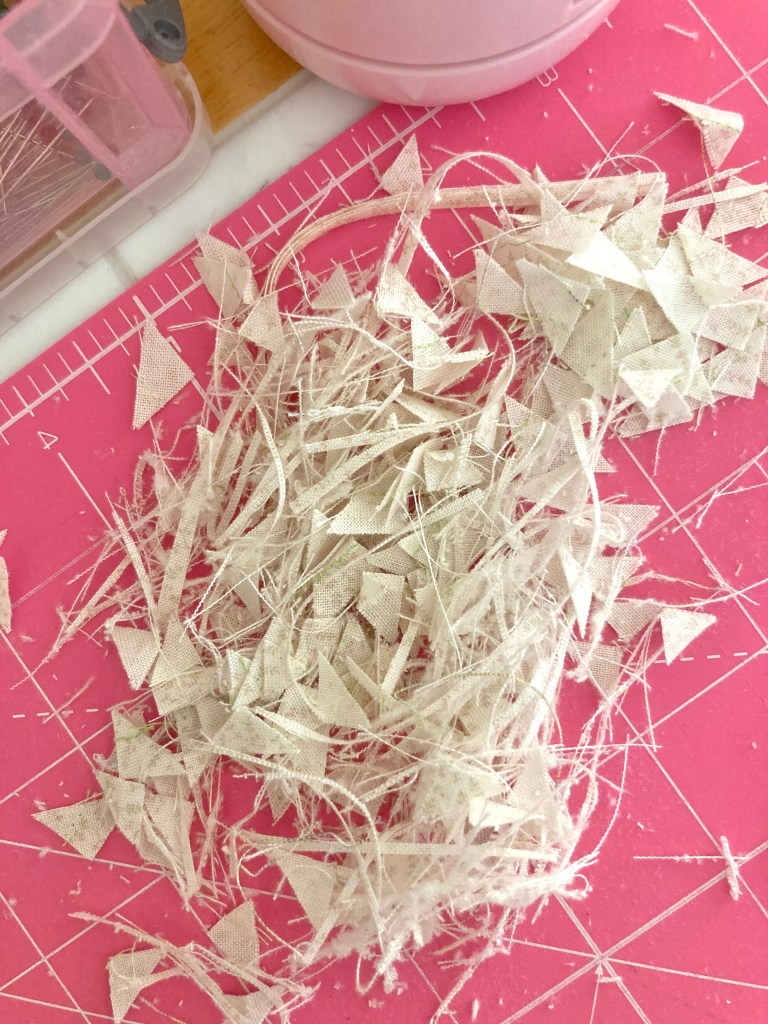
Once my top was finished, I had the dreaded task of trimming threads off the back. Every quilter must dislike this tedious job, but it’s very necessary for a nice, crisp front. Take a look at my back all trimmed and ready for longarming.
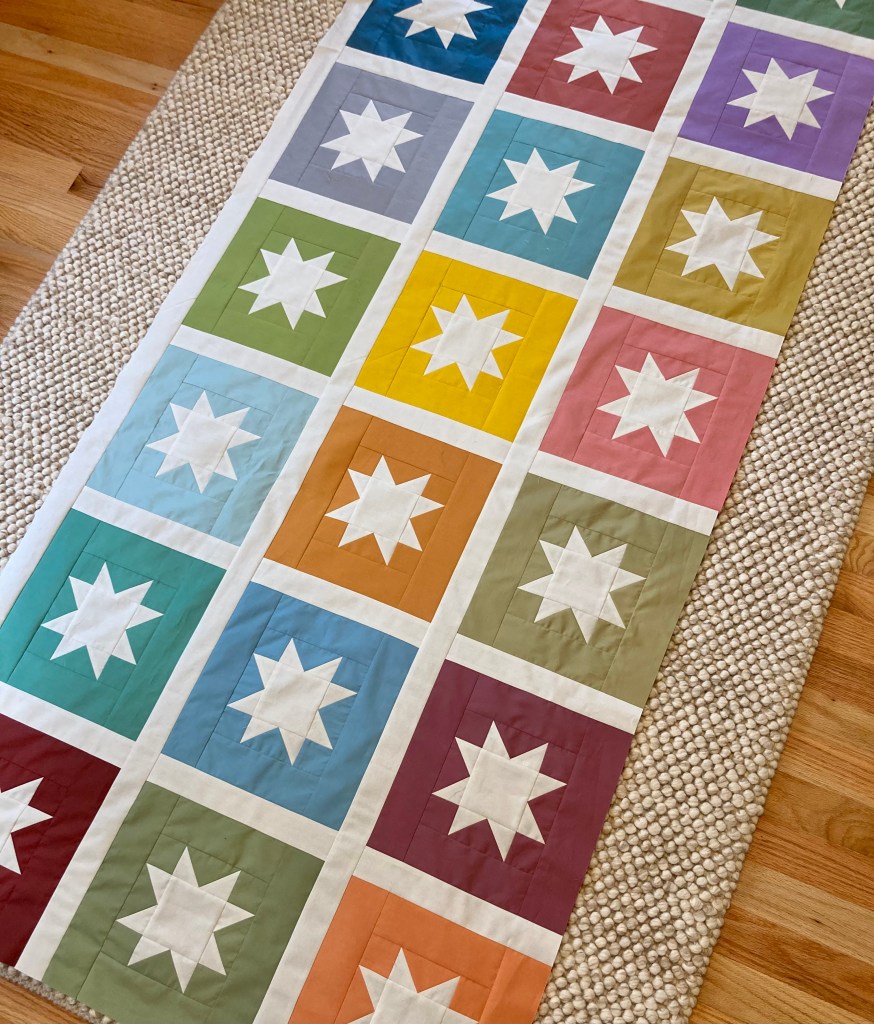
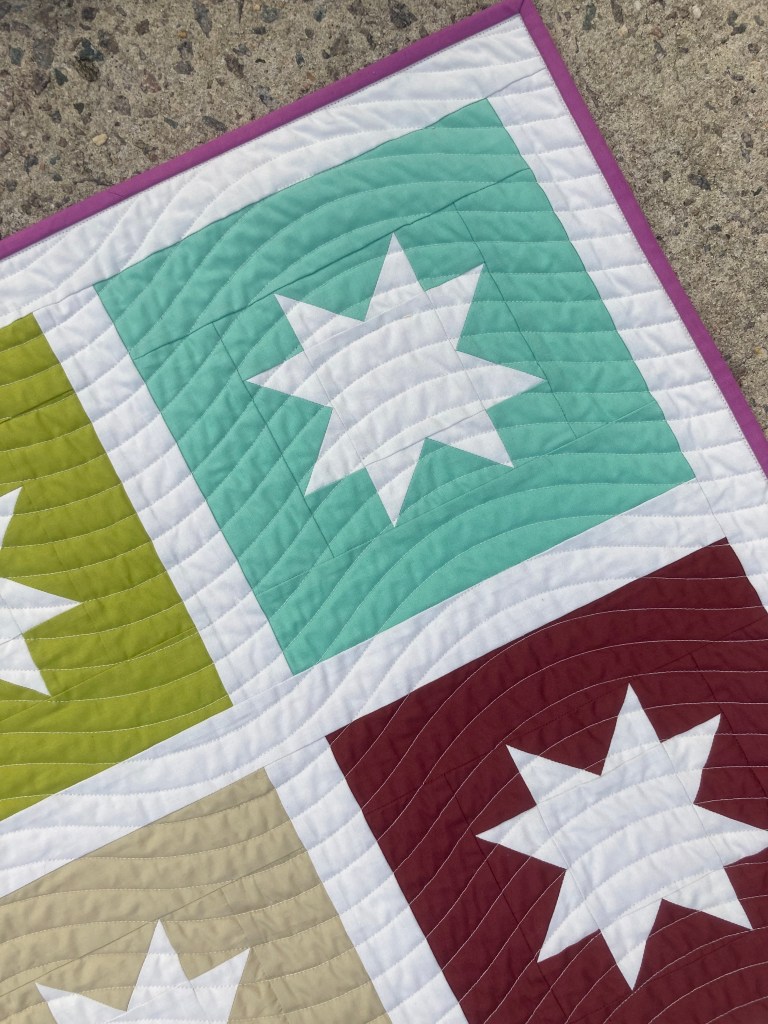
For a nice soothing feeling, I chose a serpentine quilting motif. I really like the outcome!
I also chose a violet solid for the binding.
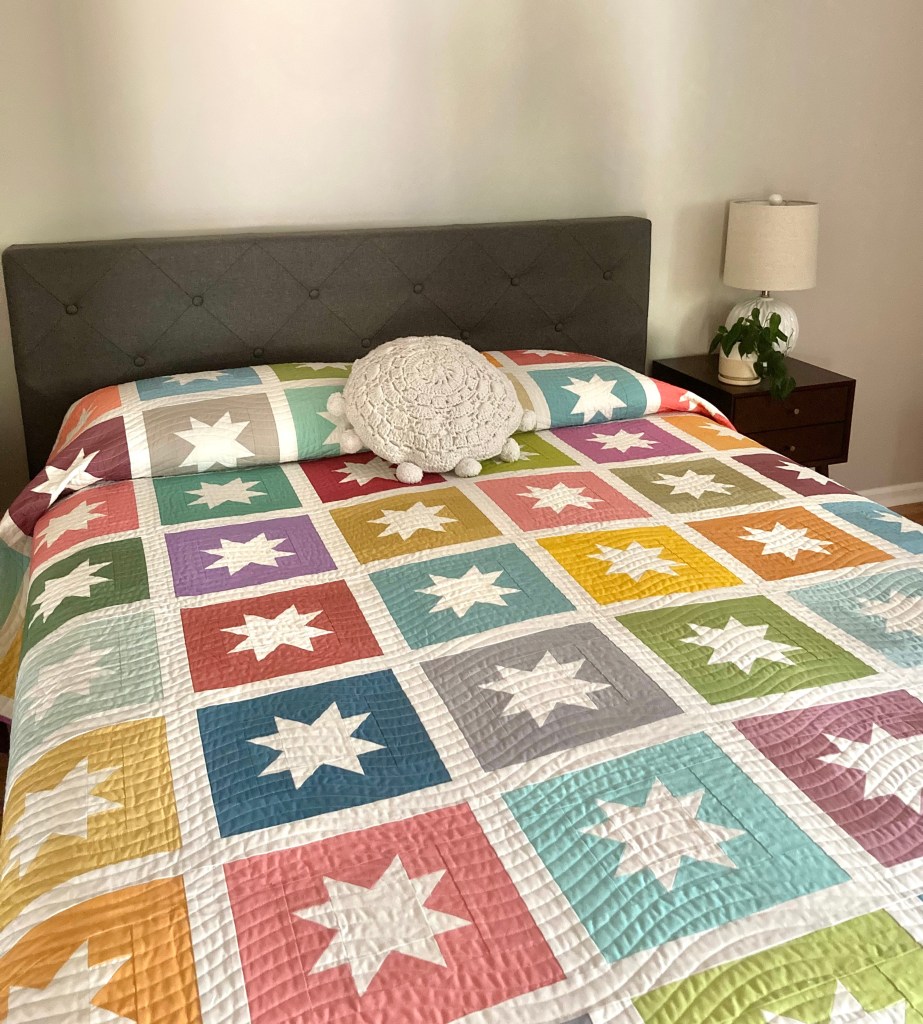
I love this quilt and it’s so nice to have it on my bed so I can enjoy it daily.
Twinkly Stars is a great pattern for quilters of all levels. The pattern is available for purchase in my Etsy shop. It’s written for 5 sizes: baby, throw, twin, full and queen. Definitely a fun make and a great stash buster too!
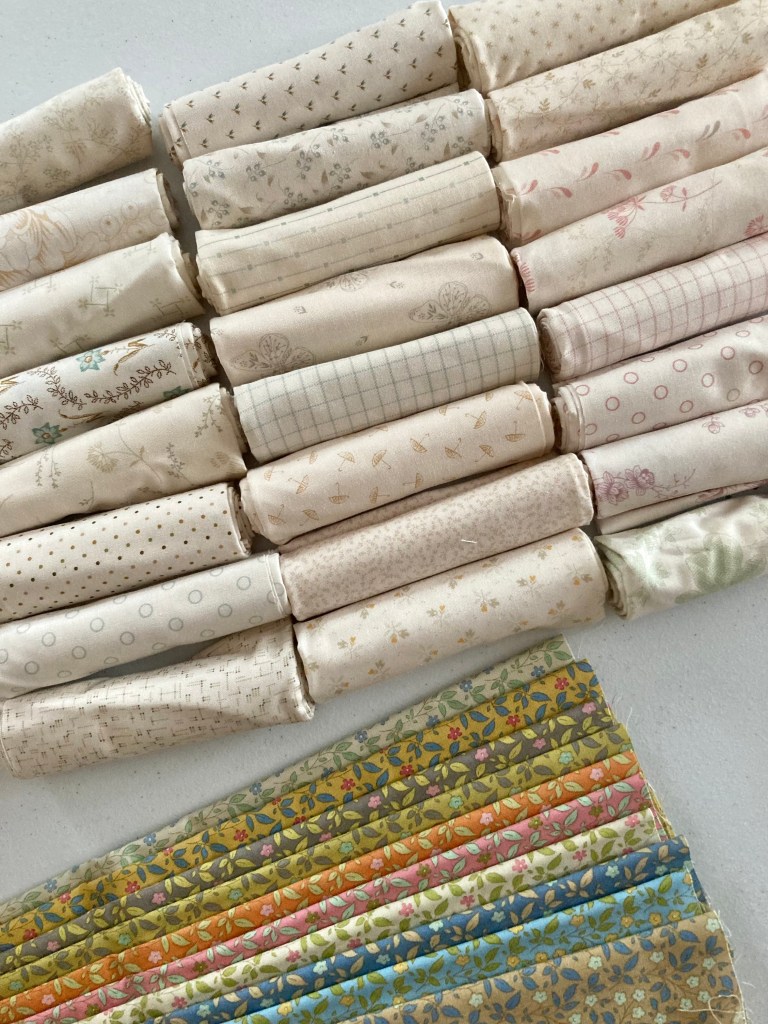
For years, I’ve seen quilters rave about Tilda fabrics and it’s always been intriguing. With curiosity getting the best of me, I finally purchased a 10 fat quarter bundle of Sunday Brunch Tipsy Blenders. The collection is absolutely adorable; the print is the same petite flowers in a variety of muted colors.
I’d also recently purchased a 24 fat quarter bundle of Andover’s Pebbles by Laundry Basket Quilts consisting of beautiful petite prints with neutral backgrounds. Admittedly, I had no idea what I was going to do with either bundle.
After seeing a lovely IG post featuring a granny square quilt pattern, I had my inspiration; I’d make one with smaller blocks using those two bundles.
Because granny square quilts are historical and timeless, my idea was to make mine with modern fabrics that give a vintage vibe.
I committed to making this quilt as a ‘slow process quilt’ where I didn’t rush during any part of it—just enjoy what I was doing. I had no other projects going and didn’t have the need to finish in a hurry, and I’m happy to say goal accomplished.
To get started, I chose the Tilda prints for the inner and outer squares due to the darker colors and wanting block consistency. I chose the most heavily printed and darker toned Pebbles fat quarters for the middle squares. I decided on Meadows from the collection for the background (which was an expensive additional order!). I usually go with a solid background but I wanted something different for this one.
For cutting and sewing, I could’ve cut for strip-piecing to save time but I didn’t think of it, and had I, I wouldn’t have chosen it. I cut everything into 2 1/2″ squares and chain pieced accordingly. Again, to enjoy the process.
Another different choice was to not press open. I pressed to the dark side so nesting would give crisply joined seams.
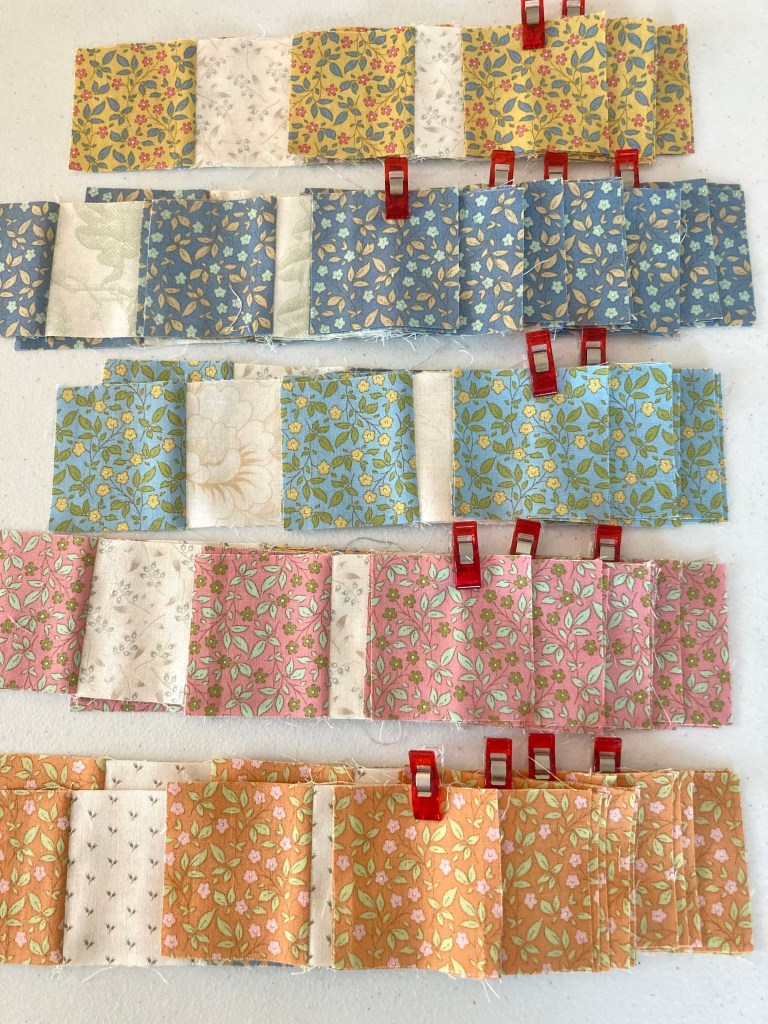
To keep pieces organized, once pressed, I clipped same-fabric block strips together and stacked them together. I couldn’t go any further at that point because I didn’t have the background fabric yet.
To keep my mind organized, I’d sew one outer square color combination at a time. I made 3-5 blocks out of one color. I also tried to not repeat the exact same fabric combination for a nice variety of blocks.
Once I received my background fabric, I was able to sew blocks together.
Right now I’m still working on blocks and am loving the whole process. It’ll be a while until they’re done and the quilt top is put together, but I’ll post again once I finish.
If you’d like to make your own granny square quilt, take a look at my tutorial using this same pattern from my Quilting on a Whim post.
Sometimes it seems like spring and summer is the best time to stay indoors and quilt–it’s so hot outside!
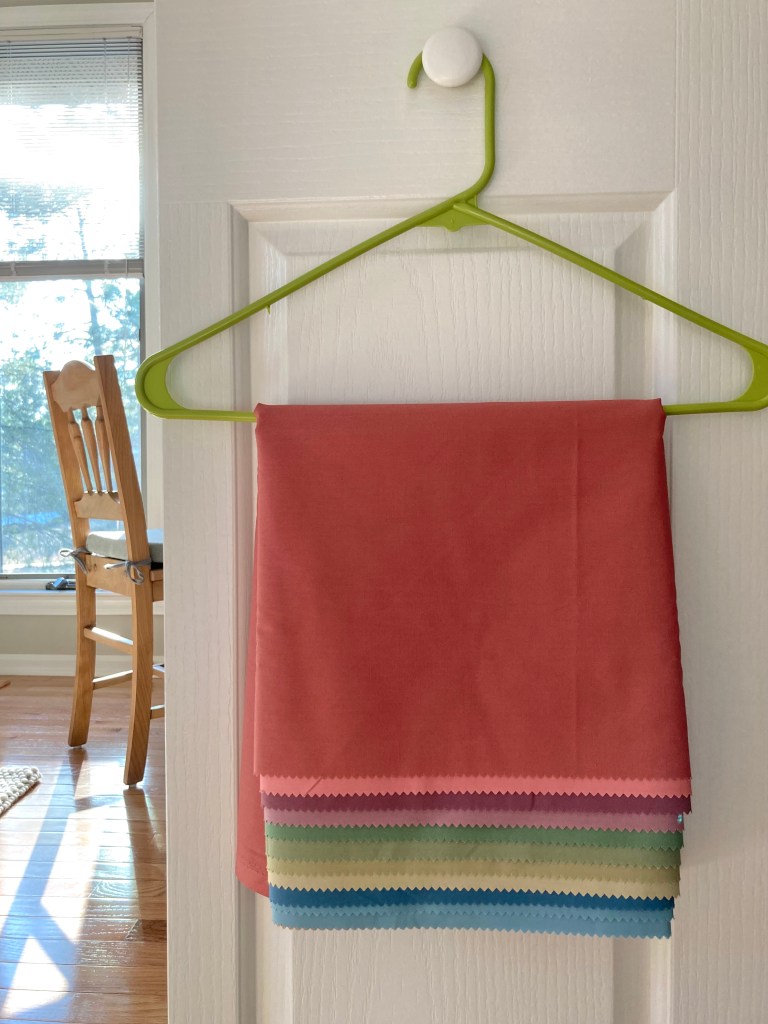
Not only that, but it’s a time to organize fabric, too. Having ordered fabric for upcoming projects (or just to have some pretty goods on hand) my drawers were in need of an overhaul.
I don’t keep a lot of stash and I didn’t order much either, but the time comes around fairly often when I need to clear out fabrics that have been around too long. When that time comes, I need a project for the fabric.
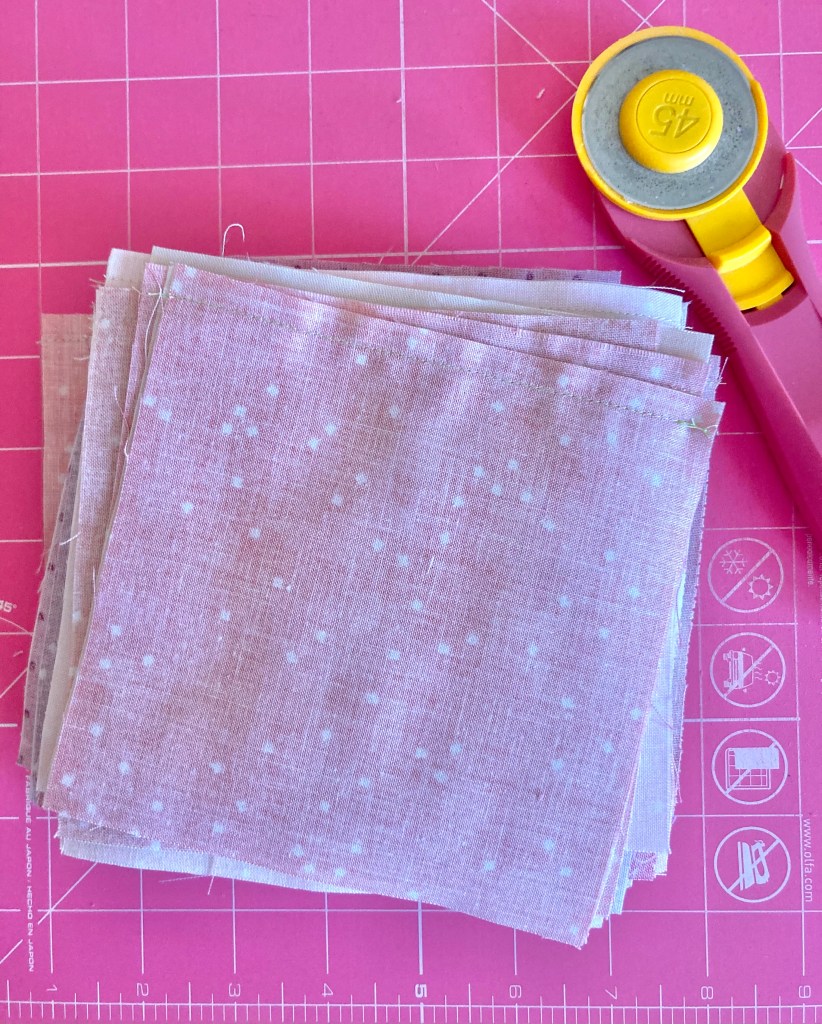
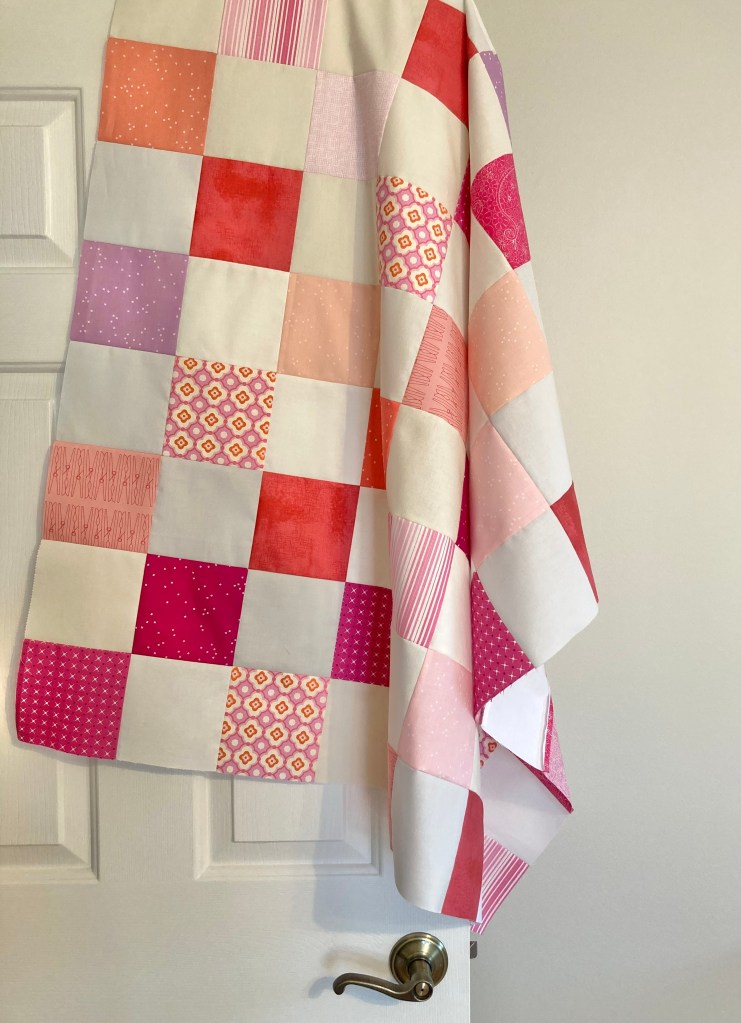
While clearing out I found several pieces in the pink family that could be turned into a quilt. That said, I gathered everything that coordinated along with pieces of neutral solids and got to work. Collecting and deciding on fabric is one of the funnest parts of quilting. 🙂
I’d settled on making a simple patchwork baby quilt top using 5″ square cuts. Easy and cute!
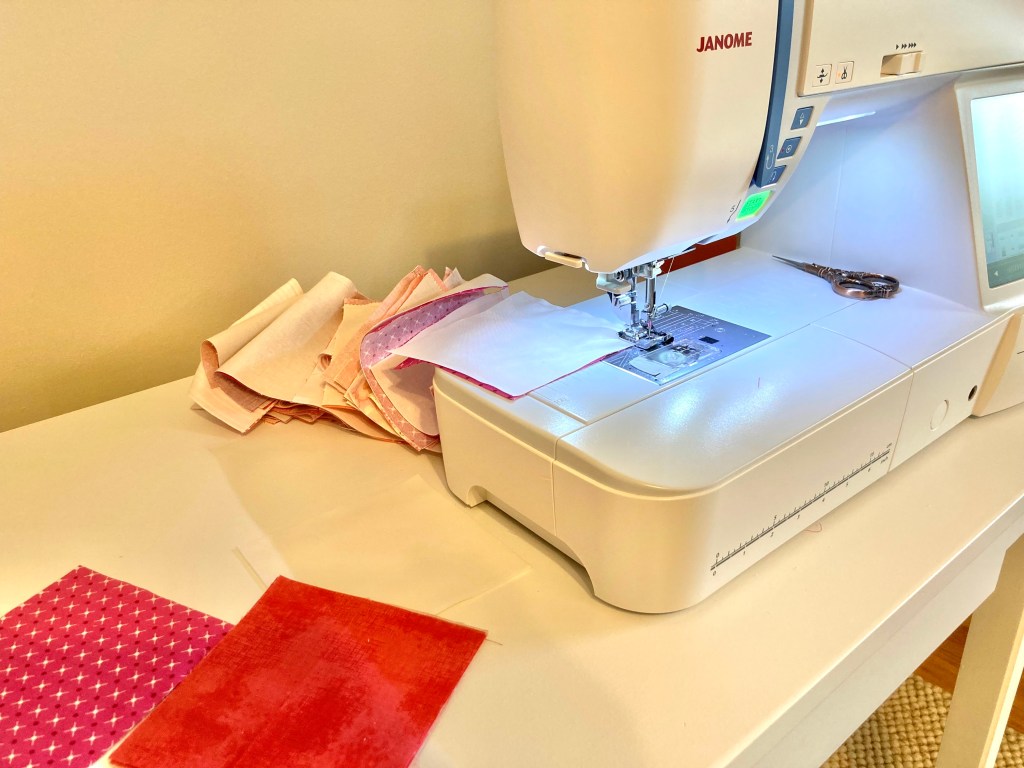
I didn’t have a lot to cut, but once ready I started by chain piecing a solid cut to a print and made several pairs; leaving a good amount of singles for the ends.
Because this step is so fun I didn’t even count, just sewed what I had.
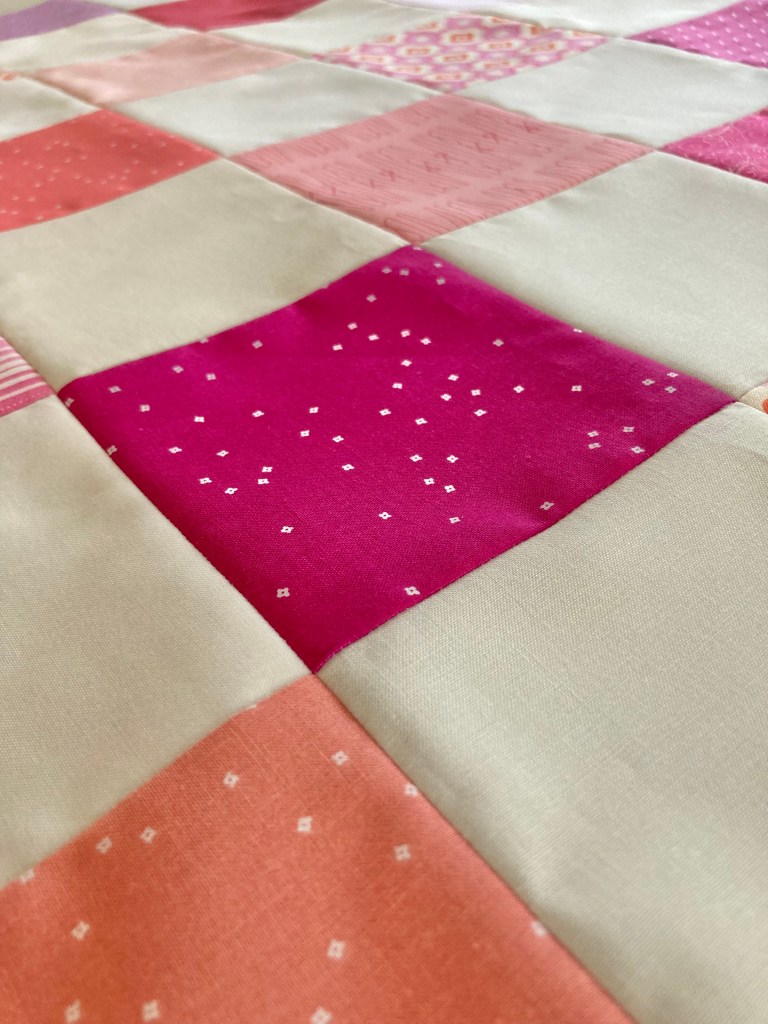
Due to the simple nature of patchwork, I pressed and laid out pairs. Also a very fun step.
I decided on 9 squares across and 9 down. I, of course, pressed to the dark fabric so all my seams would nest, making sewing rows together so easy.
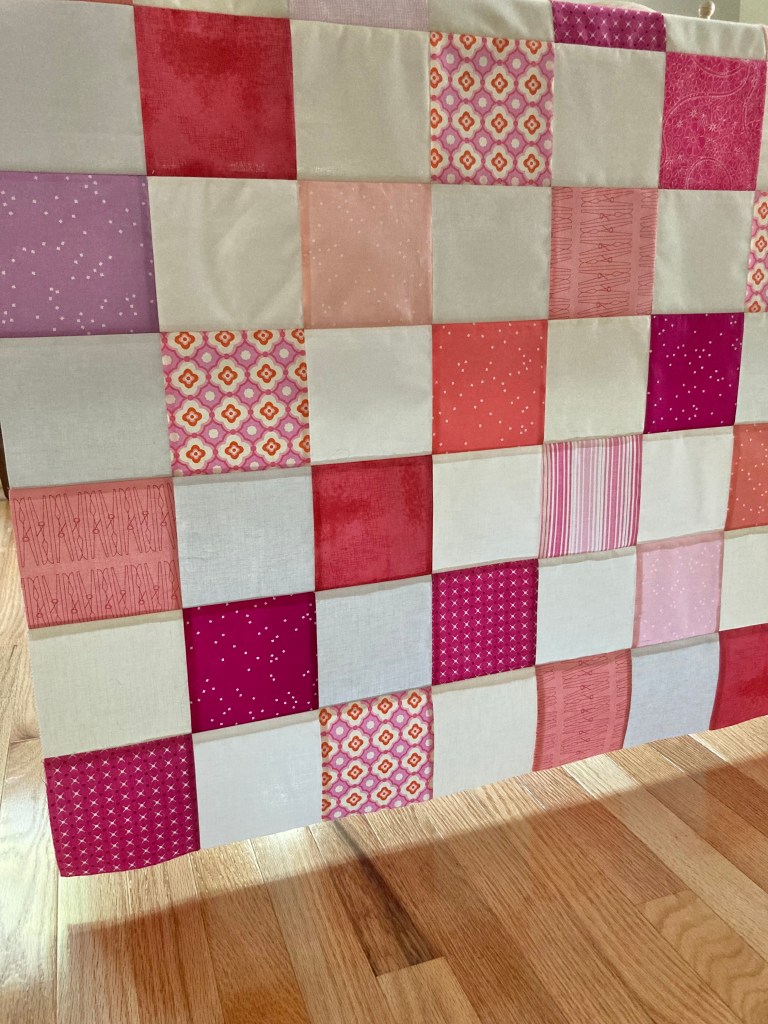
After a few hours altogether, I had a darling little quilt top, perfect for a darling little baby!
It measures roughly 42″ square. Fabrics included are from Moda, Kona, Andover, Free Spirit and Riley Blake.
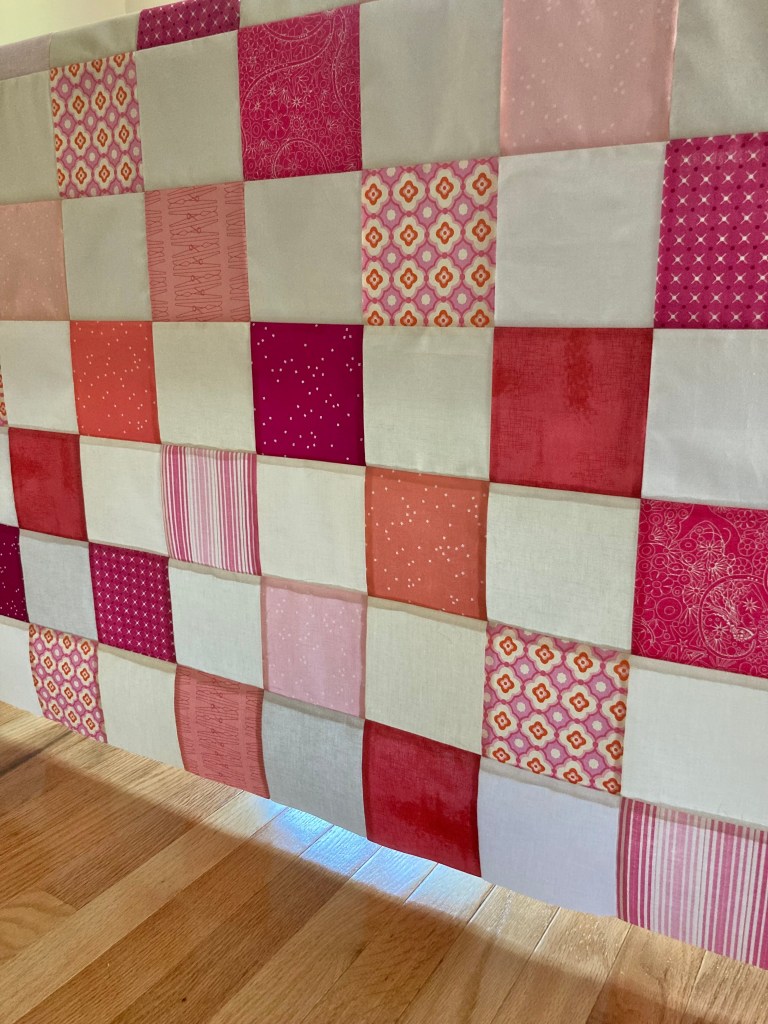
Every time I make a scrappy quilt, I feel as though it’s a memory quilt. I see the fabrics and remember what other quilts I used them in, and for what purpose or whom I made the quilt for. I love that!
This fun and happy little quilt top needs a home, so I’ve got it listed on my Etsy shop! I’m hopeful a quilter out there needs a top and this is the perfect one.
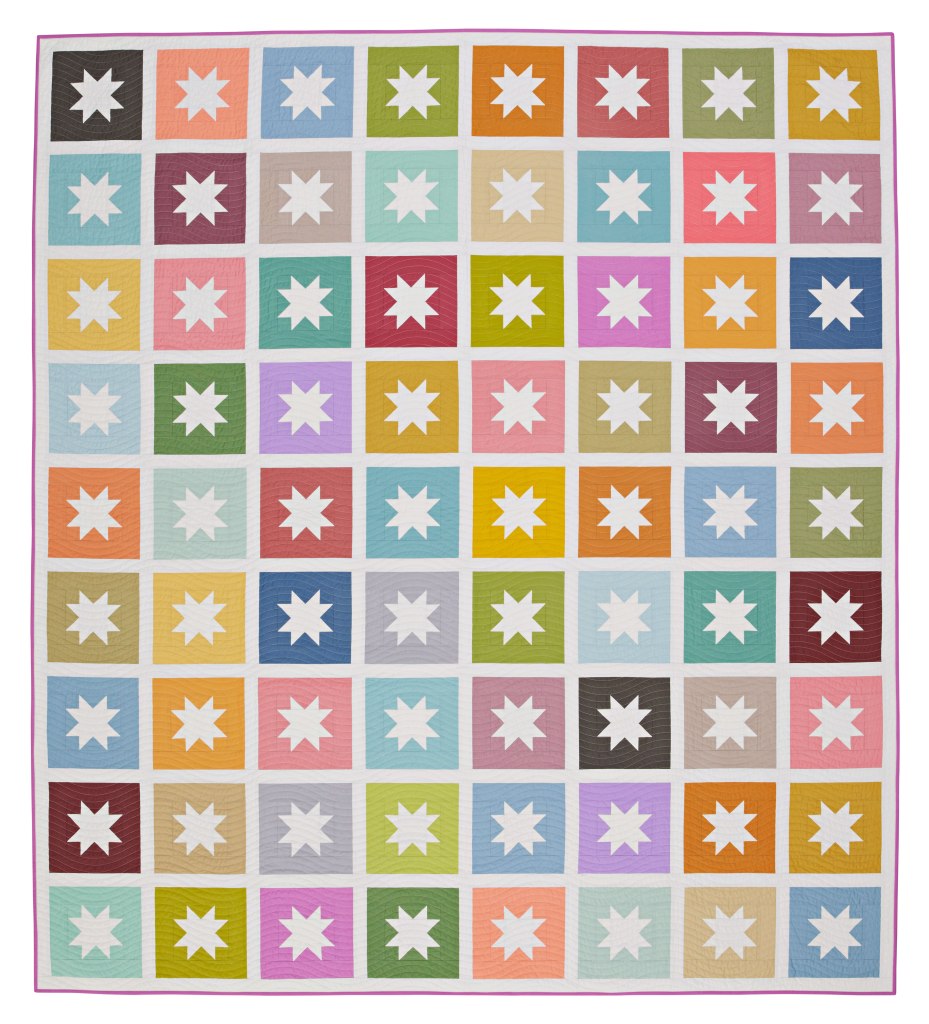
Stars & Solids, made with fat quarters, is an easy quilt pattern that showcases same-size sawtooth stars with solid-colored backgrounds.
Mine is queen size and you can see from the layout how huge it is! It’s 8 blocks across and 9 rows down, 72 blocks total; measuring a whopping 91″ x 102 ¼”.
My fabric choices were Kona Haze for the stars (yardage) and a variety of Kona and Bella solids. A large portion of the background colors were from Andover Fabrics’ New Century Fat Quarter Bundle by Laundry Basket Quilts. Whatever color combo you’d choose would look nice, there are endless possibilities!
Also, if you’re an AccuQuilt user, you’re in luck! American Patchwork & Quilting offers this pattern using AccuQuilt.
First of all, I’d like to thank everyone for your great support on my Love to Quilt cross stitch pattern! I’m happy to see that so many of you are excited about it.
Because I designed Love to Sew, Love to Quilt and a series of upcoming cross stitch projects to fit standard store-bought frames, I’m sharing this ‘how to’ as to eliminate the need for expensive custom framing. 🙂
This DIY tutorial will have you finishing projects in no time, in addition to showing off your work looking as if you had it professionally done.
On to the tutorial…
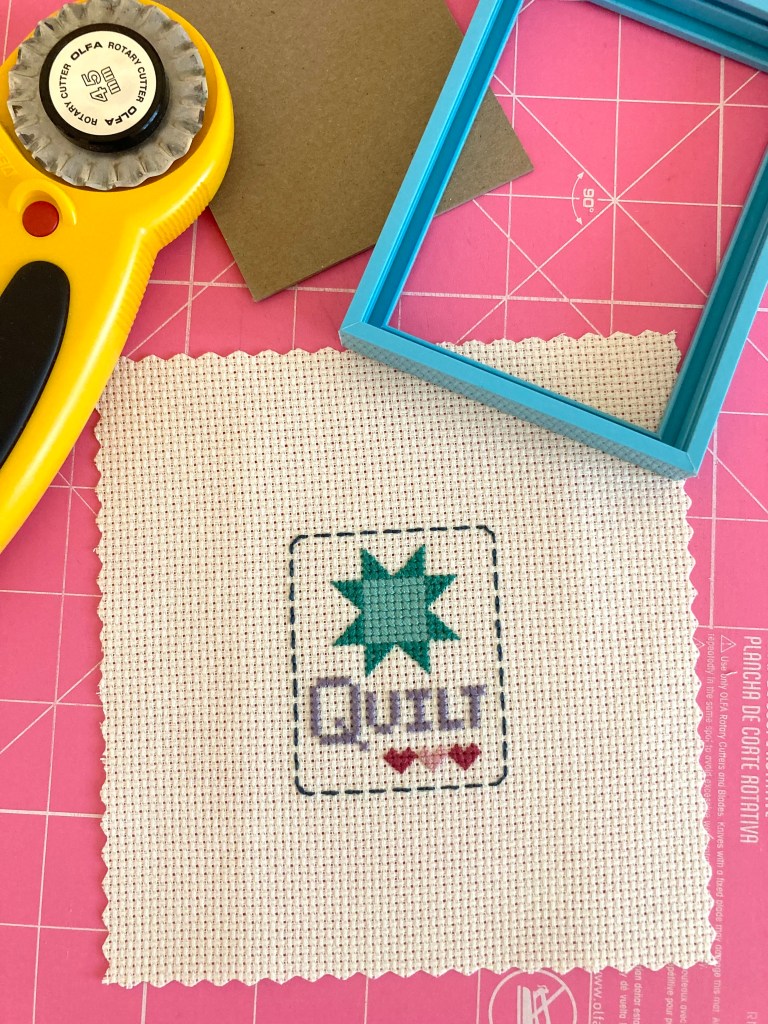
Before starting your cross stitch project: 1. Know the finished size of your project. 2. Determine the frame size ahead of time. 3. Make sure your Aida fabric is cut large enough for wrapping around the frame backing. For example, before beginning I knew my project would fit into a 3″ x 4″ frame.
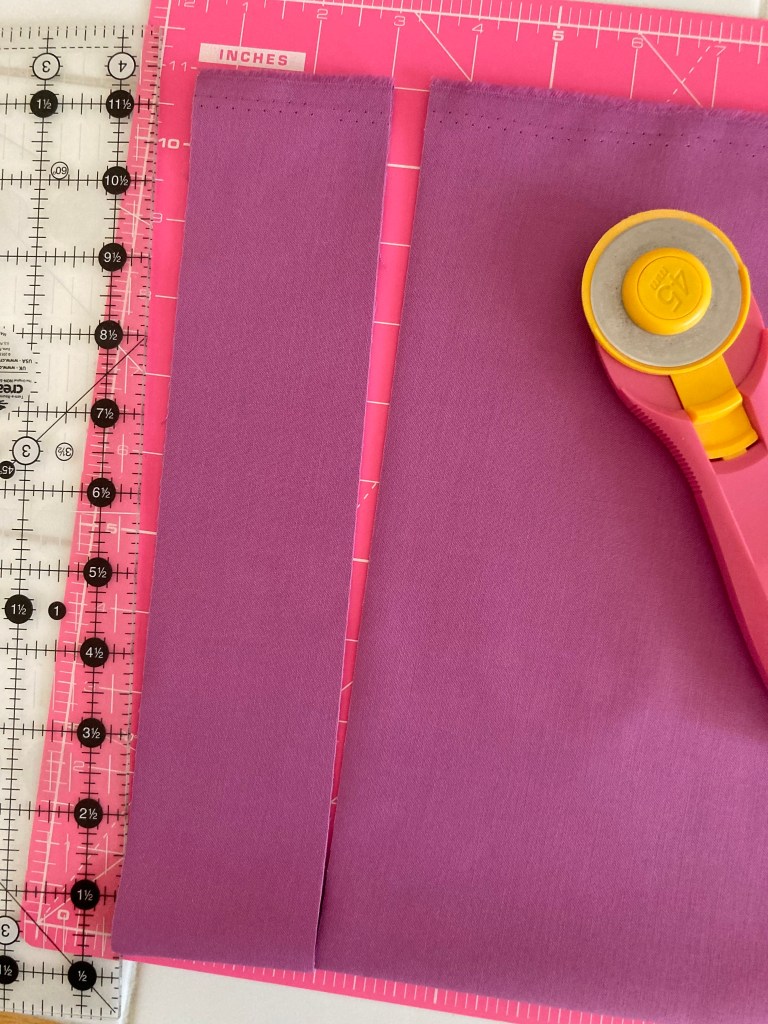
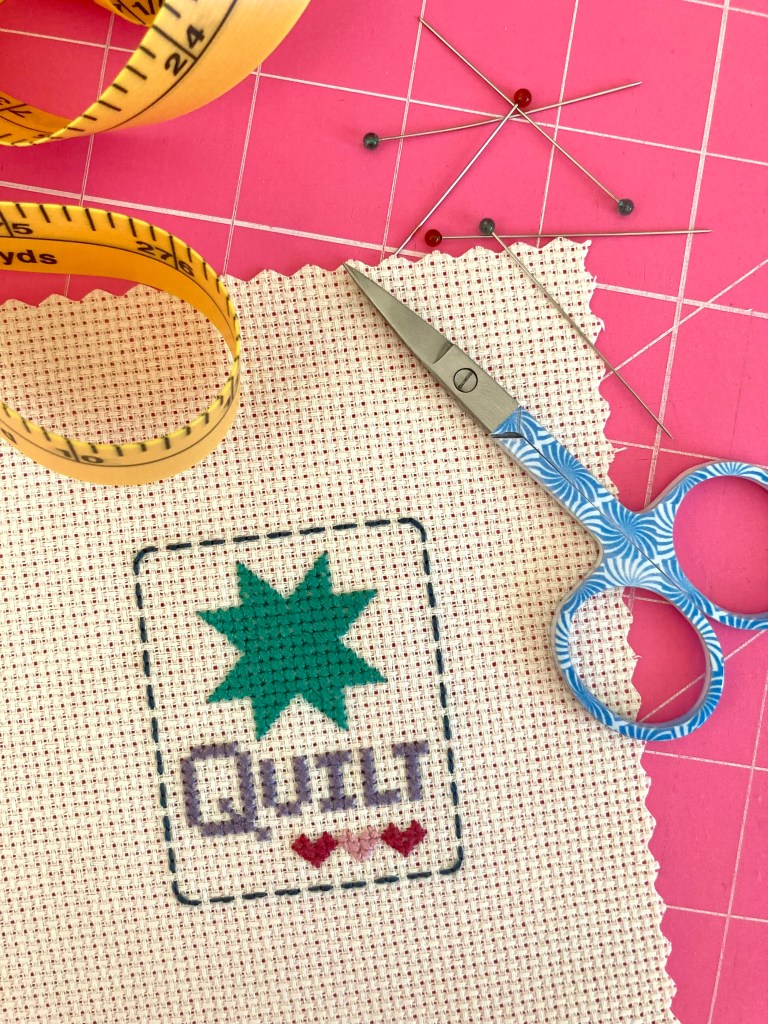
First, I started with a piece of 14 count Aida fabric cut roughly at 5 1/4″ wide by 6″ tall. You’ll notice from the edges that I used a pinking rotary blade to reducing fraying, thus eliminating the need to use tape.
Once my project was stitched and pressed, I placed it over the cardboard backing to determine how much needed trimmed. I cut leaving a 1 ¾” border on each side which left enough to wrap it around the cardboard and stitch it snug.
The frame I purchased came with corrugated cardboard; it’s not strong enough for stretching so I cut a piece of heavier non-corrugated cardboard in its place. An important note here…make sure you cut the cardboard accurately. If not, your project won’t sit straight in the frame. I recommend using a rotary cutter.
Once the cardboard was cut, I noticed the ugly brown color was visible through the holes. Not wanting that, I glued a piece of white stock paper to the front for a more pleasing background.
If you want a lofty look, adhere interfacing according to manufacturer’s directions.
Once your cardboard is ready, lay out your project centered over it. I counted squares from top to bottom and side to side for centering accuracy. If your cross stitch is pretty large, counting may be difficult, measure instead.
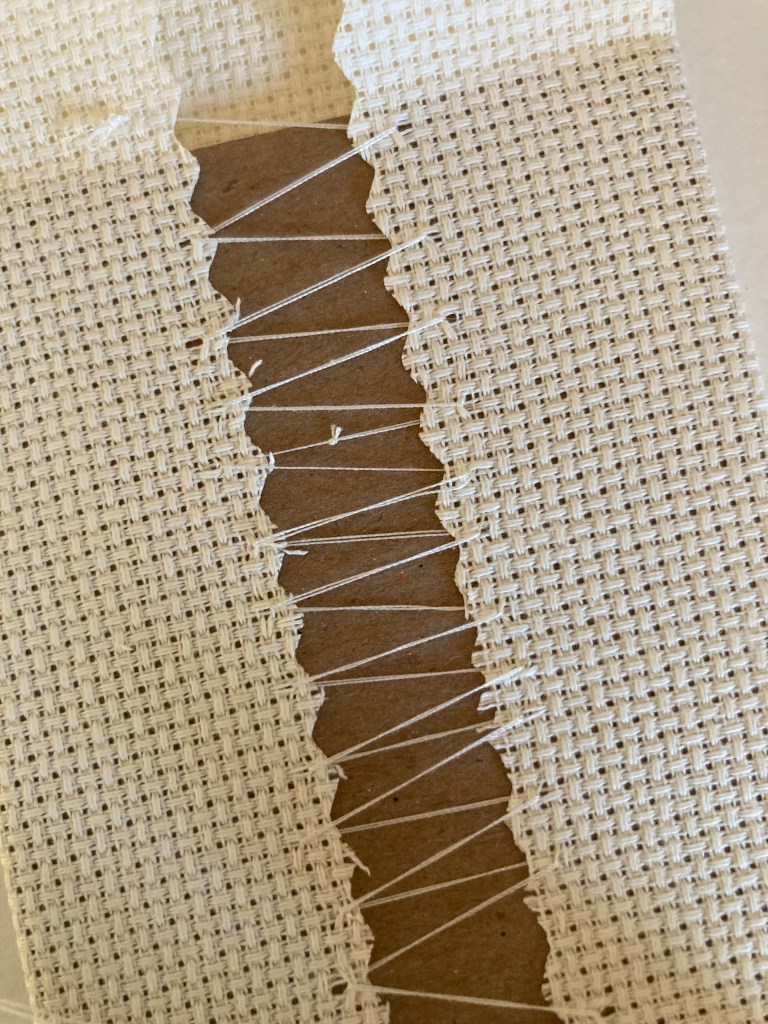
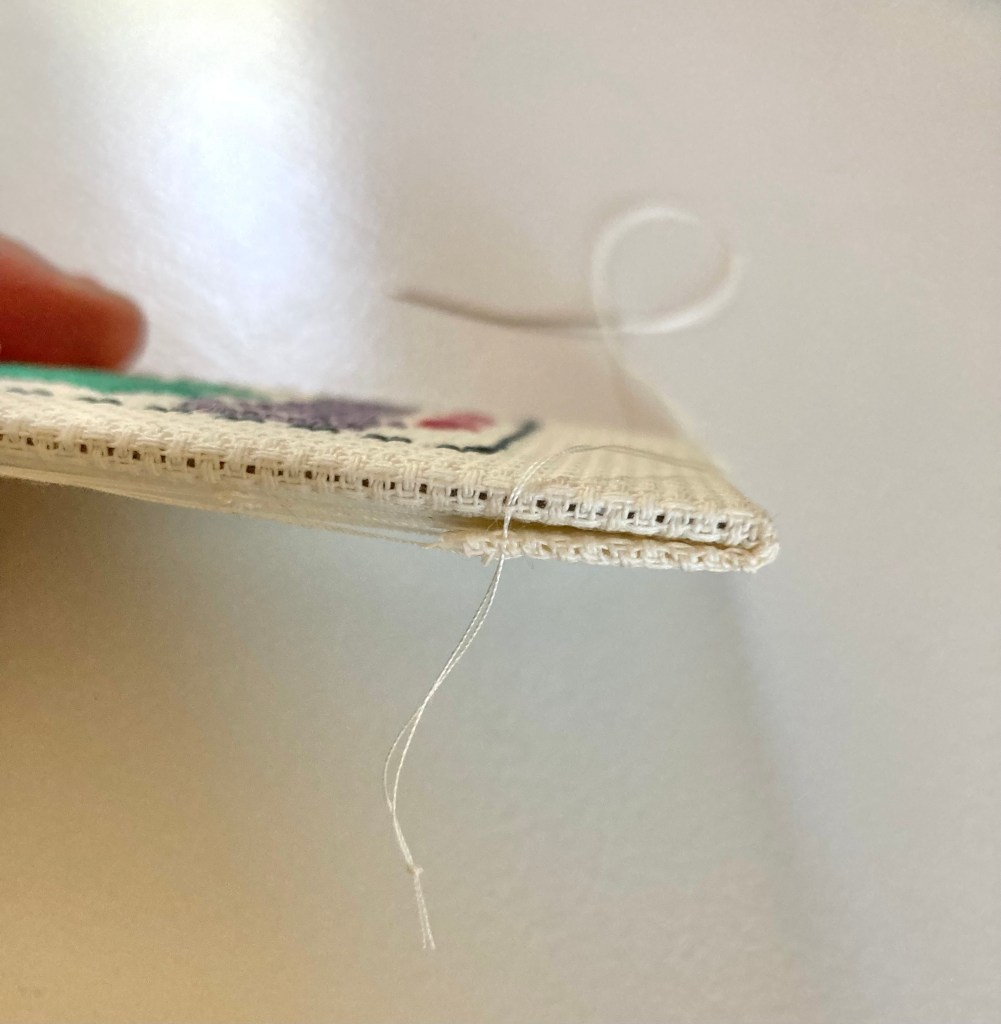
Next, double-thread a needle, making sure it’s not too big for the holes in the fabric. Any thread will do; I used Aurifil 100% cotton. Once you have the fabric centered, start at the top inside edge of one folded side. Start stitching down about 4 squares from side to side, evenly working your way down the length of the project.
Avoid sewing through a fabric hole as they tend to pull (see where I did and how it pulled). It’s best to poke the needle through the center of a solid square as it’s tight and will hold firm.
I threaded my needle as long as I could without tangling, but I did run out and had to tie another section on (it can be seen in the photo). Tie the knot tightly to prevent slipping. Also, make sure the knot isn’t where you’ll have to pull it through the fabric (it won’t go). Be sure to pull each stitch fairly tight, as you want it taut.
Once the sides are complete, don’t knot your thread just yet. Put a few stitches in the to-be-folded-over section to help it stay in place, making it neater when folding later. You can see the stitches below.
Using the same method, connect the top and bottom.
It’s nearly done! You’ll see there’s a bit of pull on the center which is OK, it means it’s all tight enough.
The final step is to put a couple of tiny stitches on the sides. This helps to securely close the bottom and top section. Simply pick up a couple of threads from the fabric and tack them to a couple of threads on the side fabric. Do this for all 4 folded ends.
BEFORE STITCHINGAFTER STITCHING
That’s it, a professionally-looking framed project!
I purchased this frame at Michael’s. It measures 3″ x 4″ and is a perfect size and color. Because Love to Quilt is just a bit more tall than wide, a rectangular frame was a better choice than square.
I hope this helps you with your next cross stitch project, and hopefully saves you time and money, too. 😉
If you’re thinking “‘Didn’t you post that already?” or “That sounds familiar,” you’re right, it’s definitely dé jà vu. I did, in fact, recently make a small cross stitch pattern and named it that. Overall, I wasn’t happy with it so I redesigned it.
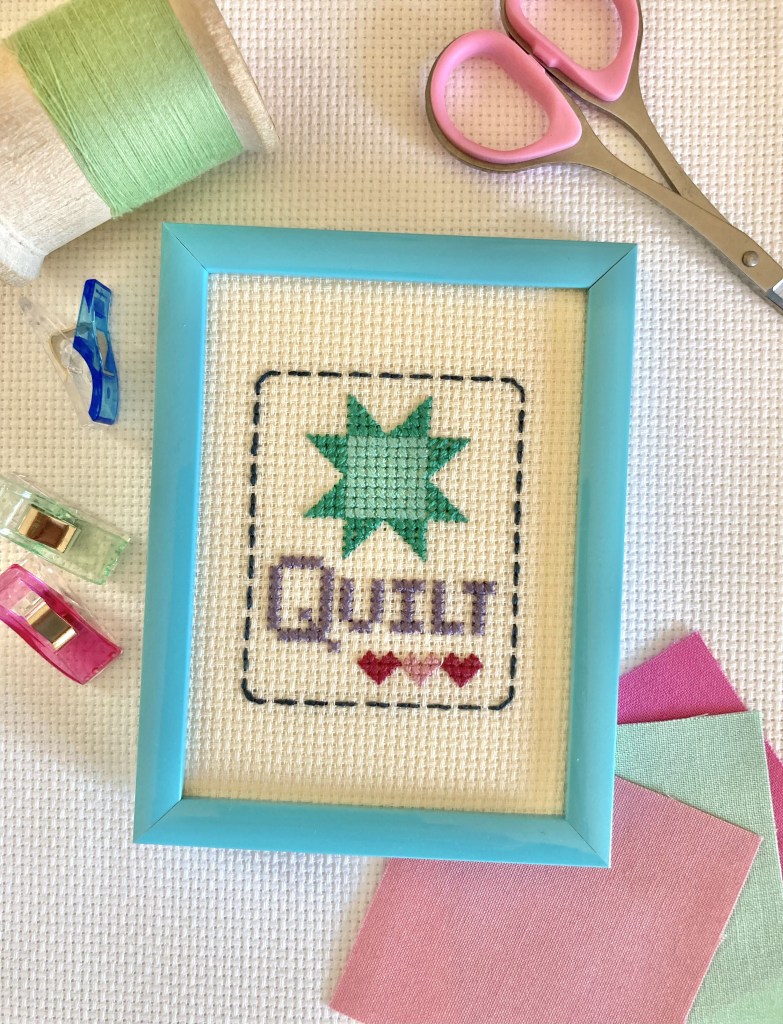
I now have my final Love to Quilt pattern and here it is…
This little pattern is similar to Love to Sew in the way that it’s small but says something big. The neat thing about this pattern is that I have TWO versions available with ONE pattern purchase!
As quilters, we love the sawtooth star. It’s in so many quilts, books, decor items, etc. So when I came up with the ‘new’ Love to Quilt idea, I decided to showcase the star by having a scrappy star version (left photo) and a solid star version (right photo).
This is a fun little project that can be completed in a couple of hours. It’s suitable for any and all cross stitchers.
What’s more– Love to Quilt fits nicely into a 3″ x 4″ or 4″ x 4″ photo frame, so no need for custom framing! Mine is displayed in pretty 3″ x 4″ frame I purchased at Michael’s.
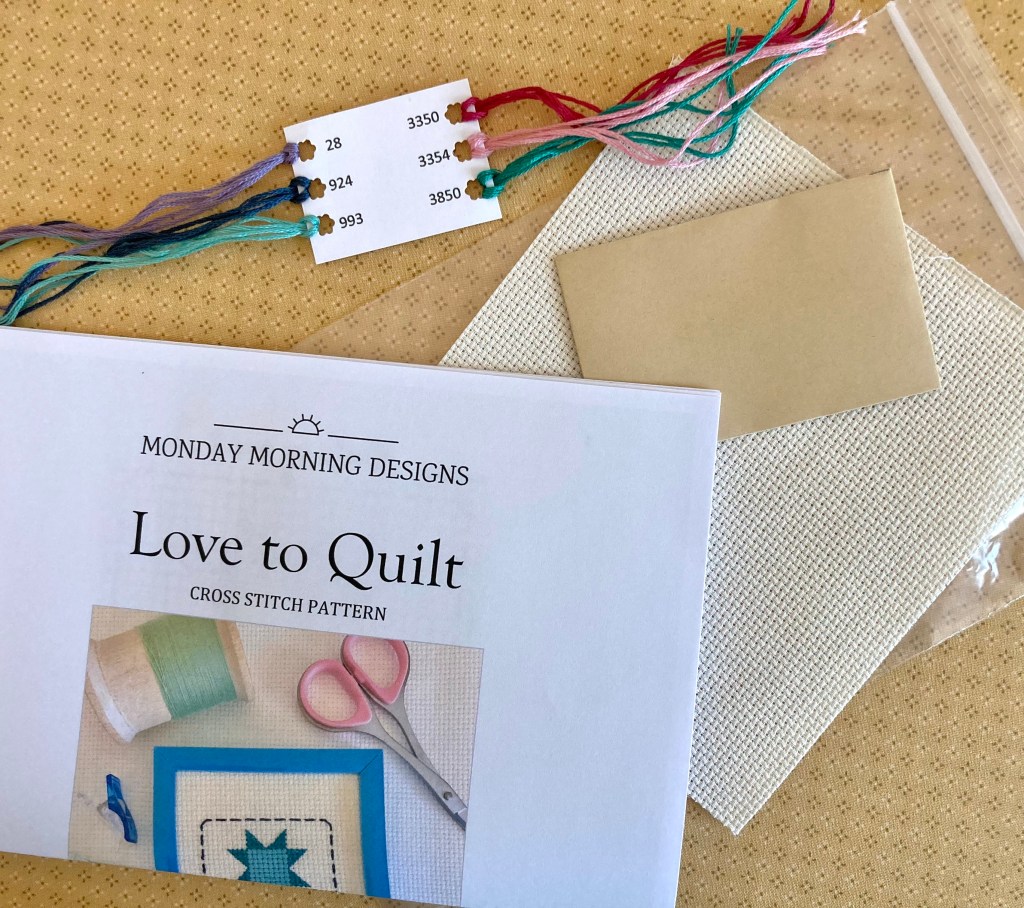
I also have a few Love to Quilt cross stitch kits available for sale in my Etsy shop. The kits include everything you need to make the two-colored version of the sawtooth star, as pictured on the pattern cover.
I want to mention that my next post will demonstrate DIY cross stitch framing. Do it like the pros but for much less the cost. 😉
We cross-stitch enthusiasts enjoy making projects, but having them framed is just so expensive; that’s why I’ll show you how. And…that’s why I design my projects to fit into standard size frames and shadow boxes.
I’ve got a new quilting-related cross stitch sampler in the works so look out for that one soon. 🙂
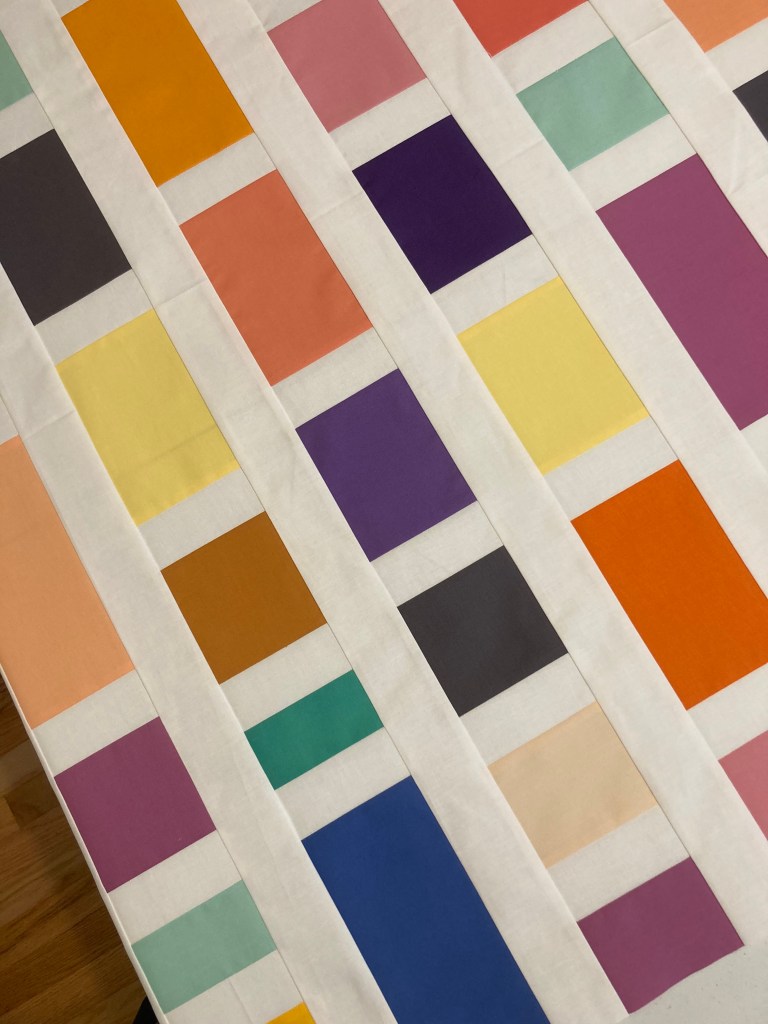
My upcoming pattern, Breakwall (not released yet) lends itself to big blocks, bright colors and a modern design.
I’m known to use bright colors, and a lot of colors, and Breakwall does not disappoint! Although once finished, I had several leftover fabric pieces of the same height but varying widths. There were too many to store and some were just too small. I didn’t want to cut them to a standard size because of too much waste. I also had leftover white strips with the same issues for storage, size, etc.
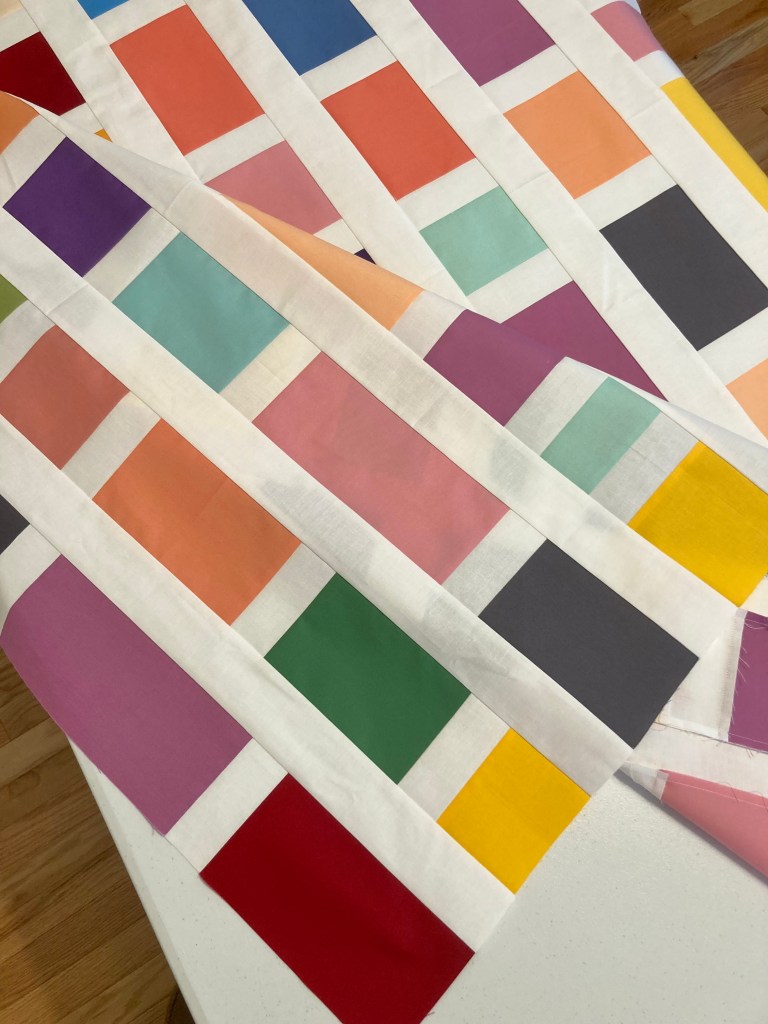
What else can be done then? Make a quilt top! I knew I didn’t have enough color pieces for a throw size so I decided to make a baby/crib size. Not really having a plan, I basically sewed random leftover pieces to a short-end white strip. Making sure colors complimented one another, I kept the process going until I had around 43″ across or so. I kept going and going until I had 9 strips.
Looking too busy with no break in between strips, I added a white strip for somewhere for the eye to rest. I sewed 4 rows together with sashing, trimming the length to 42″. After sewing it all together and trimming, I had a nice size crib quilt top. It measures 42″ x 51 3/4″. It’s a perfect size for a toddler or small child.
Funnily enough, I have no need for anything this size, but figured there might be a quilter out there who does but doesn’t have time to make one. I also think if you’re learning to longarm, practicing your new skills on a quilt like this would be great.
For whatever need you have, this playful and fun quilt top is for sale in my Etsy shop!