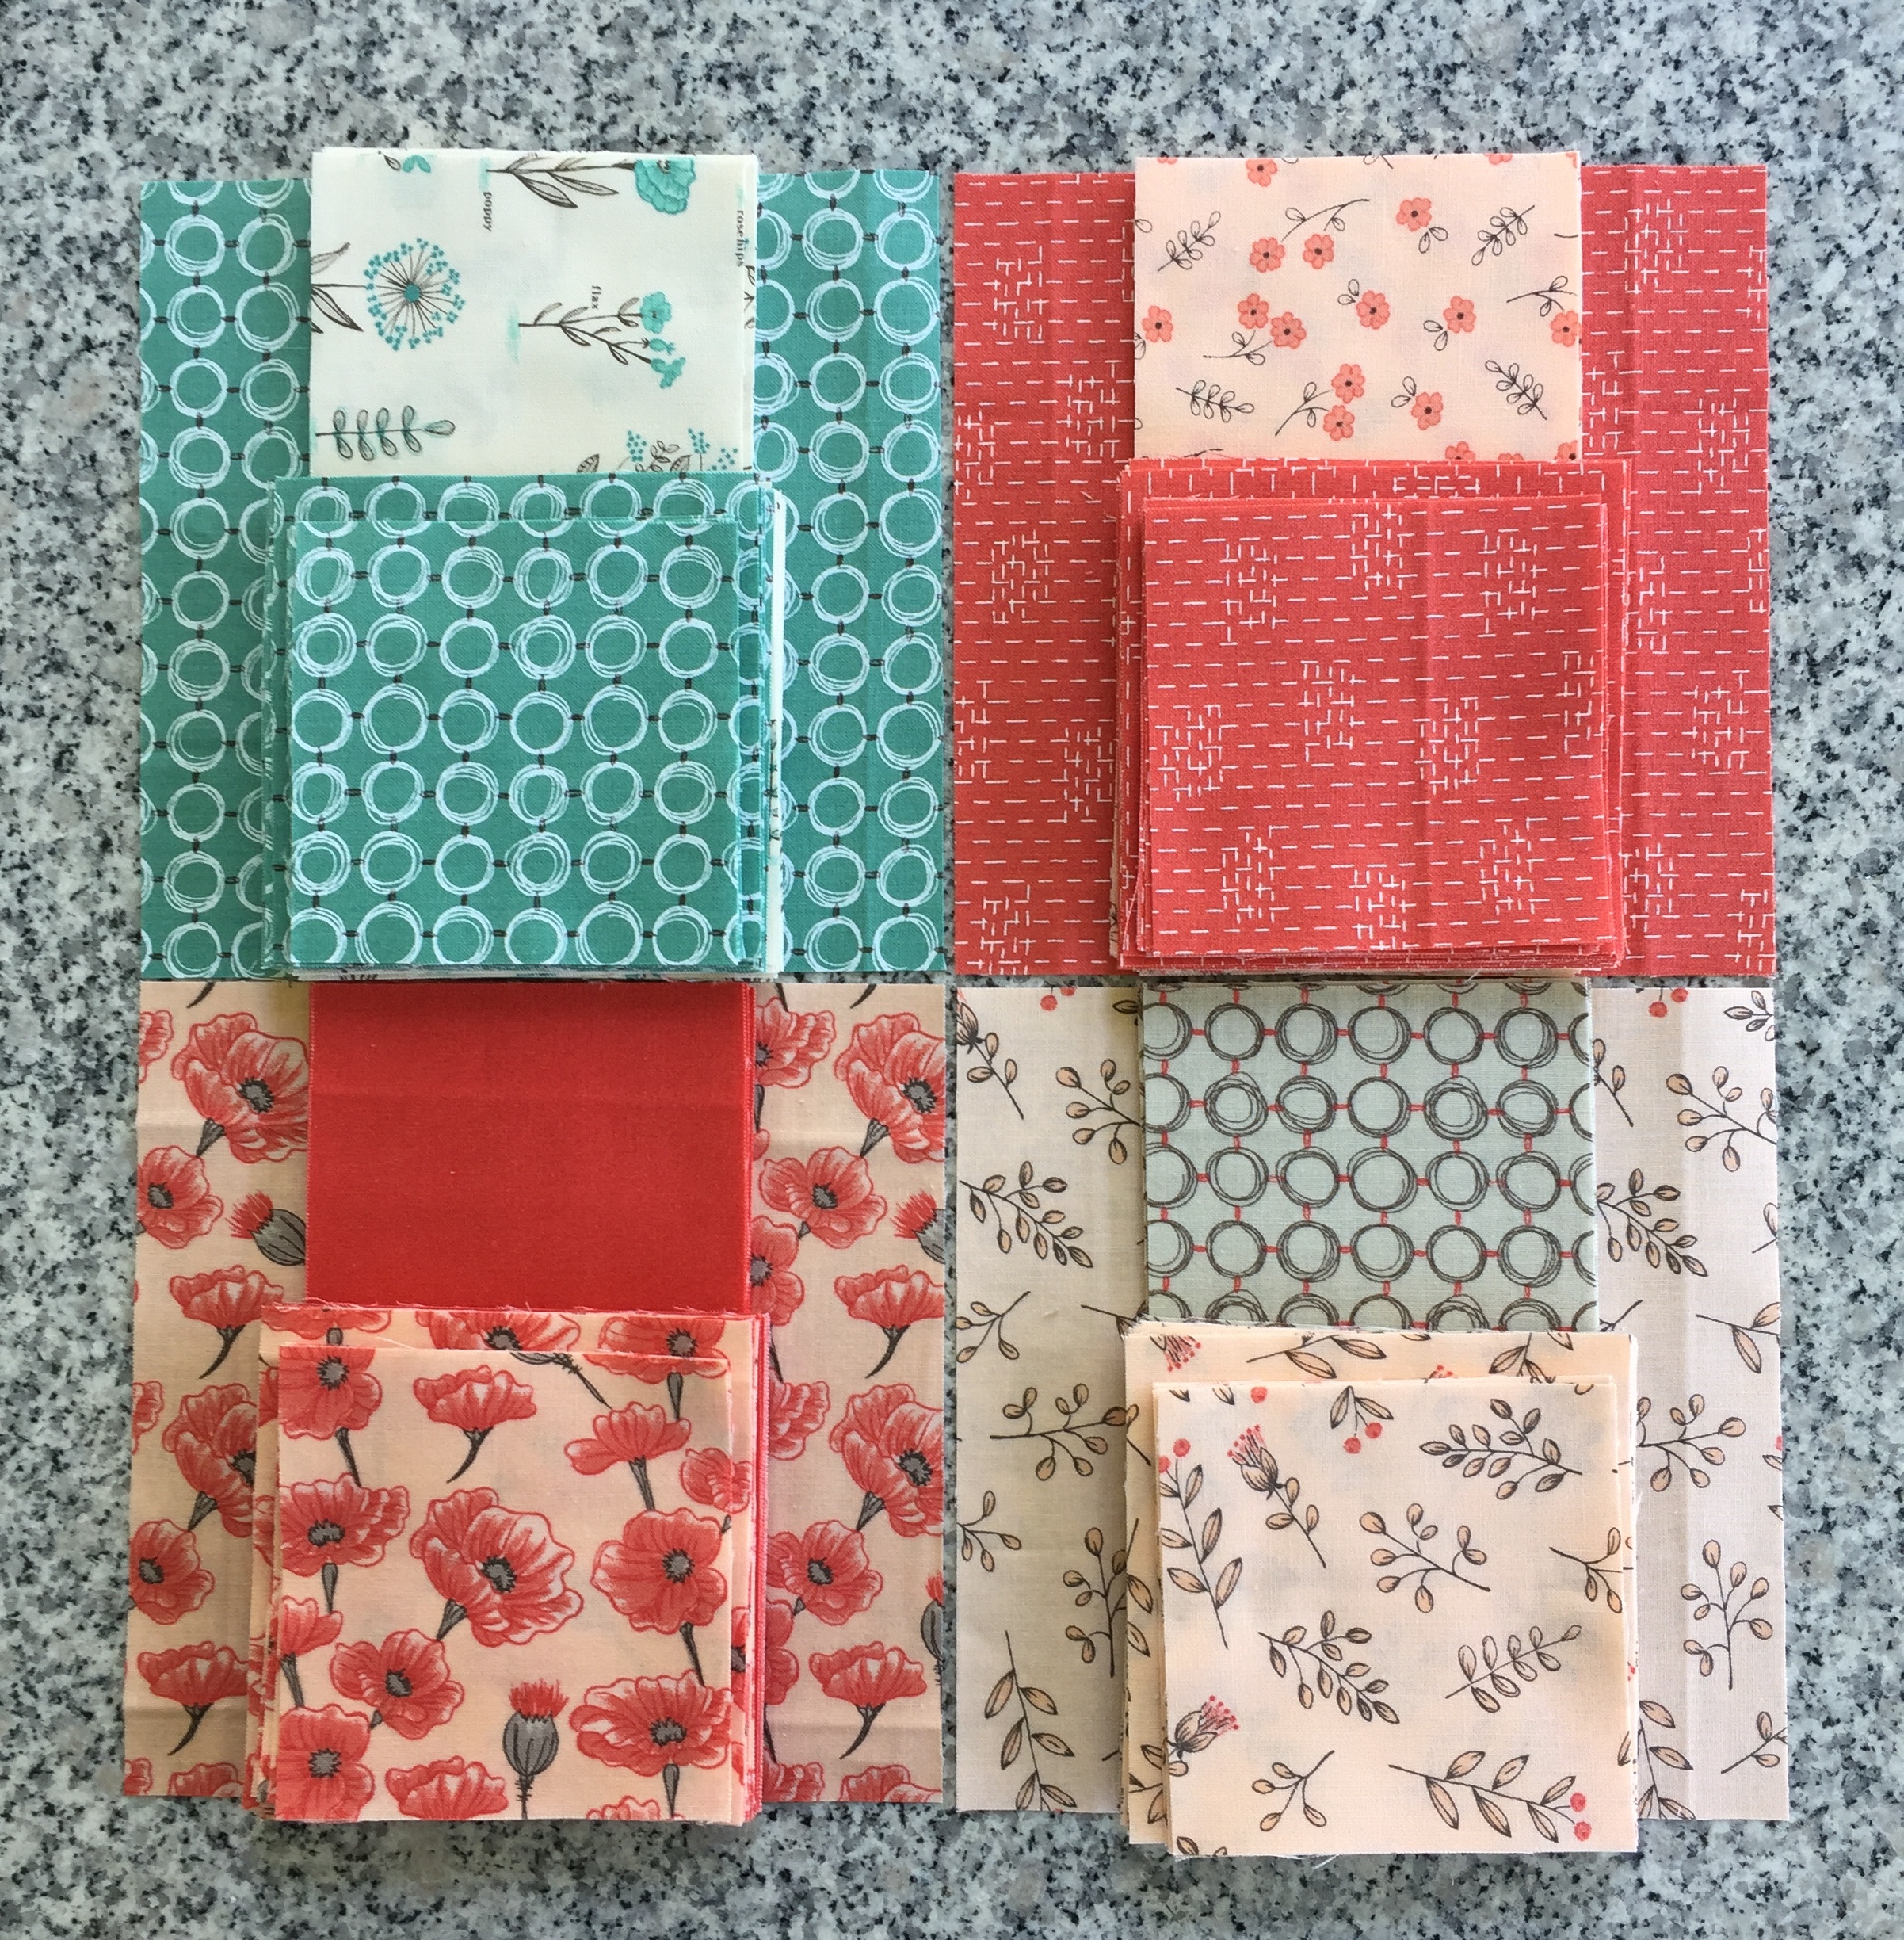
After years of the same 2 pillows on my bed, I decided to make new. As usual, using what I already have, I went through my storage drawers and found perfect fabric go-togethers for 3 new pillows.
I planned to make 2 – 16″ x 16″ squares pillows and 1 – 10″ x 18″ lumbar pillow to be placed in front.
For the lumbar pillow, I used a fat quarter from Art Gallery’s Paperie collection. This line is years out of print now, and I’ve had it for a very, very long time.
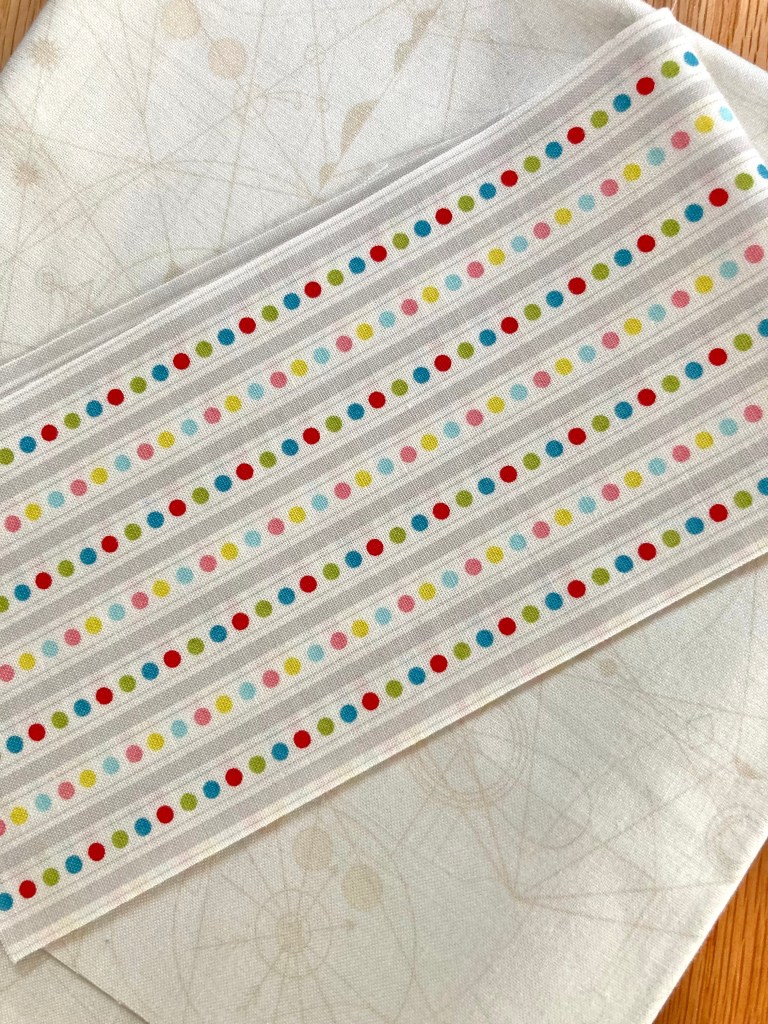
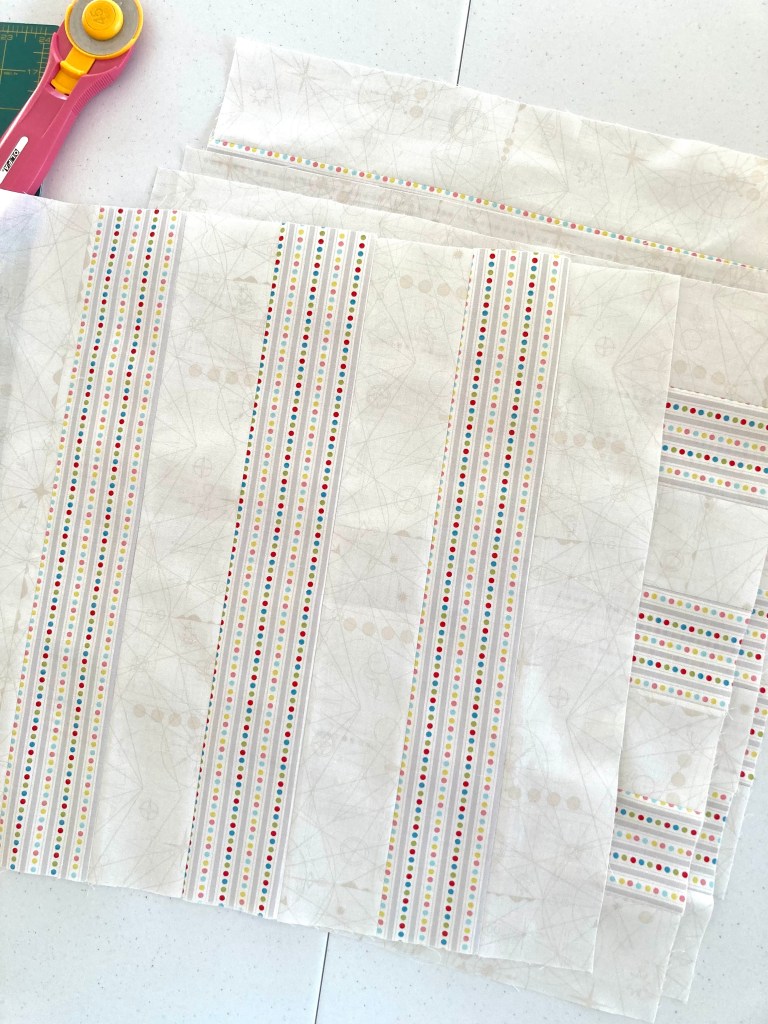
Also years ago, I was drawn to the Compass print from Andover Fabrics. I’d purchased around a yard so I chose that and a striped polka-dot print from I can’t remember who…
I didn’t sew in zippers, not for any reasons other than 1. they usually show on the bottom unless they’re invisible (don’t have any, don’t know how to sew them). 2. I made pillows recently and hand-sewed the bottom with an intricate blanket stitch which worked well. Additionally, they’re decorative so no need to remove covers for laundering.
For details on how I made the lumbar pillow, reference my Make Your Own Custom-Sized Tossed Pillows post.
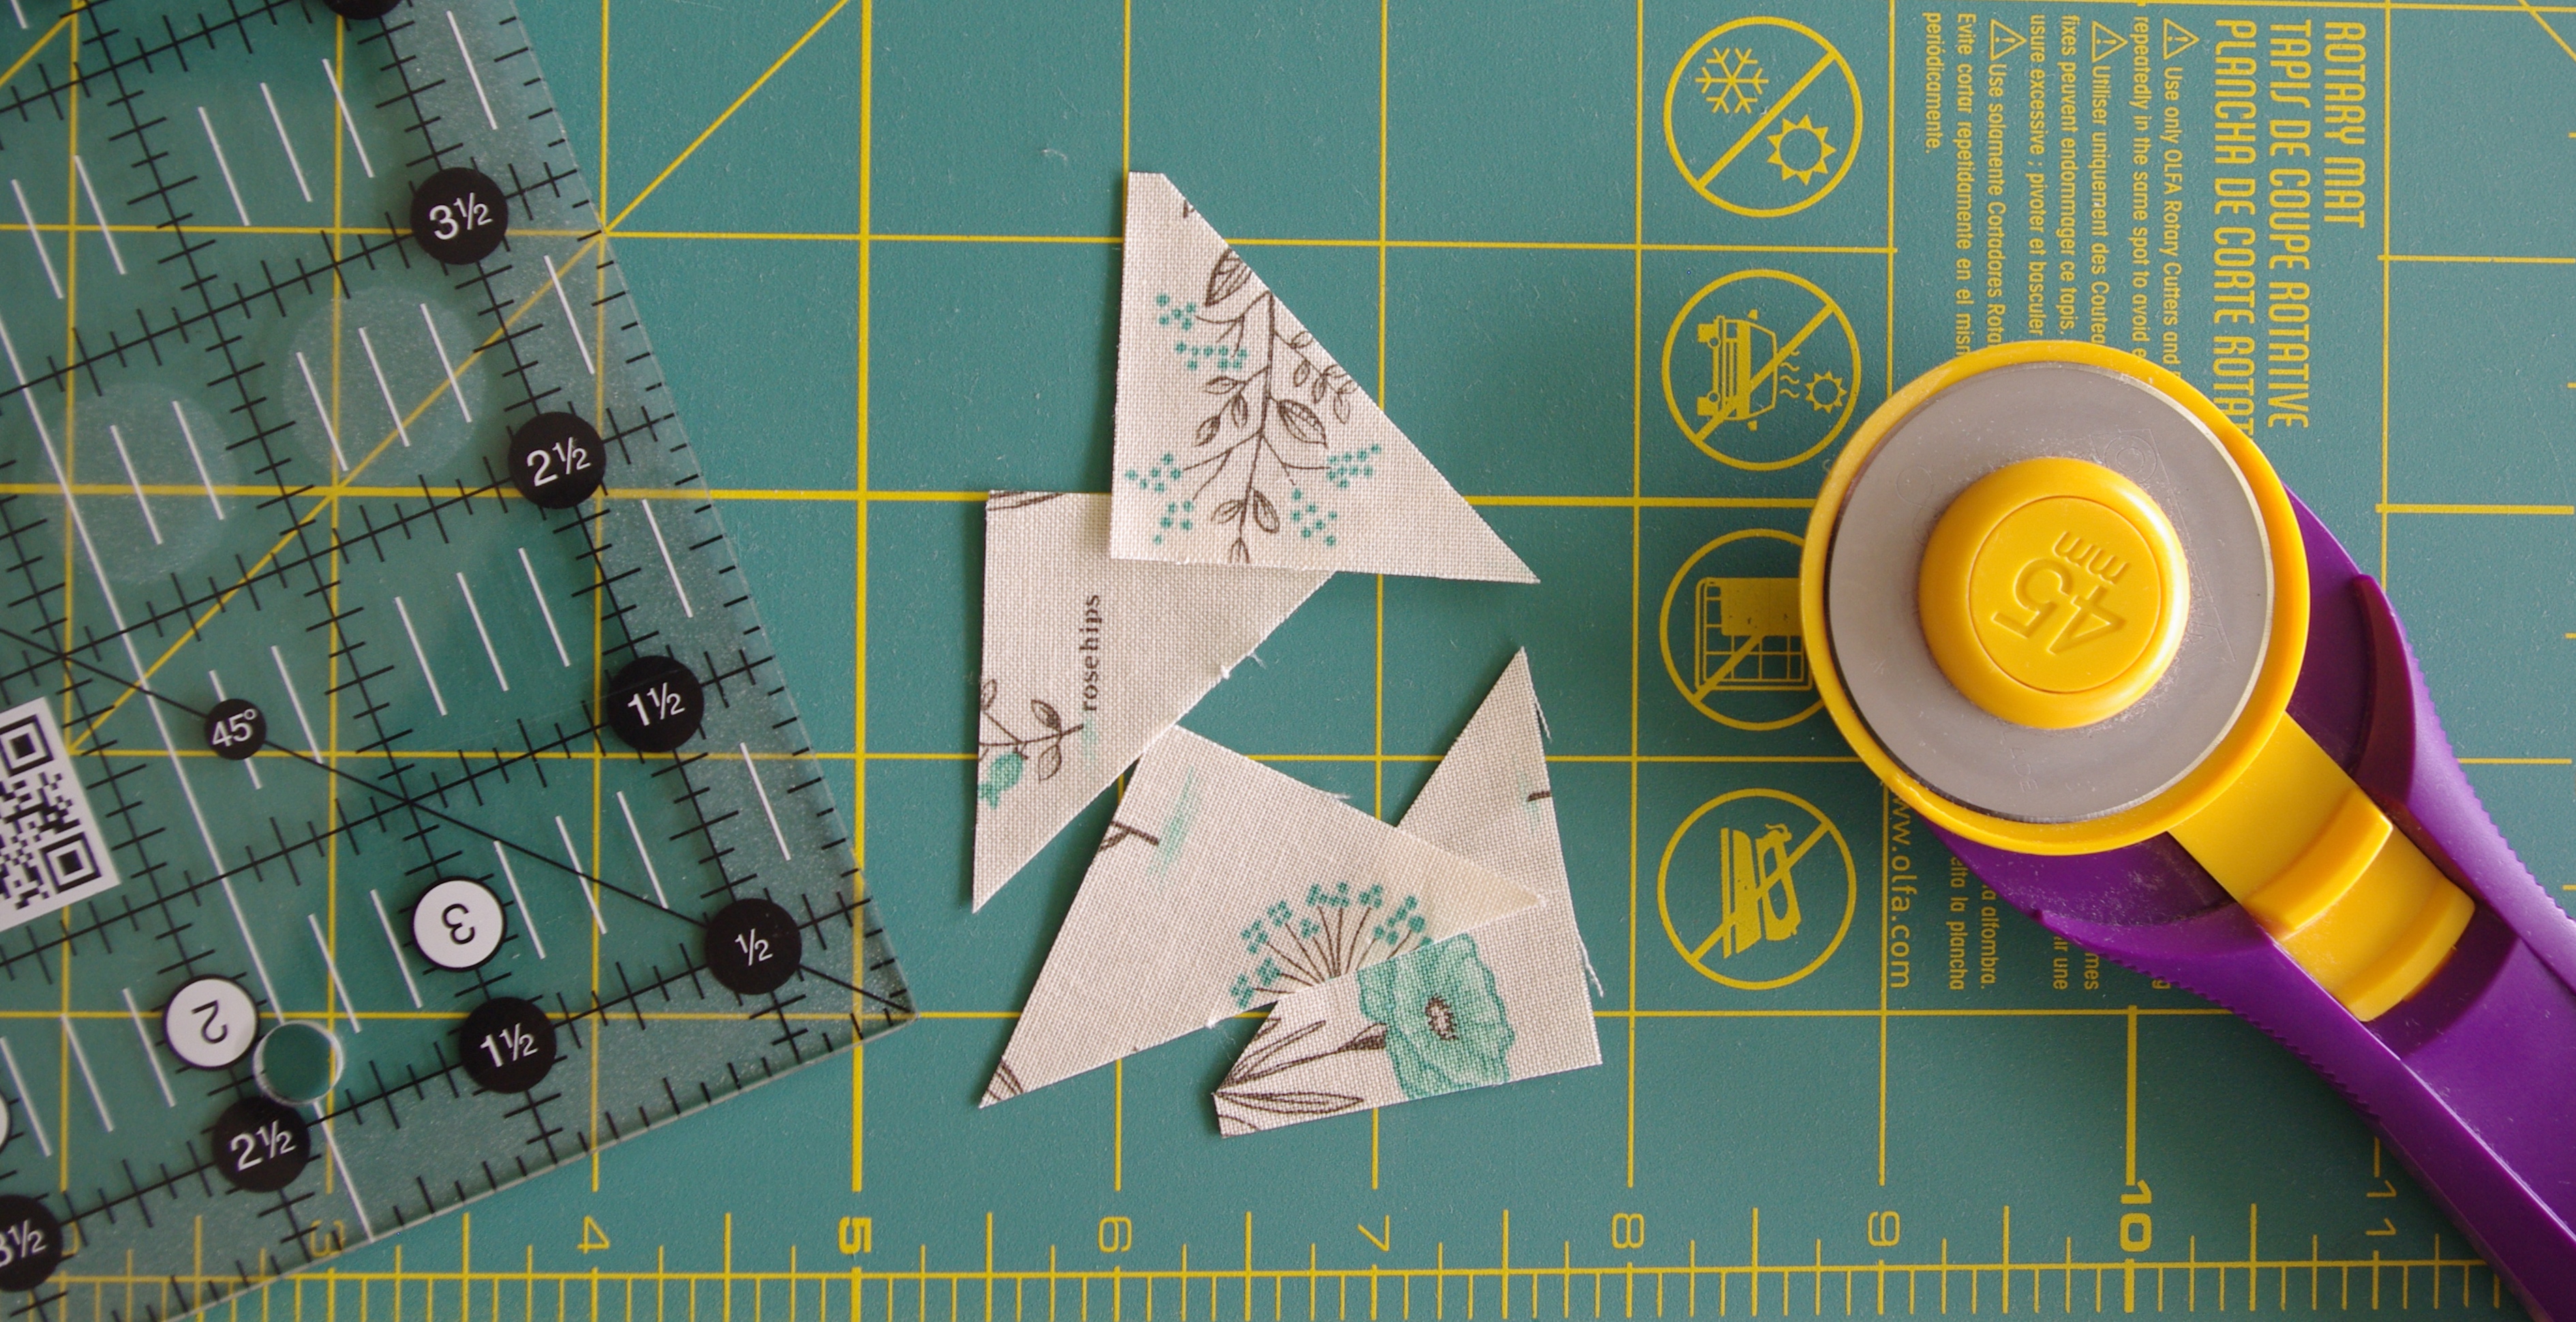
For the 16″ pillows, I needed 4 sides which = 12 striped strips and 16 background strips total. I cut all strips 2 7/8″ x 16 1/2″. Using a 1/4″ seam allowance I made 4 panels.
I sewed 2 panels together at the top using the side of my standard foot for the seam allowance. This method allowed me to line up my seams nicely.
To prevent seams from showing through to the front, also to give more loft, I ironed on Pellon Fusible Fleece 987 for a smooth finish.

After attaching the fusible fleece, I sewed the sides and a portion of the bottom, leaving a large enough hole to fit a 16″ square pillow form. I also cut away corners and pushed them out using a blunted stick.
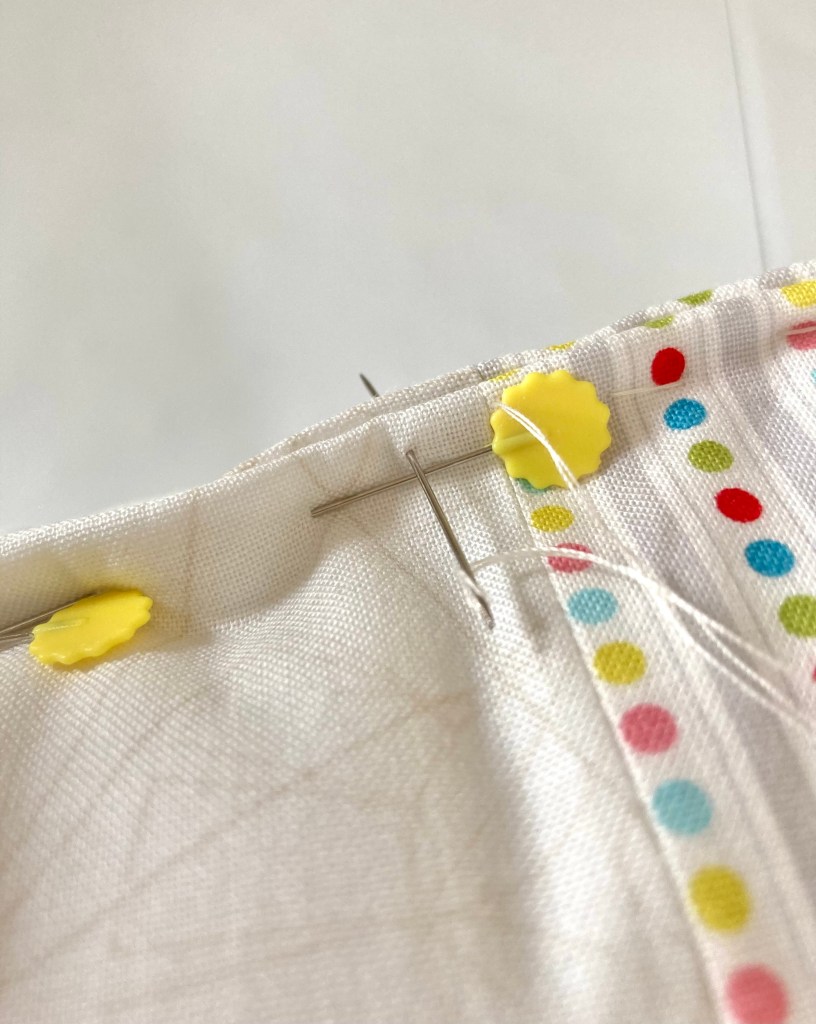
Once the forms were inserted, I pressed a seam at the opening on both panels, pinned them closed, ran a basting stitch then removed pins.
Remember this stuff?
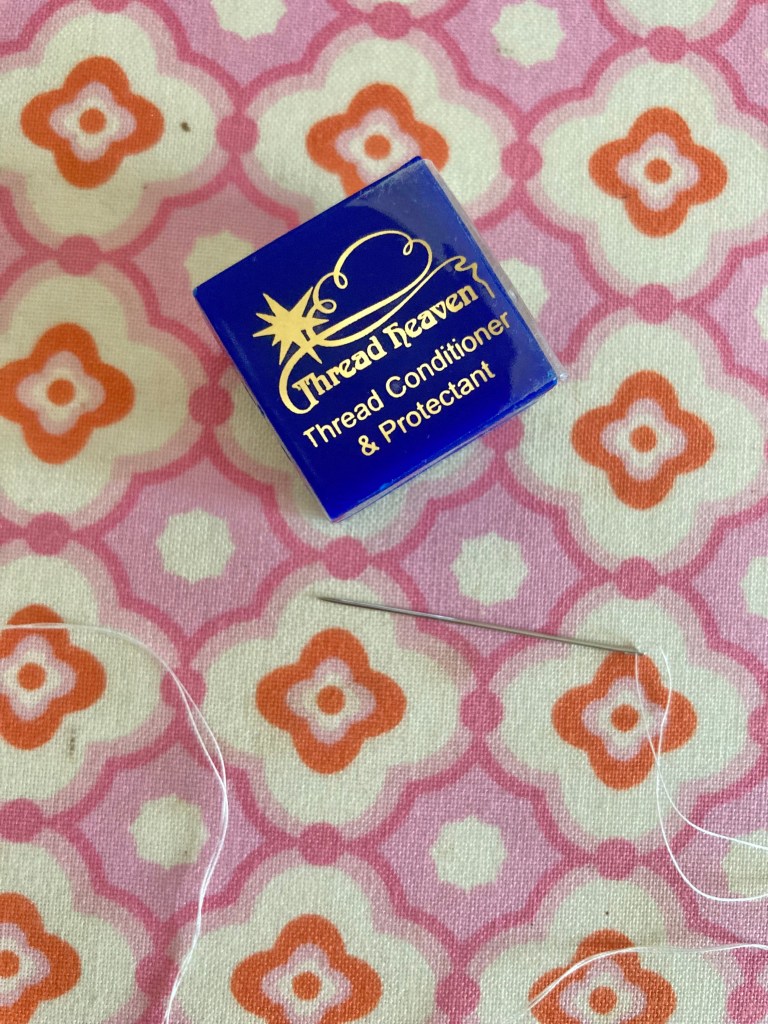
I don’t think it’s made anymore, but one box will last f o r e v e r. I’ve had this for several years and still have plenty left. Since I no longer sew bindings on by hand, I haven’t used it in a long time. But let me tell you, it works like a champ!
Here’s a look at my hand-sewn seams…
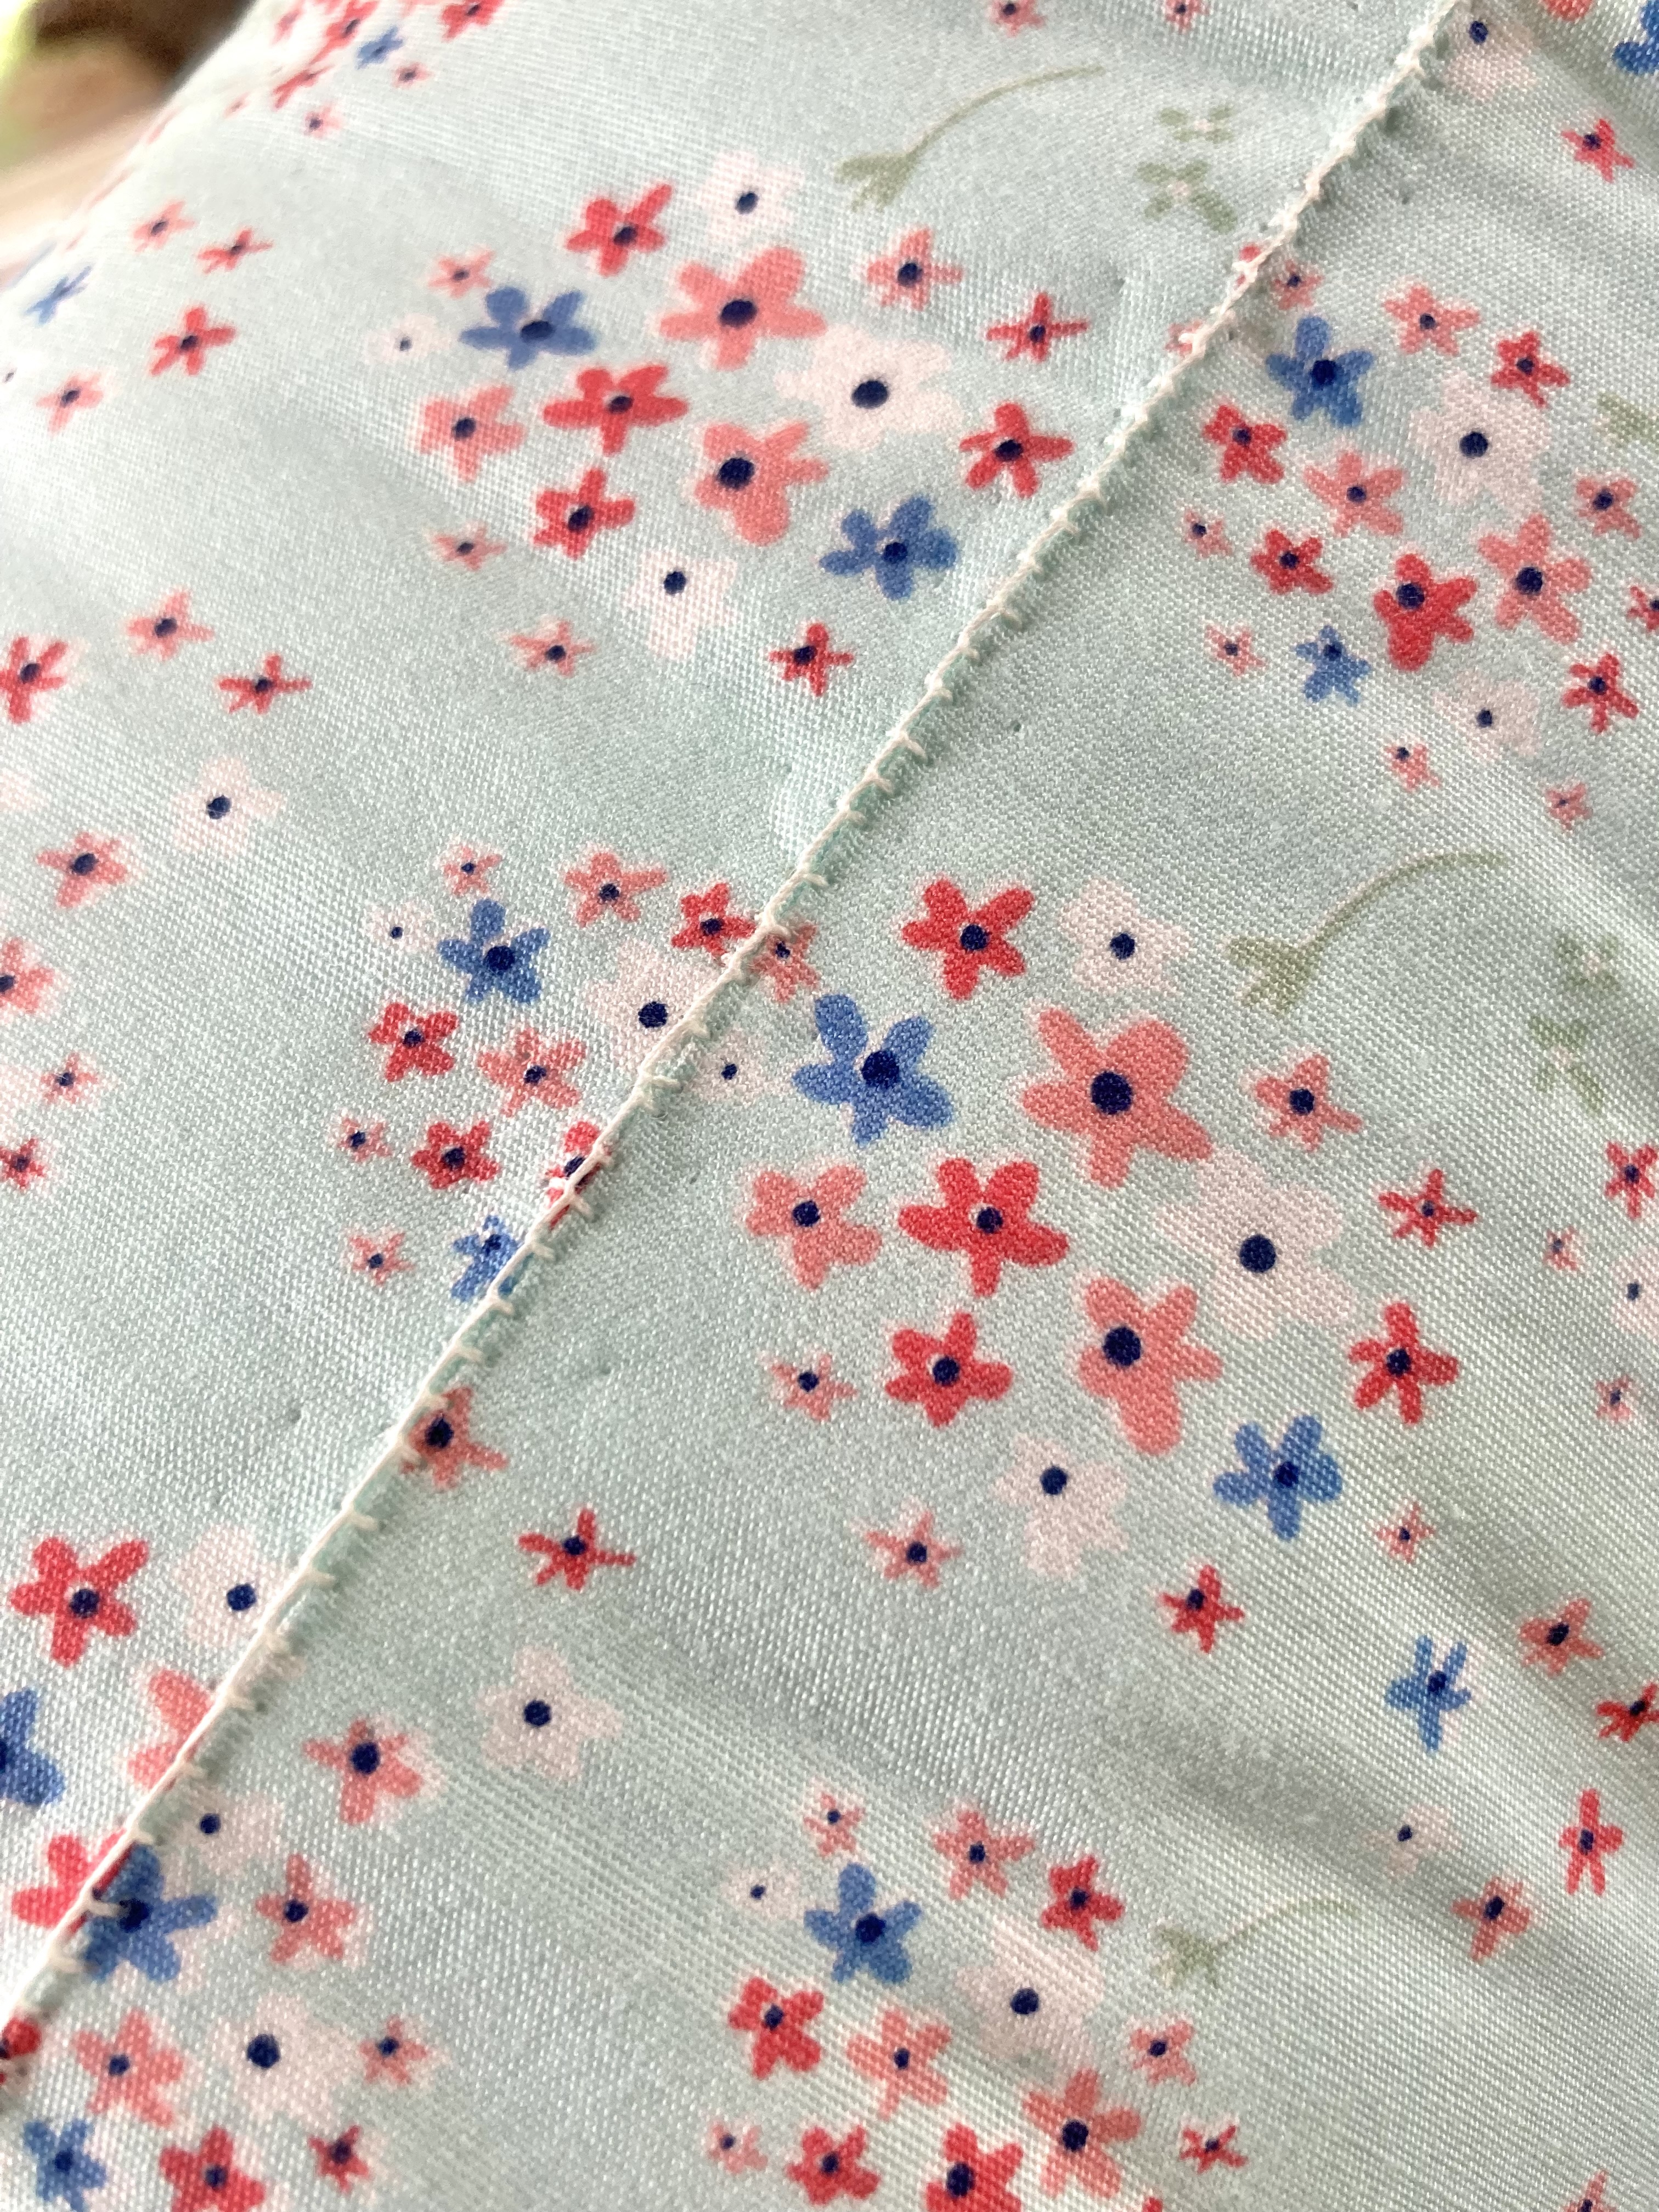
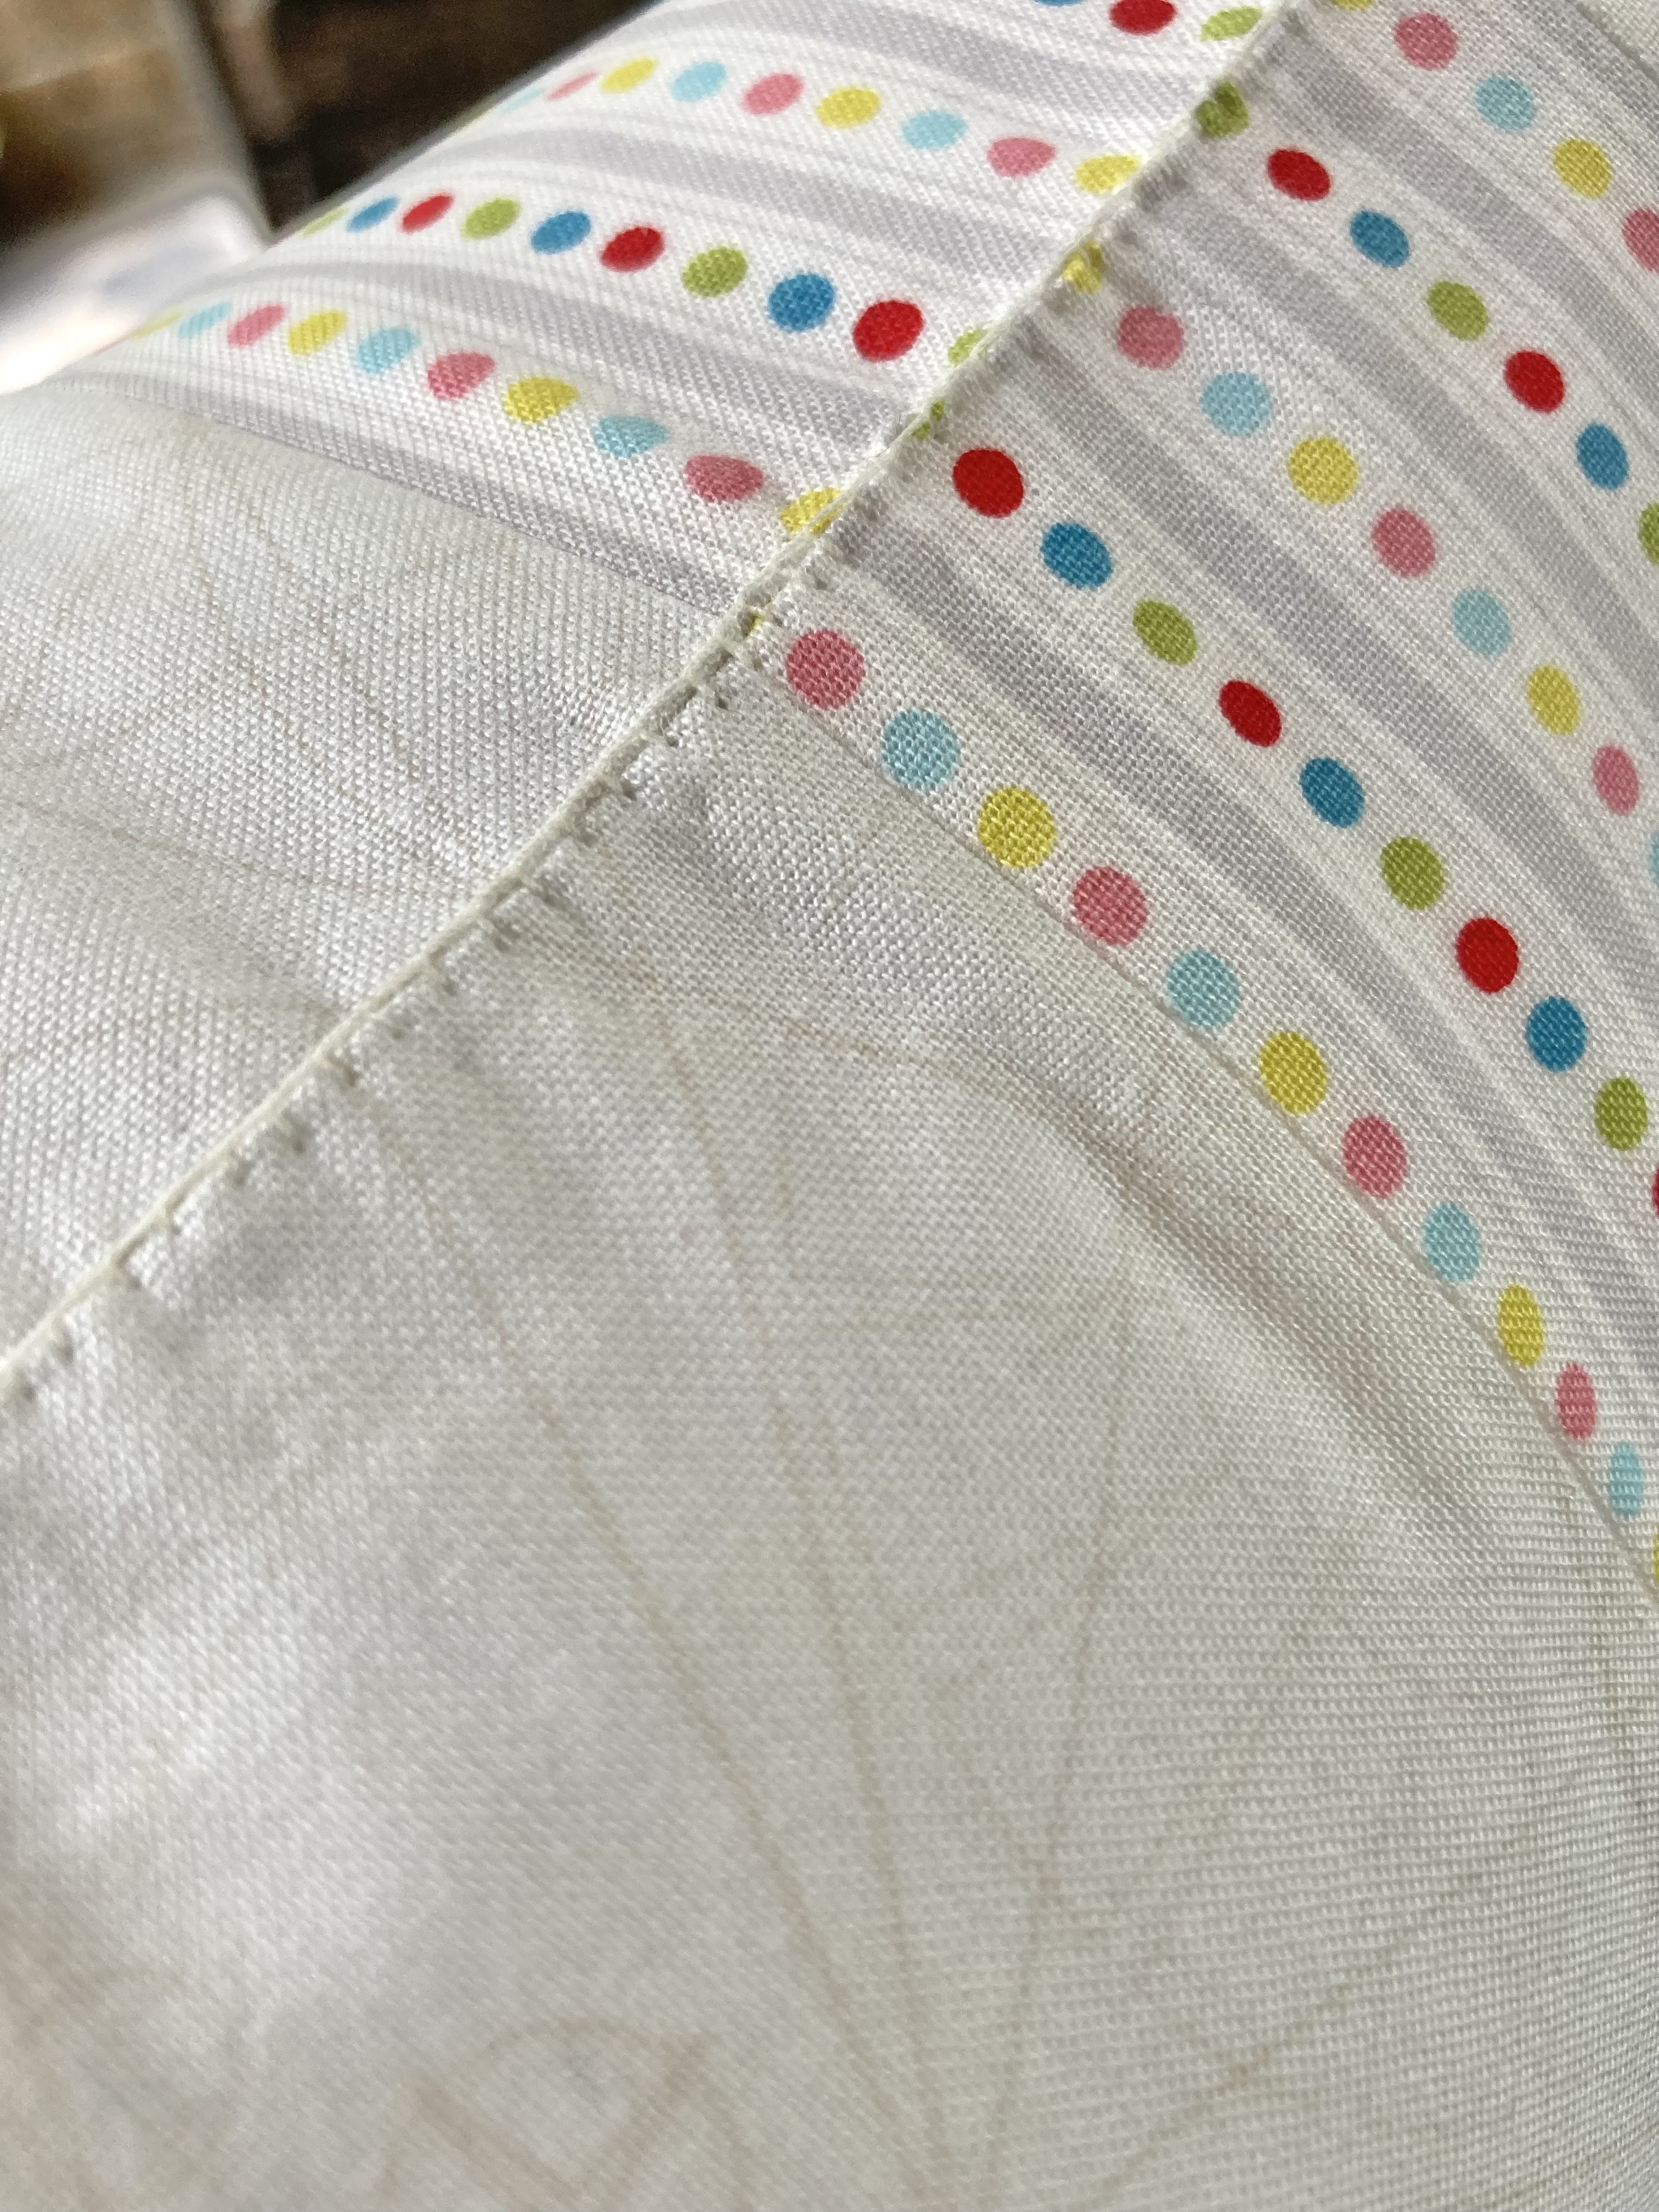
I was pretty pleased with the results. And it didn’t take all that long either.
Here’s a look at my finished pillows…
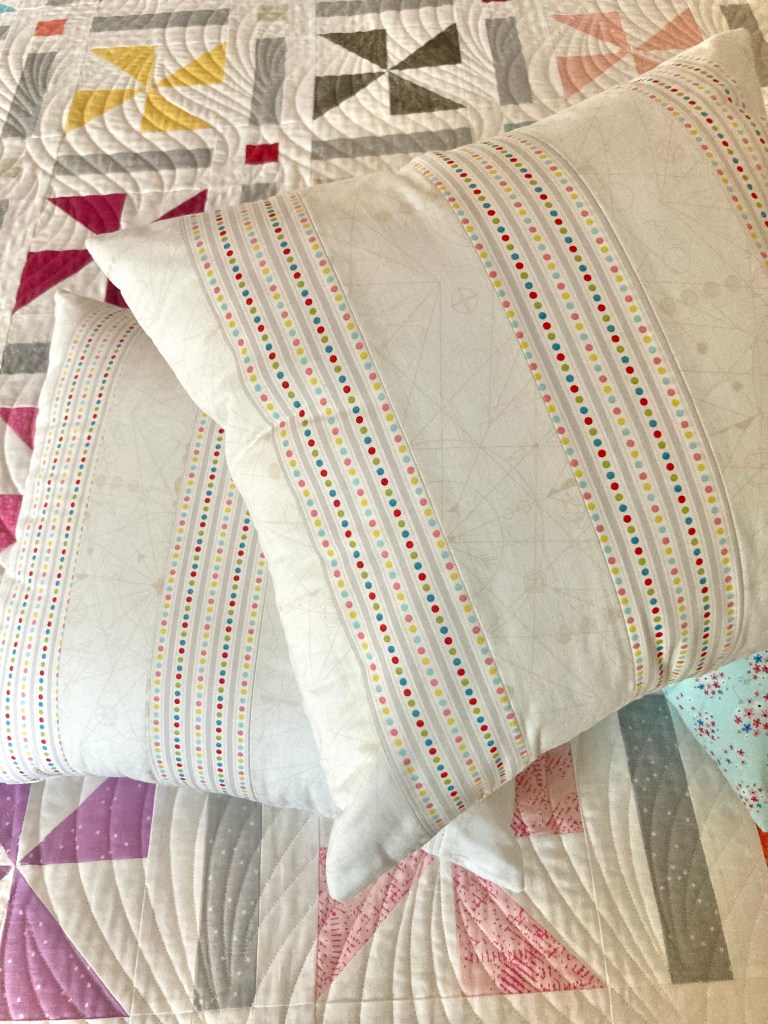
A fresh, crisp look. Love it.