Well, I really don’t know how I did it, but after creating this pattern 4 years ago (when I returned to cross stitching), I took photos, etc. but somehow managed to *not* post it.
I wonder whether or not I wrote a blog post about it, forgot about it, deleted it, or what…but the pattern is now for sale in my Etsy shop. Better late than never, as it’s said.
So, here it is, my Love to Sew cross stitch pattern…
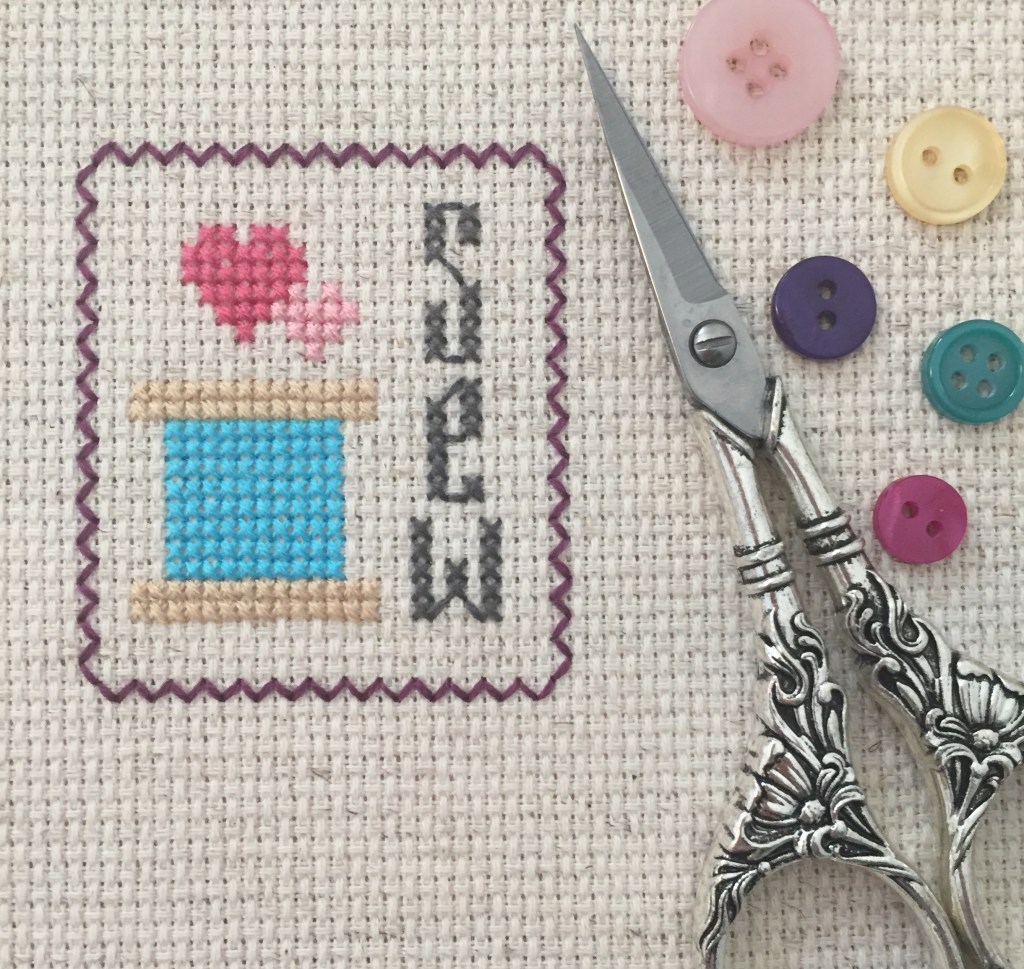
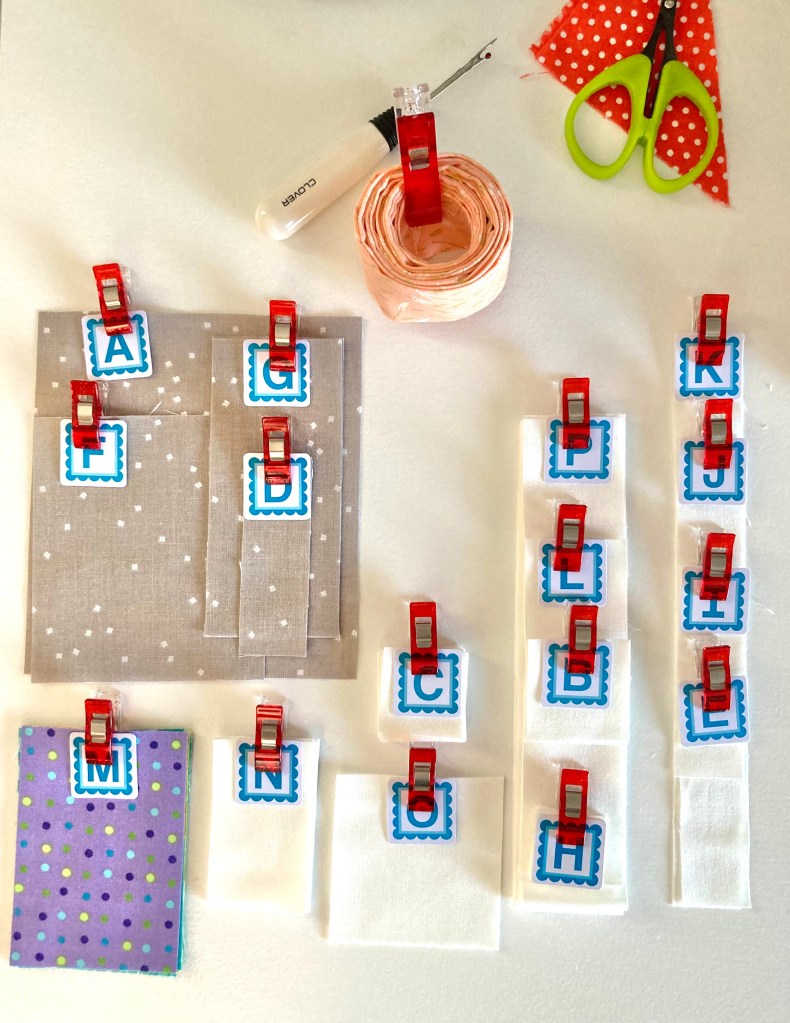
Back in 2020, I wanted to combine by love of sewing with my revisited hobby (I was big into cross stitch in the 90s). Then, there seemed to be a resurgence of the craft so I thought I’d try my hand at writing a pattern.
Once finished, it measures 2″ W x 2 1/4″ H (stitched on 14 count Aida fabric). It’s a little design that gives a big message!
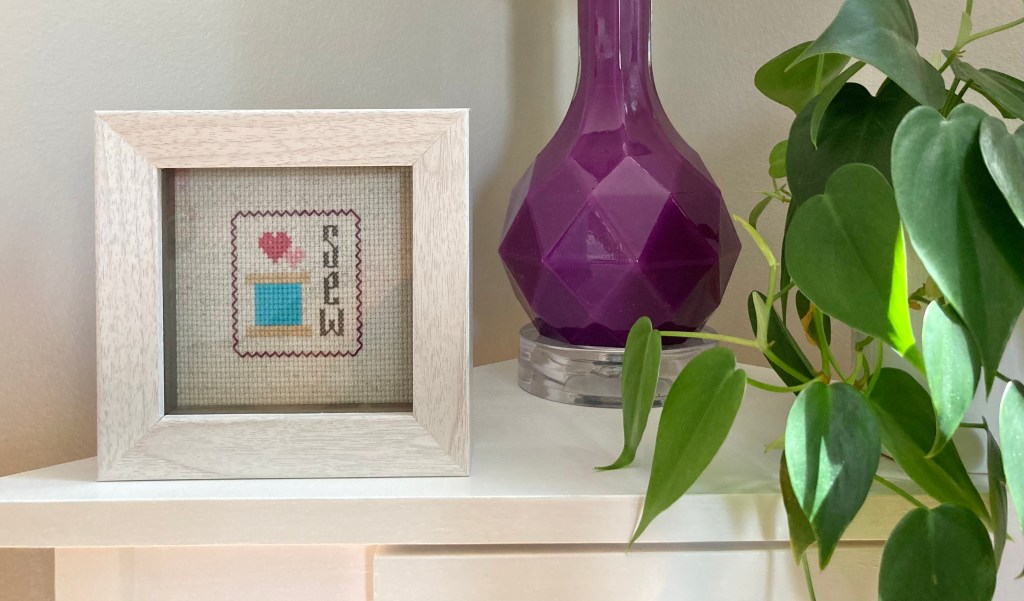
What’s more– Love to Sew frames nicely into a 3″ x 4″ or 4″ x 4″ photo frame, so no need for custom framing!
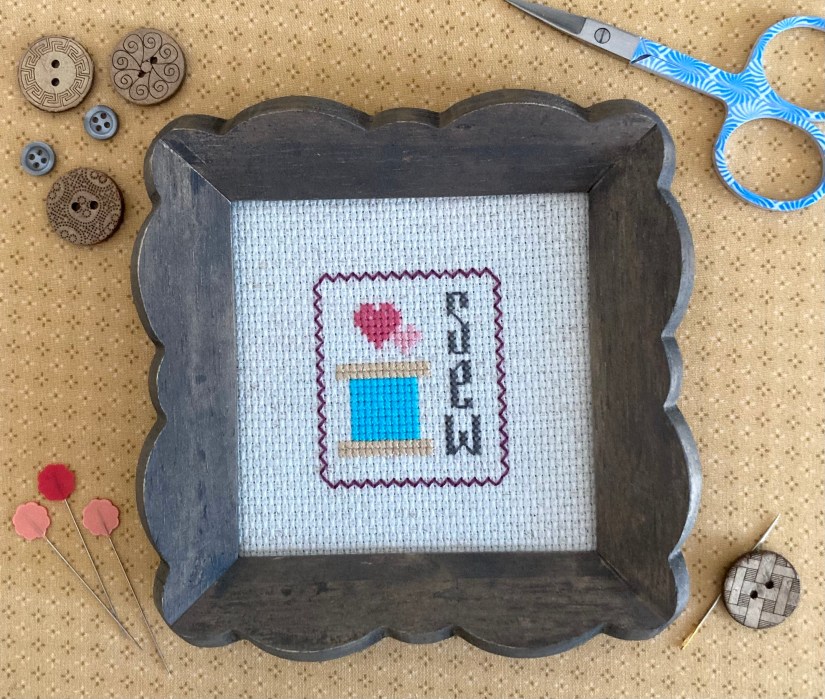
I framed mine in a 4″ square frame. I also had shown it off in a 4″ x 4″ shadow box on a corner shelf for a while.
It’s easily stitched by a beginner and is most certainly a quick finish. I think it’d be great also as a pincushion, Christmas ornament or a wall hanging.
Whether you’re new to cross stitch or have been stitching for years, and you love quilting and/or sewing, personalize it and make it your own with your favorite color combo. 🙂