
First of all, I’d like to thank everyone for your great support on my Love to Quilt cross stitch pattern! I’m happy to see that so many of you are excited about it.
Because I designed Love to Sew, Love to Quilt and a series of upcoming cross stitch projects to fit standard store-bought frames, I’m sharing this ‘how to’ as to eliminate the need for expensive custom framing. 🙂
This DIY tutorial will have you finishing projects in no time, in addition to showing off your work looking as if you had it professionally done.
On to the tutorial…
Before starting your cross stitch project: 1. Know the finished size of your project. 2. Determine the frame size ahead of time. 3. Make sure your Aida fabric is cut large enough for wrapping around the frame backing. For example, before beginning I knew my project would fit into a 3″ x 4″ frame.
First, I started with a piece of 14 count Aida fabric cut roughly at 5 1/4″ wide by 6″ tall. You’ll notice from the edges that I used a pinking rotary blade to reducing fraying, thus eliminating the need to use tape.
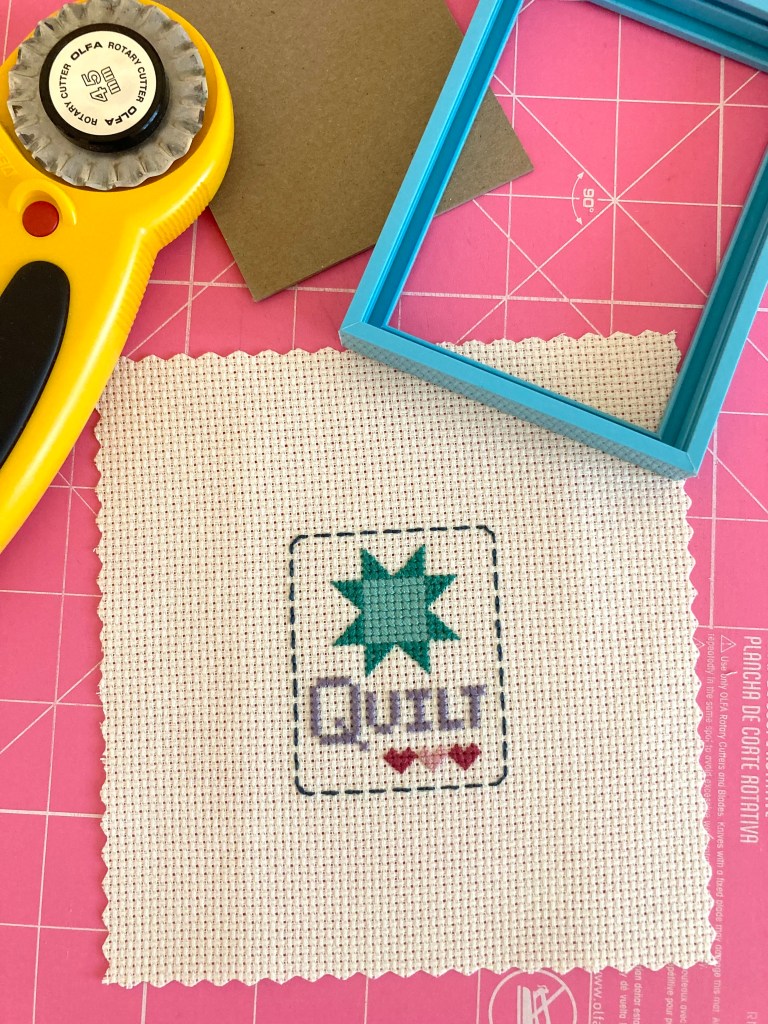
Once my project was stitched and pressed, I placed it over the cardboard backing to determine how much needed trimmed. I cut leaving a 1 ¾” border on each side which left enough to wrap it around the cardboard and stitch it snug.
The frame I purchased came with corrugated cardboard; it’s not strong enough for stretching so I cut a piece of heavier non-corrugated cardboard in its place. An important note here…make sure you cut the cardboard accurately. If not, your project won’t sit straight in the frame. I recommend using a rotary cutter.
Once the cardboard was cut, I noticed the ugly brown color was visible through the holes. Not wanting that, I glued a piece of white stock paper to the front for a more pleasing background.
If you want a lofty look, adhere interfacing according to manufacturer’s directions.
Once your cardboard is ready, lay out your project centered over it. I counted squares from top to bottom and side to side for centering accuracy. If your cross stitch is pretty large, counting may be difficult, measure instead.
Next, double-thread a needle, making sure it’s not too big for the holes in the fabric. Any thread will do; I used Aurifil 100% cotton. Once you have the fabric centered, start at the top inside edge of one folded side. Start stitching down about 4 squares from side to side, evenly working your way down the length of the project.
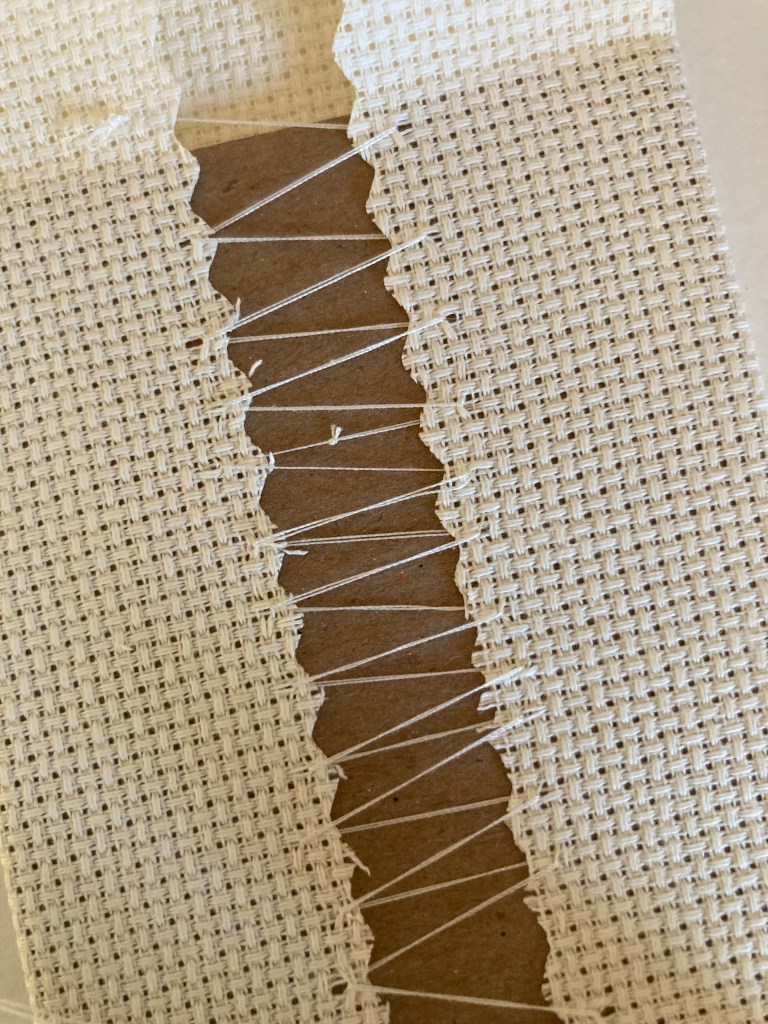
Avoid sewing through a fabric hole as they tend to pull (see where I did and how it pulled). It’s best to poke the needle through the center of a solid square as it’s tight and will hold firm.
I threaded my needle as long as I could without tangling, but I did run out and had to tie another section on (it can be seen in the photo). Tie the knot tightly to prevent slipping. Also, make sure the knot isn’t where you’ll have to pull it through the fabric (it won’t go). Be sure to pull each stitch fairly tight, as you want it taut.
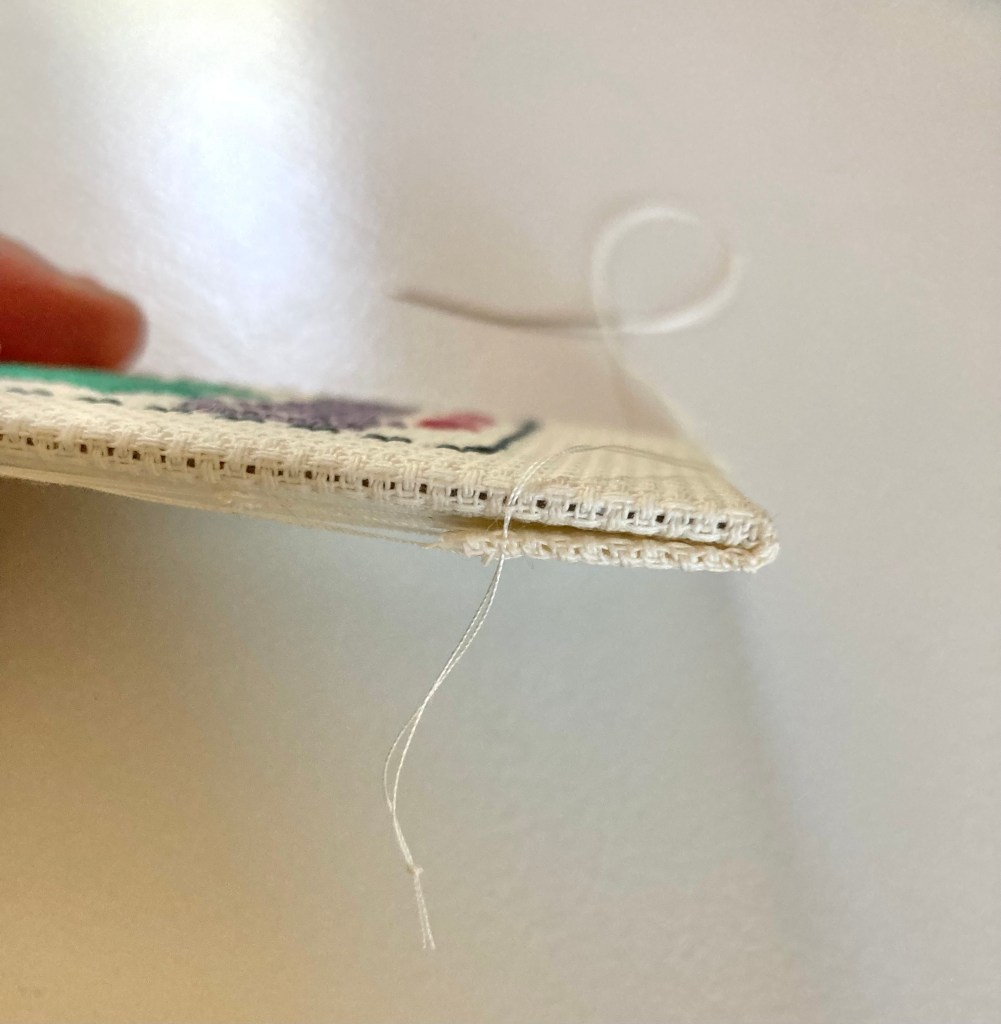
Once the sides are complete, don’t knot your thread just yet. Put a few stitches in the to-be-folded-over section to help it stay in place, making it neater when folding later. You can see the stitches below.

Using the same method, connect the top and bottom.

It’s nearly done! You’ll see there’s a bit of pull on the center which is OK, it means it’s all tight enough.
The final step is to put a couple of tiny stitches on the sides. This helps to securely close the bottom and top section. Simply pick up a couple of threads from the fabric and tack them to a couple of threads on the side fabric. Do this for all 4 folded ends.

That’s it, a professionally-looking framed project!
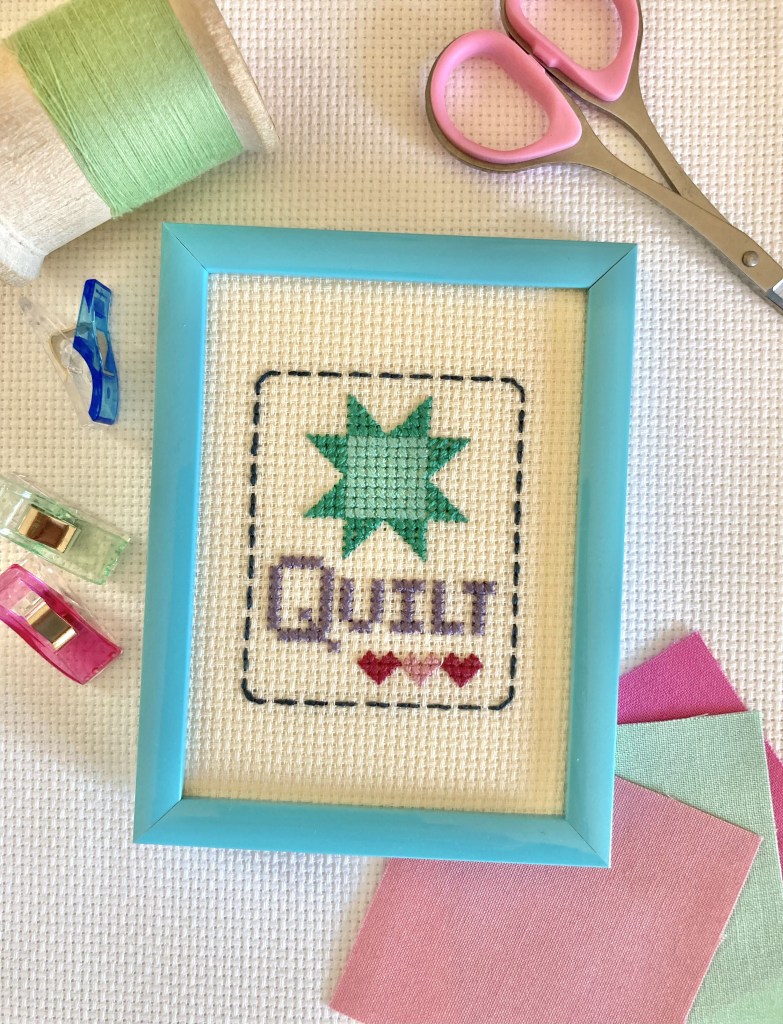
I purchased this frame at Michael’s. It measures 3″ x 4″ and is a perfect size and color. Because Love to Quilt is just a bit more tall than wide, a rectangular frame was a better choice than square.
I hope this helps you with your next cross stitch project, and hopefully saves you time and money, too. 😉

2 thoughts on “How to Frame Your Cross Stitch Projects”