how to, organizing sewing space, sewing, tutorials, Uncategorized

Storing Fabric on Comic Book Boards

In January I spent a few days organizing my fabric. For storage, I have a box for all 10″ squares and a 4-drawer Rubbermaid unit I’ve divided out for specific cuts for my printed fabric only. I’ve designated one drawer for each cut: strips, remnants, fat quarters and WOF yardages. I also have another unit with one small drawer just for solids.

Lately I’d been accumulating solids and my drawer was getting full. Also, when I needed a particular color I’d have to take everything out which was pretty inconvenient. That said, I decided it was time to find another way to store my solid fabrics.

I’d remembered reading about quilters using comic book boards for storing fabric, so I thought I’d take a look into the process. A quick Google search and a brief video showed me how easy and cost effective it is.

I found that many quilters use BCW boards sized 7″ x 10 1/2″ (Amazon). A pack of 100 costs around $17 so if you don’t have a huge stash, this quantity will last quite a while! The boards are definitely sturdy enough for wrapping up to a few yards of fabric, and they’re acid free so they won’t cause any discoloration.

Quilters also use plastic alligator clips for securing the fabric. On Amazon, a pack of 500 costs around $10. Again, this quantity can last a long time! The clips are really sturdy and the ridges grip and hold nicely.

After ordering these two items, I was ready to go.

For my stash, I decided that the smallest amount of fabric to be stored on a board would be a fat quarter; anything smaller stays in the drawer. I also decided to store larger yardage amounts on the boards too, as I don’t usually have more than a yard or two in any given color.

To get started, I ironed everything. I recommend doing so because of course fabric looks nicer pressed and since it will be stored this way indefinitely, flat lying fabric will give the best results possible.

Next, folding and wrapping. For fat quarters, fold selvage to selvage. This will make your piece about 11″ high by 18″ wide. Next, place the board in the center where it will fit just right vertically, then wrap the sides around. For yardage, fold selvage to selvage. Then fold again in half, bringing the fold on the bottom up to the selvage at the top. The fabric will measure about 11″ high, just like the fat quarter. Fold the fabric once again, this time from side to side, bringing the raw edges to the fold. Place the board vertically in the center then wrap the sides around.

Place clips on the ends to secure the fabric and you’re finished!

For mine, I made tags to identify the fabric. I simply cut strips of paper about 3/4″ x 2″, and using a Frixion pen I noted the fabric brand and color. It took some extra time to figure out what was what, but when I need to know later the info will be there.

I also have plastic bins for storing the fabric. Not only does it look pretty, it’s a great way to see what’s on hand and it allows for quick access.

If you have a lot of fabric that you want to store on comic book boards, you may want to do a few pieces at a time. I had 26 cuts and it took me several hours! I’m happy to have spent the time for the great results, and I plan to do this as I acquire fabric so my stash is always stored up-to-date.

organizing sewing space, quilting, Uncategorized

Save that fabric!

Not all that long ago quilt batting was pretty hard to get a hold of and I was nearly out. Luckily at the same time my trimmed quilt edges of excess fabric and batting was piling up in my sewing room. And I needed to make some quilts. 😉 The obvious thing to do was to take the strips apart and piece the batting after cutting away any overage quilting stitches.

If you take quilts to a longarmer, you know about the extra 4″ of backing needed all around for loading on the machine. I noticed sometimes my longarmer loaded it more to one side leaving some pretty wide strips when completed. Either way, those strips can add up to a lot of fabric!

Here I go again with the waste issue, but I never throw these materials away, I always take the time to separate them out.

My latest fabric/batting stack consisted of four quilts worth—one longarmed queen size and three throws I quilted myself. After removing the fabric, this is what I ended up with…

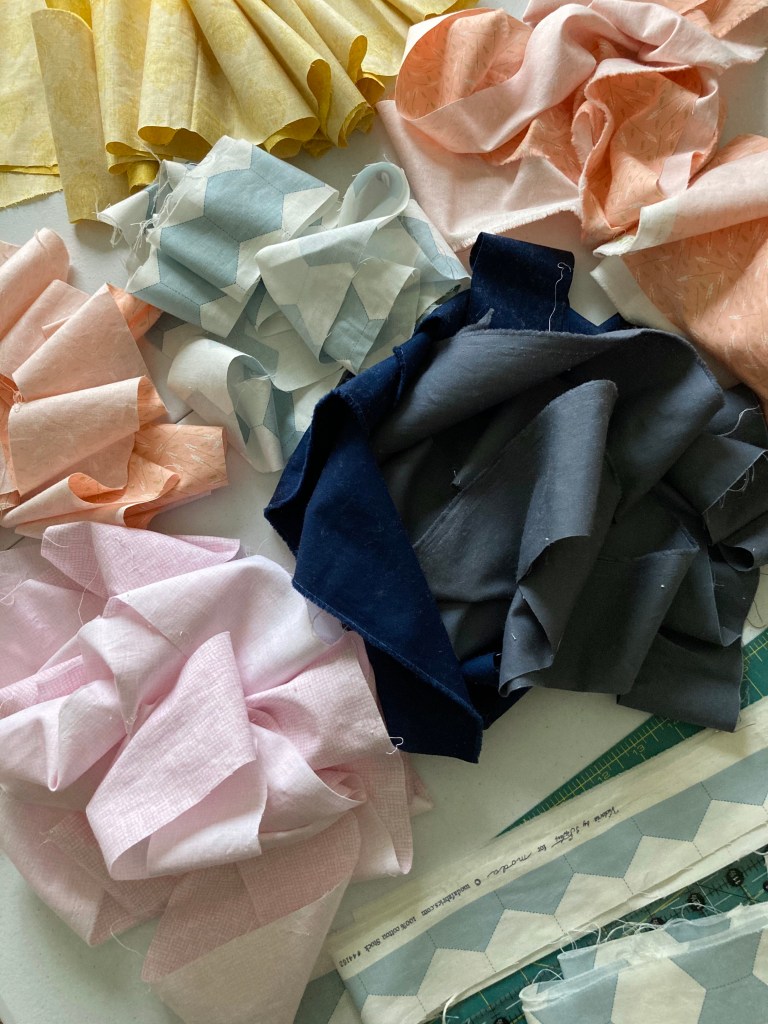
And after a bit more effort—pressing and cutting strips to the biggest size I could get—this was the end result…

I’m not going to deny this project took me a few hours, but now I have a lot of precut fabric on hand that would’ve been a shame to toss. It was definitely worth the effort and what a great way to use materials on hand.

Out of the batting, I was able to piece enough to make one throw quilt, one crib size quilt and two baby quilts. And, as of today, batting is once again on backorder.

If you’ve got a stack of edges piling up, consider their reuse. Save and cut that fabric, your future self will thank you. 🙂

organizing sewing space, quilting, Uncategorized

Fabric Storage Tip / #4

While I definitely enjoy the quilting process, I sometimes have difficulty motivating myself to cut fabric. It’s not that I dislike that step but it can seem like such a chore. On the other hand, once I do get started I usually go the extra mile and cut leftover fabric into commonly used sizes so they’re ready for other projects later on. This step could be considered as making your own precuts. 🙂

For example, when I made my Petite Hearts Quilt I used only scraps and fat quarters I had on hand. After cutting what I needed for the quilt, I had several odd-sized pieces left over. Since the fabric was certainly worth saving, I cut the leftovers into three different sizes, depending on what I could get out of them. I chose 1 ½” squares, 2 ½” squares or 3″ squares.

Not only does cutting ahead save time on future projects, it helps keep me organized and it helps me to know what I have. It’s a pretty efficient way to go. But how do I keep everything organized? It’s simple and straight-forward—I use clear plastic stackable containers and labels.

Since the fabric squares are on the smaller side, I’ve found that shoe box storage bins work best and they’re affordable (about $1 apiece). I’ve been in the habit of doing this for a few years now and I still haven’t filled one of those containers! However, you may need larger containers depending on how much and what sizes you cut.

Here’s a look at how I have my cut squares organized.

I keep my mini charm packs in the container for the 2 ½” squares so I always know where to find them.

1 ½” squares – great for mini quilts

In the past I had consistently cut and stored only 1 ½”, 2 ½” and 3″ squares, but I recently started a box for 2″ squares.

I love how these containers stack nicely, saving on space. And because they’re clear plastic you can easily see what’s inside.

If you’re new to quilting or if you’re looking for tips on how to organize your fabric, this is a great way to get started. Simply choose your size of cuts, make a few labels, get your boxes and you’re ready to go!