
I was asked how I made this pincushion after posting it on Instagram, so I decided to share by making another one with a tutorial.

It’s easy, goes together quick and doesn’t require much fabric. Here’s what you need:
25 – 1 1/2″ squares
2 – 2 1/2″ x 4 1/2″ rectangles (for backing)
Pincushion filler of choice
General instructions: RST = right sides together; Use a 1/4″ seam allowance throughout
PINCUSHION TOP:
Layout fabric squares according to the photo below. Sew squares into rows, keeping your layout order. Taking a photo helps as it can get mixed up while sewing! Another option is to forego a color layout plan and sew at random.
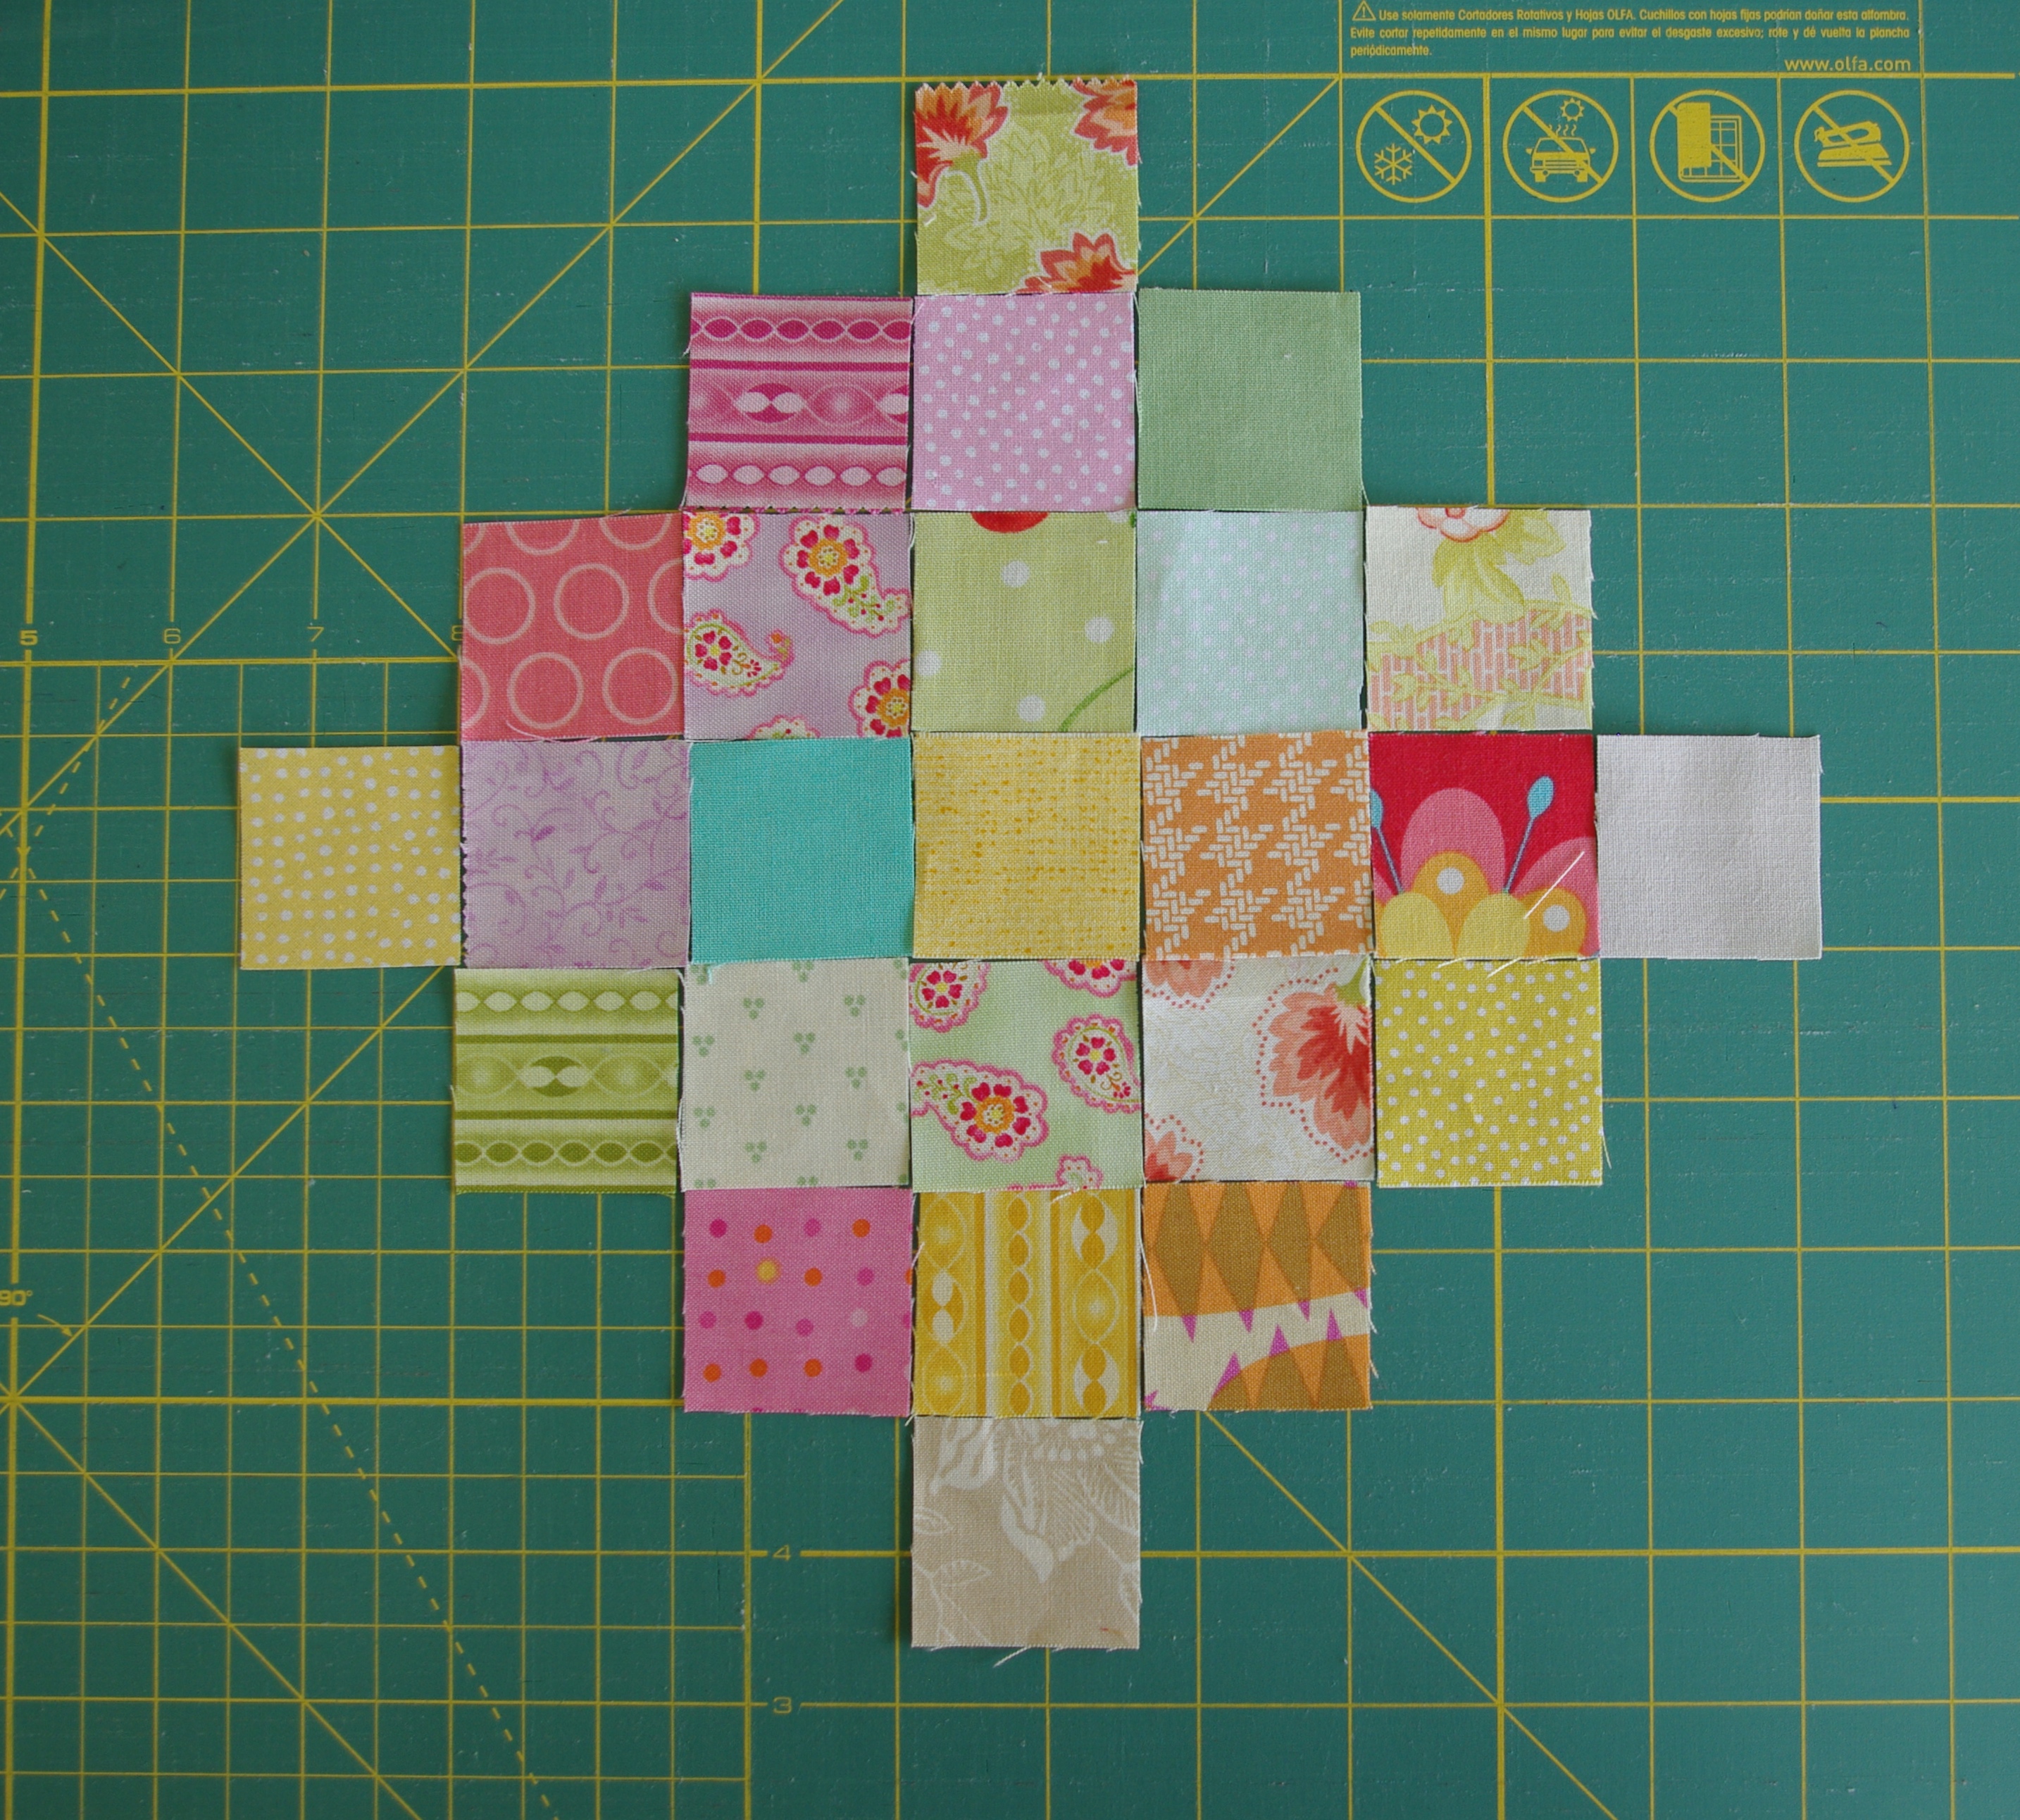
When attaching the single square to the adjacent row, line up the square with the adjacent row’s middle square (as shown below).
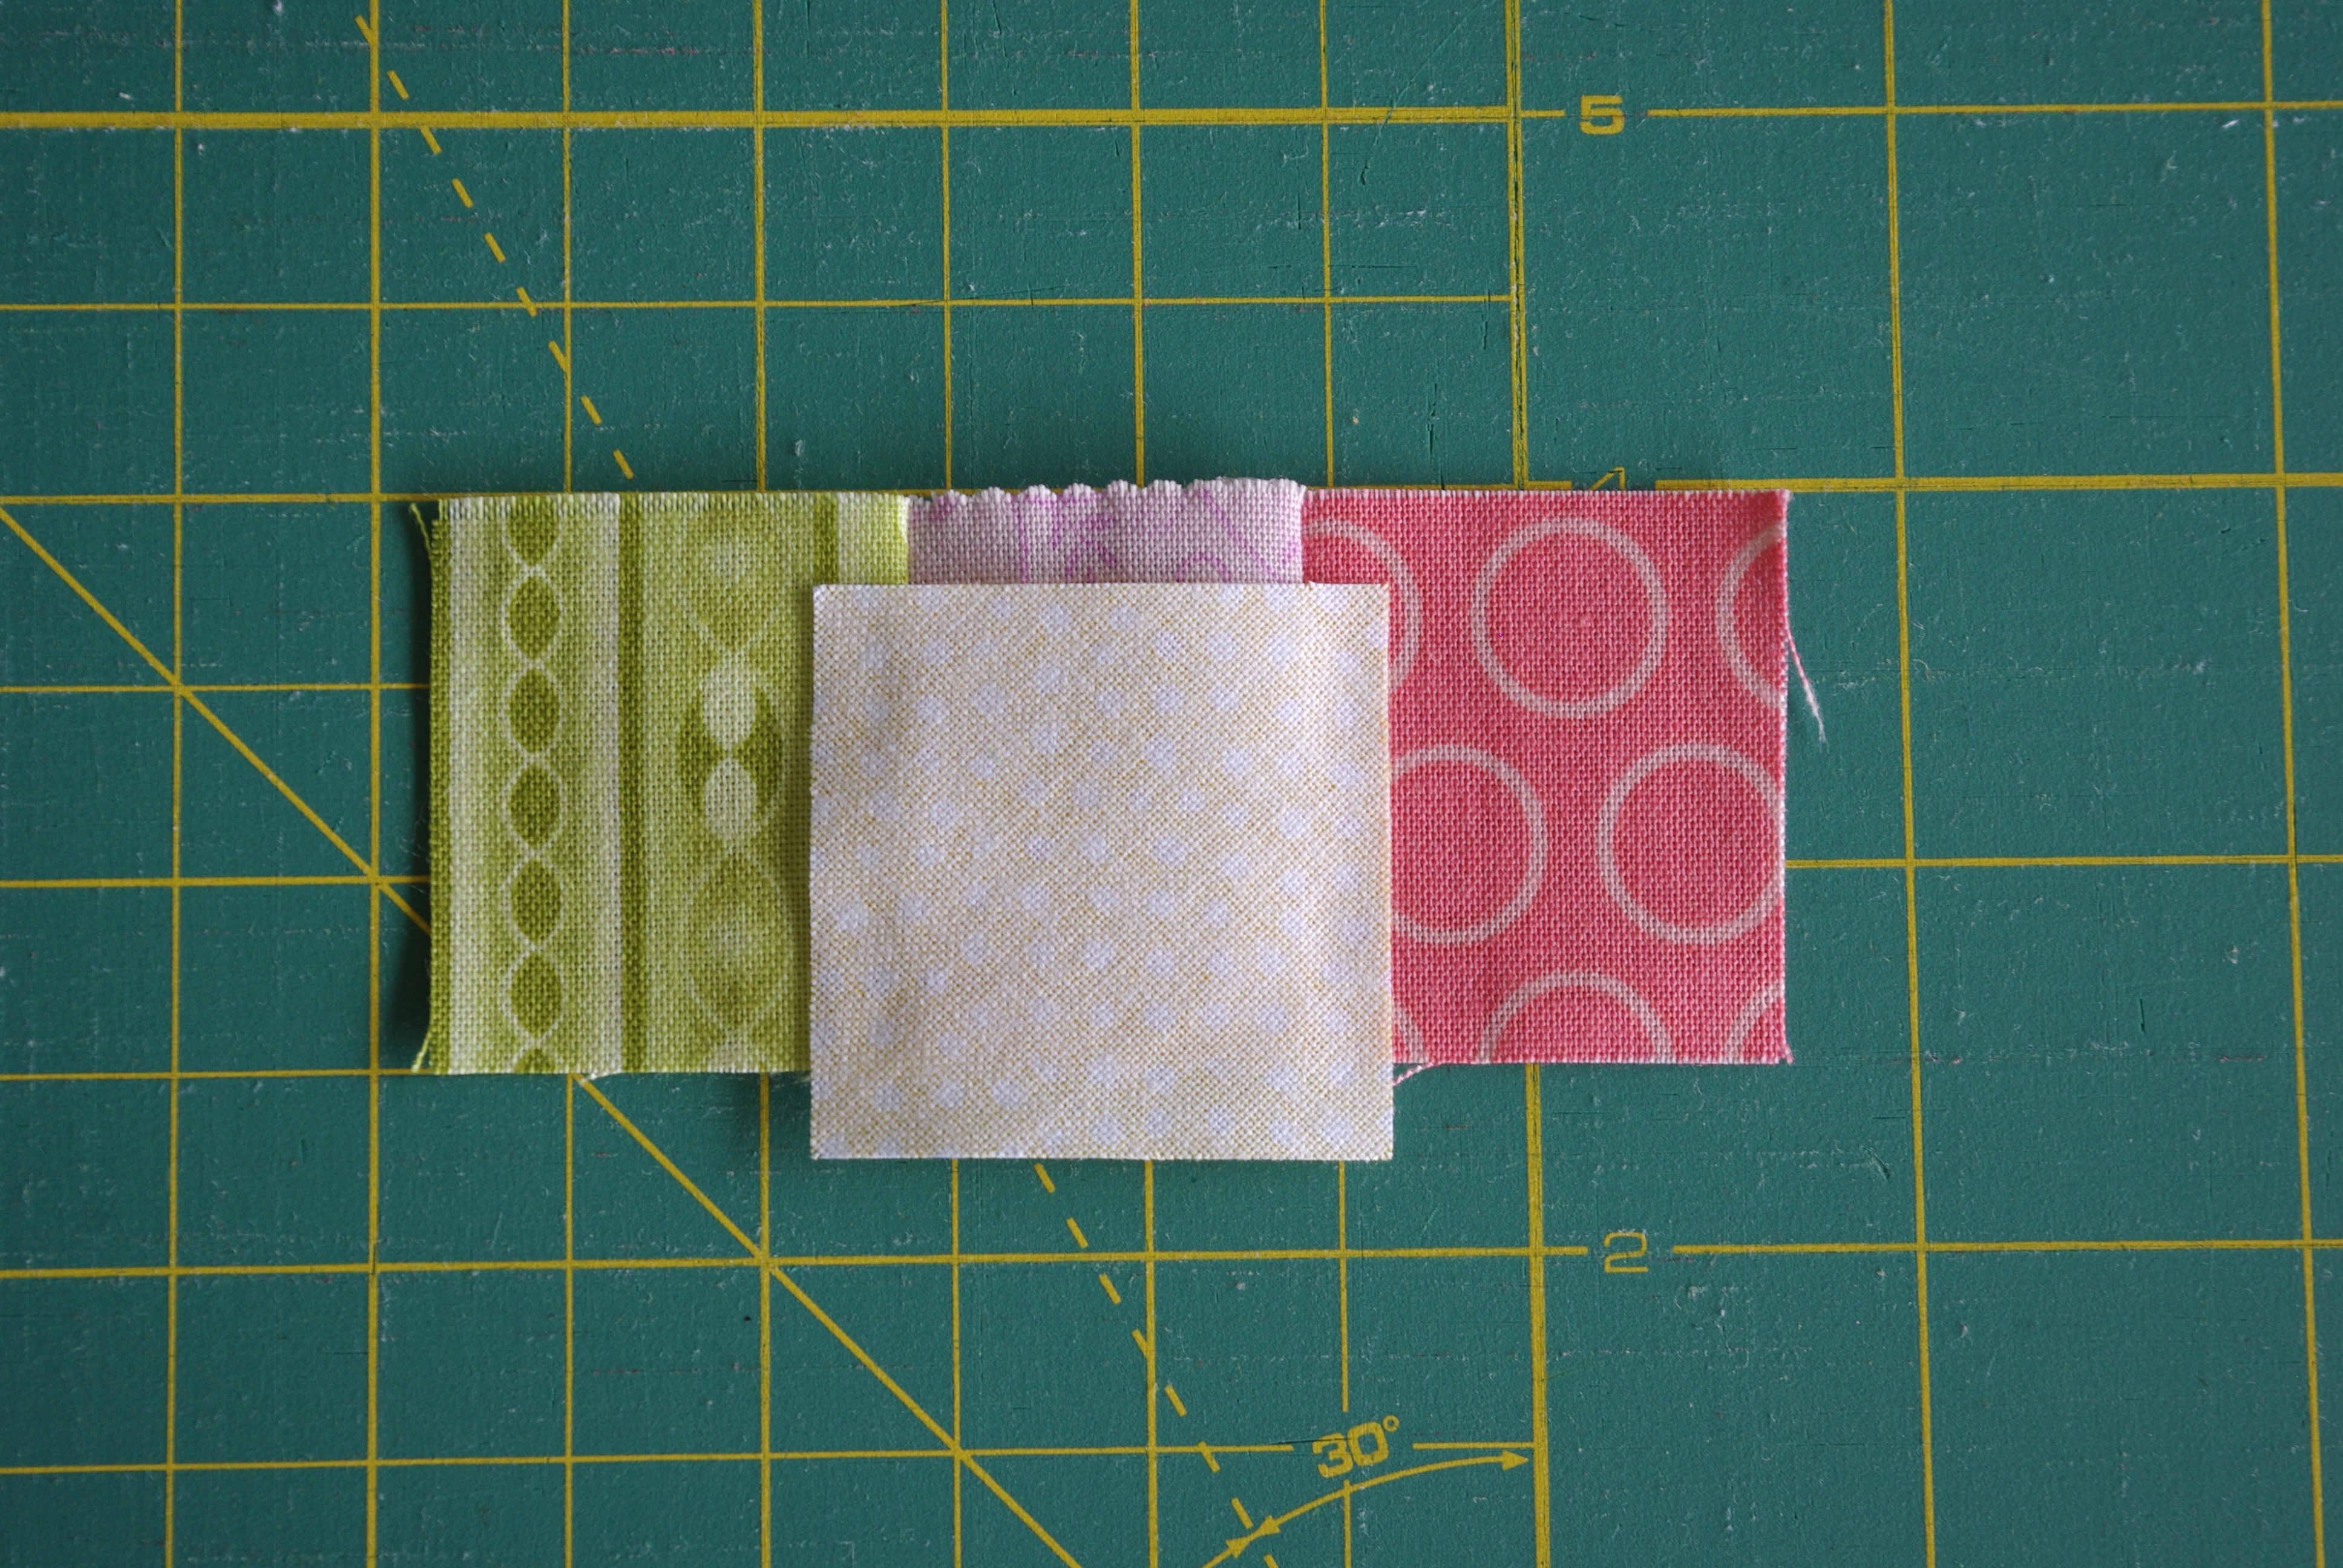
TIP: You can use the 1/4″ seam allowance as a guide to center it. The single square will have no seam allowance and look a bit odd, but it will work out in the end.
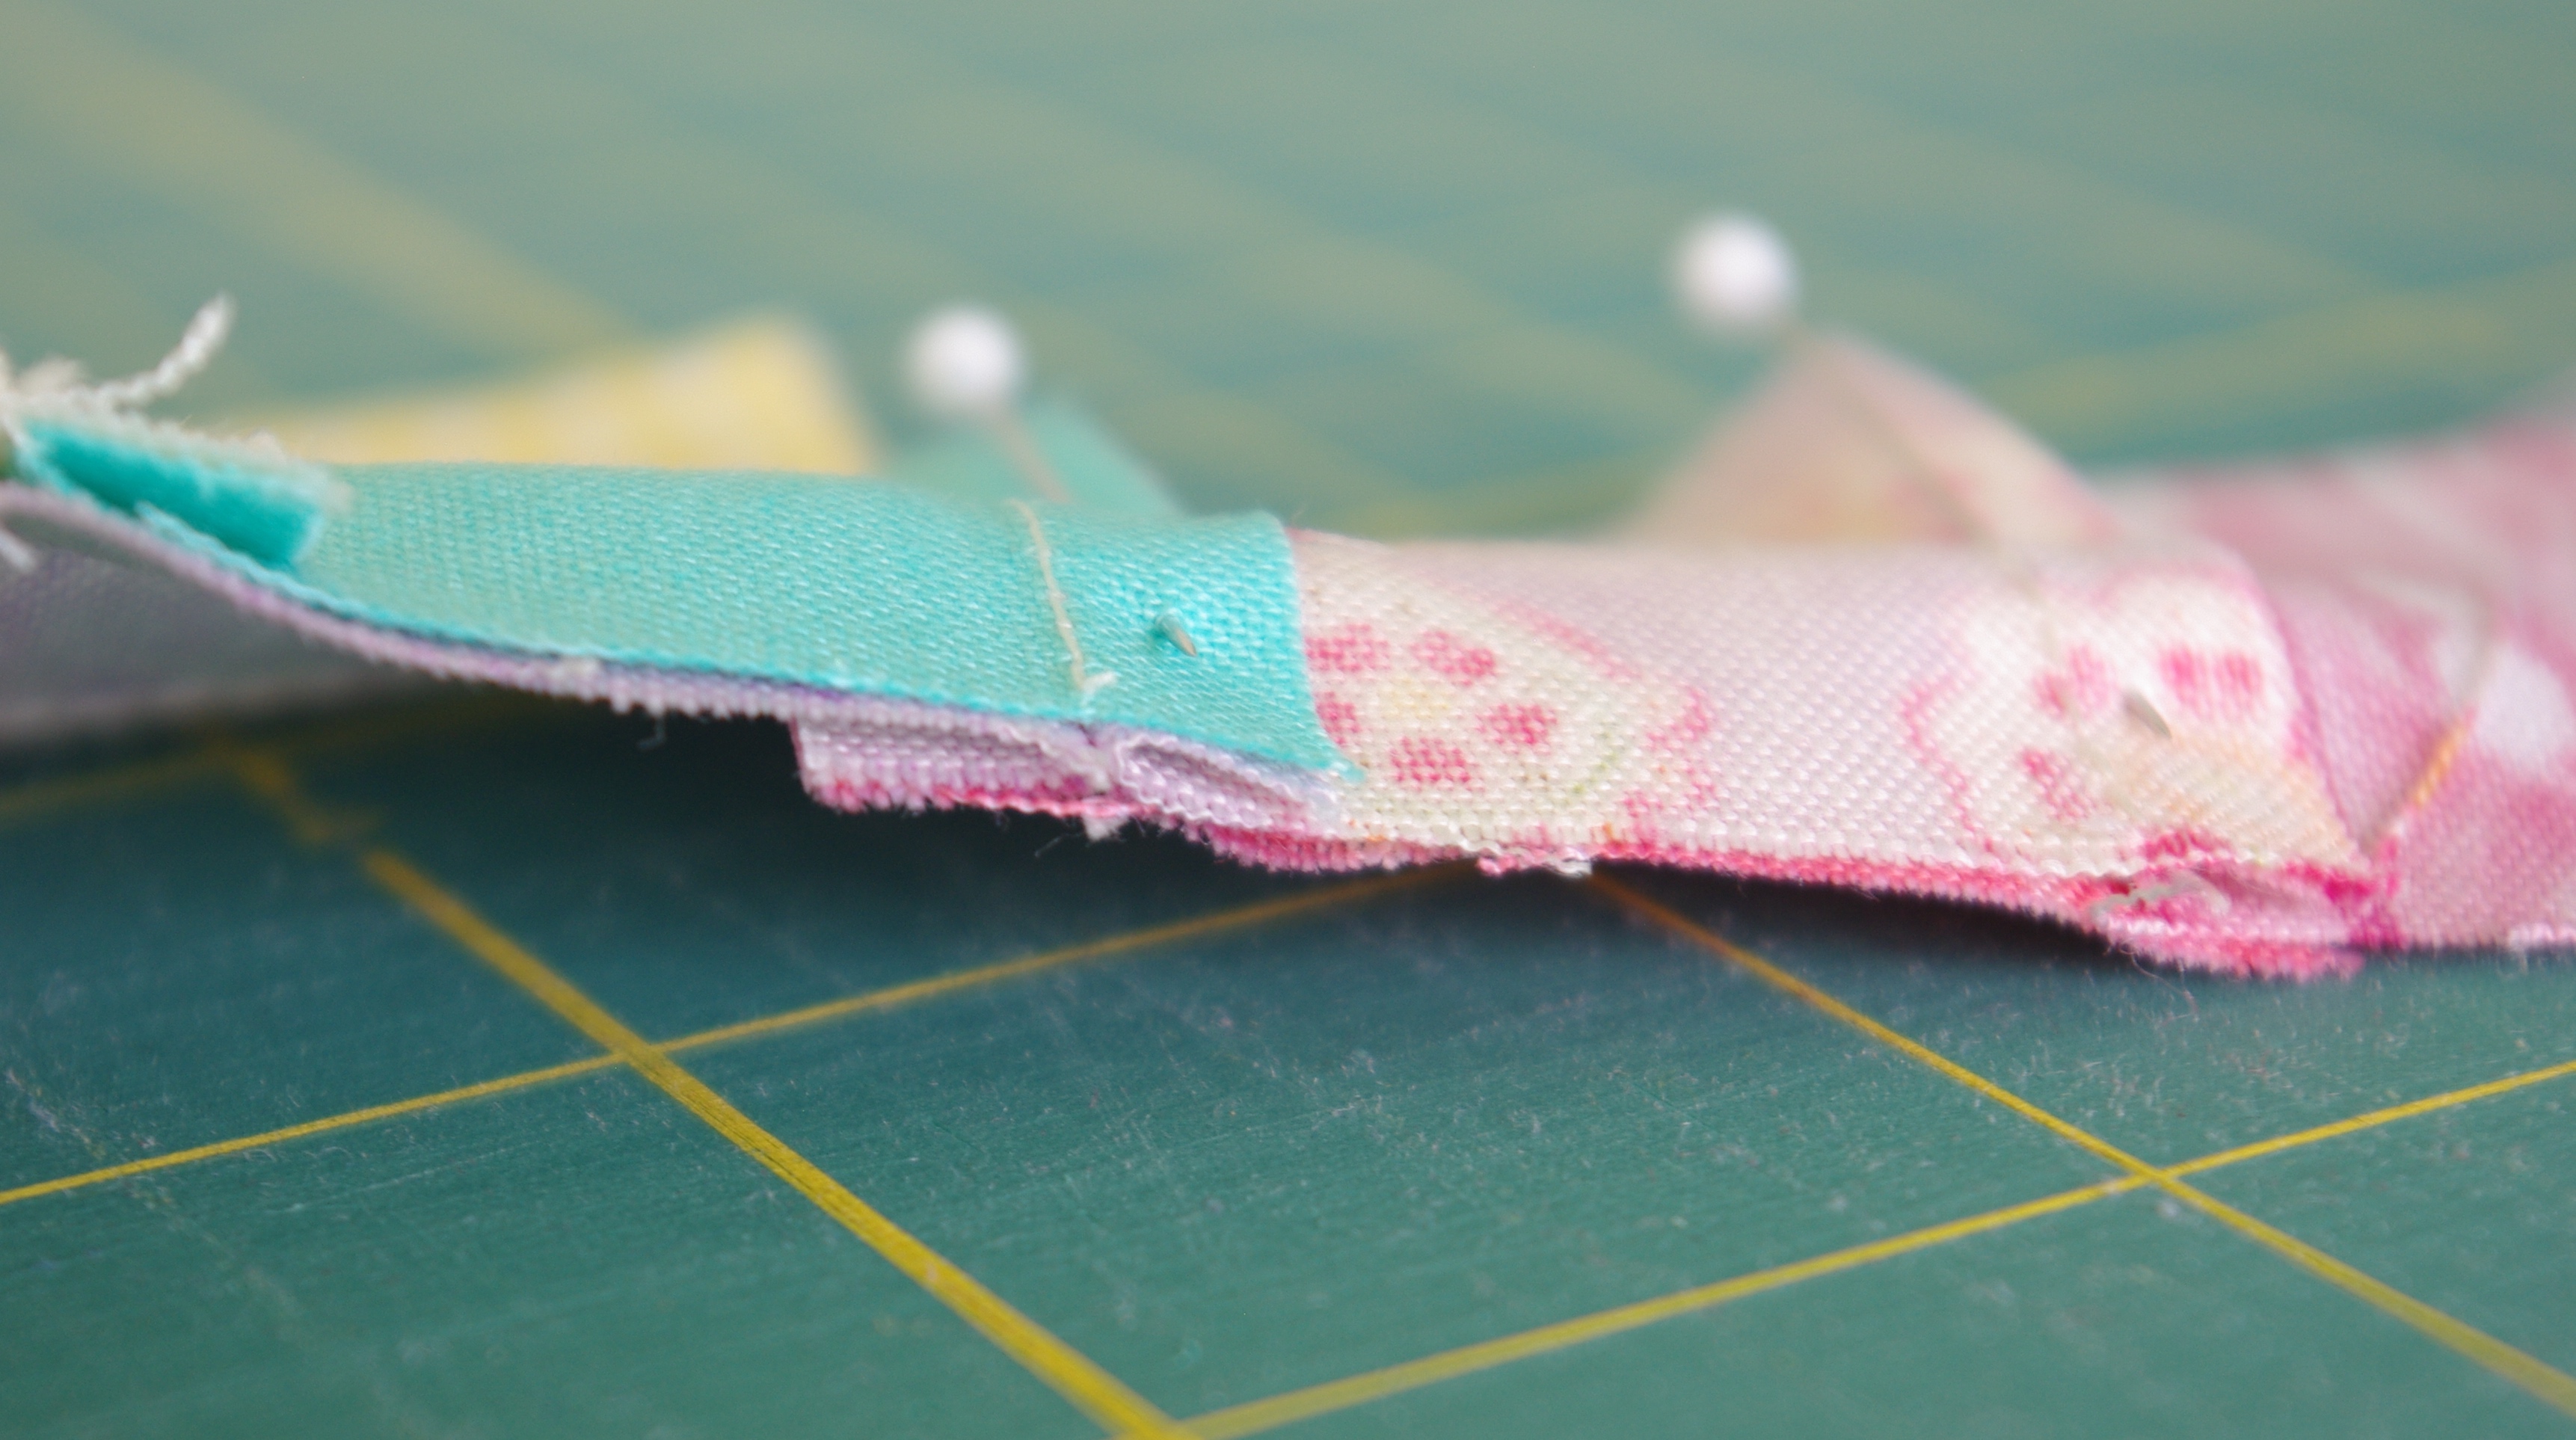
When the rows are completed, lay them out in the correct order and press seams in opposite directions per row to allow for nesting. Pin at nested seams; sew.
Once all rows are sewn together and the top is completed, press seams (direction doesn’t matter).
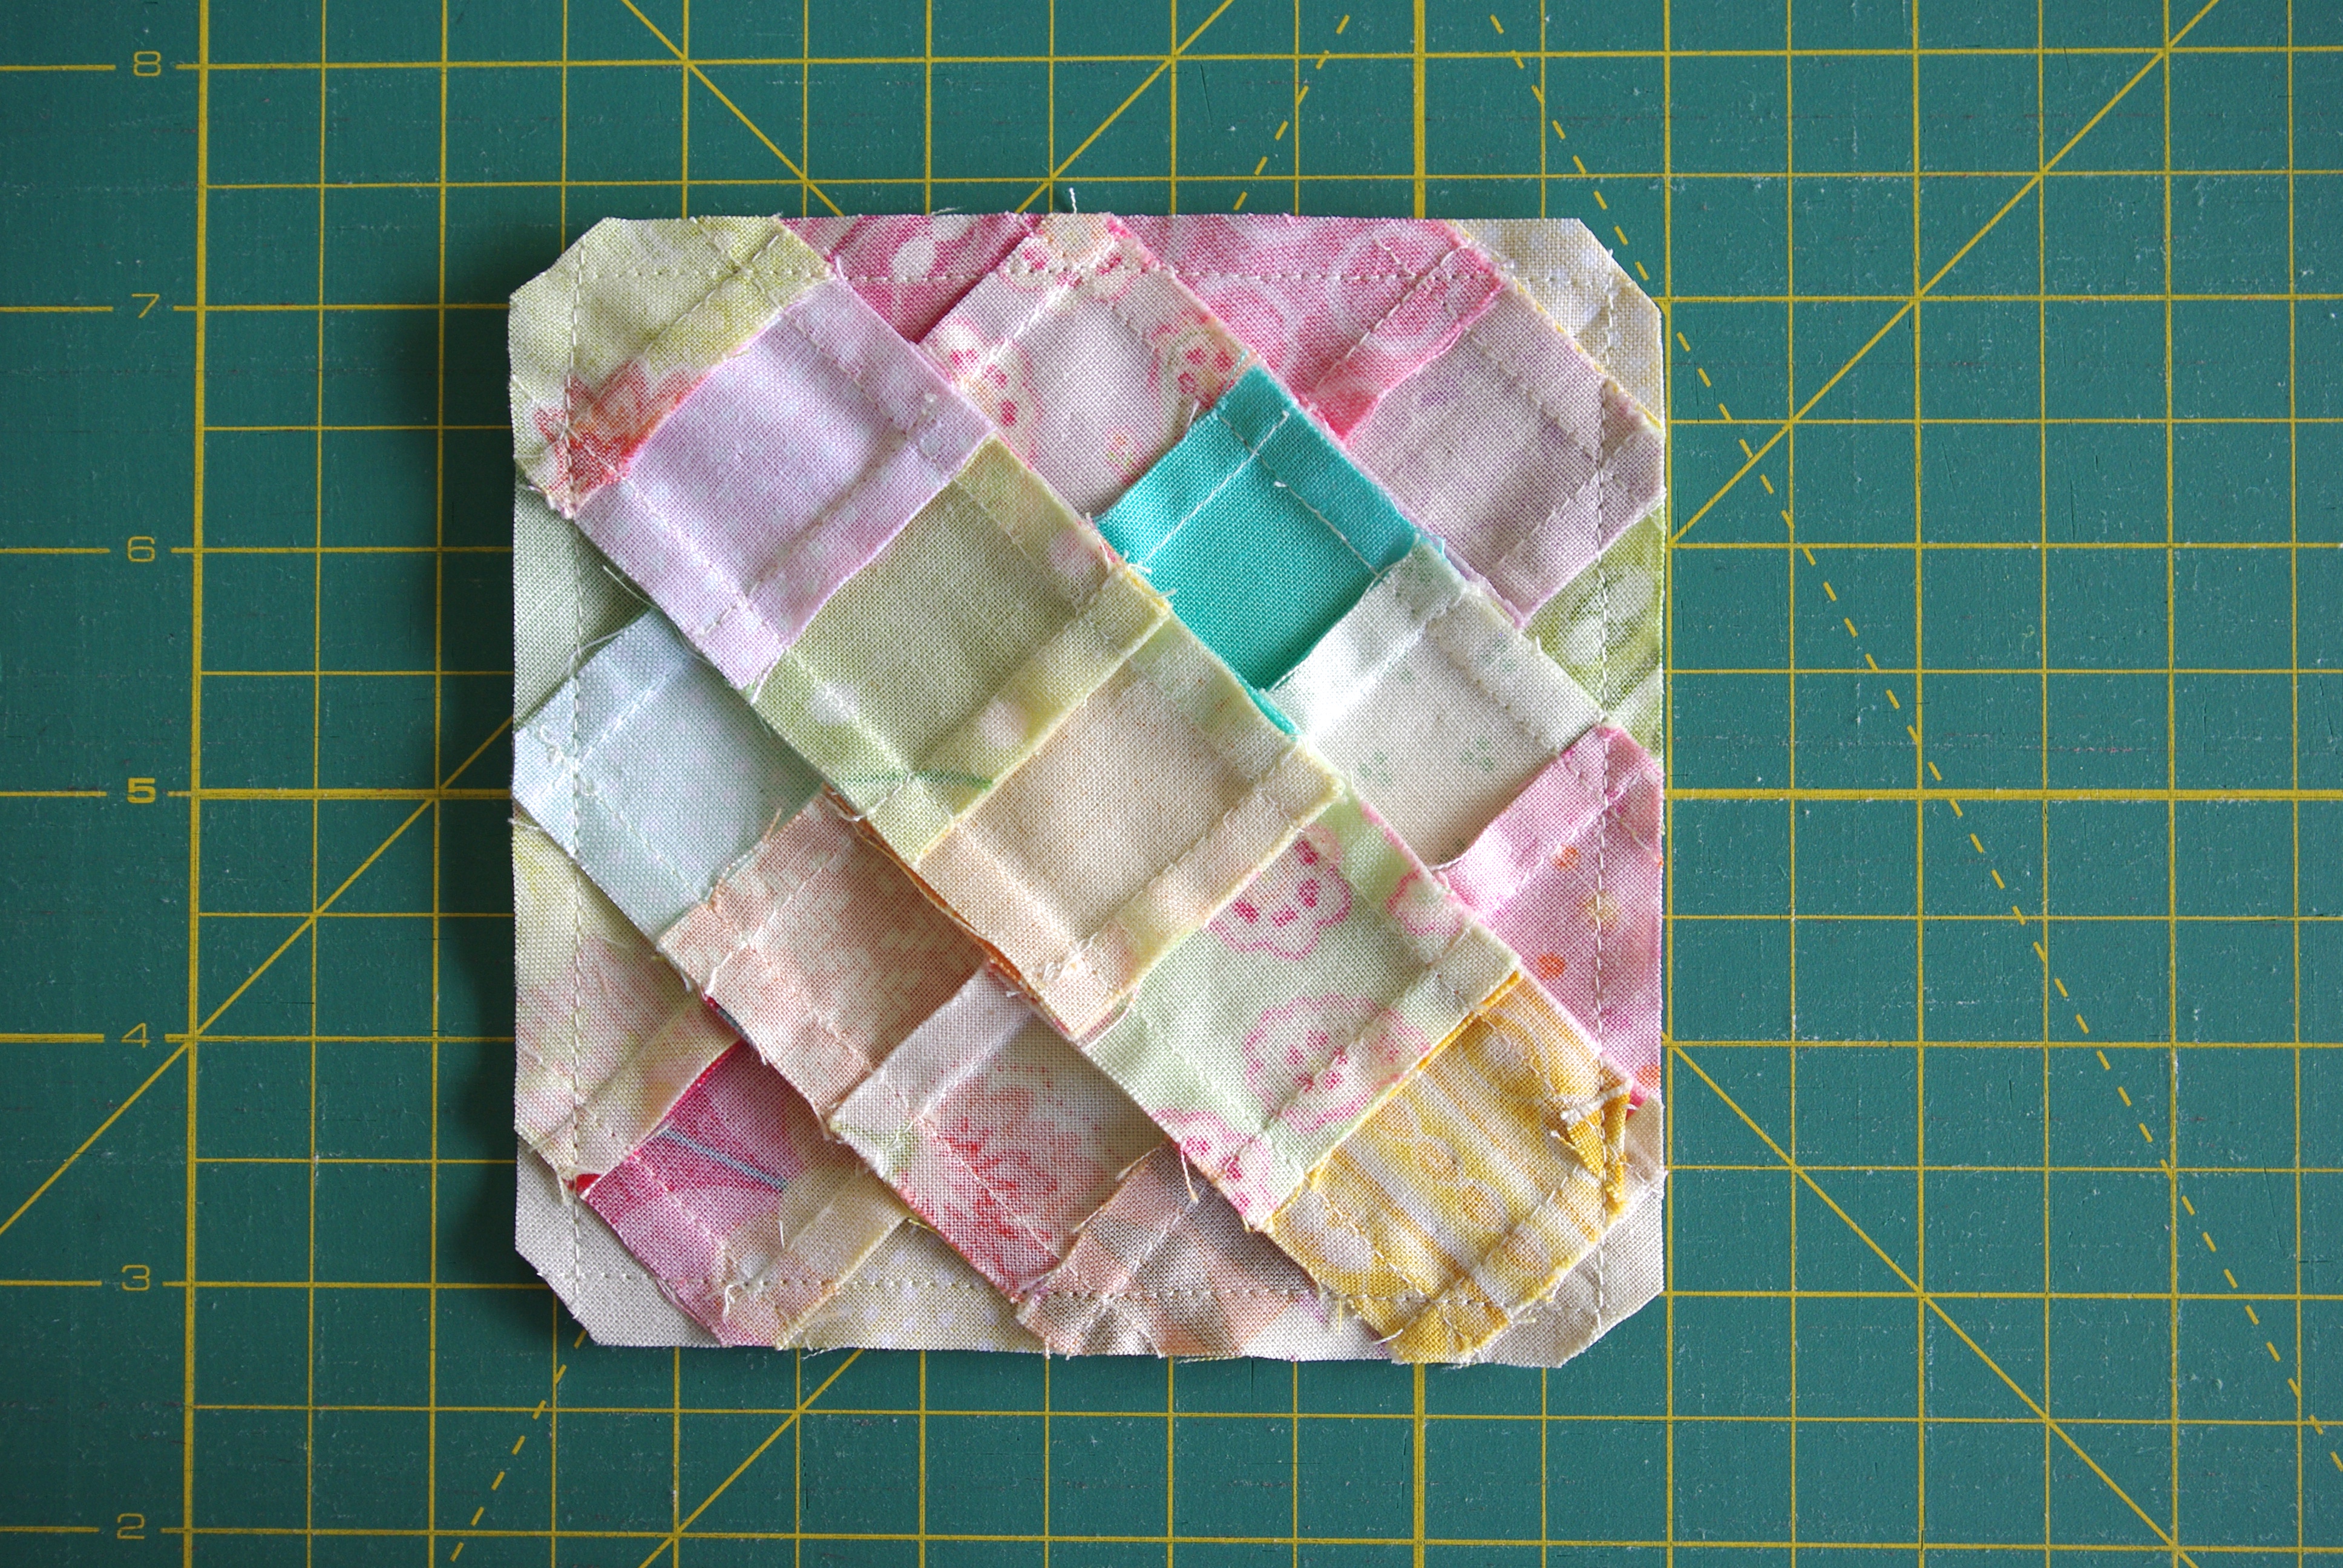
To get the squares on point, rotate your sewn top so it looks like this.

Line up a ruler along the points, leaving a 1/4″ and cut away excess (as shown below).
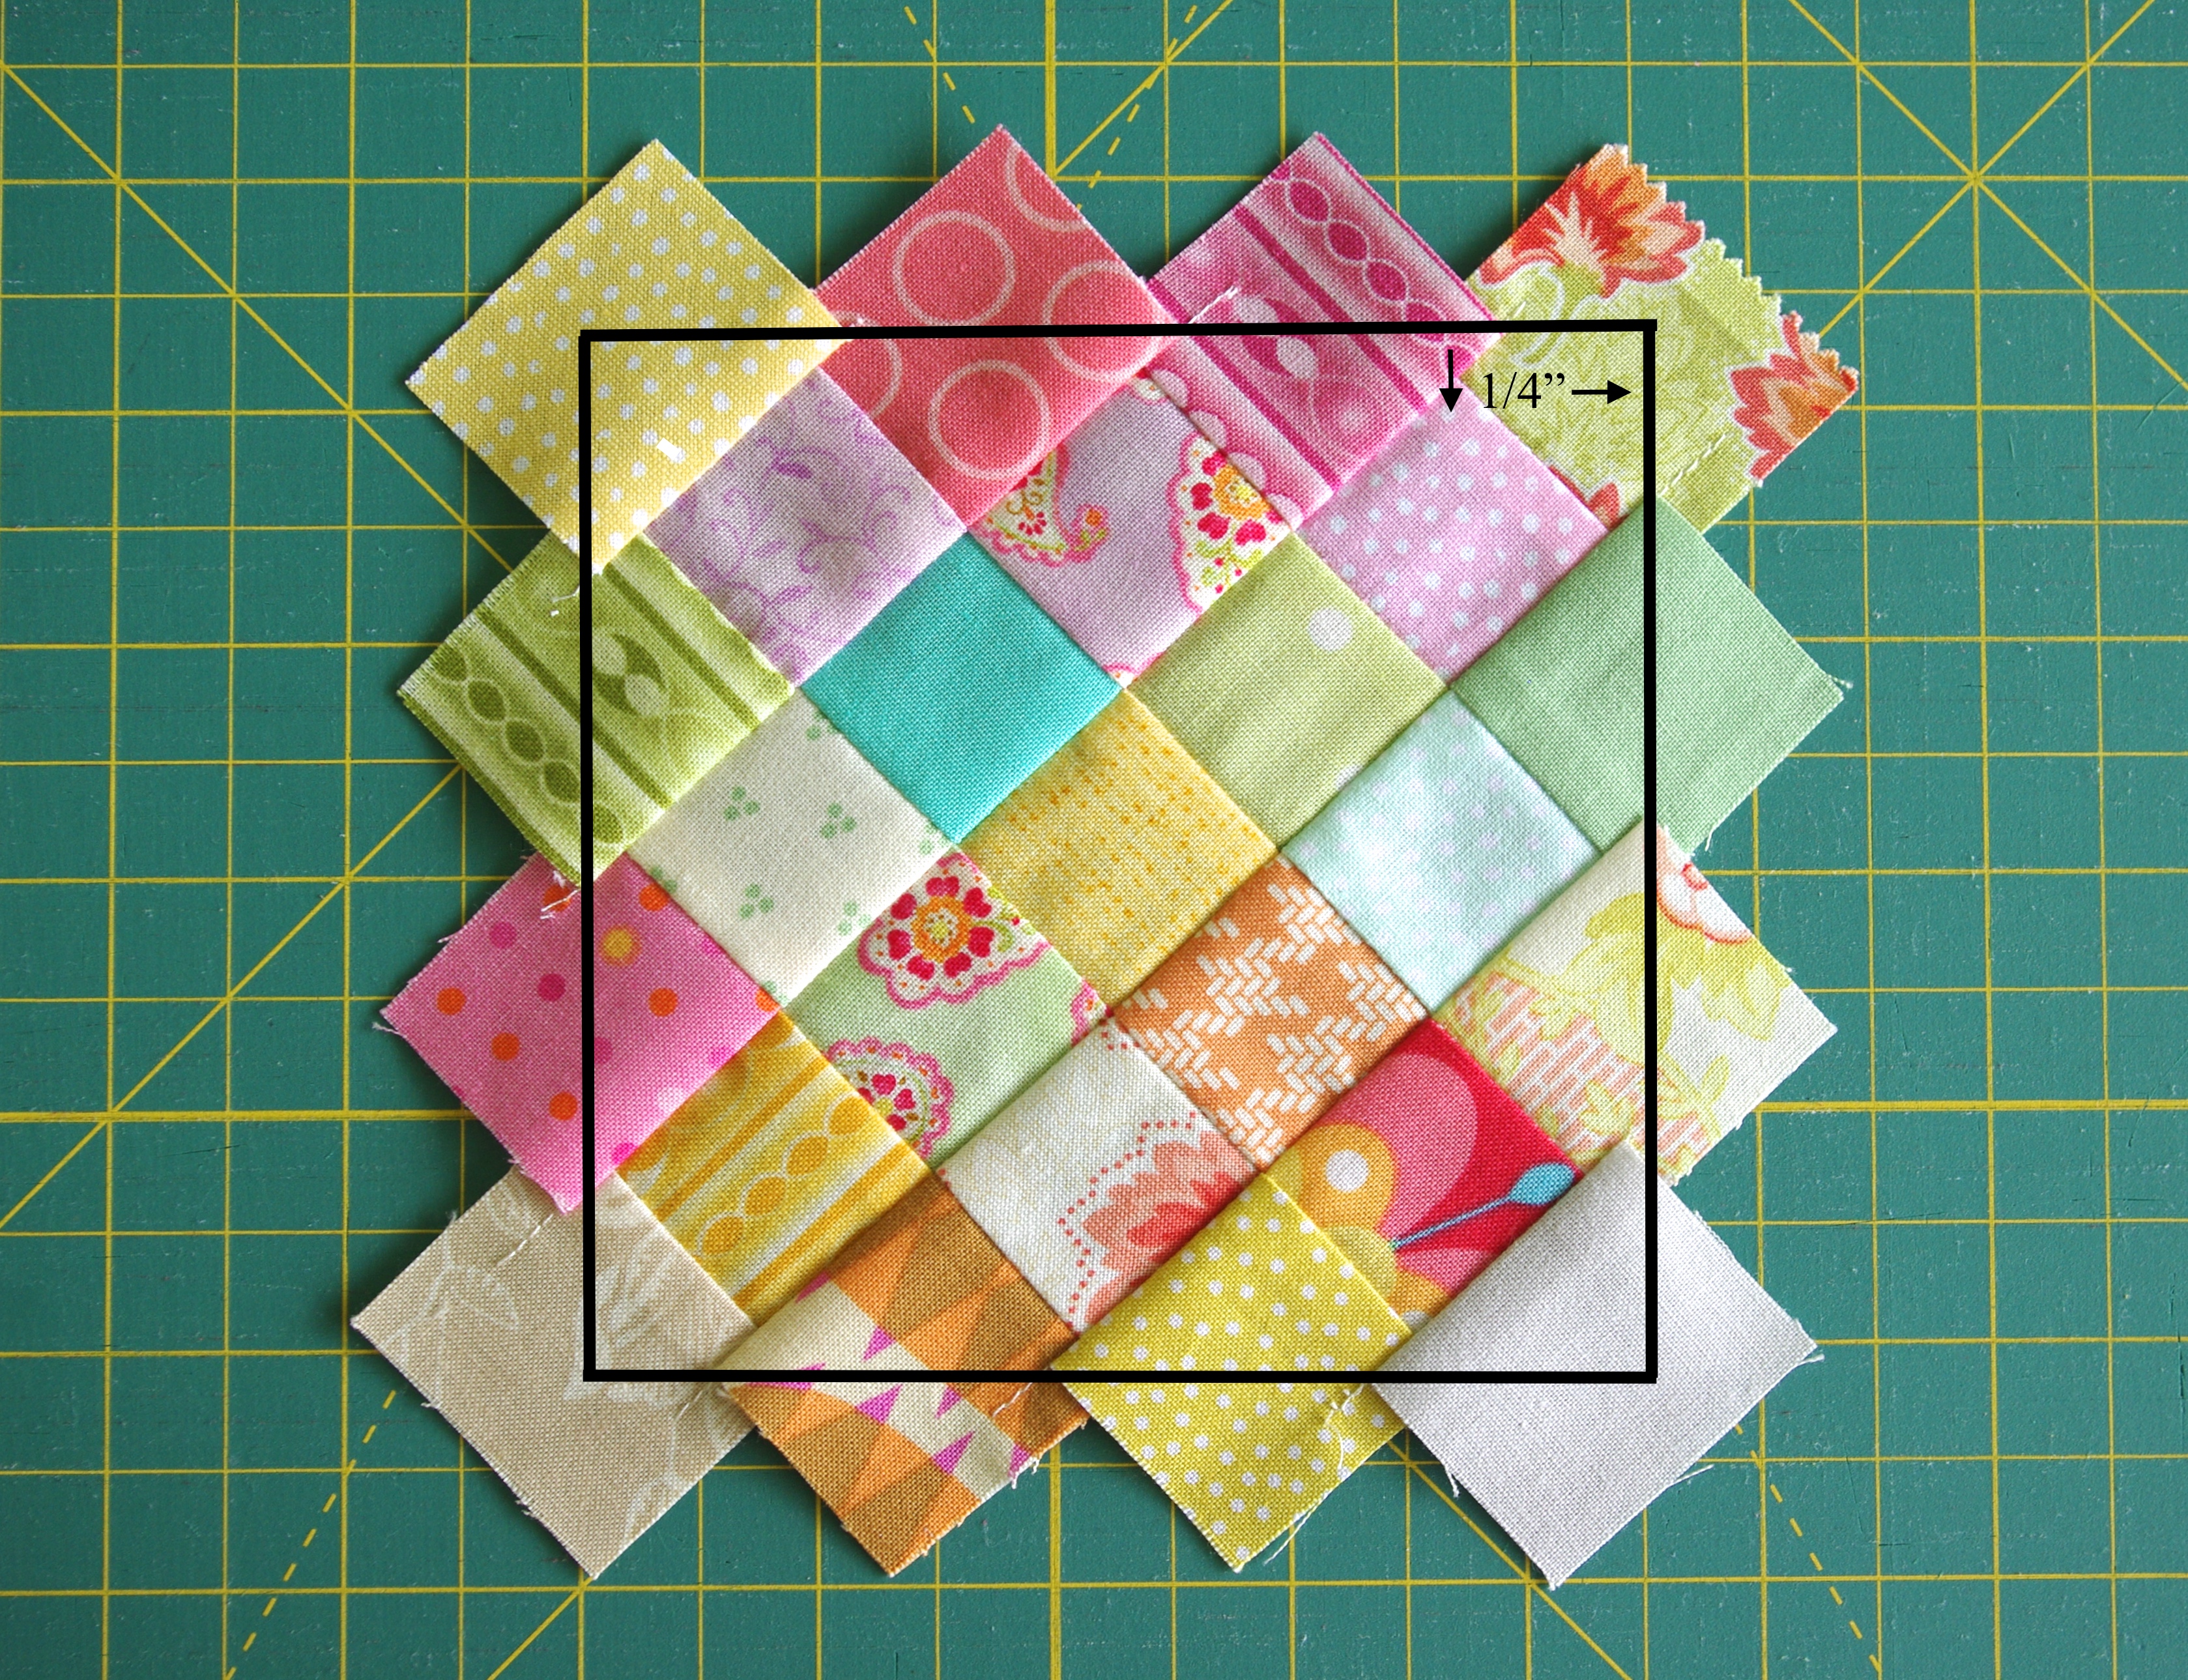
Top measures 4 1/2″.
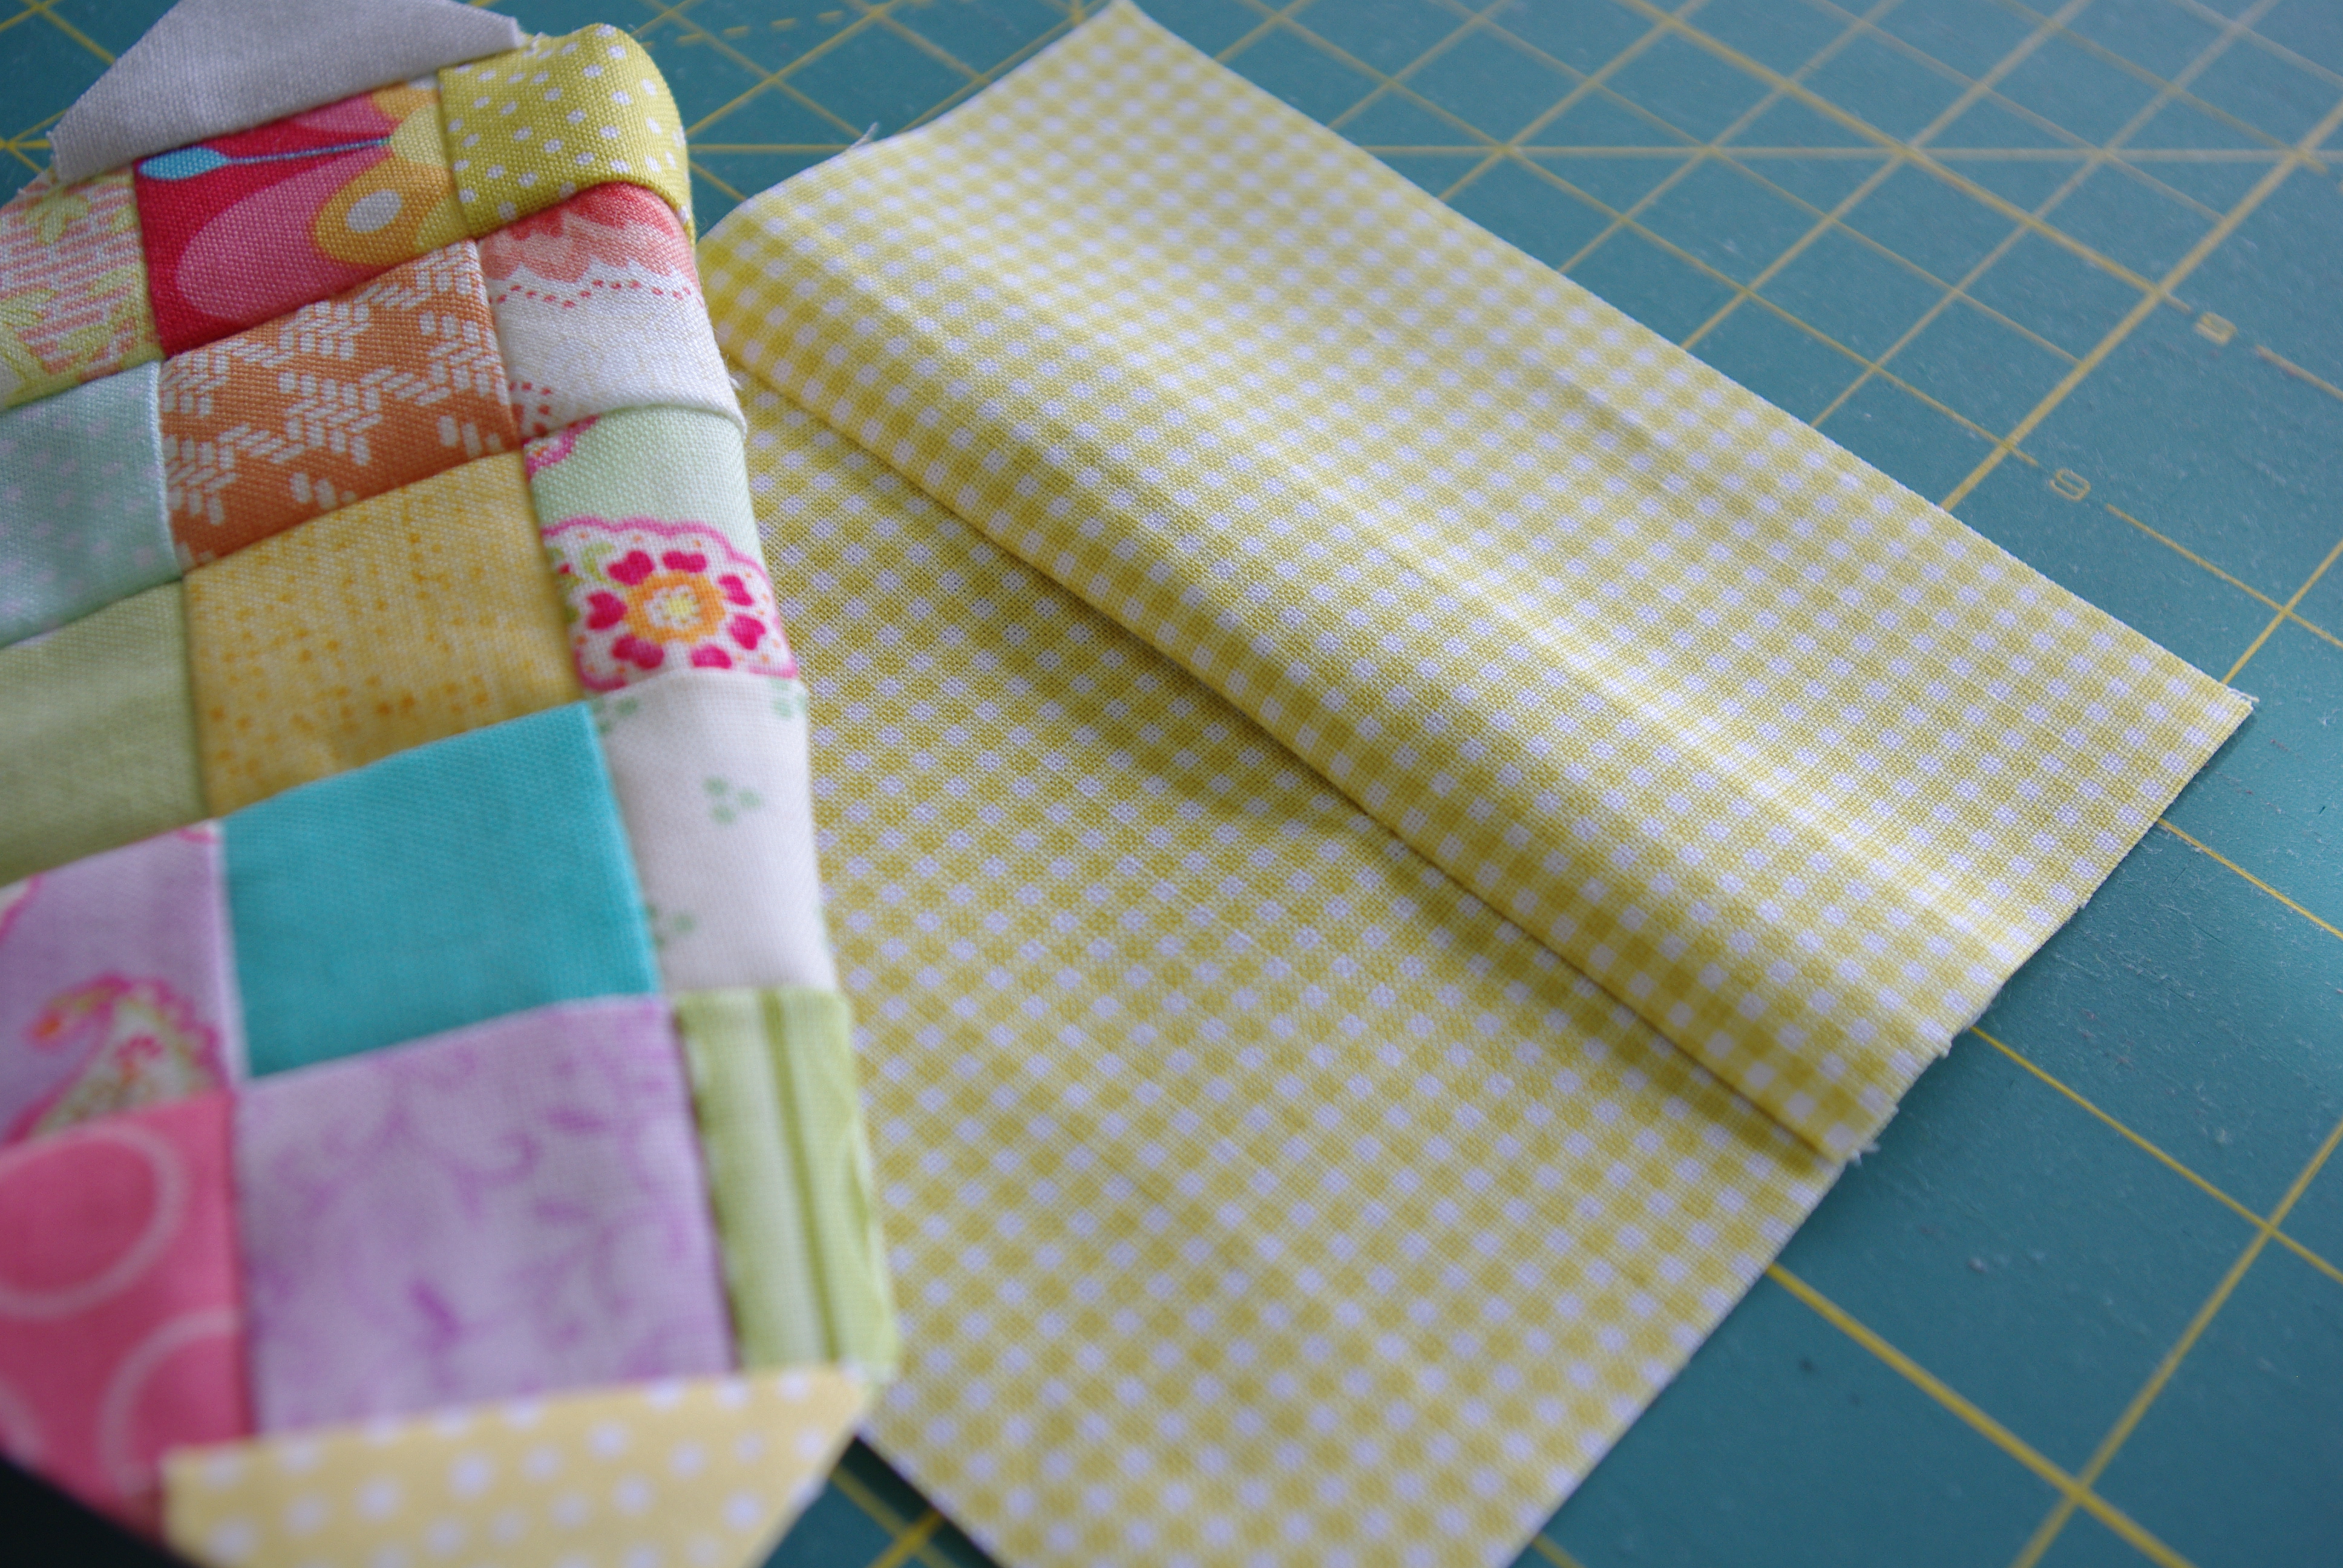
BACKING:
Place the 2 1/2″ x 4 1/2″ rectangles RST and make a mark a little more than 1″ from the top and a little more than 1″ from the bottom. Sew up to both marks, leaving an approximate 2″ opening for turning it right side out and adding stuffing. Press seam to one side.
ASSEMBLY:
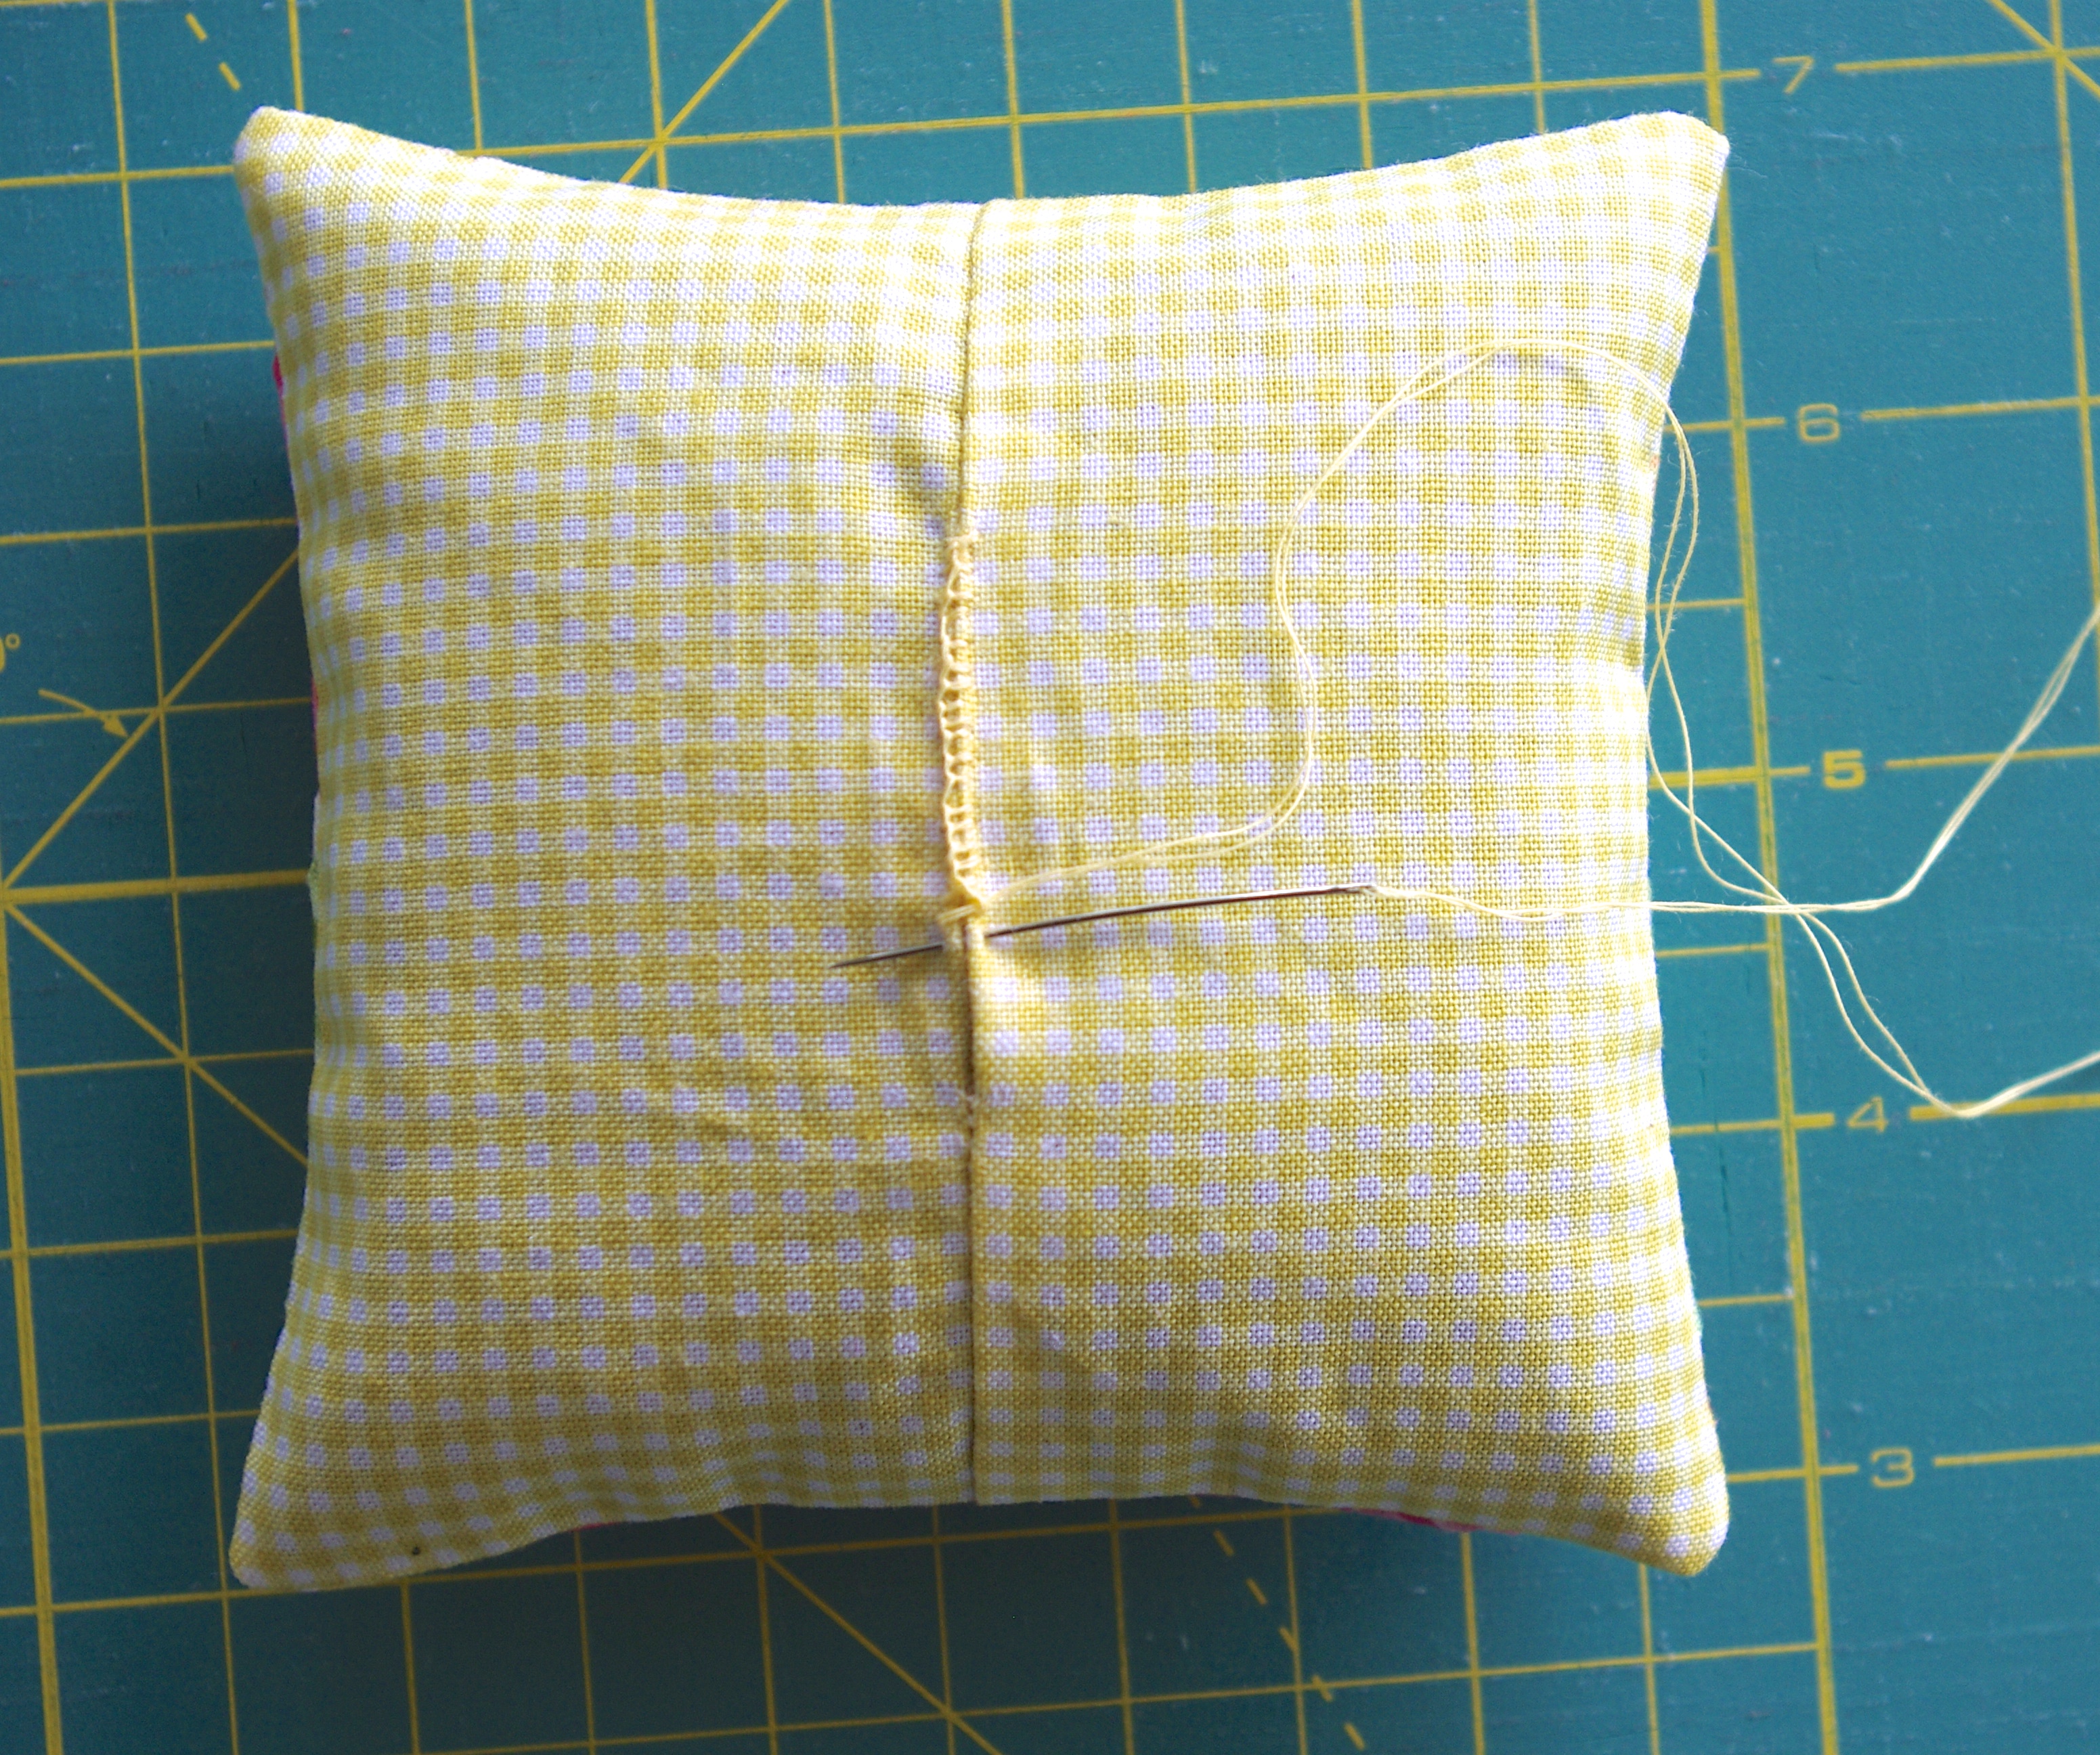
Place the pincushion top on top the sewn backing piece, RST. Sew around all four sides to close the entire pincushion.
Clip the corners slightly before turning right sides out (it will help make sharper corners).
I used the pointy end (blunted) of a bamboo skewer to poke out my corners.
Press one last time.
TO FINISH:
Fill with filler of choice.
NOTE: I have read that for more stability, you can attach interfacing or an extra piece of muslin to the back of the pincushion top. Since I usually use my pincushions just for needles, I didn’t take that extra step. Also, I stuffed mine with crushed walnut shells to help keep my needles sharp.
Lastly, sew the backing opening closed. For extra strength, I used a small blanket stitch.
Behold the cuteness!
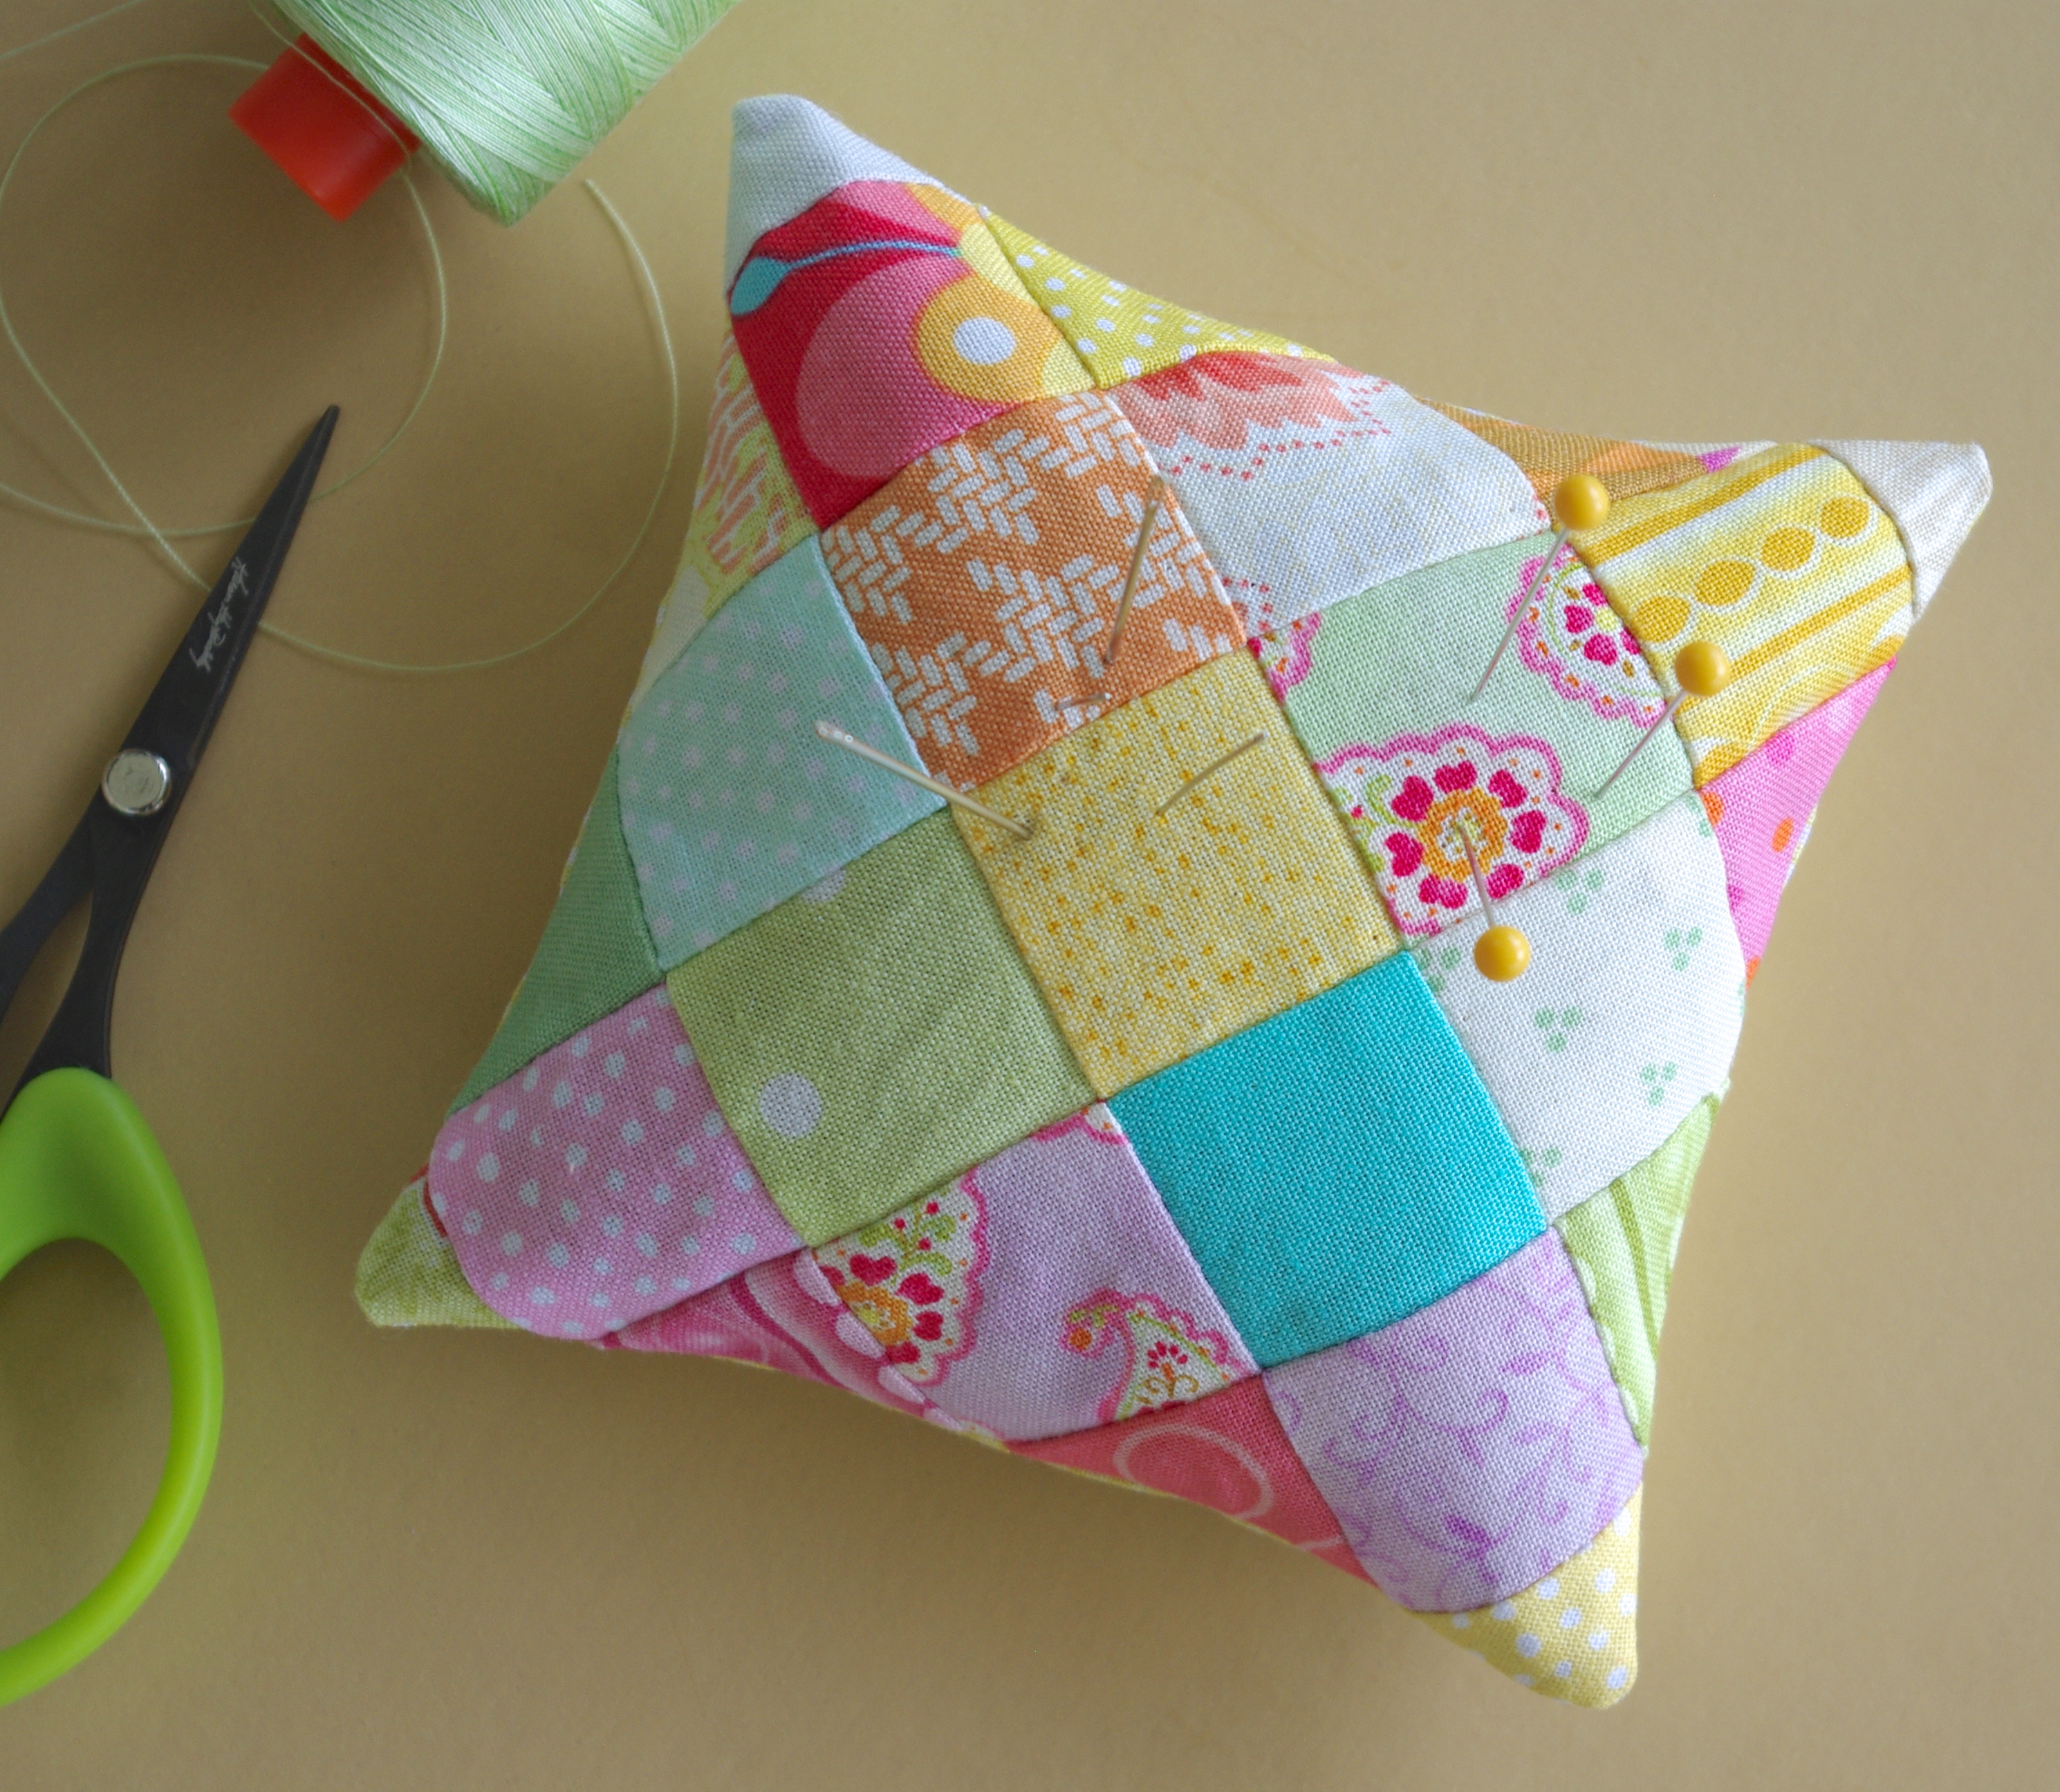

Cute as a button!,,
LikeLike
Thank you Karen!
LikeLike
Bright and cheerful! Thanks for the crushed walnut shell tip. Does it really work?
LikeLike
Hi Laura, The crushed shells worked out decent for stuffing but I personally couldn’t tell if they kept my needles sharp, although others swear by it! Thanks for stopping by my website.
LikeLike
Just beautiful Thank You so much
LikeLike
Thank you Gwen. I’m glad you stopped by!
LikeLike
I just made the pin cushion tried to buy one I did buy a magnetic one and didn’t care for it I found a tomato type but was very small wouldn’t stay put I like the size of this one I used what I had on hand and stuffed it with cotton batting thanks for your site love how it came out not perfect but good enough for me
LikeLike
I’m glad you were able to use the tutorial Wayne! It’s always great to use what’s on hand. 😊 Thank you for sharing and stopping by my website.
LikeLike