Christmas, fall decor, home decor, how to, mini quilts, patterns, PDF pattern, quilt blocks, quilting, sewing, tutorials, Uncategorized

2019 Project Recap

Every year I like to write a blog post recapping all the projects I’ve made. I mainly do this to have a quick reference should I ever need to know when something in particular was made. And it’s fun to see how I’ve spent my time sewing. So here goes…

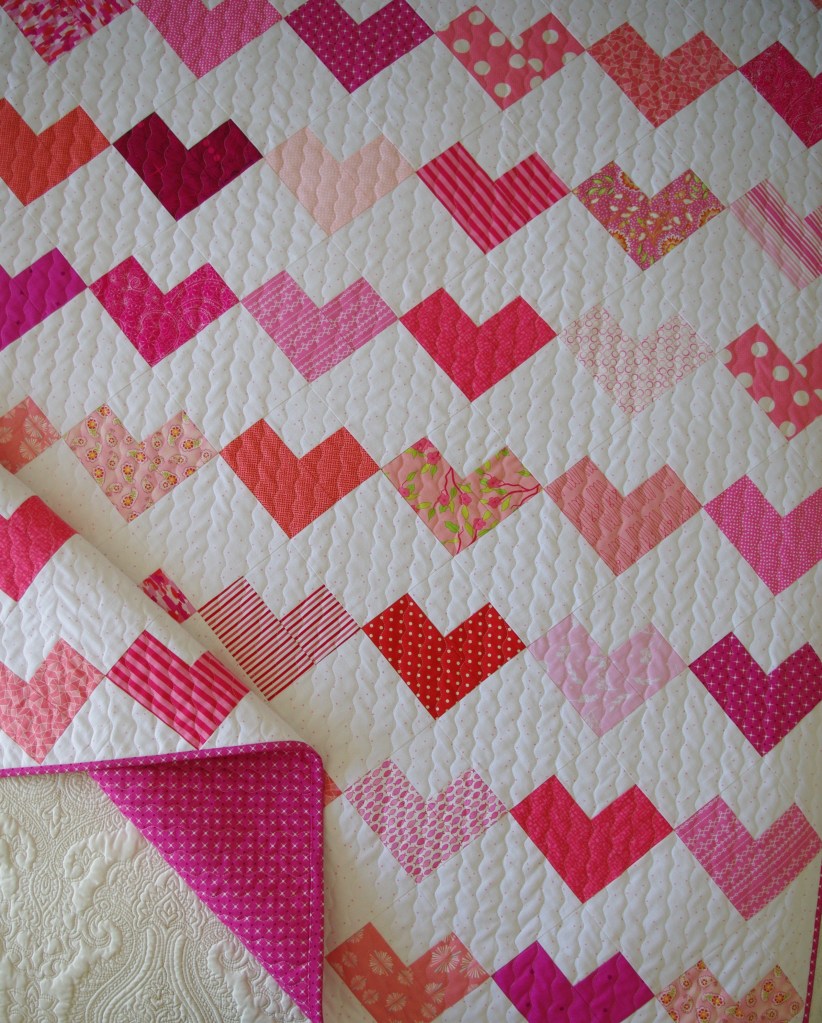
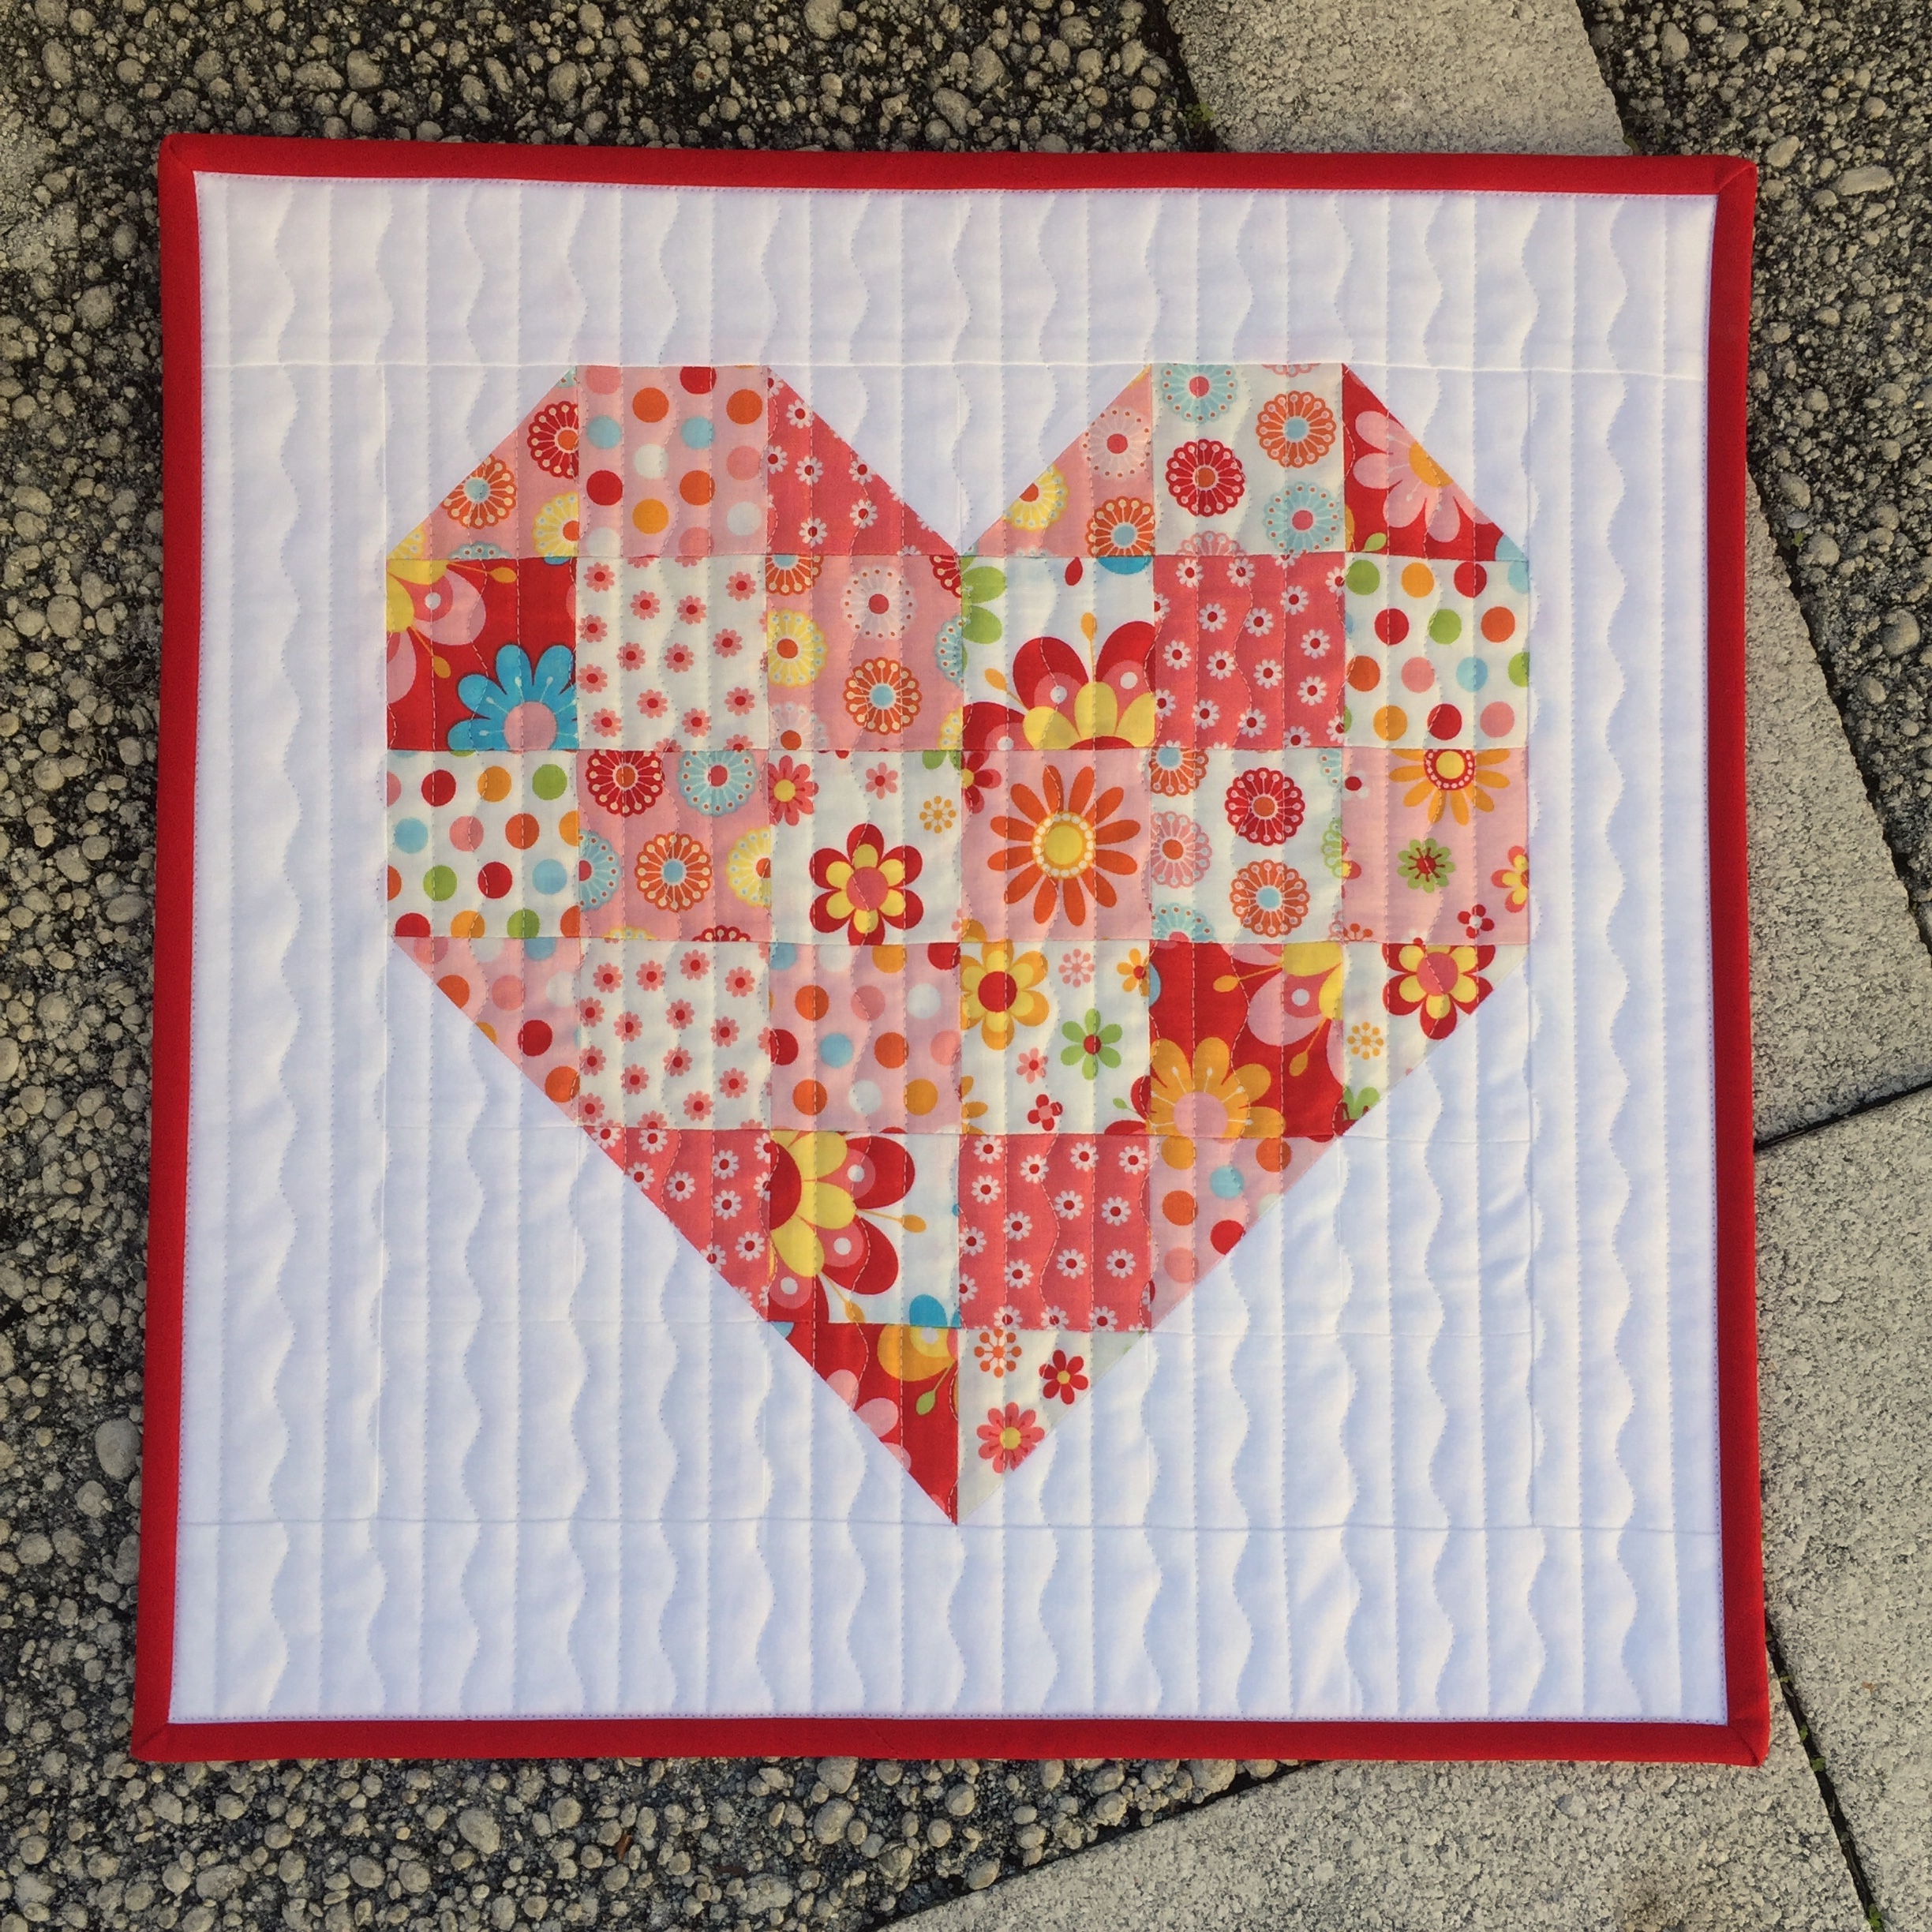
First up is my Petite Hearts quilt that I made on a whim. It has a funny story to go along with it…I thought I was onto an original pattern, but while looking for a name I found it had been published before as baby quilt. Still a top favorite.

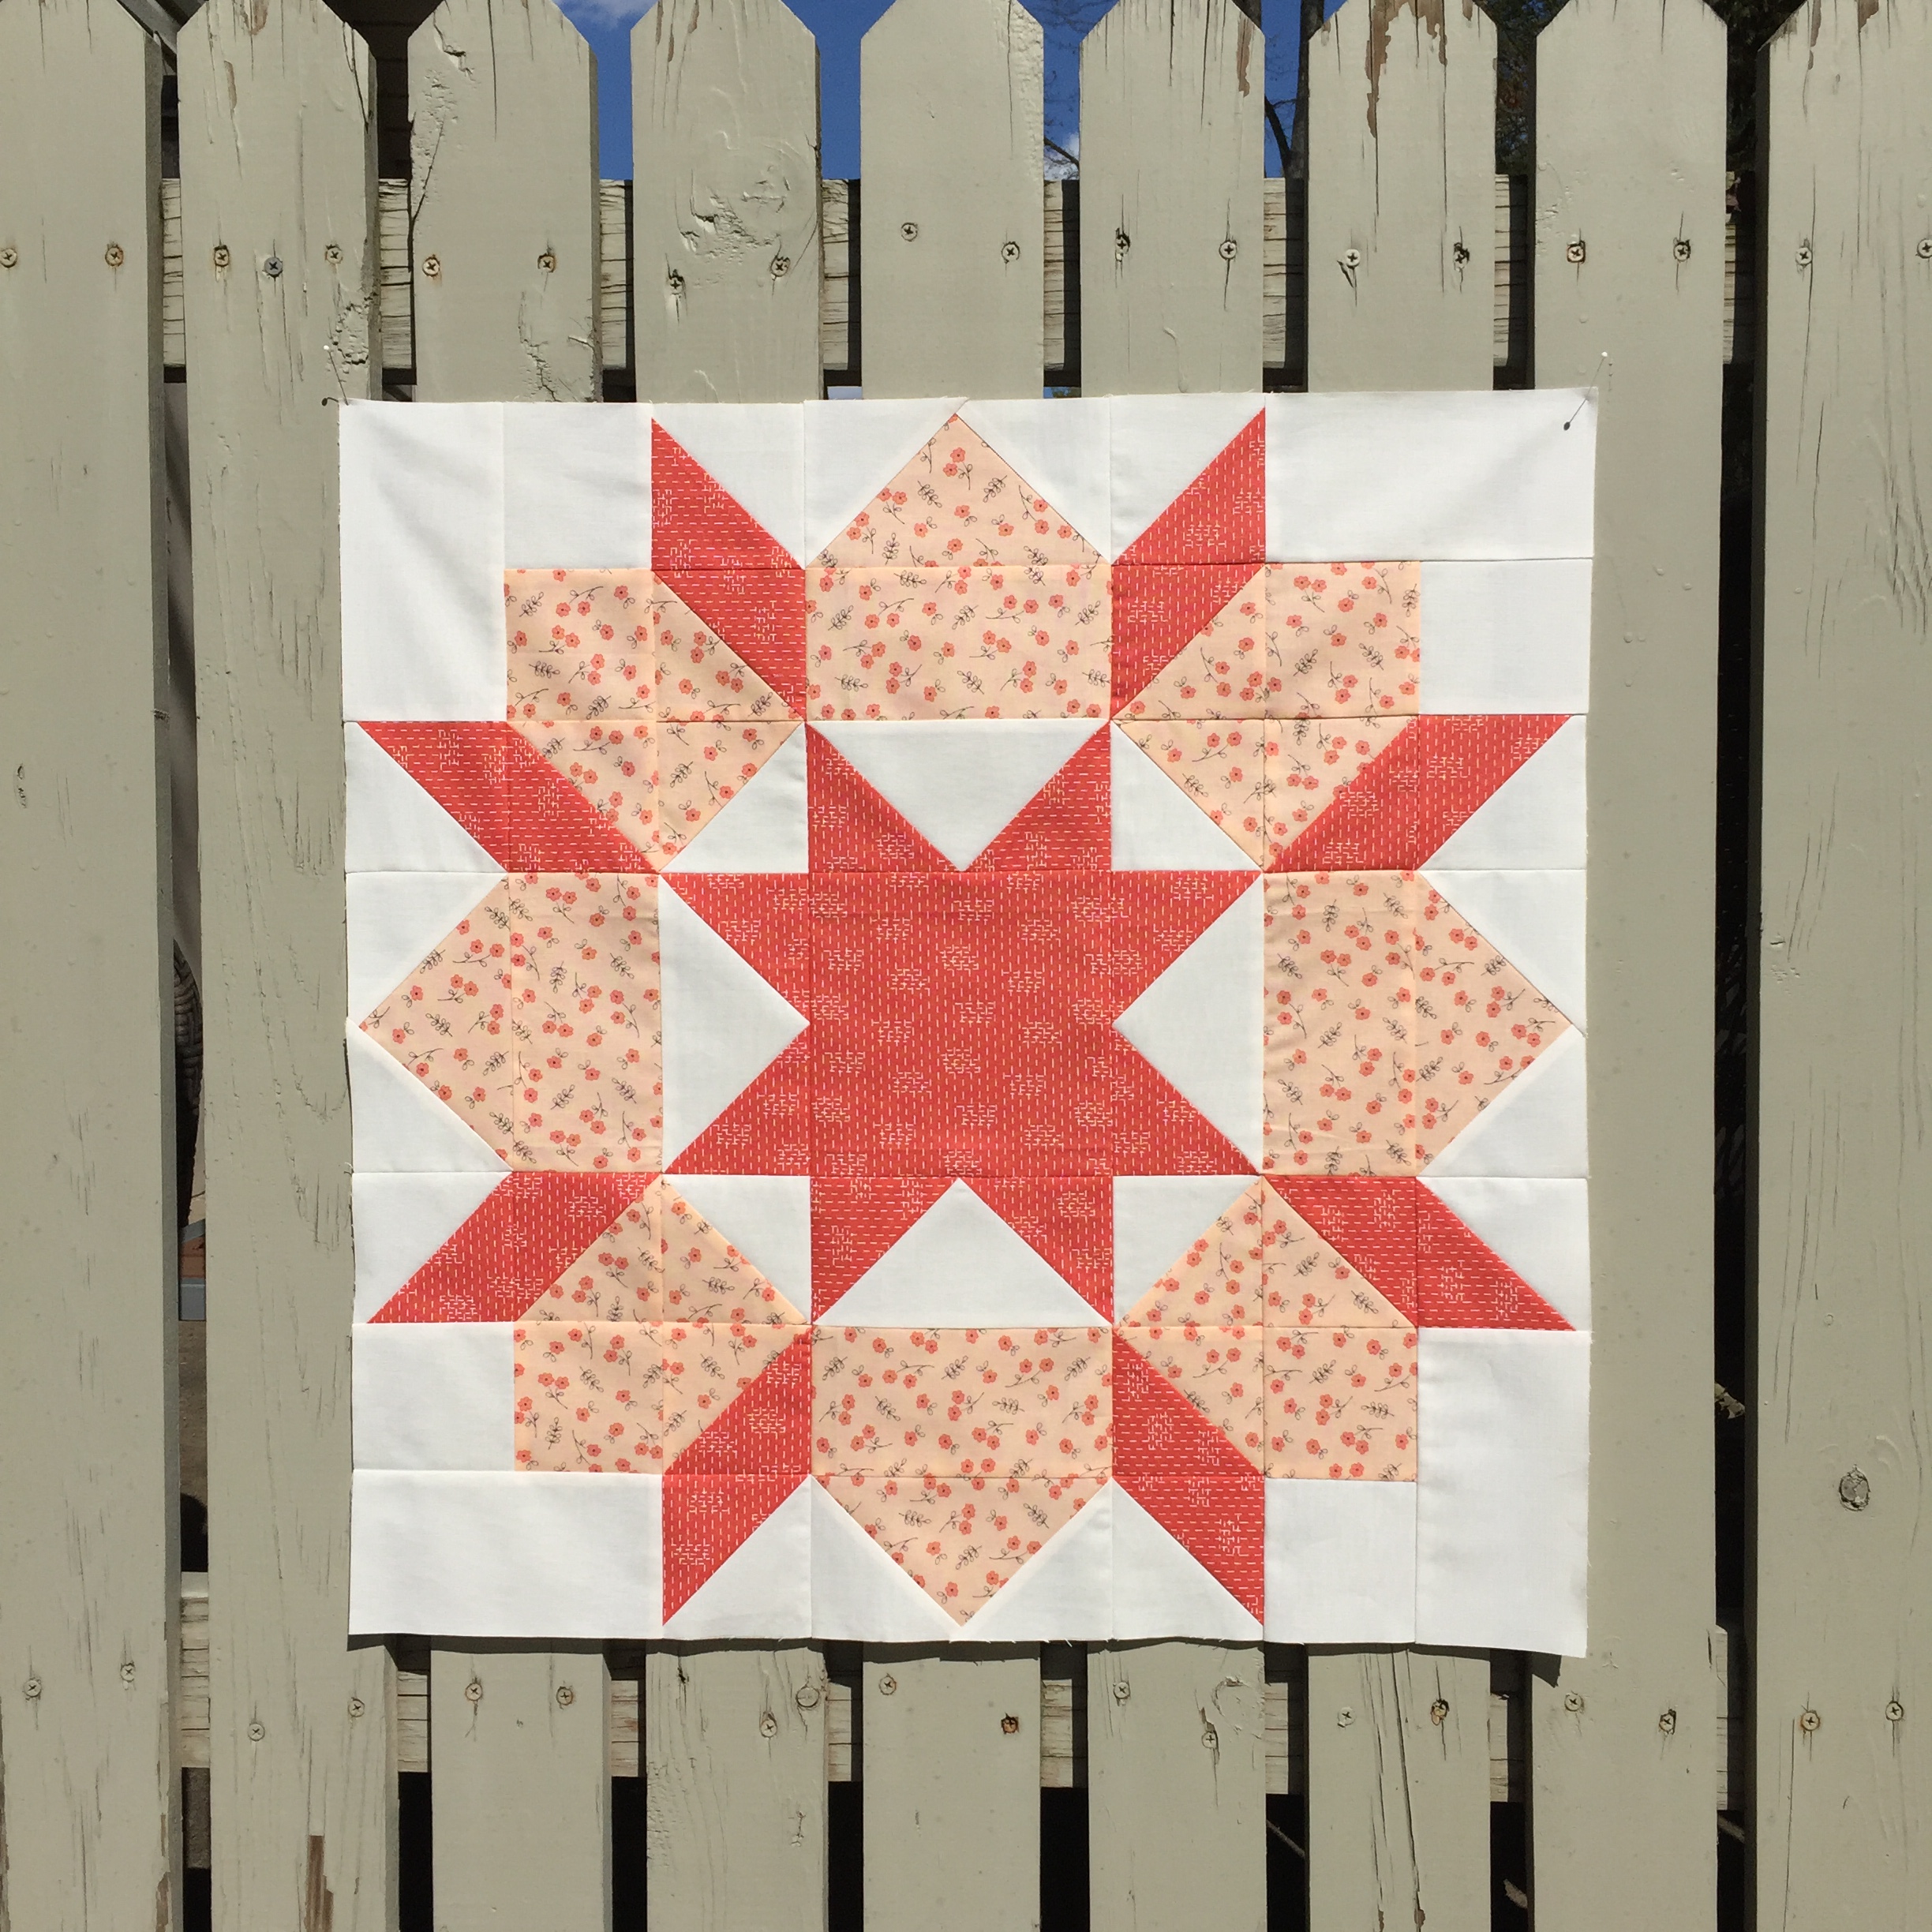
I started making a Swoon quilt by Thimble Blossoms in the spring and got it back from longarming late September. I haven’t written a blog post on it yet because I haven’t gotten any good photos, so these two blocks will have to do for now. 🙂

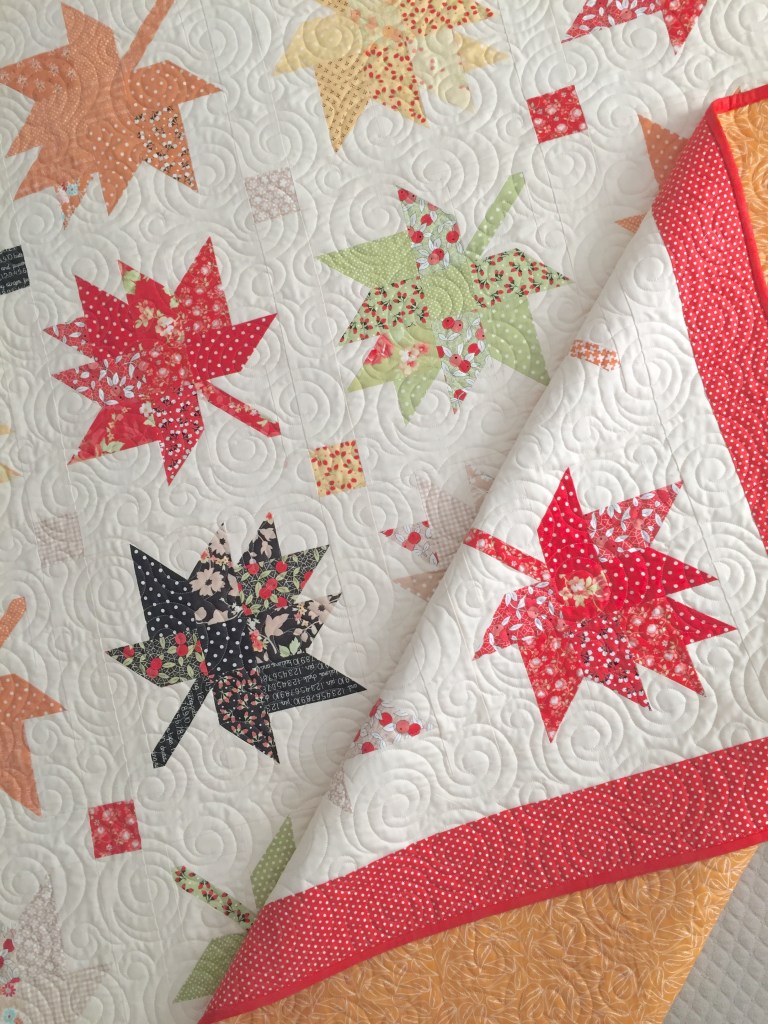
I started my Maple Charm quilt before we moved in April and had it finished just in time for fall. I enjoyed it the entire season.

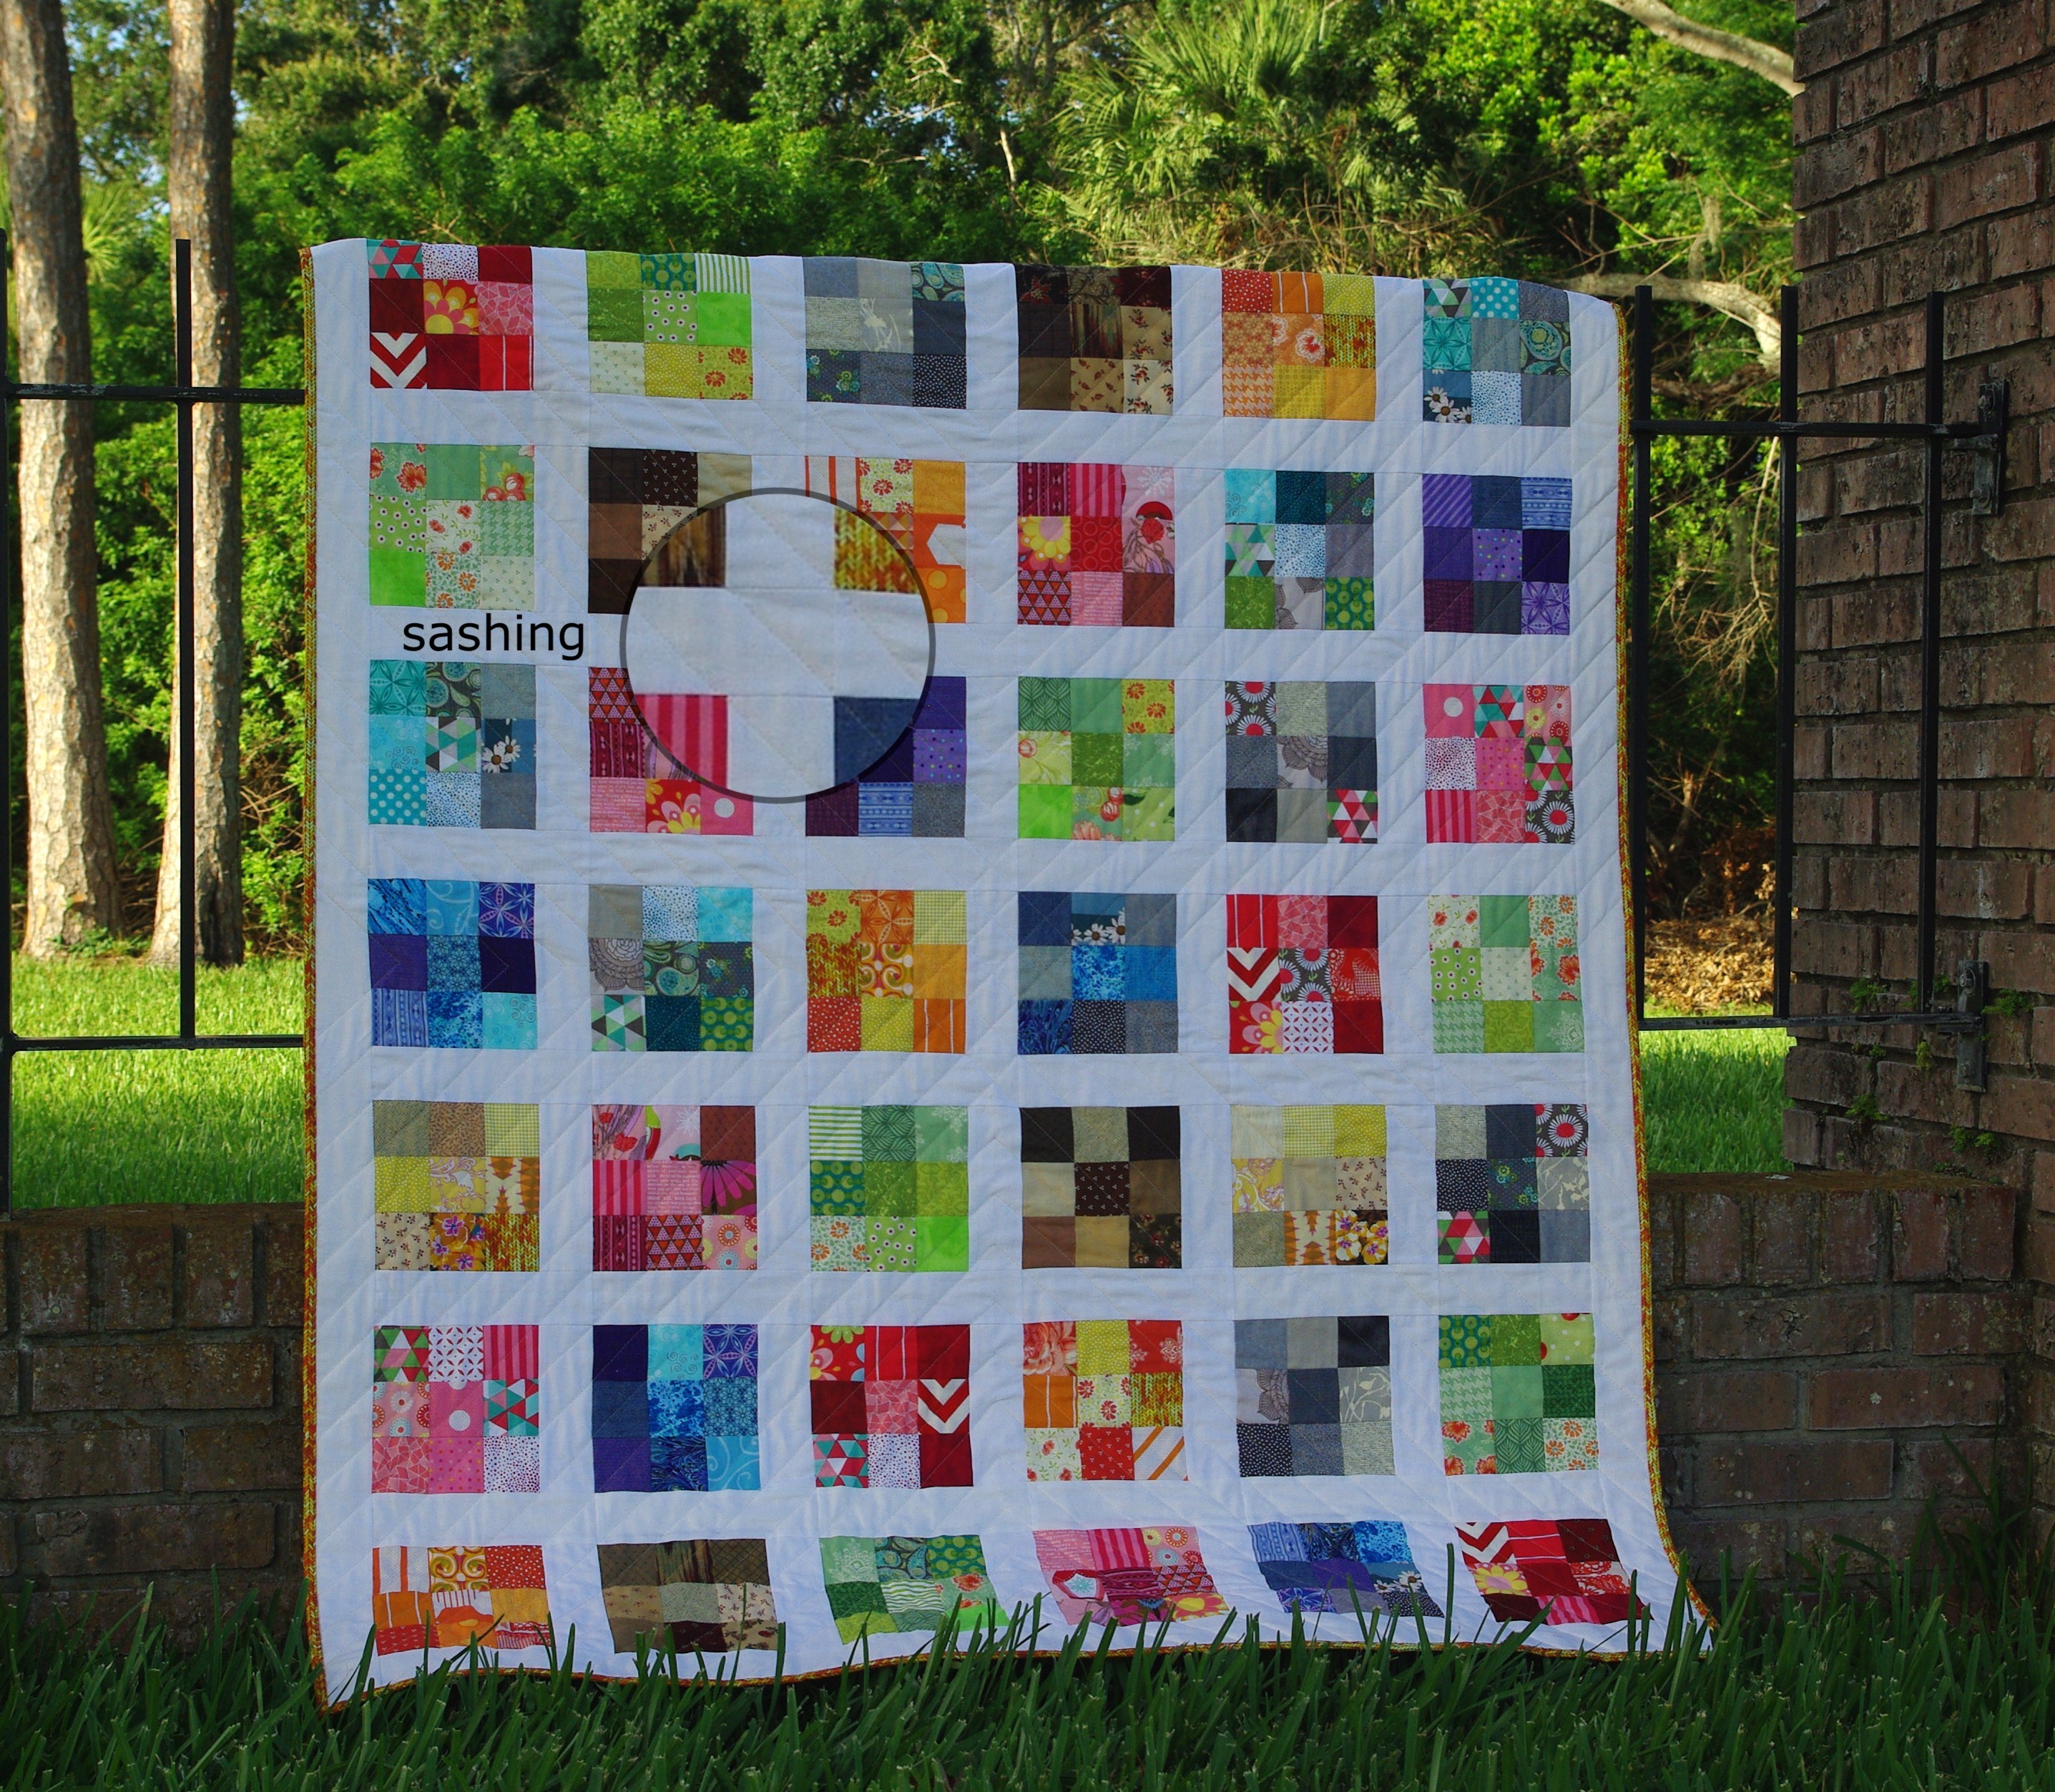
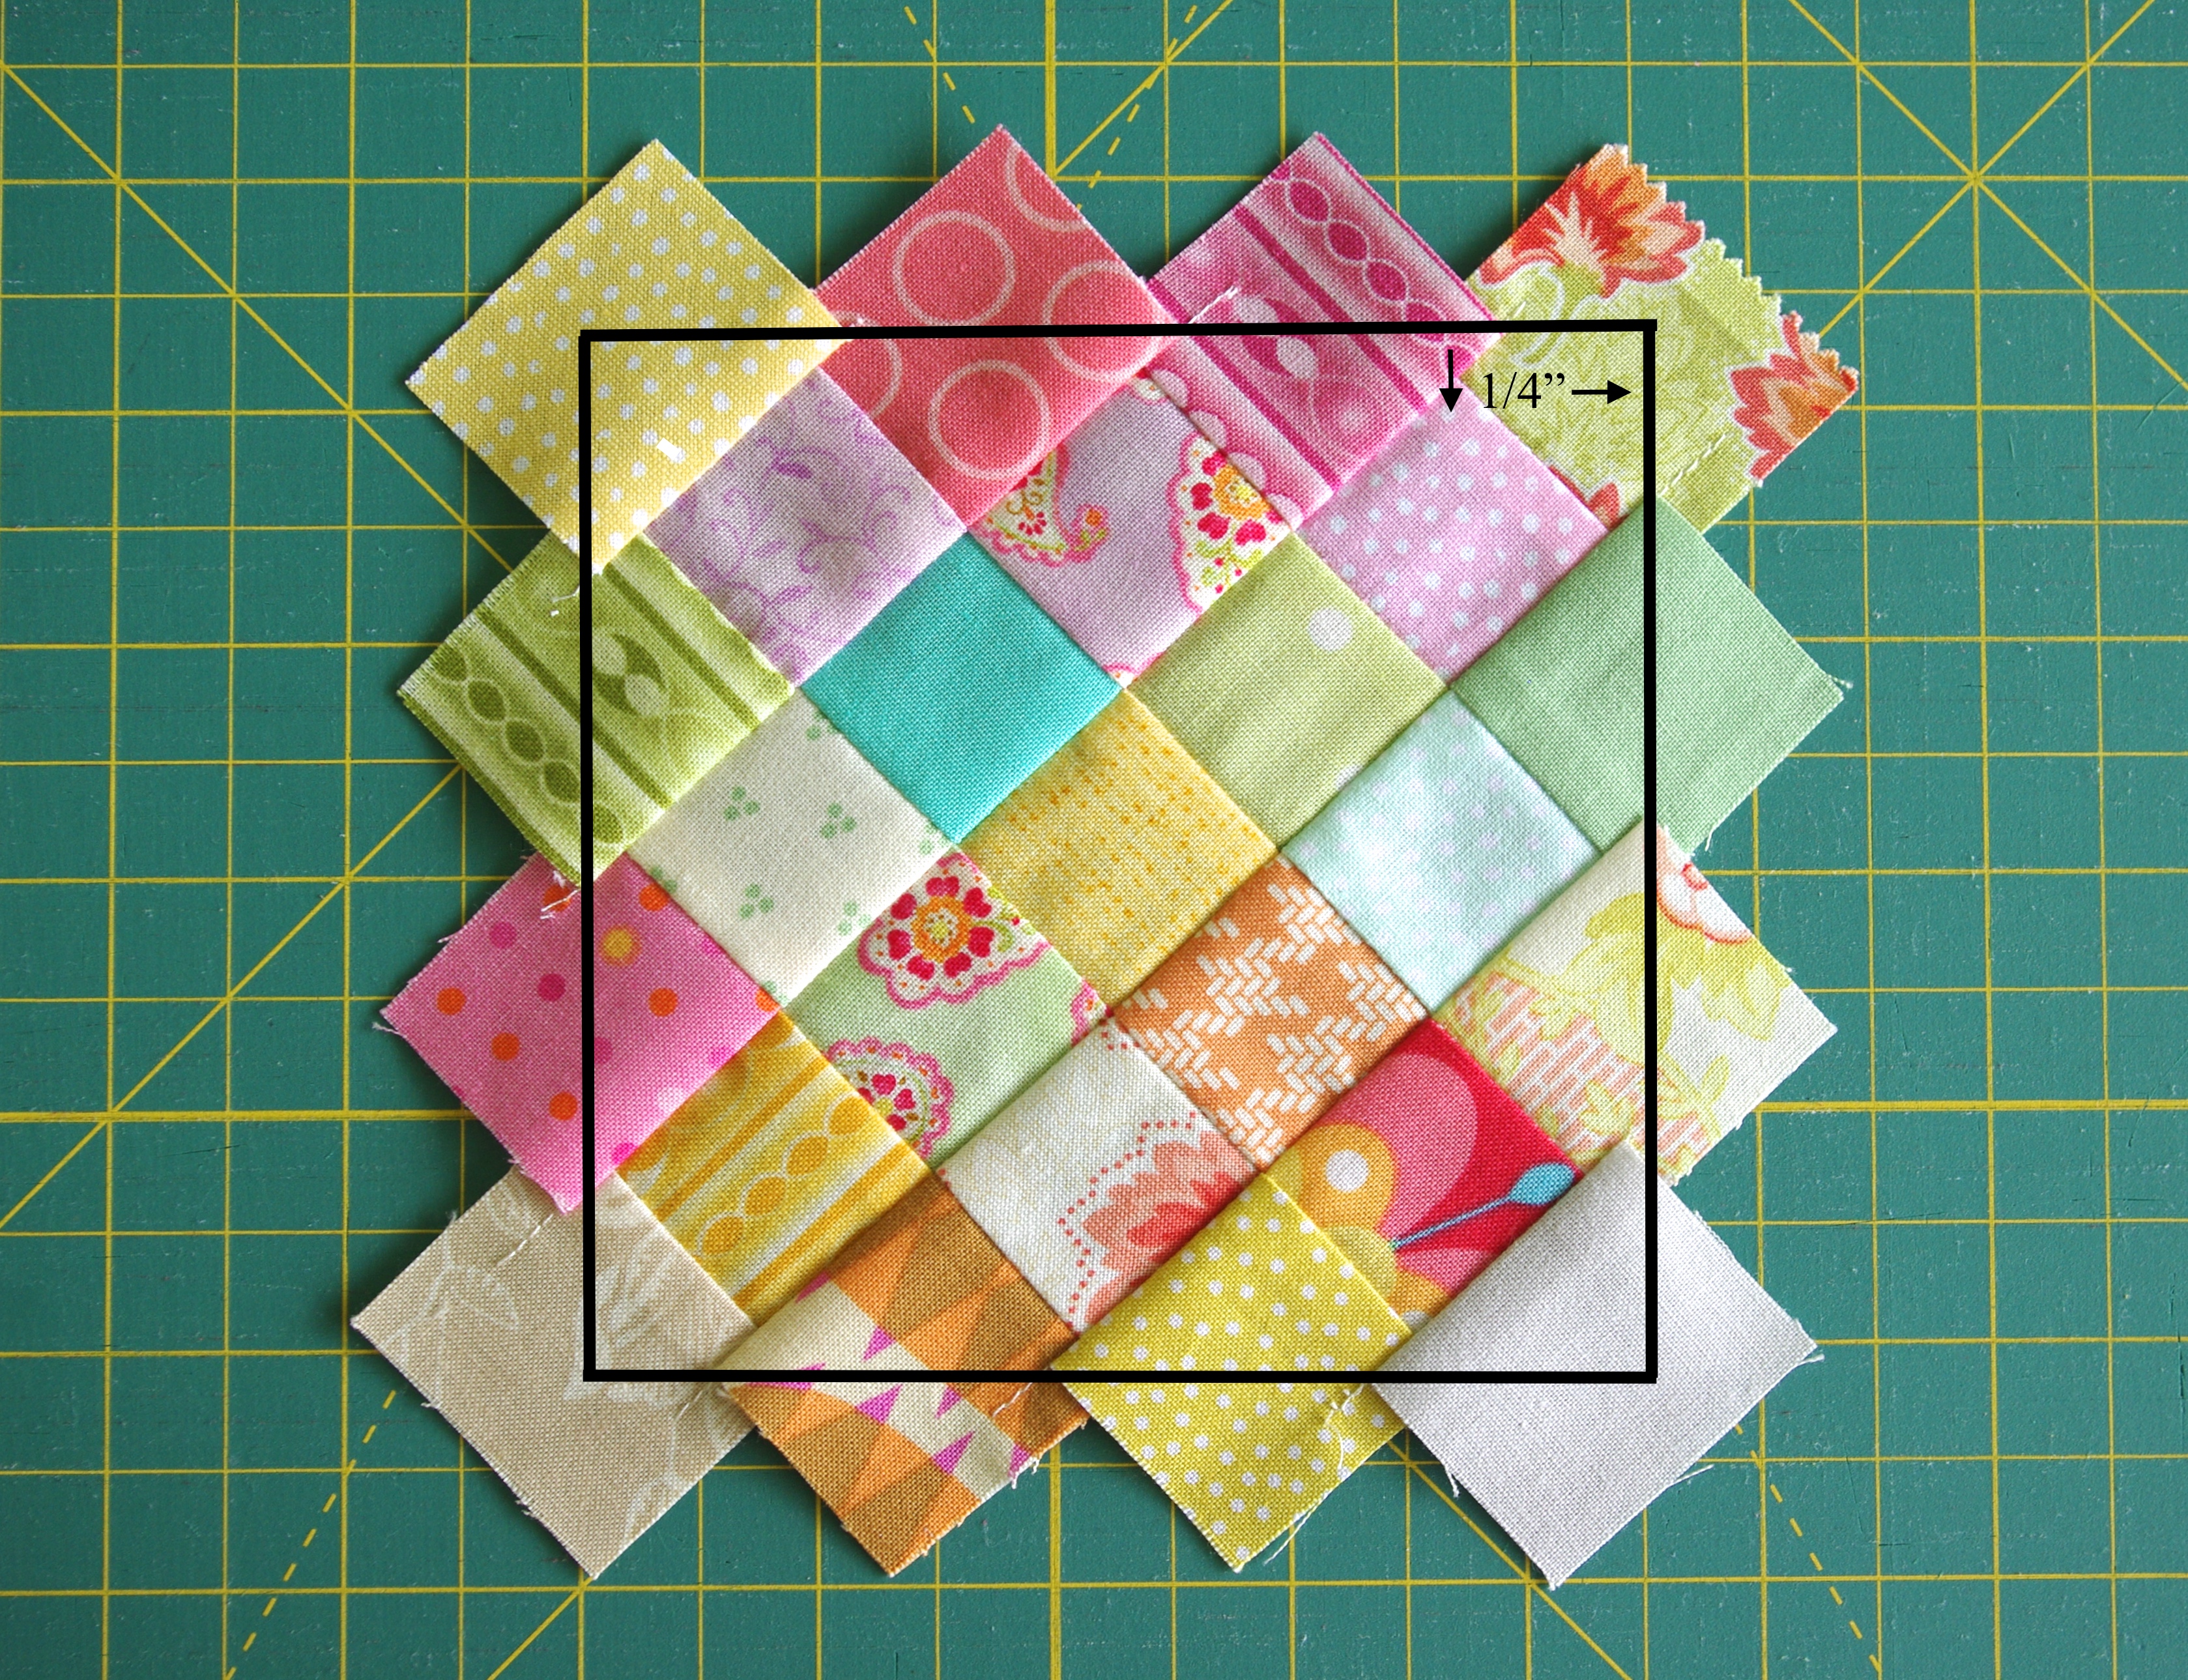
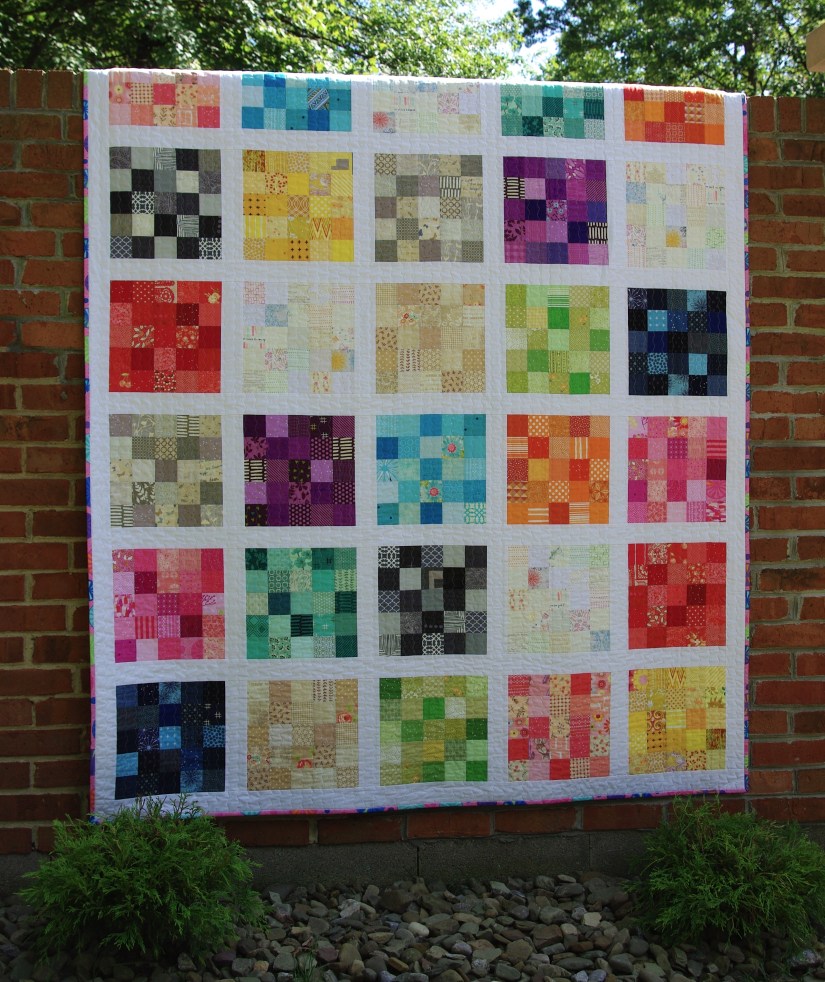
This Five Squared throw quilt is a Monday Morning Designs pattern (available for purchase in my Etsy shop; see sidebar). I made it out of fabrics I had on hand and I love that all the colors of the rainbow are included.

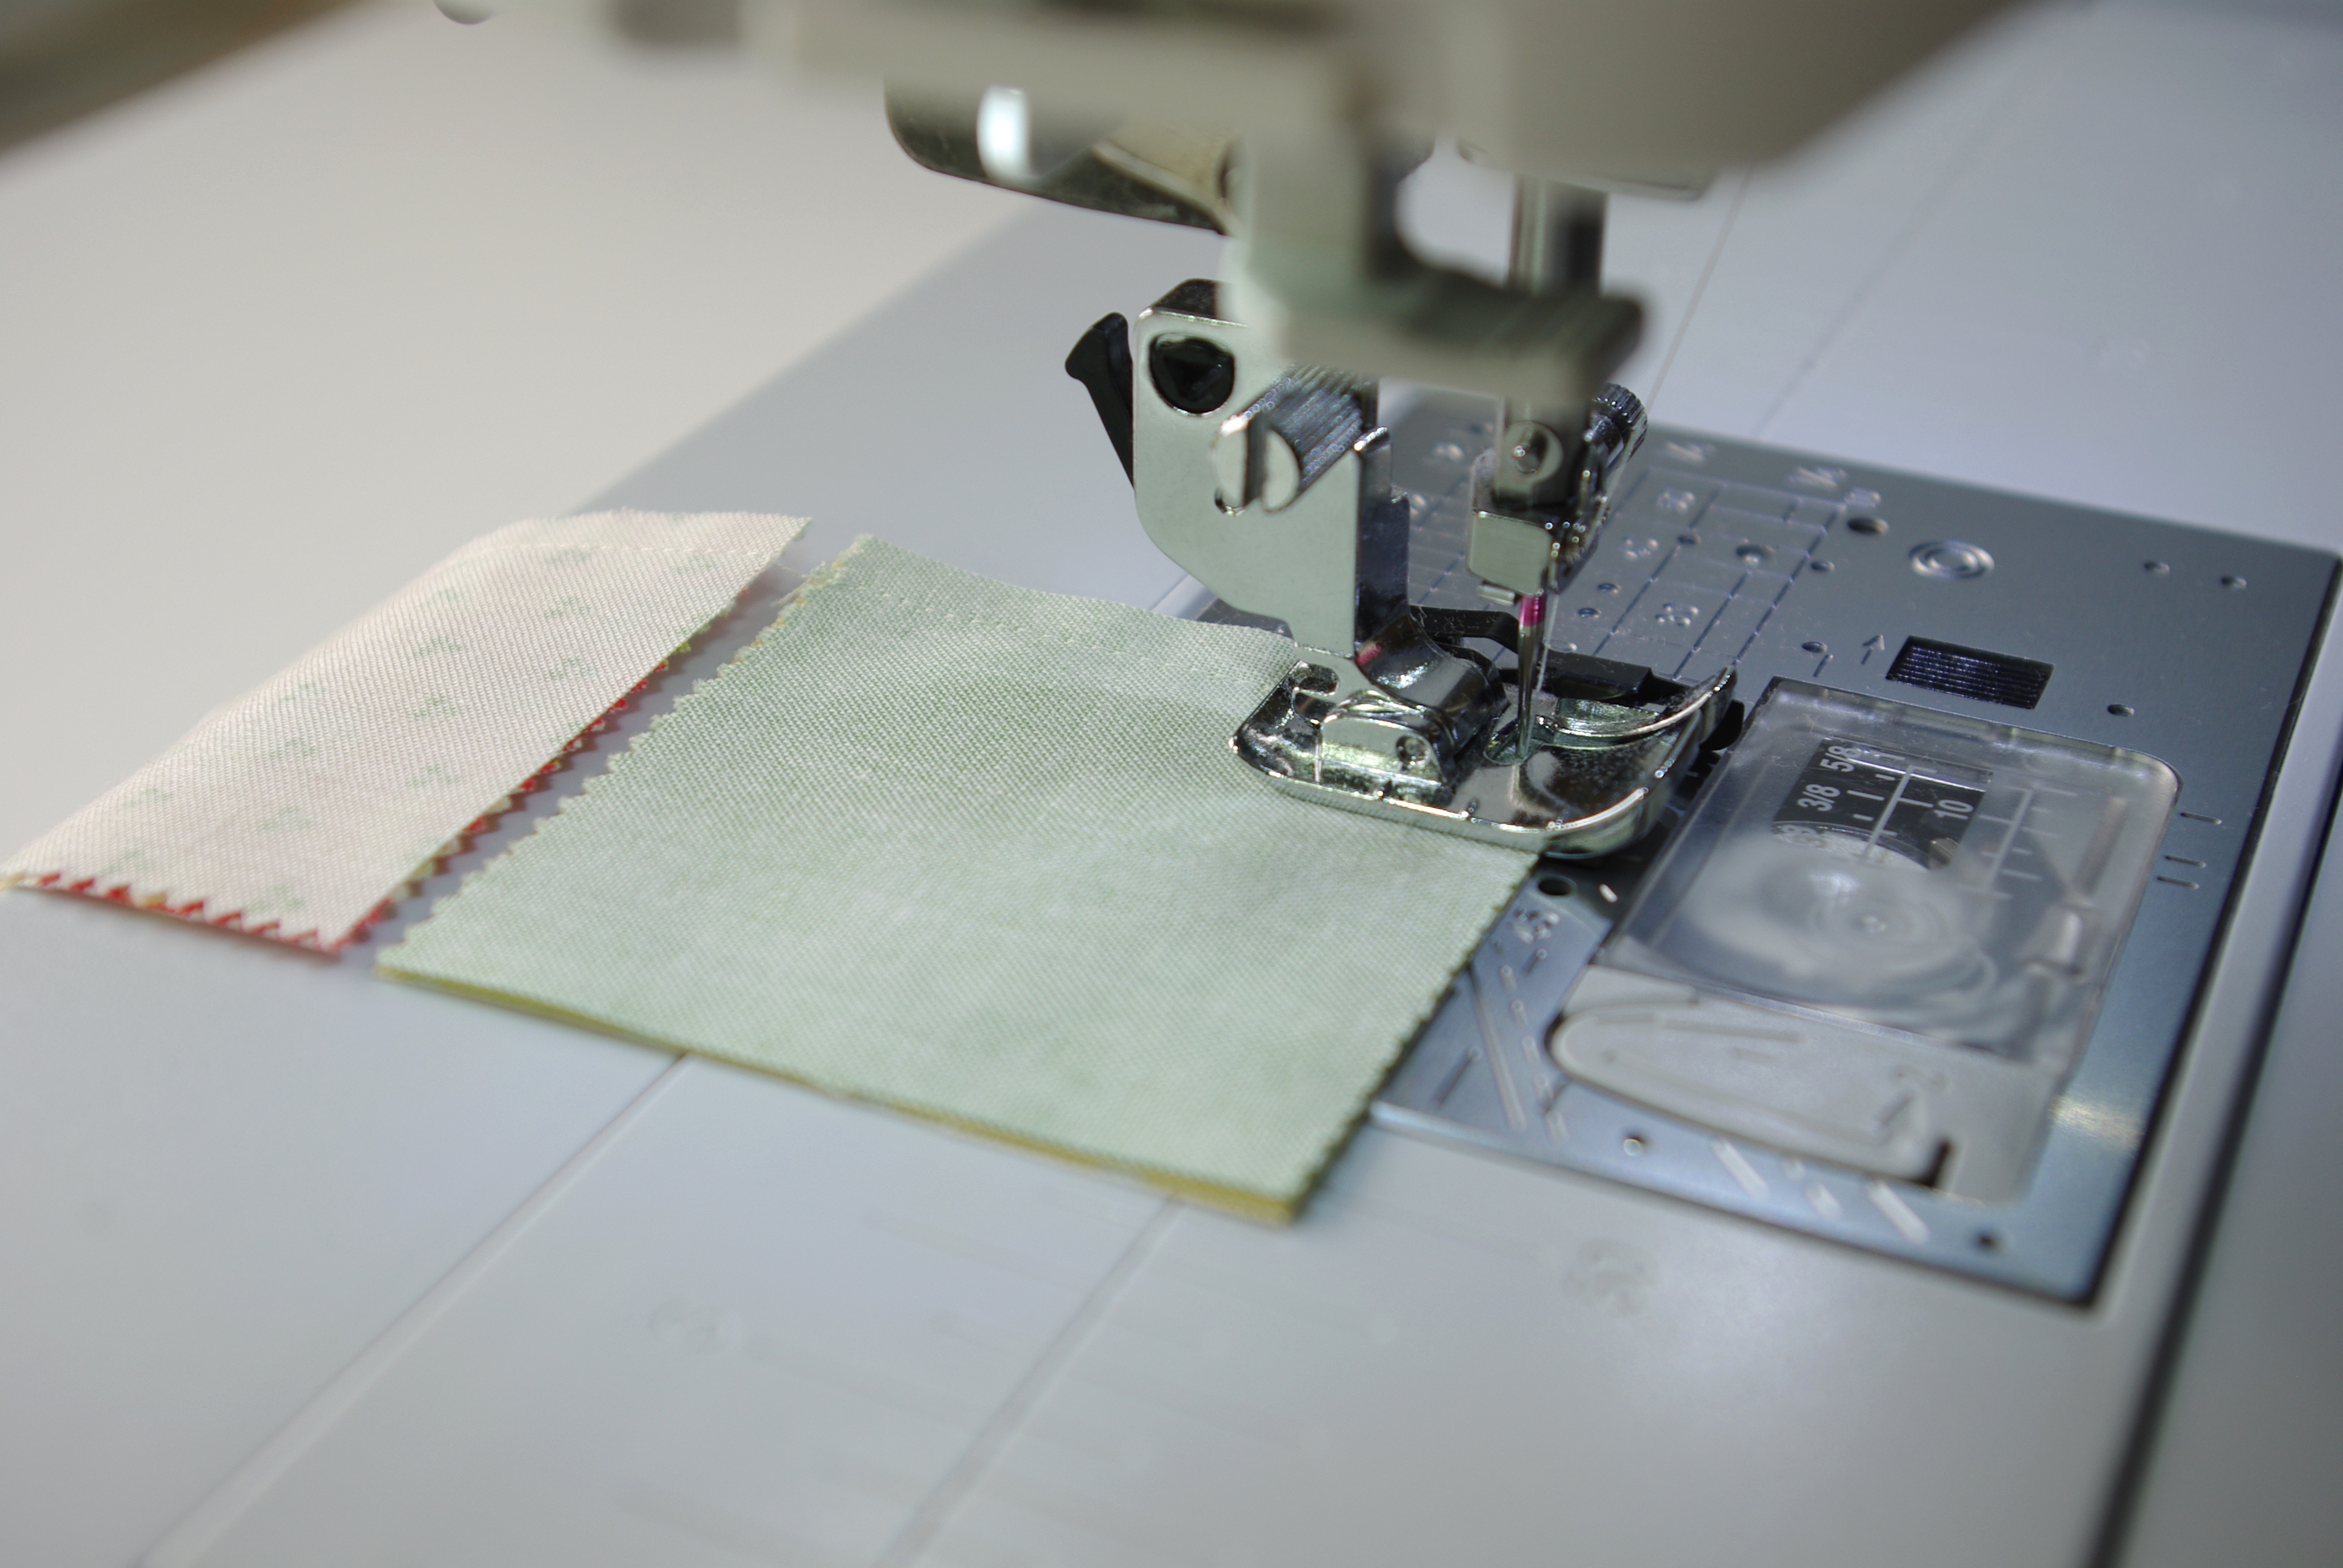
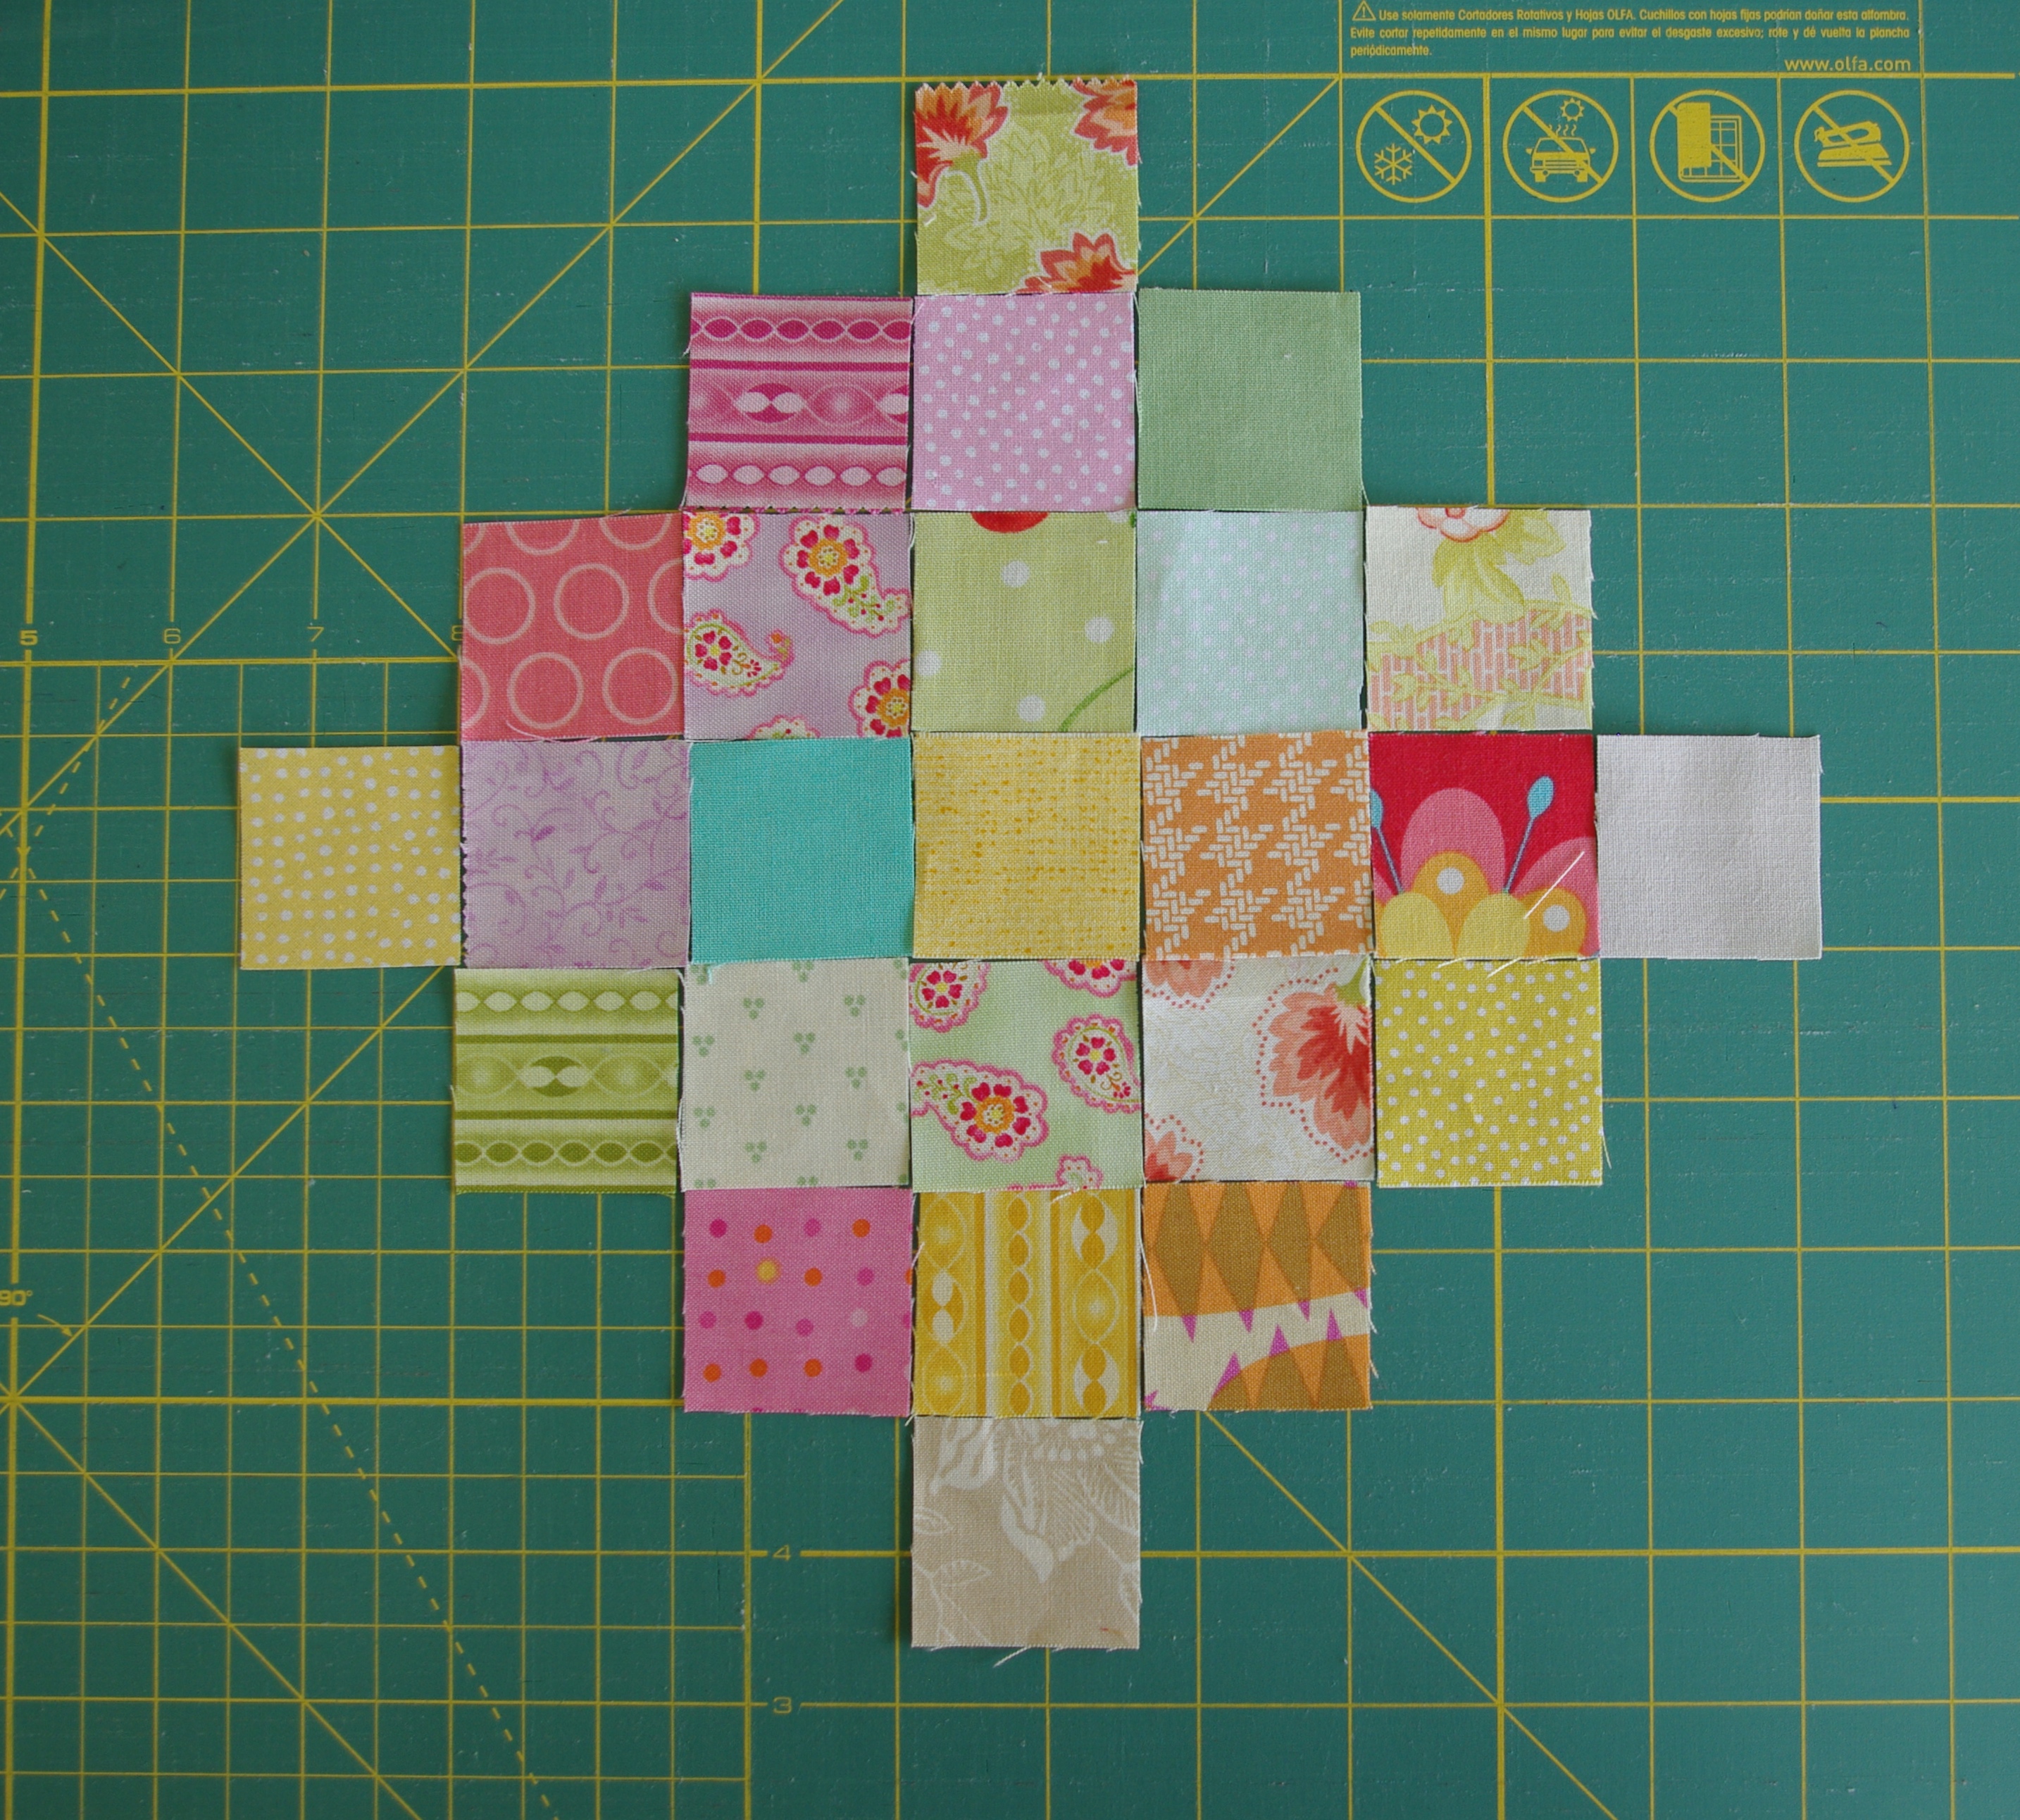
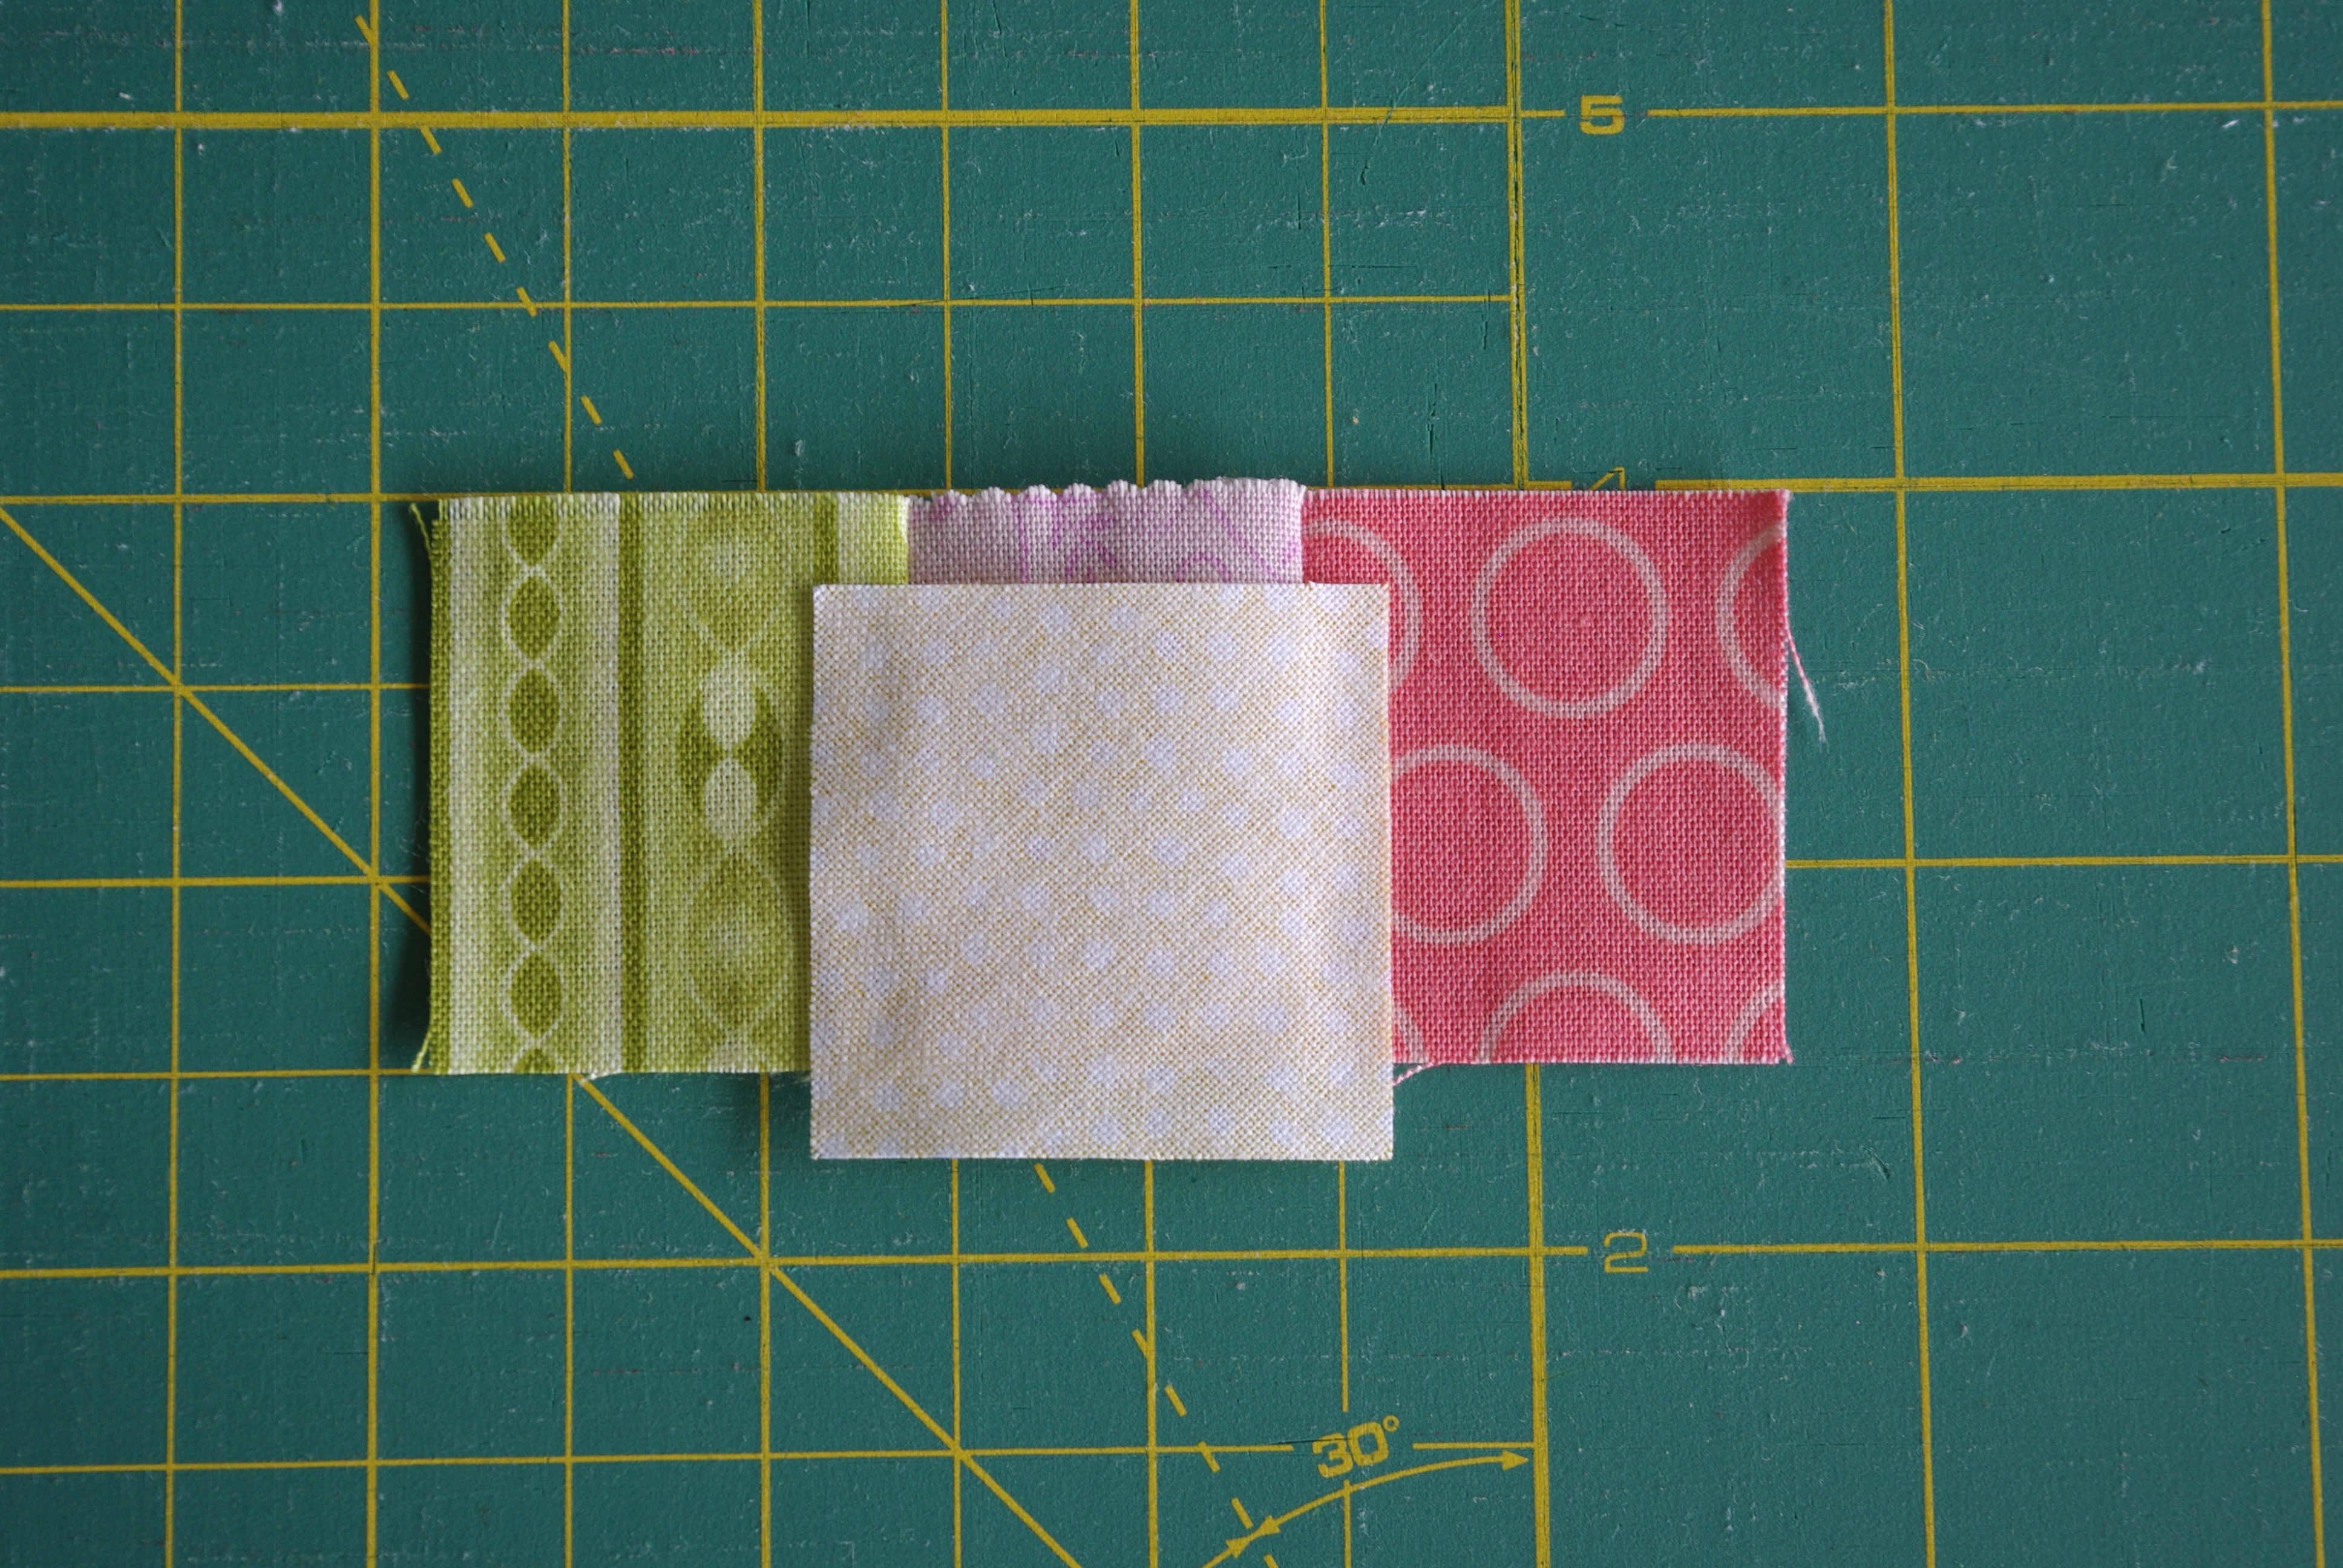
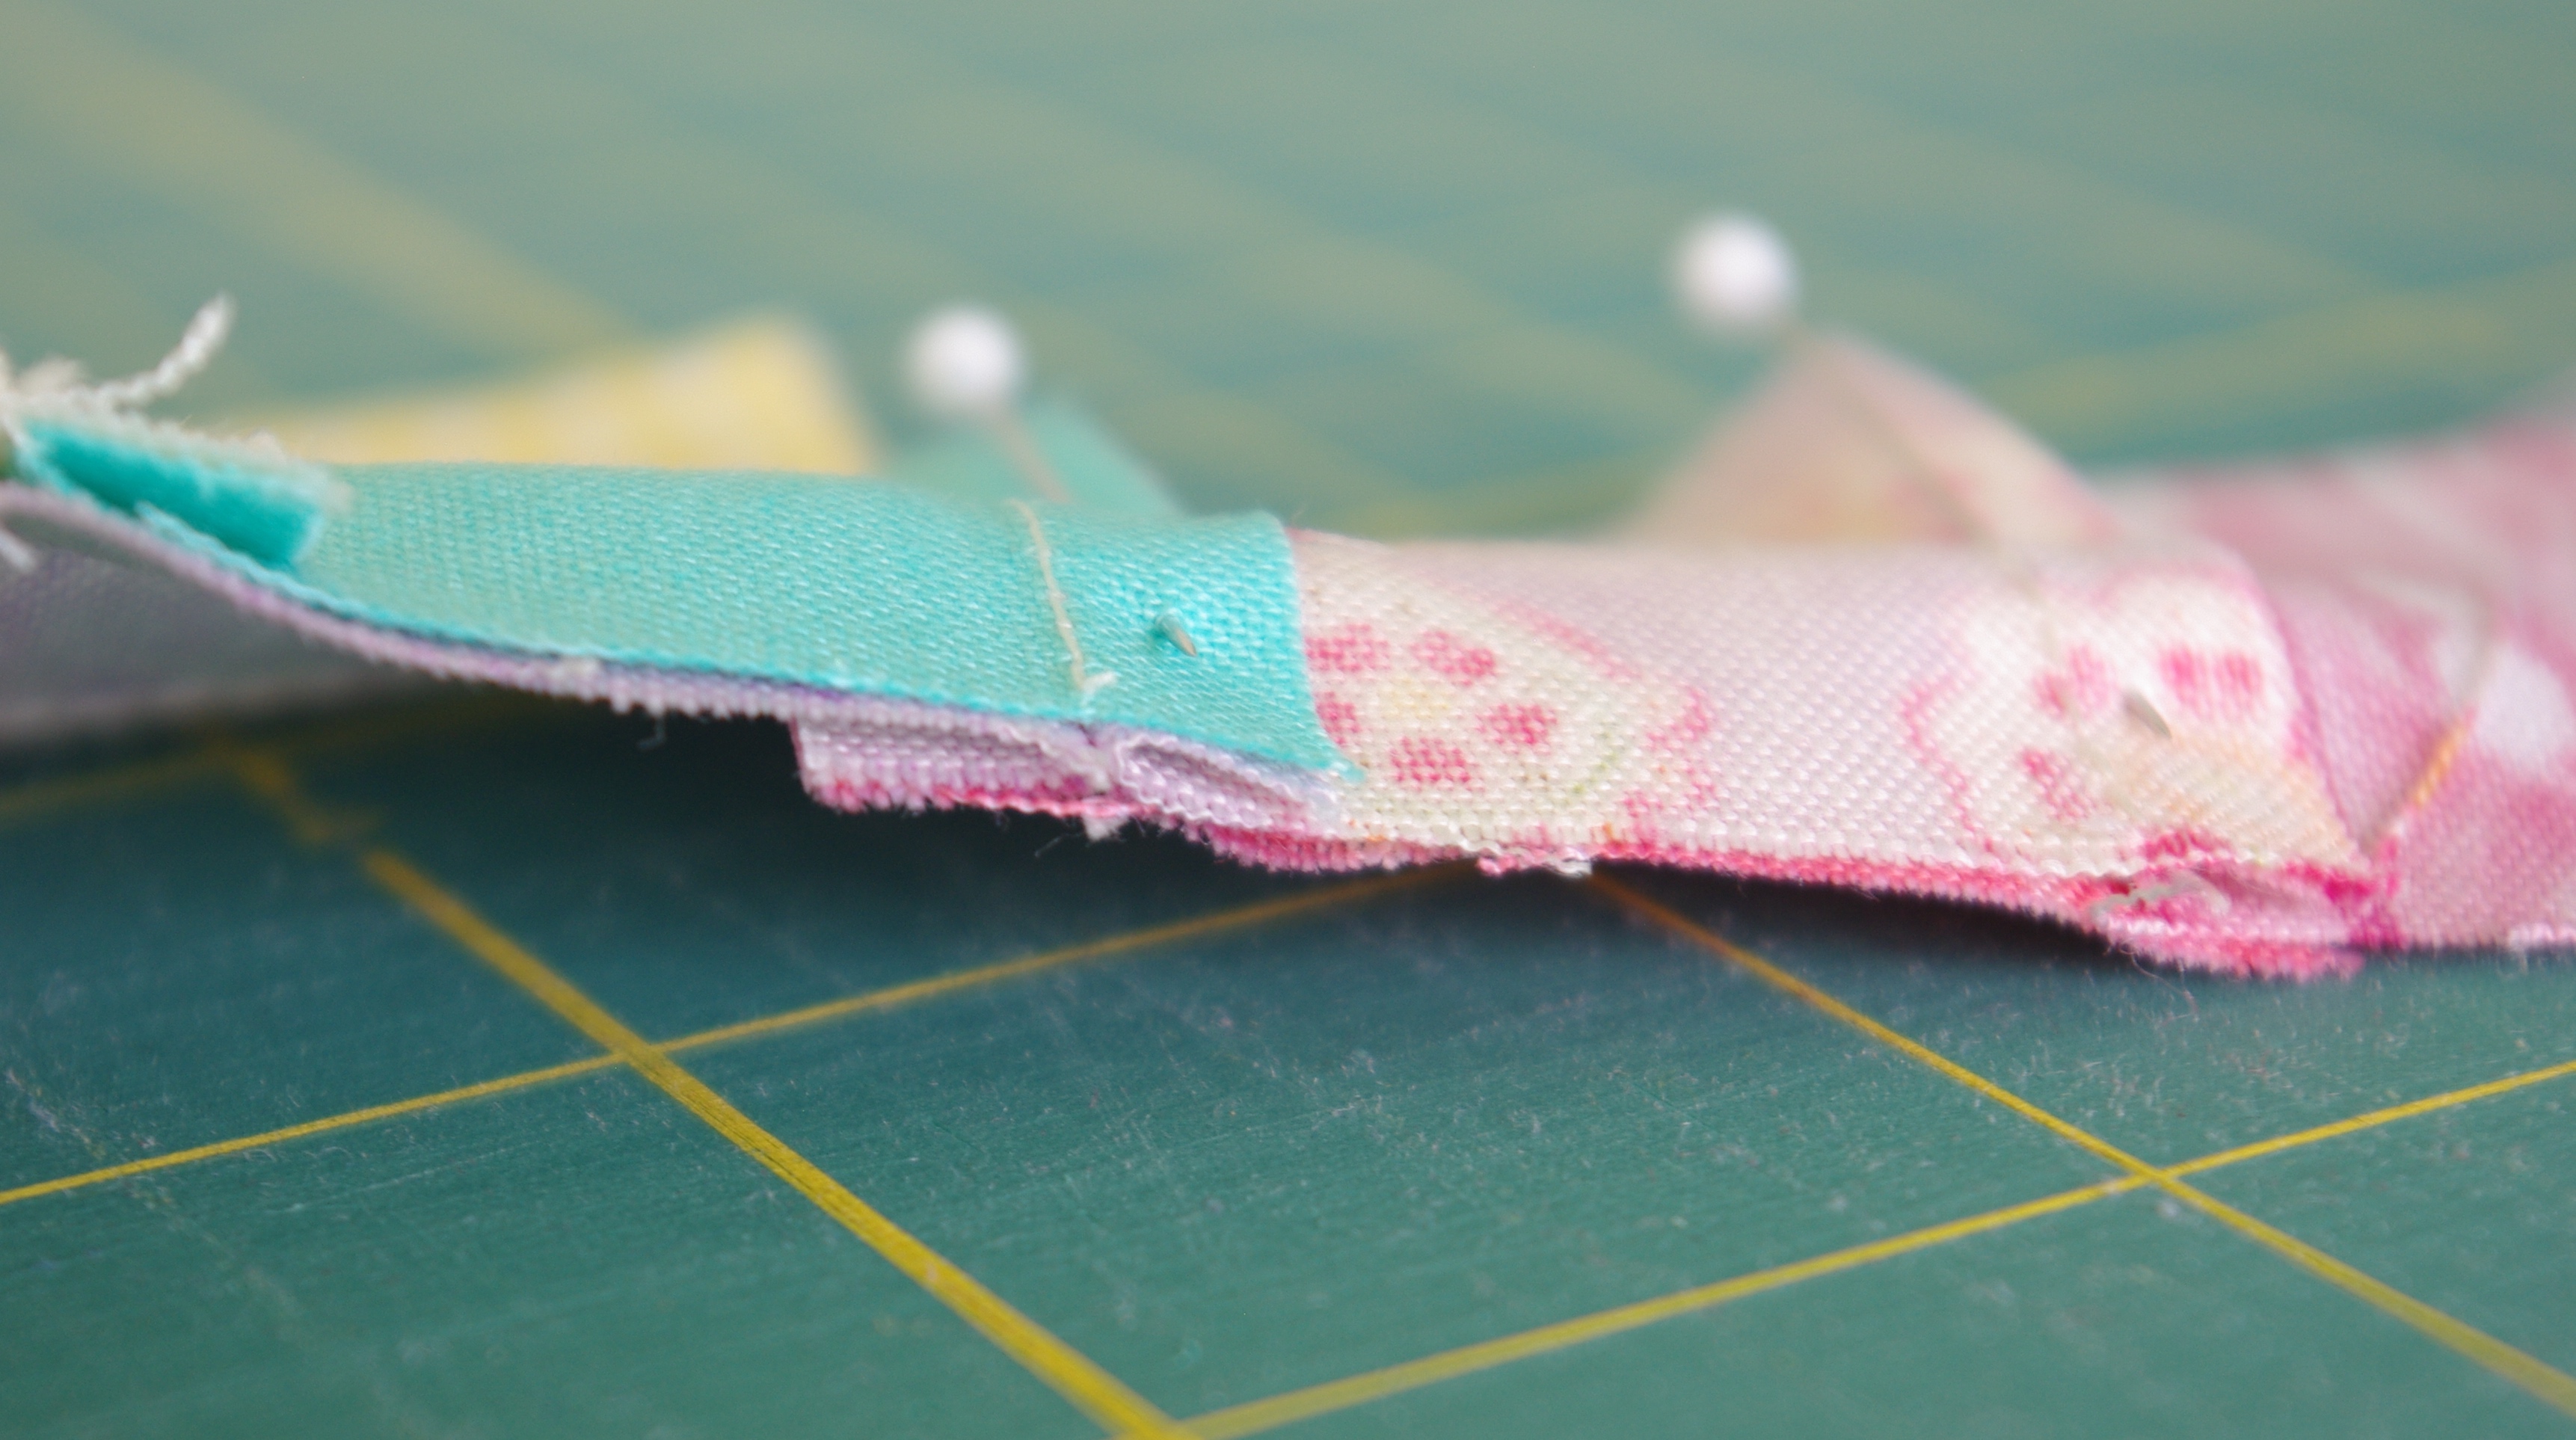
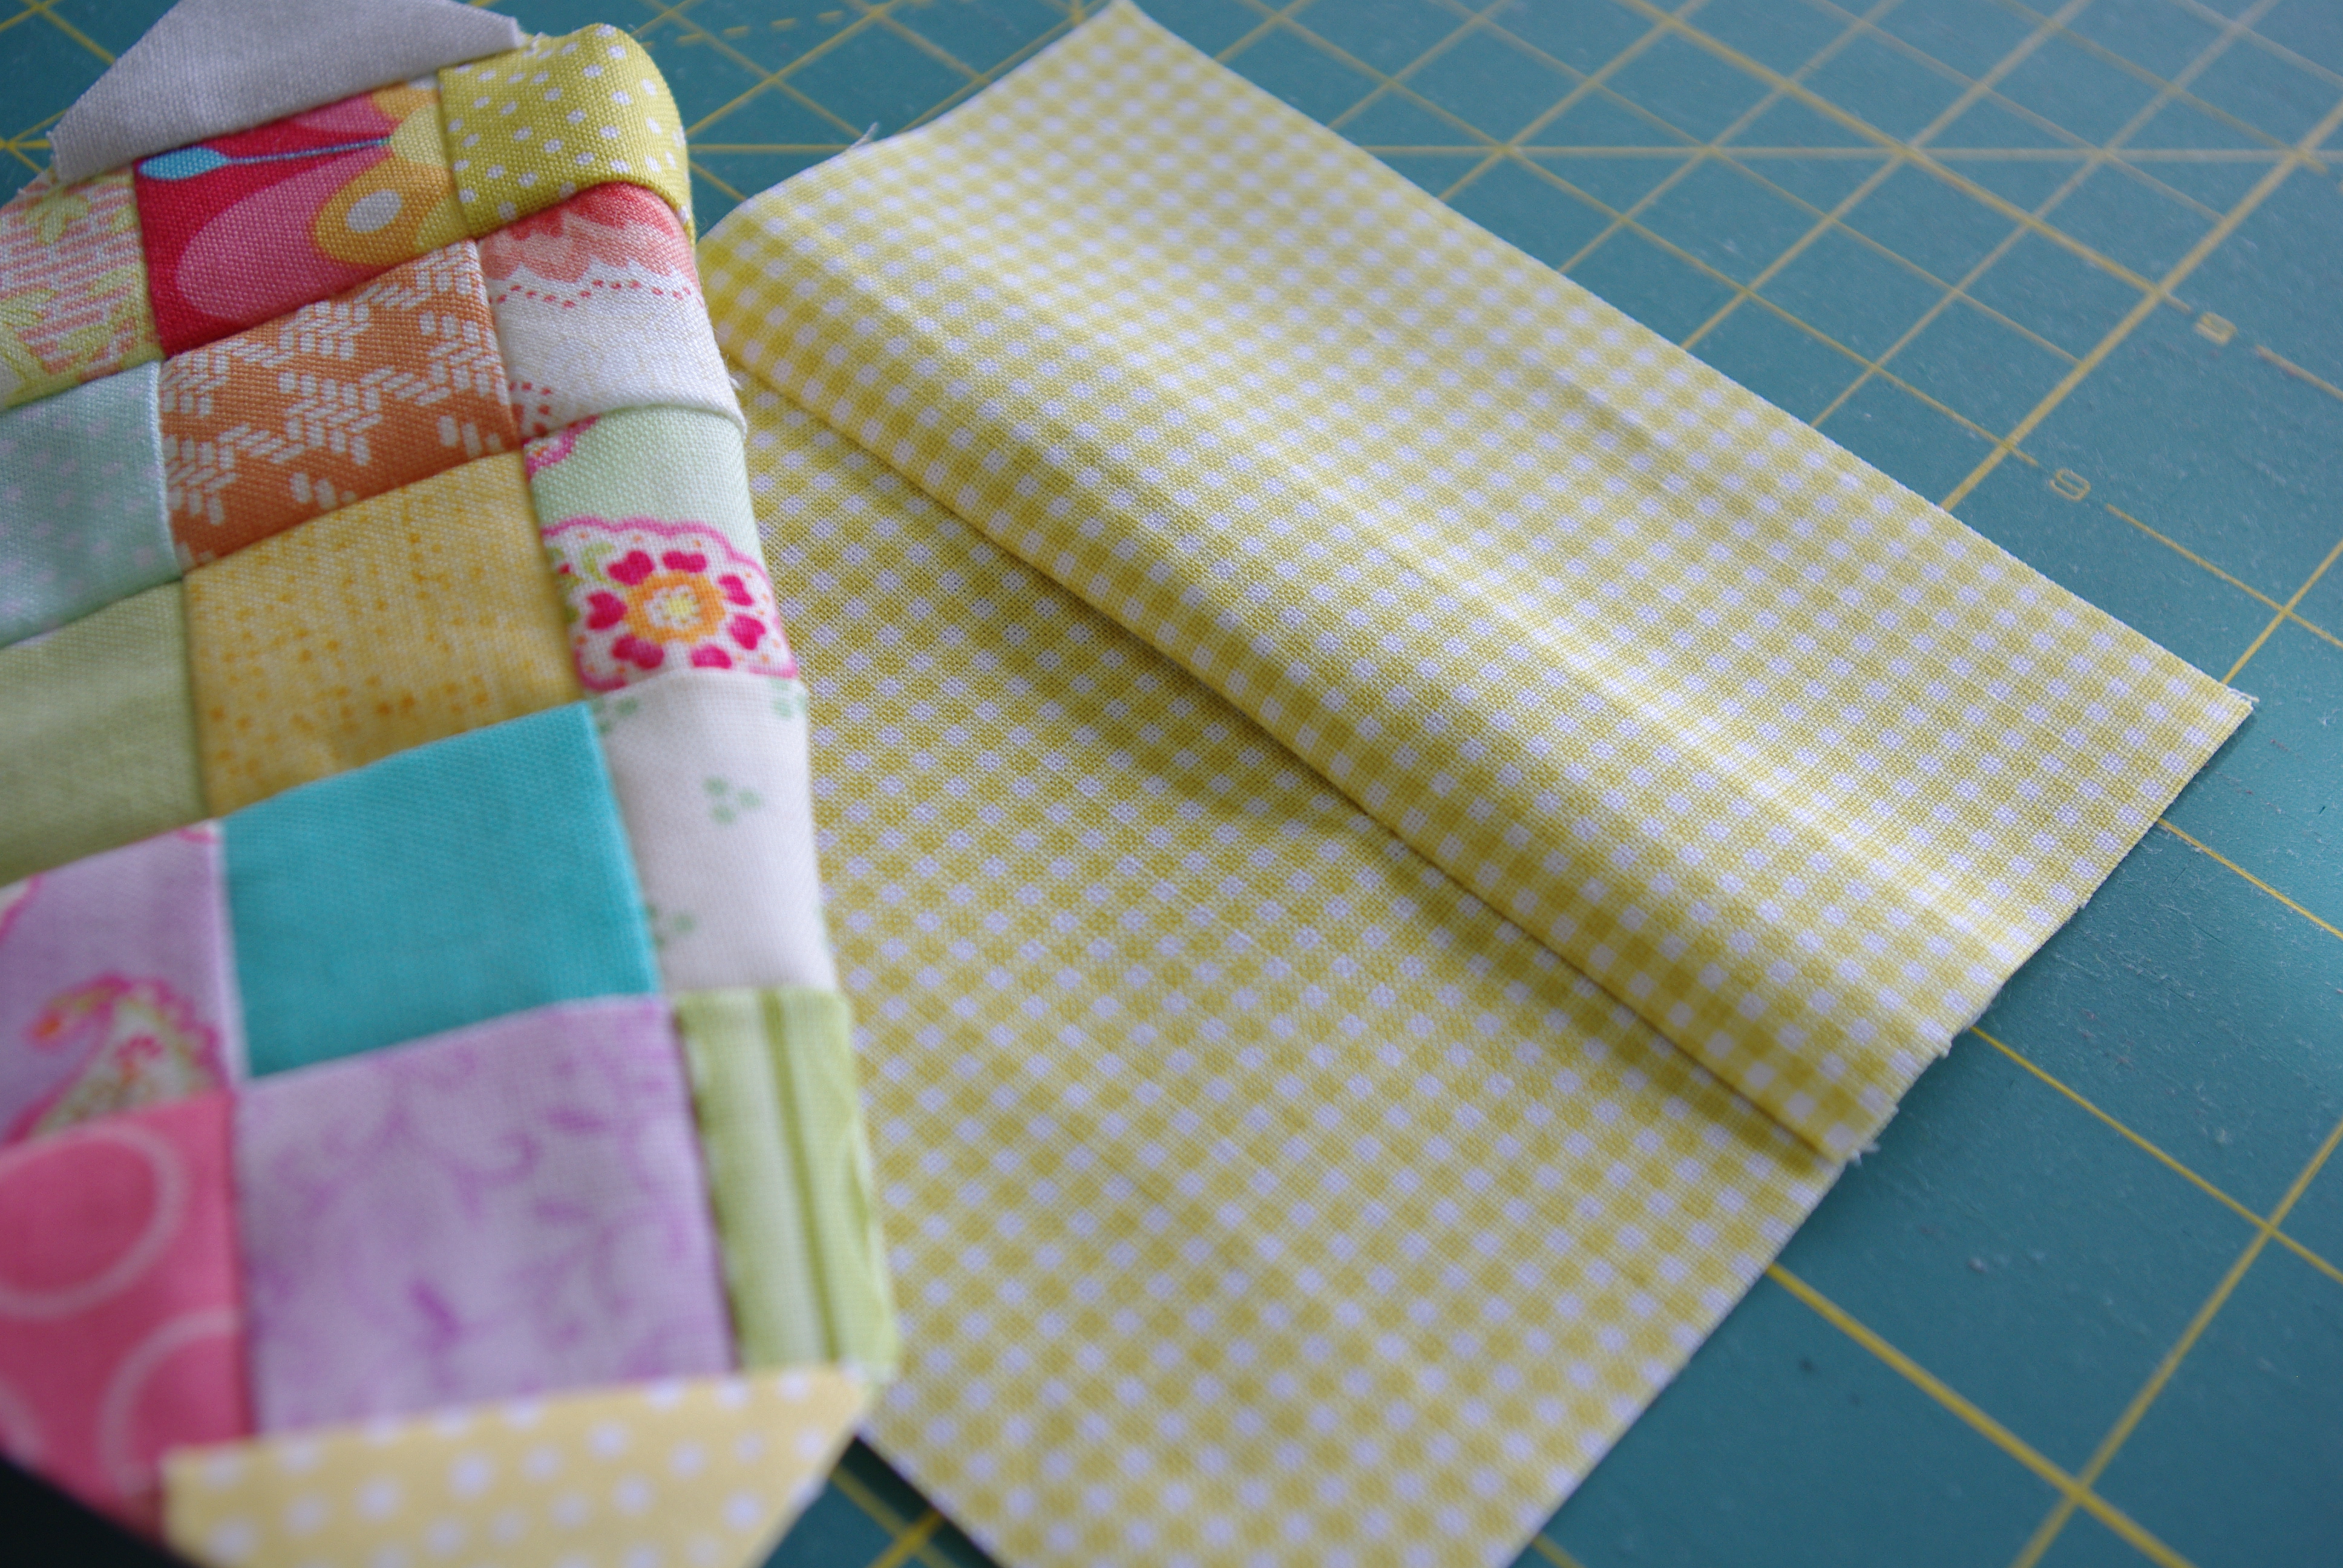
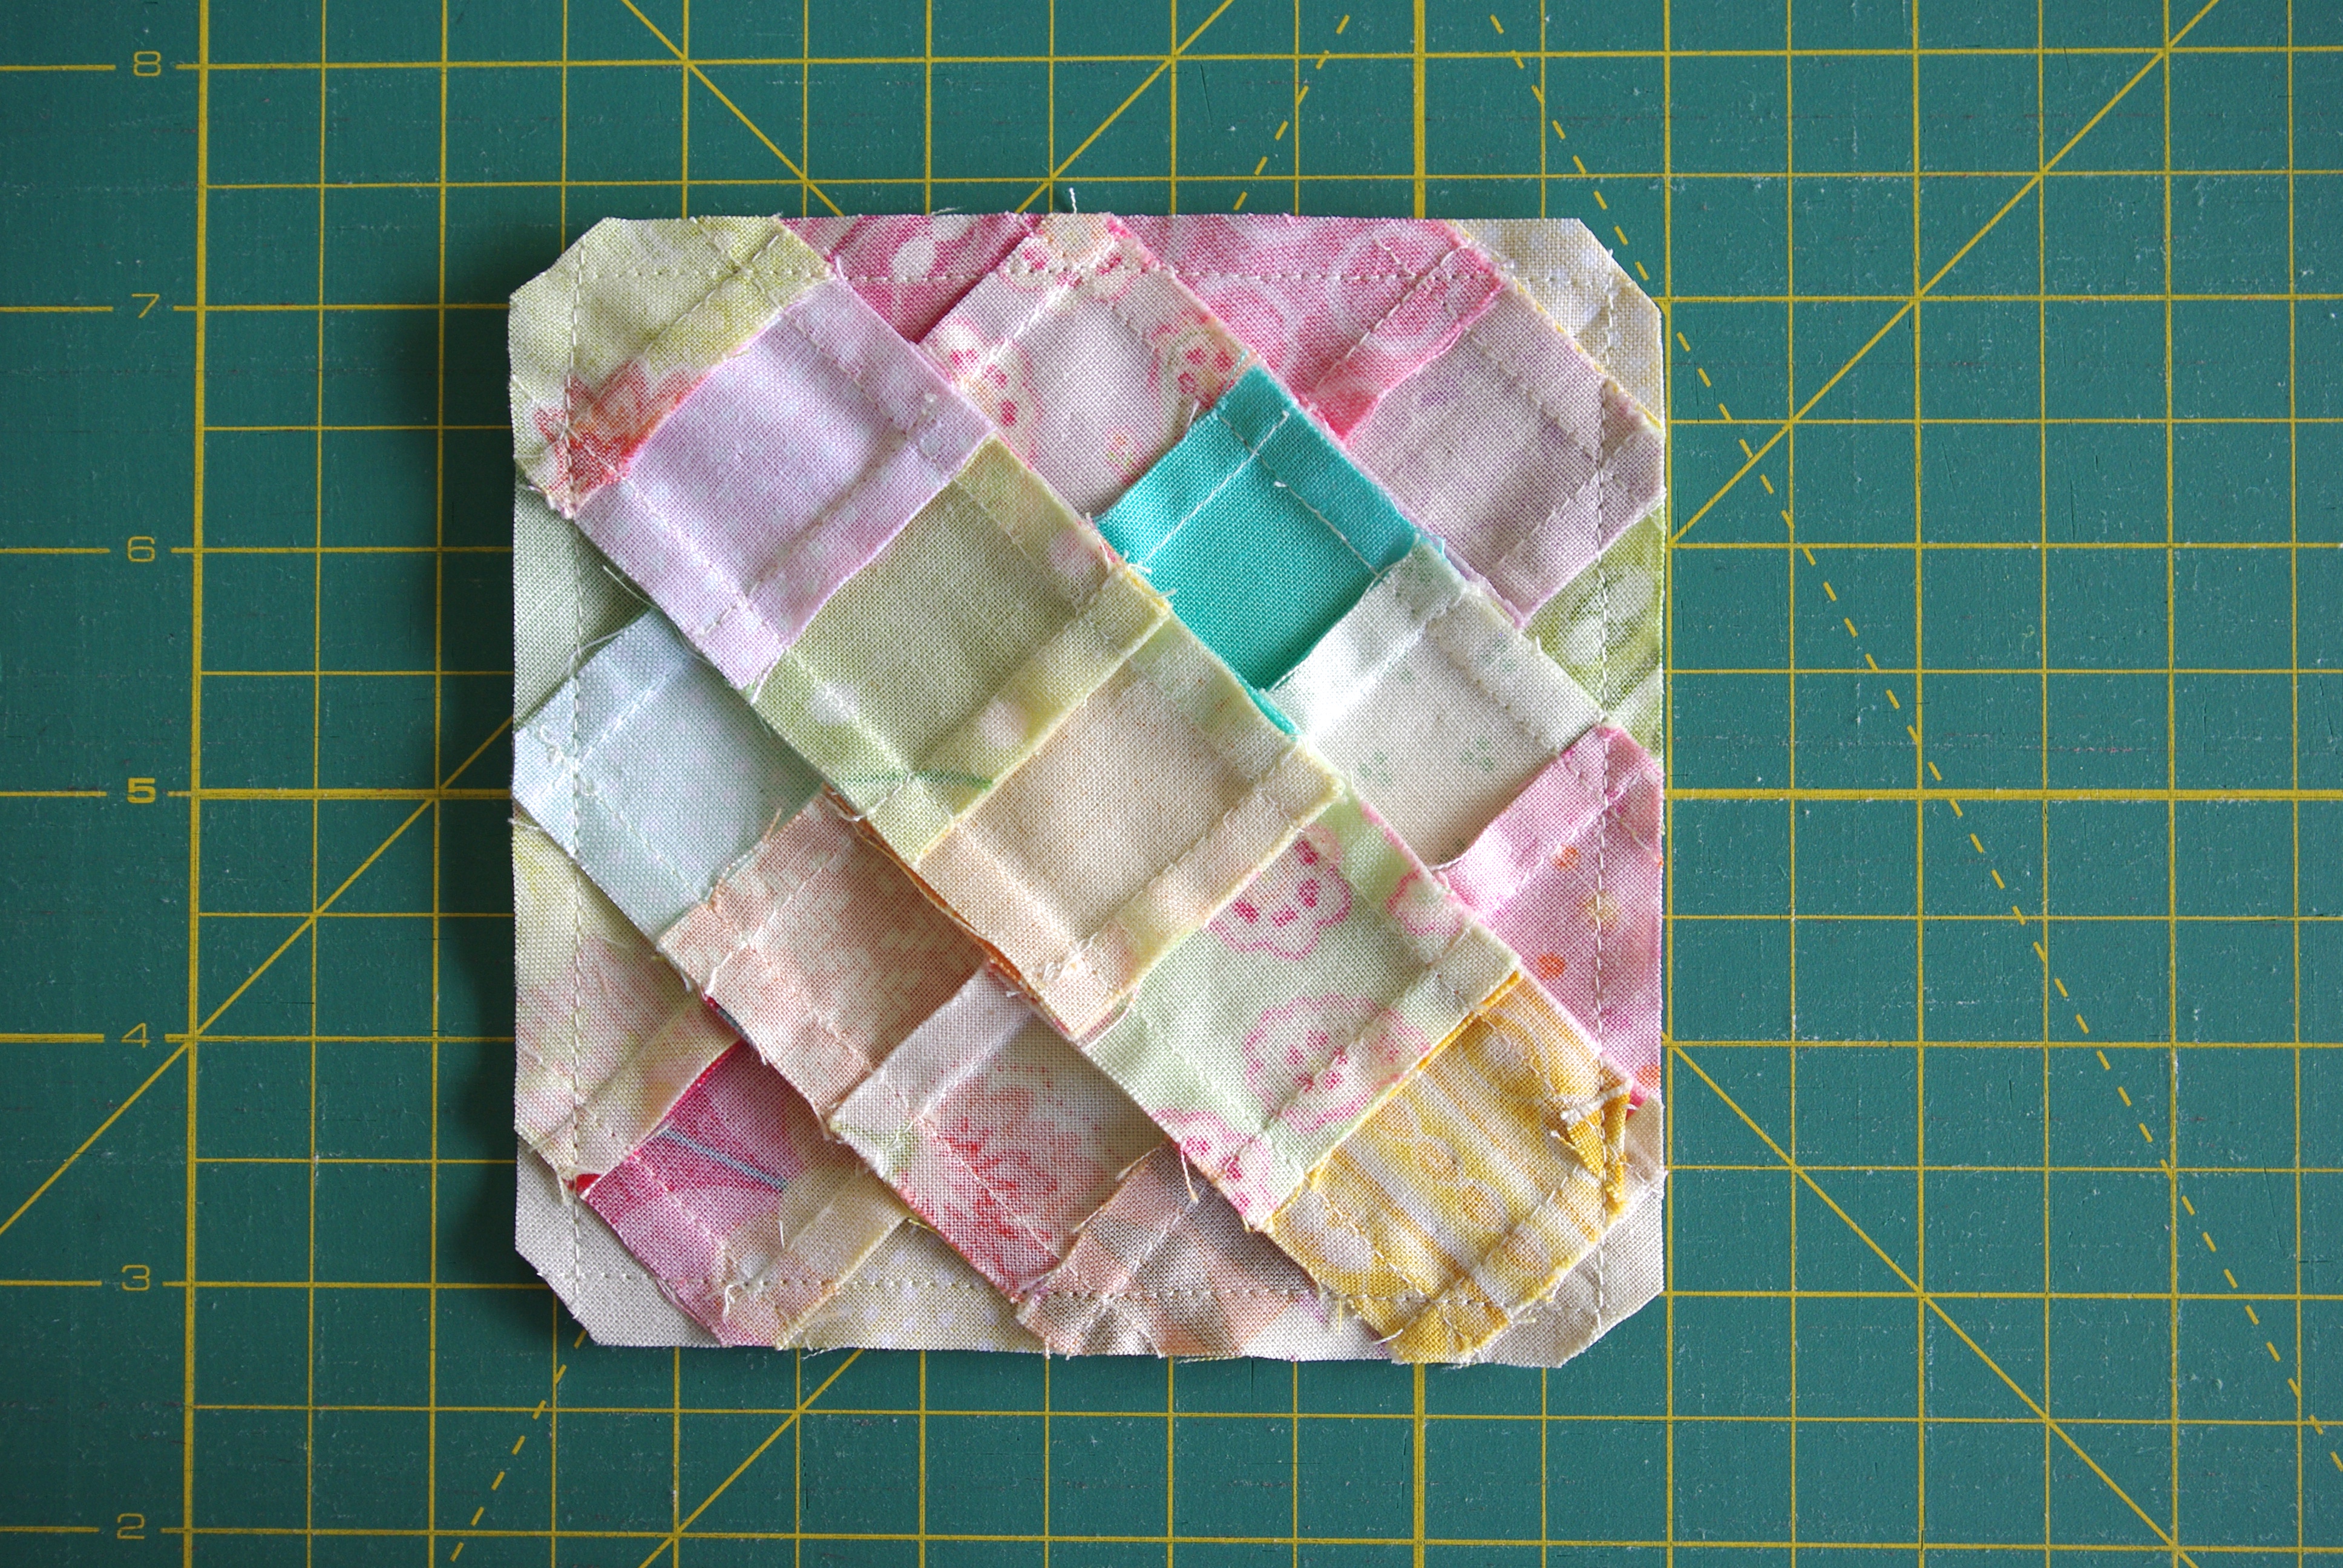
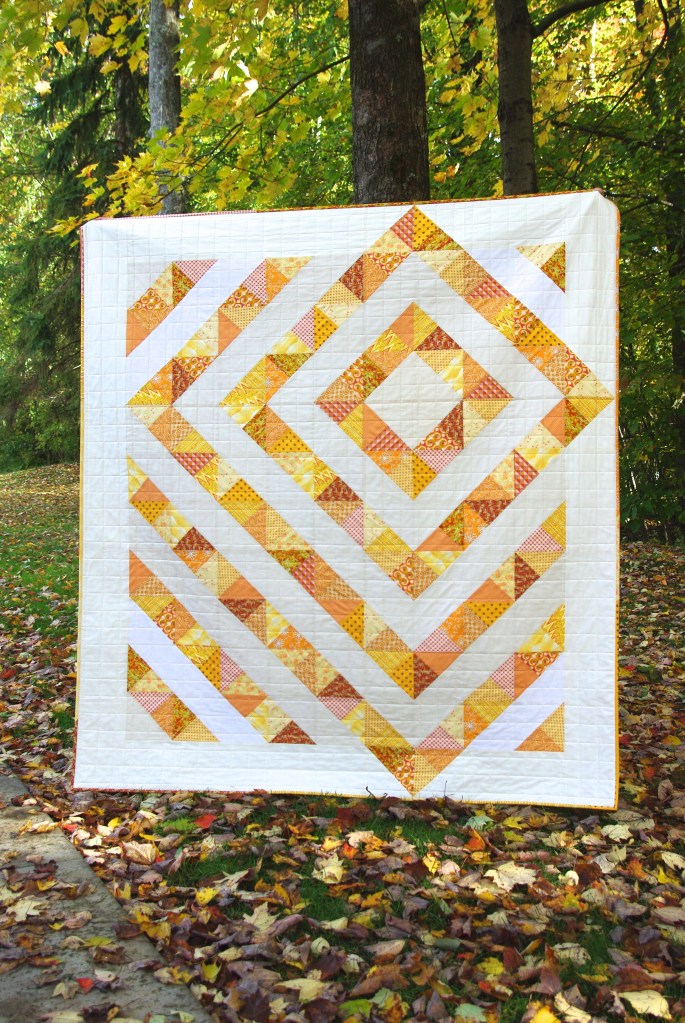
Also while trying to use what I had on hand, I made a Four Patch Charm quilt. I’m hoping somebody has a special event this year so I can gift it.

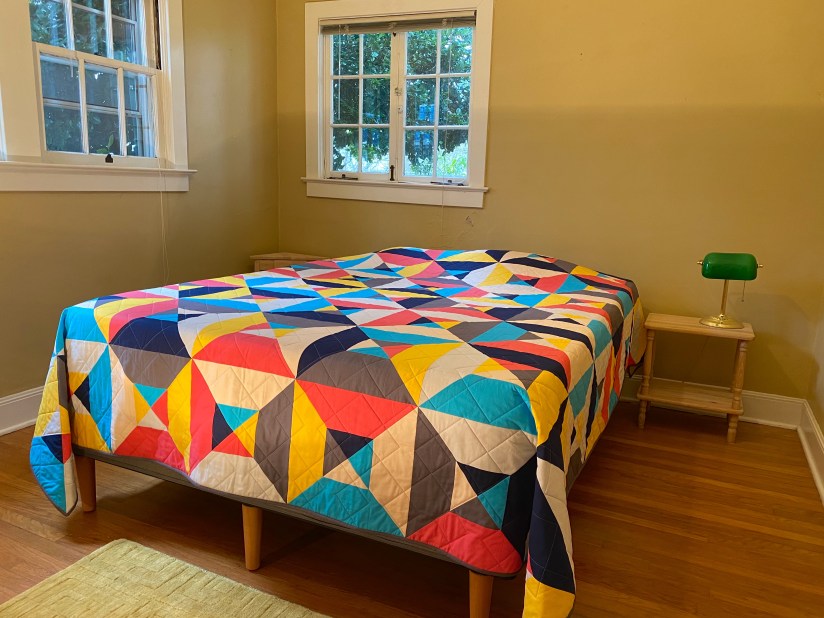
Lastly, I made my son a Picnic Play quilt designed by Michelle Bartholomew. While this quilt looks innocent, it was a tough one! It was a huge project, too. My son enjoys finally having a quilt large enough to use on his queen size bed.

I made quite a few mini quilts, too. This one was completed early 2019. I’ve also written a tutorial on how to make a Scrappy Heart mini. It’s a fun and quick one to make.

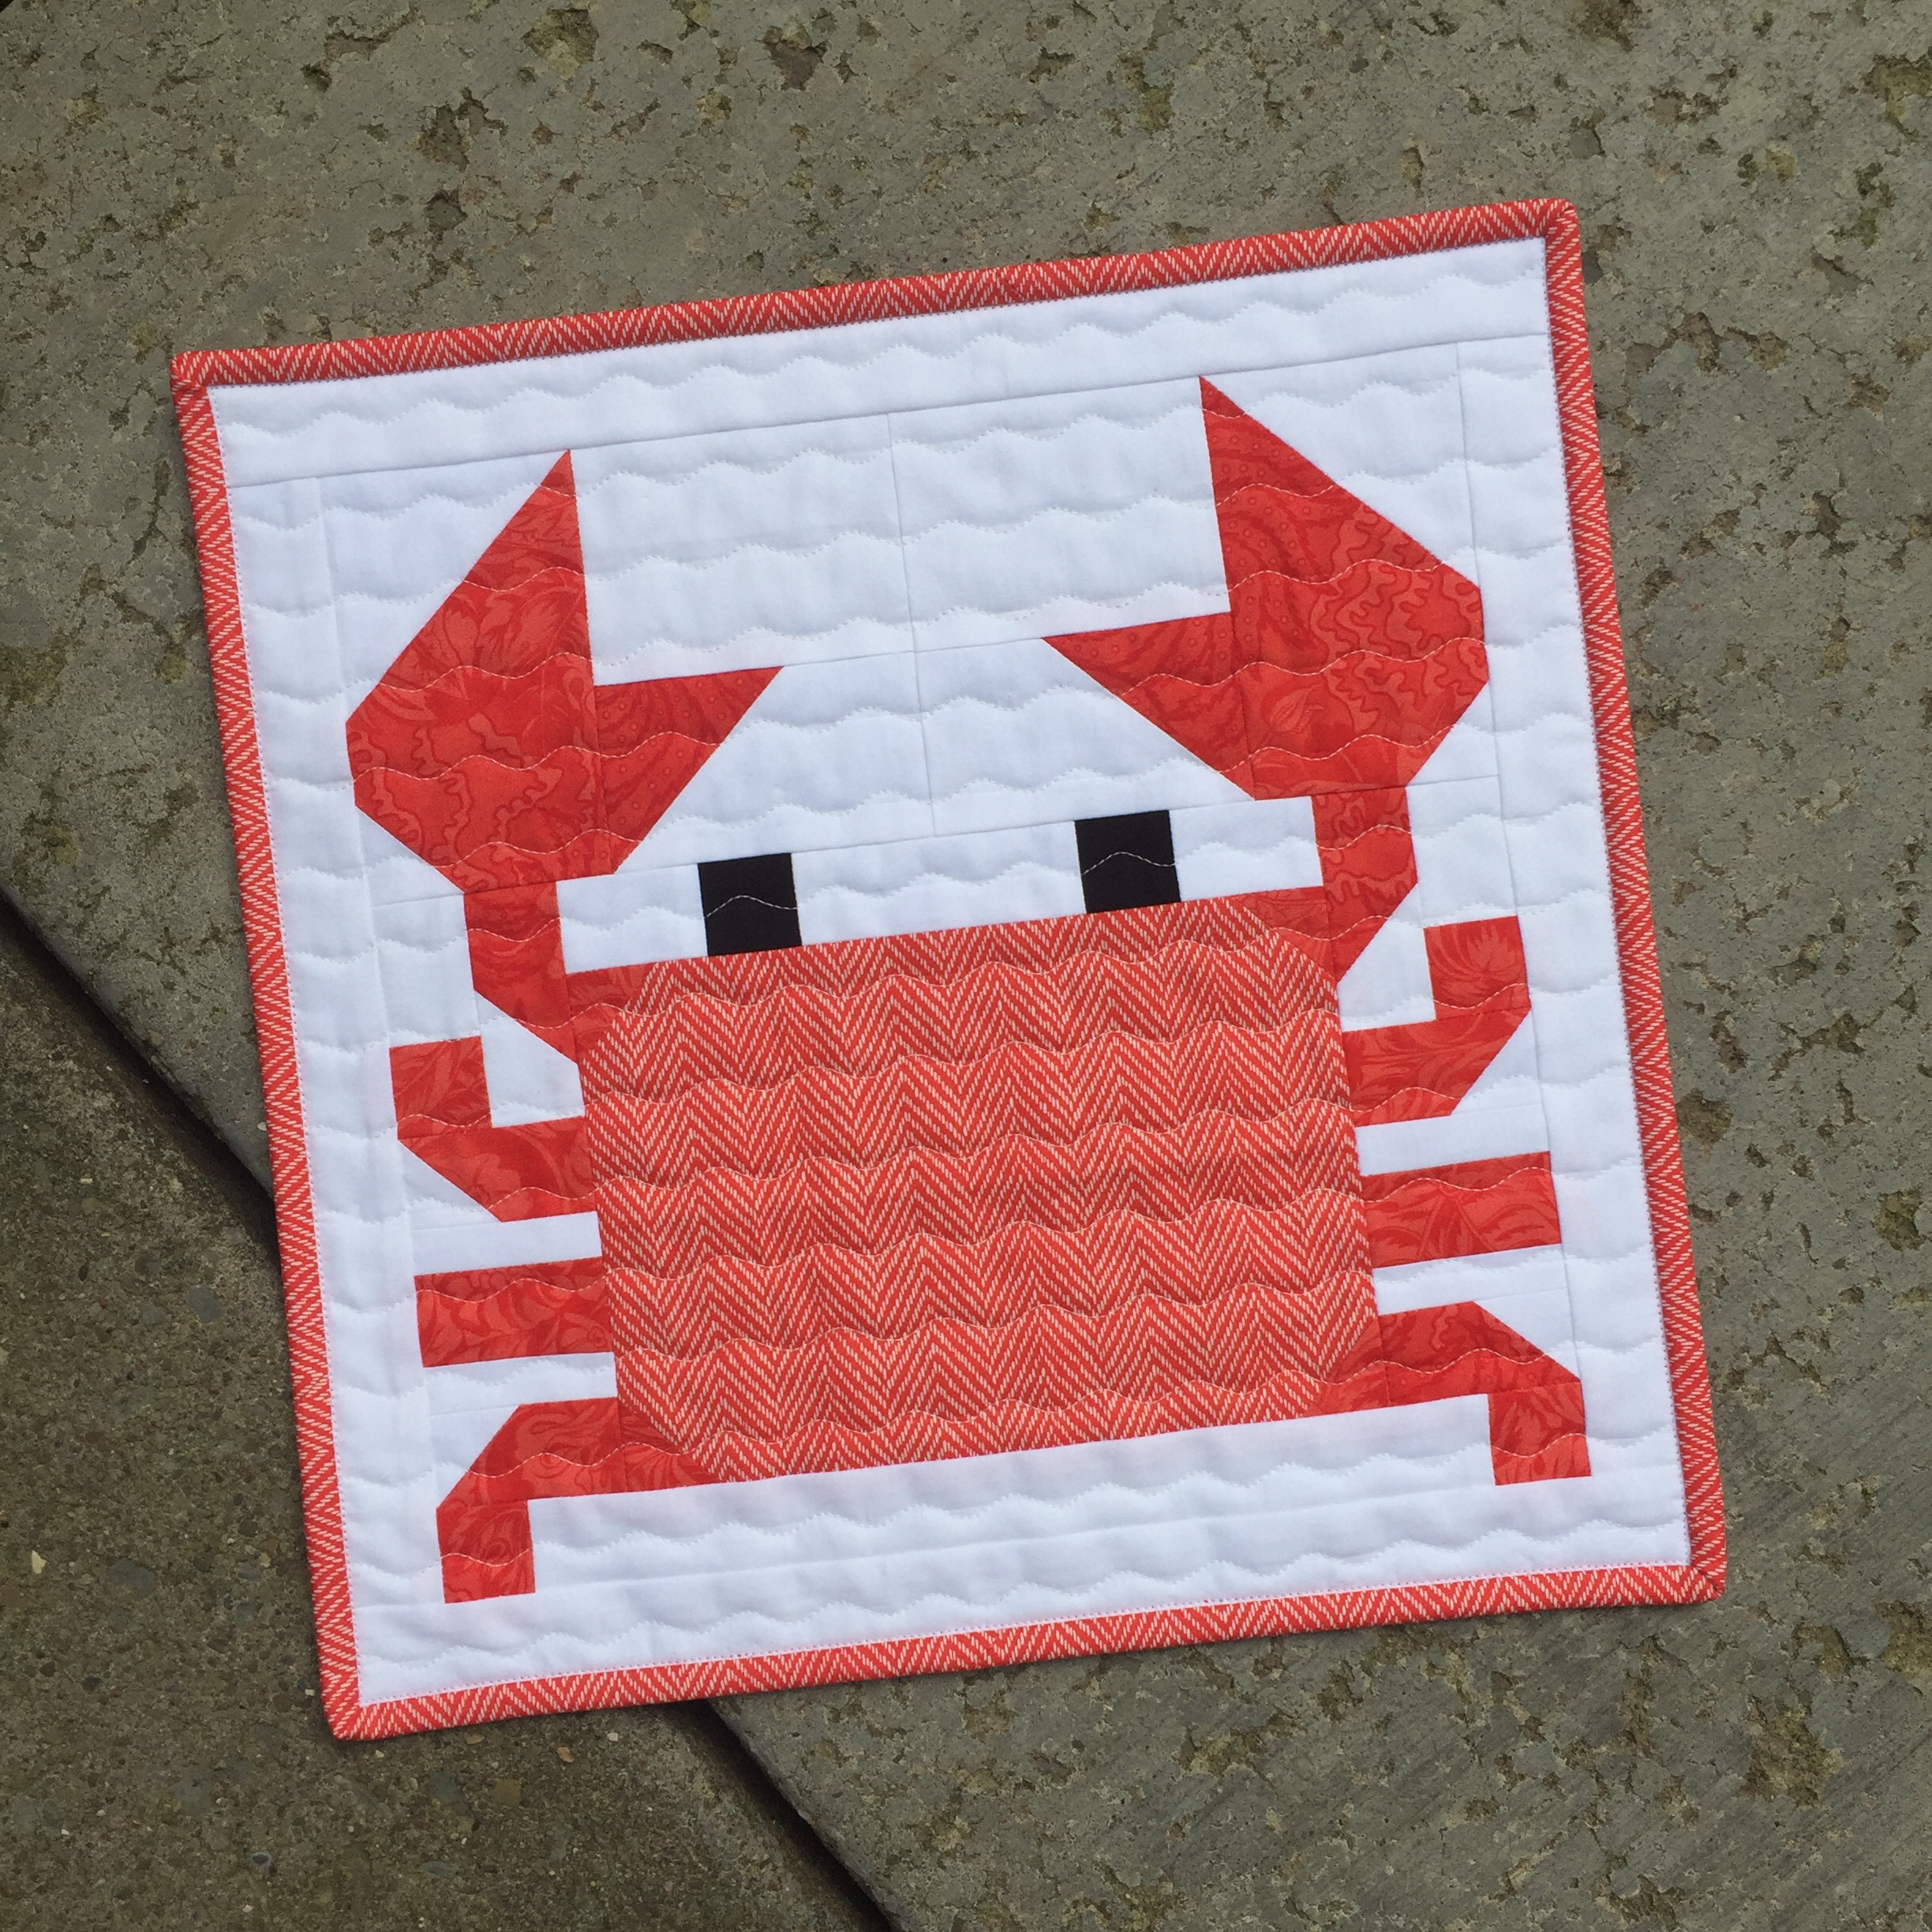
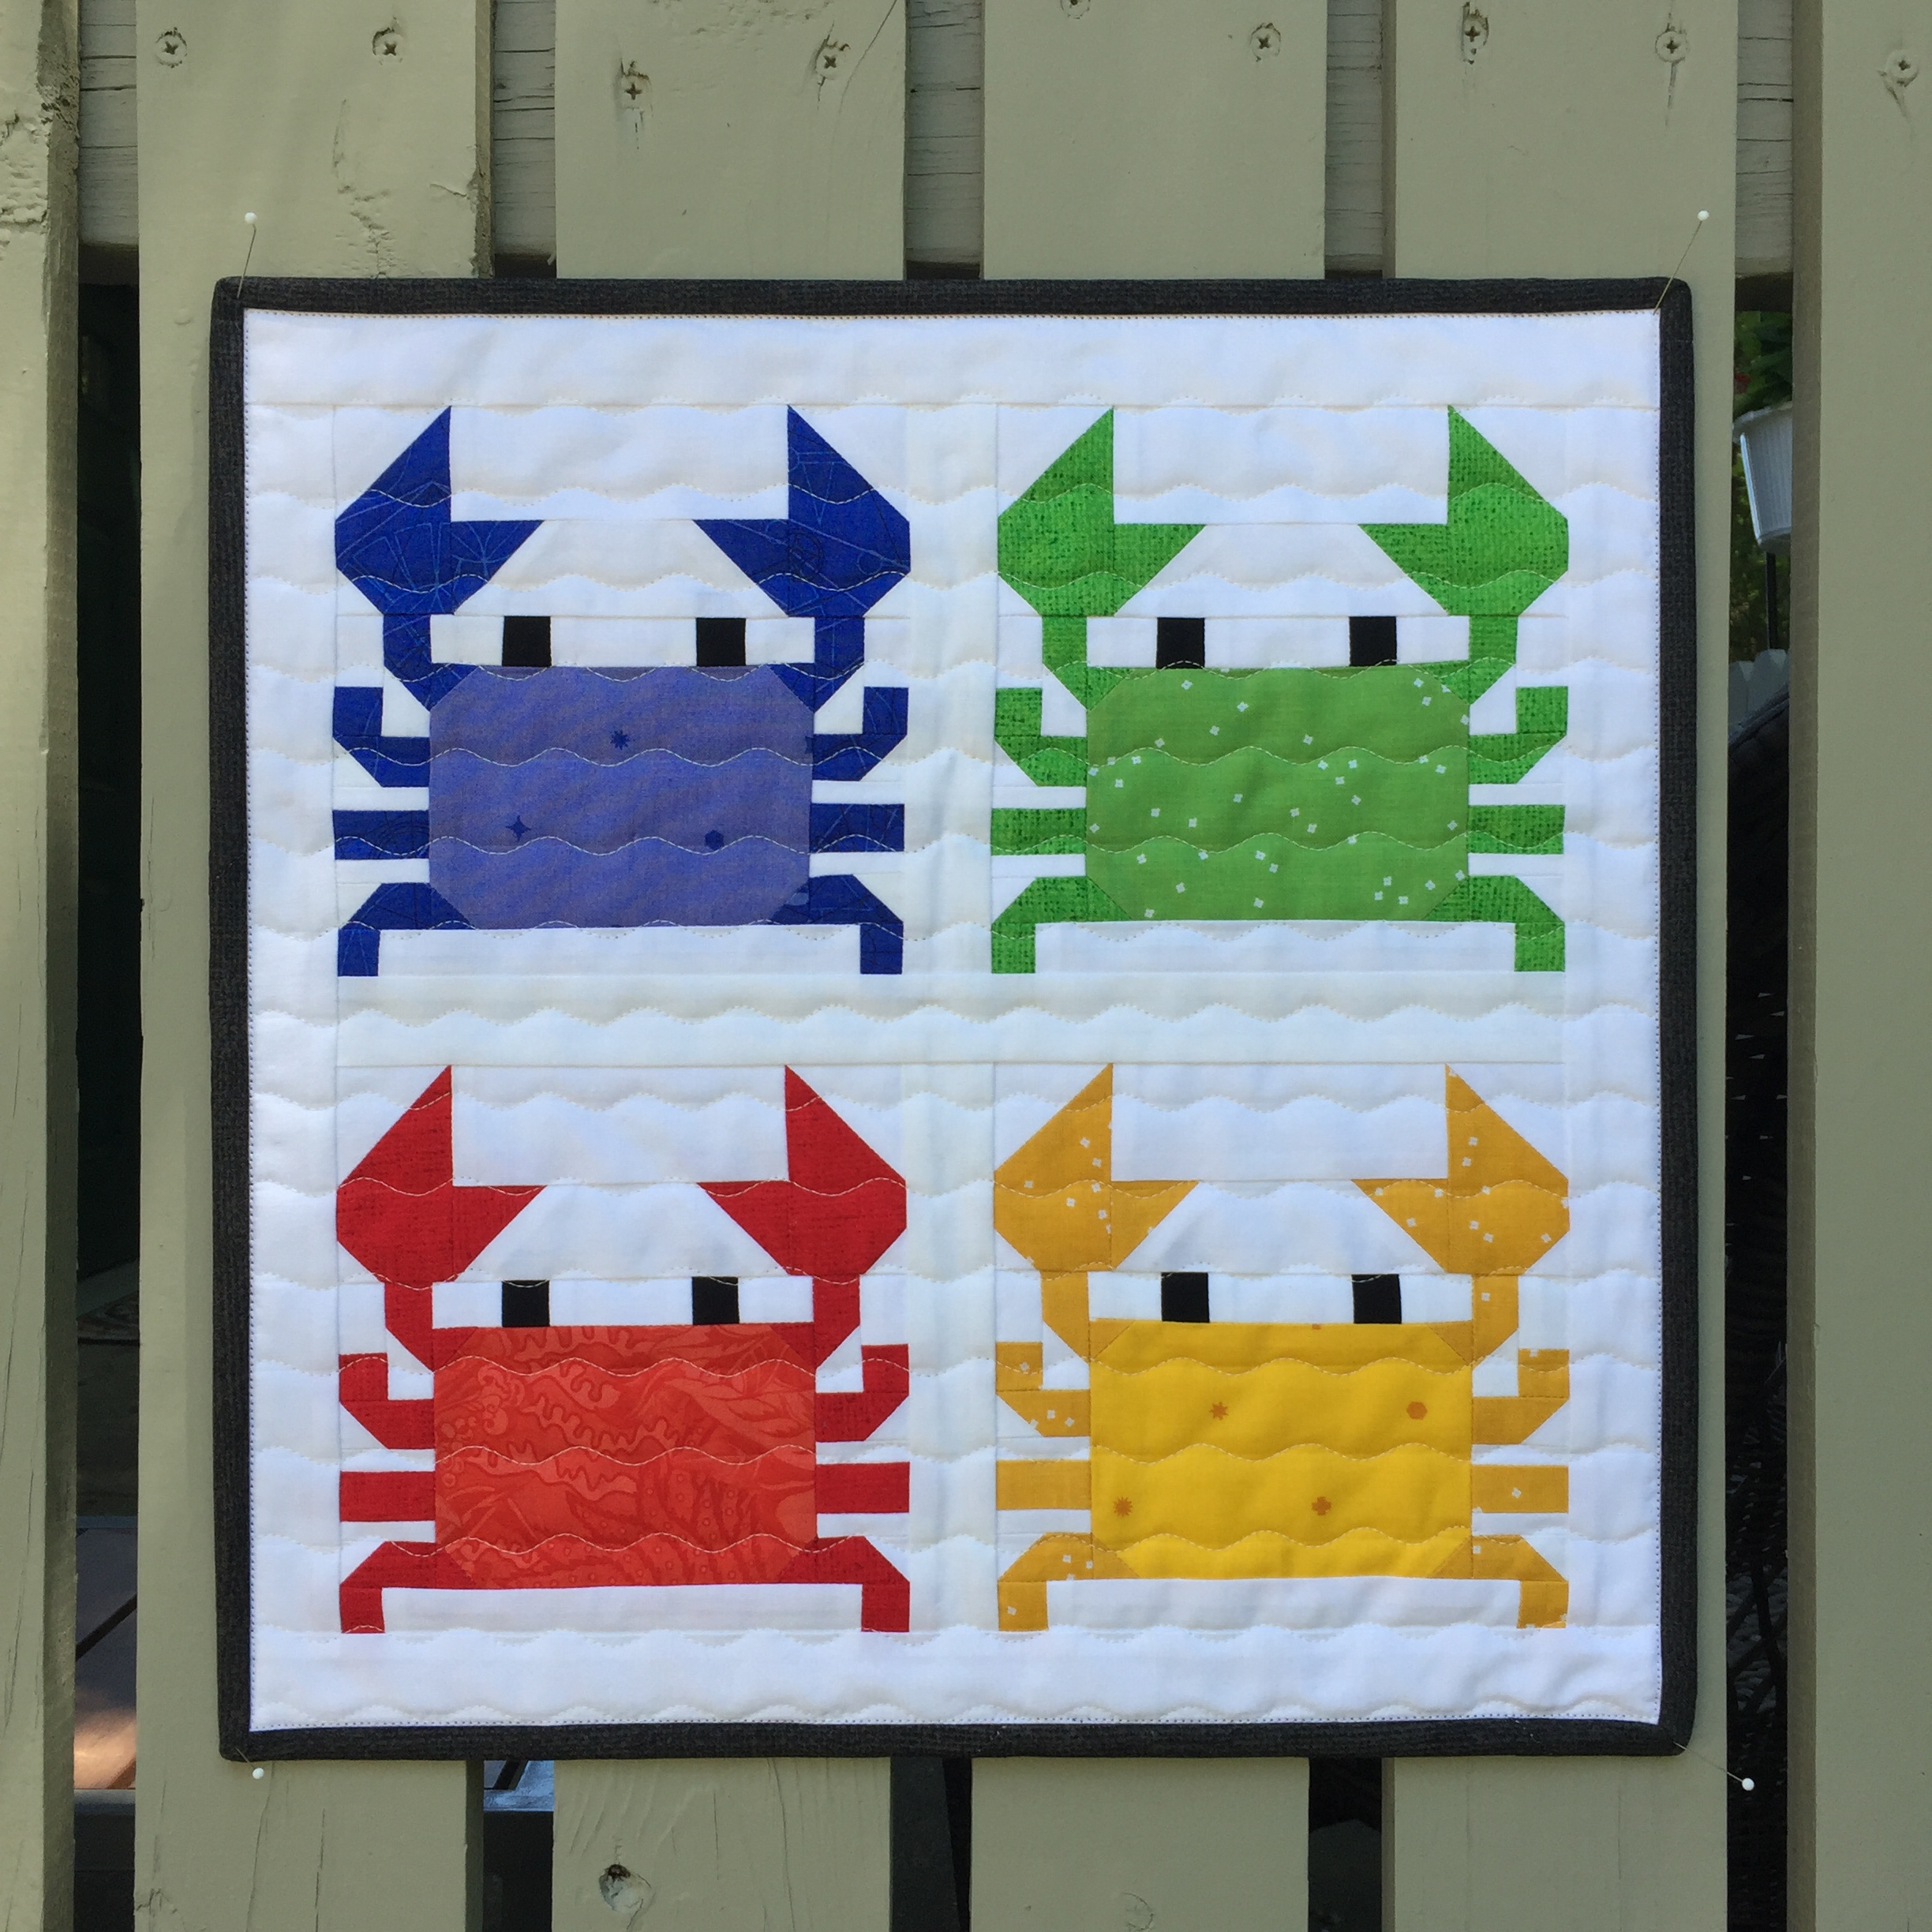
What can I say about this cute crab pattern by Ellis and Higgs? The big crab was a gift for my daughter, the other one is mine.

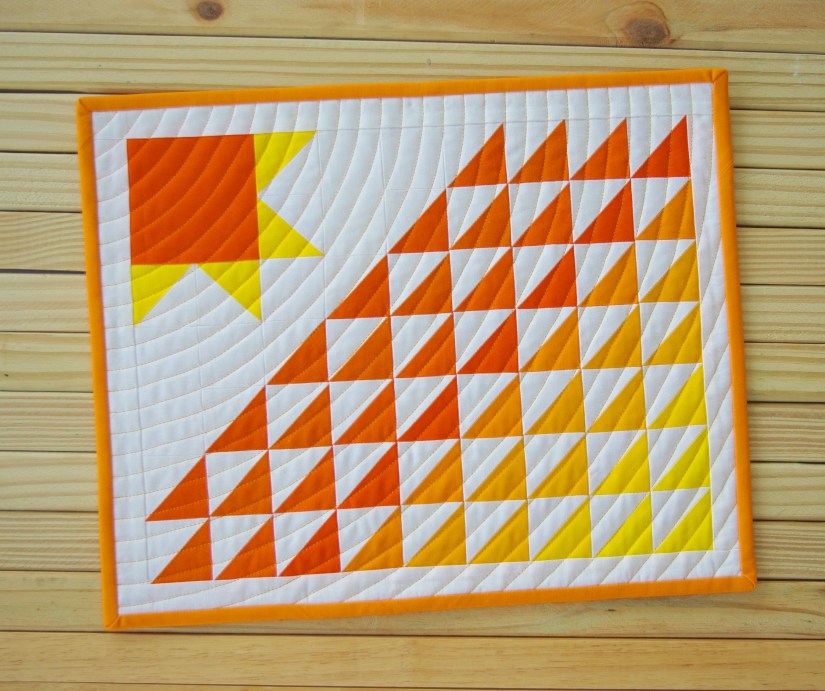
This Radiant mini is also a Monday Morning Designs. I was fortunate to have it featured in the July/August edition of Quiltmaker. It surely brightens up my space! I plan to release the pattern this summer.

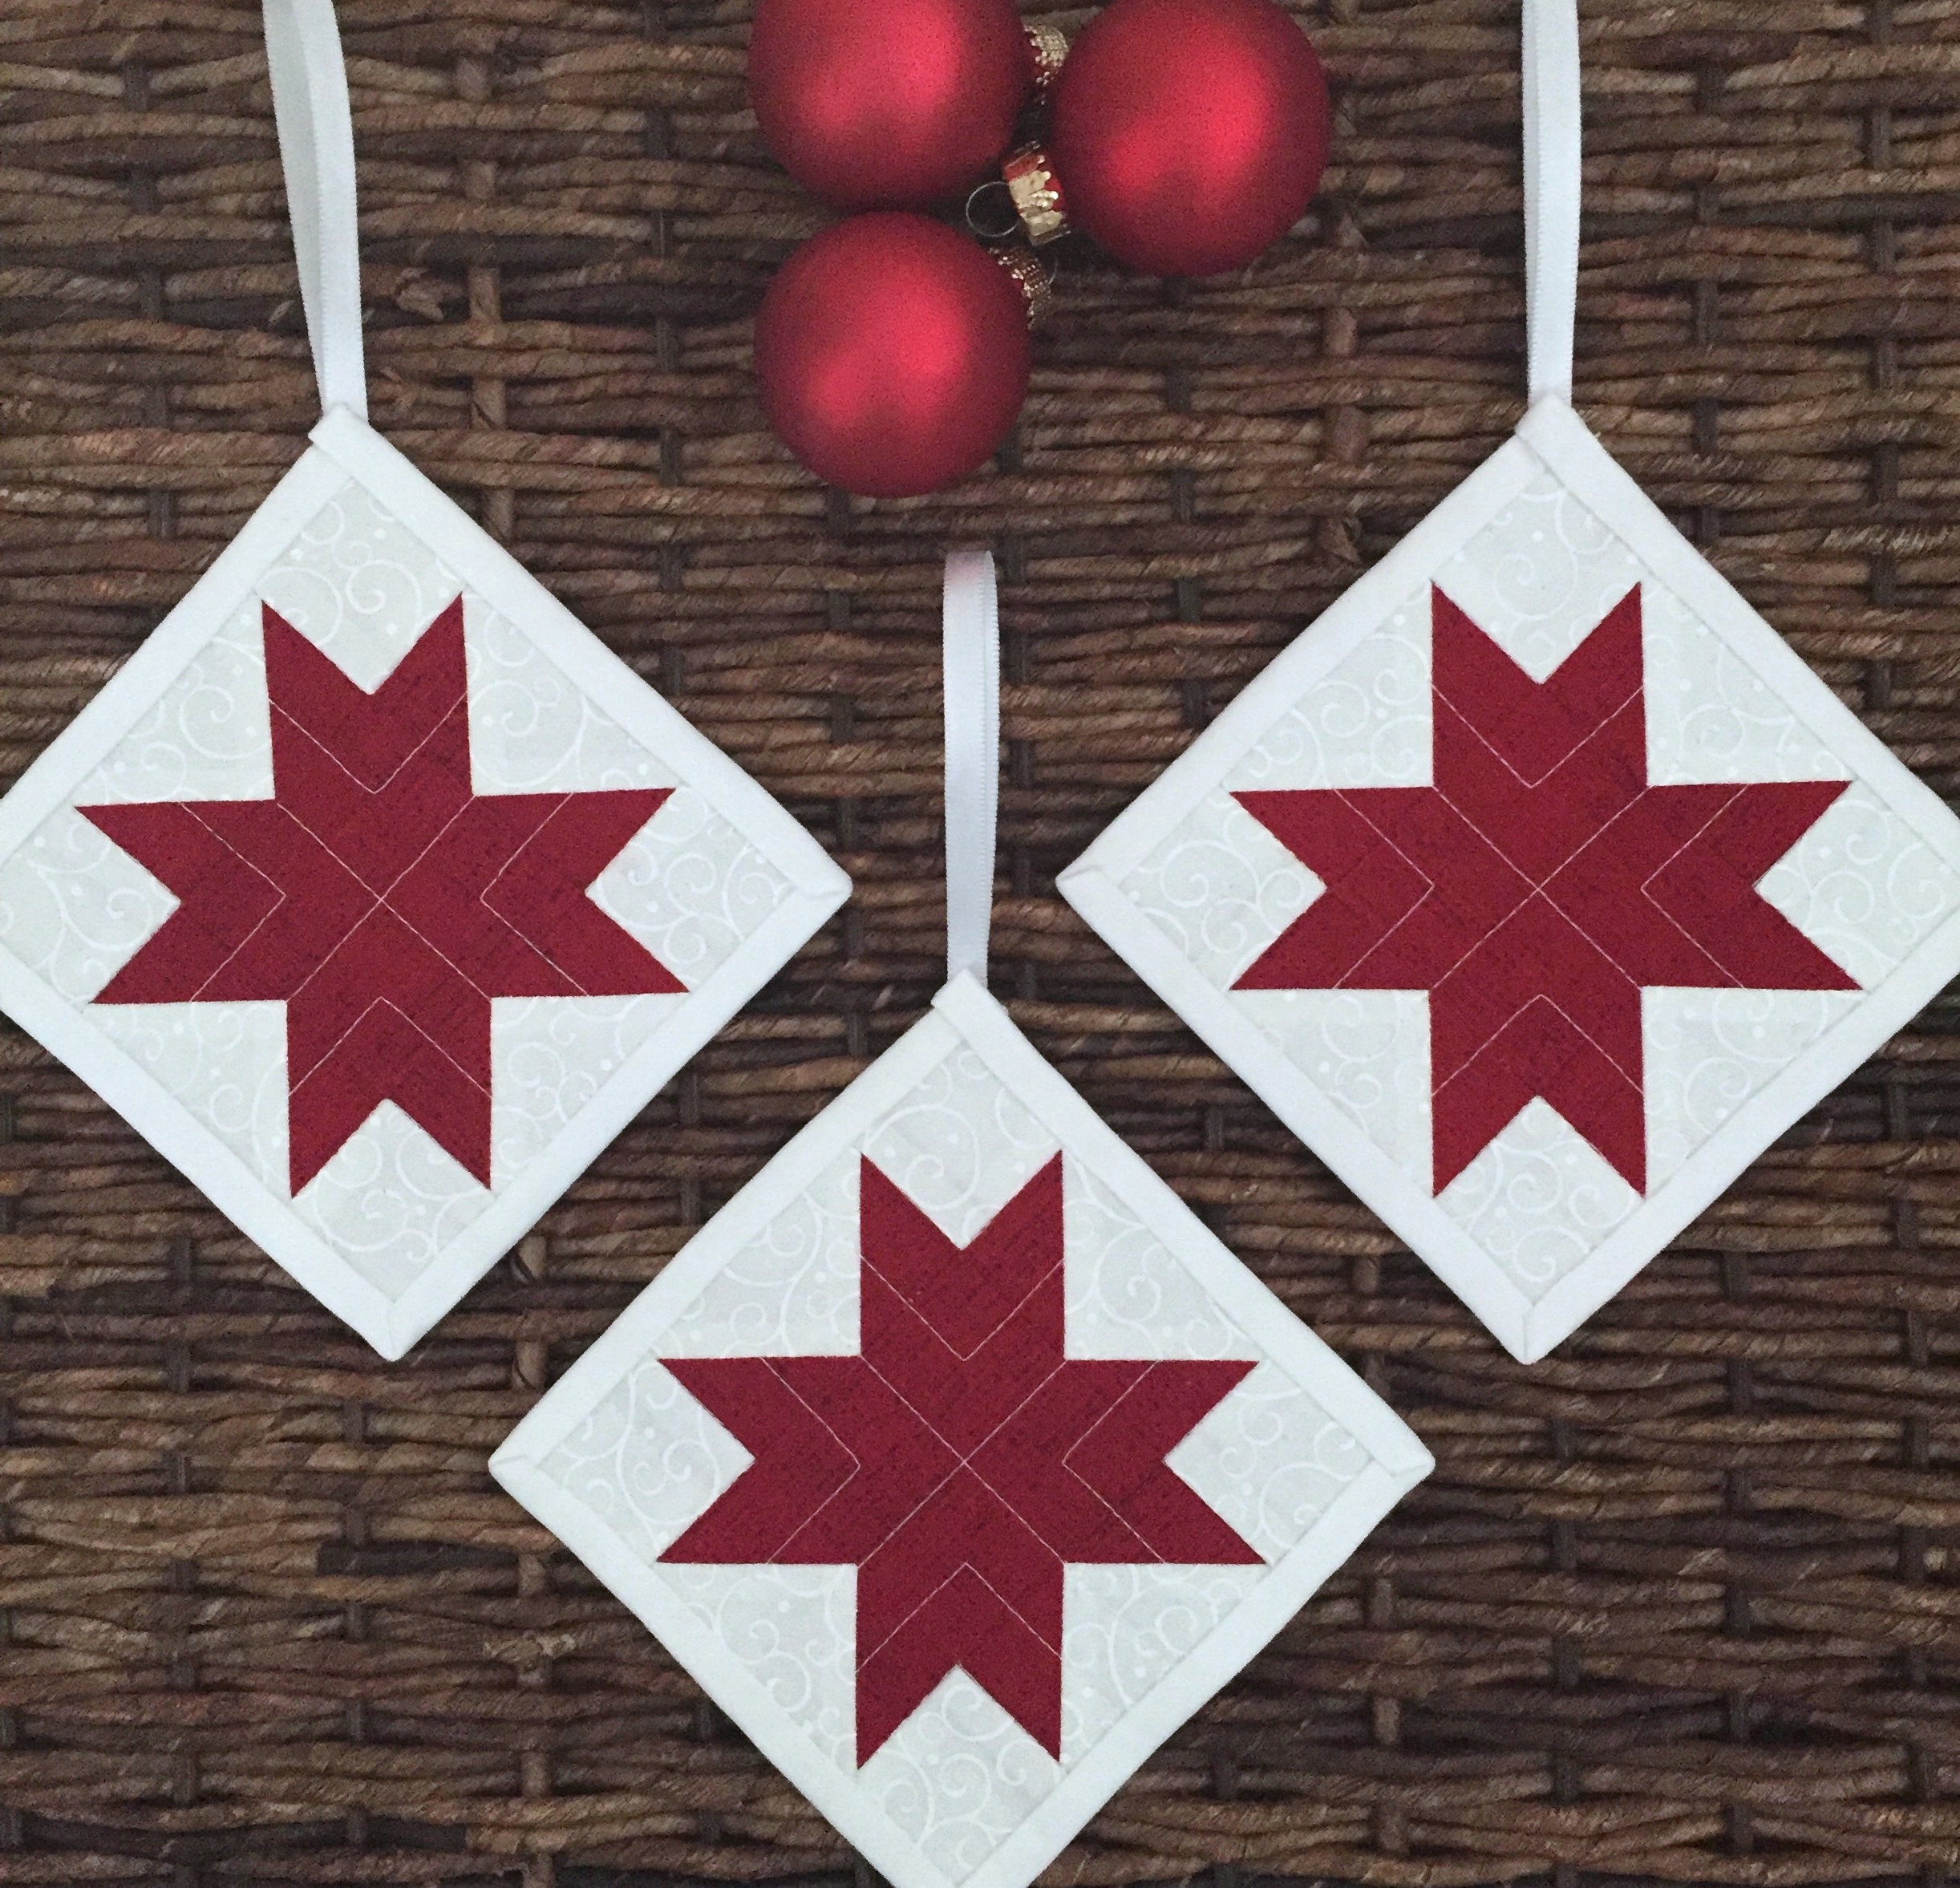
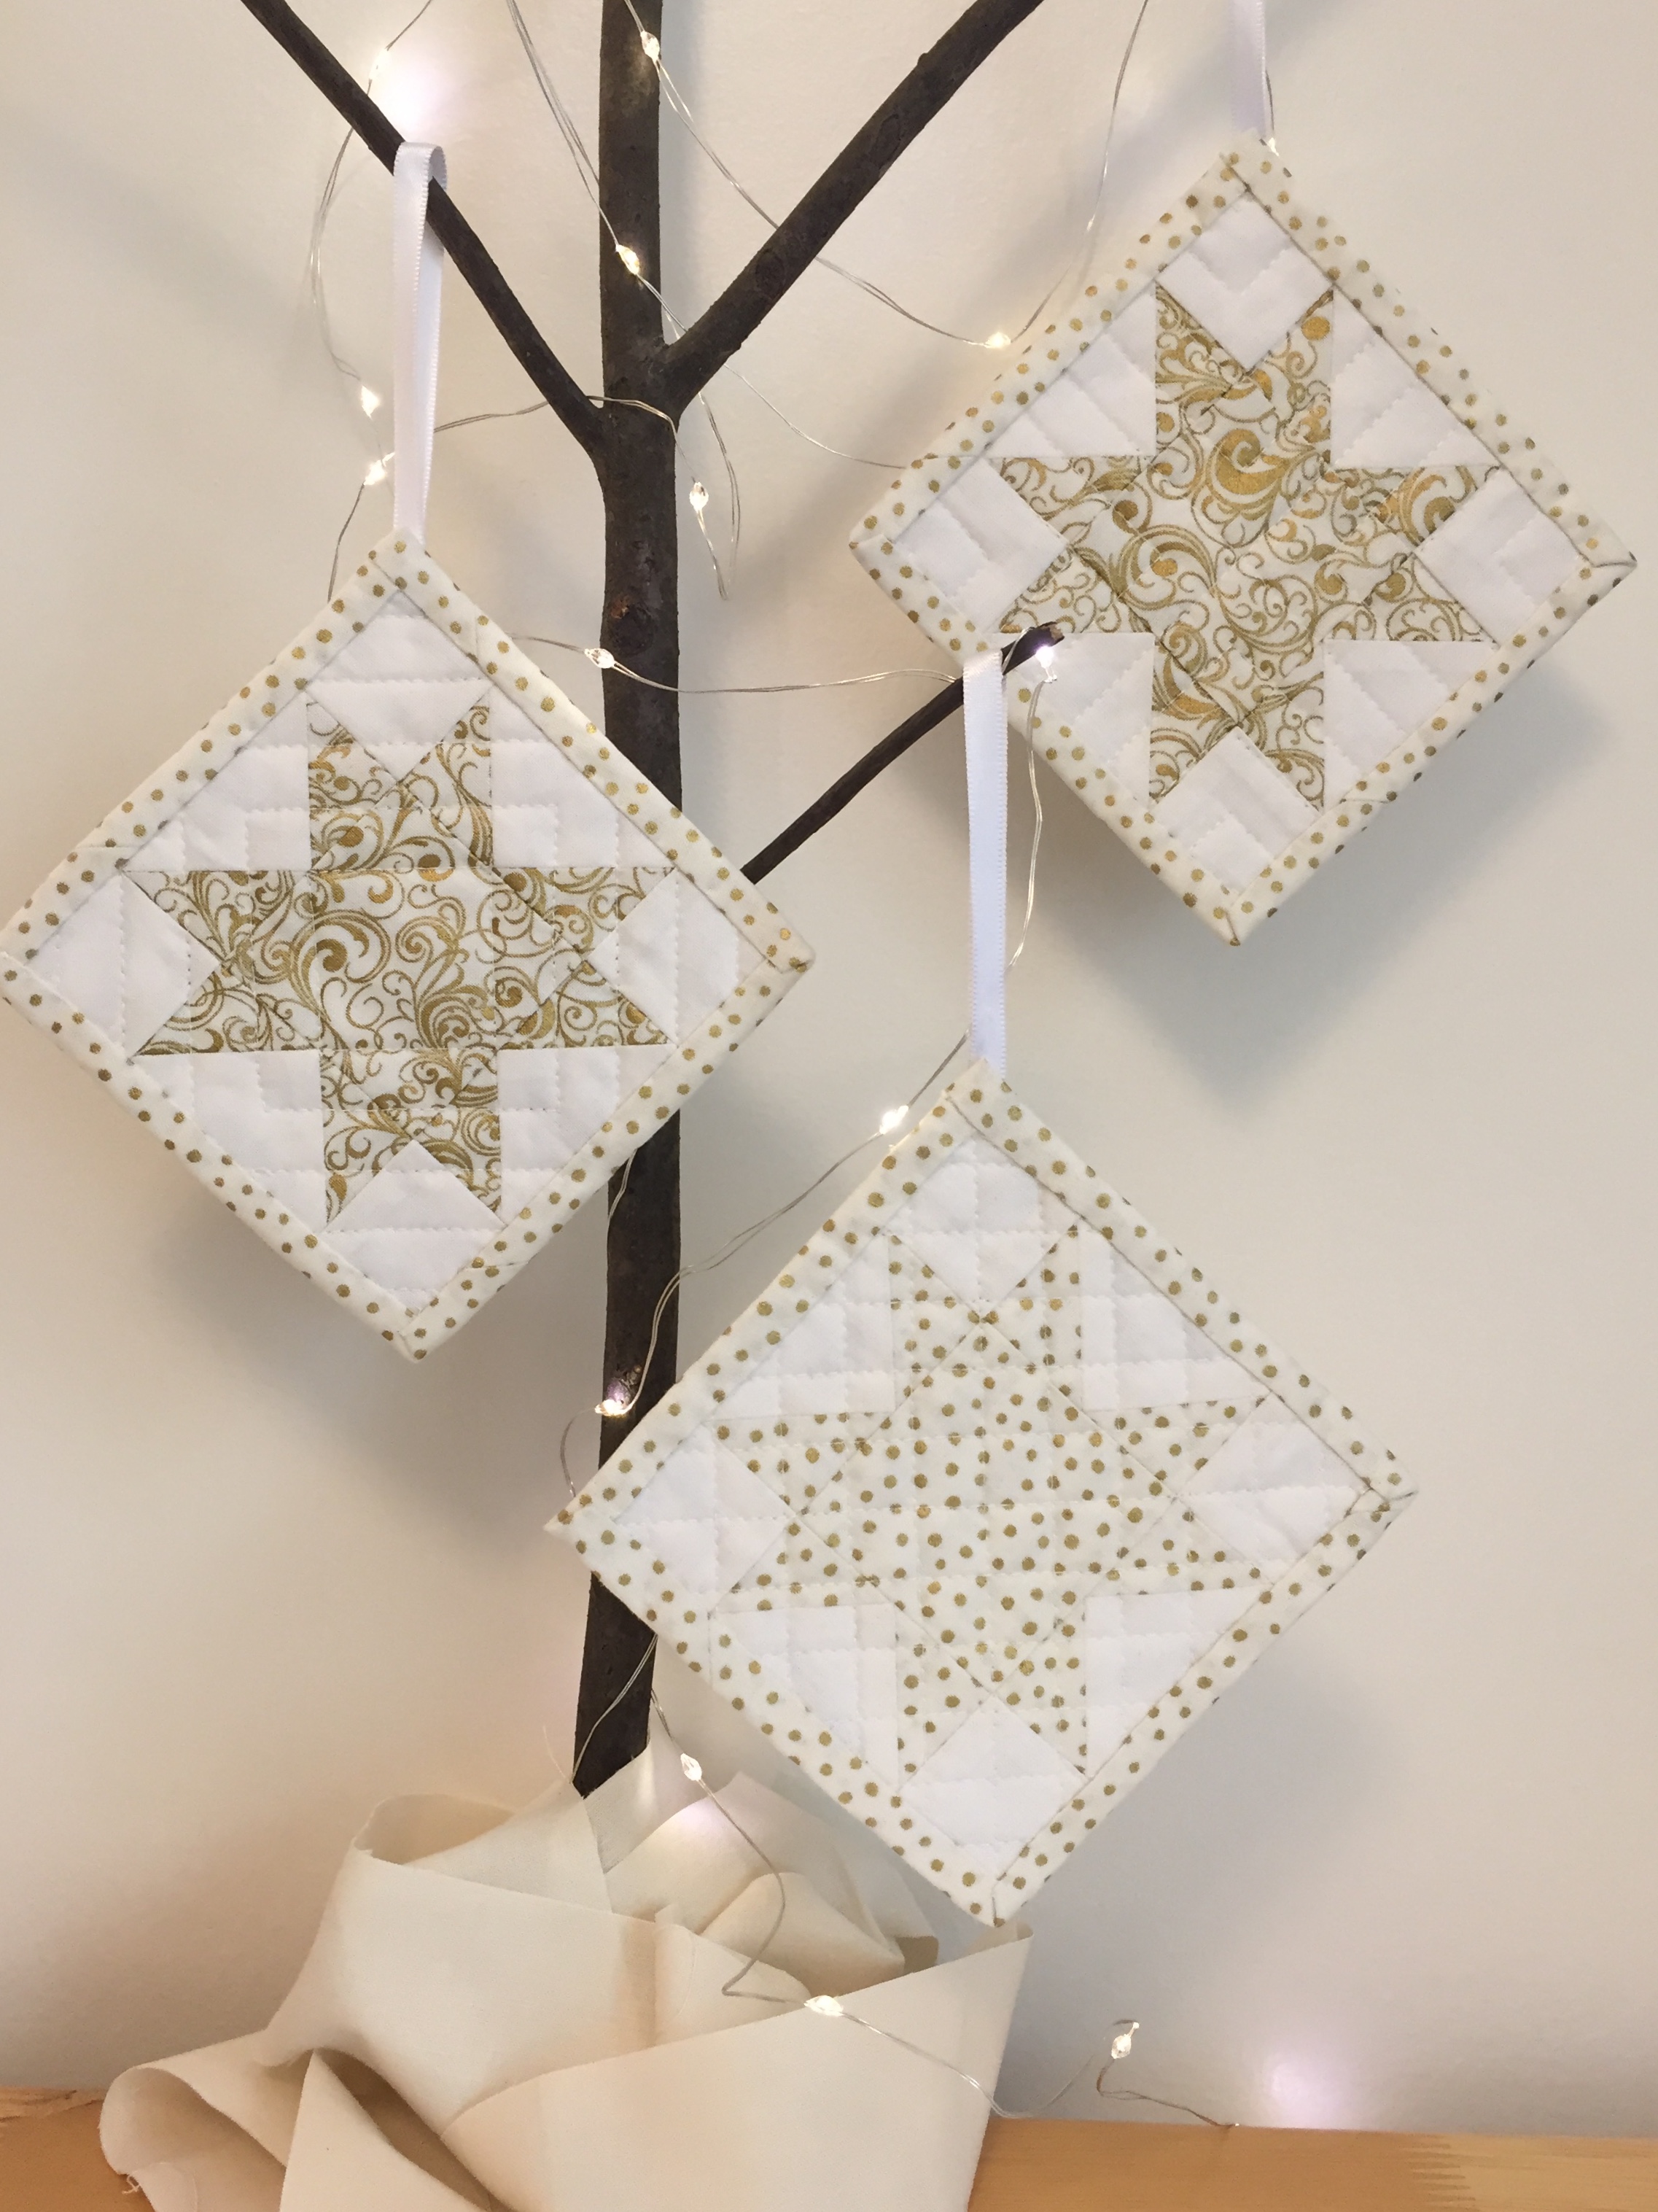
I made quite a few Little Quilted Star ornaments for gifts for Christmas. Very festive.

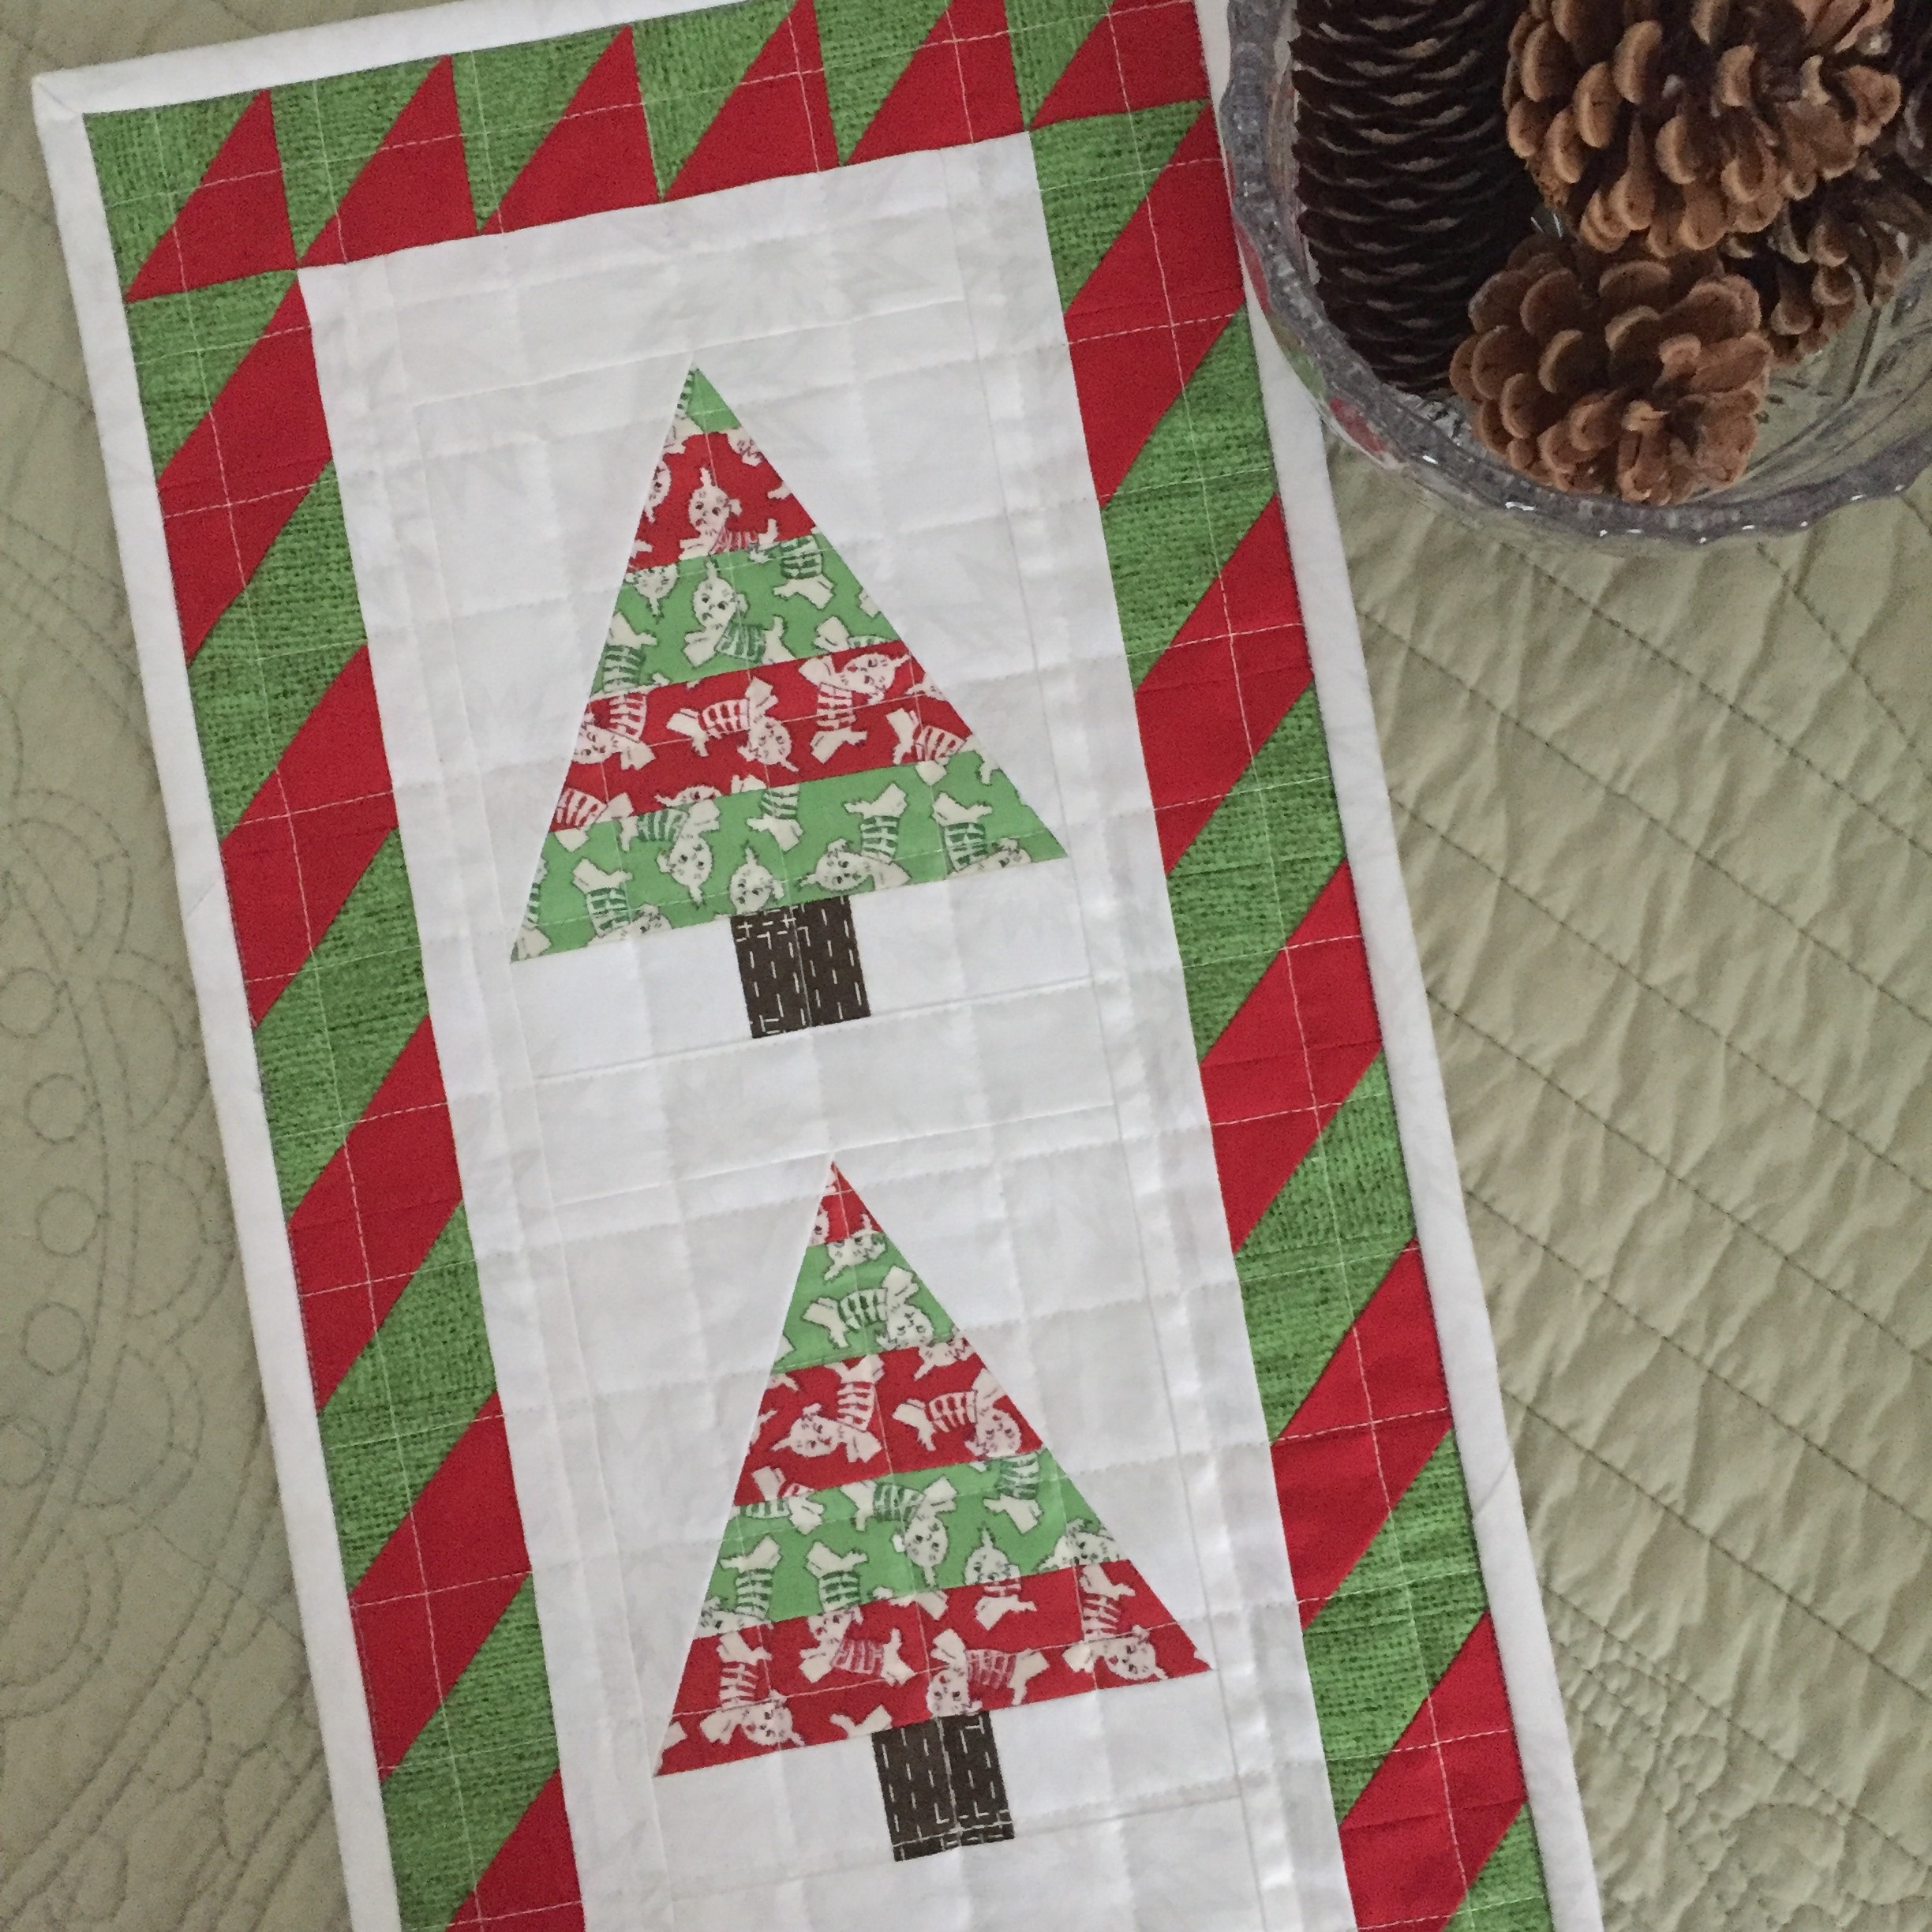
My pattern Wee Three Trees became available for purchase in time for the holiday sewing rush. I made two, one for myself and one as a gift for my niece.

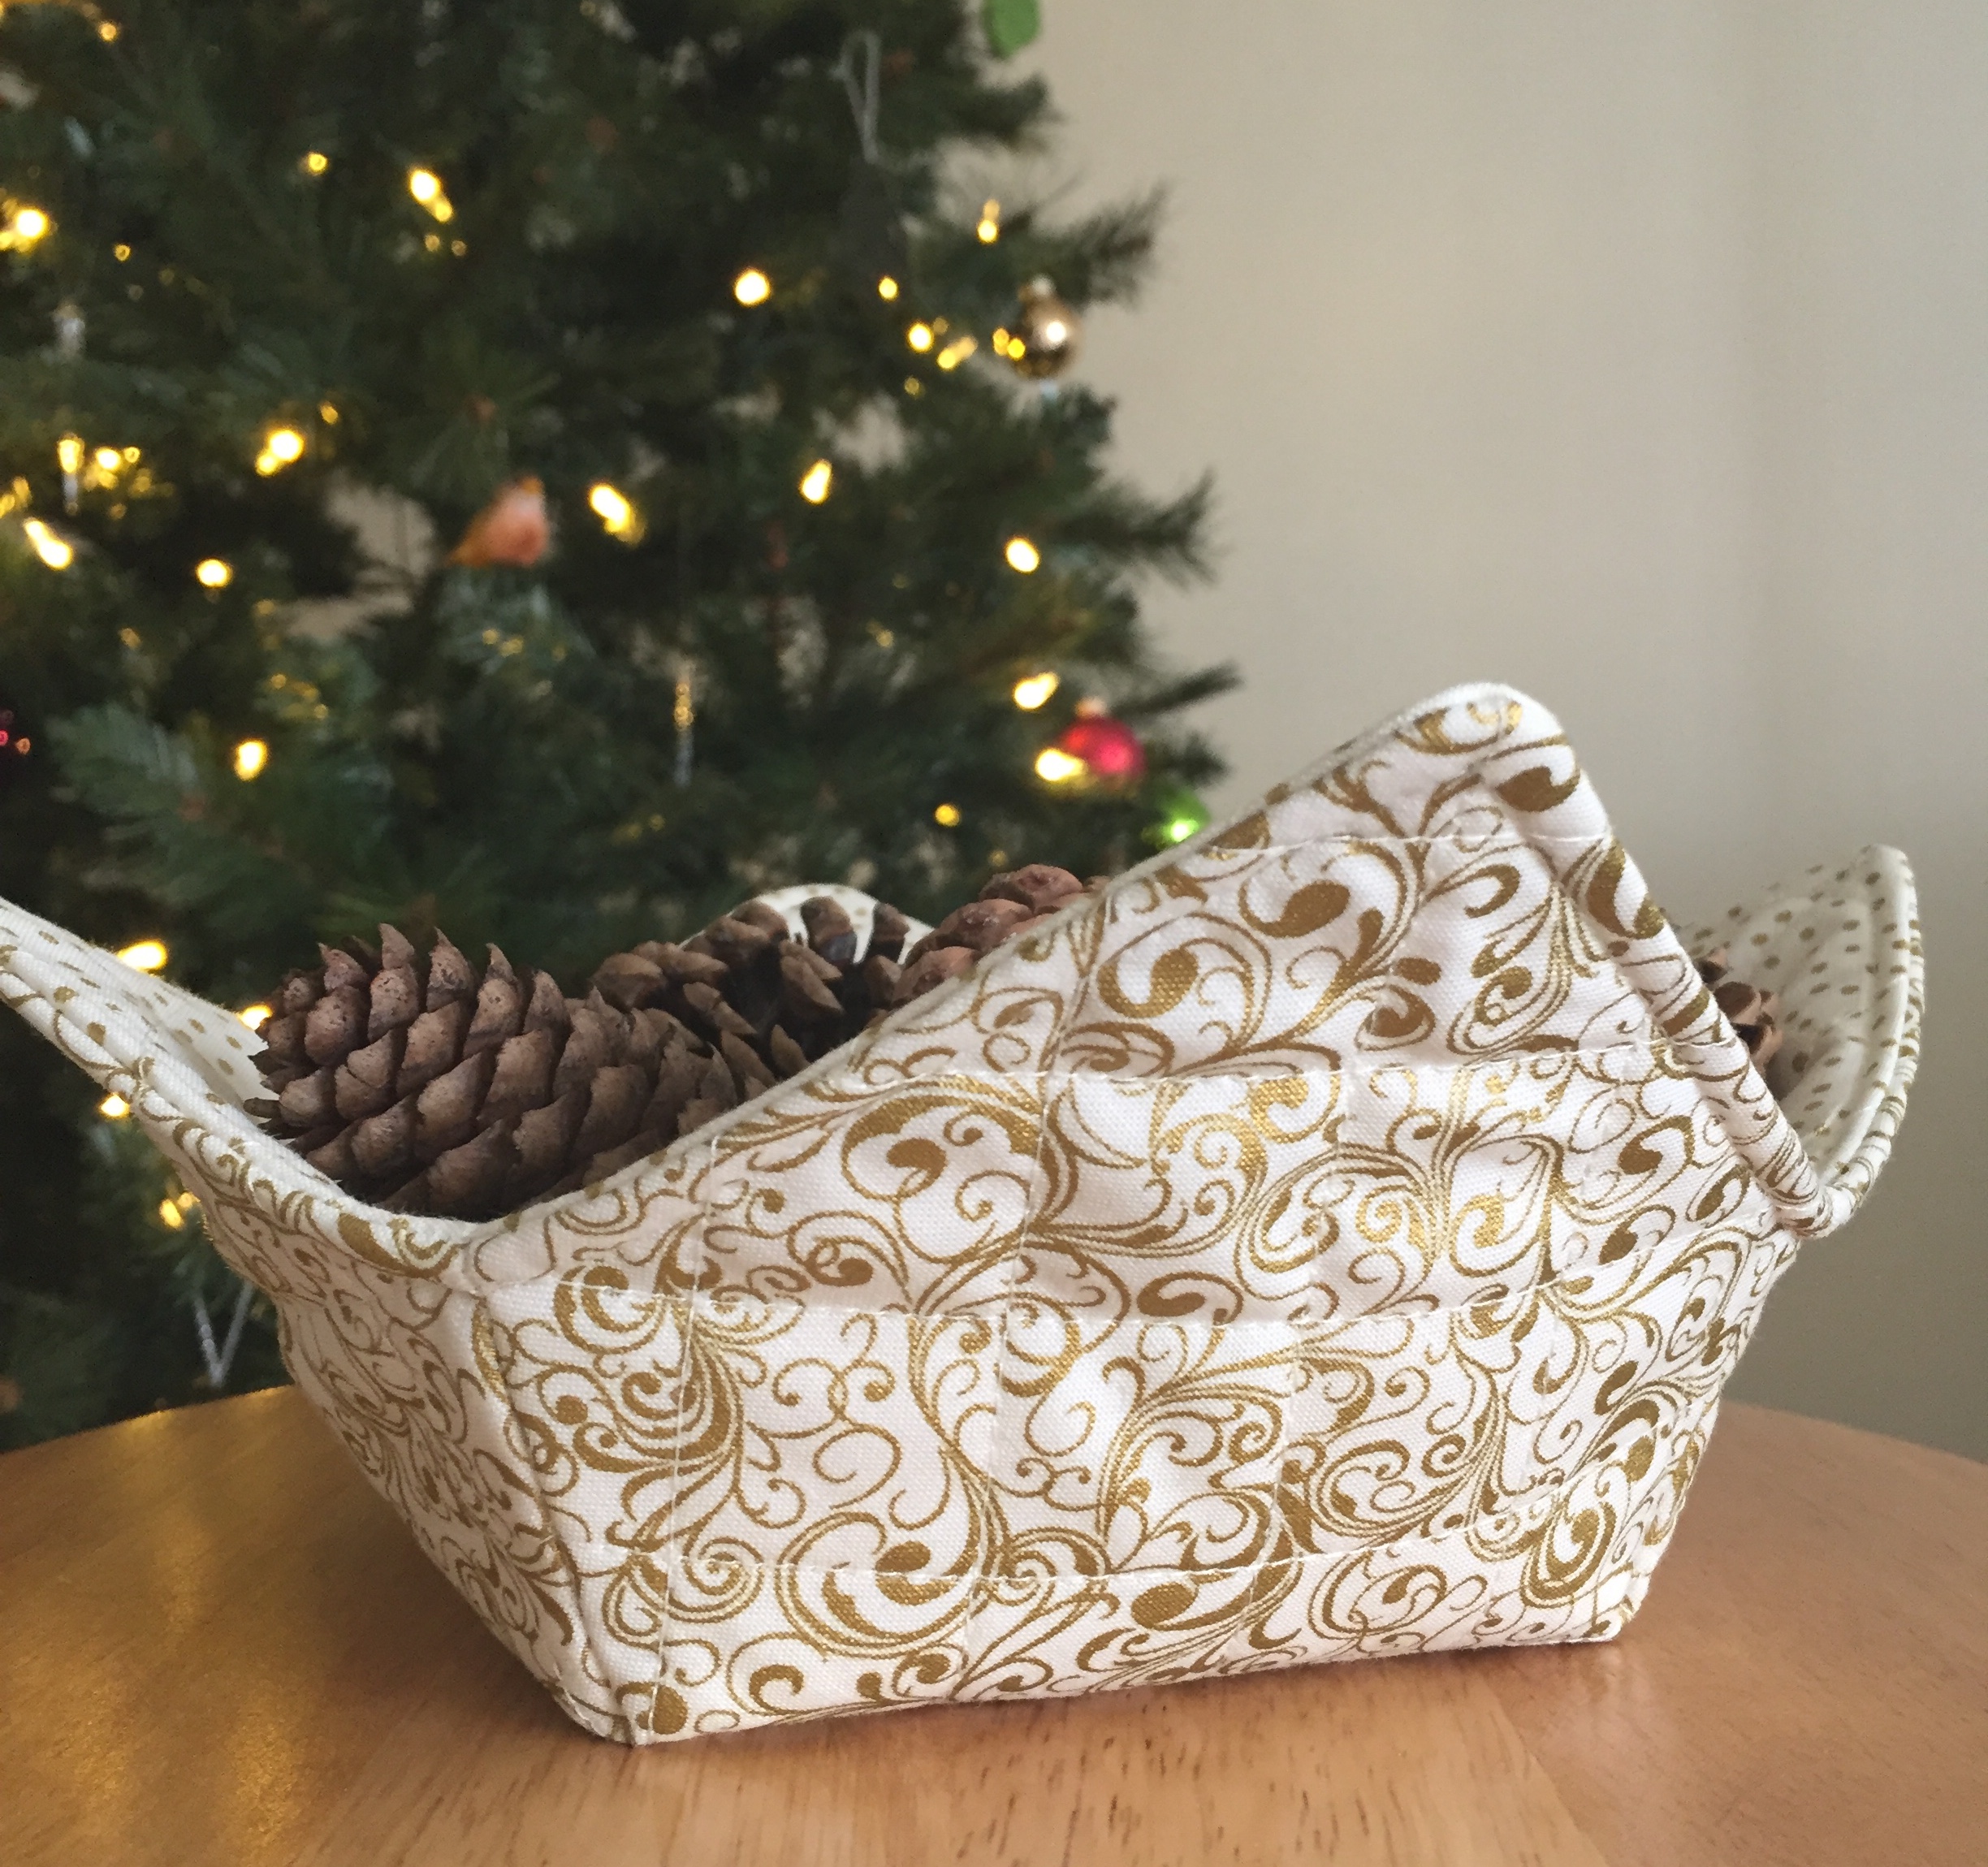
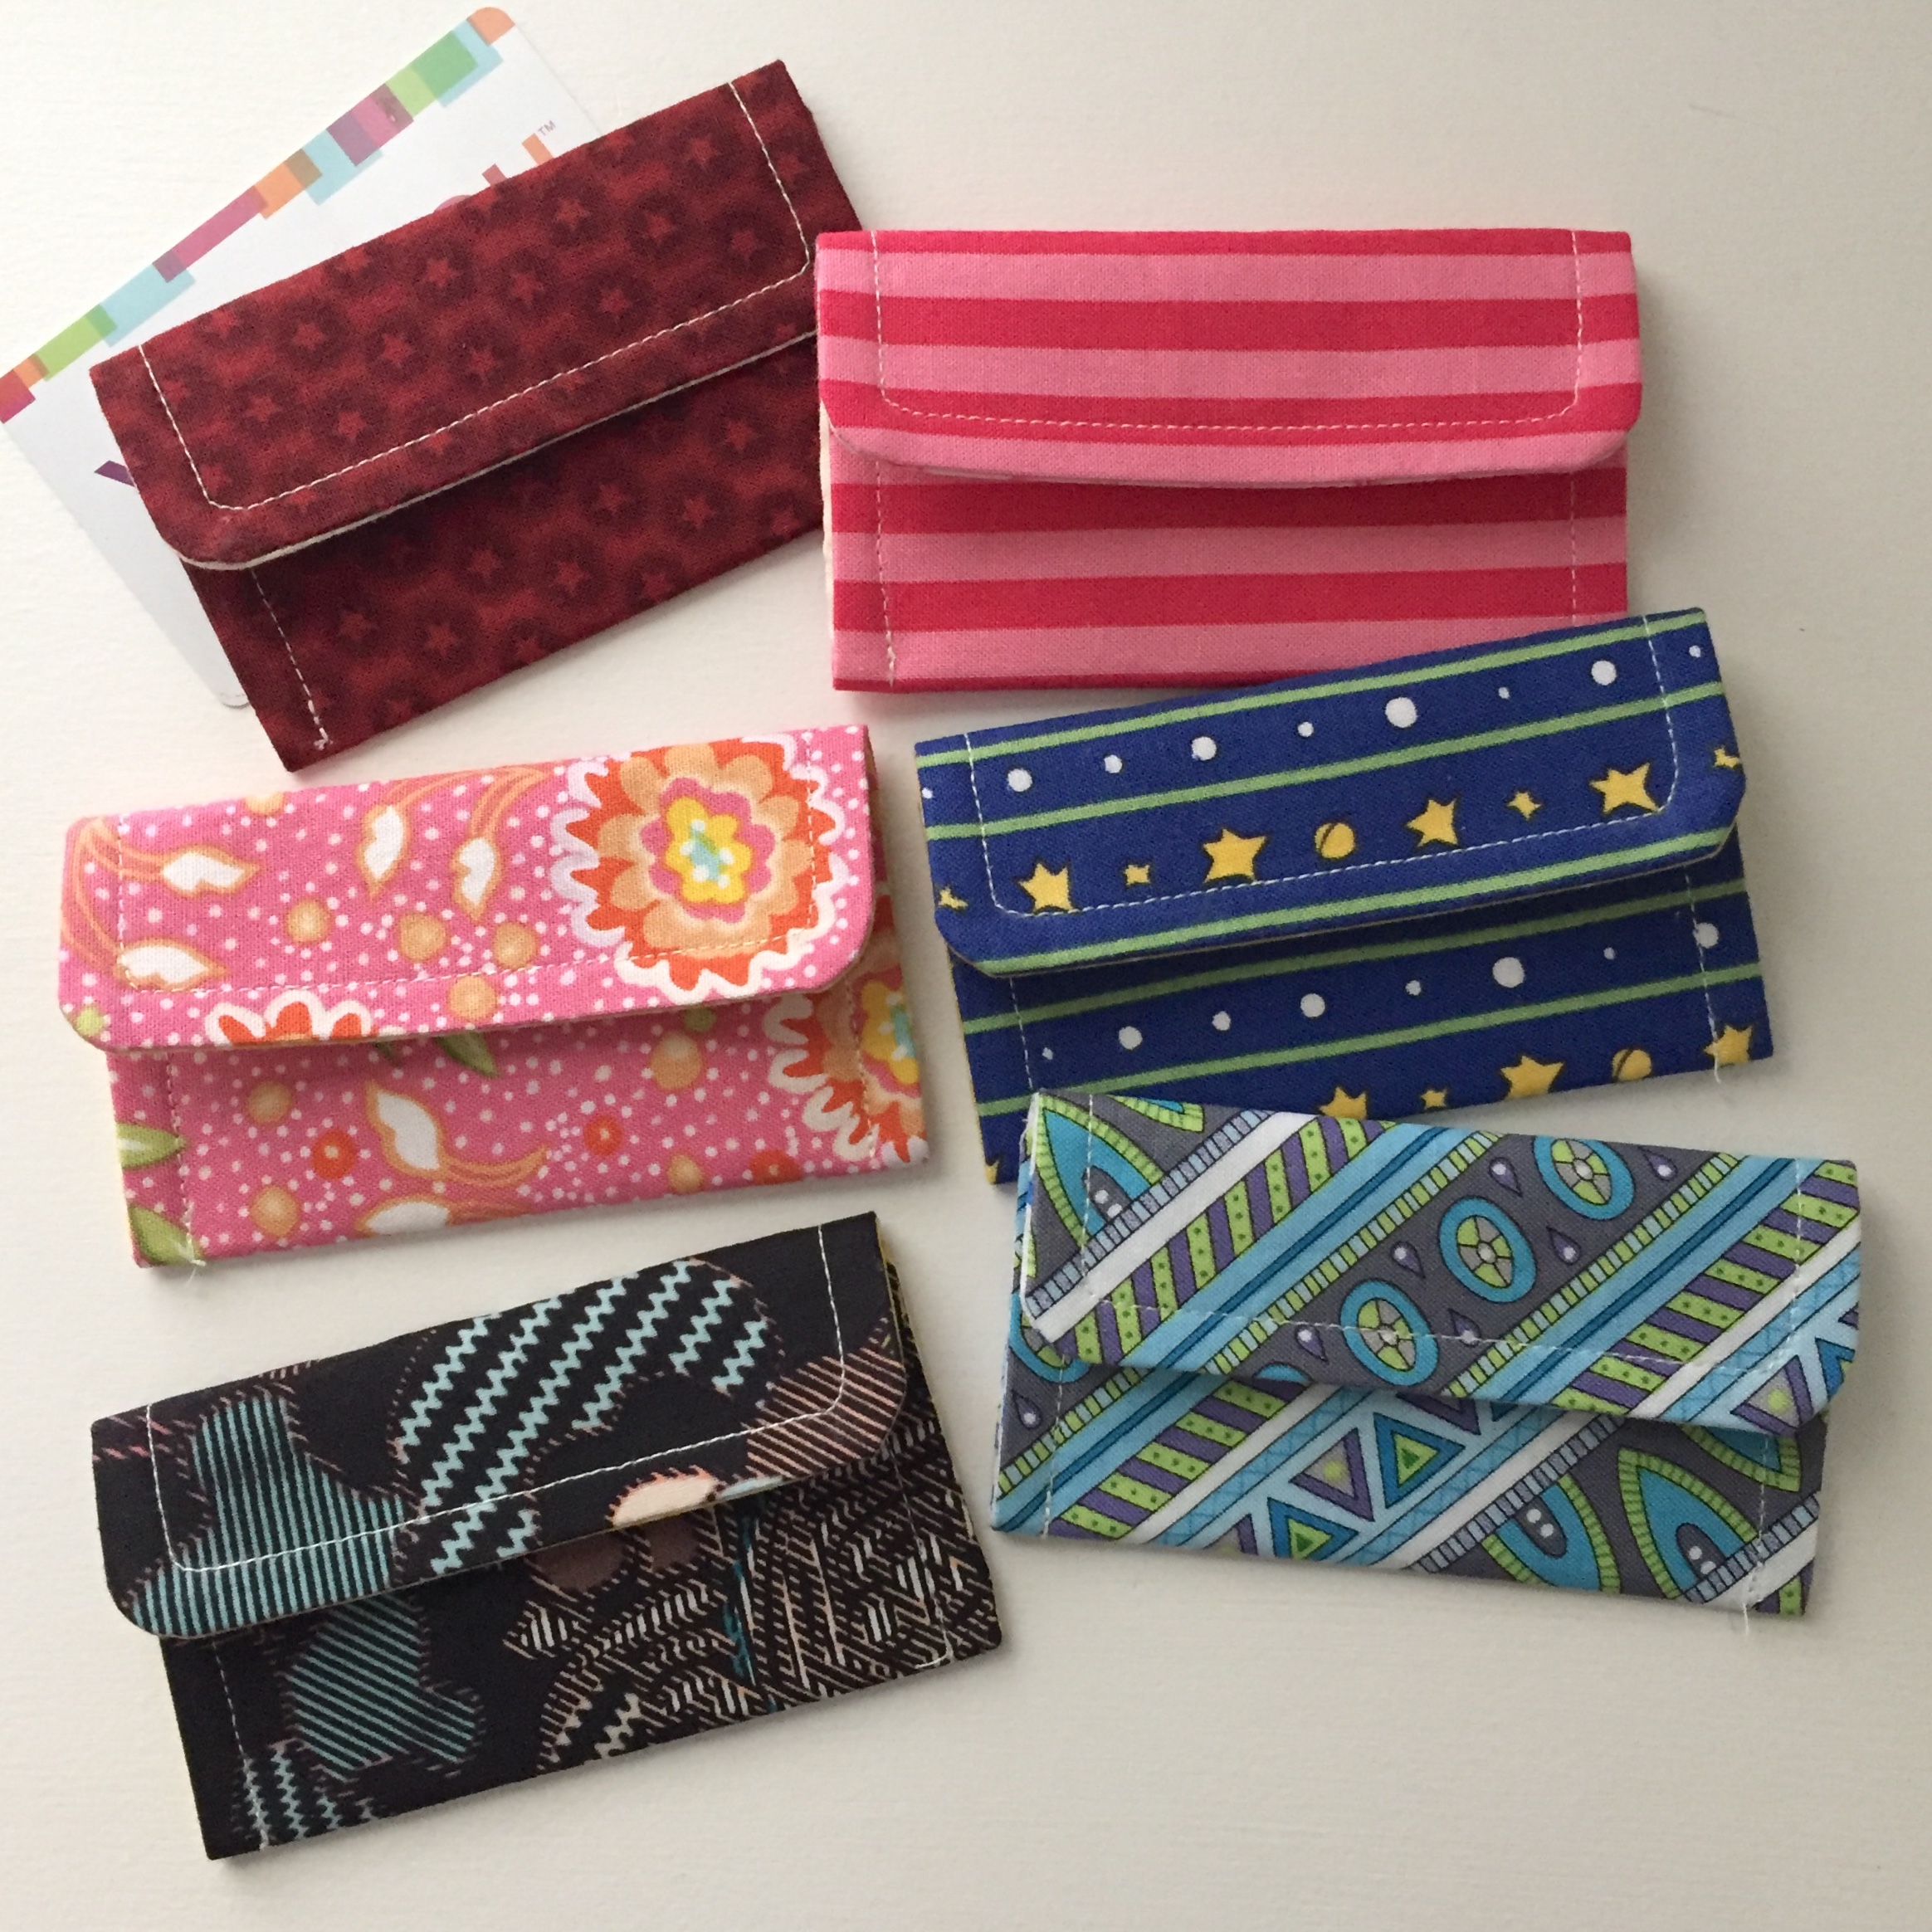
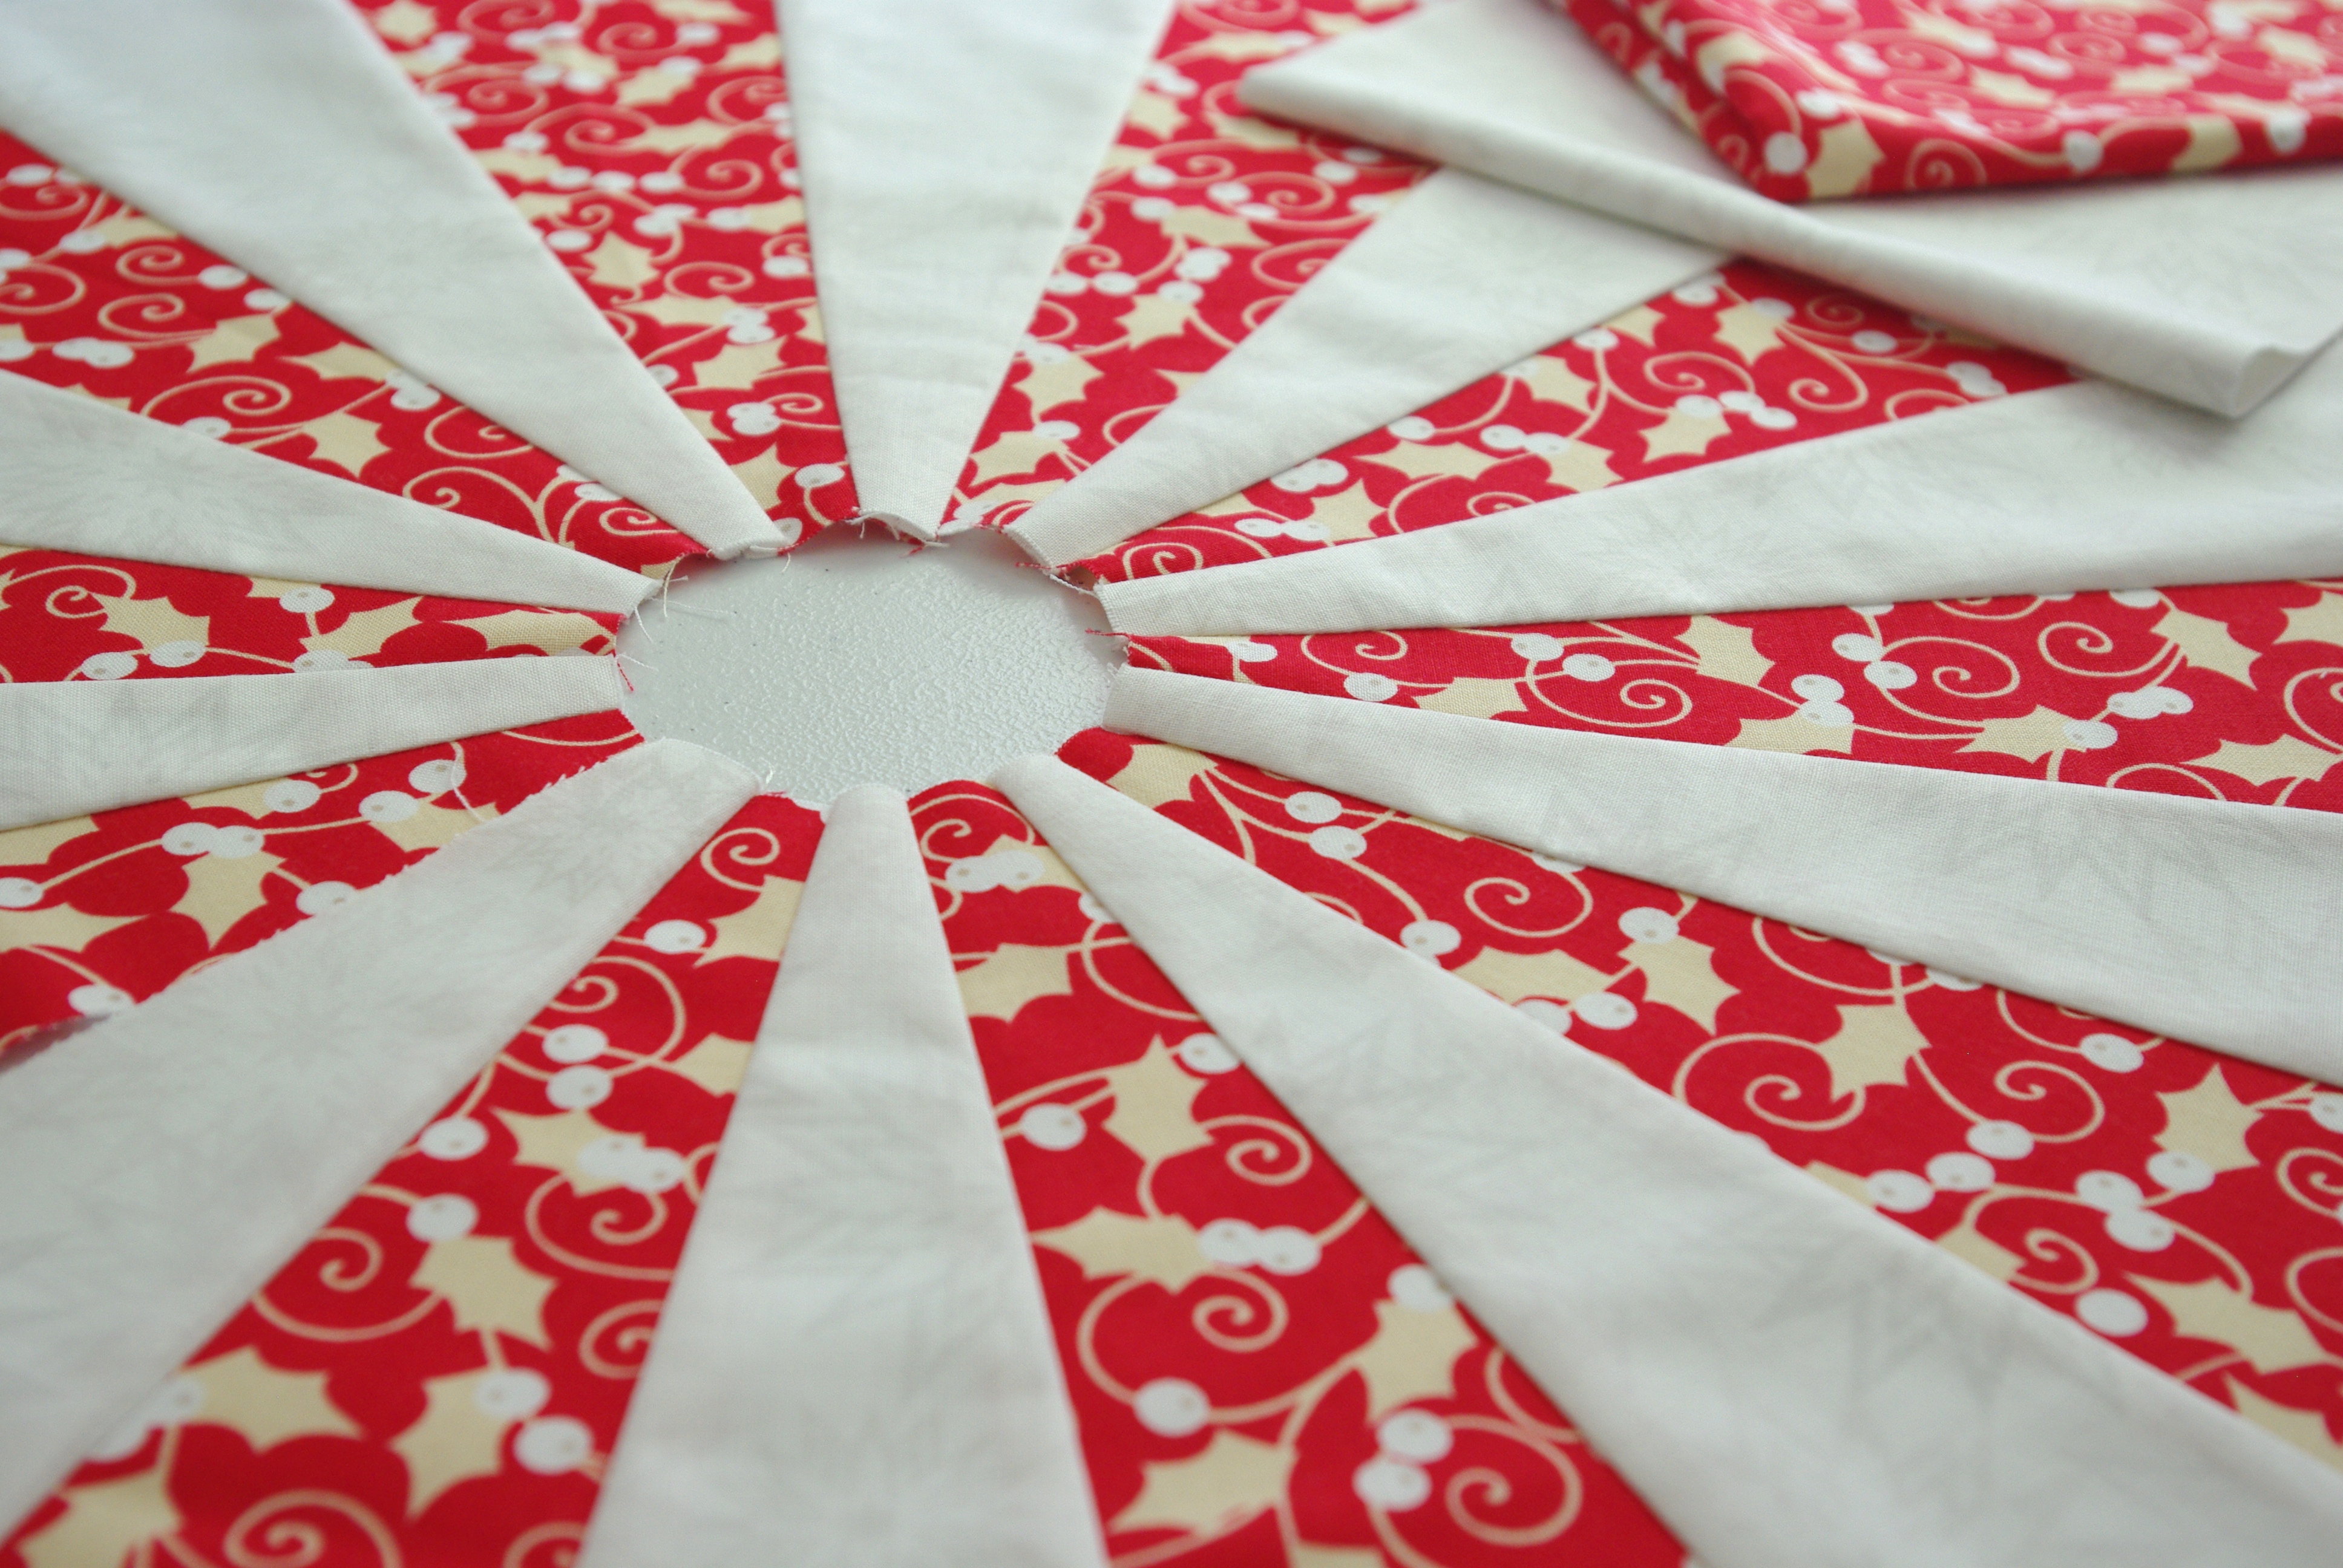
Here’s the last of my projects. I made the microwave bowl cozy for myself as a holiday bowl for pine cones. The little holders are for gift cards; gifted as party favors, and the bottom photo shows my process on a mini Christmas tree skirt.

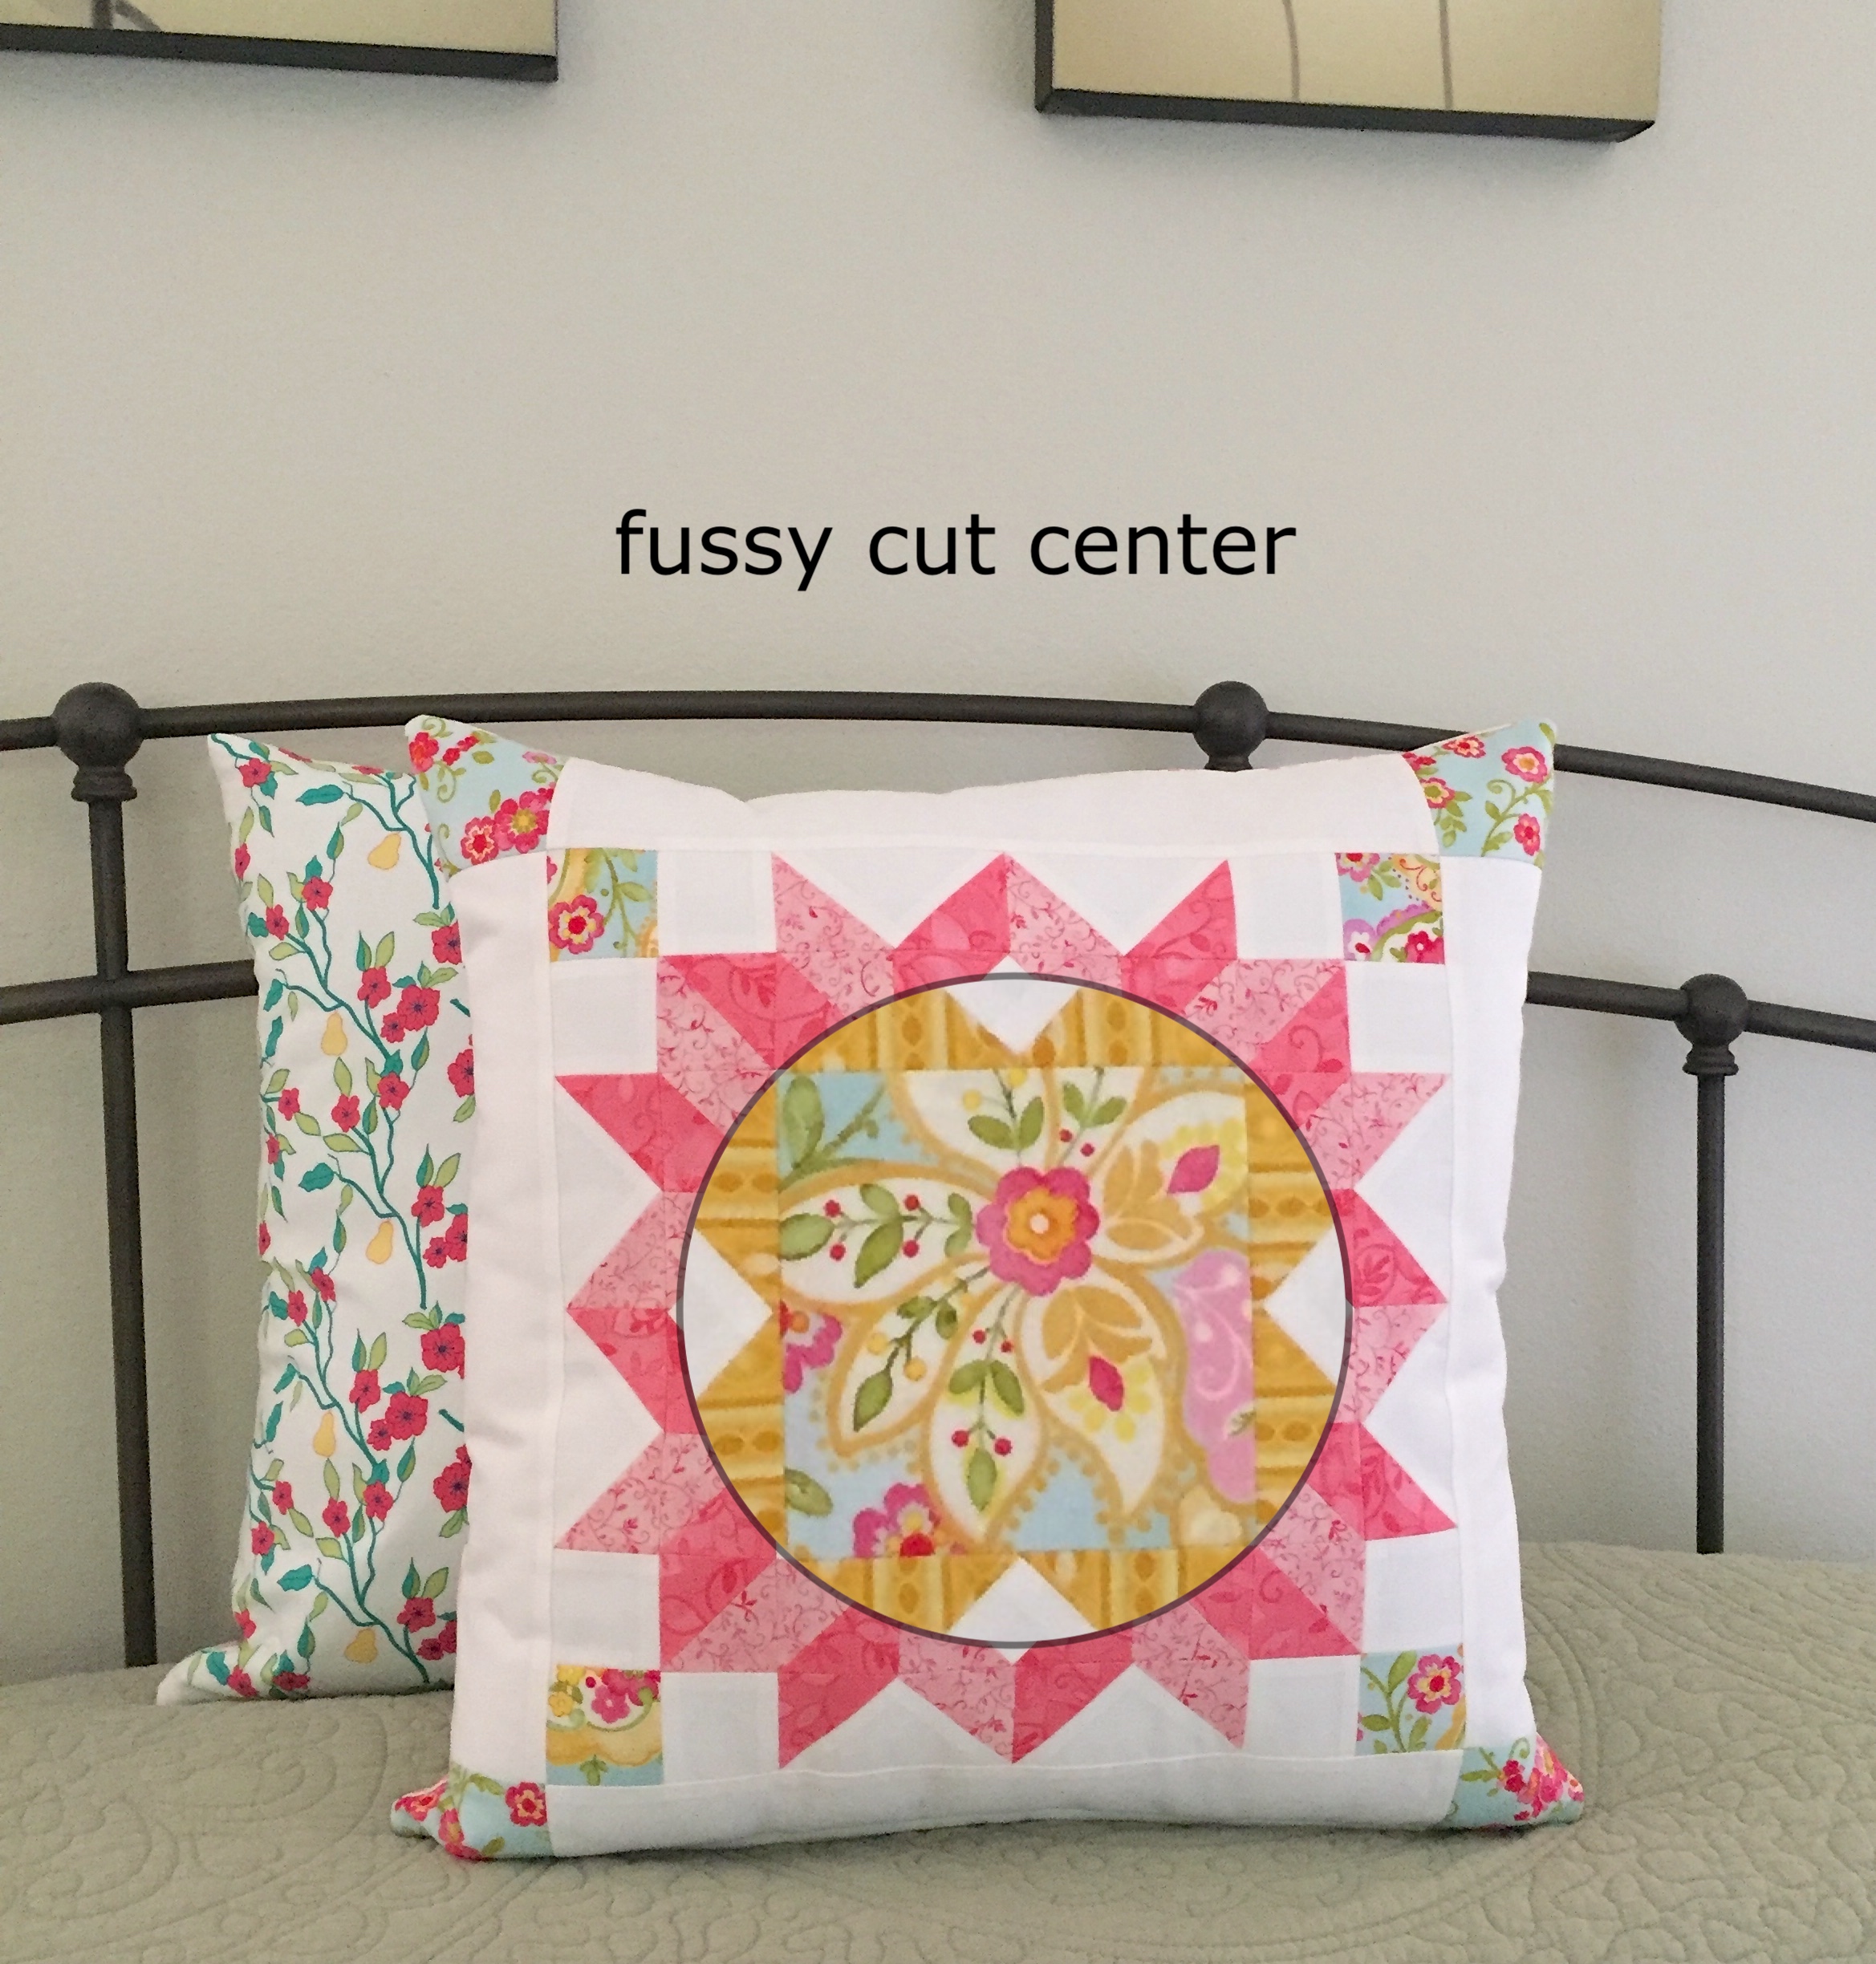
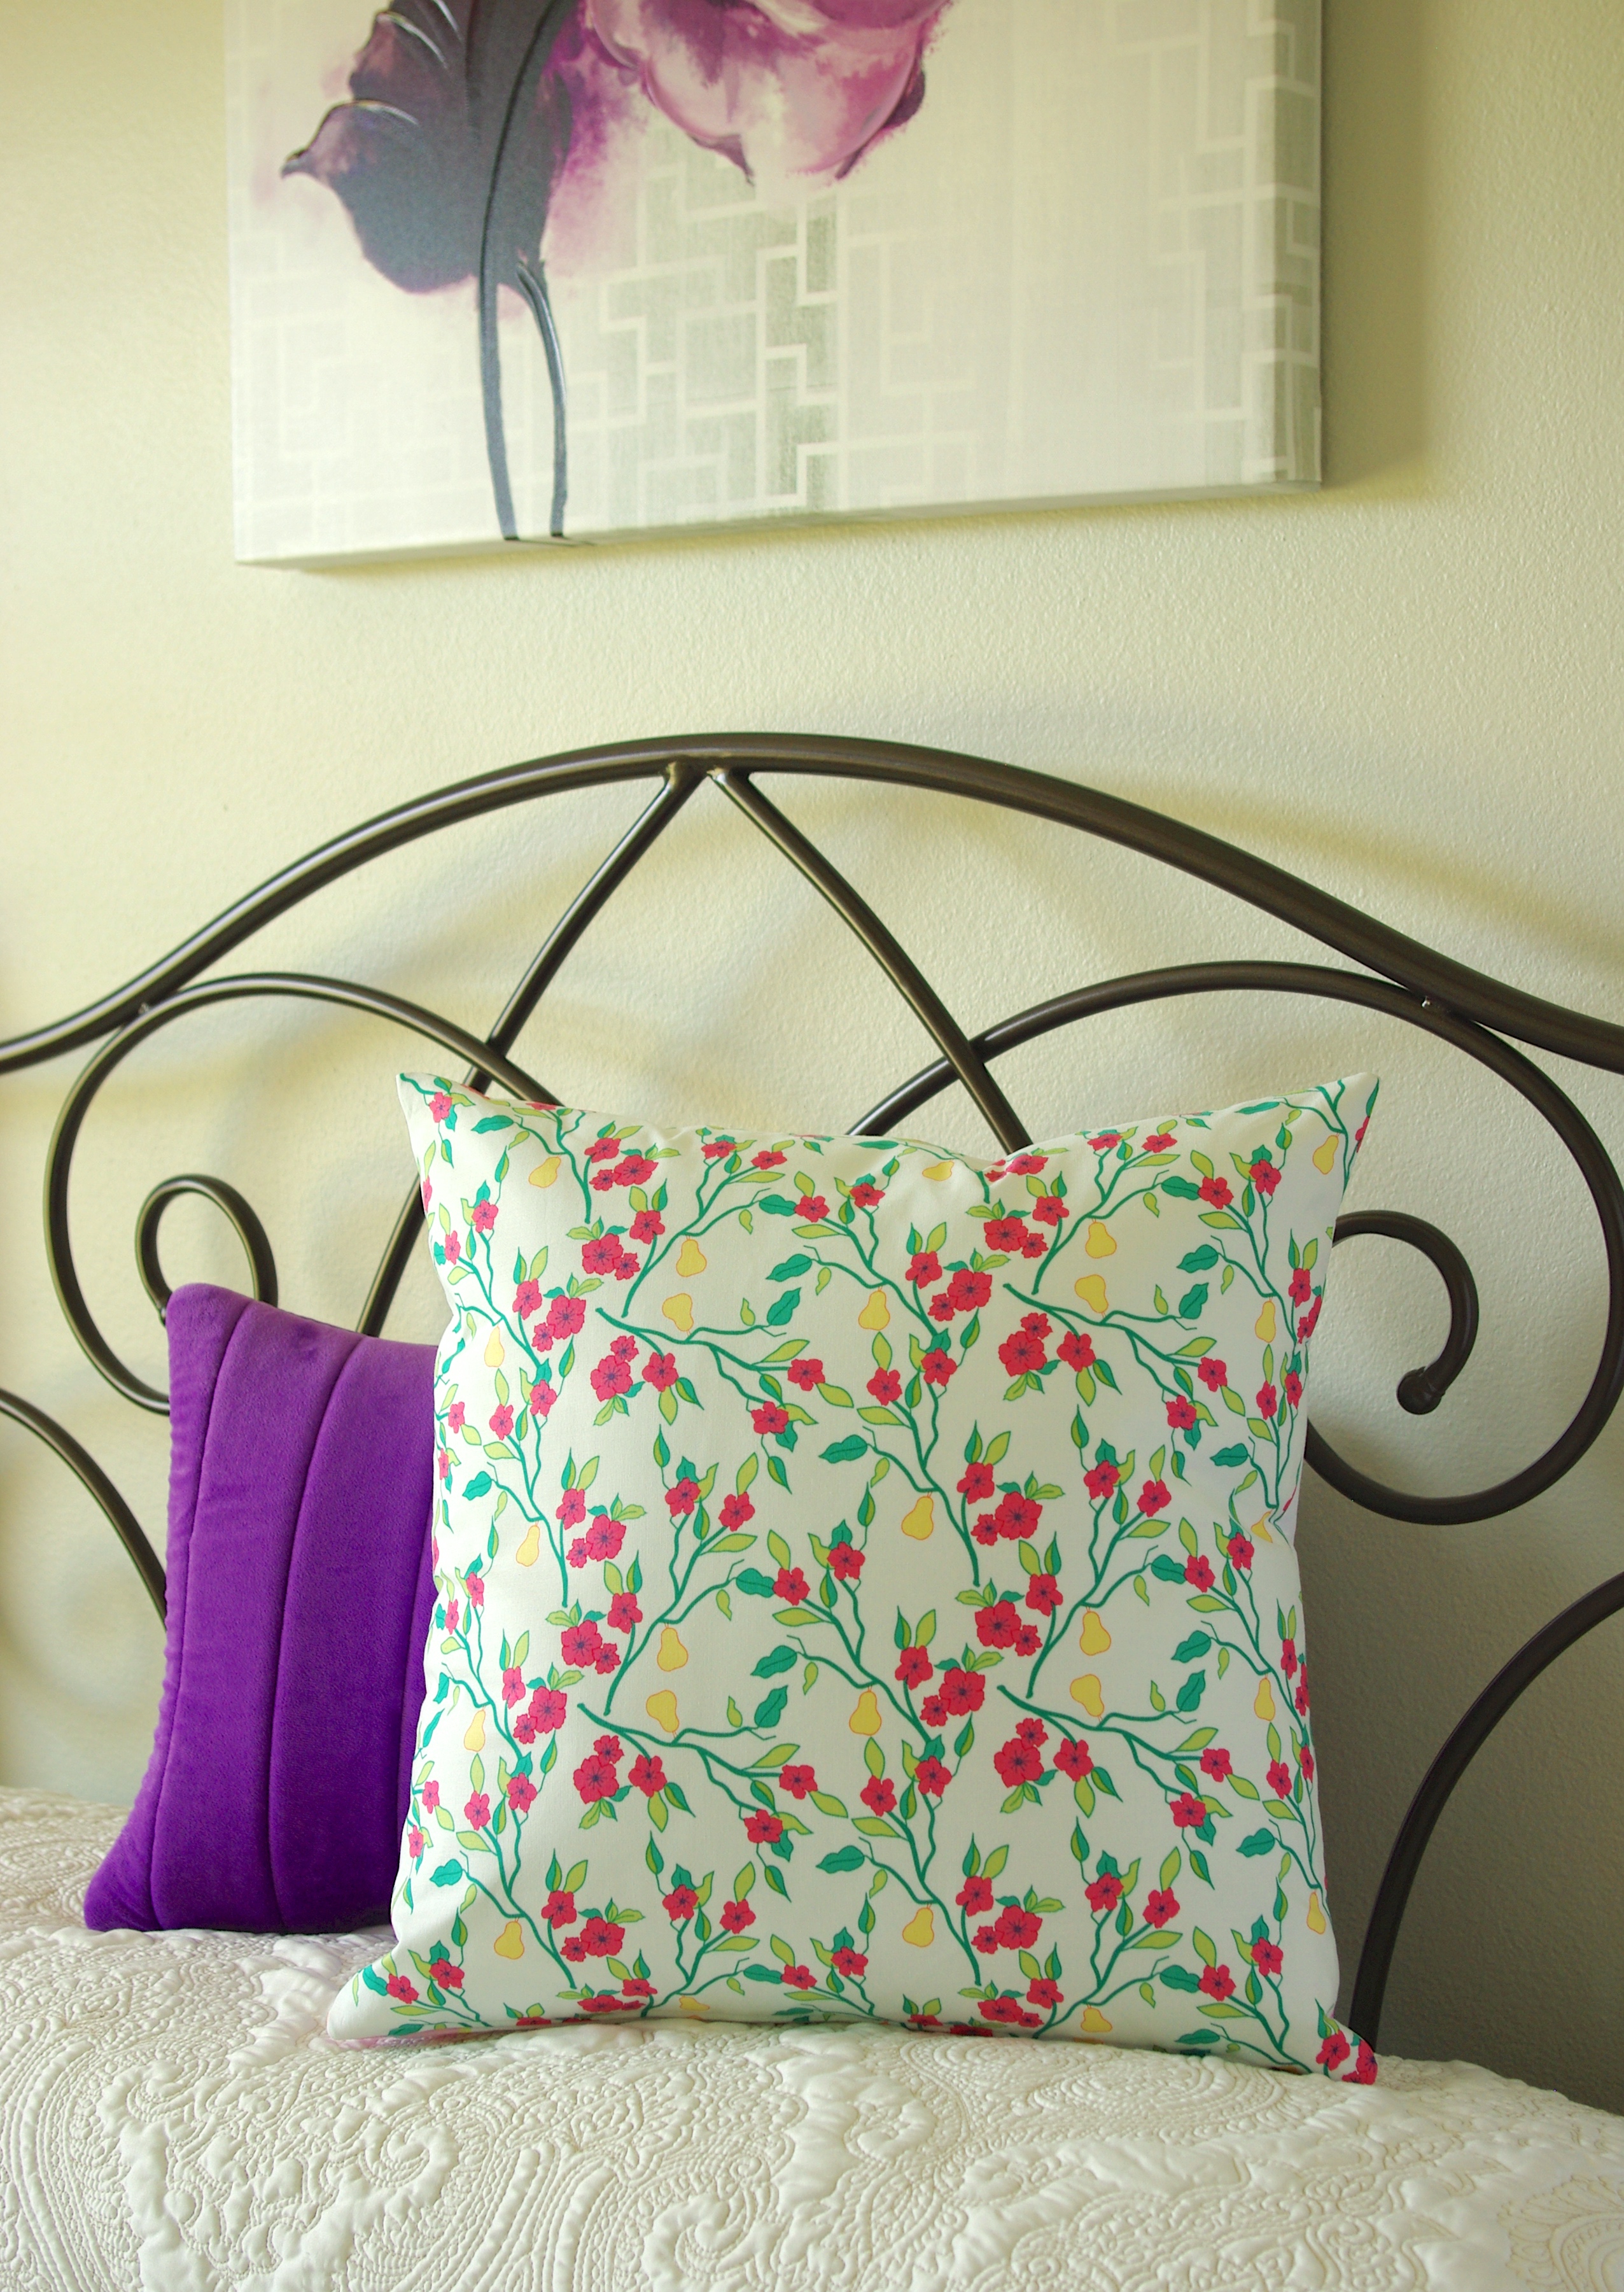
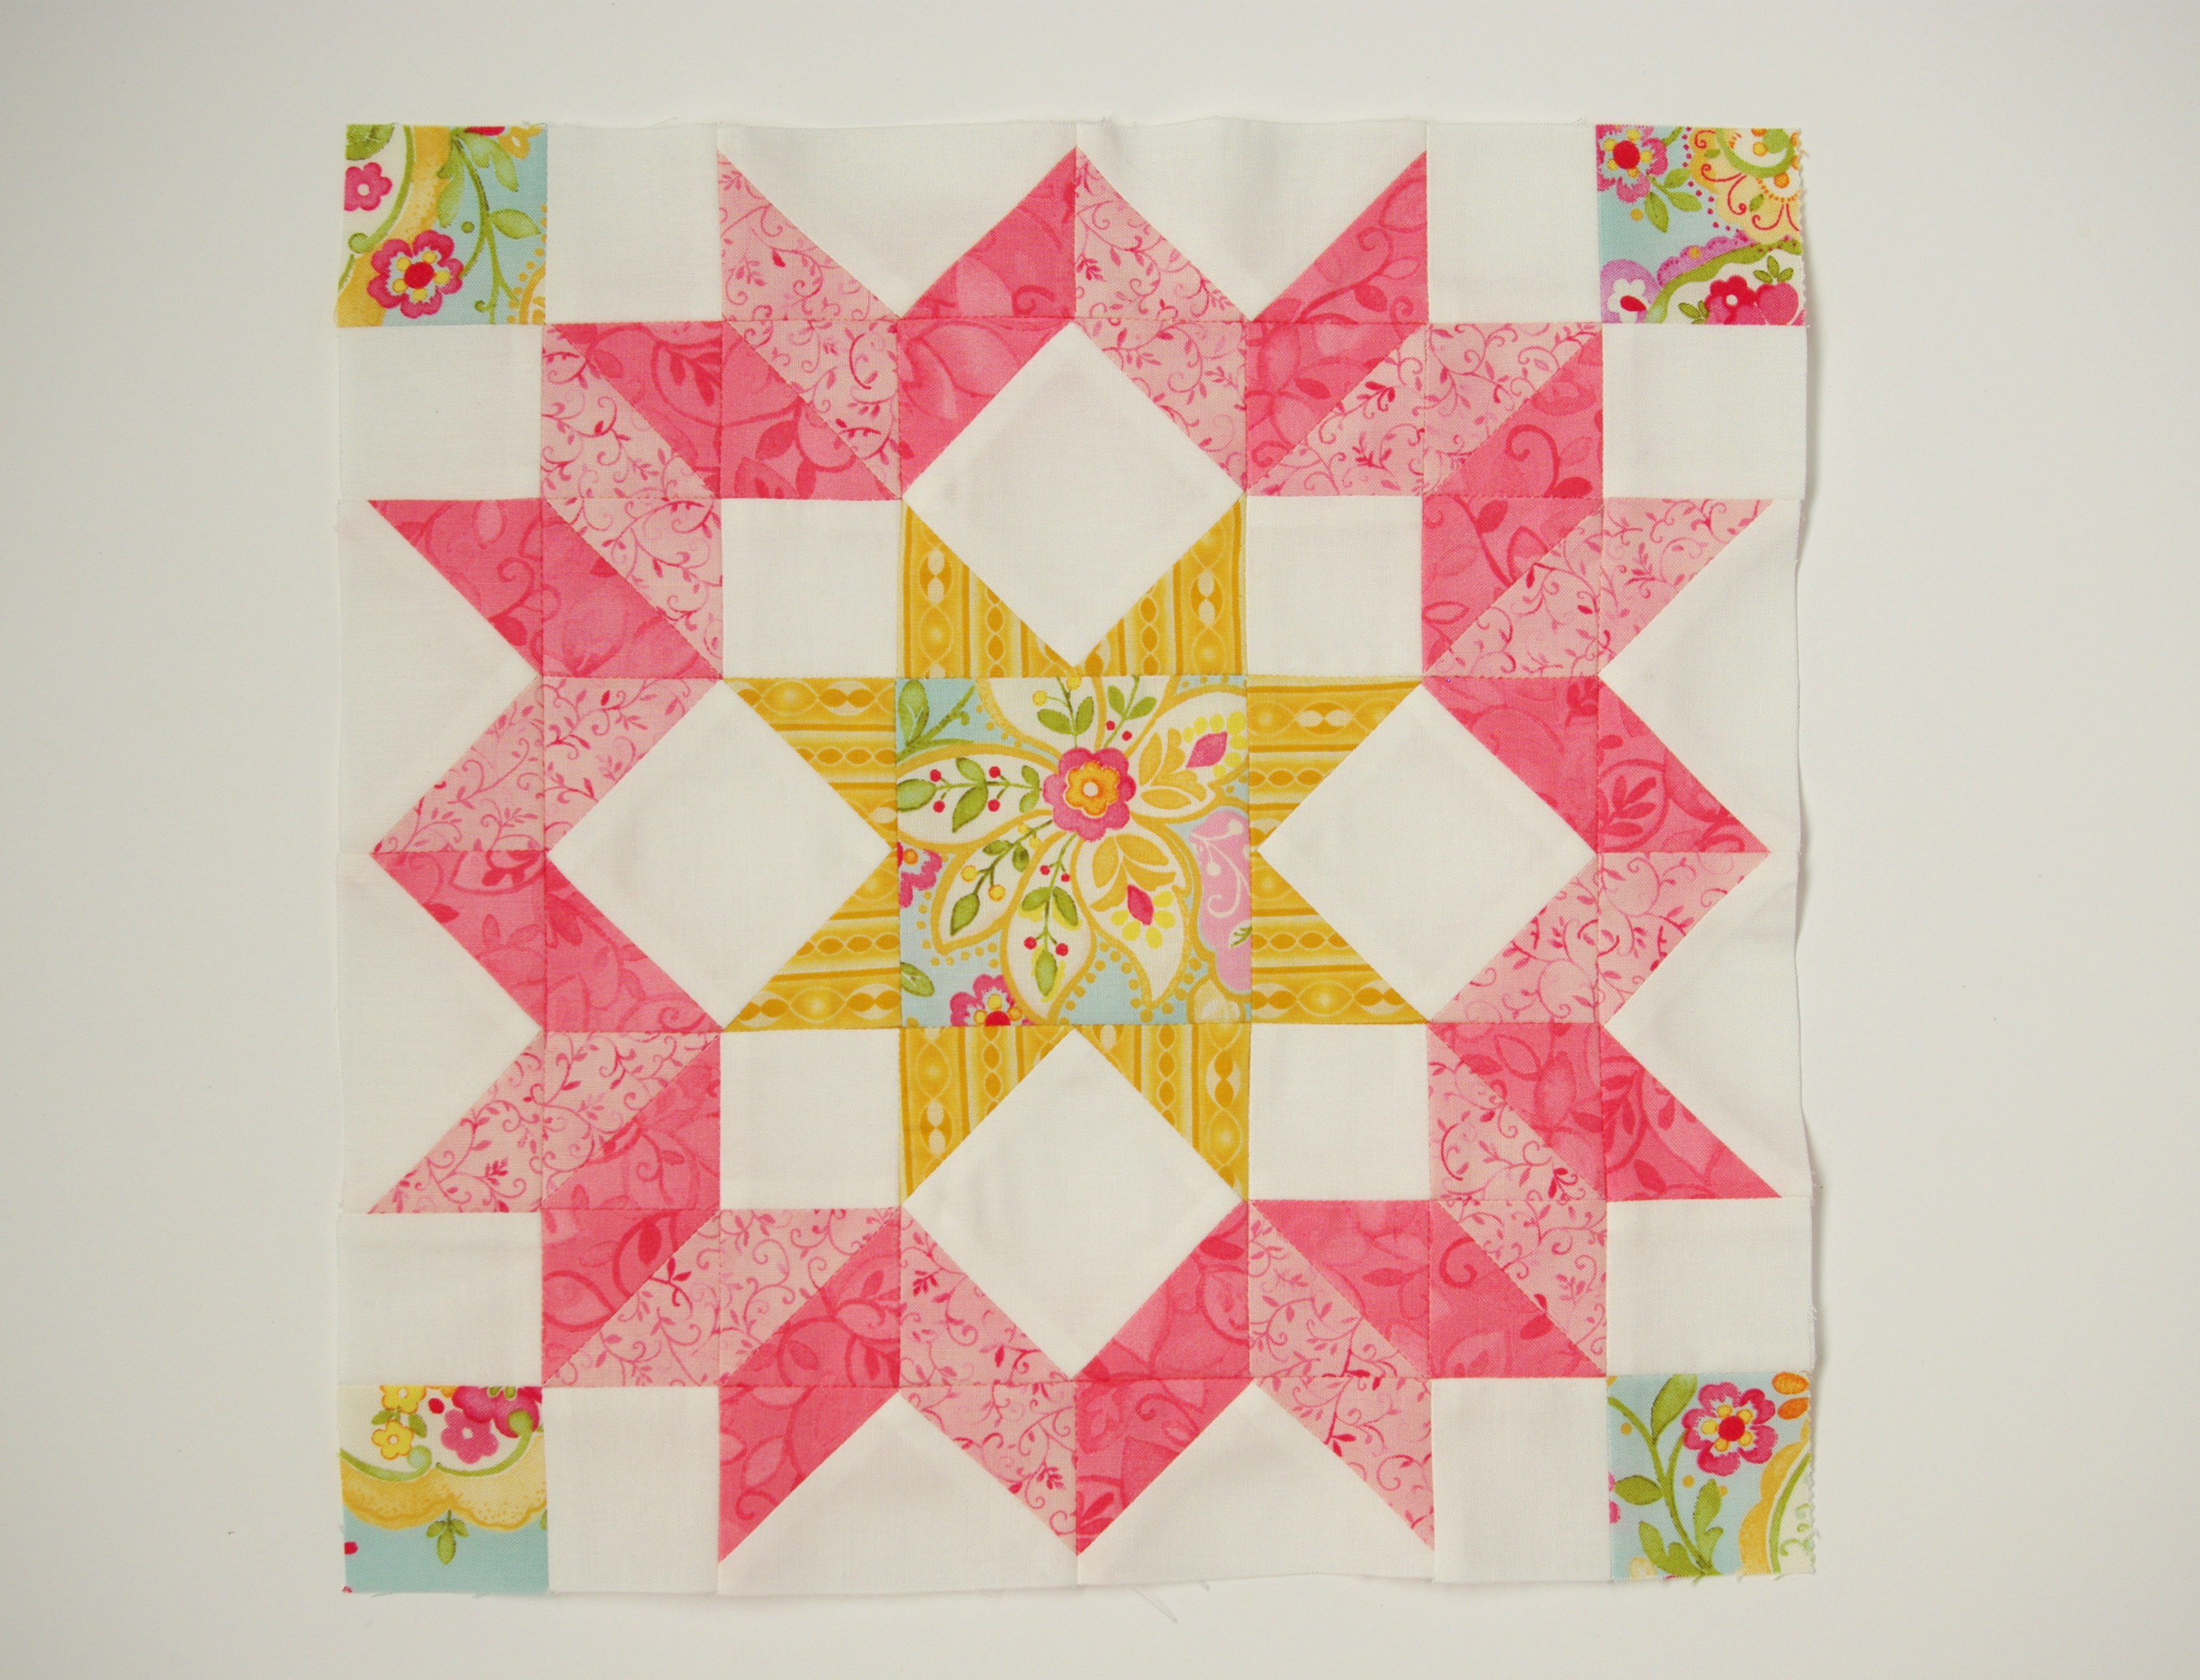
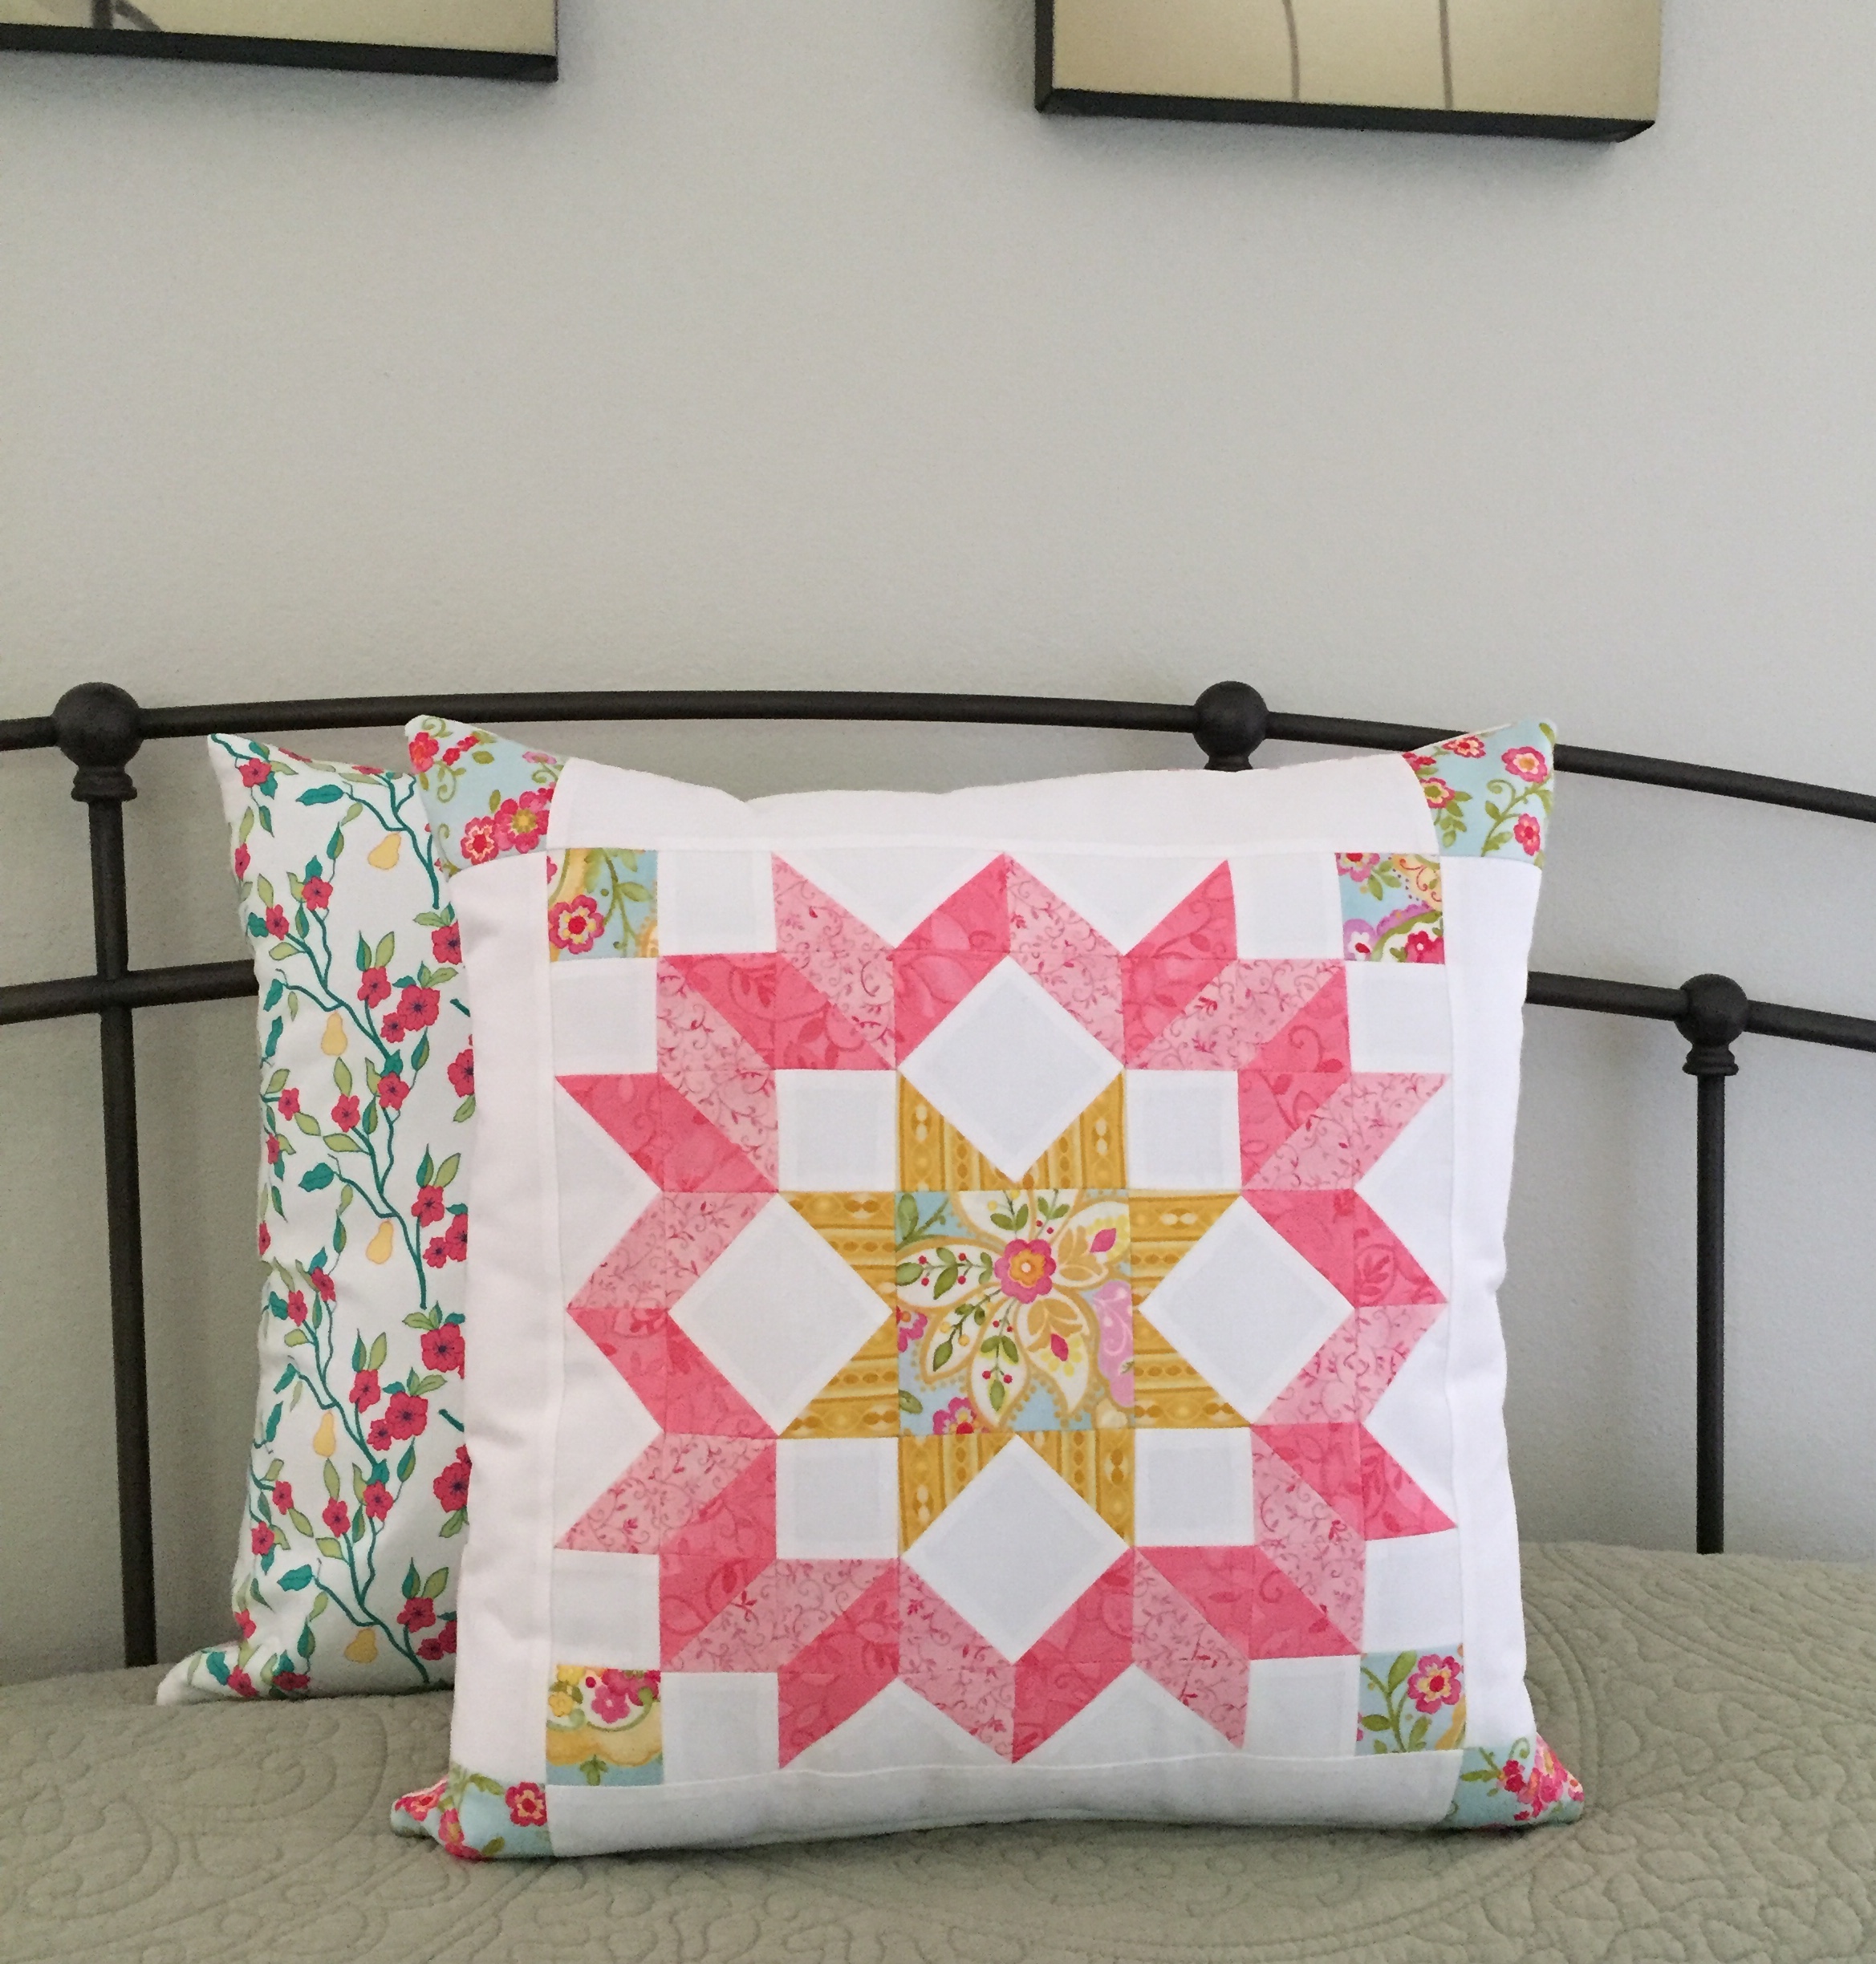
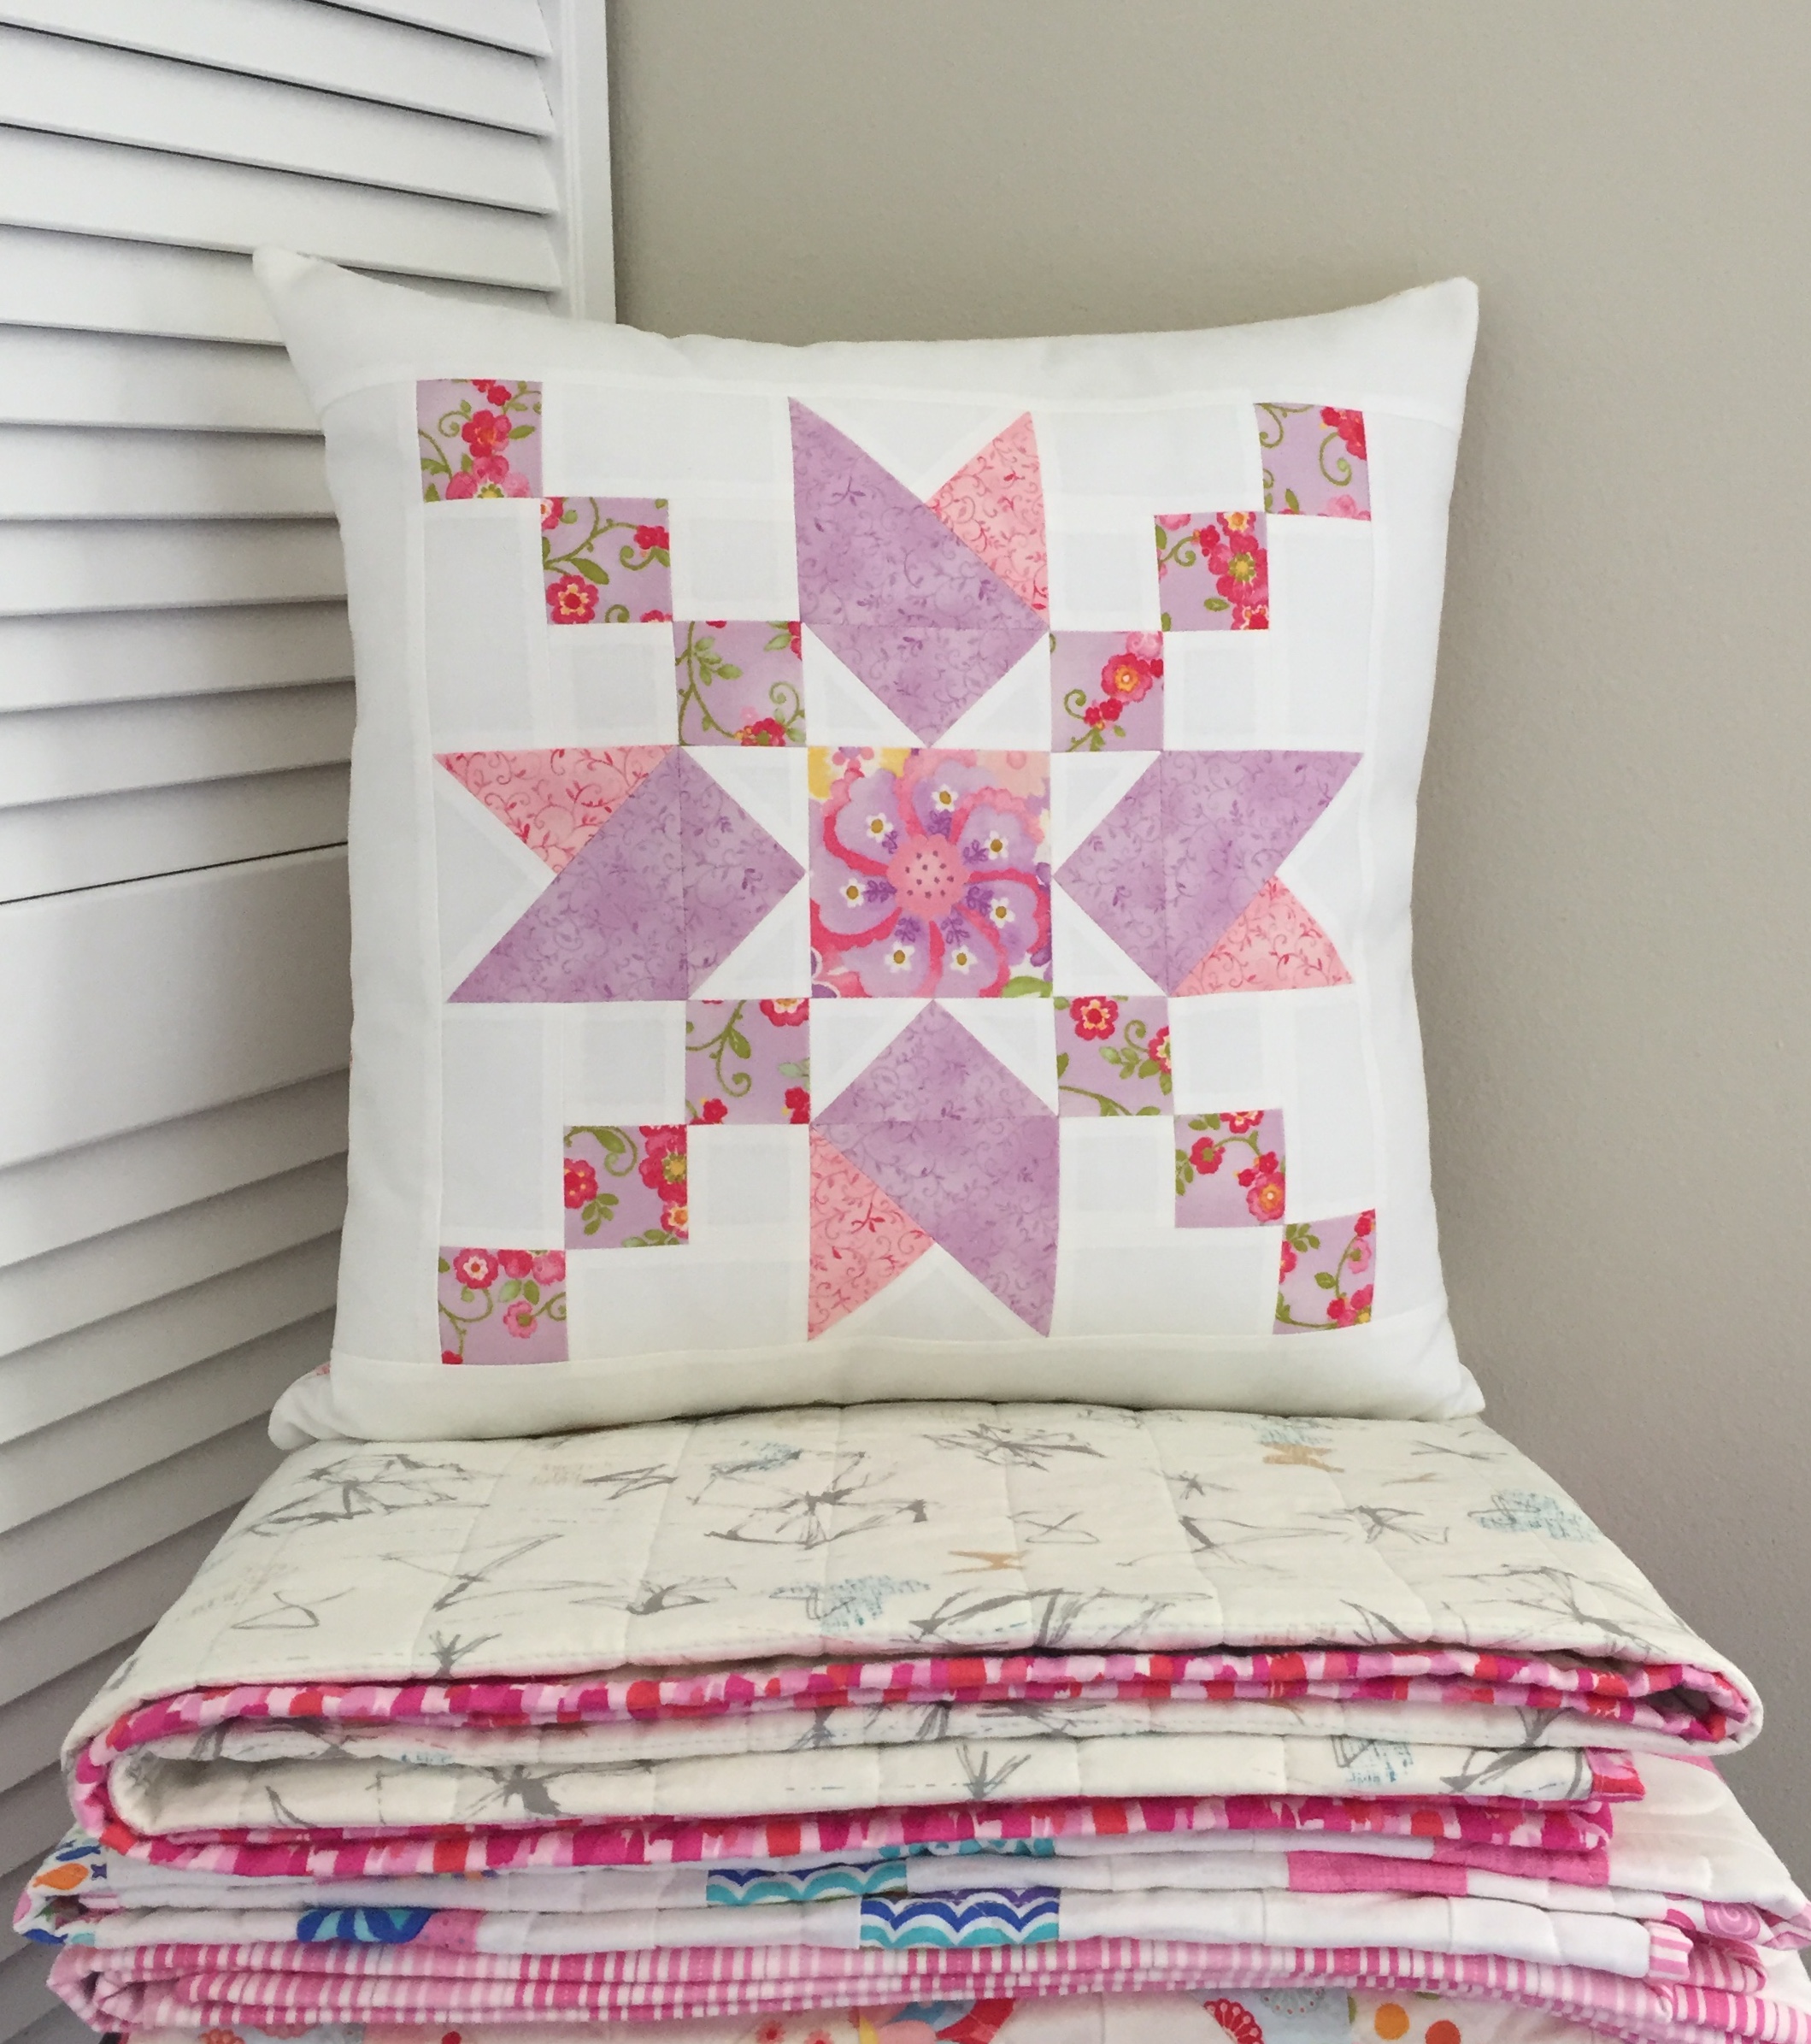
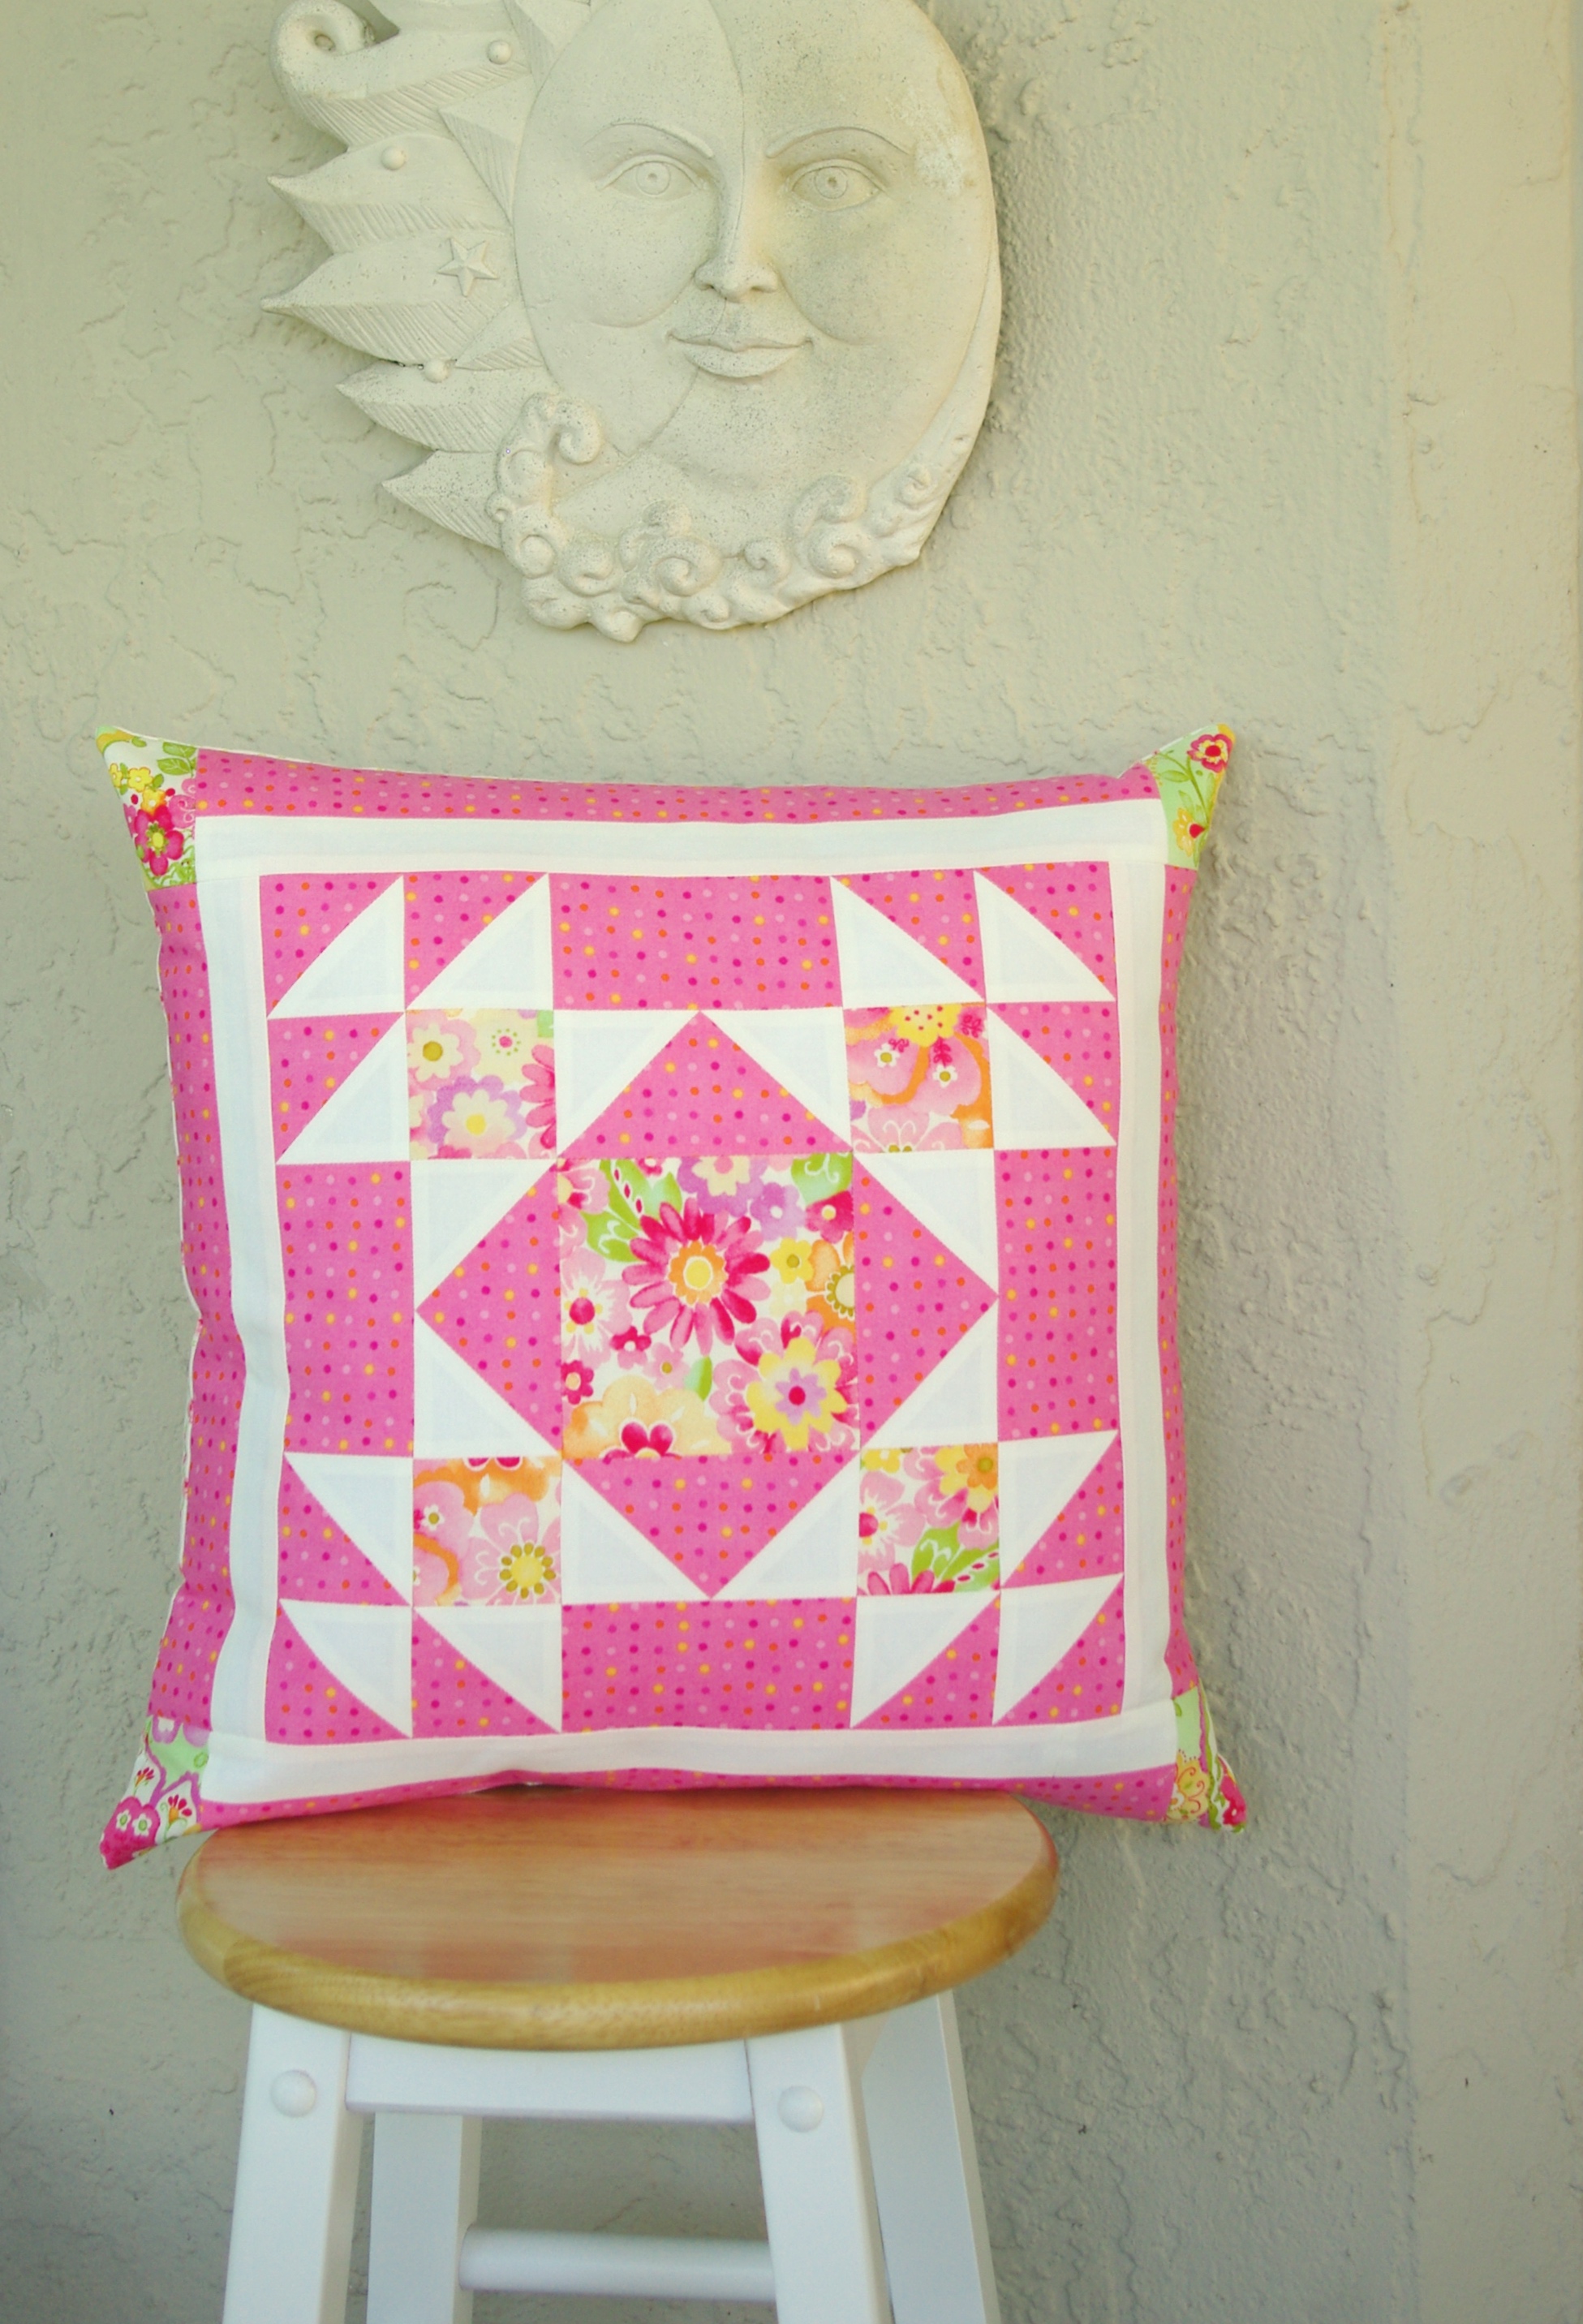
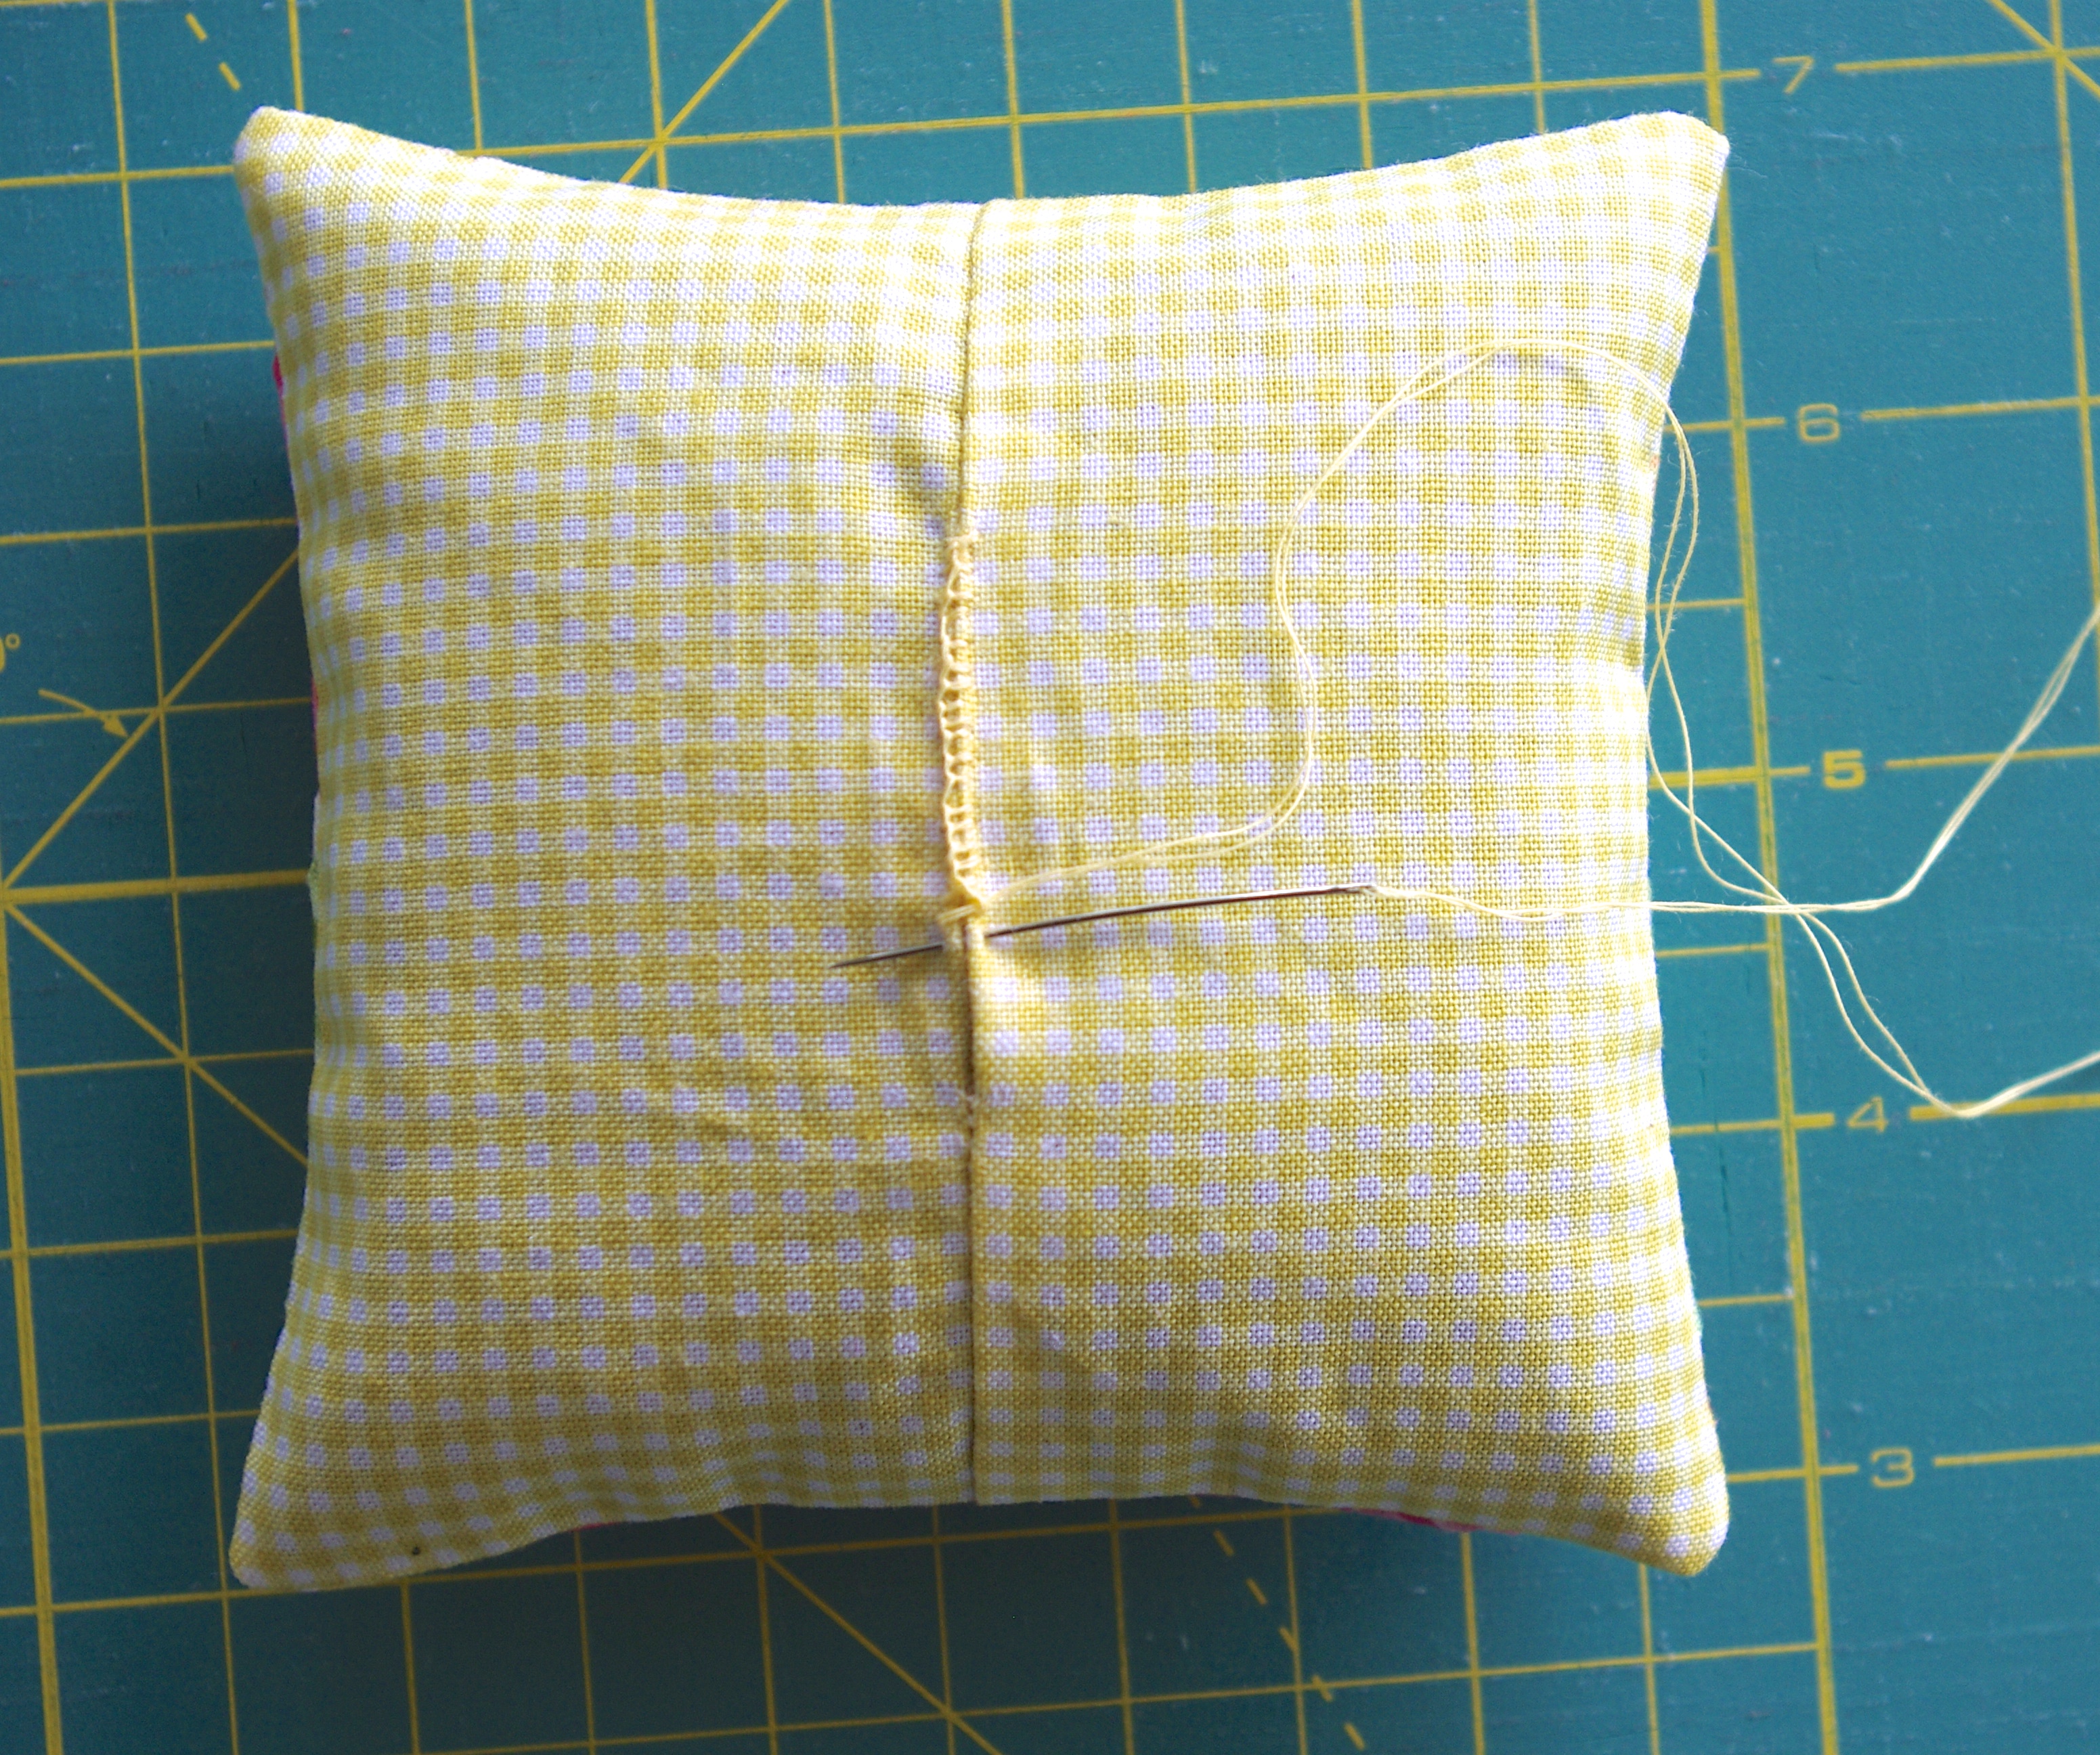
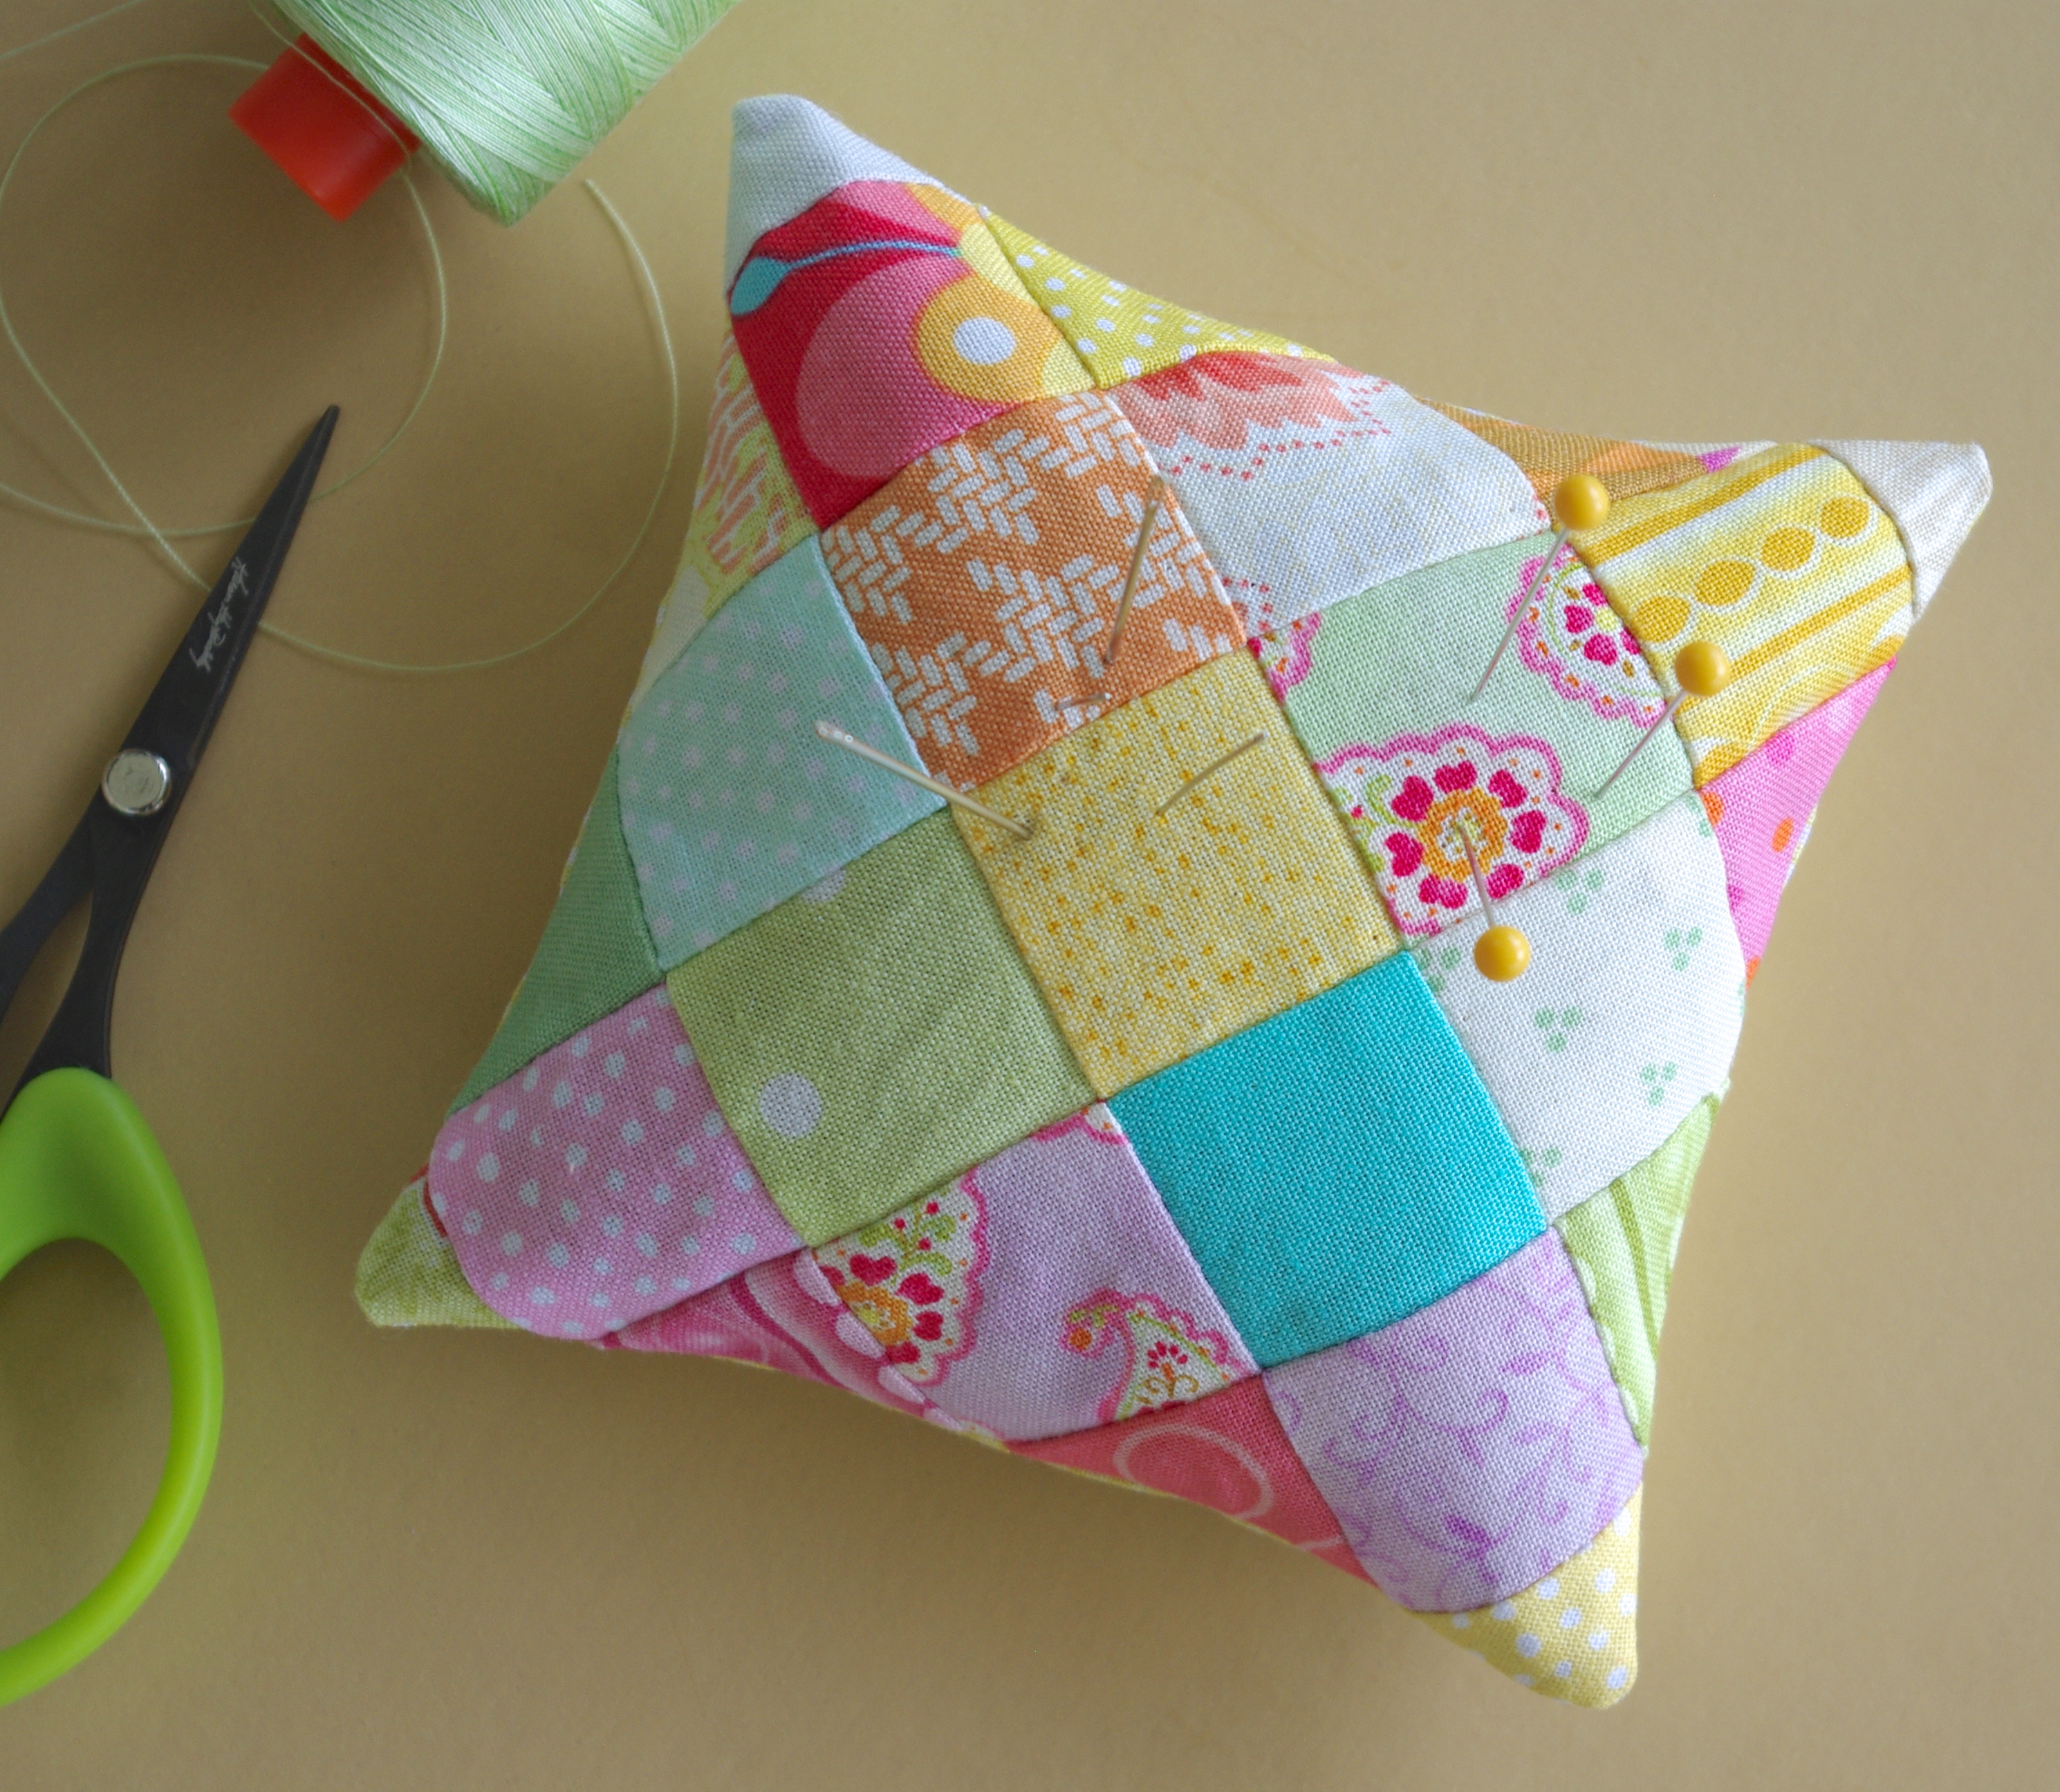
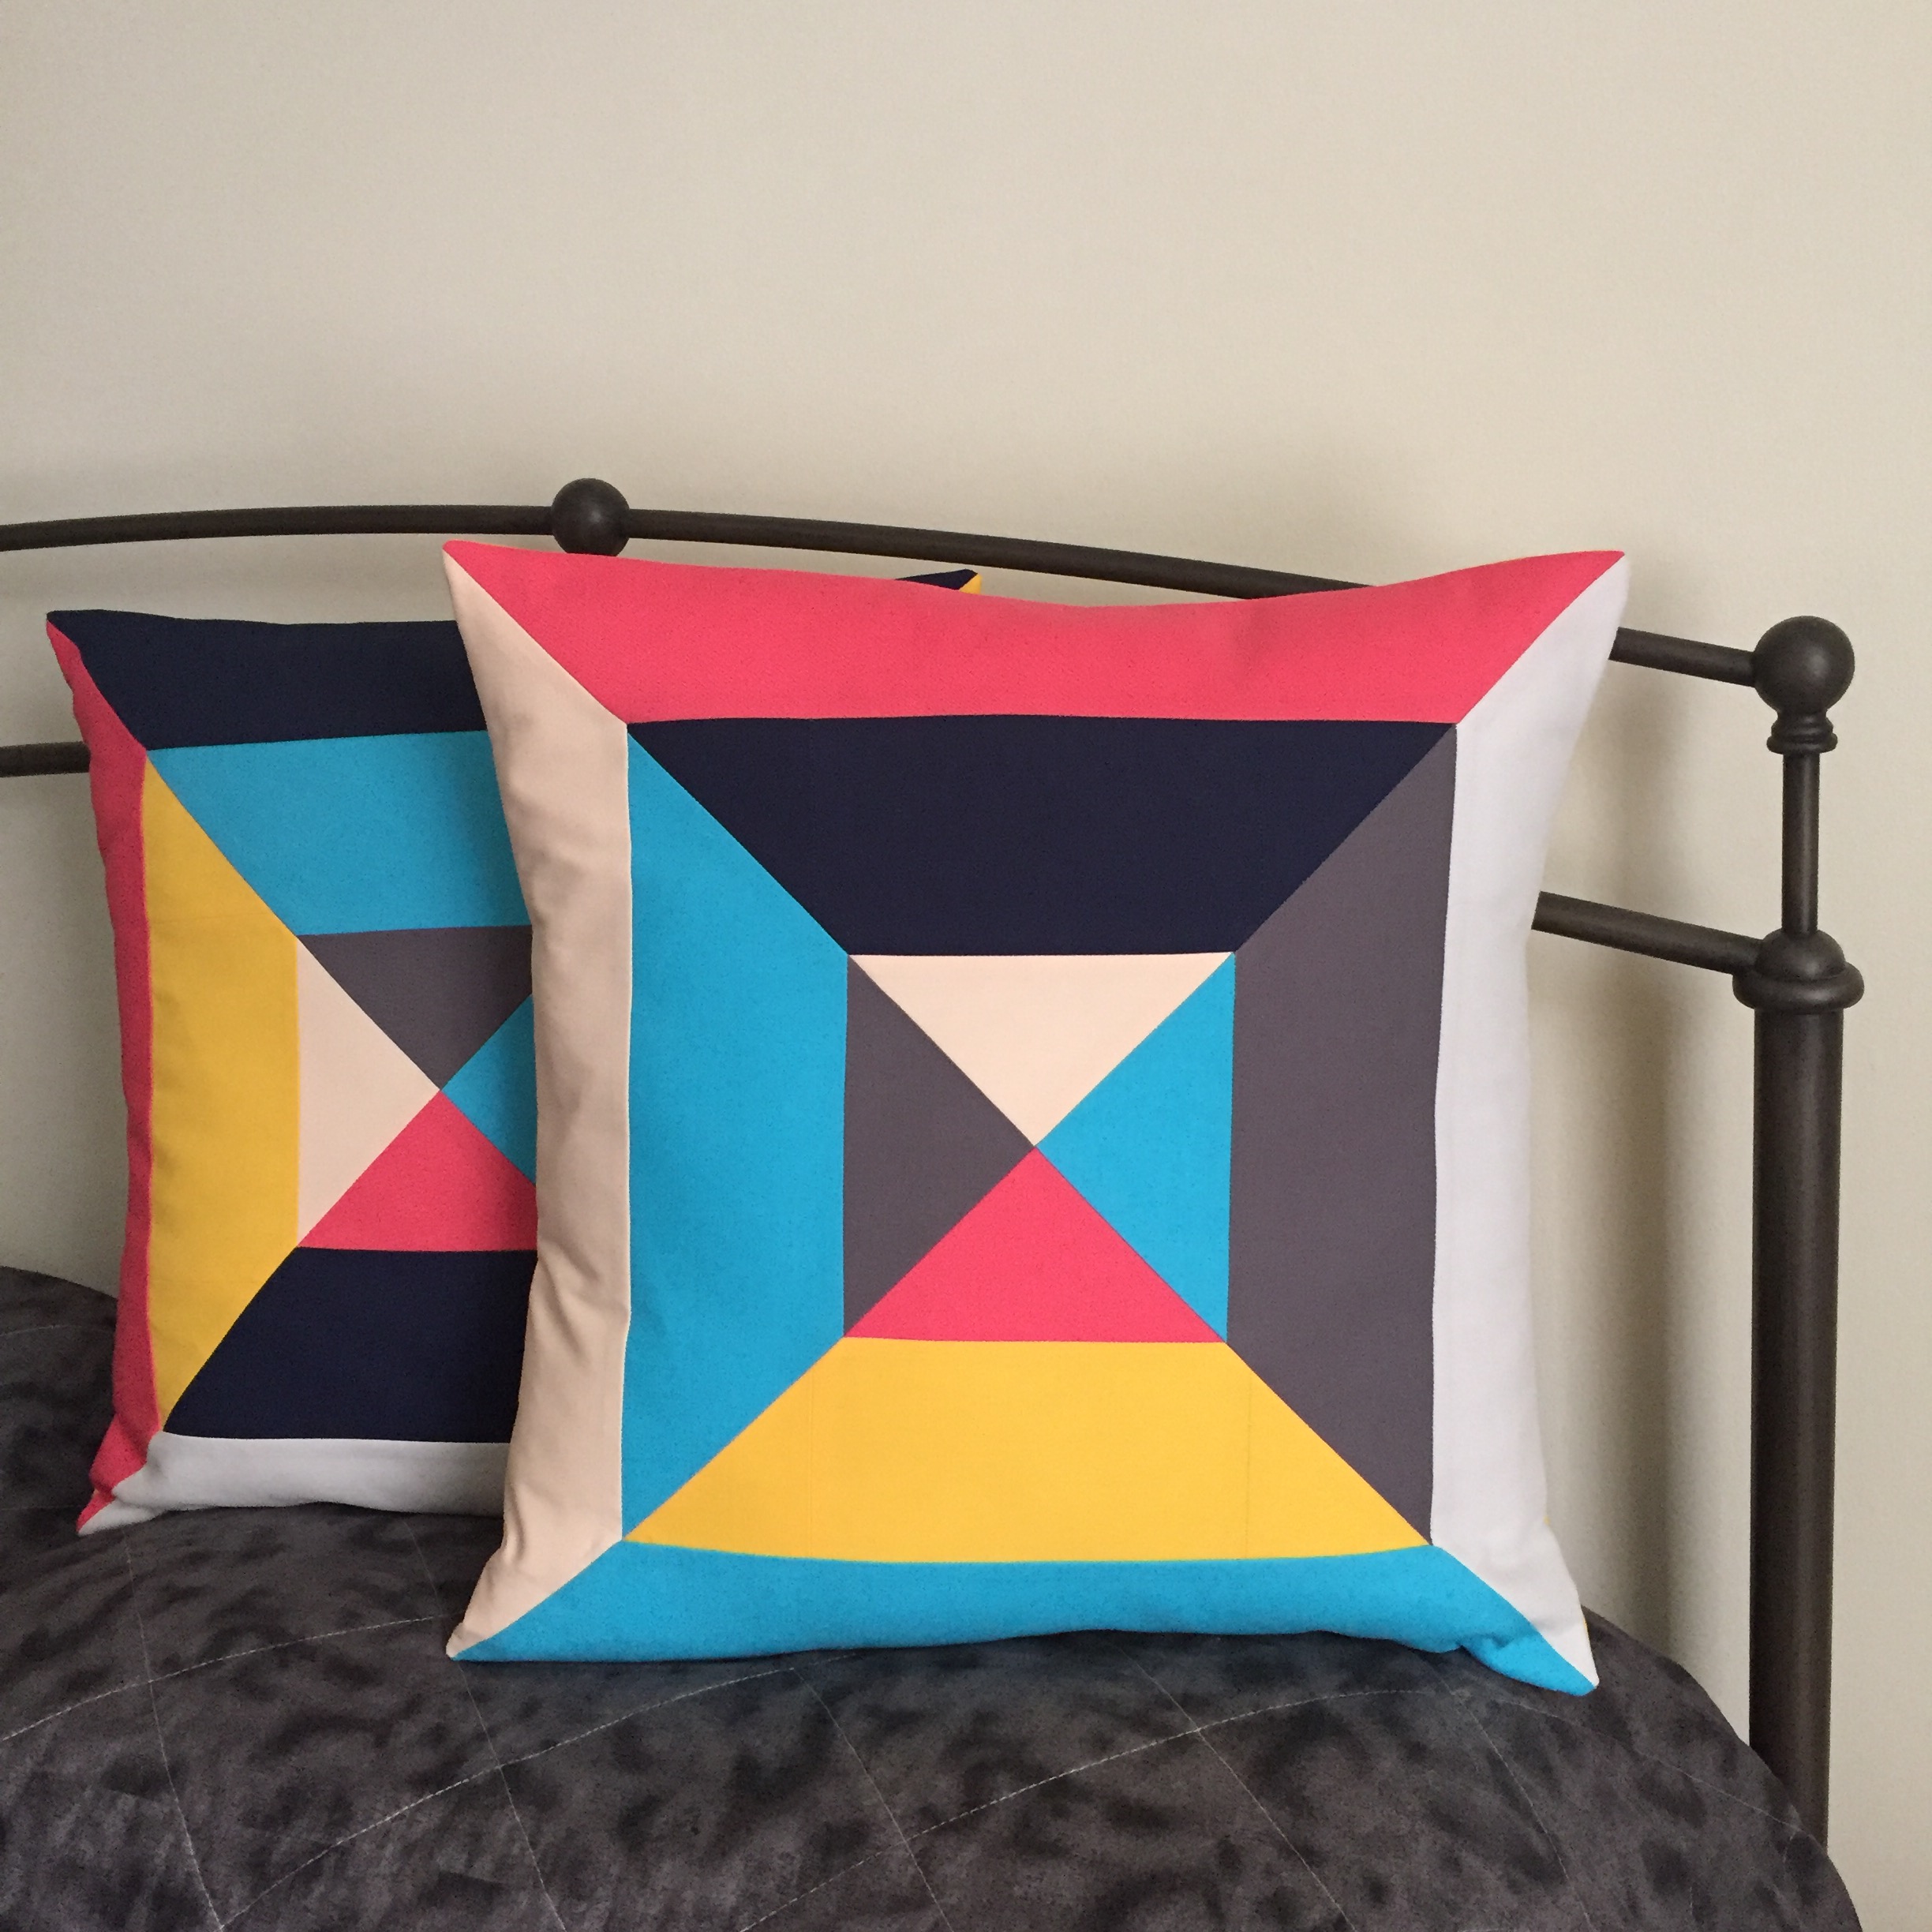
These pillows were also gifts…

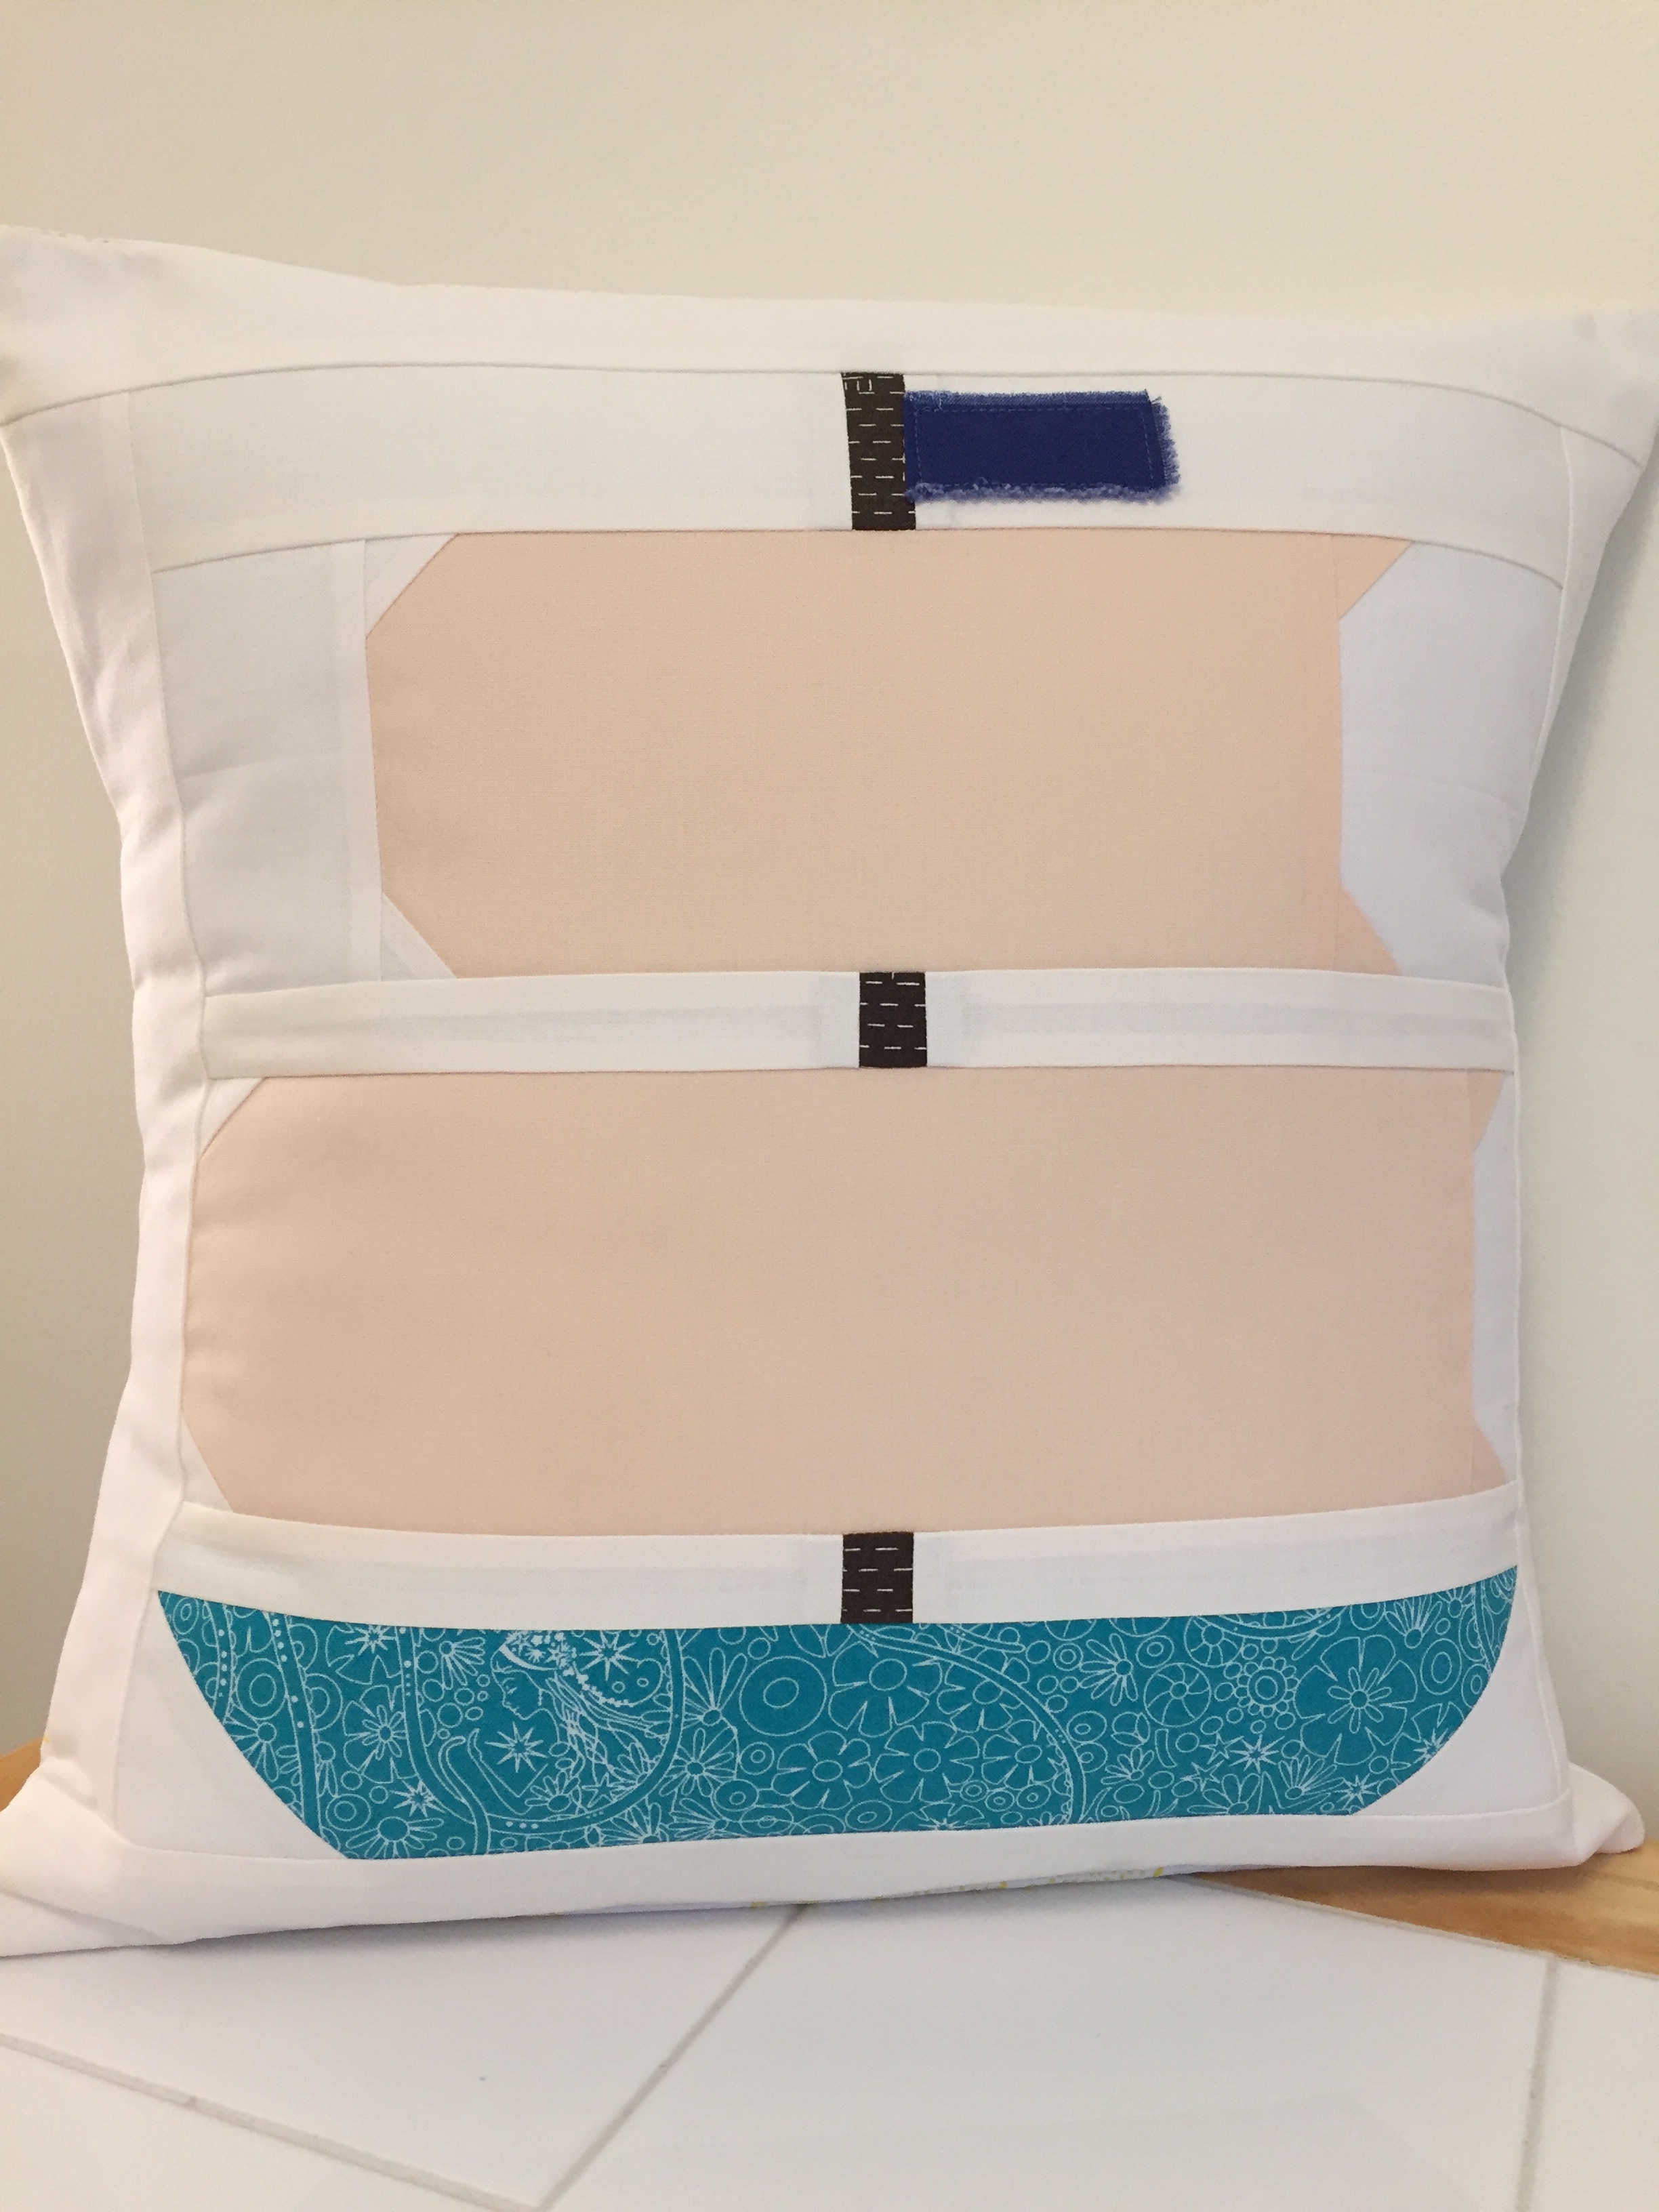
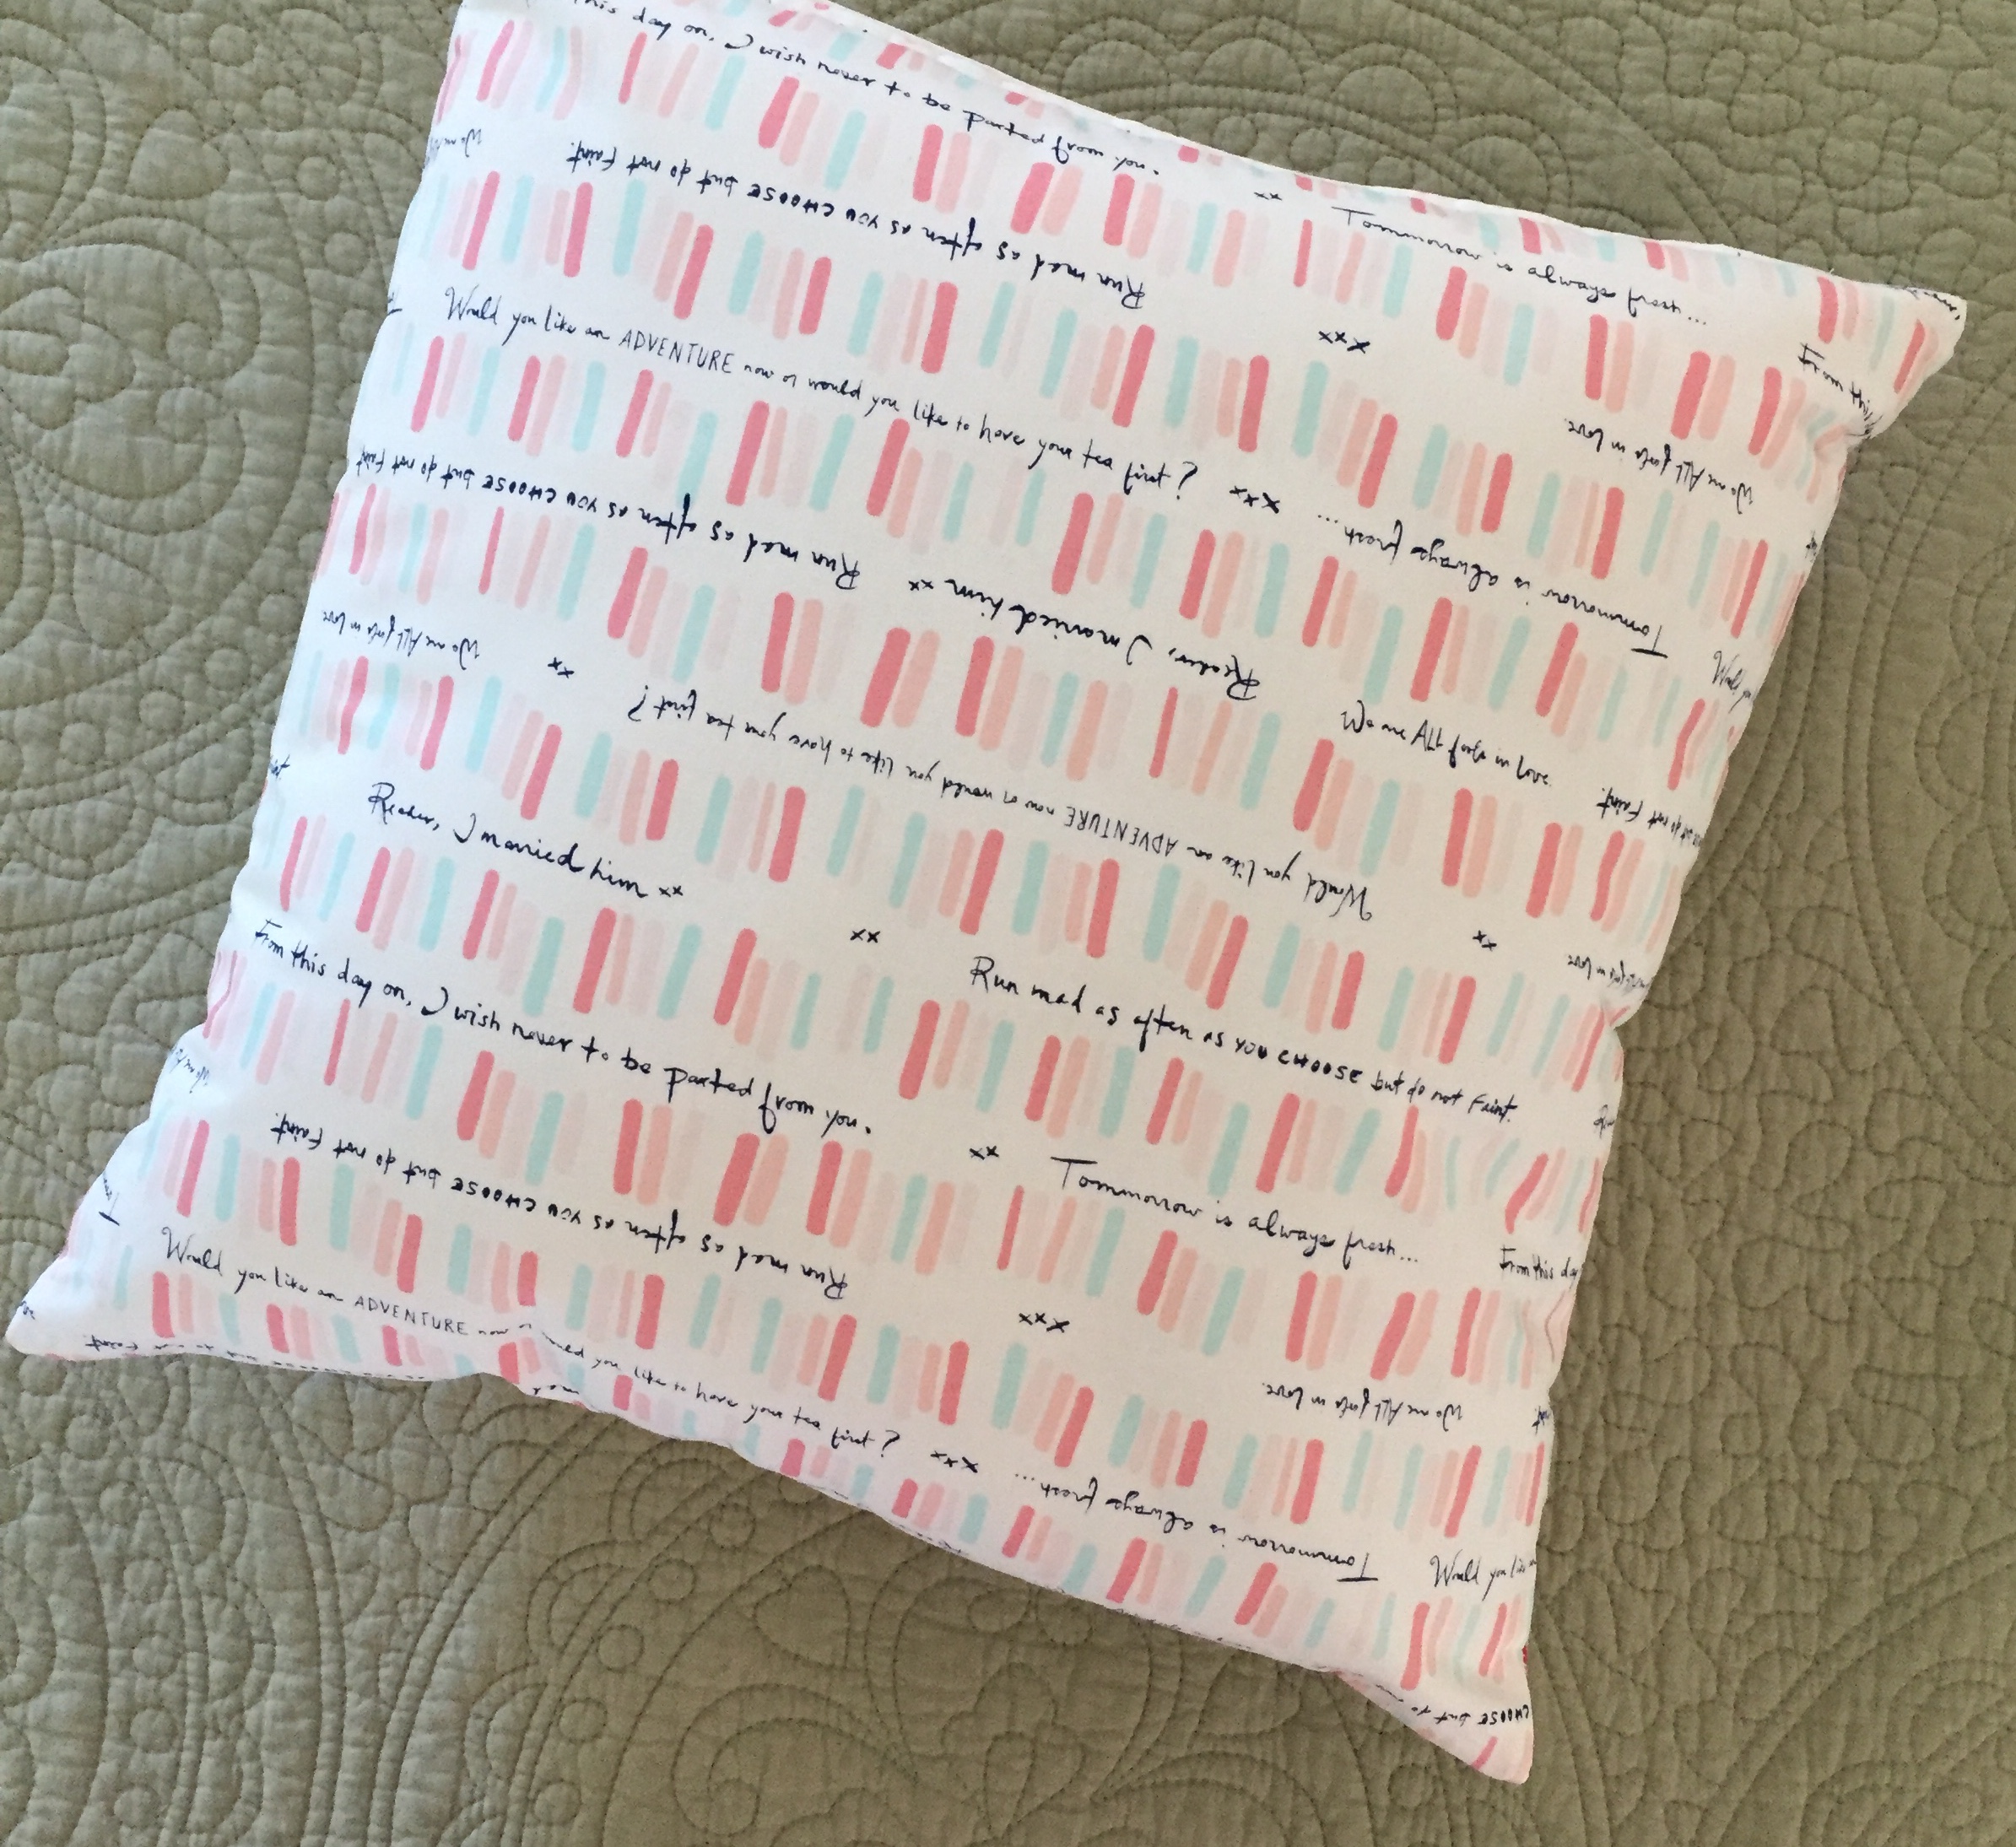
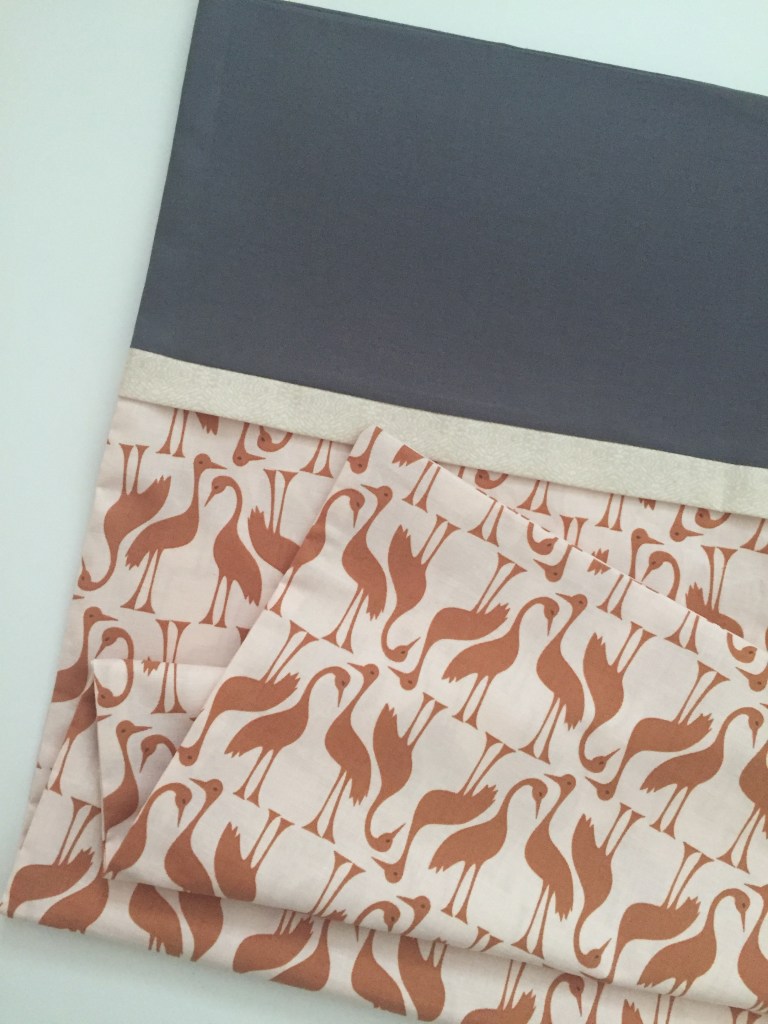
And a pillow case for my bird-loving husband.

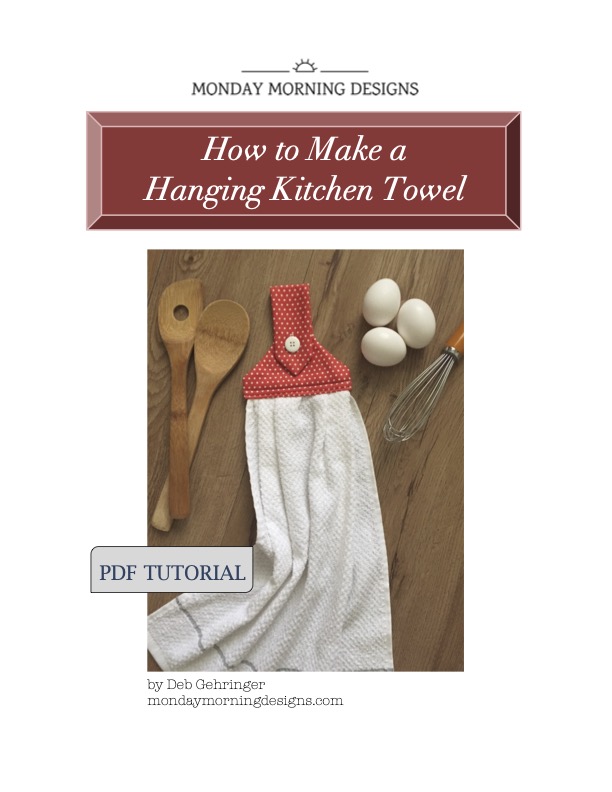
Lastly, towels with cute toppers made for my mom. You can download my free PDF tutorial How to Make a Hanging Kitchen Towel. It’s easy-to-follow, complete with photos, a template and lots of tips!

Well, that sums up last year, and I’m well into making for 2020!

fall decor, halloween, mini quilts, quilting, quilts, tutorials, Uncategorized

Pumpkin & Stars Mini Quilt Tutorial

It’s not too late to make a Halloween themed project! This one came to be because I wanted to combine a cute pumpkin with colorful friendship stars (making it the third project this year where I’ve incorporated these stars)…anyway, my latest mini quilt, Pumpkin & Stars, goes together relatively quick and will definitely show off your festive spirit! The pumpkin in this project is pretty basic, made with scrappy strips; I’m sure you’ve seen it used in several other projects. For mine, all I did was make the easy strippy pumpkin and add stars all the way around, in the traditional black and orange Halloween colors.

IMGP8955.JPG

After finishing, I thought another variation could be to give it a general autumnal look, leaning away from Halloween by replacing the black with gold, green, tan or taupe…any fall-like colors would work well. It also finishes to a toss pillow size.

This was a really fun project, I recommend it! If you’d like to give it a try, here’s what to do:

PUMPKIN & STARS MINI QUILT

MATERIALS
Variety of 2″ strips of orange and black fabric
(1) 1 ½” x 1 ½” square of brown fabric
(1) 1 ½” x 3″ rectangle of green fabric
(1) Fat quarter for background
(1) Fat quarter for backing
(1) Fat quarter for binding
20″ x 20″ quilt batting

GENERAL GUIDELINES
RST = Right Sides Together
HST = Half Square Triangle
WOF = Width Of Fabric
Use ÂĽ” seam allowance throughout.
Press seams open unless otherwise indicated.

To make PUMPKIN:
Cut print fabric:
(1) 1 ½” x 1 ½” brown square
(1) 1 ½” x 3″ green rectangle
(6) 1 ½” x 5 ½” orange strips

Cut background fabric:
(6) 1 ½” x 1 ½” squares
(1) 1 ½” x 3″ rectangle
(2) 1 ½” x 6 ½” rectangles
(2) 1 ½” x 8 ½” rectangles

RST, sew (6) orange strips together lengthwise. Press.

Place (1) background square on each corner of the strip unit. Sew on diagonal line. Trim ÂĽ” from sewn line. Press toward corner. Finished unit illustrated below.

Screen Shot 2018-10-24 at 8.56.35 PM.png

RST, place (2) background squares on the green strip so that the diagonal lines start on the lower left and end on the upper right. Sew on diagonal lines. Trim ÂĽ” from sewn lines. Press toward corners. Finished unit illustrated below.

Screen Shot 2018-10-24 at 7.57.46 PM

To make STEM/LEAF UNIT:

Place the 1 ½” x 3″ background strip on the left, the brown square in the middle and the green leaf unit on the right. Sew the background strip onto the left edge of the brown square and the leaf unit onto the right edge. Press.

Sew the stem/leaf unit to the top of the pumpkin strip set. Press.

Your finished pumpkin block will look like this:

Screen Shot 2018-10-24 at 9.16.06 PM

To attach BORDERS:
Sew (1) 1 ½” x 6 ½” background strip to each edge of the pumpkin block. Press toward the border strips.

Sew (1) 1 ½” x 8 ½” background strip to the top and bottom edge of the pumpkin block. Press.

Unfinished size: 8 ½” x 8 ½”

To make FRIENDSHIP STAR:

Cut print fabric:
(1) 1 ½” x 1 ½” square
(2) 2″ x 2″ squares

Cut background fabric:
(4) 1 ½” x 1 ½” squares
(2) 2″ x 2″ squares

To make HSTs:
Draw a diagonal line on the wrong side of (2) background 2″ x 2″ squares. Place a marked square on a 2″ x 2″ print square. Sew ÂĽ” from the drawn line on both sides. Cut on the drawn line, press open. Trim HSTs to 1 ½” square. One sewn unit makes 2 HSTs.

Place 1 ½” HSTs and 1 ½” background squares in order as shown below. Sew into rows. Press. Sew rows together, as illustrated.

Screen Shot 2018-10-24 at 7.54.00 PM

Make (4) orange friendship stars and (4) black friendship stars.

Unfinished block size: 3 ½” x 3 ½”

To make the SIDES:
Cut background fabric:
(4) 3″ x 3 ½” squares

RST, sew (1) 3″ x 3 ½” square to the top and bottom edge of a black friendship star, as illustrated below. Make 2.

Screen Shot 2018-10-24 at 10.20.08 PM

To attach SIDES:
Fold the pumpkin unit in half lengthwise and place a mark in the center along both edges. Repeat for both friendship star side unit inside edges. Match up a pumpkin center/side unit mark and pin on a side unit, RST. Sew. Press sides toward the pumpkin unit border. Repeat for opposite side. Trim if necessary.

To make TOP/BOTTOM ROWS:
Cut background fabric:
(4) 3″ x 3 ½” squares**

**NOTE: The background fabric cut at 3″ in width may vary due to differences in ÂĽ” seam allowances. For example, mine needed to be a bit less than 3″ wide—more like 2 â…ž”—as my seam allowances always measure slightly larger than ÂĽ”. You may have to adjust accordingly.

RST, sew (1) 3″ x 3 ½” square to each side edge of (1) black friendship star. Sew (1) orange friendship star to each edge of the black friendship star/background square unit. Make 2.

Screen Shot 2018-10-24 at 10.40.18 PM

To attach TOP/BOTTOM ROWS:

Use the same method as ‘To attach SIDES’ above.

To make BINDING:
Cut (4) 2 ½” x WOF from fat quarter. Sew strips end-to-end, press in half. Attach binding using preferred method.

Lastly, sandwich backing sized 20″ x 20″, batting and quilt top, baste. Quilt as desired.

IMGP8956.JPG

Finished size: 14 ½” x 14 ½”, although mine measured 14 ÂĽ” square!

I quilted mine with fun, wavy lines using Aurifil thread 2000, and I love it.

IMGP8958.JPG

I always make my mini quilts with sewn in corners on the back so I can hang them on my sewing room door, but I think this one would look great on a table, too. And I definitely will be quilting those wavy lines on an upcoming quilt…

I hope you enjoy making this project and Happy Halloween!

quilting, Quilting 101, Uncategorized

Quilting 101: Quilting Terminology for Beginners

When I started to quilt, some of the quilting language had me really confused. Everyday words referring to animals, winter and food with a quilting-related meaning….huh? It just didn’t make sense. If your experience is one of the same, this post will help clarify some of the terminology used that has other meanings.

I chose my top ten favorites, or I should say, my top ten most confusing quilting terms. 🙂

1. Dog ears – Dog ears are those small pieces of fabric that appear in quilt block corners and edges when two triangular pieces are sewn together—results of a diagonal seam. Always trim dog ears before finishing a quilt block.

IMGP8415.JPG

2. Feed dogs – The feed dogs are the metal teeth located in the slots in a sewing machine’s needle plate. Feed dogs are comprised of metal bars, crosscut with diagonal teeth that move back and forth; they grip fabric and pull it through the machine and away from the needle.

IMGP8411.JPG

3. Flying geese – Flying geese is a traditional quilt block pattern created by sewing a triangle at each end of a rectangular piece of fabric, forming a peak in the middle. Finished flying geese blocks resemble geese flying in formation, hence the name.

IMGP8428.JPG

4. Nesting seams – Seams that line up precisely at an intersection of a block or quilt are known as nesting seams. To achieve nesting, press seams in opposite directions to reduce the bulk created by the seam allowance.

IMGP8450

IMGP8454.JPG

5. Snowball – The snowball technique is used when a quilter chooses to give a square a rounded effect (like a snowball). To achieve this result, the quilter draws a diagonal line on a background fabric square (white or light colored), sews on the line, cuts away the corner and presses back the triangle. This process can also be done in reverse, using a central white square and a color triangle in the corner.

IMGP8457
Preparation to snowball a corner

IMGP8462
Snowballed corner

6. Quilt sandwich or sandwiching – Sandwiching is assembling the quilt top, batting and backing, then securing the layers together by basting with either quilting pins or glue–readying it for quilting. The batting and quilt backing are always cut a few inches larger than the quilt top to allow for fabric shifting while quilting.

IMGP8436

7. Chain piecing – Chain piecing is sewing together squares in one continuous length of thread instead of sewing piece by piece. This method saves time and is popular among quilters. Once multiple squares have been sewn in a strand, the thread is easily cut to separate individual pieces.

IMGP8432.JPG
chain piecing

8. Sashing – Sashing is a strip of fabric sewn between blocks on a quilt top. It gives a windowpane effect and shows off blocks individually. Most often lighter-colored fabric is used for sashing to make the other colors pop. As a variation, sashing can be used to contrast quilt block colors.

IMGP8159 (2).JPG

9. Stitch in the ditch – Stitching in the ditch is a technique where the quilting stitches on the quilt top are minimized by quilting ‘in’ the seams that were created when the quilt blocks were pieced together. Using a specialized foot helps makes this process neater with more accurate results.

IMGP8418.JPG

10. Fussy cut – A fussy cut is used when a quilter wants to showcase a specific section or element of a fabric pattern, e.g. a flower, an animal, etc. A fussy cut should always include a seam allowance.

IMG_7159.jpg

I hope this blog post helped clarify some quilting terminology confusion.

I plan to continue my Quilting 101 series with my next post delving into the variety of precut fabric.

quilting, Uncategorized

Pillowpalooza!

Since I’ve made a lot of pillows lately, I thought it would be a good time to show my work on a blog post. I’ve also included a couple of others I made a few years ago.

Starting with my oldest projects first…the next two sets of pillows date back to when I dug out my Kenmore sewing machine in 2012 and started sewing (then consequently, quilting) as a hobby. These two are some of the the first ones I ever made, and they’re still a favorite.

IMGP7557.JPG

If you read my ‘About’ section, you may recall I was given a store-bought comforter quilt with lovely Laura Ashley fabrics that consisted of a variety of colors and textures, which I slowly and surely took apart, and yes, with a seam ripper.

I made an ensemble from the backing. I followed a tutorial for a foam seat, and I got really adventurous and made bias binding!

Out of all that fabric, those four pillows and the seat cushion is all I have left, and I still have yards and yards of that funky ribbon! The panels in the quilt were about 12″ square, pretty large for a quilt but pretty small for pillows.

This one was made with repurposed half square triangles I had used in a Moda Bake Shop project submission. They were perfectly fine and there was no sense in them sitting in a drawer, so I reused them.

IMGP7318
front
IMGP7321
reversible back

I made it ‘reversible’ so it looks good no matter what side is facing out. I did the same thing with a few others. Sometimes I turn them around just for new look.

The next one is a Dutch Rose block pattern I found in McCall’s online library of 150+ quilt block patterns. All free and a great resource! Here’s the link: The Quilting Company.

IMGP7051.JPG

Personally, I think this is the prettiest block I’ve ever made. I left it on my design wall for a month just so I could look at it. 🙂

And here it is in pillow form on my bed. Still love it.

:.,bcxz .jpg

The front consists of a mix of Moda fabrics; the yellow is Benartex from a bright collection called Transformation by Sarah Vedeler Designs.  As always, I used Kona Cotton for my background, this is Kona Cotton Snow. I put a lovely Art Gallery fabric by Amy Sinibaldi on the back. Such soft and gorgeous colors!

IMG_7167.jpg

The next two are pillow covers I made for my mom, also with printed fabric on the back. I used mostly leftover fabric from the quilt I made for her this past Christmas. Hope she likes them!

IMG_7082

IMGP7420

Overall, these zippered pillow covers are fairly easy to make and the quilt block possibilities are endless. If you’d like to create some for yourself, here’s the link to my Zippered Quilt Block Pillow Cover Tutorial.

I’m sure you noticed that none of these quilt block pillows are quilted. I opted not to quilt them because I love the look of fresh, crisp fronts. Sure, quilting is an option, I just wanted to mix things up a bit.

That pretty much wraps up my current pillow collection. I’m in the process of making a queen size Hunter’s Star quilt for my daughter and I plan to make a few throw pillows to go along it. Oh, and of course I have other ideas in the works, so eventually there’ll be a Pillowpalooza II!

quilting

Zippered Quilt Block Pillow Cover Tutorial

Looking for a fun and decorative way to showcase your orphan blocks? Make a zippered pillow cover! It’s quick and easy enough for beginners, and it’s a great way to use some of those set aside blocks. If you’d like something new, visit McCall’s online library of over 150 free quilt block patterns.

For a different look, I wanted my pillow front just pieced, not quilted. I also wanted to be able to change the cover for different seasons or holidays, so I added a zipper. And I made it reversible. We put lovely fabrics on the back of quilts, why not on a pillow? I used a fat quarter from the Acreage collection by Moda, it added just the right touch of color.

This tutorial is based on applying fusible fleece to the non-quilted pieced front. I knew that inserting and/or removing the pillow form would make a mess of the raw edges so I adhered fusible fleece to seal the seams and give it a smooth, crisp look. Quilting your block is certainly an option and if chosen, you can use either the batting of your choice or the fusible fleece.

Here’s what you’ll need:

Materials:

One 12 ½” x 12 ½” pieced quilt block*

Four 3 ÂĽ” x 12 ½” rectangles for borders

Four 3 ÂĽ” x 3 ÂĽ” squares for border corners

-OR- One 18″ x 18″ pieced quilt block (eliminating borders/corners)

One 18″ x 18″ fabric square for backing

One 18″ x 18″ square of Pellon 987F Fusible Fleece

One 18″ x 18″ square of Pellon PLF36 Fusible Interfacing/Ultra Lightweight -OR- Pellon 906F Fusible Sheerweight

One 14″ coordinating color zipper

One 18″ x 18″ pillow form insert

* If using a block size other than 12 ½” square, adjust your border measurements accordingly. The front and back pieces measure the same size as the pillow insert so it will fit nice and snug.

Other materials needed: General sewing/quilting materials such as a ruler, cutting mat, rotary cutter, thread, scissors, pins, iron, sewing machine, zipper foot.

To make the front, I used 36 – 2 ½” half square triangles from the lovely Riley Blake collection, Floriography. I removed most of these HSTs from test blocks for reuse.

IMGP7058.JPG

I sewed the HSTs in a simple six by six layout making a 12 ½” block for the center.

IMGP7062.JPG
Tip: If you don’t use a marking system like illustrated here, it’s a good idea to take a photo once the layout is decided; it’s a helpful reference when sewing.

To reach the 18″ needed for the pillow front, I sewed one 3 ÂĽ” x 12 ½” rectangle on each side. For the top and bottom borders, I sewed a 3 ÂĽ” square on each end of the two remaining rectangles, then sewed them onto the top and bottom of the block.

IMGP7107.JPG

NOTE: If you are new to quilting and need instruction on making half square triangles and/or instructions on block construction, check out my Scrappy Heart Block Tutorial for general guidelines.

Before adhering the fusible fleece, trim threads off the back so nothing will show through the front.

Following the Pellon 987F Fusible Fleece instructions, iron the 18″ square onto the back of your pillow front.

IMGP7100.JPG

IMGP7110
Ironed on fusible fleece

IMGP7108

Since I used regular quilting cotton fabric for my back piece, I used lightweight interfacing to give it a bit more stiffness and weight.

IMGP7102
NOTE: You always have the option of using your choice of interfacing, or none at all. The same goes for the fusible fleece weight on the front, you can go loftier or with less loft.

Next step, sewing in the zipper. If you’re feeling intimidated by this, don’t! It’s really easy to do.

First, place your pillow front and back pieces right sides together. Make sure to note the direction of your fabrics.

Center the zipper on top of the bottom edge of the pillow. Place a pin to mark each end of the zipper. These will be guidelines on how to sew the bottom.

IMGP7230

Set the zipper aside. Using a ½” seam allowance and a standard stitch length, sew from the edge to the pin. Once you get to the pin, take a few backstitches.

At the pin, set your sewing machine to the widest stitch possible (mine was 5). Long basting stitches are used because they’ll be removed later.

Sew with a basting stitch until you get to the next pin. At the pin, reset your machine to a standard stitch length. Sew, taking a few backstitches again, to the end. Your sewn pillow bottom should look like this…

IMGP7248.JPG

Press seam open. It’s best to use a towel over the seam so you don’t get residue on your iron (like I did).

IMGP7233.JPG

Place the zipper facing down and centered onto the pressed open seam. Pin in place.

IMGP7236.JPG

Sew in the zipper using a zipper foot.

IMGP7238.JPG

If you’re new to sewing in a zipper, here are a few helpful tips:

  • Leave the zipper completely closed.
  • Start sewing at the end with the bottom stop (make sure to backstitch).
  • Sew until you are a few inches away from the zipper pull, stop with the needle down.
  • Gently unzip the zipper until it clears your foot (place the point of your seam ripper into the zipper head then use it to help slide the head out of the way). Resume sewing.
  • Sew until you reach the top zipper stops, backstitch.
  • Repeat on the opposite side.
  • Make sure the zipper pull is sticking up/out when sewing down second side.

Once the zipper is sewn in, gently remove your basting stitches with your seam ripper.

IMGP7243.JPG

Once stitches are removed and threads are cleaned up (a lint roller and tweezers help), test the zipper—it should work perfectly! To reinforce the zipper, you can sew vertical stitches at both ends.

IMGP7247

Time to sew the pillow cover closed. First, unzip the zipper at least half way. Keeping right sides together, pin the remaining three sides. With a regular foot and a standard stitch length, sew around the edges using a ½” seam allowance. To reinforce your corners, backstitch about a ½” away from each edge.

Almost there! Trim the corners so they’ll look nice and sharp when the pillow cover is right side out. You may need to use a blunt pointed object to help push out corners once turned.

IMGP7256.JPG

Also, it’s worth the few extra minutes to run a zig-zag stitch around the edges to keep them from fraying, or of course if you have a serger, it’s a great time to use it.

IMGP7262.JPG

Trim any remaining threads.  At last, turn pillow cover right side out and insert pillow form. You’re done!

IMGP7318

IMGP7321
Note: I am not endorsed by any products I have mentioned or photographed in this post; they are just items I like, use and wanted to share information on.

Uncategorized

On Point Pincushion Tutorial

I was asked how I made this pincushion after posting it on Instagram, so I decided to share by making another one with a tutorial.

FullSizeRender

It’s easy, goes together quick and doesn’t require much fabric.  Here’s what you need:
25 – 1 1/2″ squares
2 – 2 1/2″ x 4 1/2″ rectangles (for backing)
Pincushion filler of choice
General instructions: RST = right sides together; Use a 1/4″ seam allowance throughout

PINCUSHION TOP:
Layout fabric squares according to the photo below. Sew squares into rows, keeping your layout order. Taking a photo helps as it can get mixed up while sewing! Another option is to forego a color layout plan and sew at random.

IMGP6306.JPG

When attaching the single square to the adjacent row, line up the square with the adjacent row’s middle square (as shown below).

IMGP6308

TIP: You can use the 1/4″ seam allowance as a guide to center it. The single square will have no seam allowance and look a bit odd, but it will work out in the end.

When the rows are completed, lay them out in the correct order and press seams in opposite directions per row to allow for nesting.  Pin at nested seams; sew.

IMGP6332

Once all rows are sewn together and the top is completed, press seams (direction doesn’t matter).

To get the squares on point, rotate your sewn top so it looks like this.

IMGP6333

Line up a ruler along the points, leaving a 1/4″ and cut away excess (as shown below).

IMGP6333

Top measures 4 1/2″.

BACKING:
Place the 2 1/2″ x 4 1/2″ rectangles RST and make a mark a little more than 1″ from the top and a little more than 1″ from the bottom. Sew up to both marks, leaving an approximate 2″ opening for turning it right side out and adding stuffing. Press seam to one side.

ASSEMBLY:
Place the pincushion top on top the sewn backing piece, RST. Sew around all four sides to close the entire pincushion.

IMGP6336

Clip the corners slightly before turning right sides out (it will help make sharper corners).

IMGP6339

I used the pointy end (blunted) of a bamboo skewer to poke out my corners.

Press one last time.

TO FINISH:
Fill with filler of choice.

NOTE: I have read that for more stability, you can attach interfacing or an extra piece of muslin to the back of the pincushion top. Since I usually use my pincushions just for needles, I didn’t take that extra step. Also, I stuffed mine with crushed walnut shells to help keep my needles sharp.

Lastly, sew the backing opening closed. For extra strength, I used a small blanket stitch.

IMGP6348

Behold the cuteness!

IMGP6355