Since I’ve made a lot of pillows lately, I thought it would be a good time to show my work on a blog post. I’ve also included a couple of others I made a few years ago.
Starting with my oldest projects first…the next two sets of pillows date back to when I dug out my Kenmore sewing machine in 2012 and started sewing (then consequently, quilting) as a hobby. These two are some of the the first ones I ever made, and they’re still a favorite.
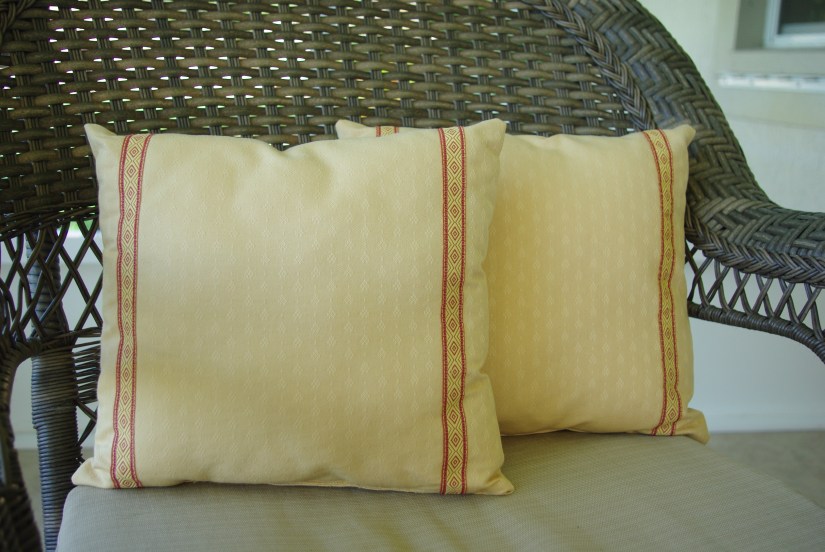
If you read my ‘About’ section, you may recall I was given a store-bought comforter quilt with lovely Laura Ashley fabrics that consisted of a variety of colors and textures, which I slowly and surely took apart, and yes, with a seam ripper.
I made an ensemble from the backing. I followed a tutorial for a foam seat, and I got really adventurous and made bias binding!
Out of all that fabric, those four pillows and the seat cushion is all I have left, and I still have yards and yards of that funky ribbon! The panels in the quilt were about 12″ square, pretty large for a quilt but pretty small for pillows.
This one was made with repurposed half square triangles I had used in a Moda Bake Shop project submission. They were perfectly fine and there was no sense in them sitting in a drawer, so I reused them.
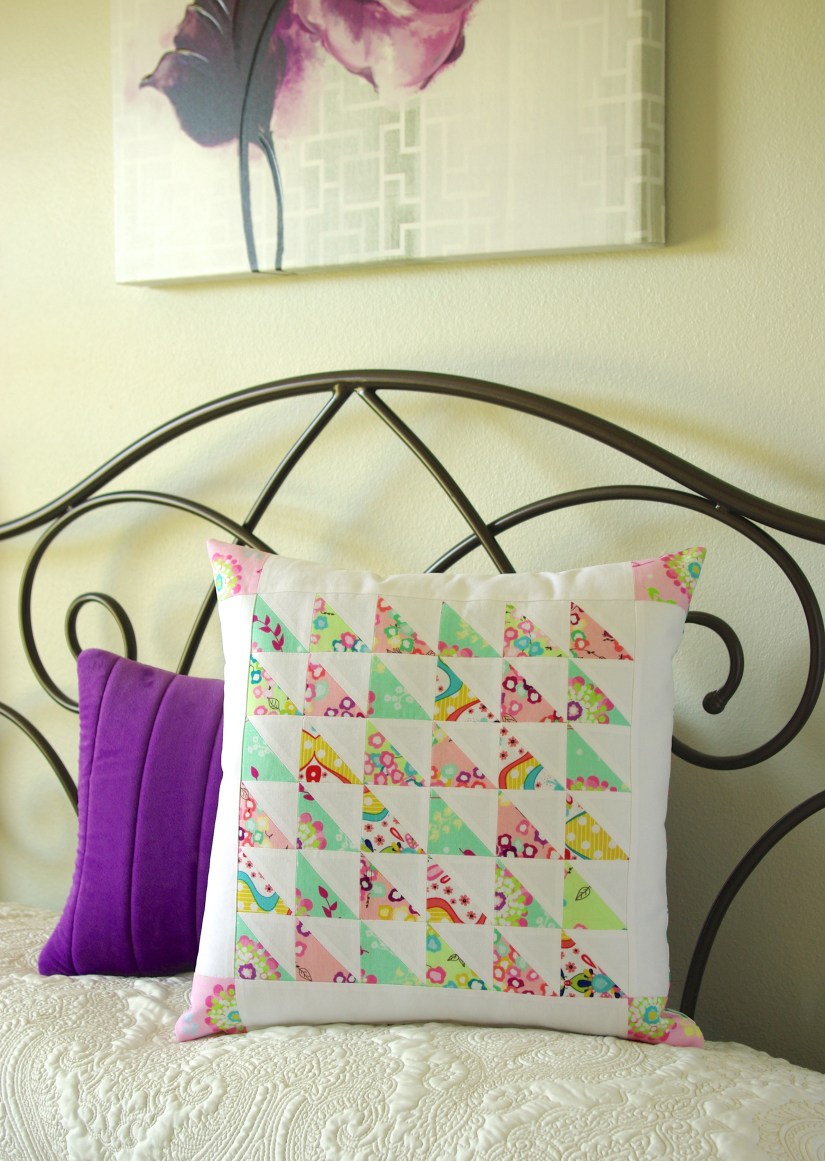
front
reversible back
I made it ‘reversible’ so it looks good no matter what side is facing out. I did the same thing with a few others. Sometimes I turn them around just for new look.
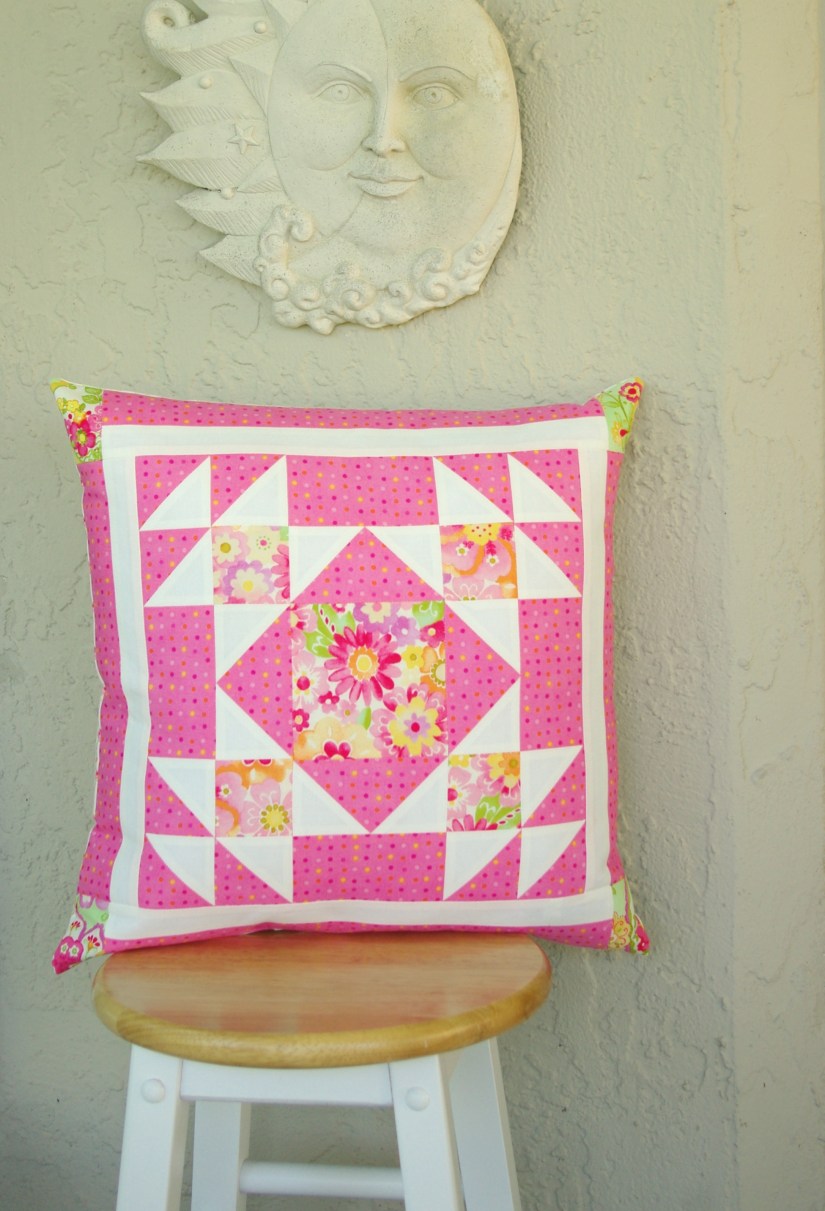
The next one is a Dutch Rose block pattern I found in McCall’s online library of 150+ quilt block patterns. All free and a great resource! Here’s the link: The Quilting Company.
Personally, I think this is the prettiest block I’ve ever made. I left it on my design wall for a month just so I could look at it. 🙂
And here it is in pillow form on my bed. Still love it.
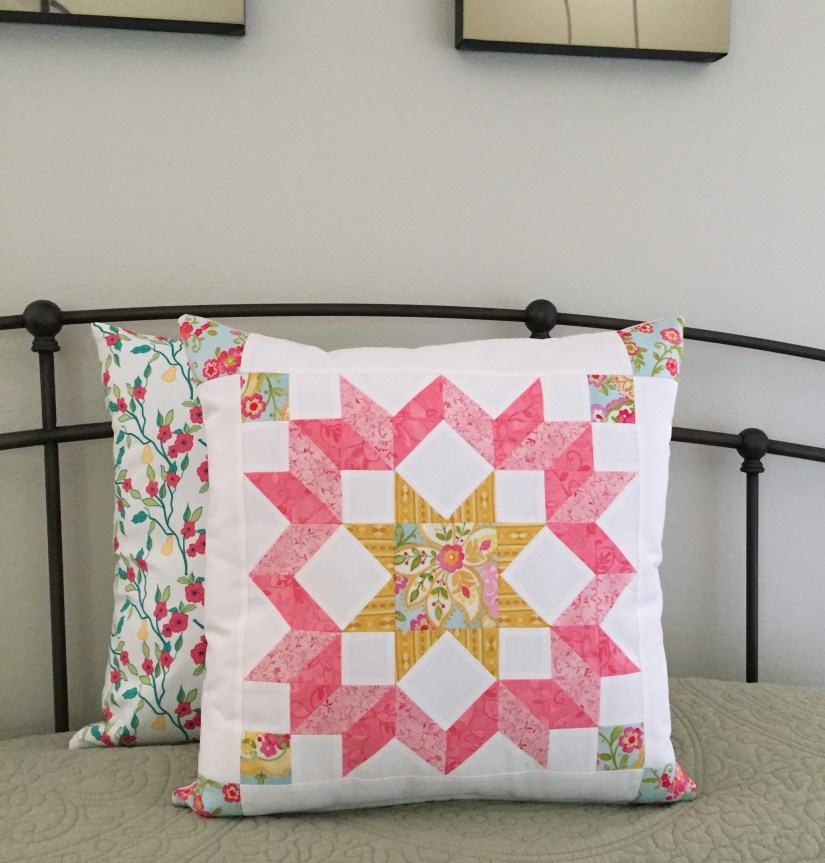
The front consists of a mix of Moda fabrics; the yellow is Benartex from a bright collection called Transformation by Sarah Vedeler Designs. As always, I used Kona Cotton for my background, this is Kona Cotton Snow. I put a lovely Art Gallery fabric by Amy Sinibaldi on the back. Such soft and gorgeous colors!
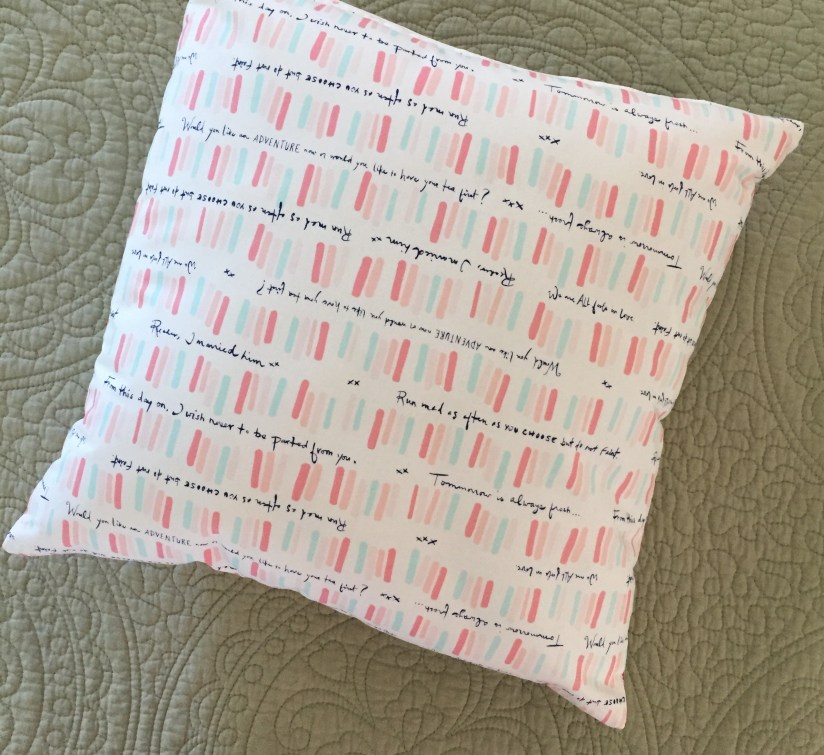
The next two are pillow covers I made for my mom, also with printed fabric on the back. I used mostly leftover fabric from the quilt I made for her this past Christmas. Hope she likes them!
Overall, these zippered pillow covers are fairly easy to make and the quilt block possibilities are endless. If you’d like to create some for yourself, here’s the link to my Zippered Quilt Block Pillow Cover Tutorial.
I’m sure you noticed that none of these quilt block pillows are quilted. I opted not to quilt them because I love the look of fresh, crisp fronts. Sure, quilting is an option, I just wanted to mix things up a bit.
That pretty much wraps up my current pillow collection. I’m in the process of making a queen size Hunter’s Star quilt for my daughter and I plan to make a few throw pillows to go along it. Oh, and of course I have other ideas in the works, so eventually there’ll be a Pillowpalooza II!
Looking for a fun and decorative way to showcase your orphan blocks? Make a zippered pillow cover! It’s quick and easy enough for beginners, and it’s a great way to use some of those set aside blocks. If you’d like something new, visit McCall’s online library of over 150 free quilt block patterns.
For a different look, I wanted my pillow front just pieced, not quilted. I also wanted to be able to change the cover for different seasons or holidays, so I added a zipper. And I made it reversible. We put lovely fabrics on the back of quilts, why not on a pillow? I used a fat quarter from the Acreage collection by Moda, it added just the right touch of color.
This tutorial is based on applying fusible fleece to the non-quilted pieced front. I knew that inserting and/or removing the pillow form would make a mess of the raw edges so I adhered fusible fleece to seal the seams and give it a smooth, crisp look. Quilting your block is certainly an option and if chosen, you can use either the batting of your choice or the fusible fleece.
Here’s what you’ll need:
Materials:
One 12 ½” x 12 ½” pieced quilt block*
Four 3 ¼” x 12 ½” rectangles for borders
Four 3 ¼” x 3 ¼” squares for border corners
-OR- One 18″ x 18″ pieced quilt block (eliminating borders/corners)
One 18″ x 18″ fabric square for backing
One 18″ x 18″ square of Pellon 987F Fusible Fleece
One 18″ x 18″ square of Pellon PLF36 Fusible Interfacing/Ultra Lightweight -OR- Pellon 906F Fusible Sheerweight
One 14″ coordinating color zipper
One 18″ x 18″ pillow form insert
* If using a block size other than 12 ½” square, adjust your border measurements accordingly. The front and back pieces measure the same size as the pillow insert so it will fit nice and snug.
Other materials needed: General sewing/quilting materials such as a ruler, cutting mat, rotary cutter, thread, scissors, pins, iron, sewing machine, zipper foot.
To make the front, I used 36 – 2 ½” half square triangles from the lovely Riley Blake collection, Floriography. I removed most of these HSTs from test blocks for reuse.
I sewed the HSTs in a simple six by six layout making a 12 ½” block for the center.
Tip: If you don’t use a marking system like illustrated here, it’s a good idea to take a photo once the layout is decided; it’s a helpful reference when sewing.
To reach the 18″ needed for the pillow front, I sewed one 3 ¼” x 12 ½” rectangle on each side. For the top and bottom borders, I sewed a 3 ¼” square on each end of the two remaining rectangles, then sewed them onto the top and bottom of the block.
NOTE: If you are new to quilting and need instruction on making half square triangles and/or instructions on block construction, check out my Scrappy Heart Block Tutorial for general guidelines.
Before adhering the fusible fleece, trim threads off the back so nothing will show through the front.
Following the Pellon 987F Fusible Fleece instructions, iron the 18″ square onto the back of your pillow front.
Ironed on fusible fleece
Since I used regular quilting cotton fabric for my back piece, I used lightweight interfacing to give it a bit more stiffness and weight.
NOTE: You always have the option of using your choice of interfacing, or none at all. The same goes for the fusible fleece weight on the front, you can go loftier or with less loft.
Next step, sewing in the zipper. If you’re feeling intimidated by this, don’t! It’s really easy to do.
First, place your pillow front and back pieces right sides together. Make sure to note the direction of your fabrics.
Center the zipper on top of the bottom edge of the pillow. Place a pin to mark each end of the zipper. These will be guidelines on how to sew the bottom.
Set the zipper aside. Using a ½” seam allowance and a standard stitch length, sew from the edge to the pin. Once you get to the pin, take a few backstitches.
At the pin, set your sewing machine to the widest stitch possible (mine was 5). Long basting stitches are used because they’ll be removed later.
Sew with a basting stitch until you get to the next pin. At the pin, reset your machine to a standard stitch length. Sew, taking a few backstitches again, to the end. Your sewn pillow bottom should look like this…
Press seam open. It’s best to use a towel over the seam so you don’t get residue on your iron (like I did).
Place the zipper facing down and centered onto the pressed open seam. Pin in place.
Sew in the zipper using a zipper foot.
If you’re new to sewing in a zipper, here are a few helpful tips:
Leave the zipper completely closed.
Start sewing at the end with the bottom stop (make sure to backstitch).
Sew until you are a few inches away from the zipper pull, stop with the needle down.
Gently unzip the zipper until it clears your foot (place the point of your seam ripper into the zipper head then use it to help slide the head out of the way). Resume sewing.
Sew until you reach the top zipper stops, backstitch.
Repeat on the opposite side.
Make sure the zipper pull is sticking up/out when sewing down second side.
Once the zipper is sewn in, gently remove your basting stitches with your seam ripper.
Once stitches are removed and threads are cleaned up (a lint roller and tweezers help), test the zipper—it should work perfectly! To reinforce the zipper, you can sew vertical stitches at both ends.
Time to sew the pillow cover closed. First, unzip the zipper at least half way. Keeping right sides together, pin the remaining three sides. With a regular foot and a standard stitch length, sew around the edges using a ½” seam allowance. To reinforce your corners, backstitch about a ½” away from each edge.
Almost there! Trim the corners so they’ll look nice and sharp when the pillow cover is right side out. You may need to use a blunt pointed object to help push out corners once turned.
Also, it’s worth the few extra minutes to run a zig-zag stitch around the edges to keep them from fraying, or of course if you have a serger, it’s a great time to use it.
Trim any remaining threads. At last, turn pillow cover right side out and insert pillow form. You’re done!
Note: I am not endorsed by any products I have mentioned or photographed in this post; they are just items I like, use and wanted to share information on.