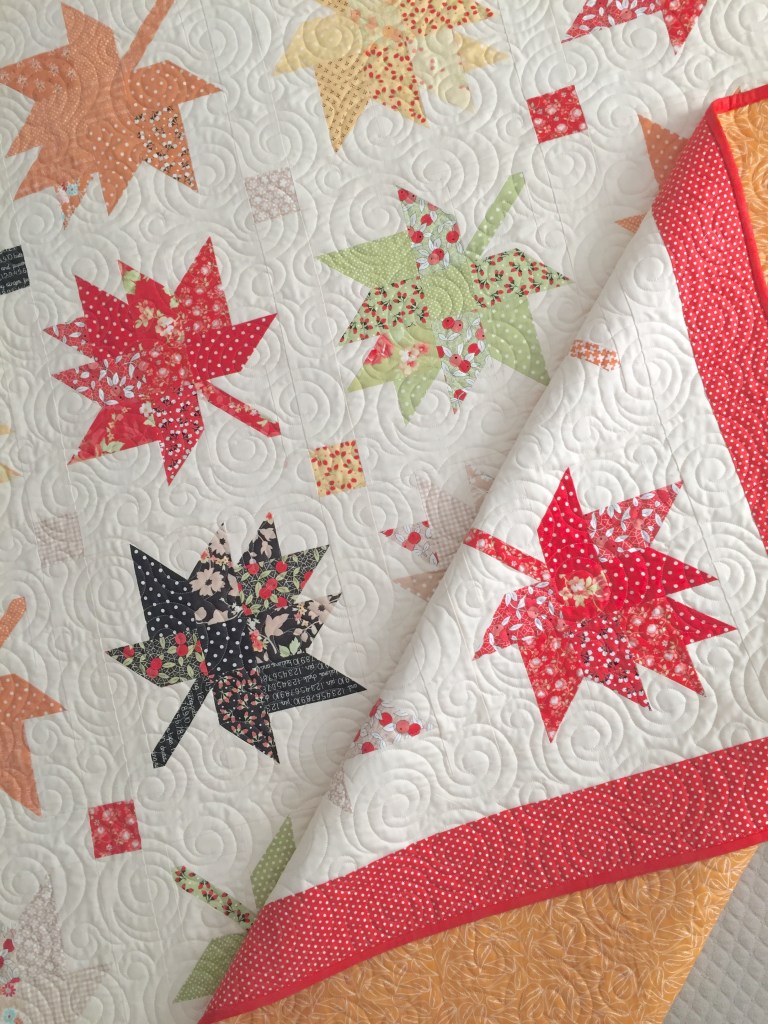
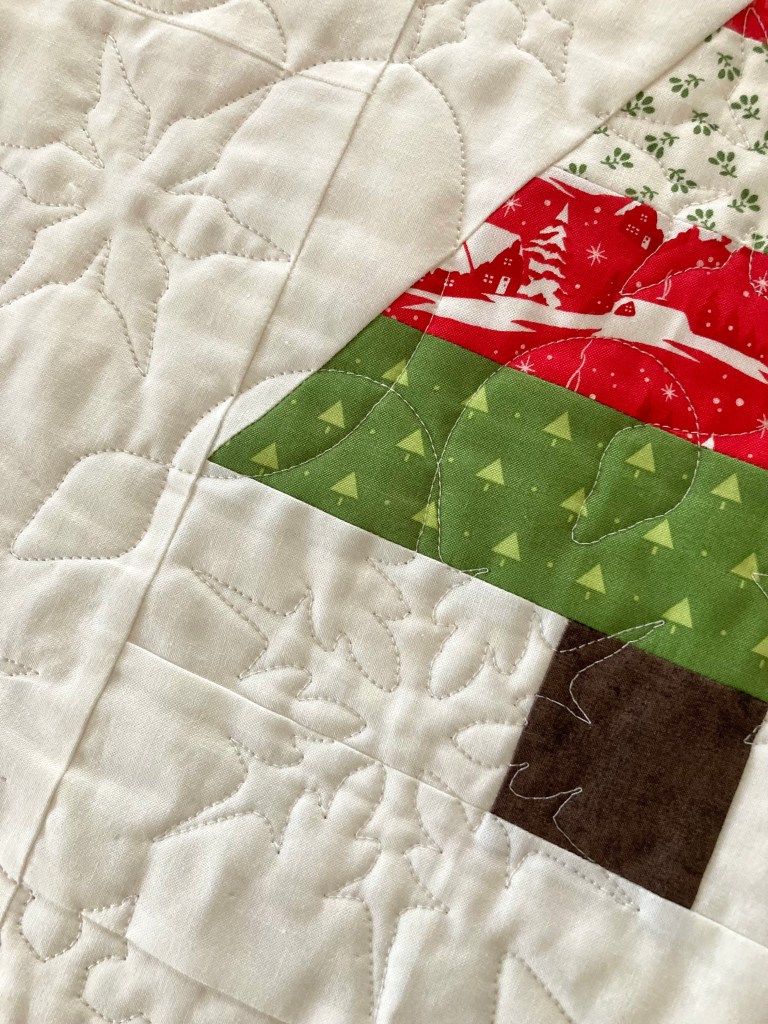
In November last year I was so eager to release my Winter Woodlands quilt that I did so before it was completely finished. The pattern cover photo is just the quilt top, but now that it’s professionally quilted and a completed quilt, I’ve got a new cover shot for the pattern.
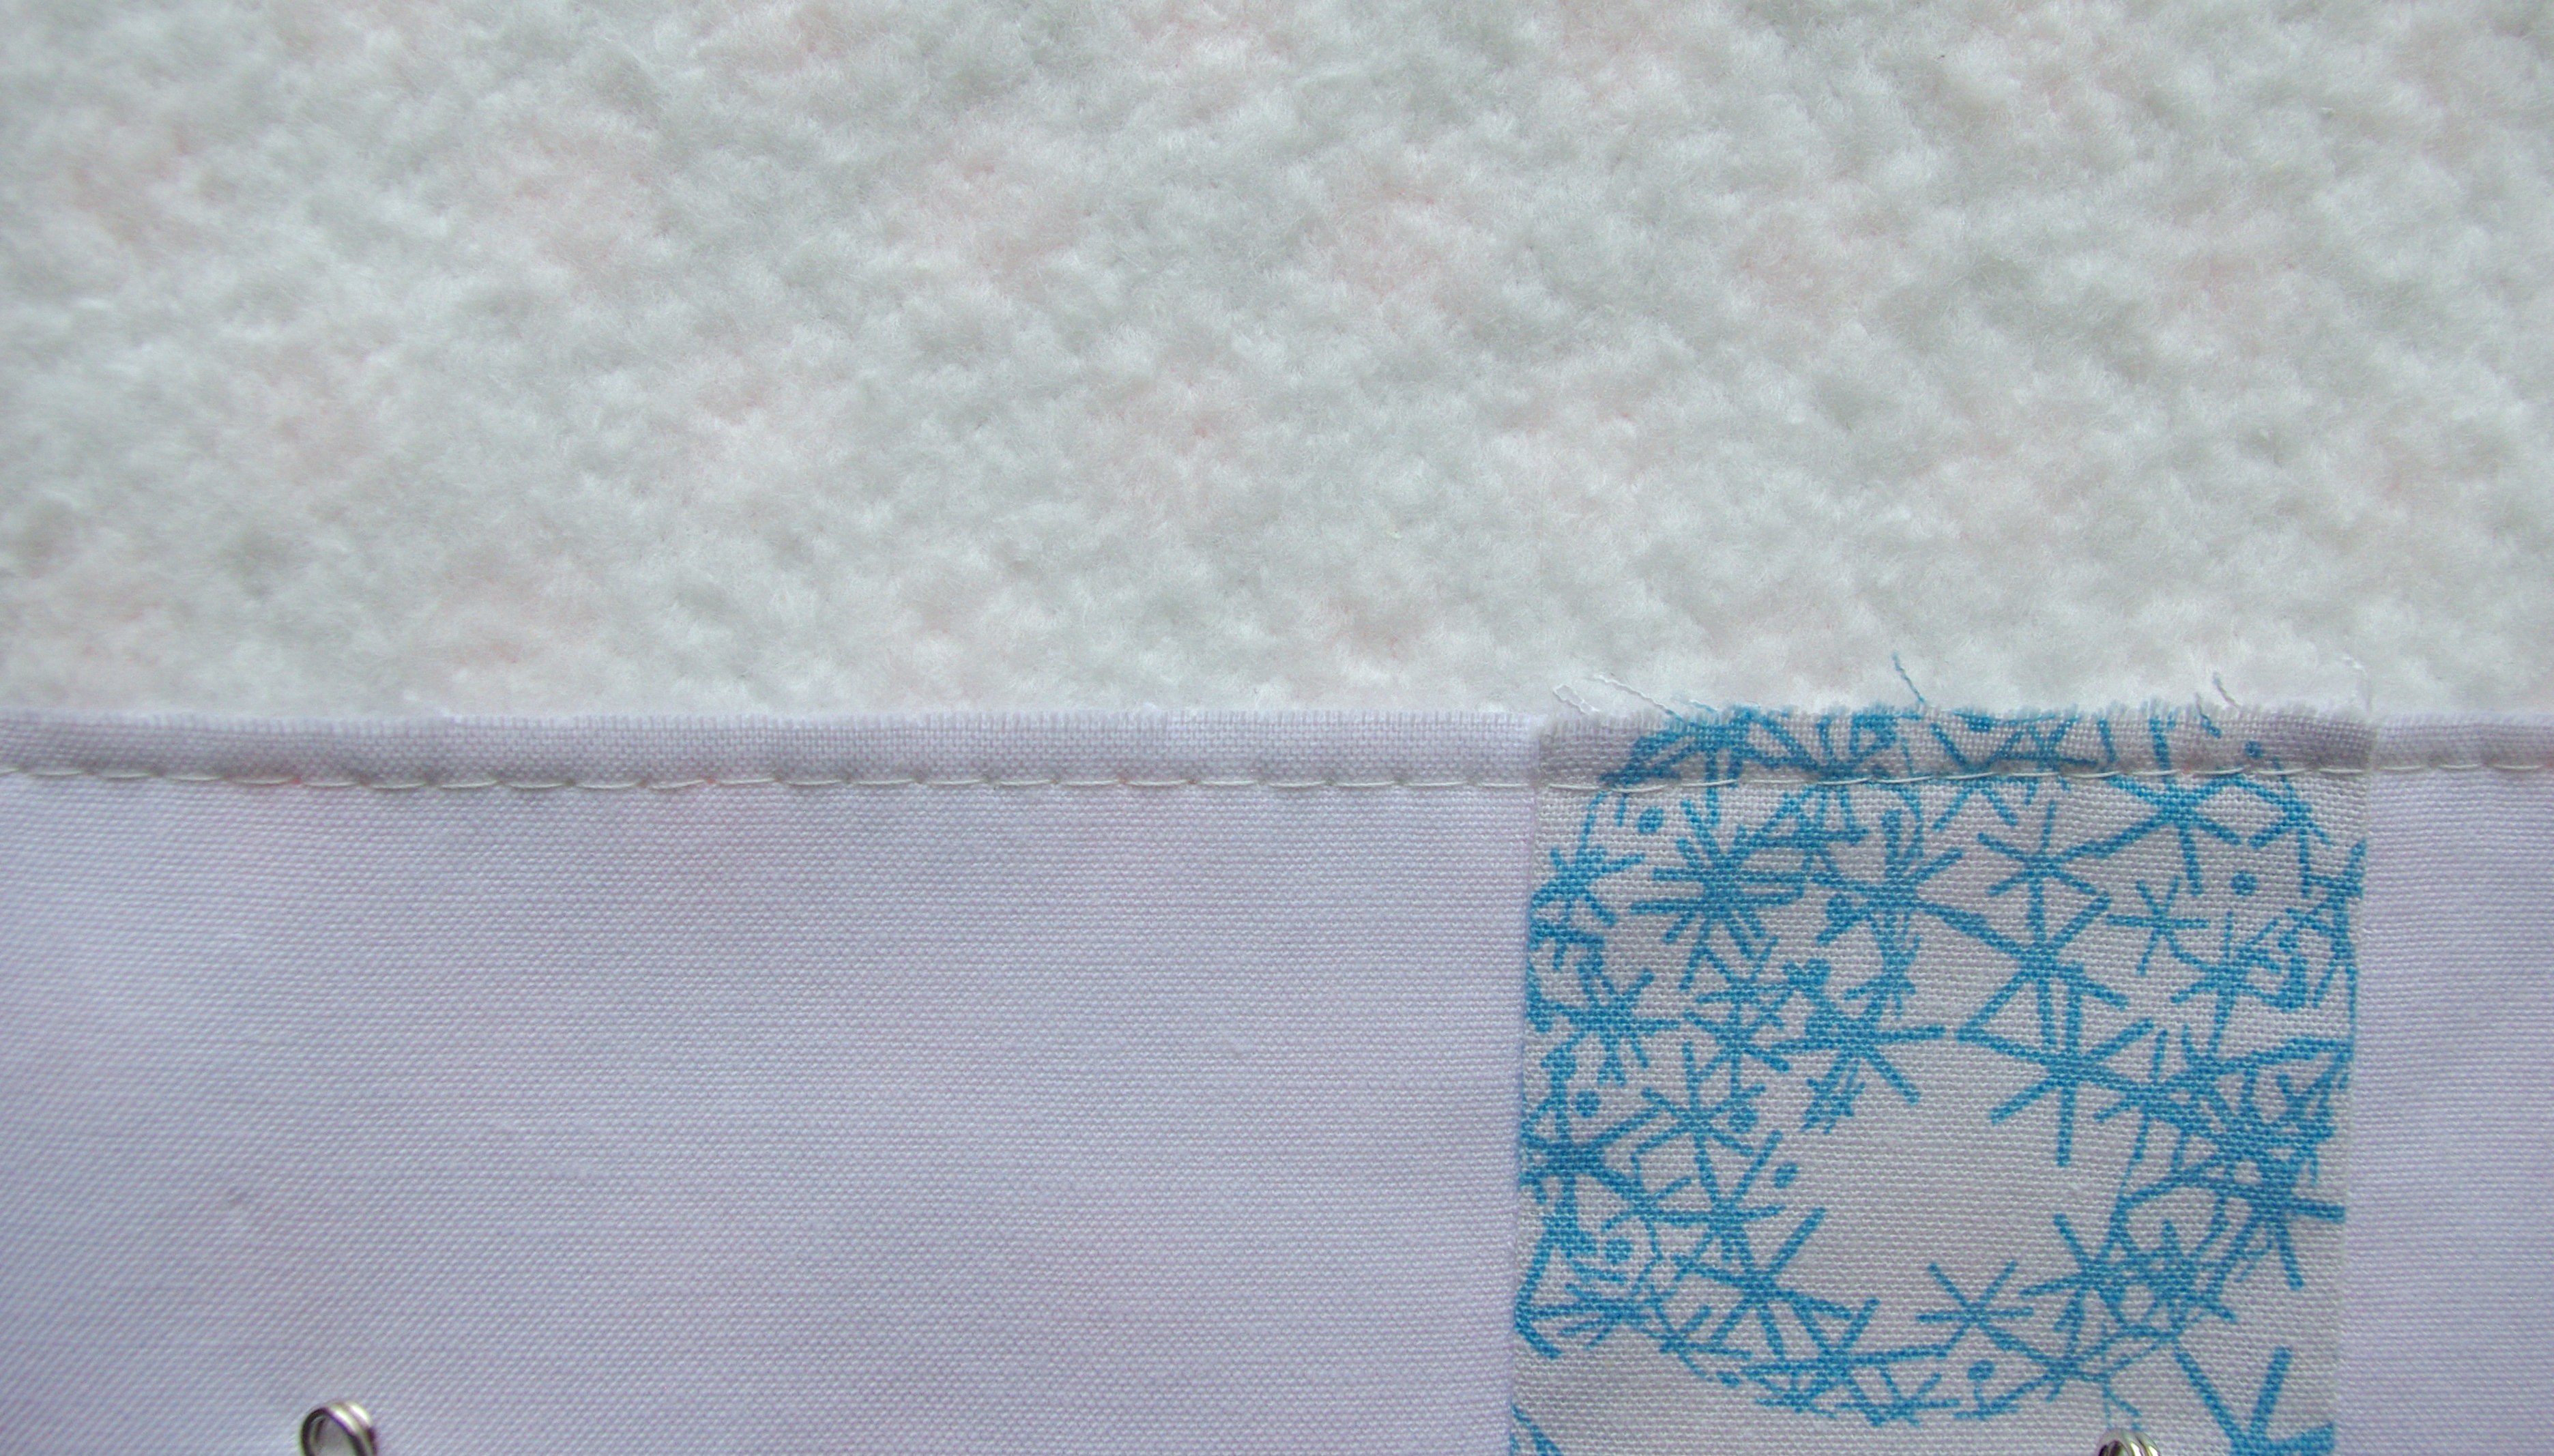
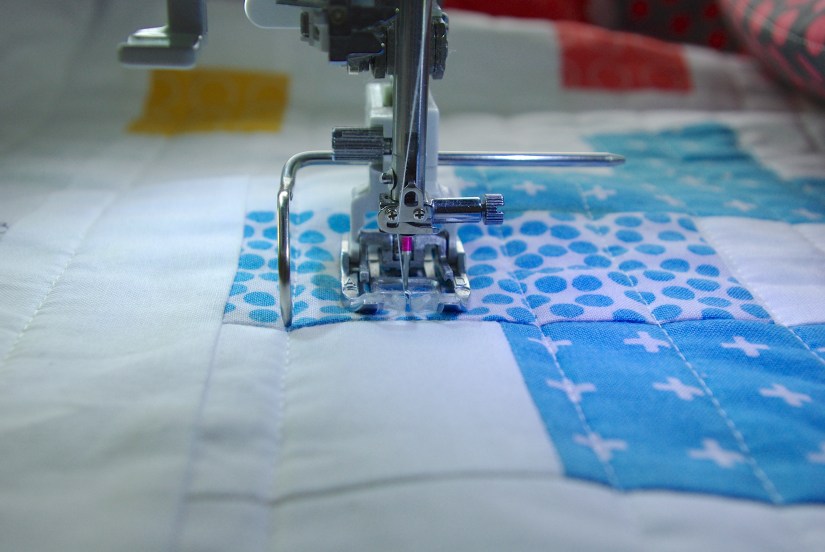
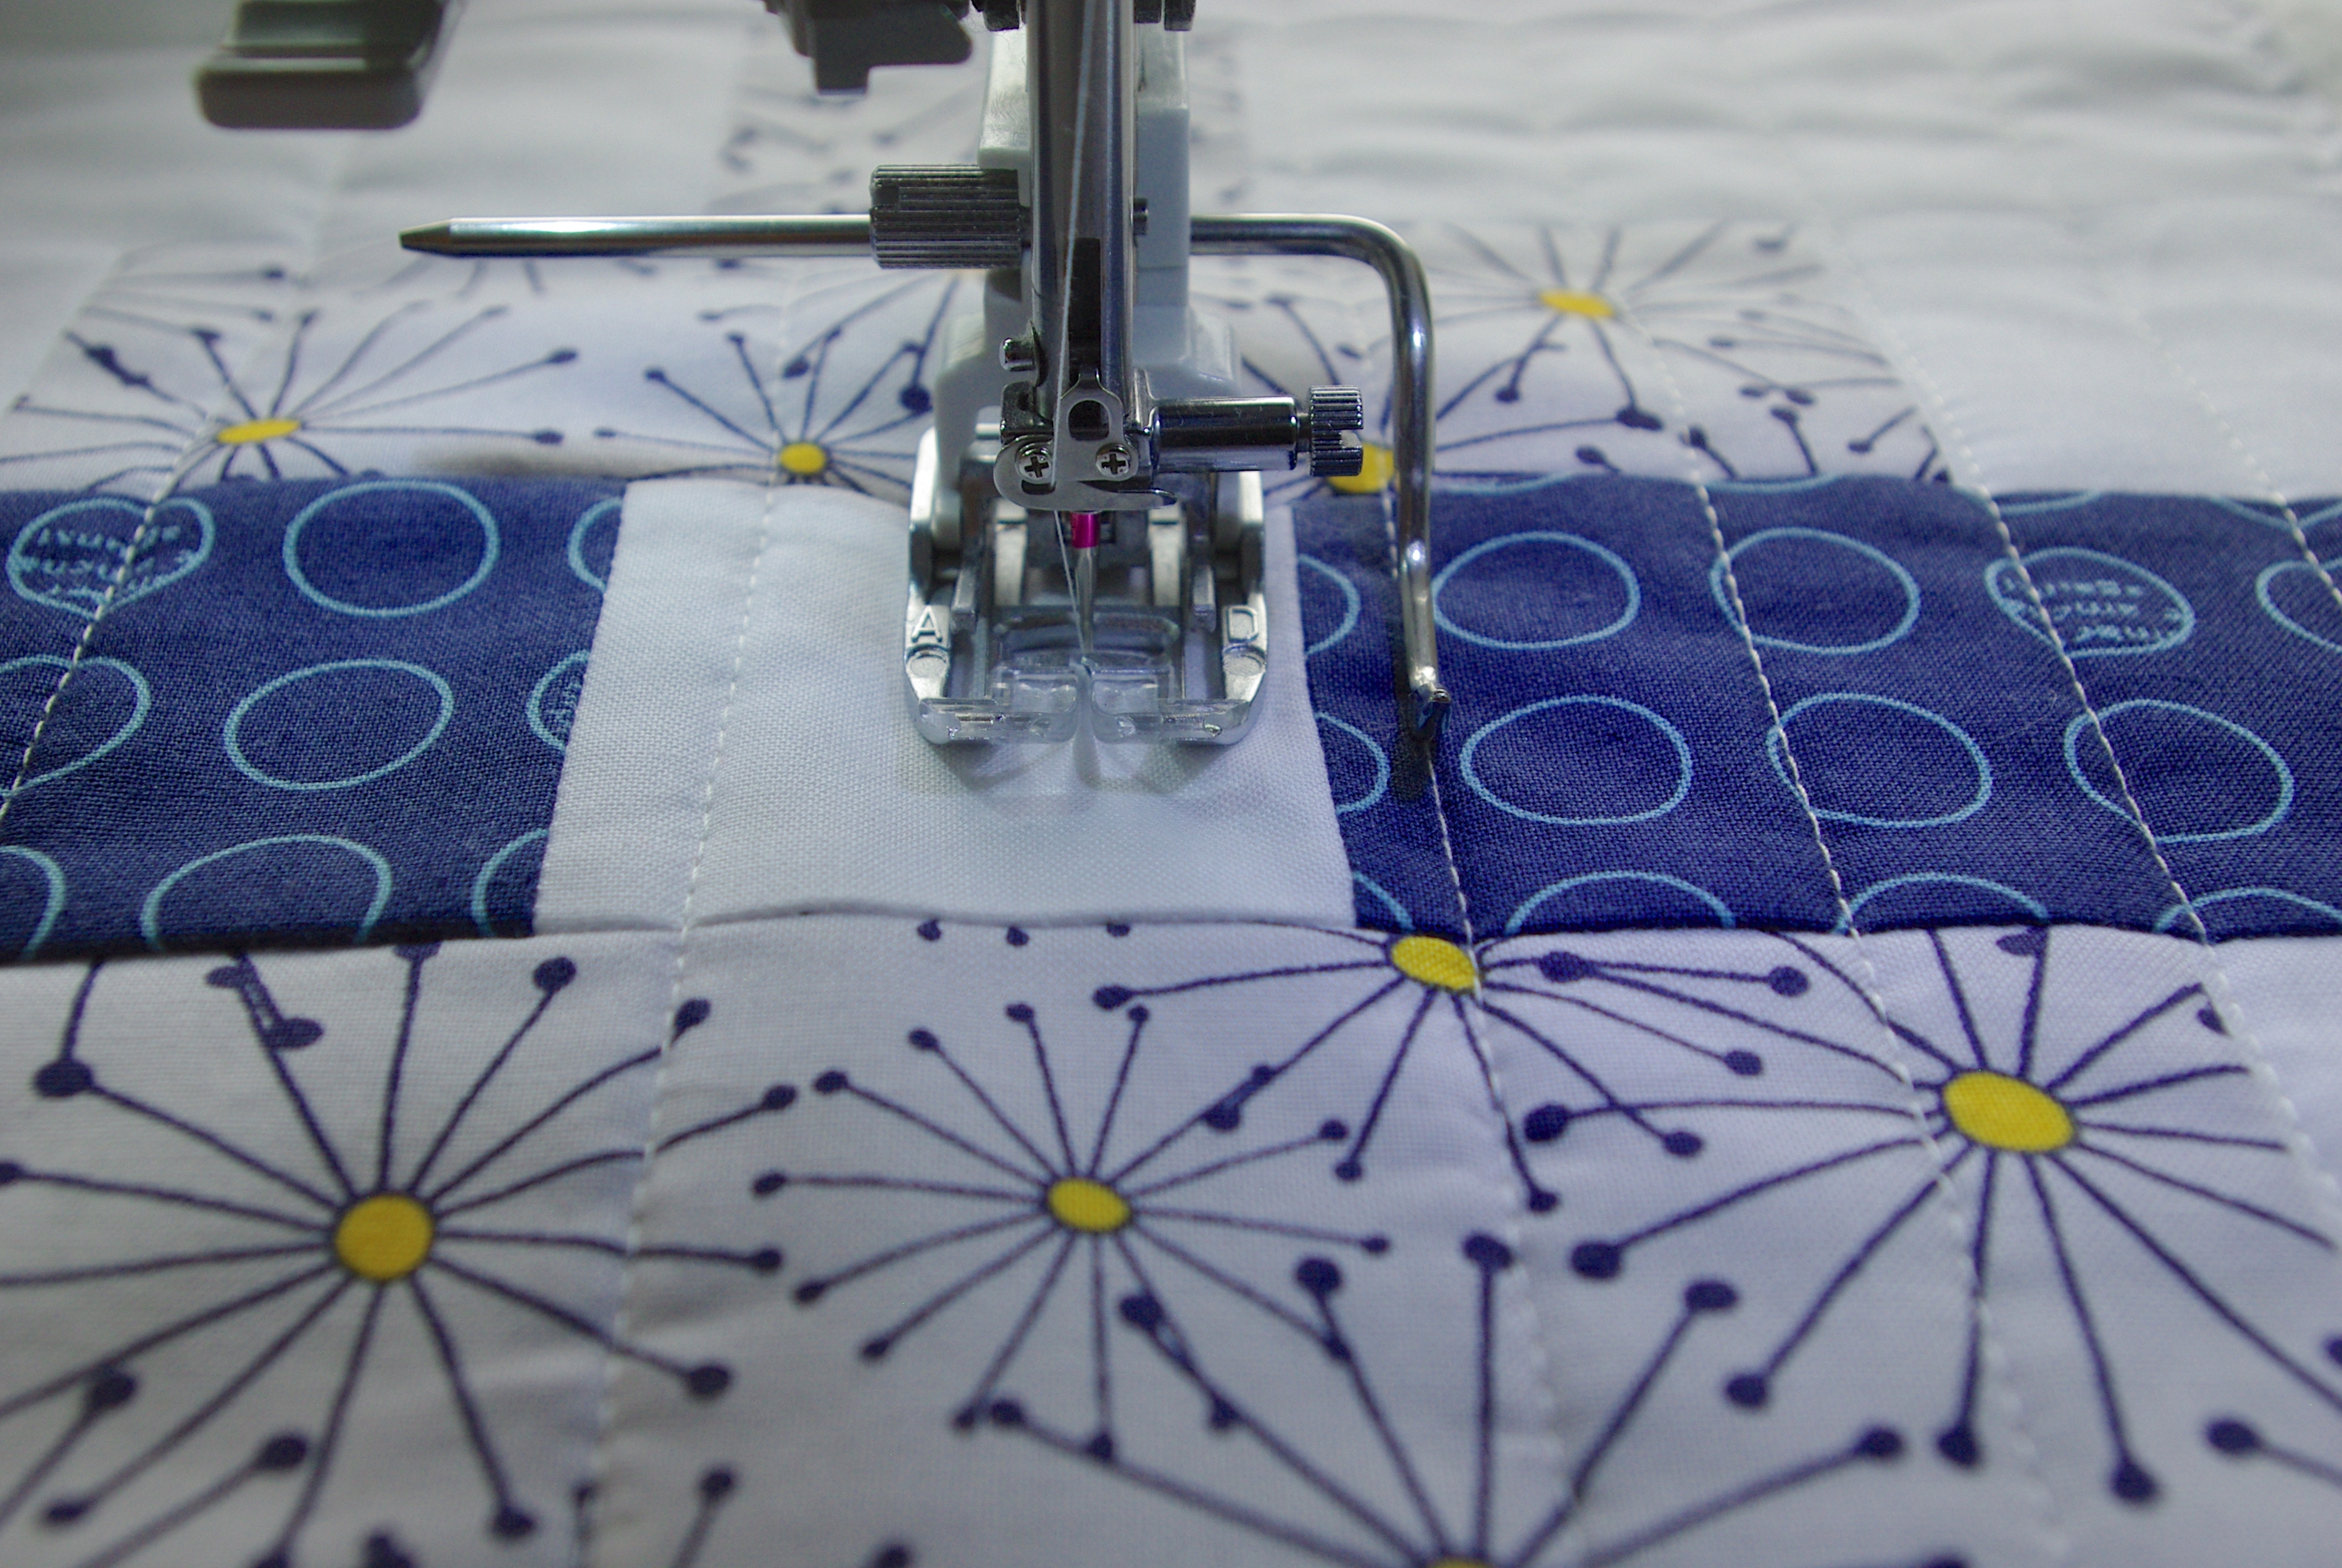
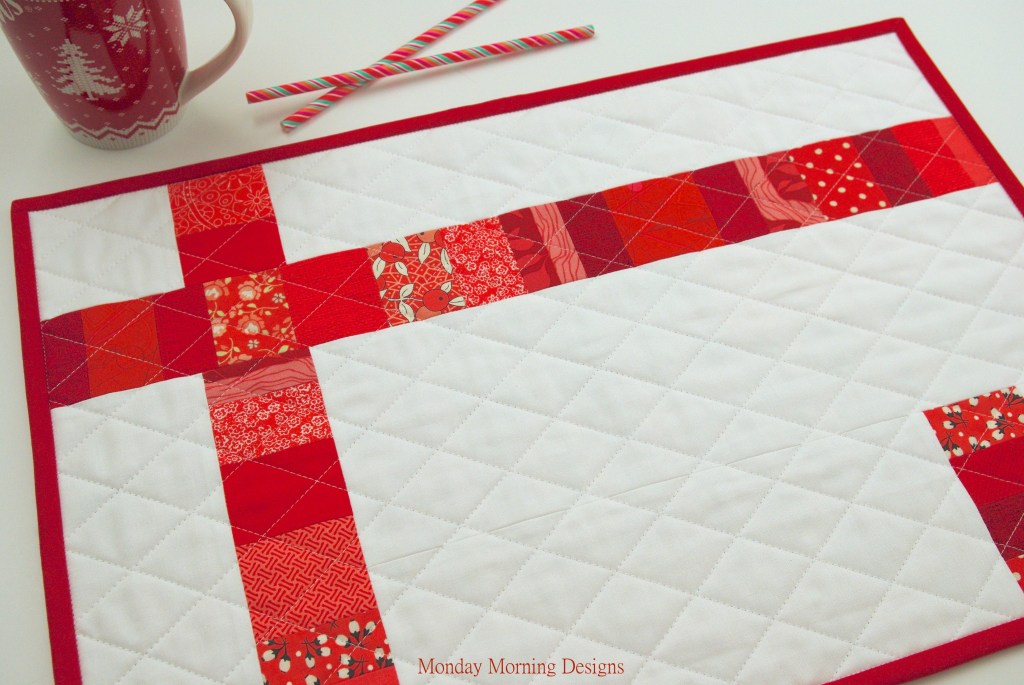
As I normally do, I had it quilted with thread that blends into the background; in this case, white. The edge-to-edge quilting motif is Becker’s Winter Wonderland by Urban Elementz.

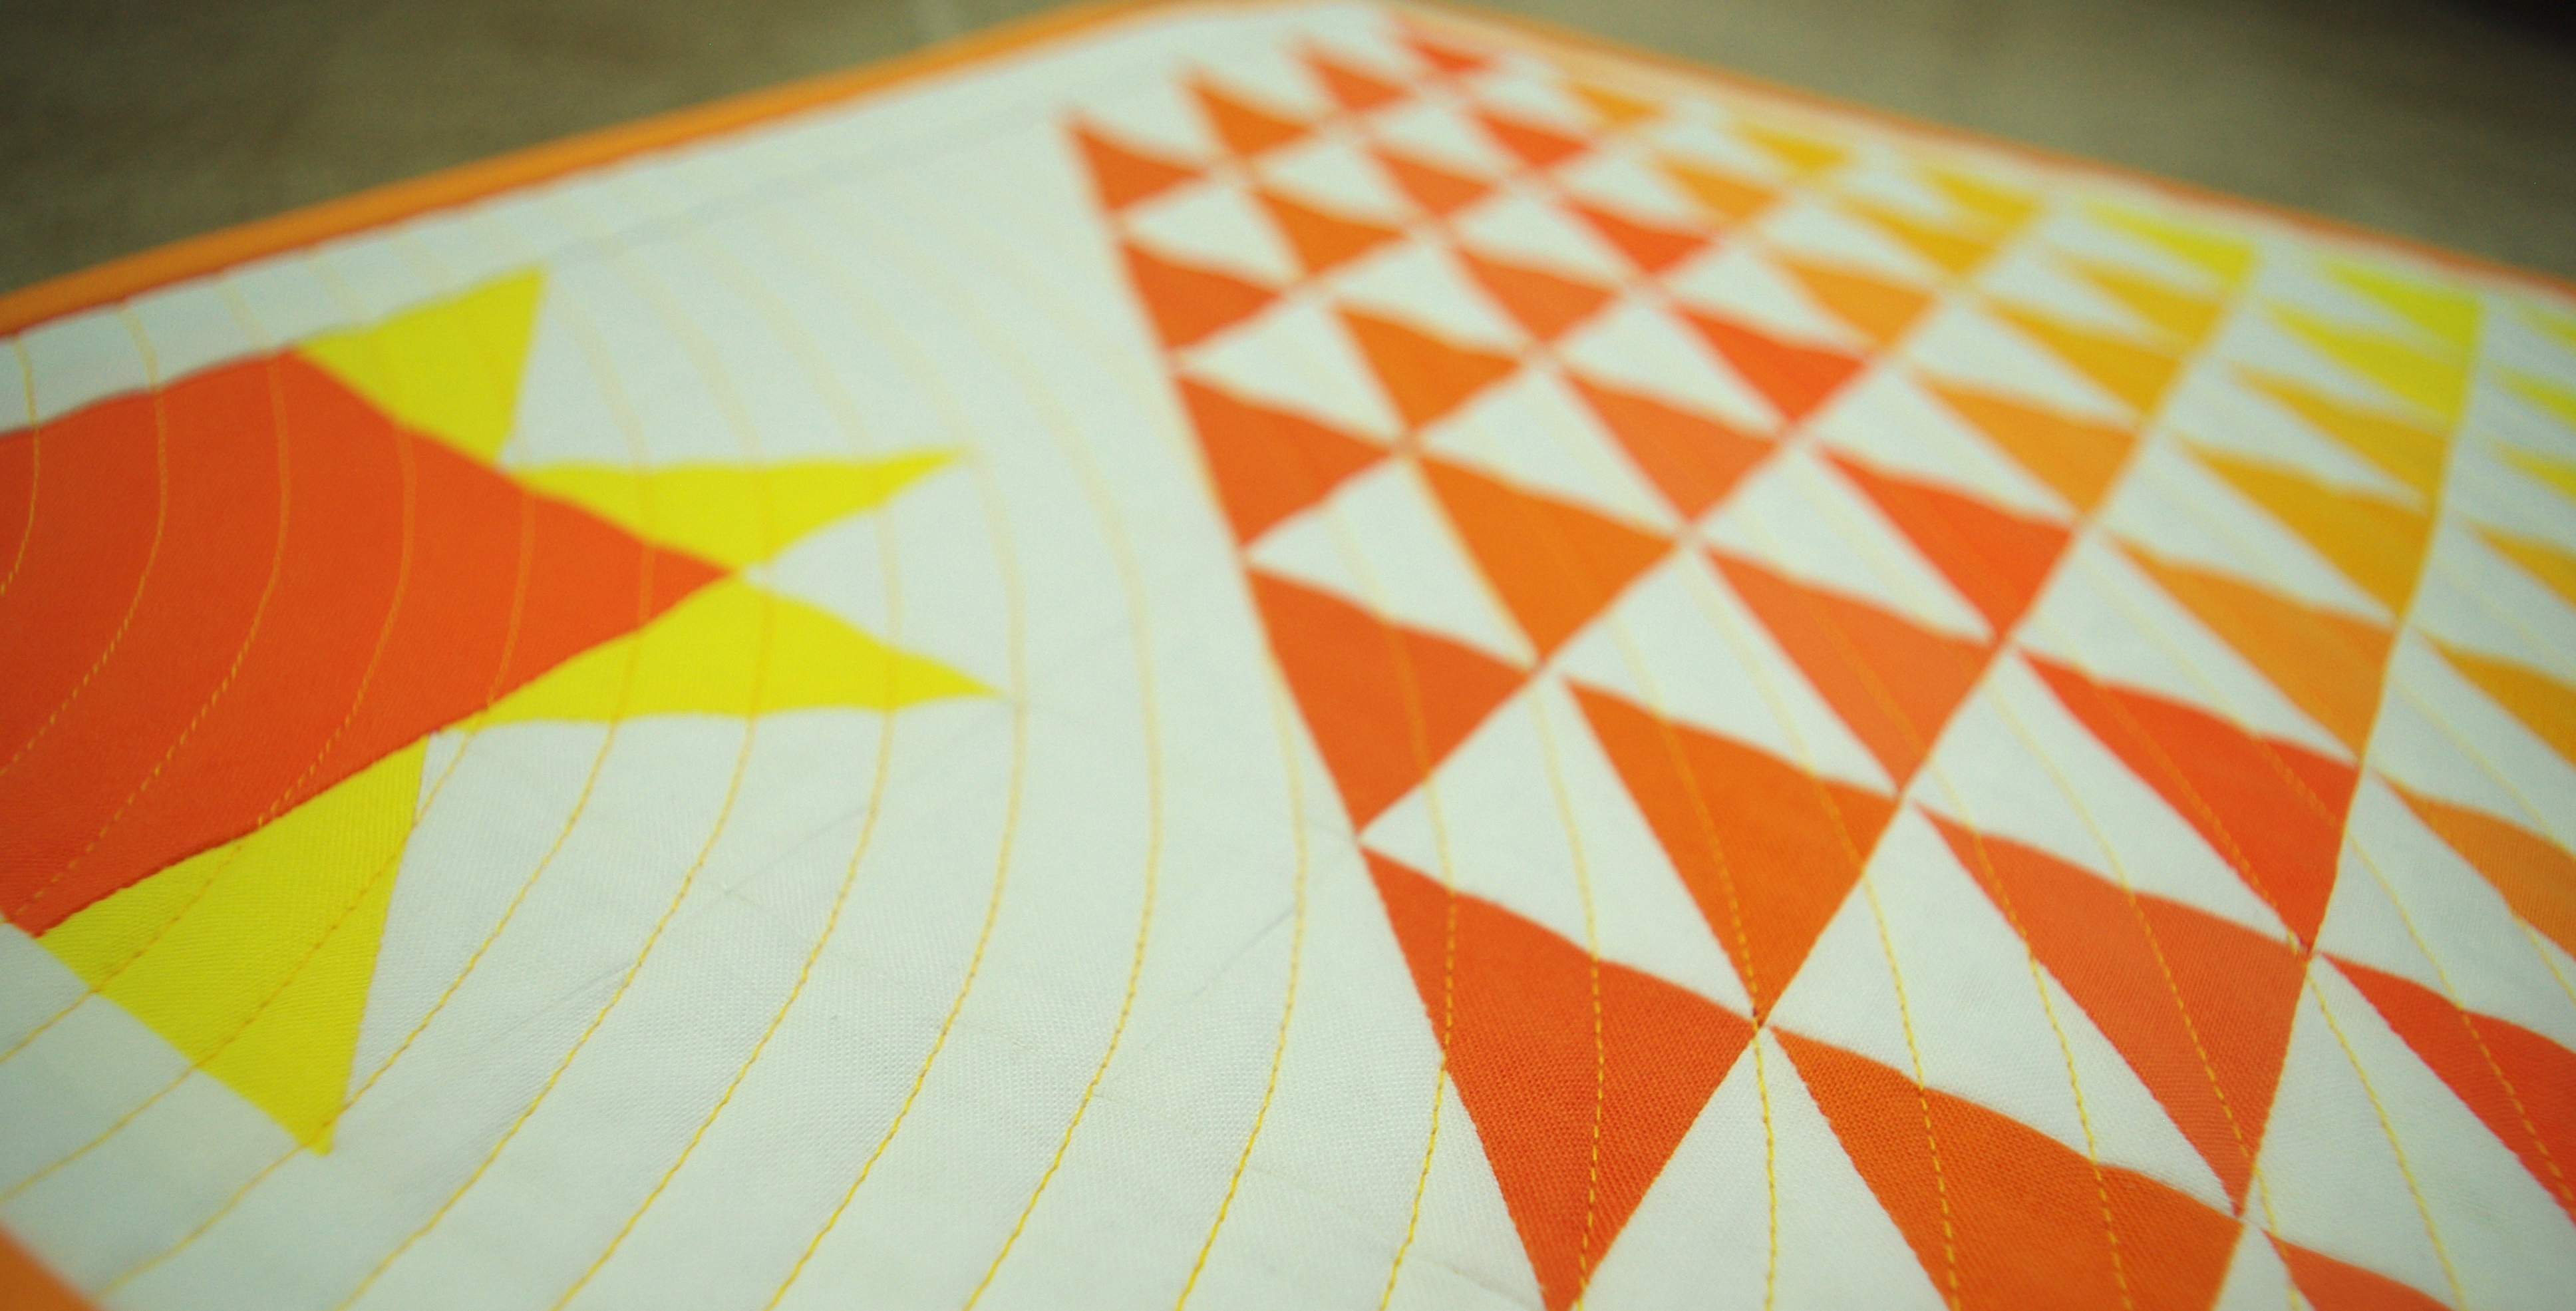
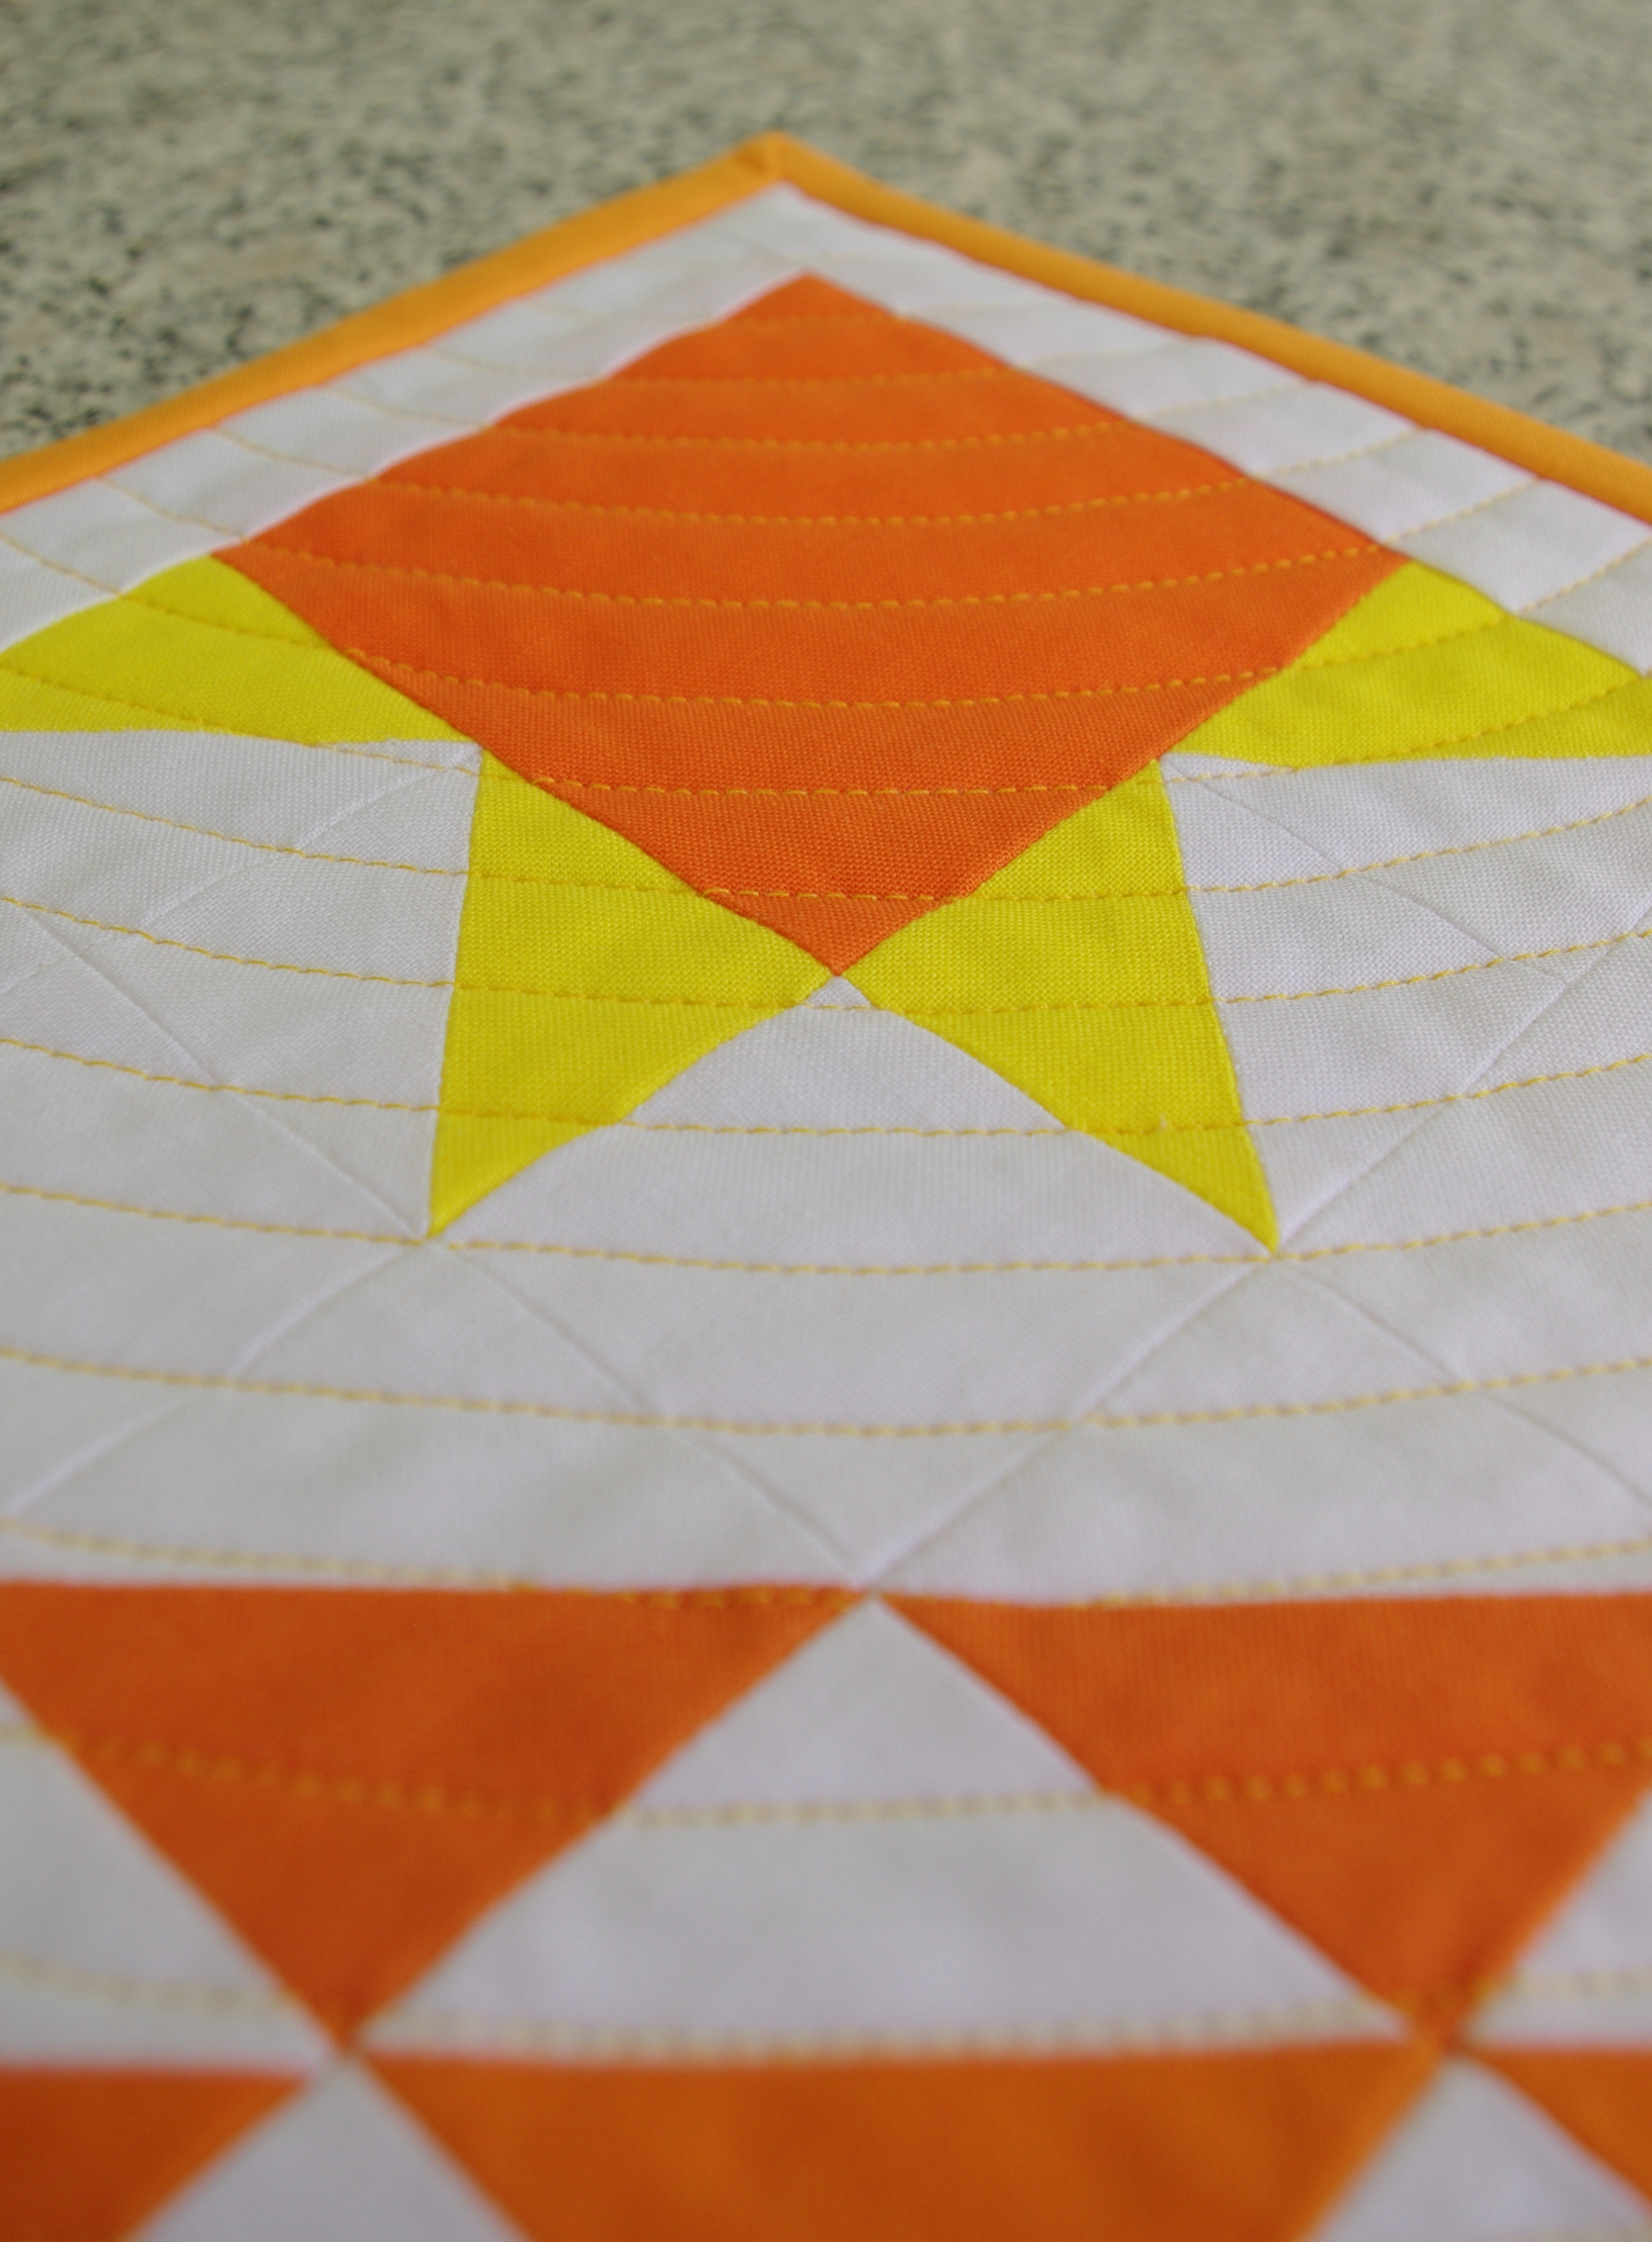
The snowflakes are really detailed and are perfect for this treed pattern. I especially like how they are ‘correct’ snowflakes, having 6 points. I see a lot of 8 pointed snowflakes out there, but, ummm, they’re not right! And I’m speaking from decades of living in a snowbelt region. 😉
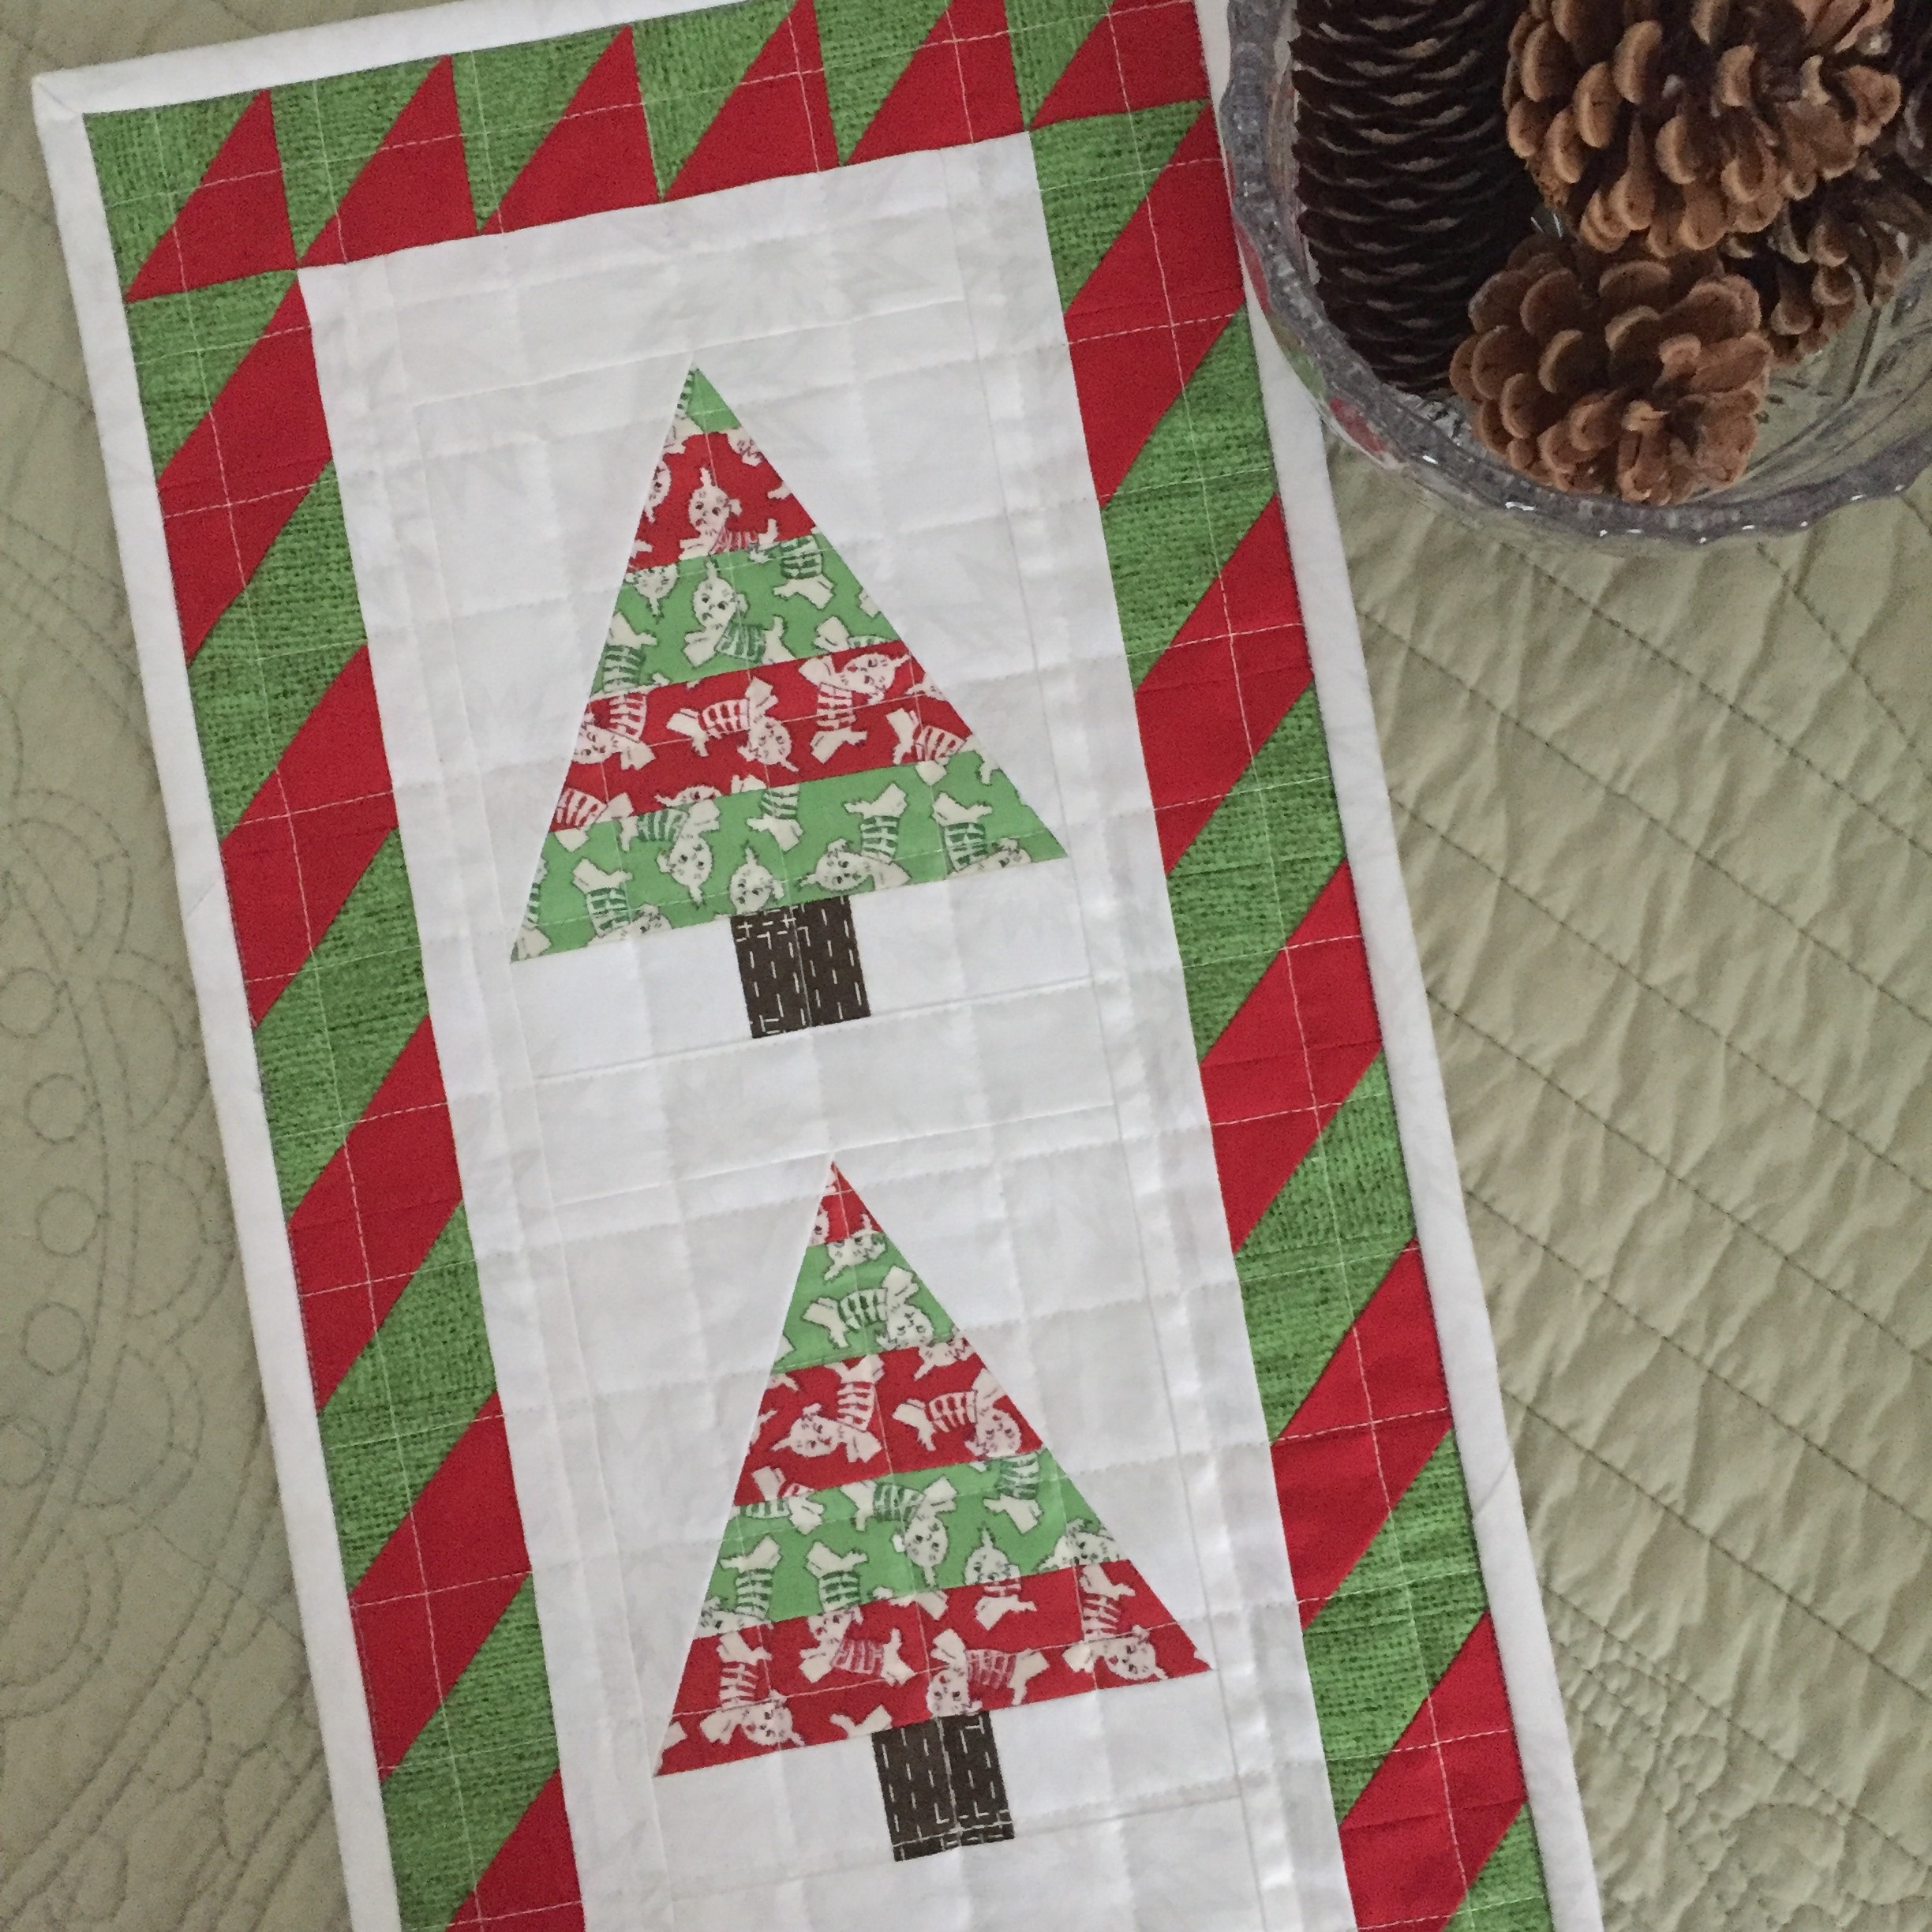
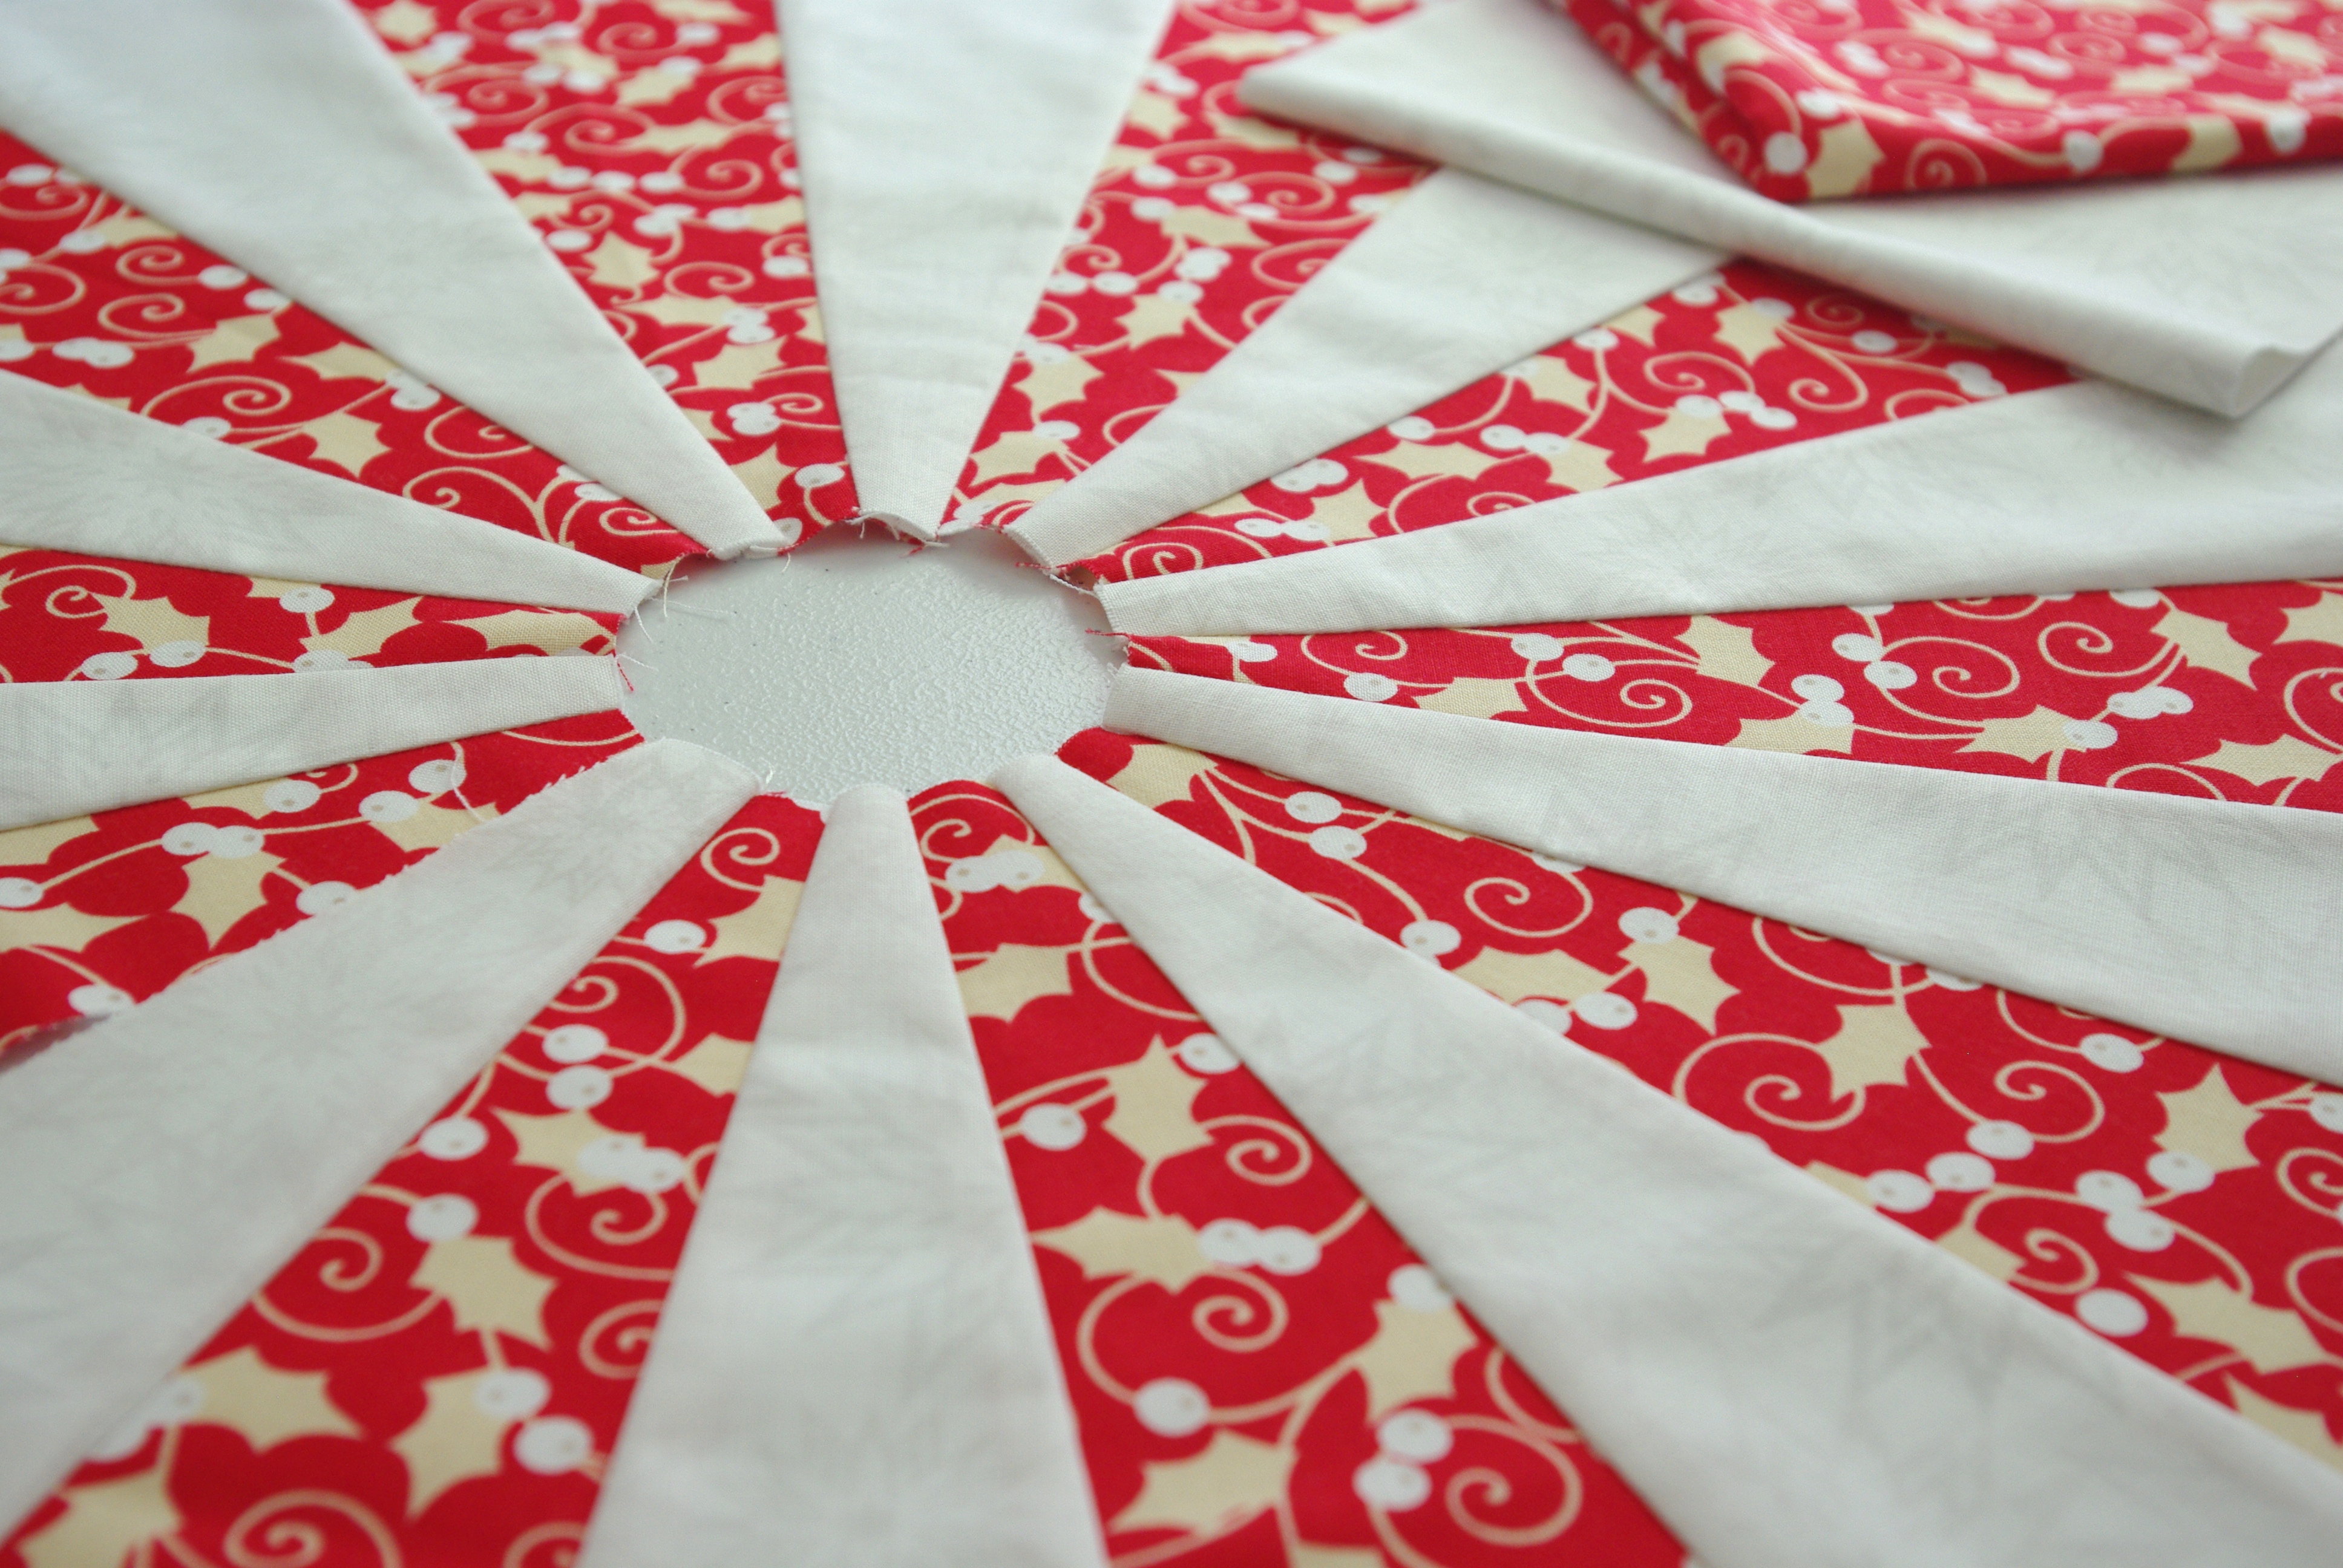
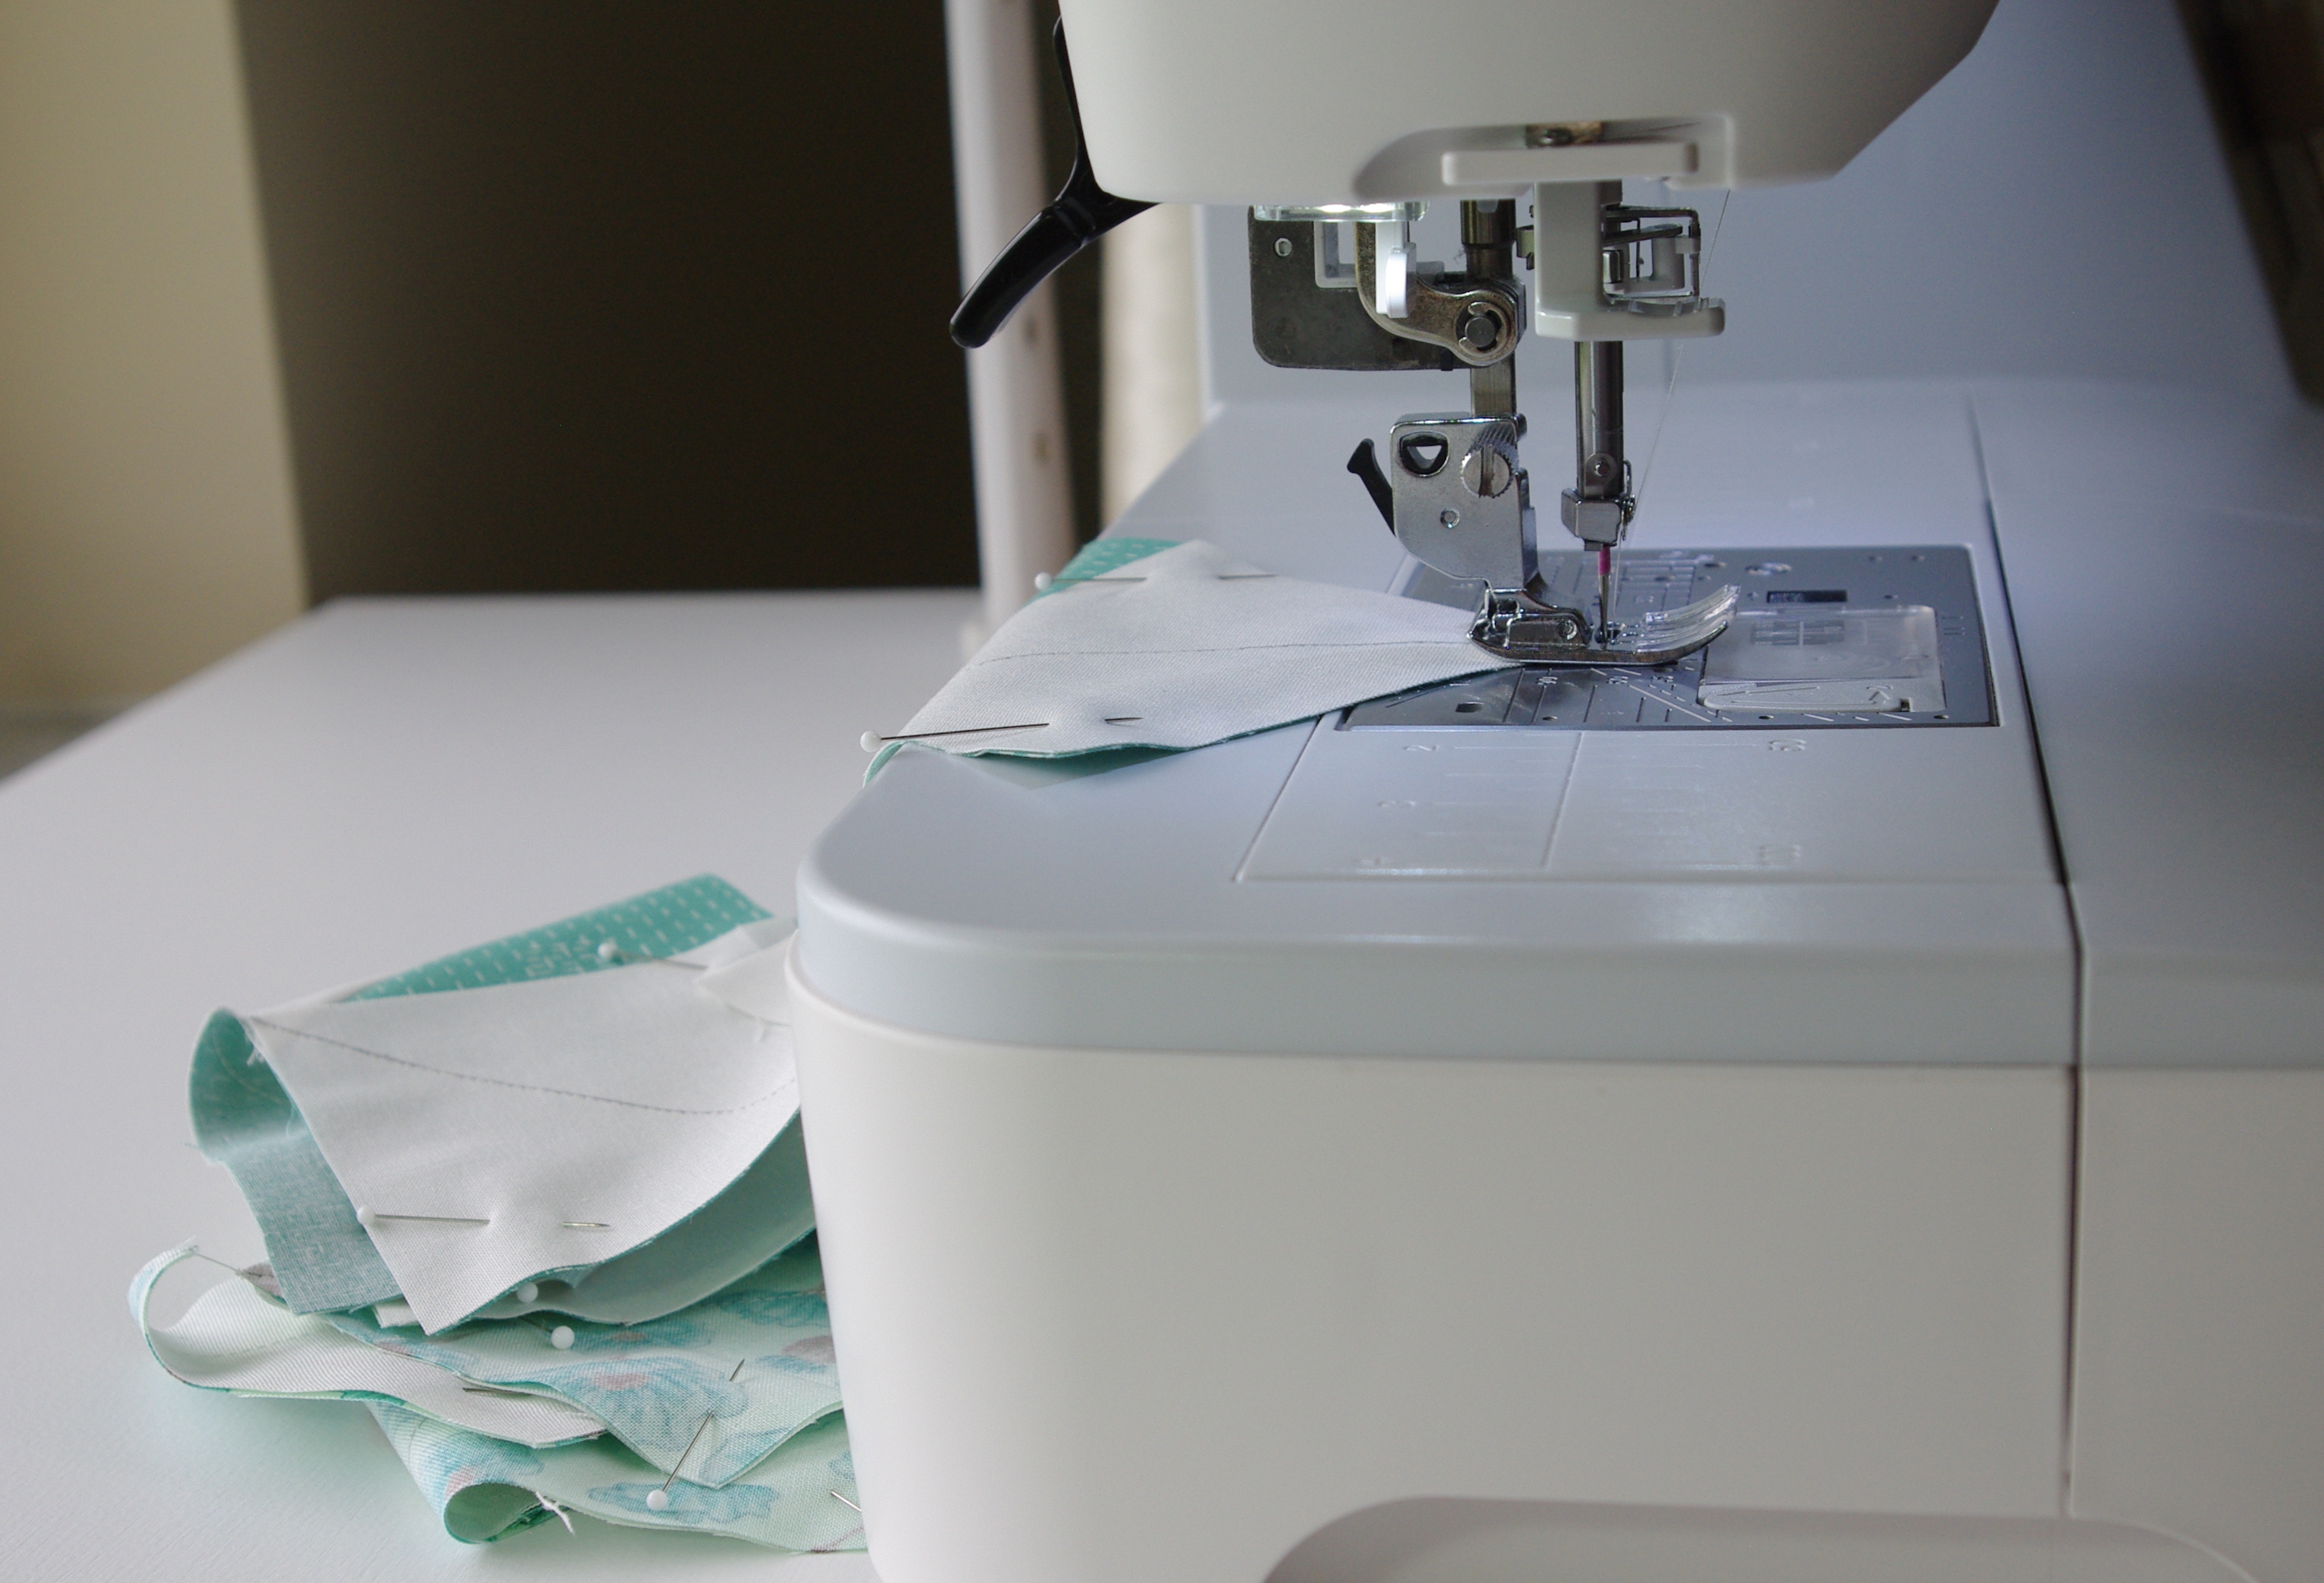
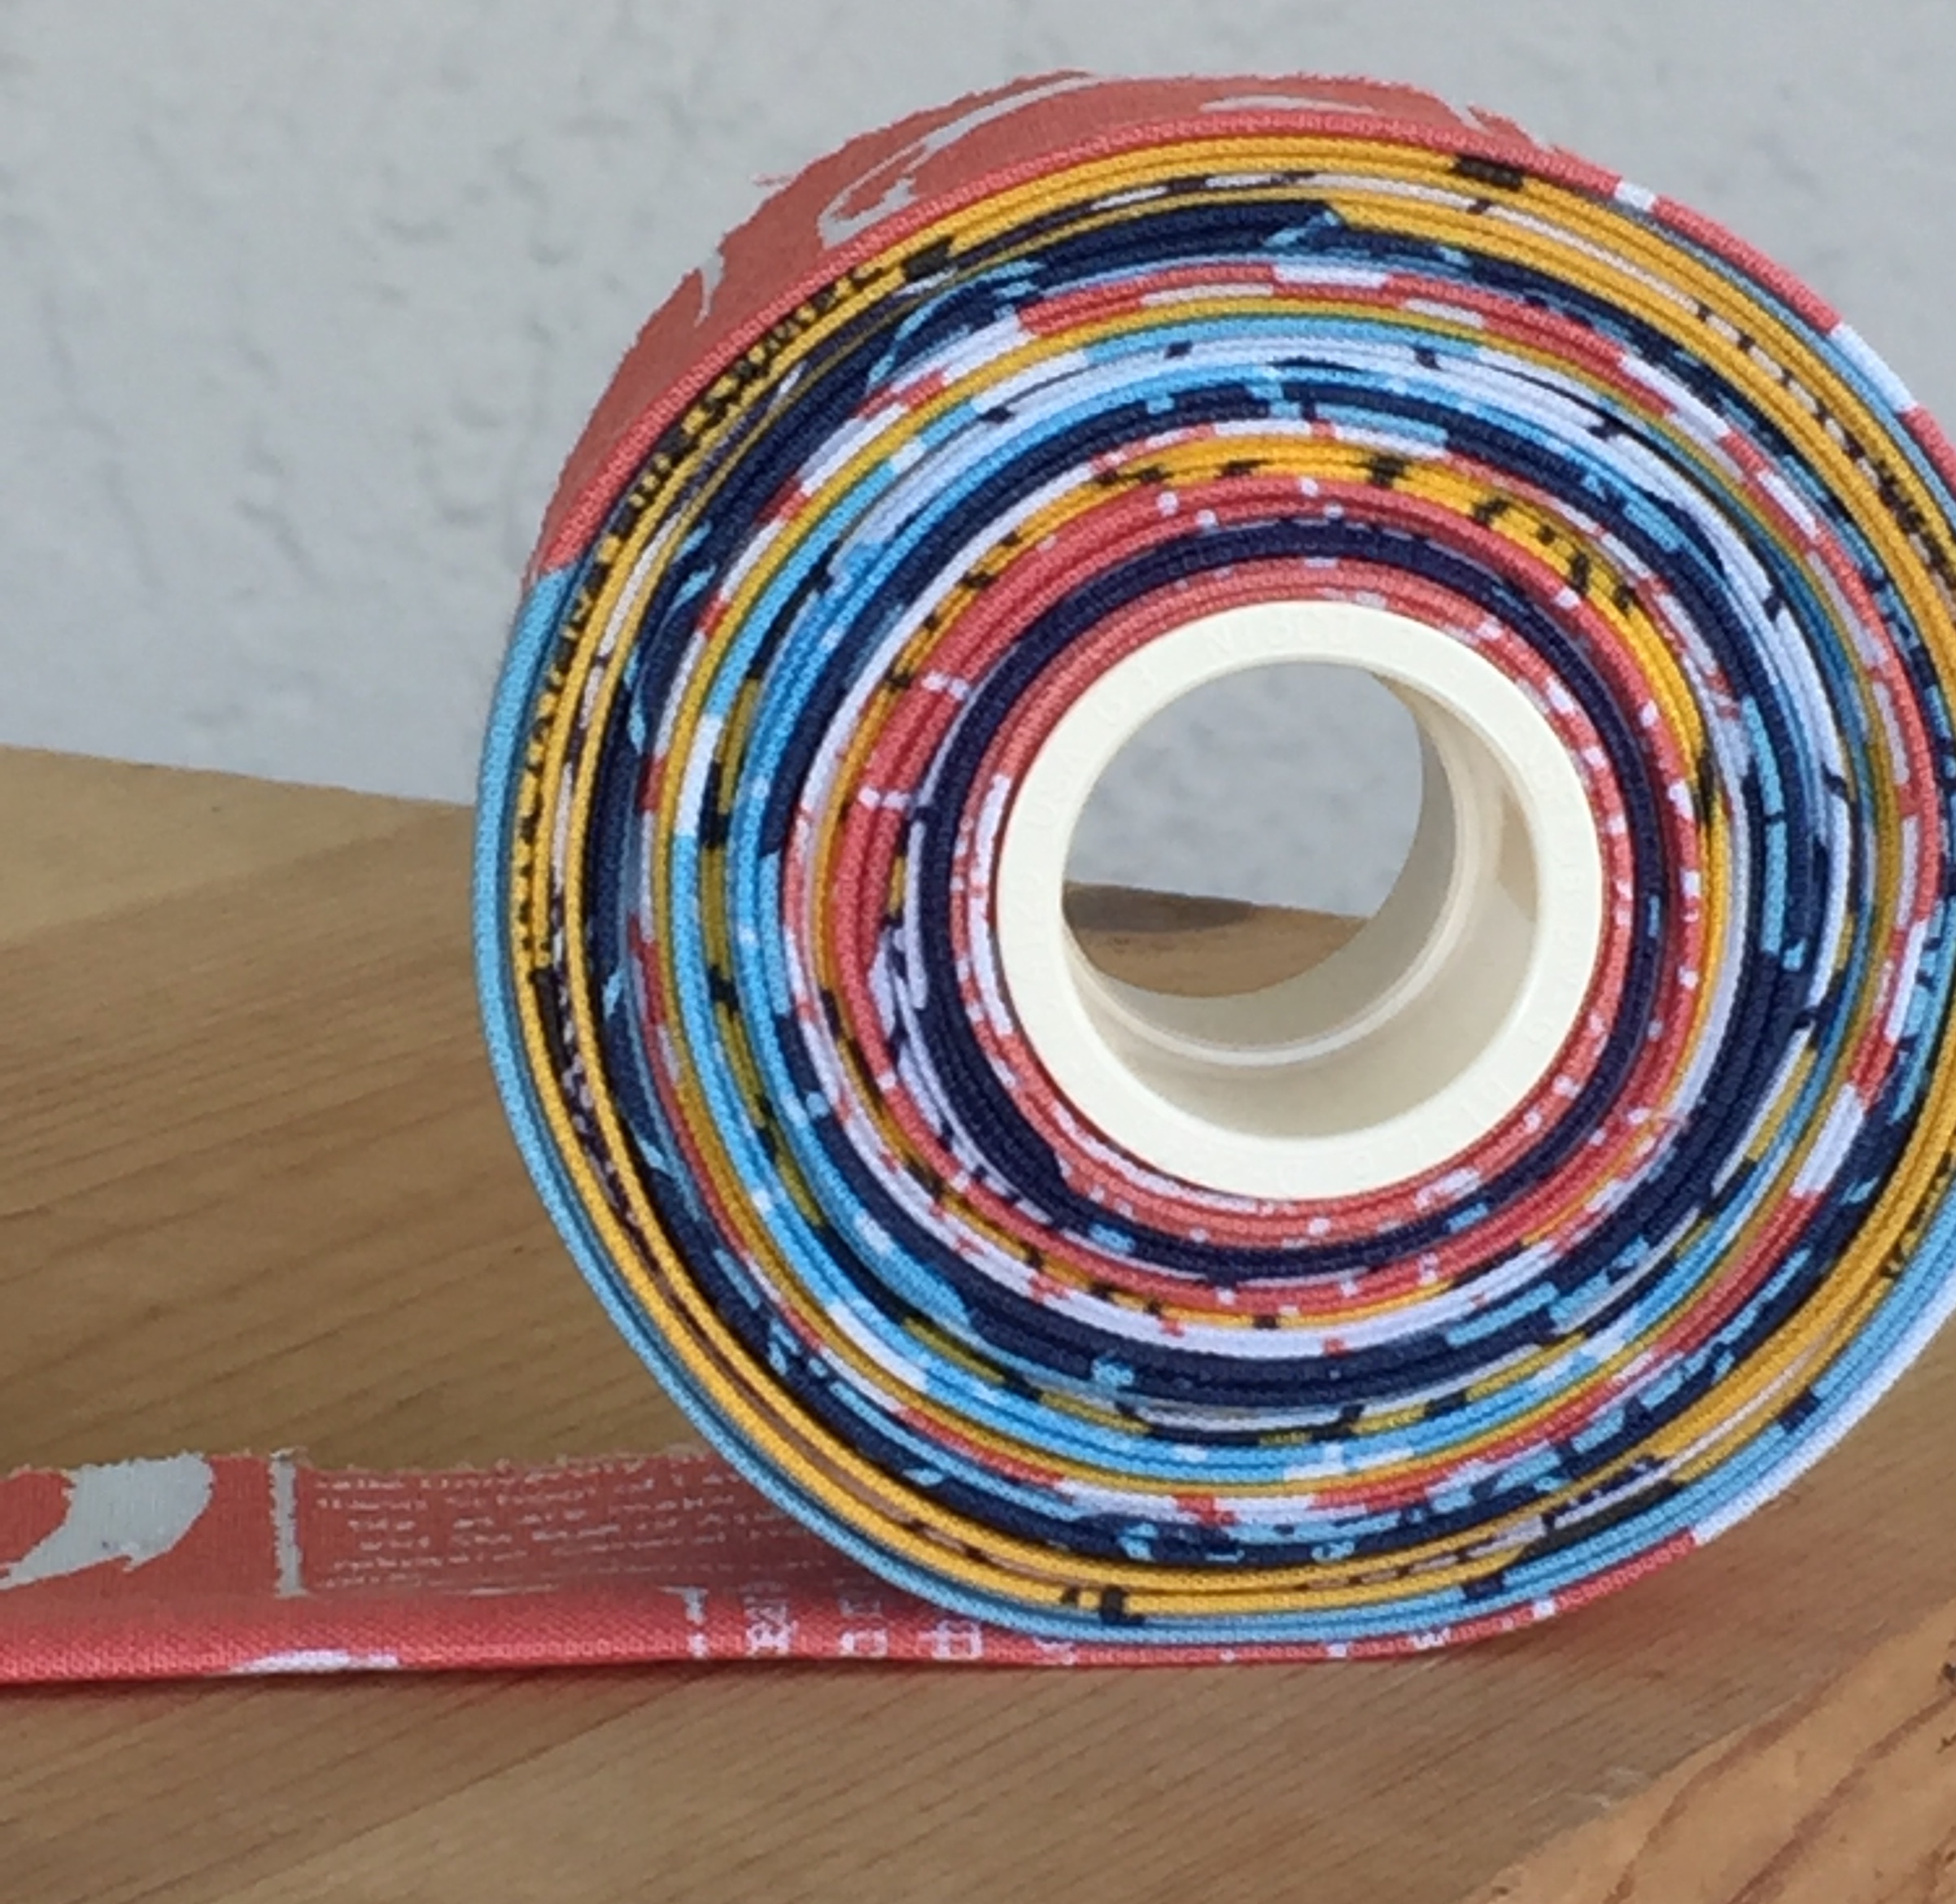
Because this pattern is designed for 2 1/2″ strips, I used strips from the jelly roll for the binding. It’s a nice transition from print to print, which coordinates well with the stripey trees.
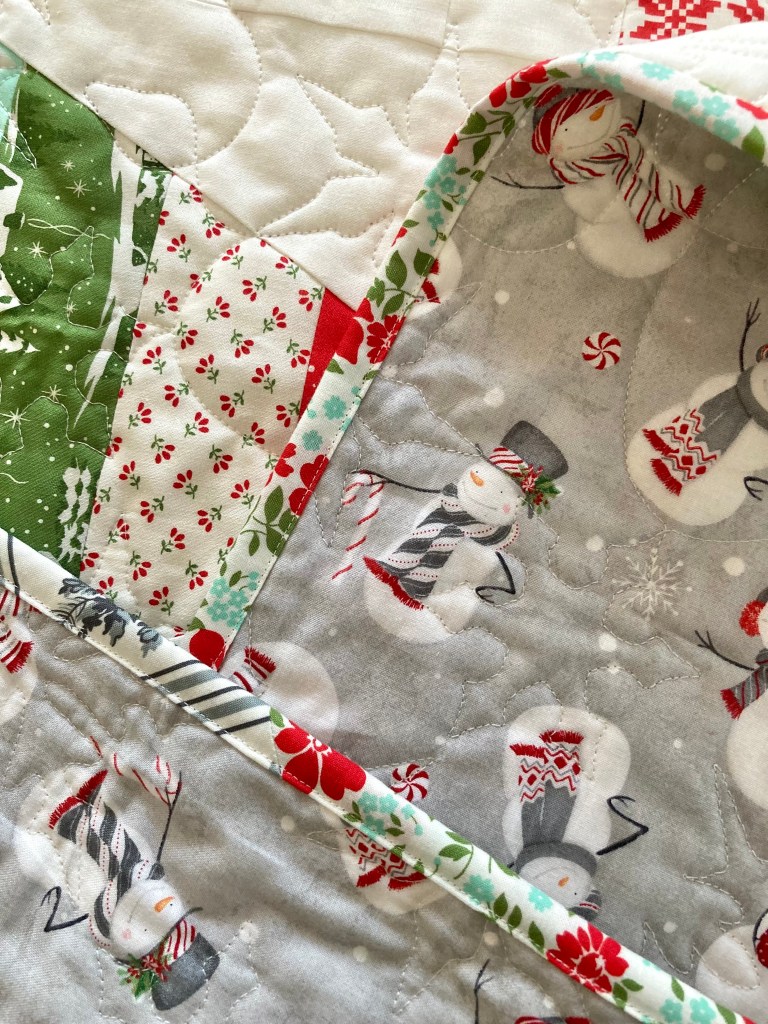
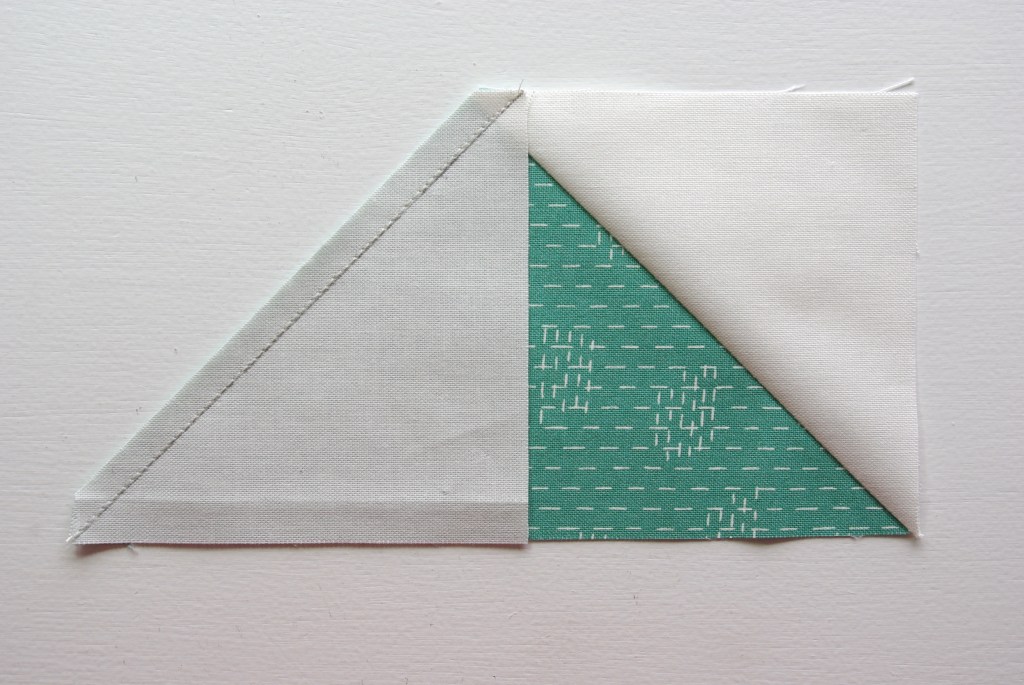
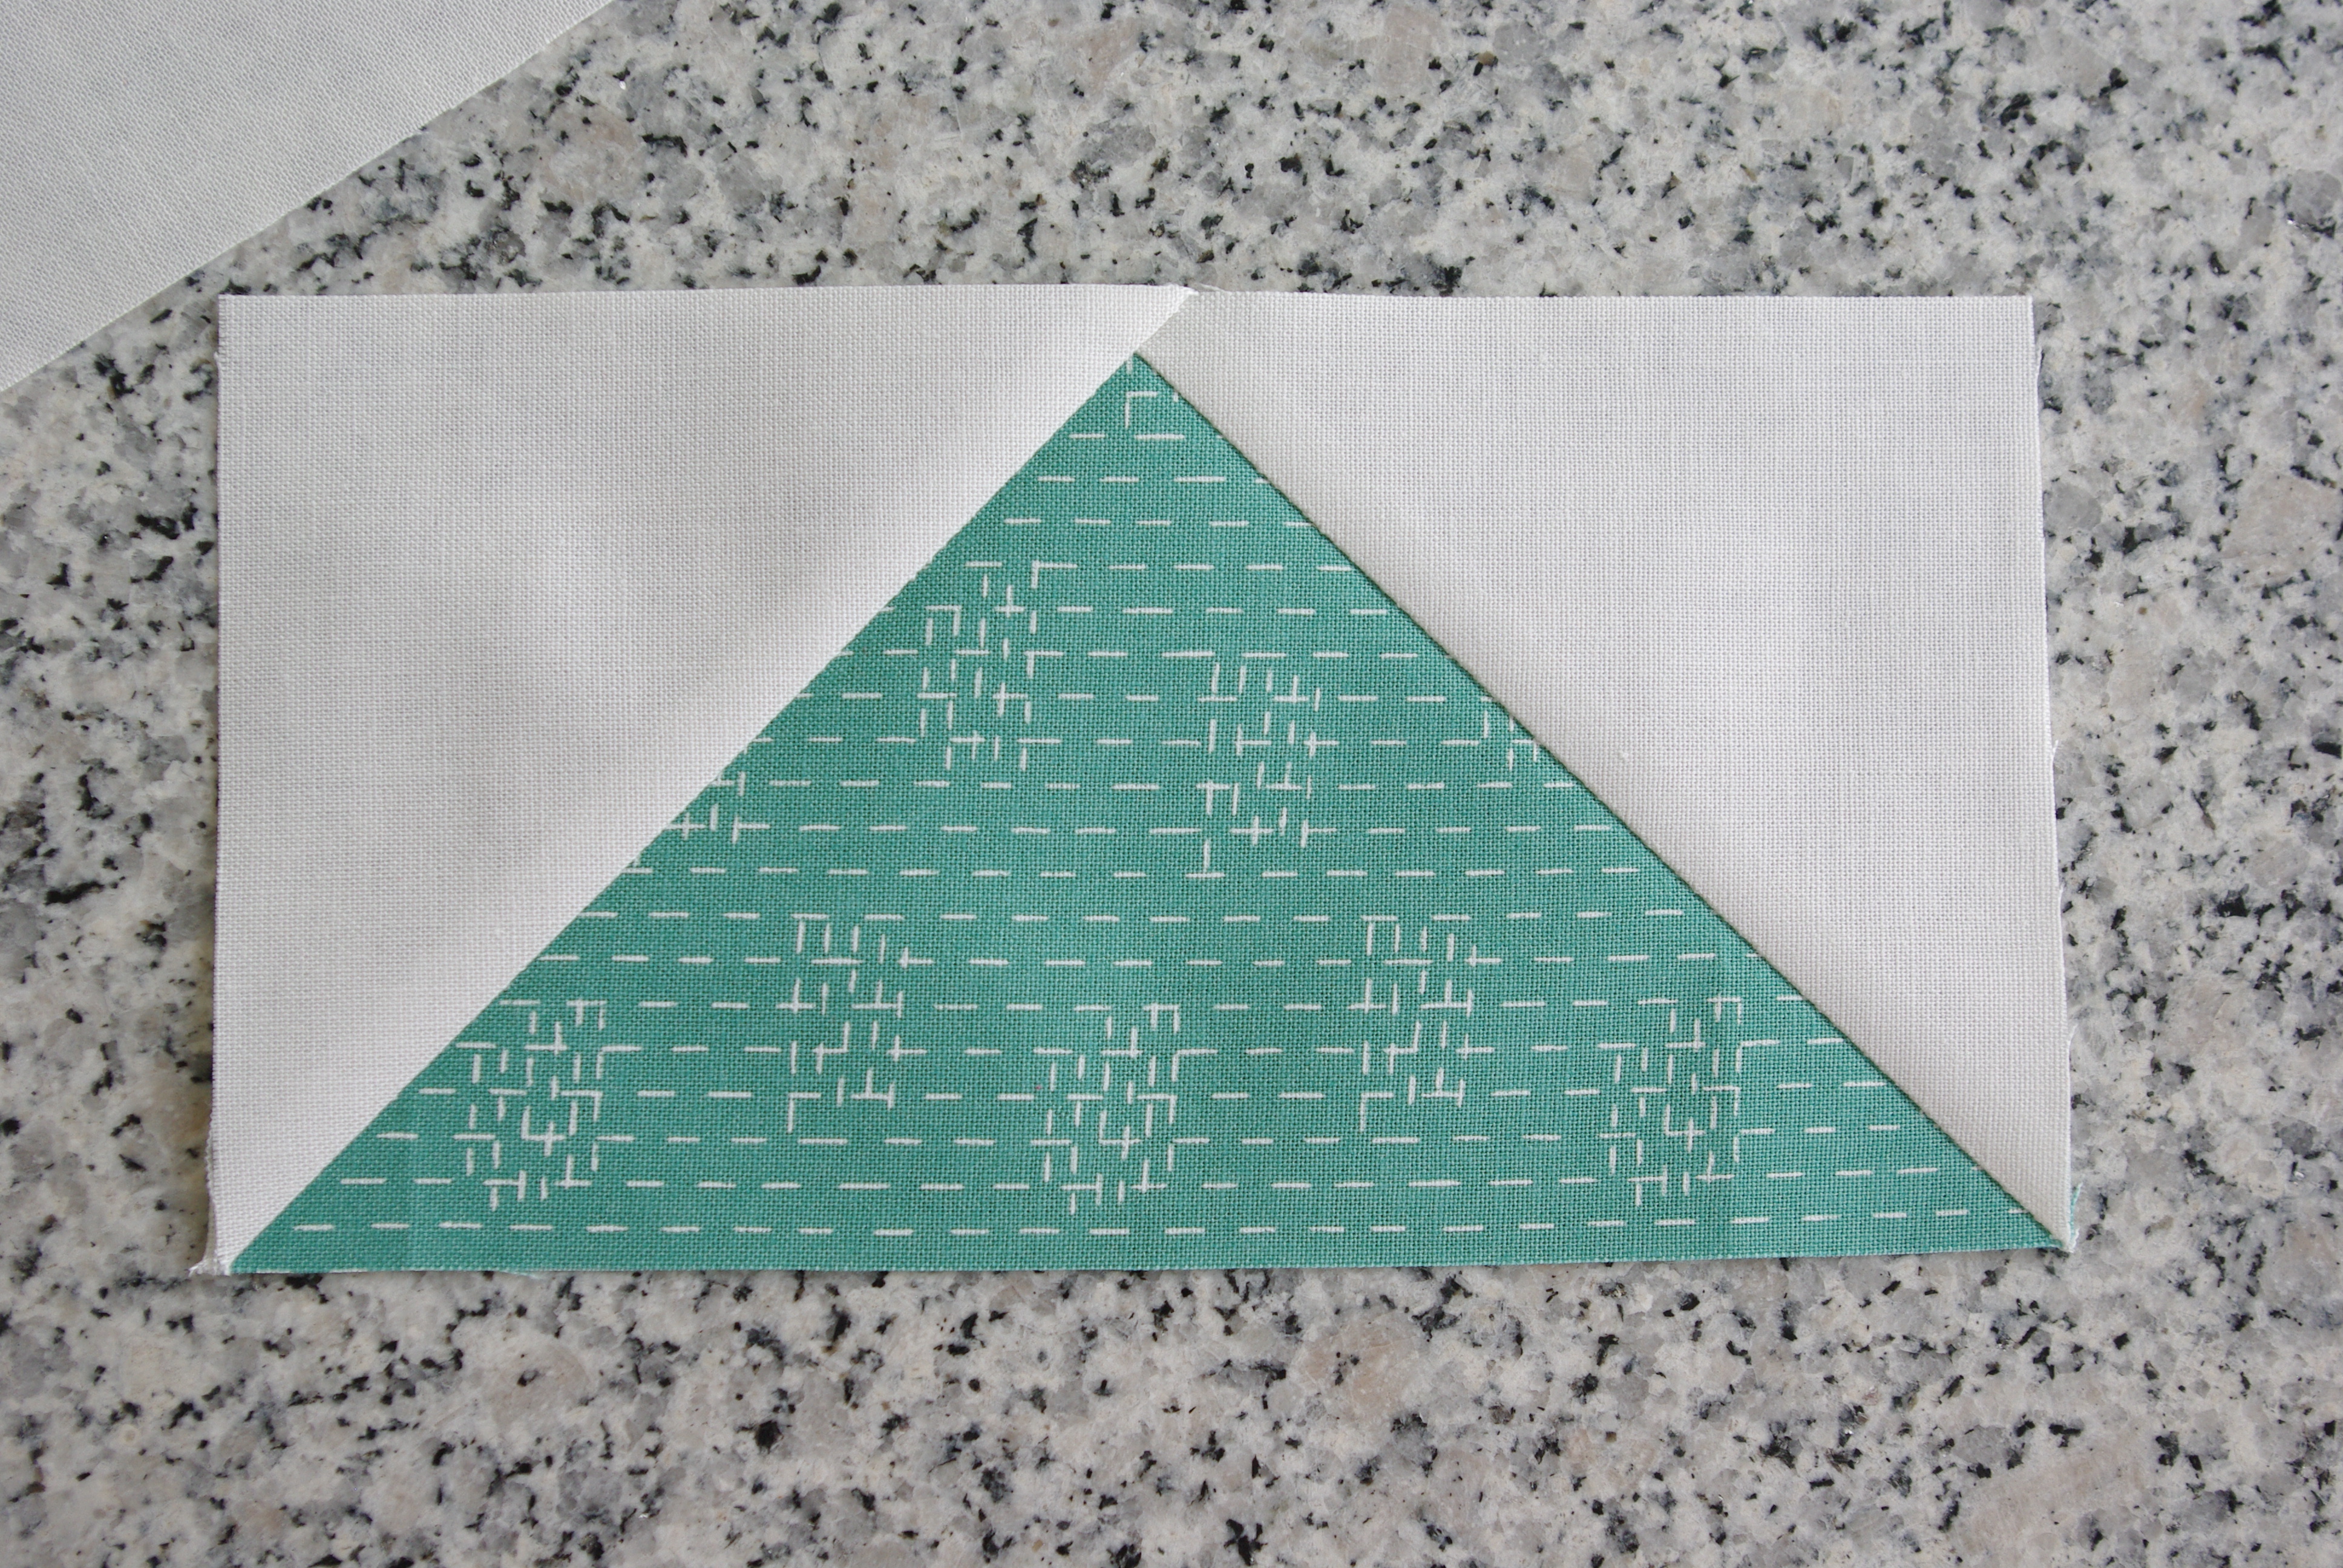
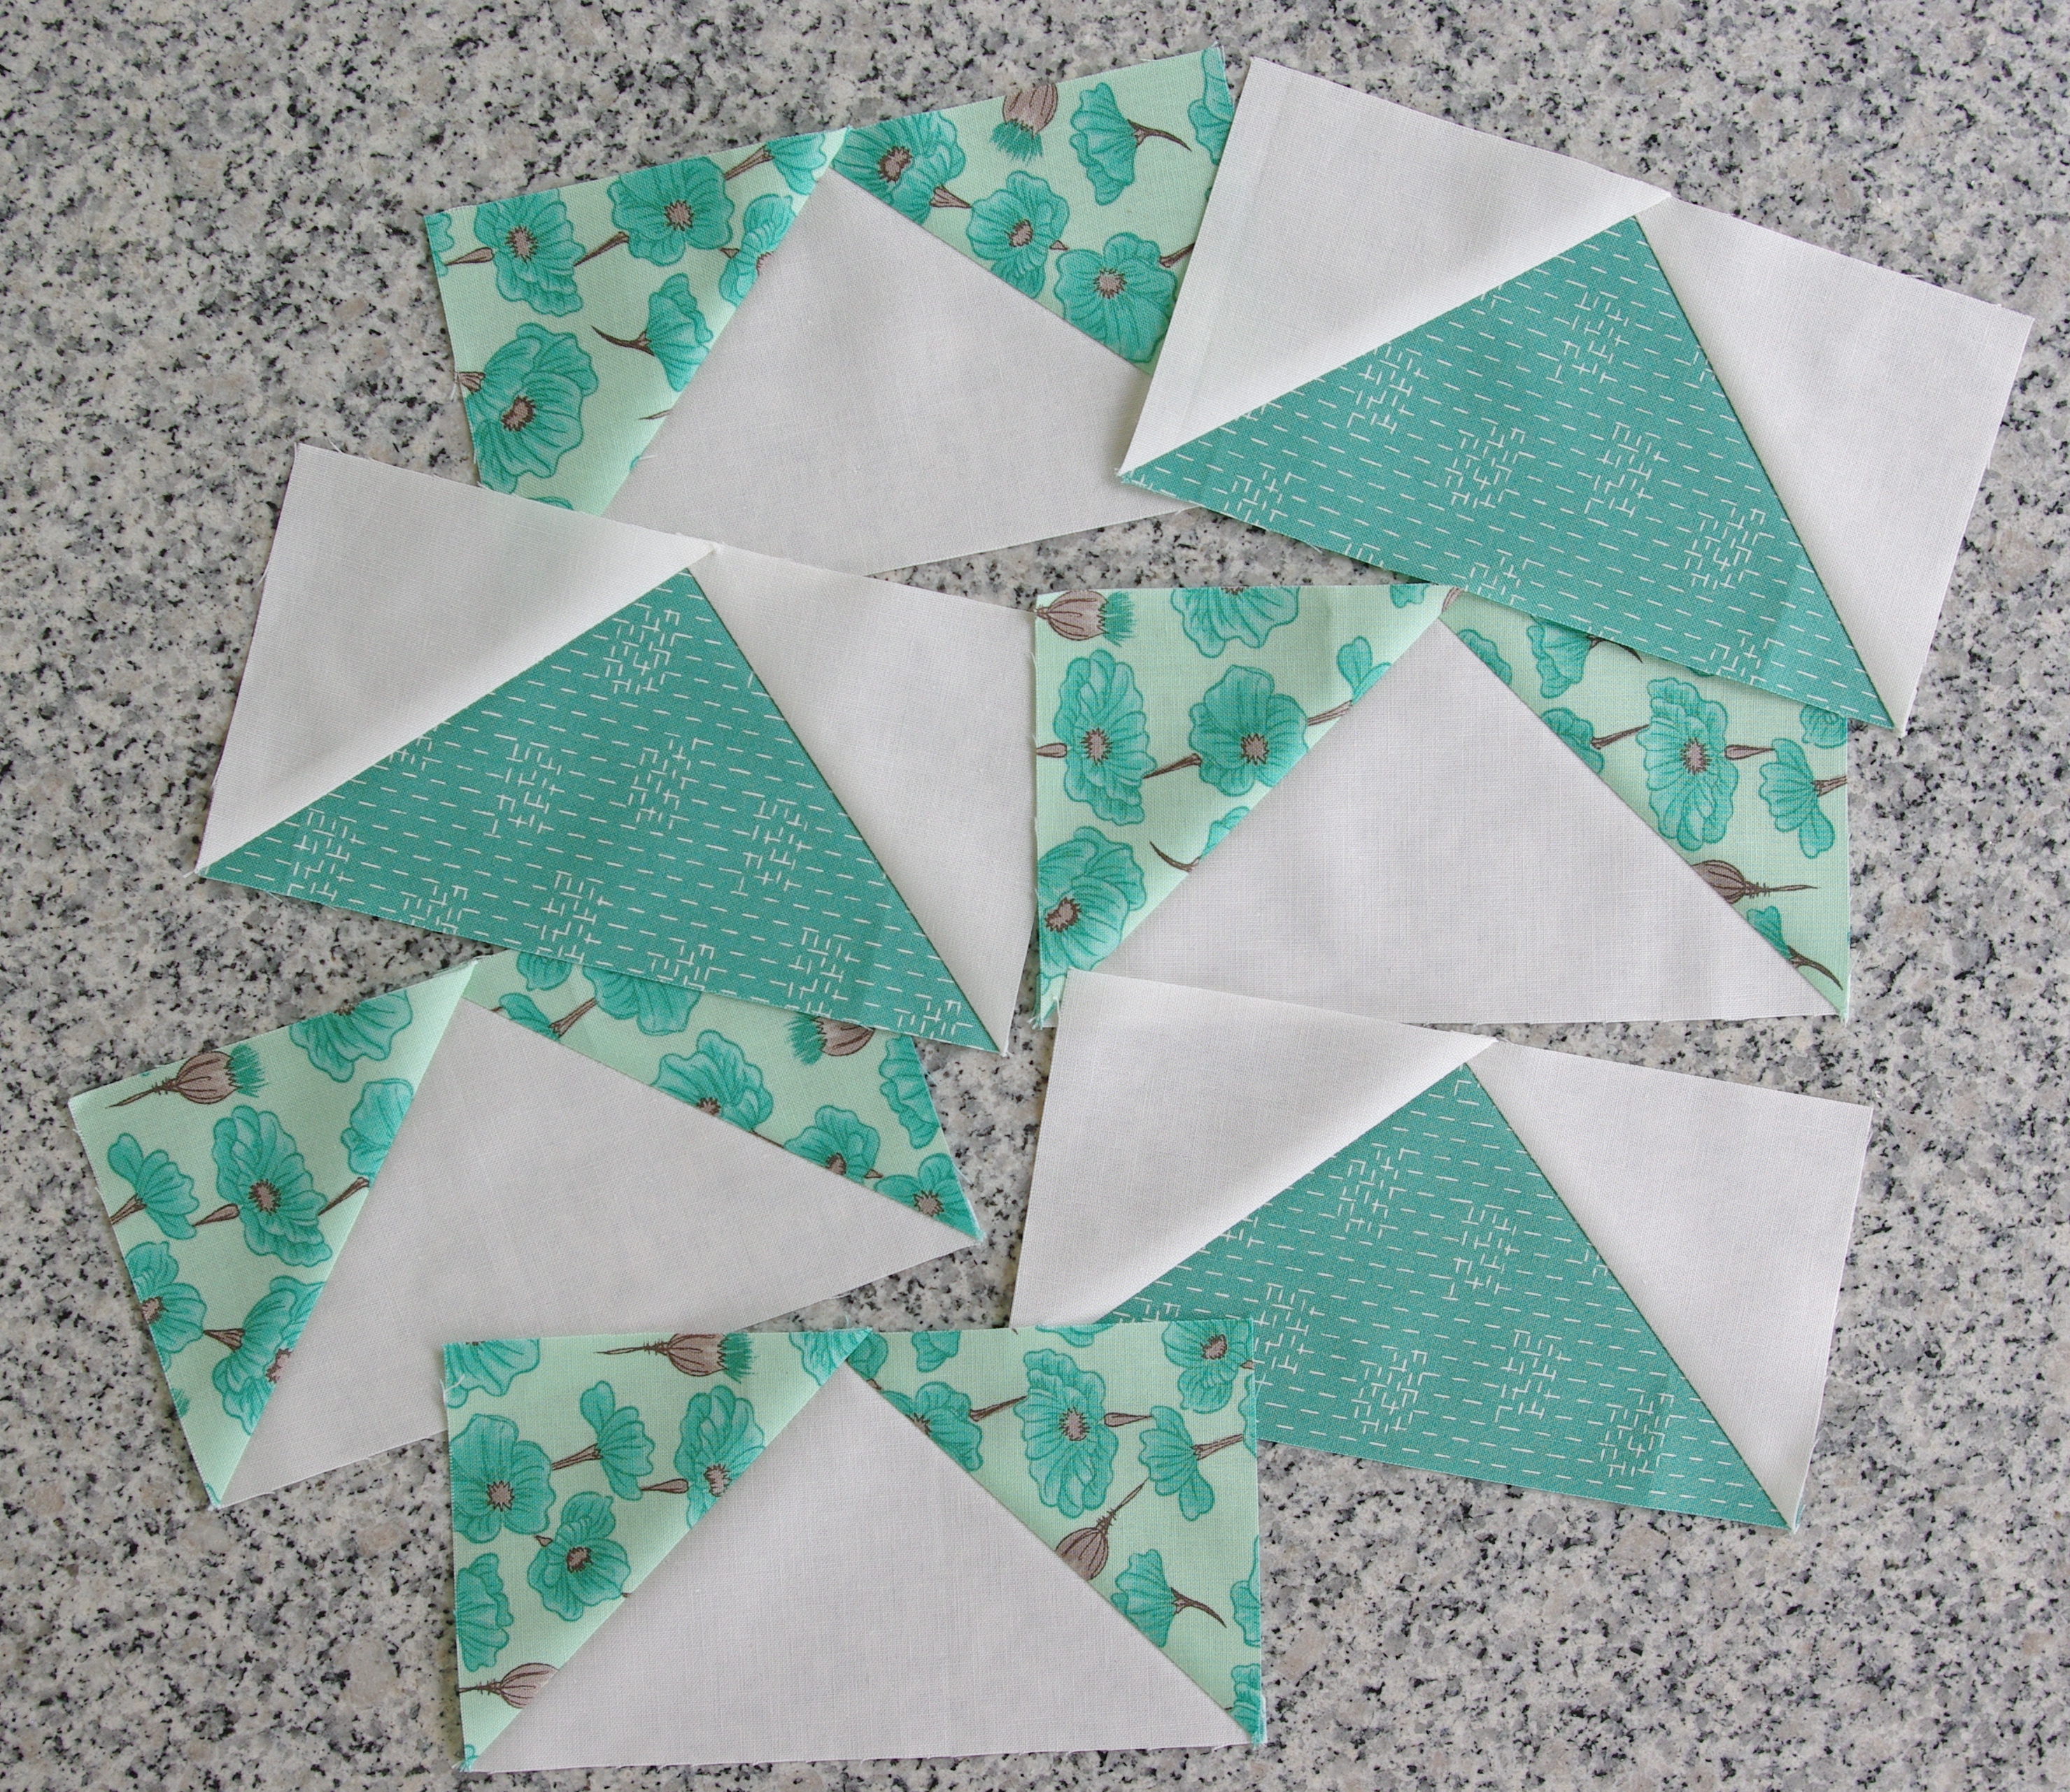
The backing is a really fun print called Frosty Merry Mints by Wilmington Prints. I just love these snowman gents! The quilt top fabrics are Bella Solid White and Moda’s Merry Little Christmas by Bonnie and Camille.
Winter Woodlands is a one size throw quilt pattern and is great for the confident beginner quilter. And in celebration of my finish, I’m offering the pattern 20% off for the entire week.
It honestly doesn’t take too long to make as it’s a cozy size (55″ x 60 ½”) and it’s an excellent choice for the holidays and chilly winter nights!