home decor, modern quilts, quilt blocks, Uncategorized

Mitered Borders on Pillows

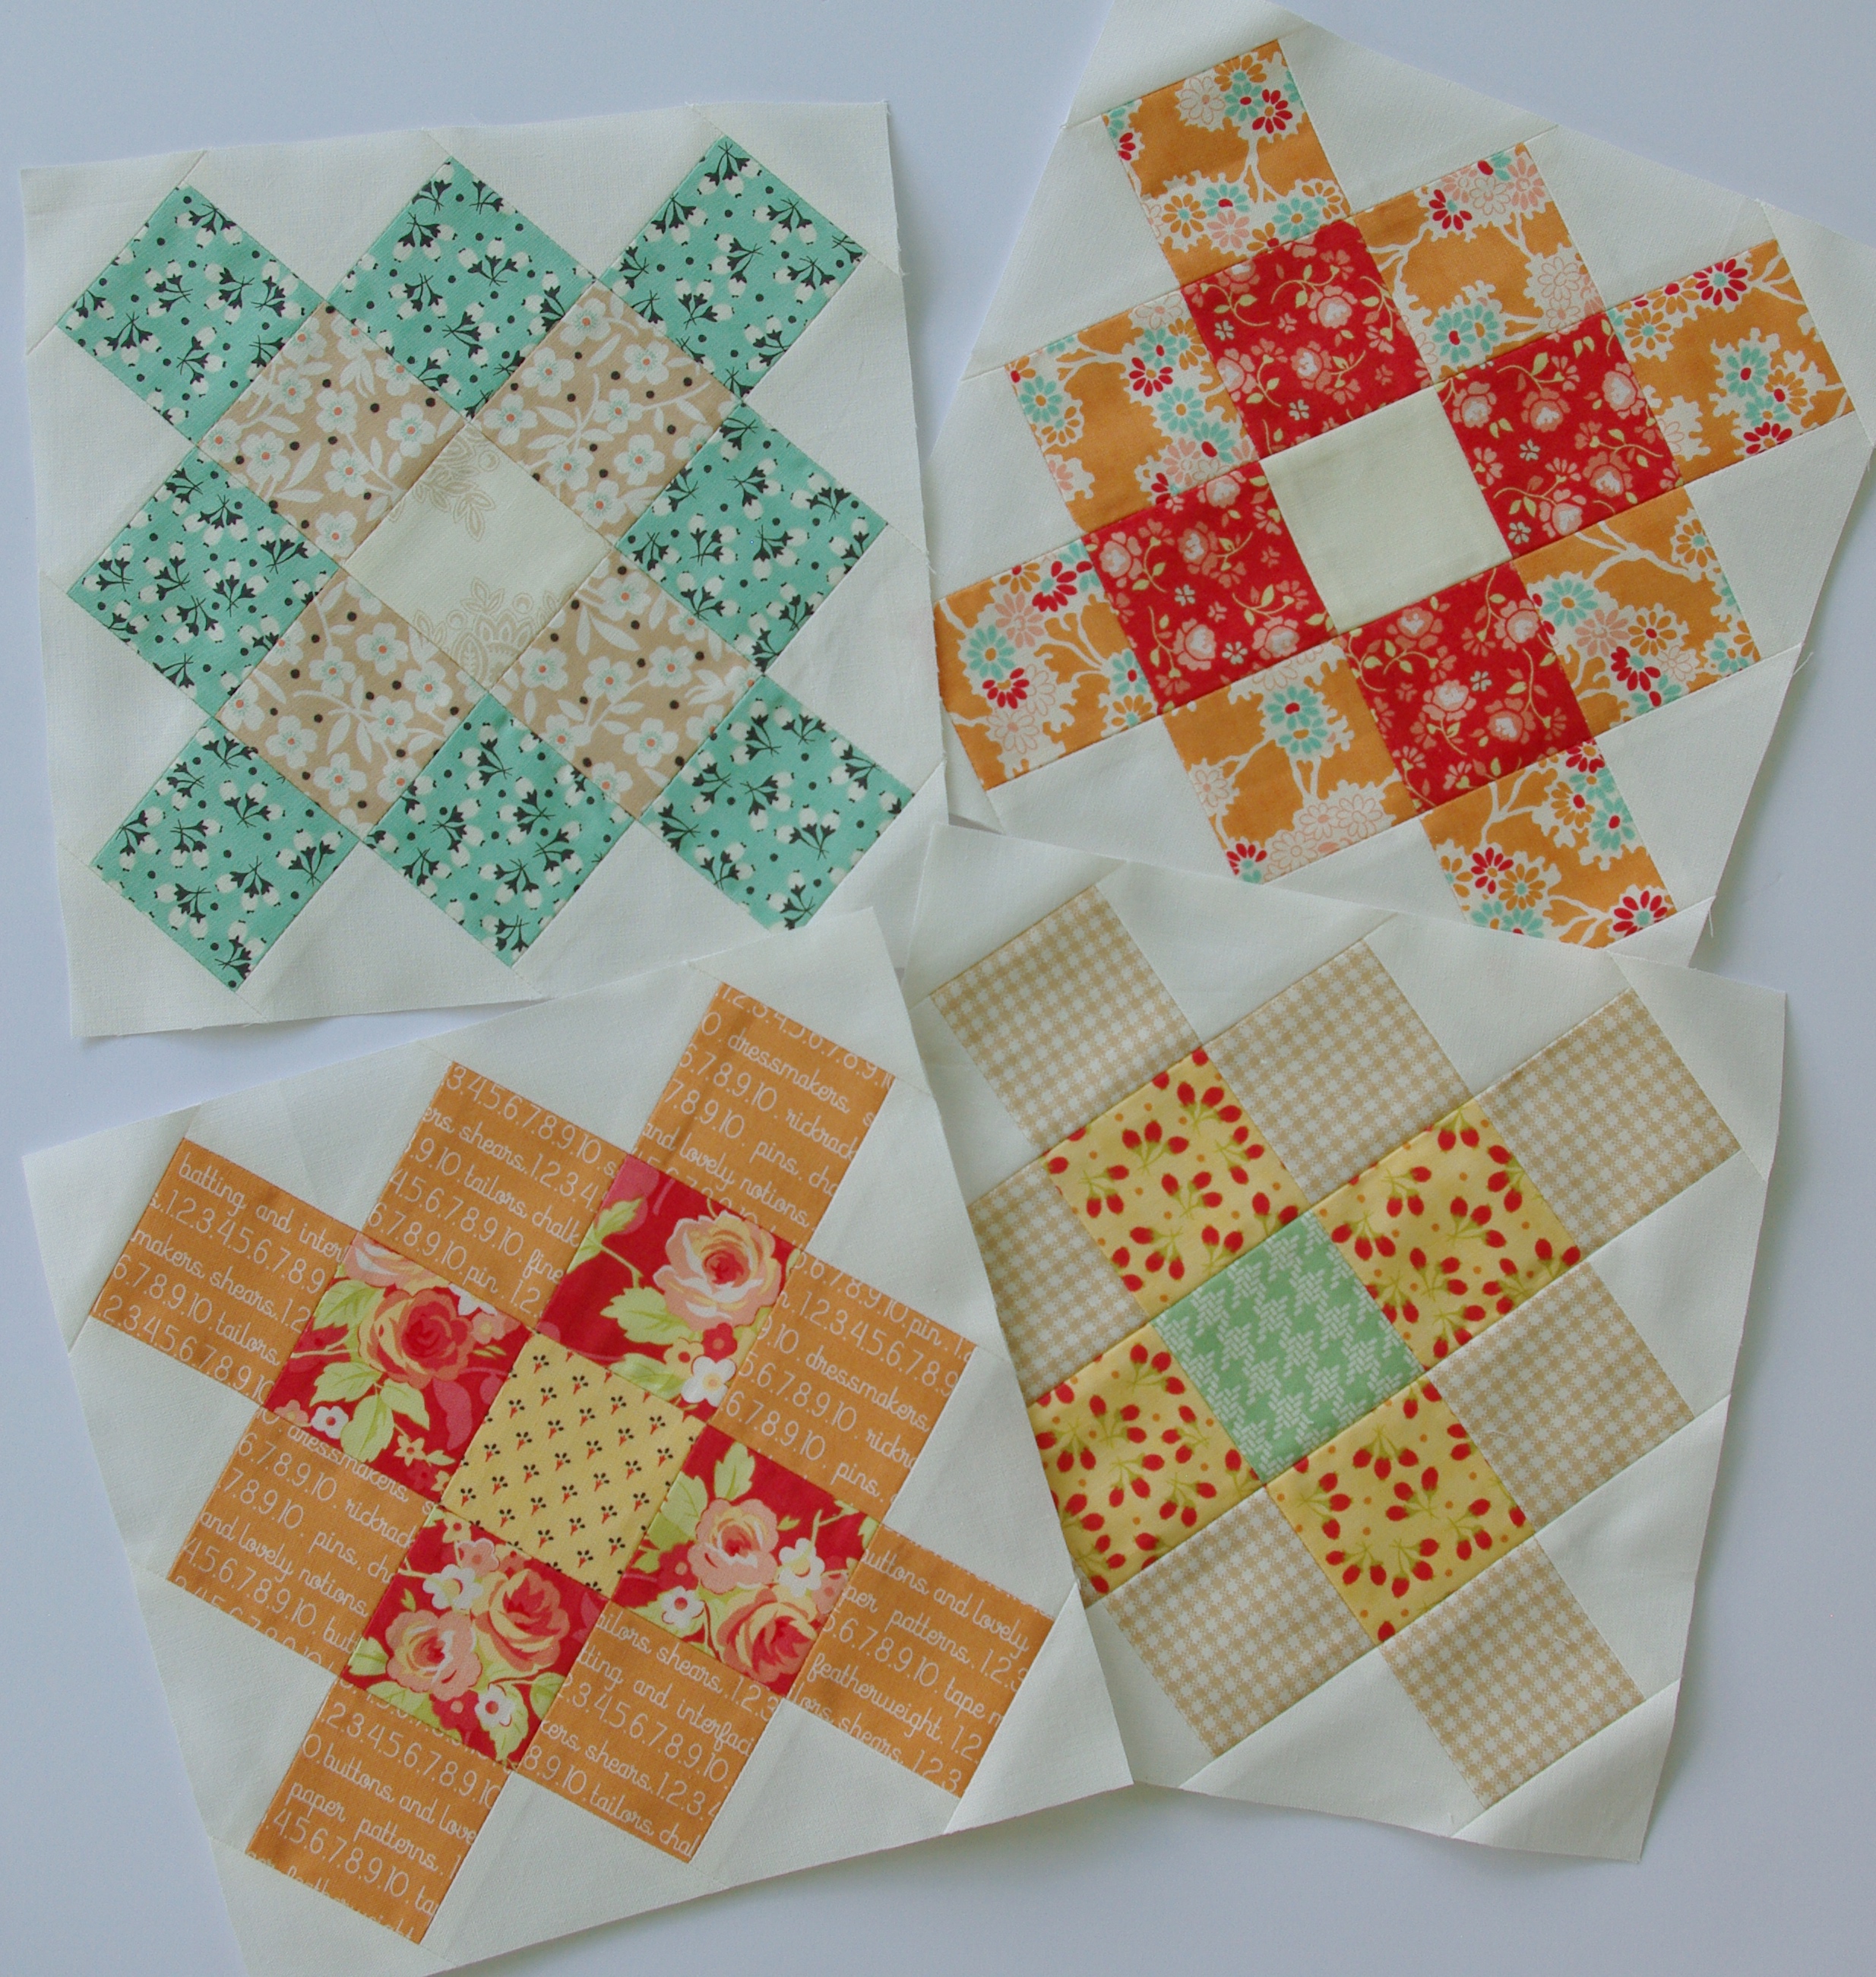
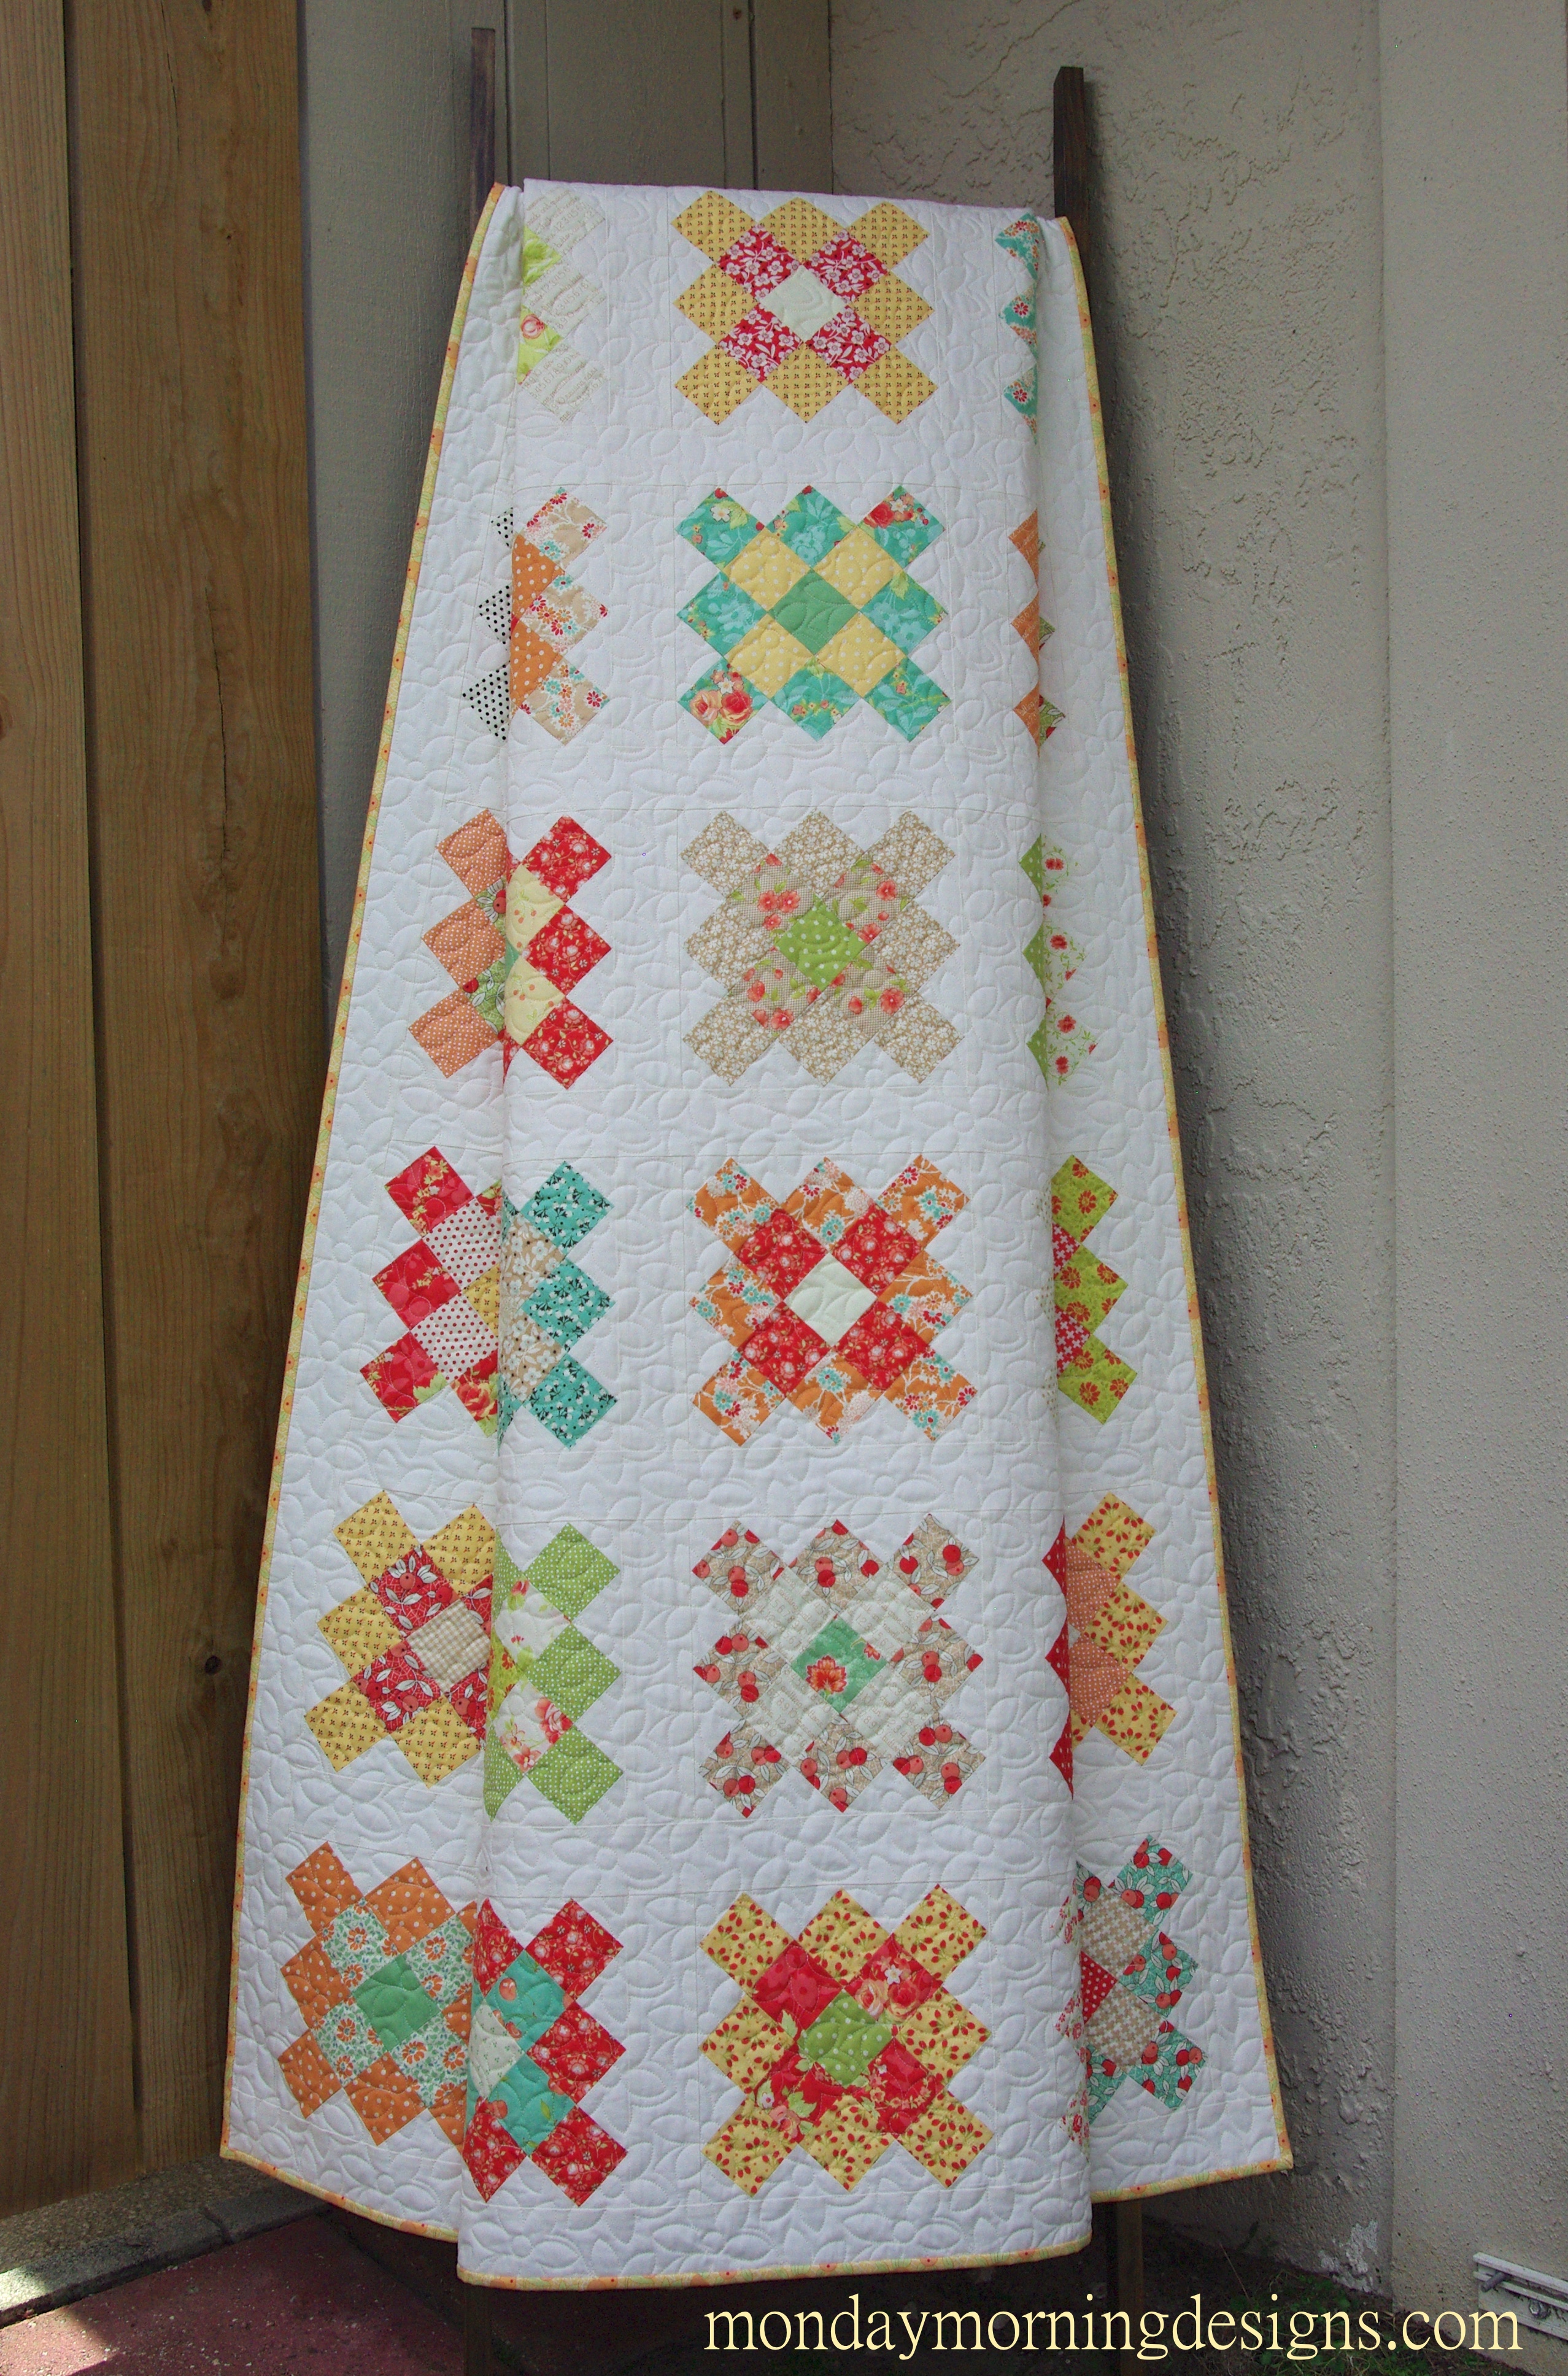
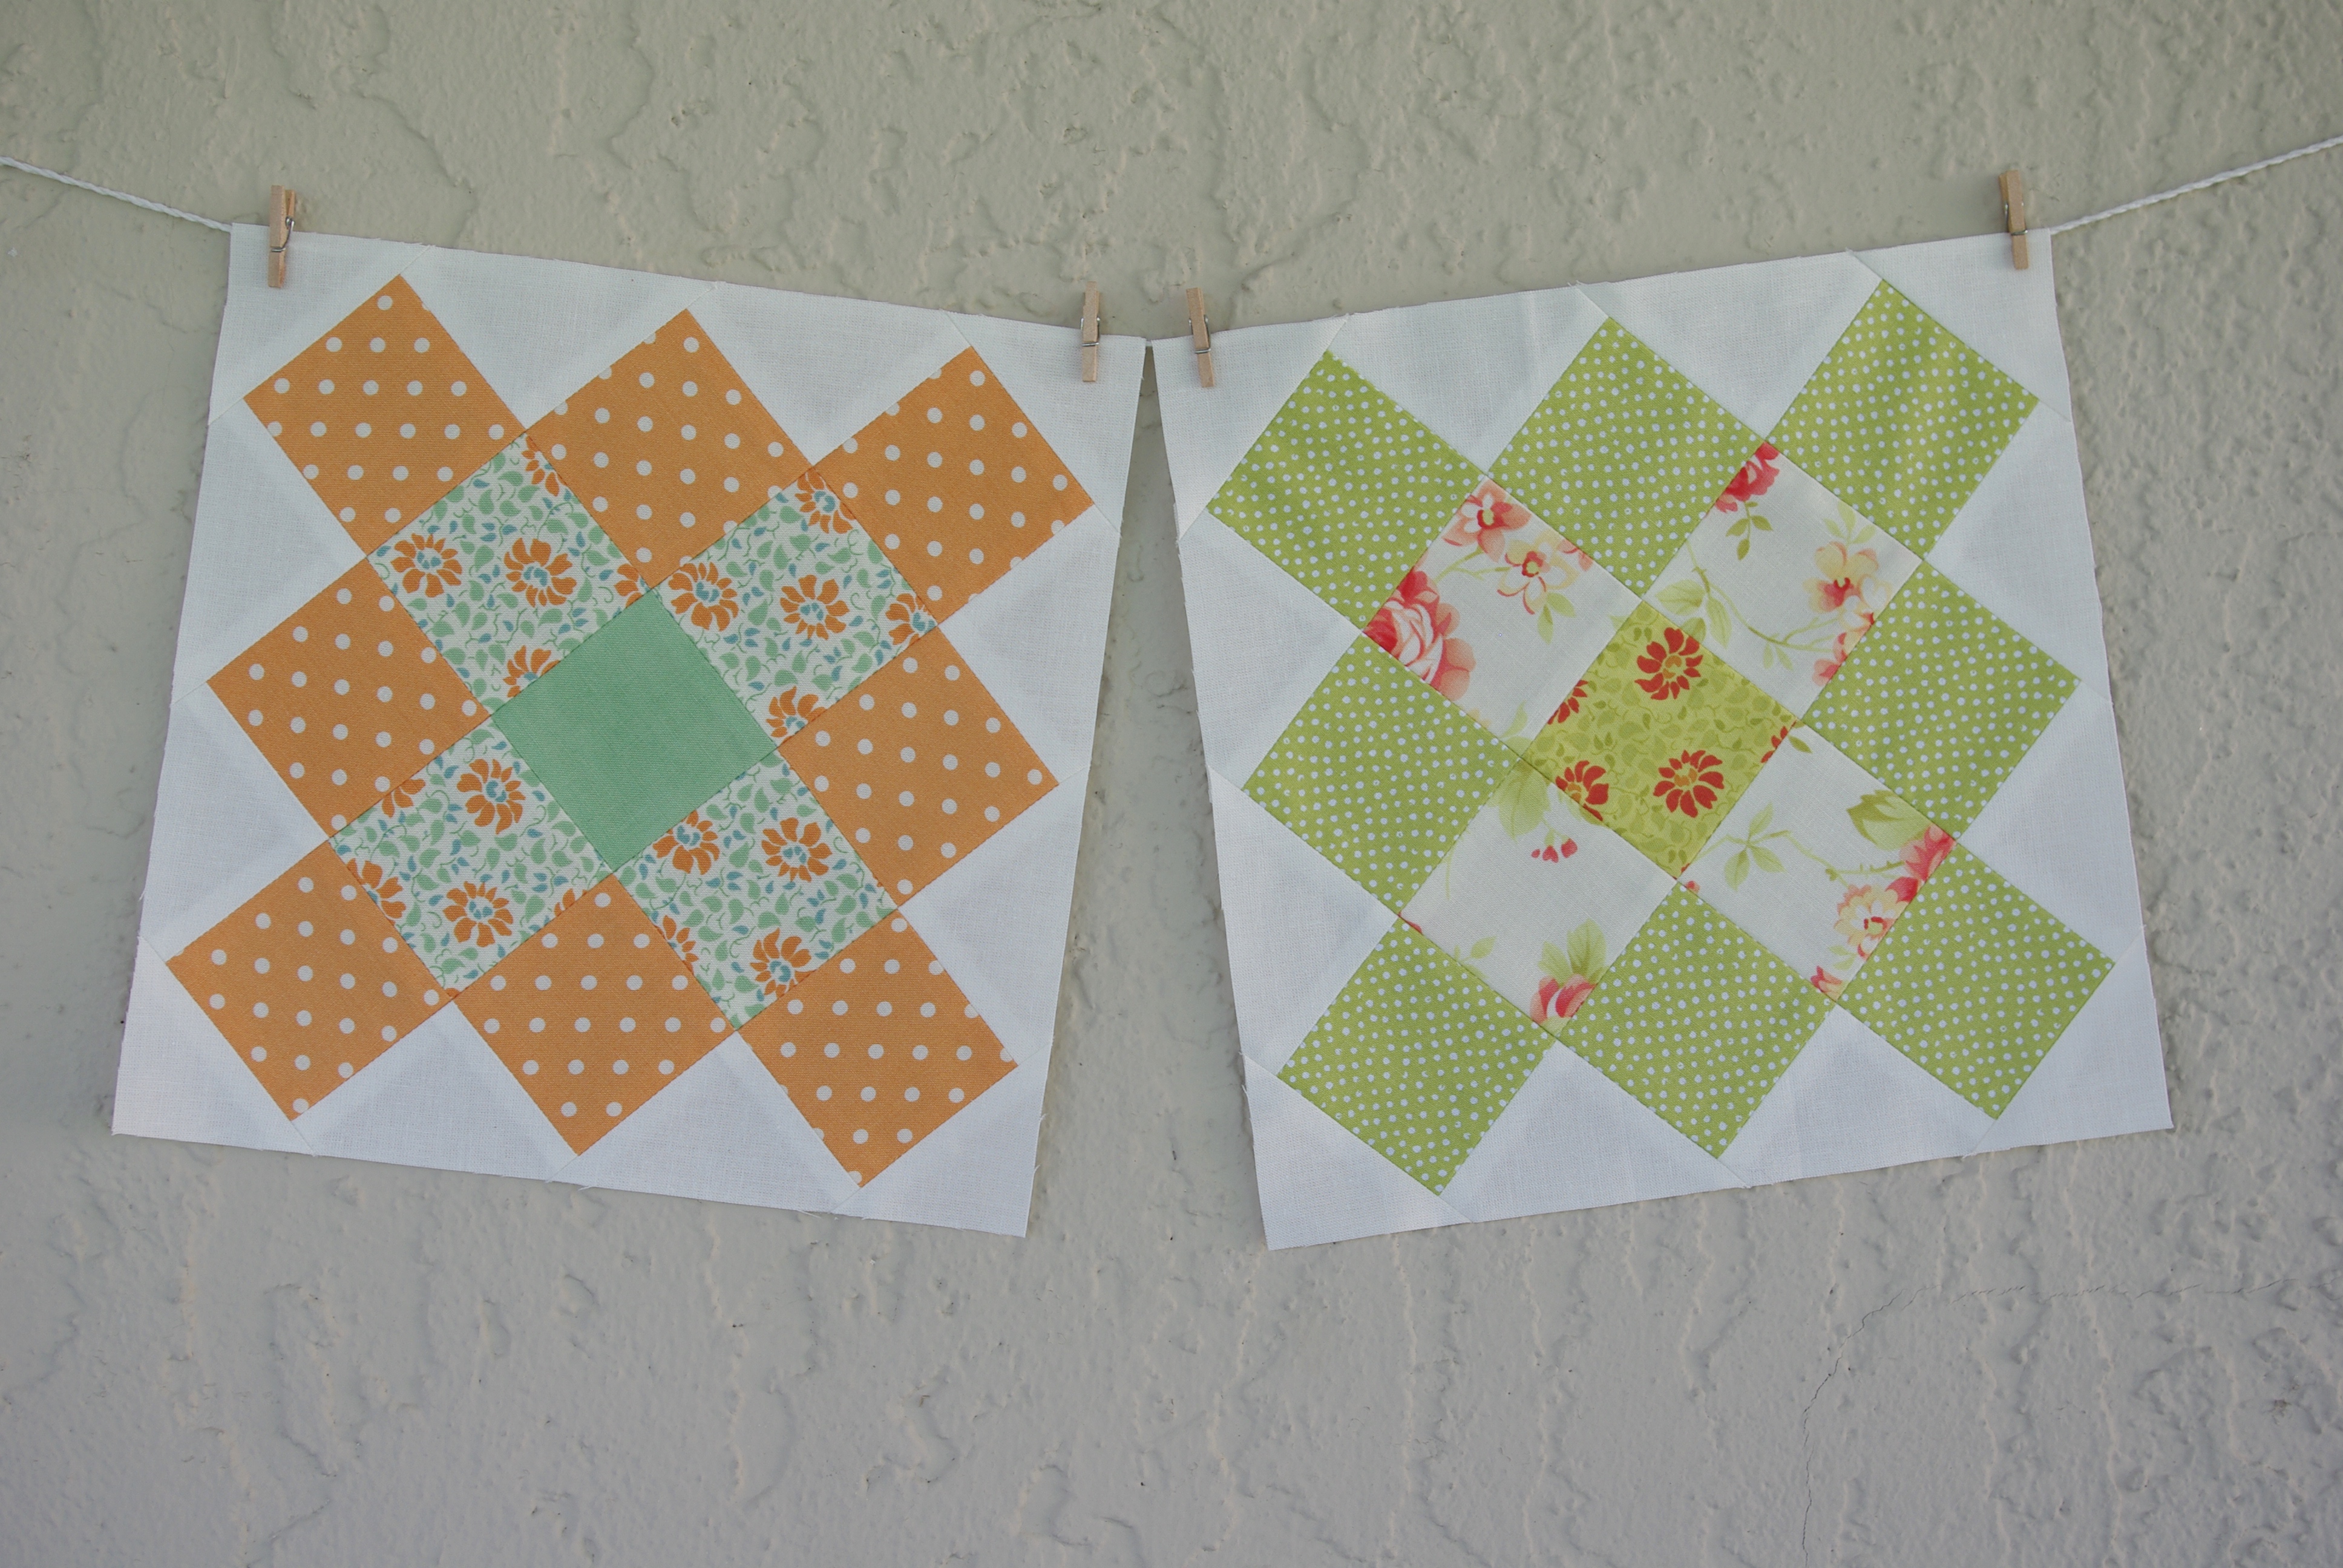
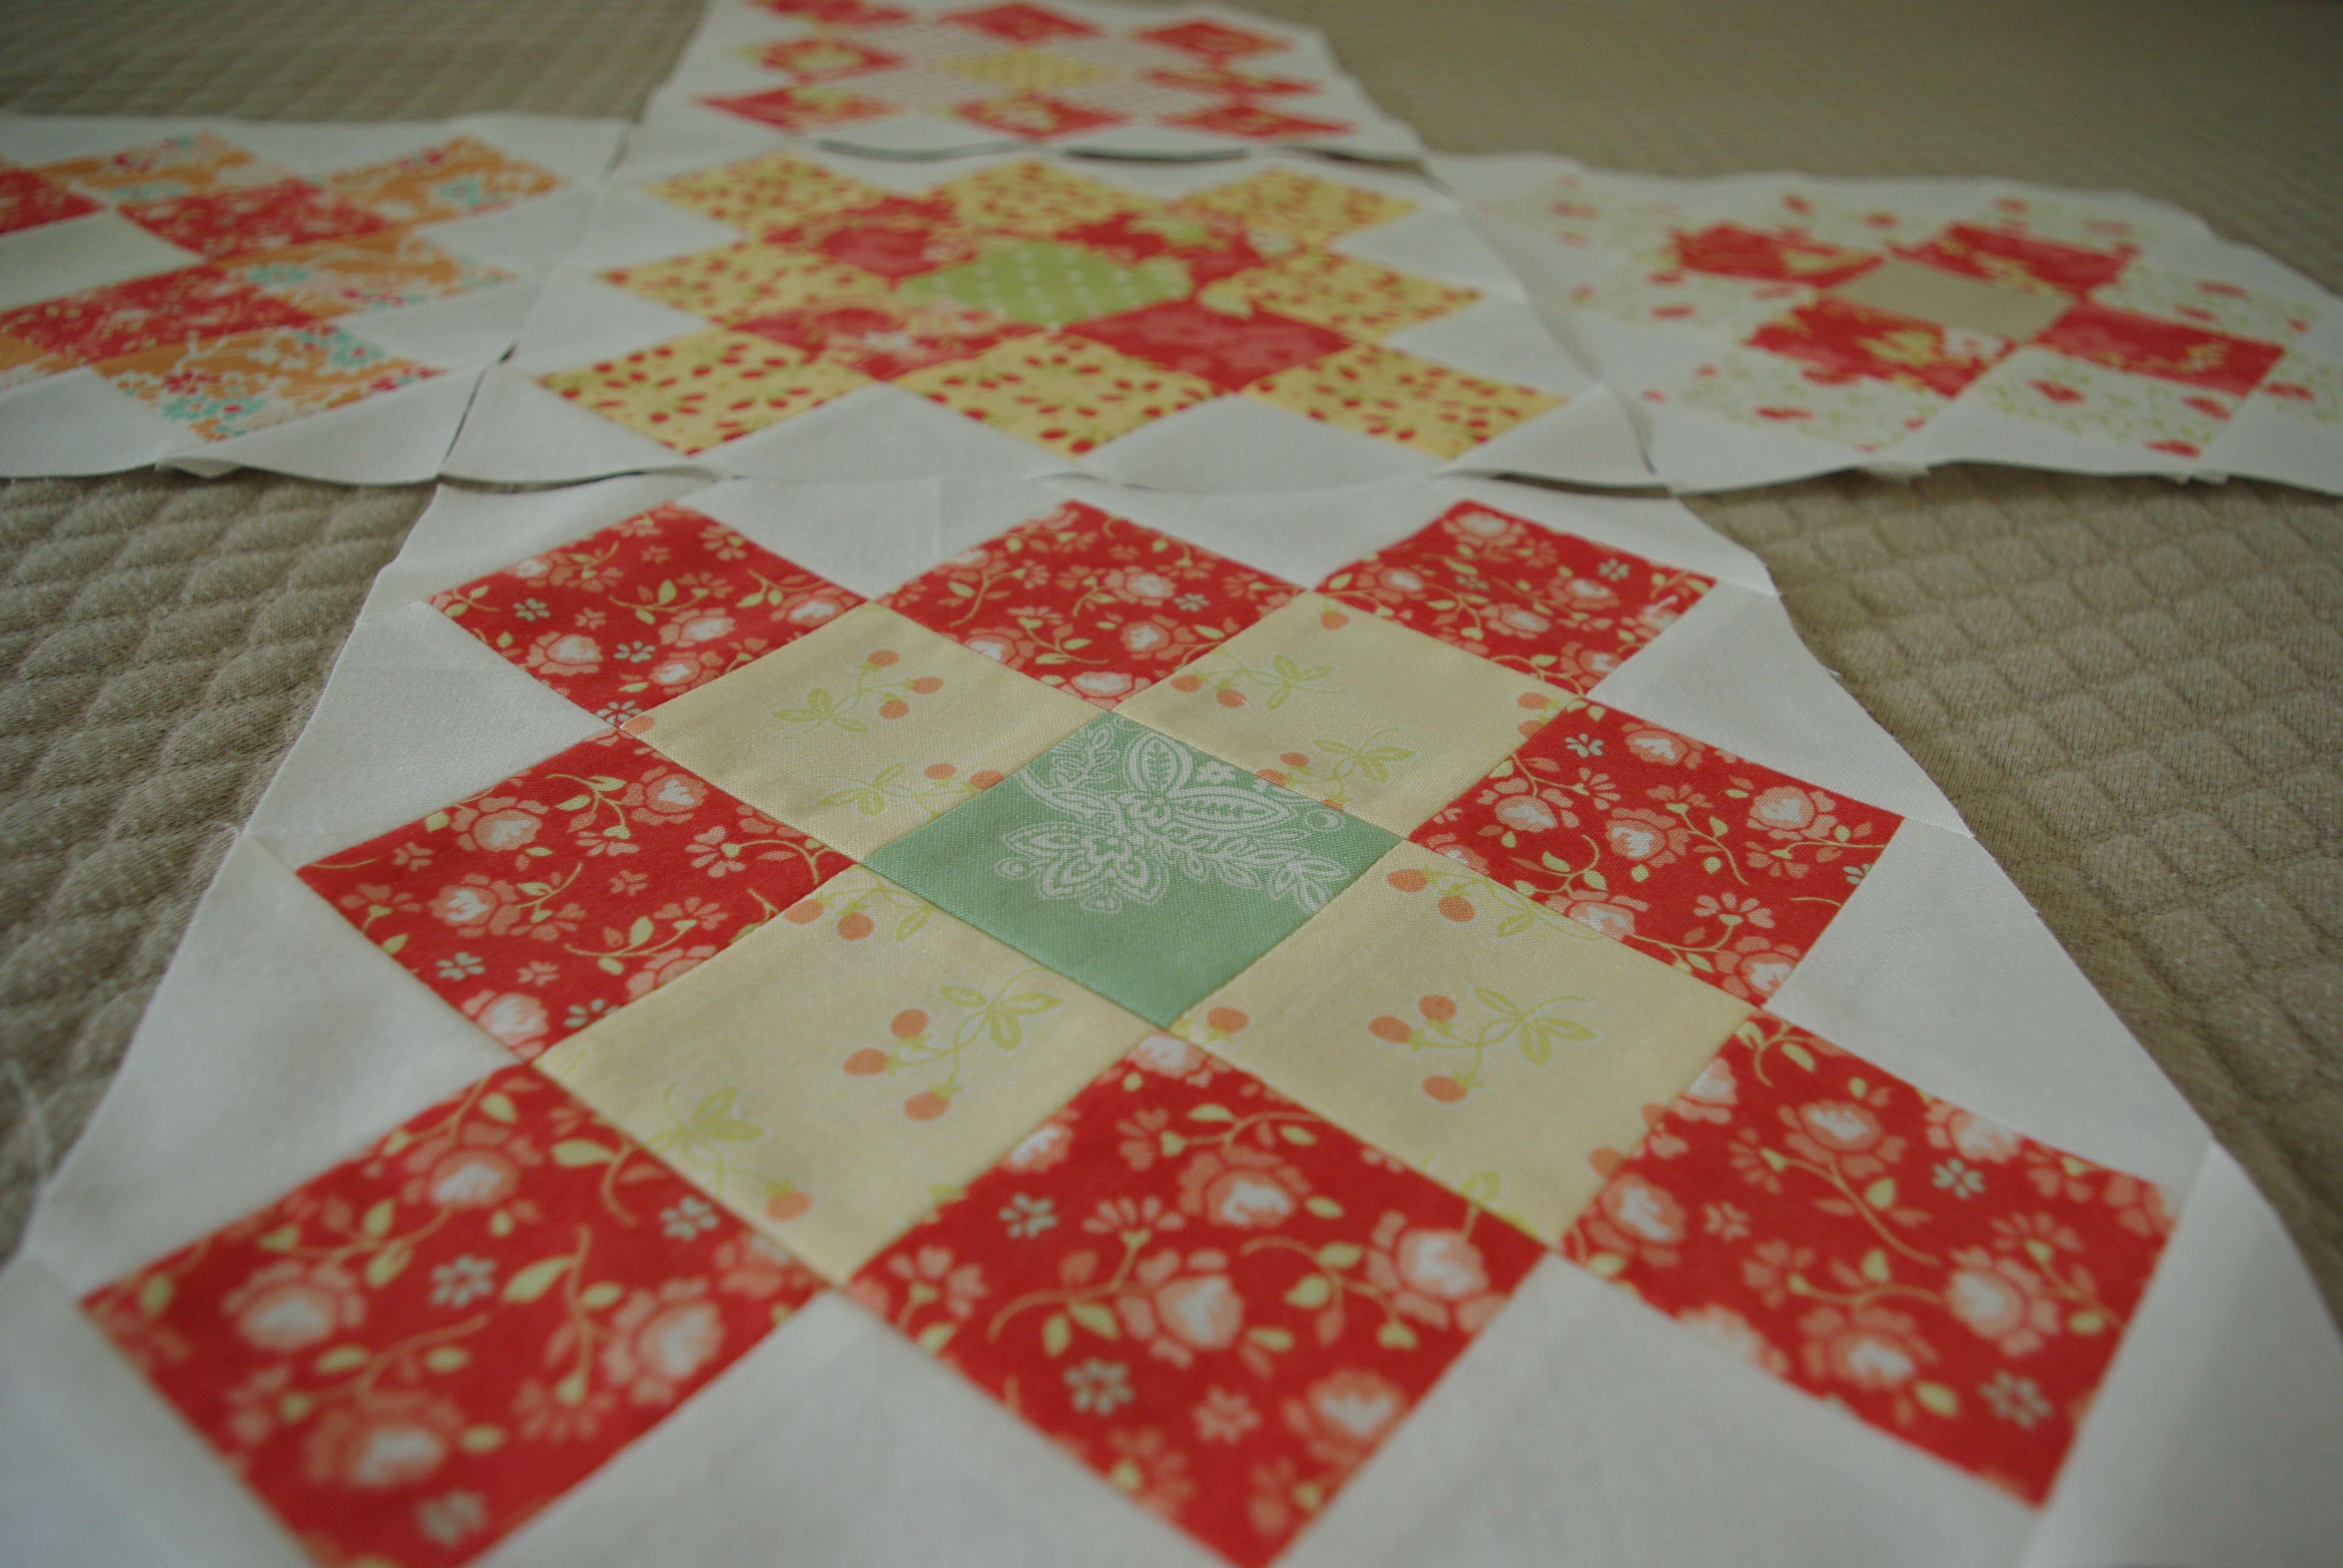
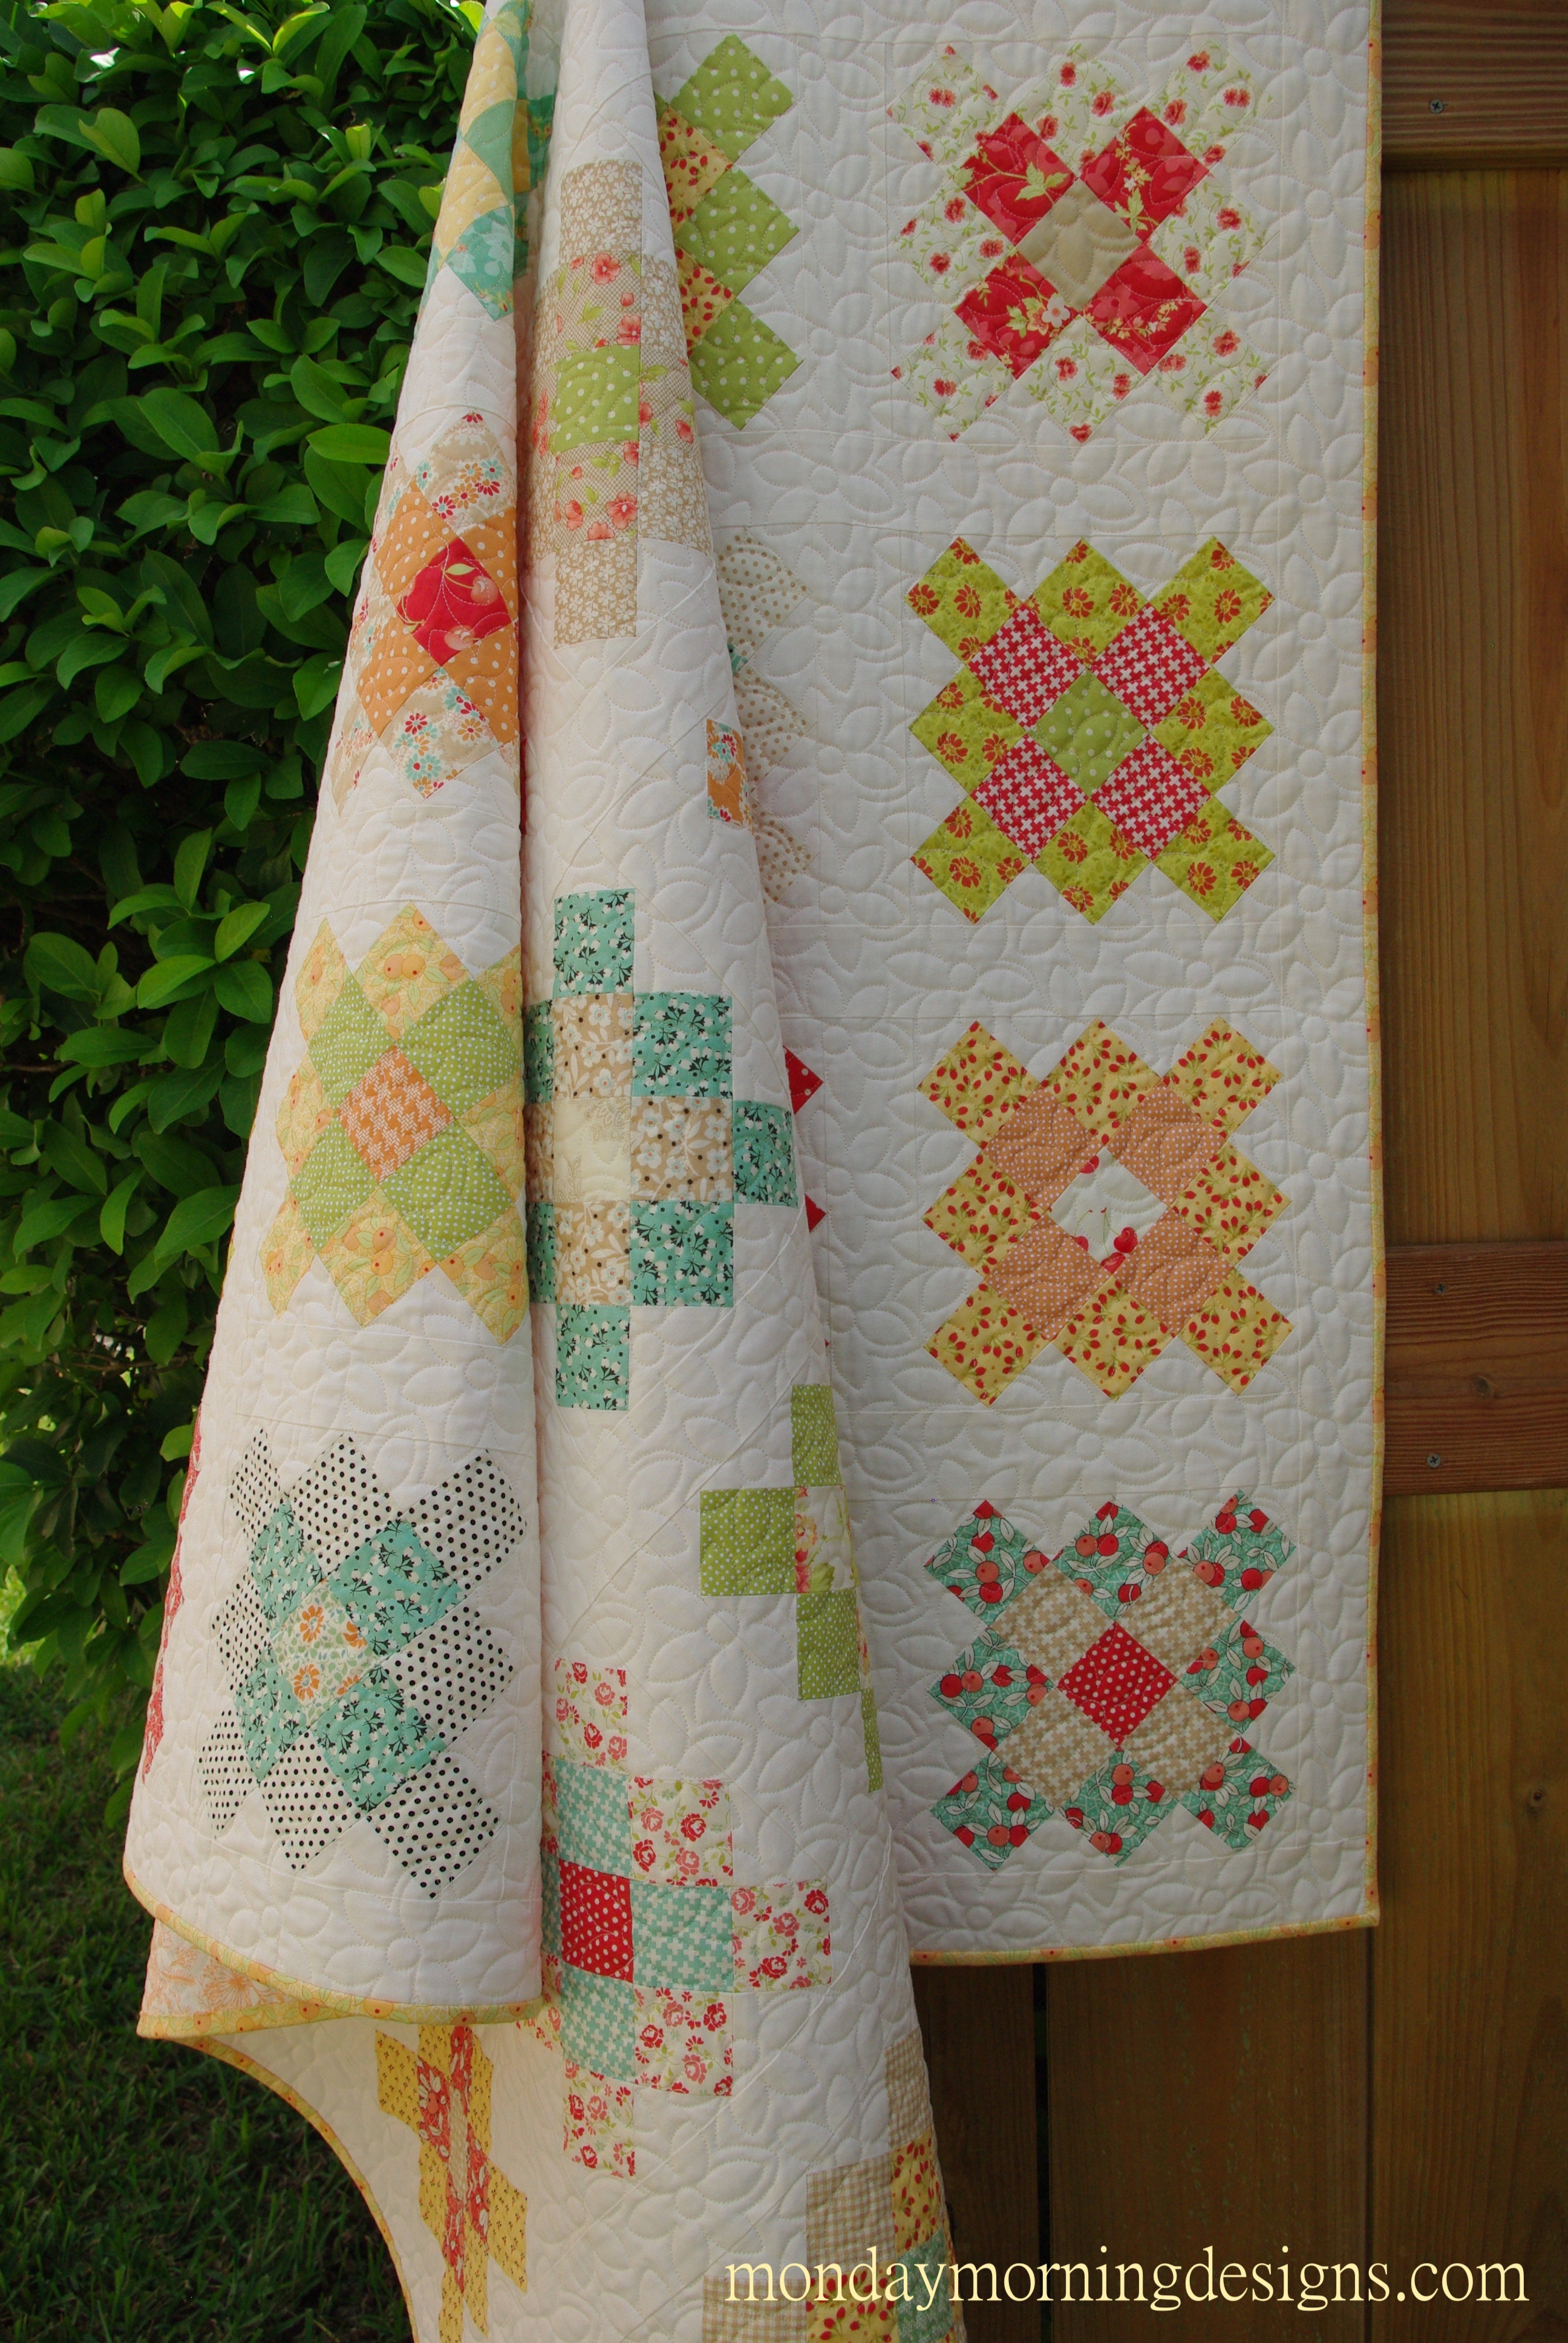
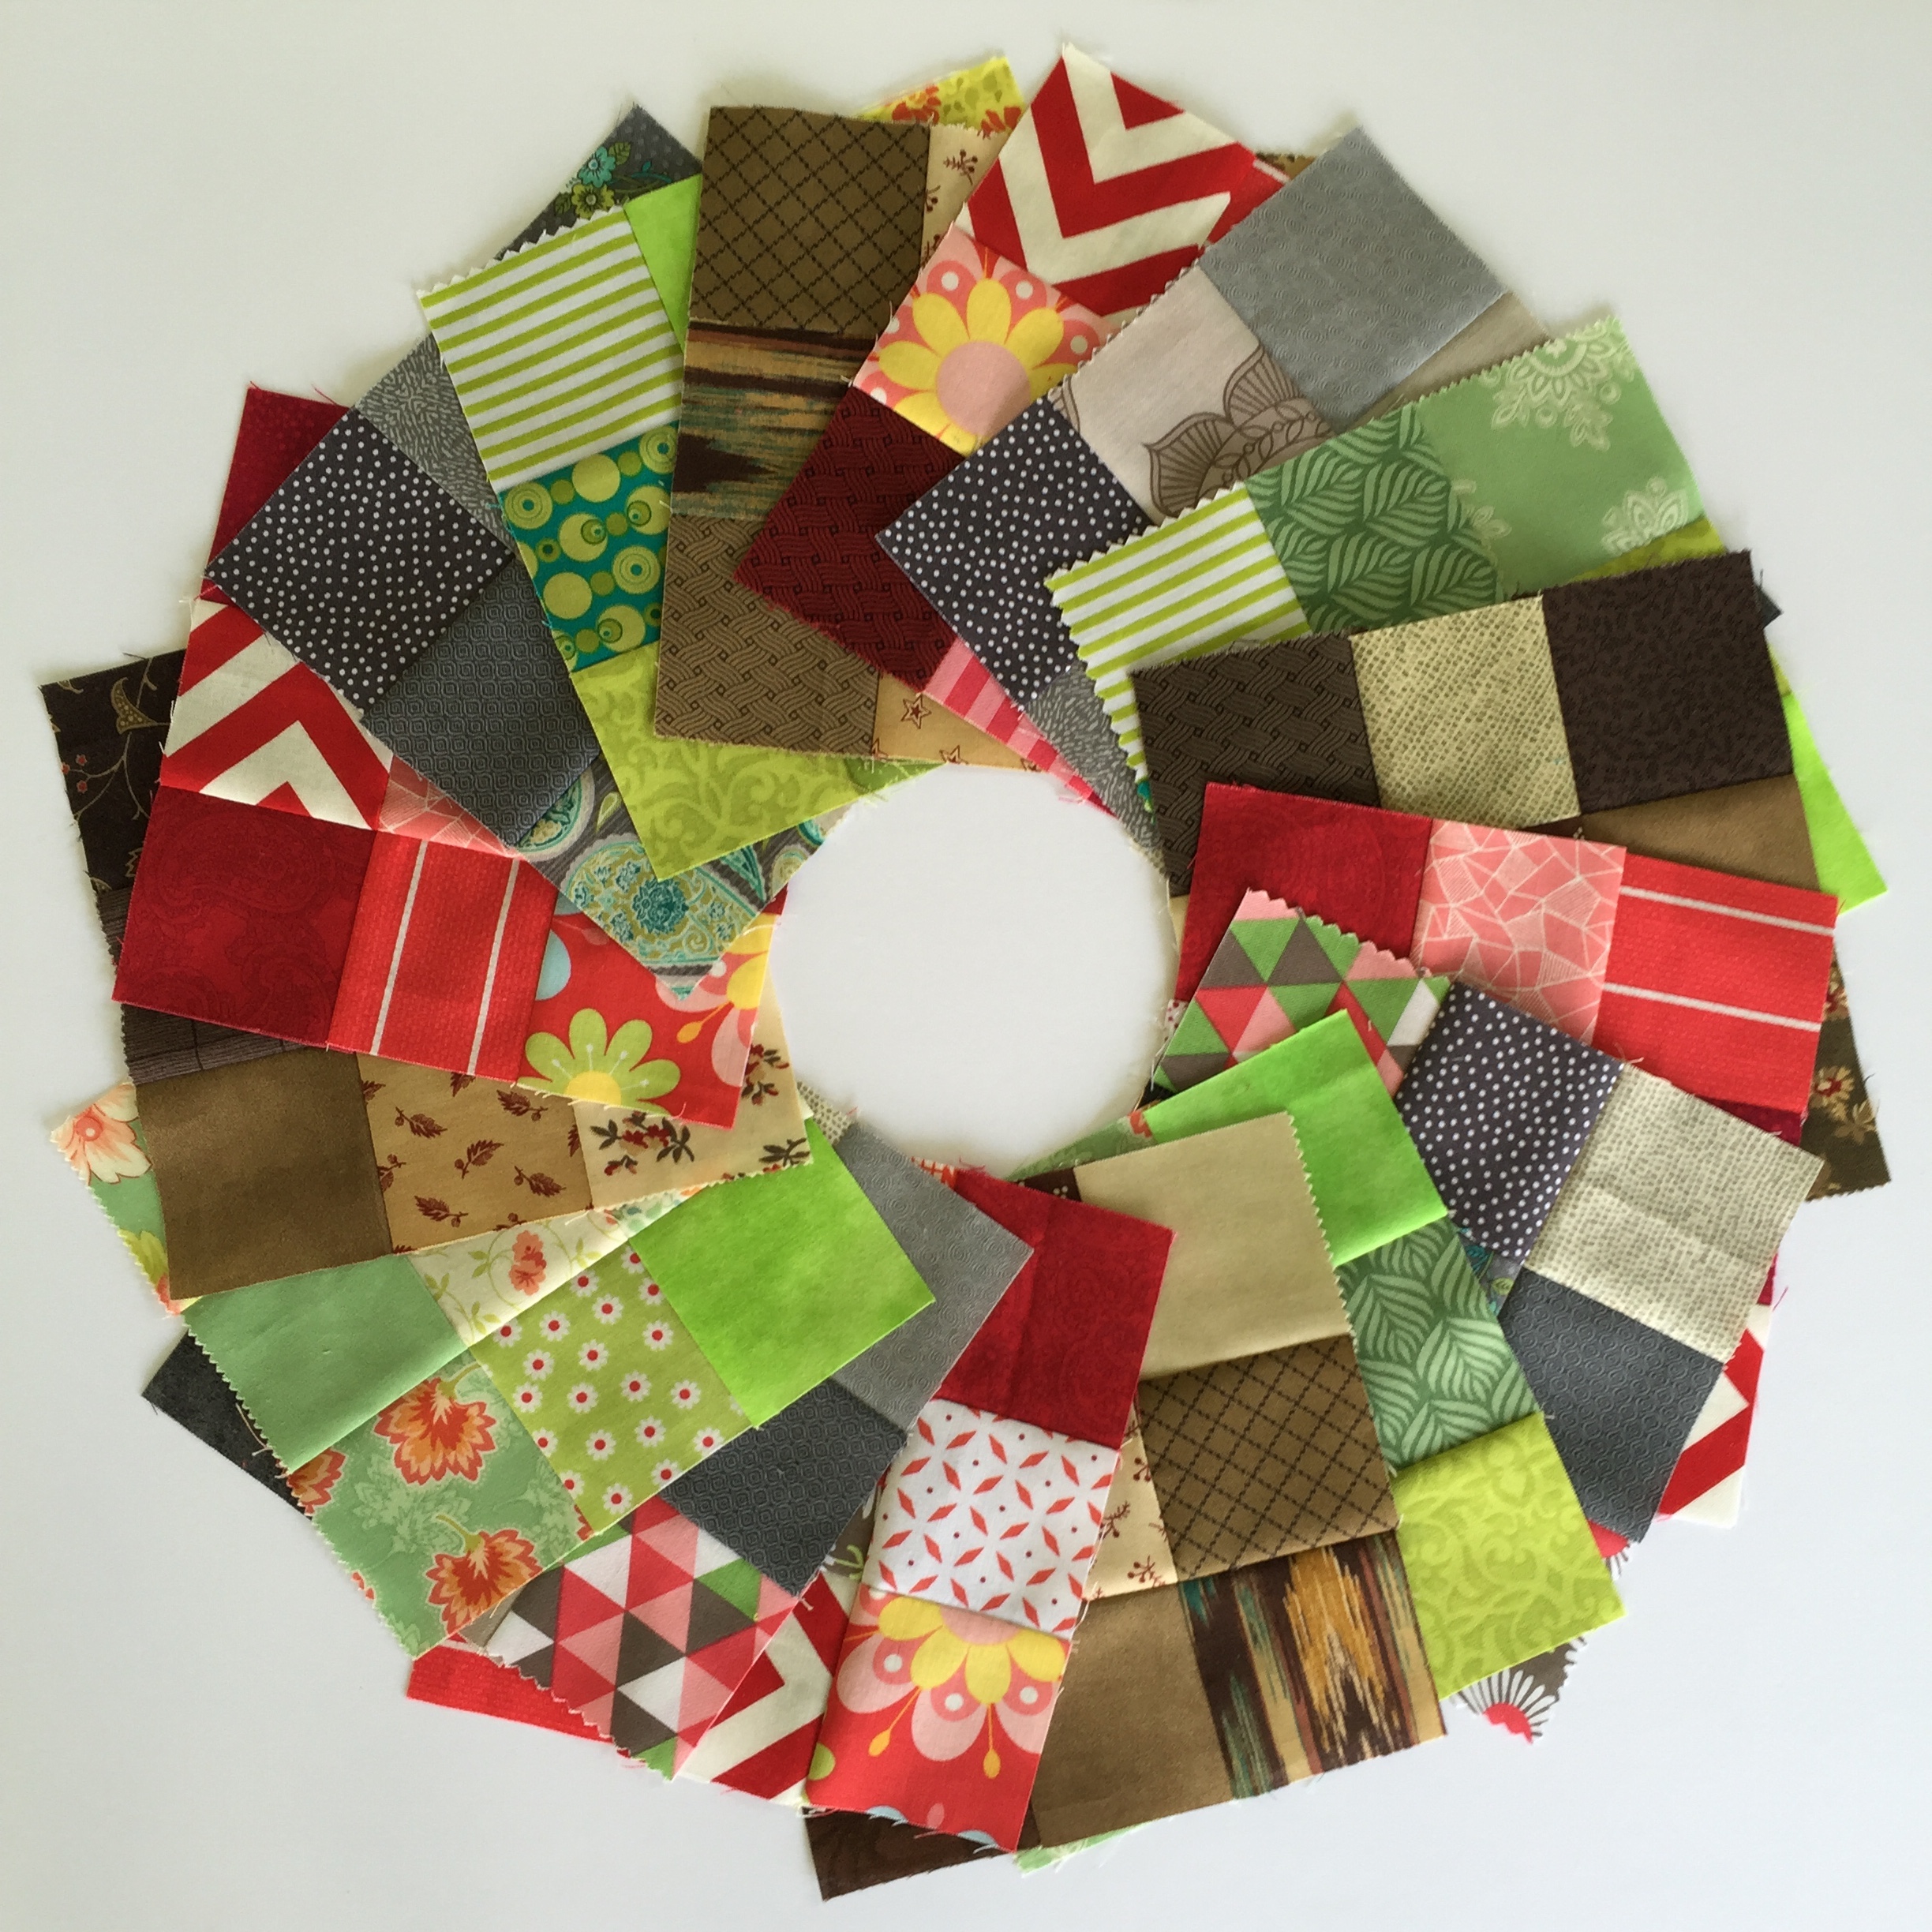
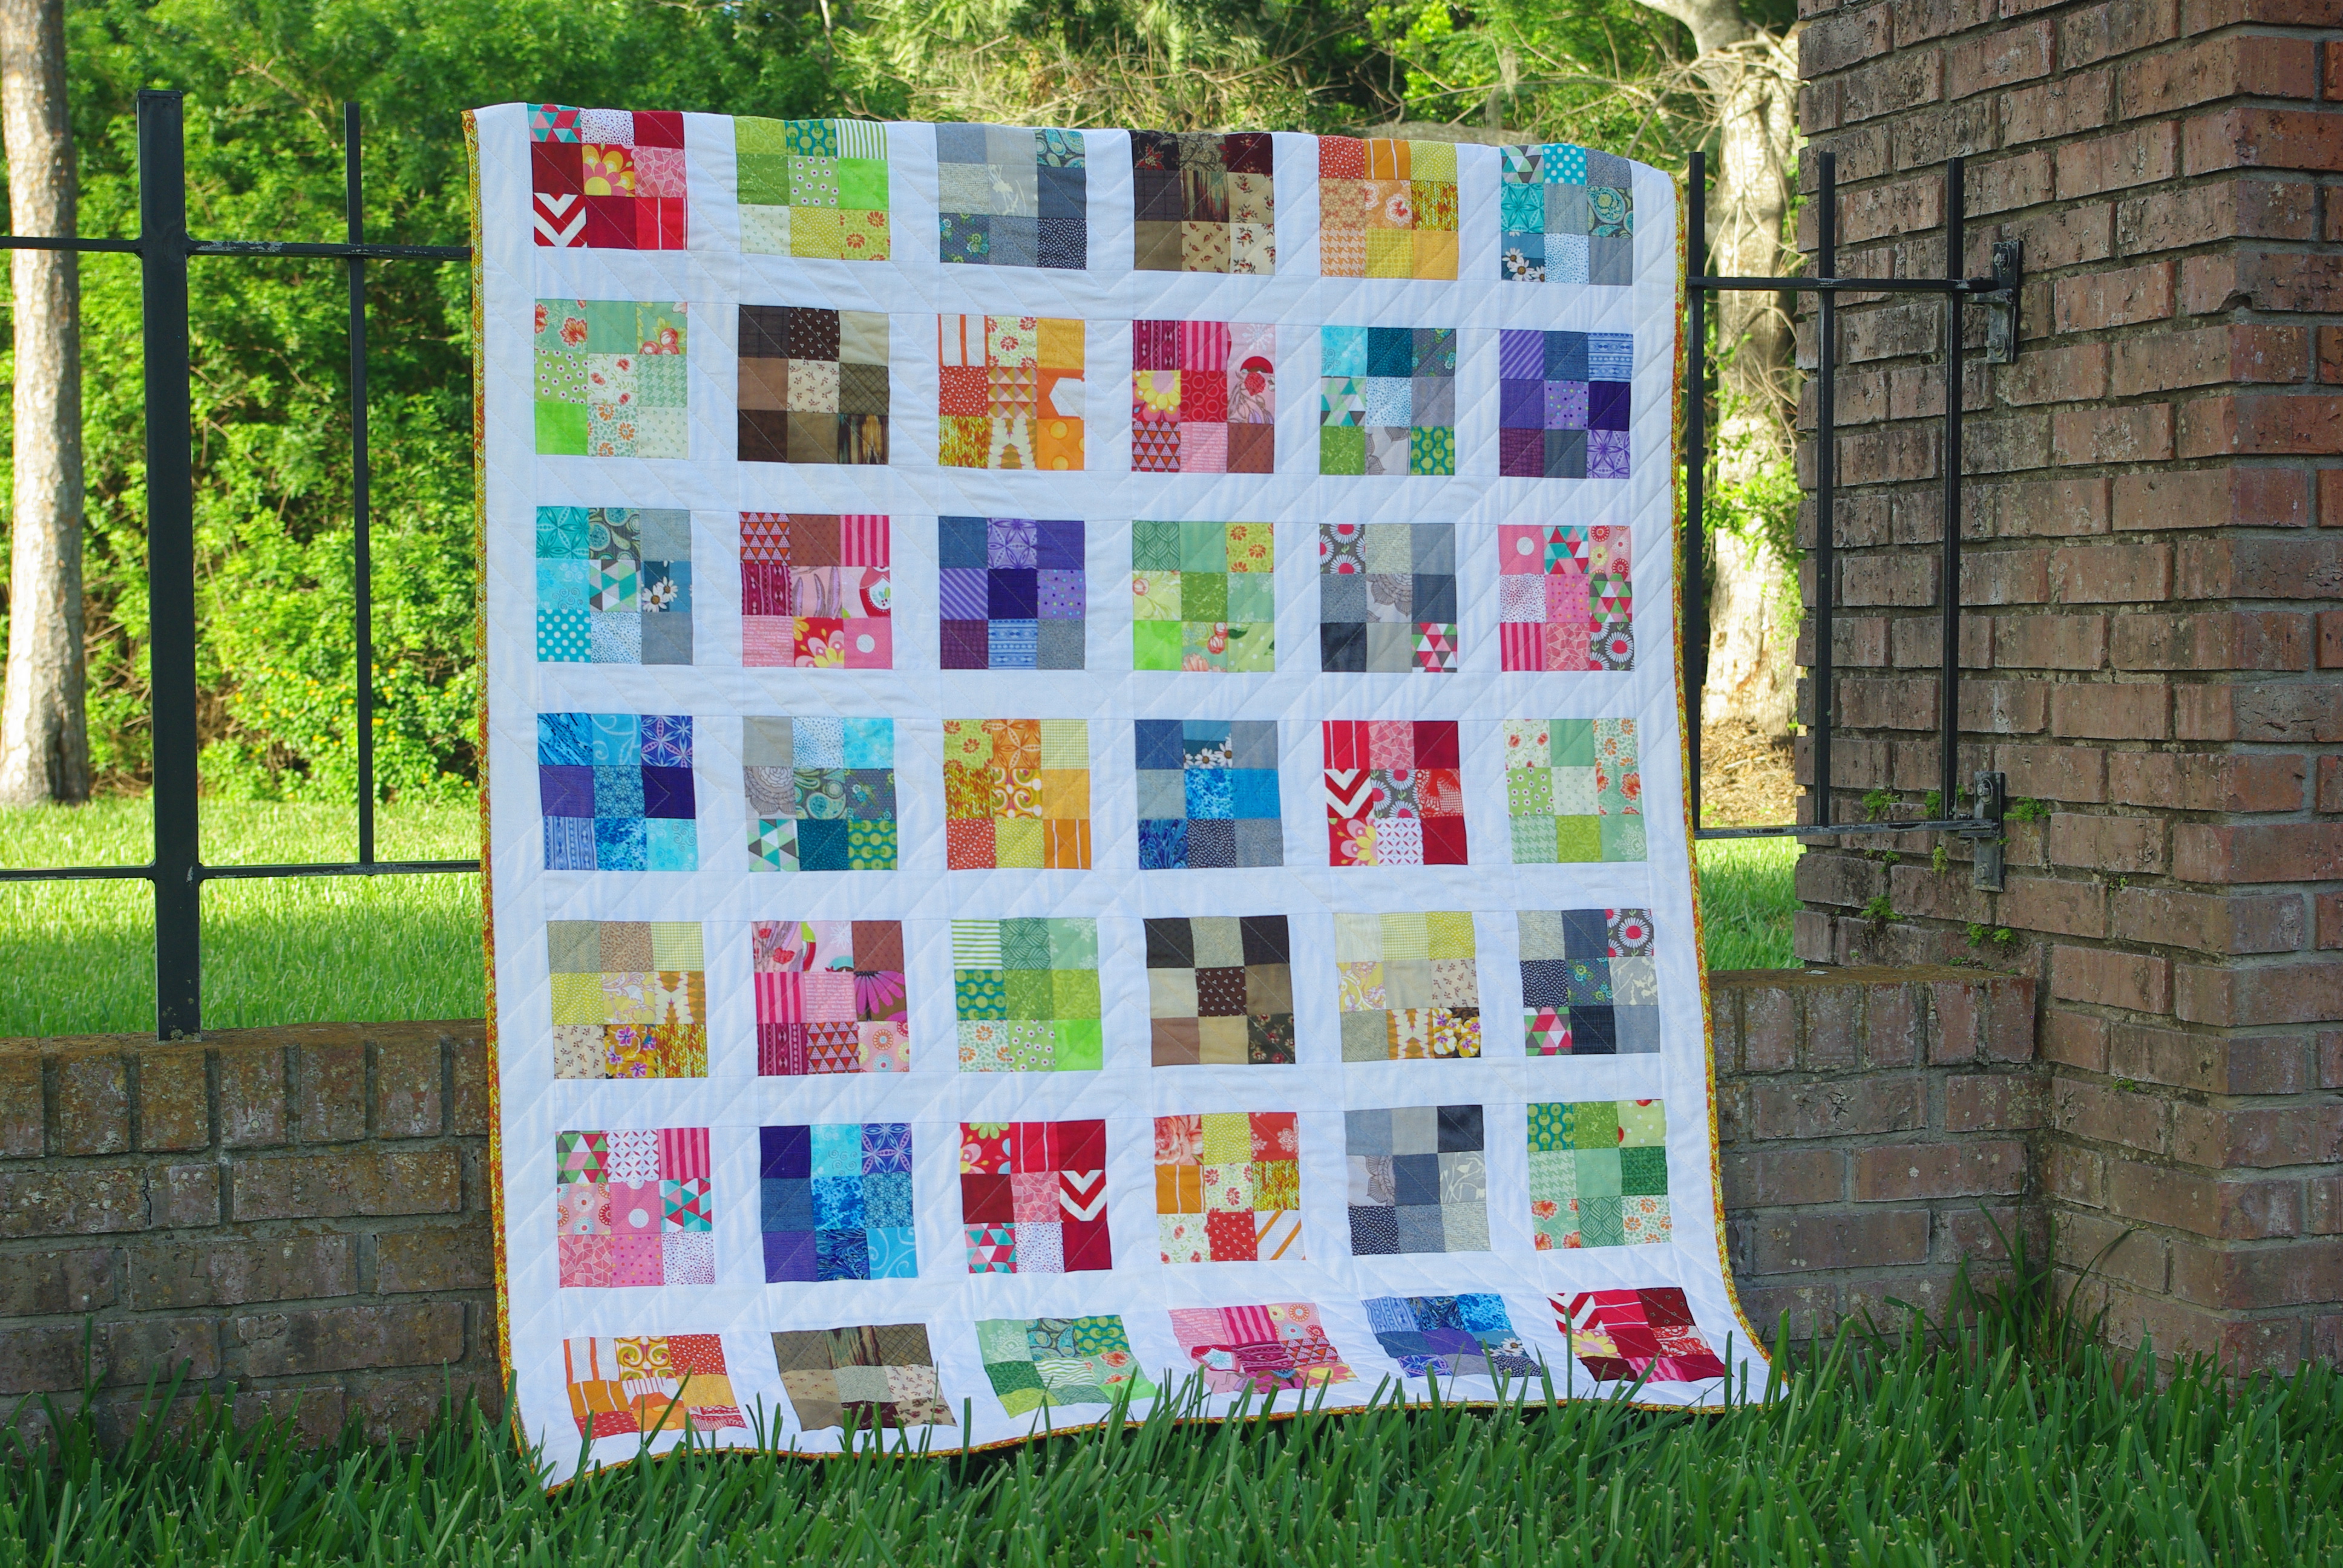
This year for Christmas I made my son a queen size quilt for his bed. Somehow, while in the process of making blocks, I ended up with a few extra. So I had to ask myself, ‘what’s the best thing to do with extra blocks?’ Make pillows! What a perfect solution. 🙂

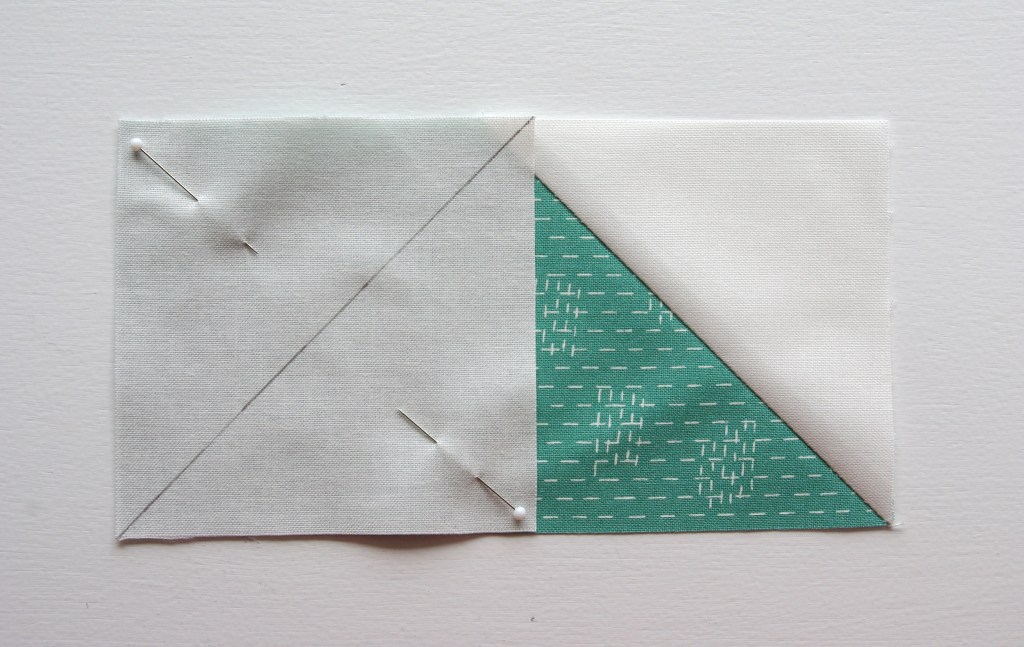
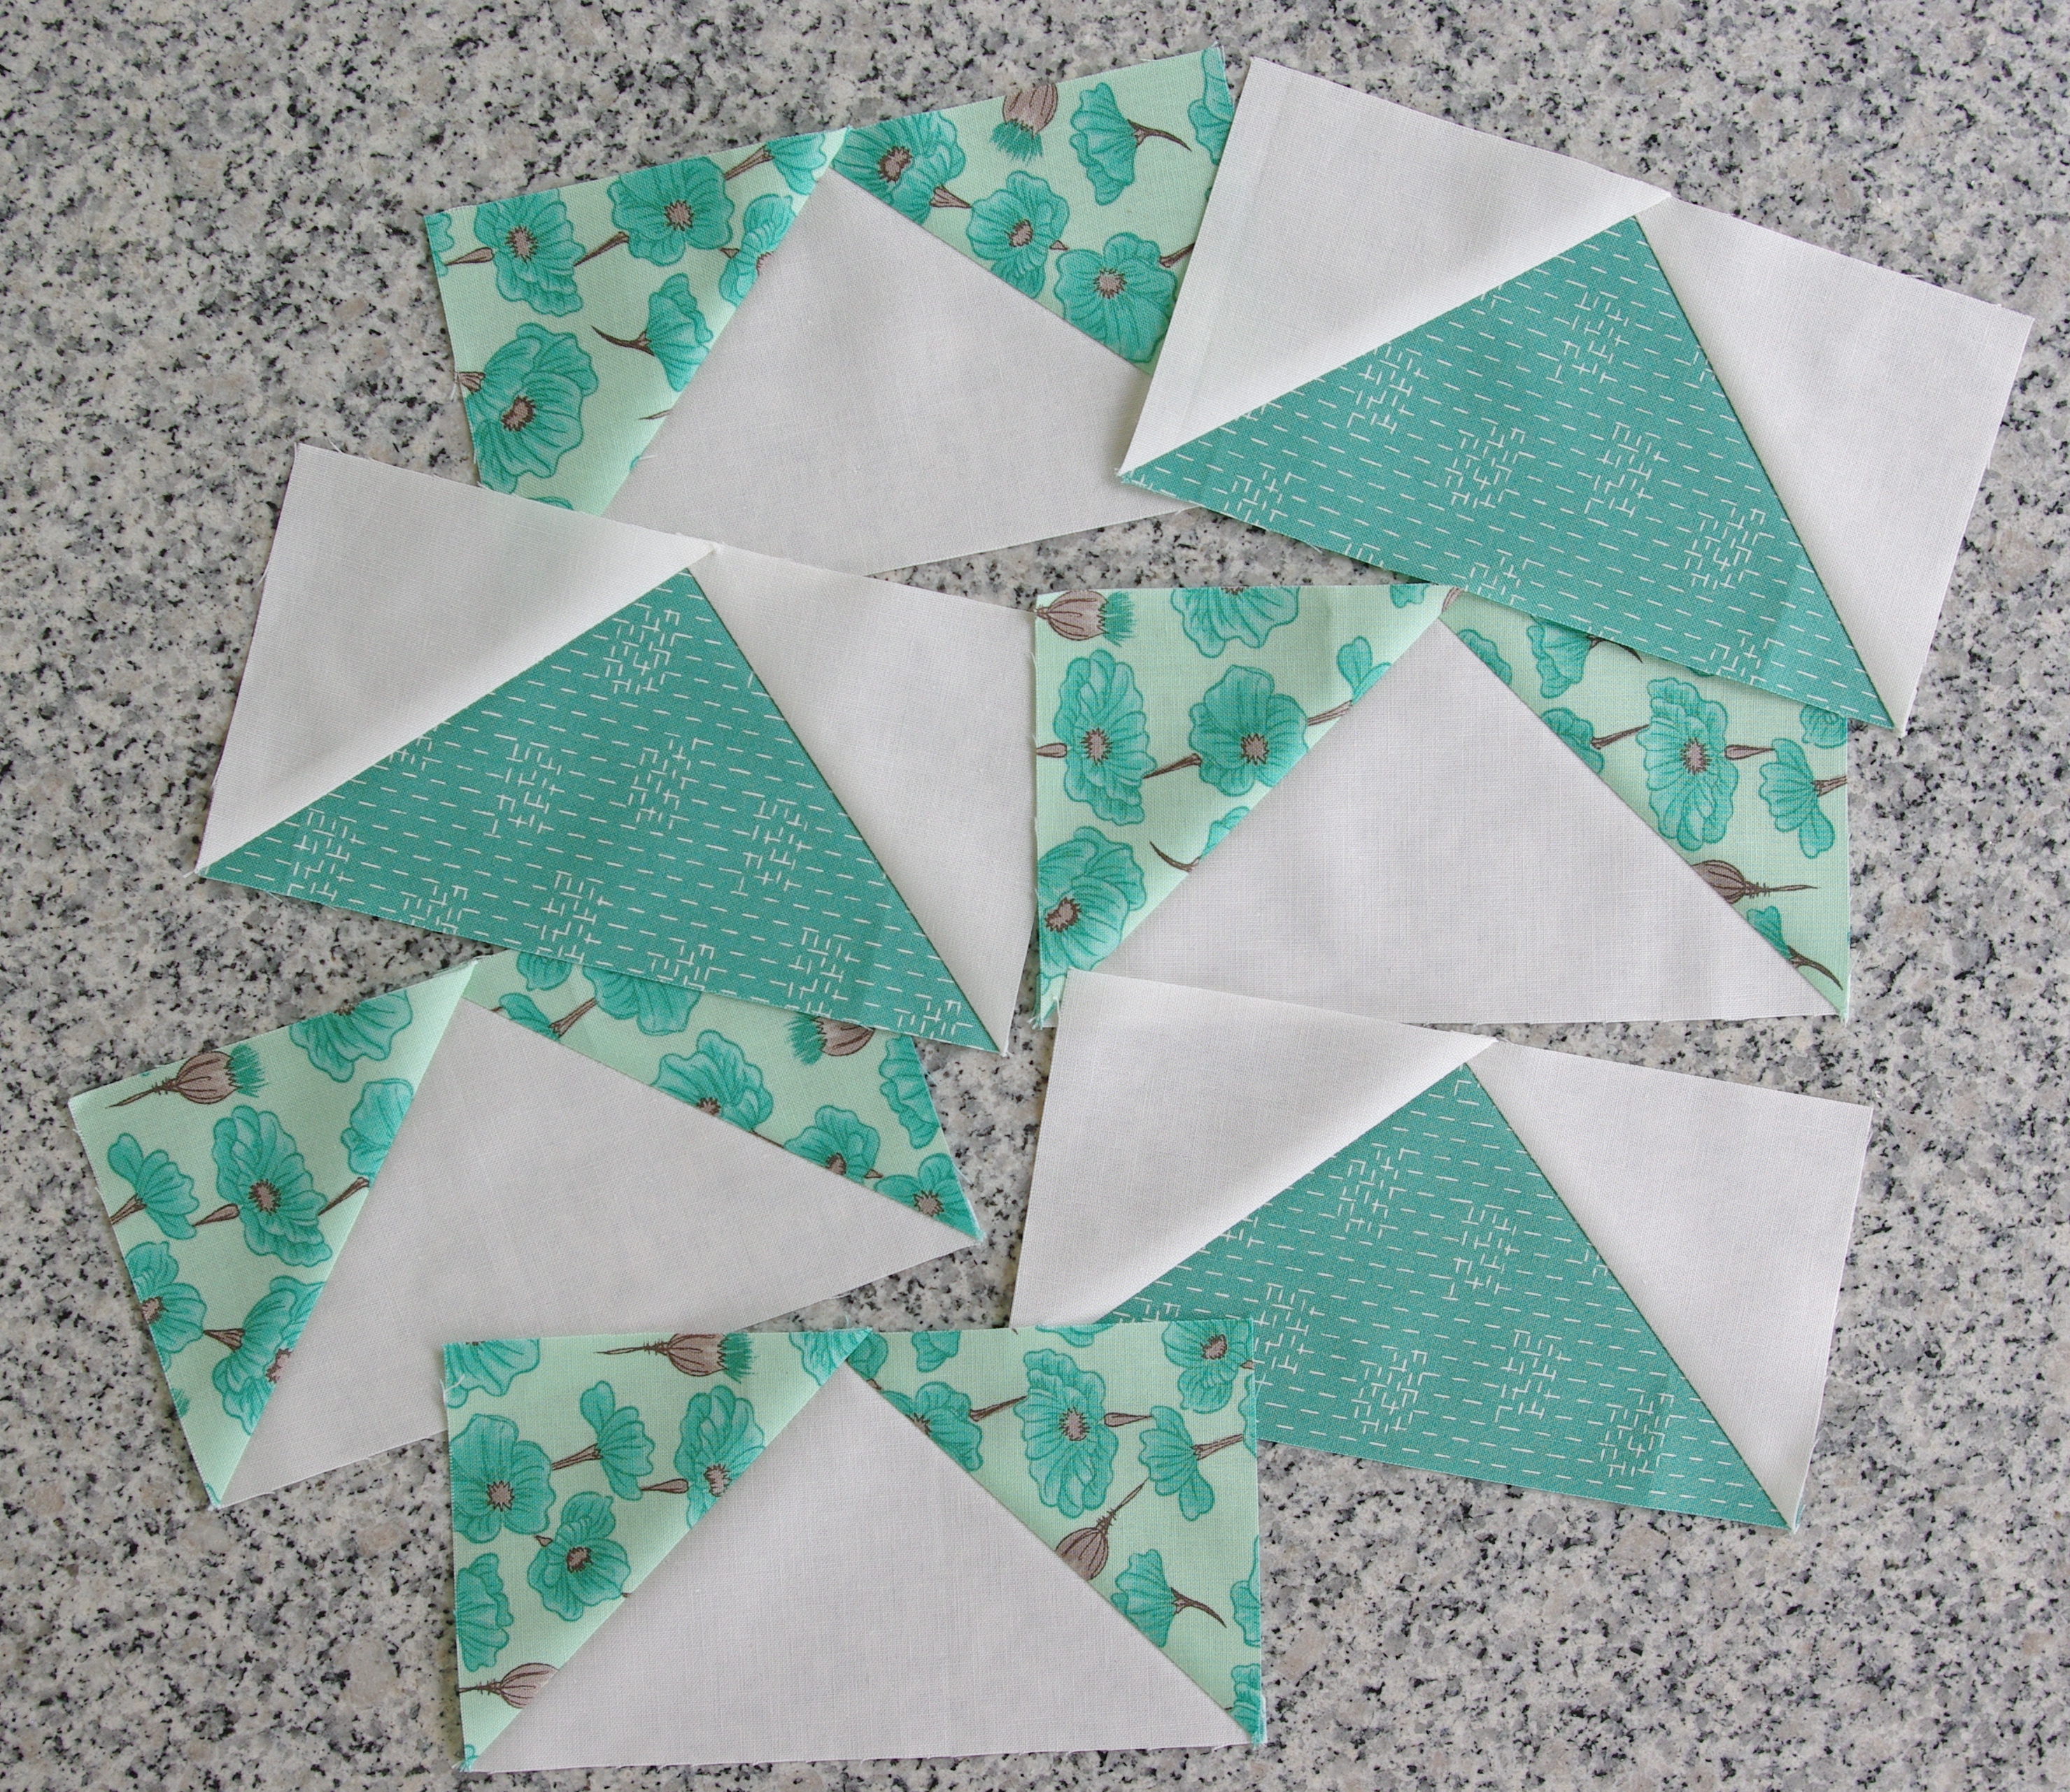
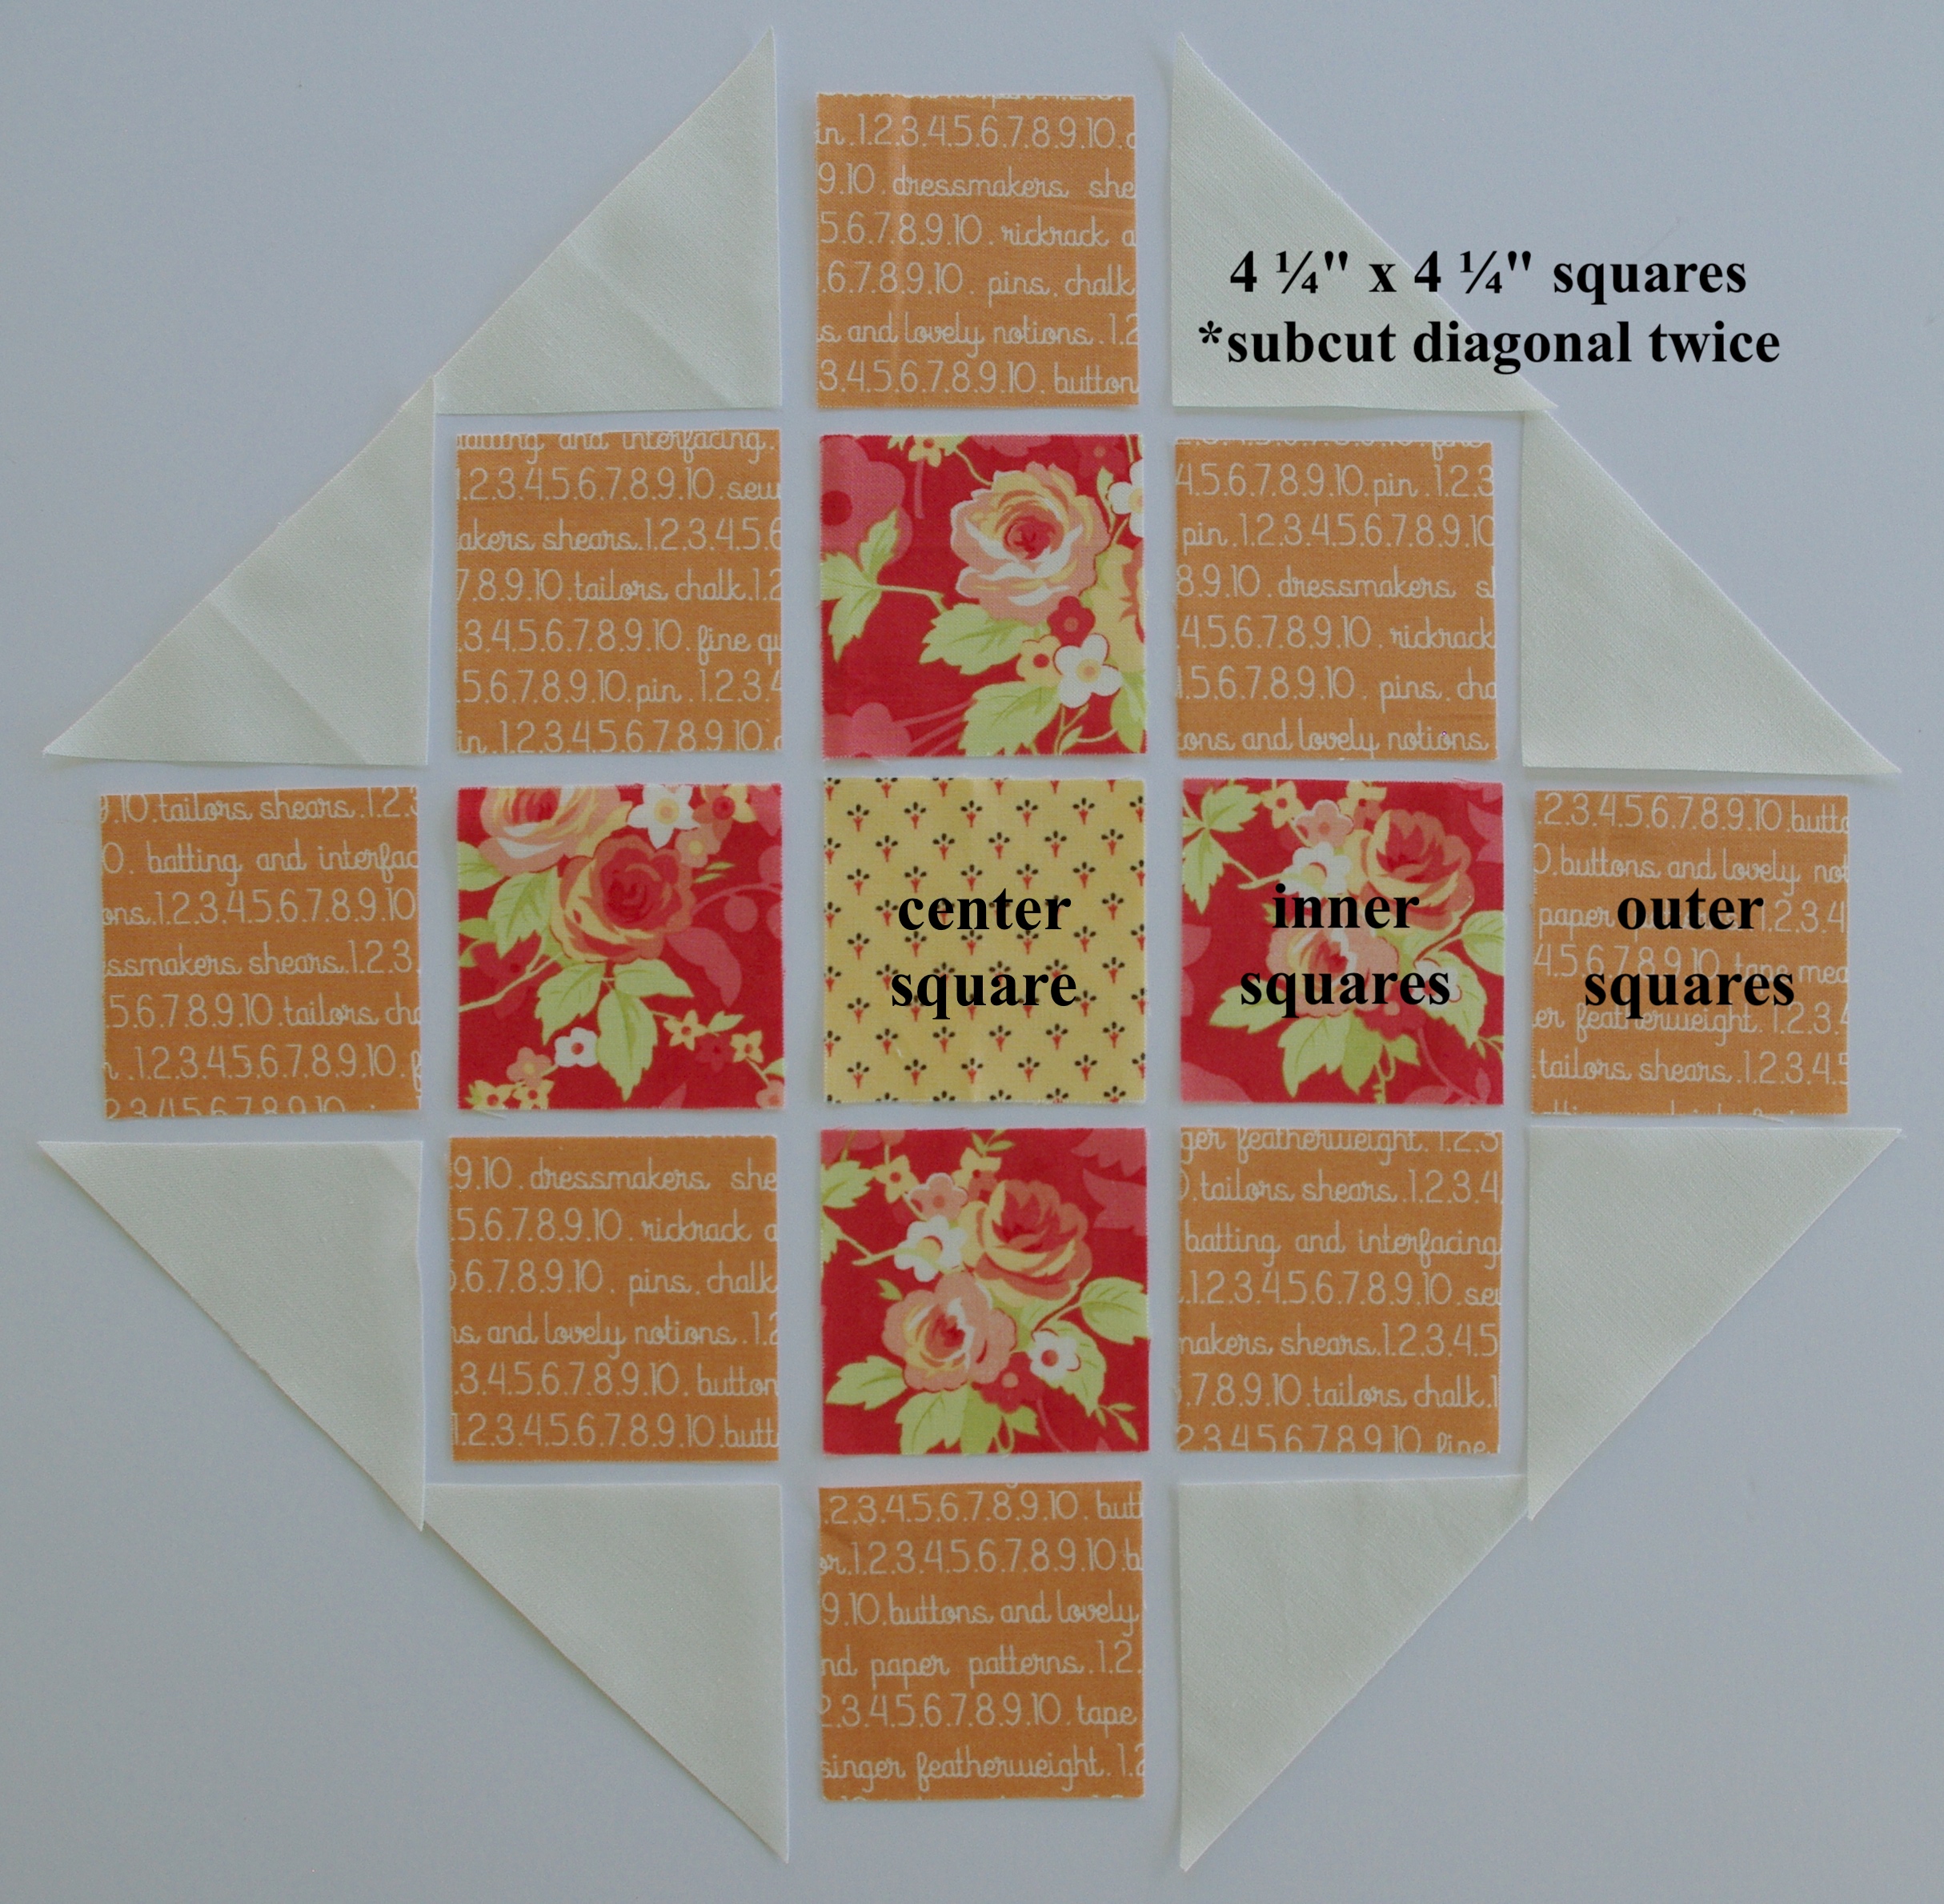
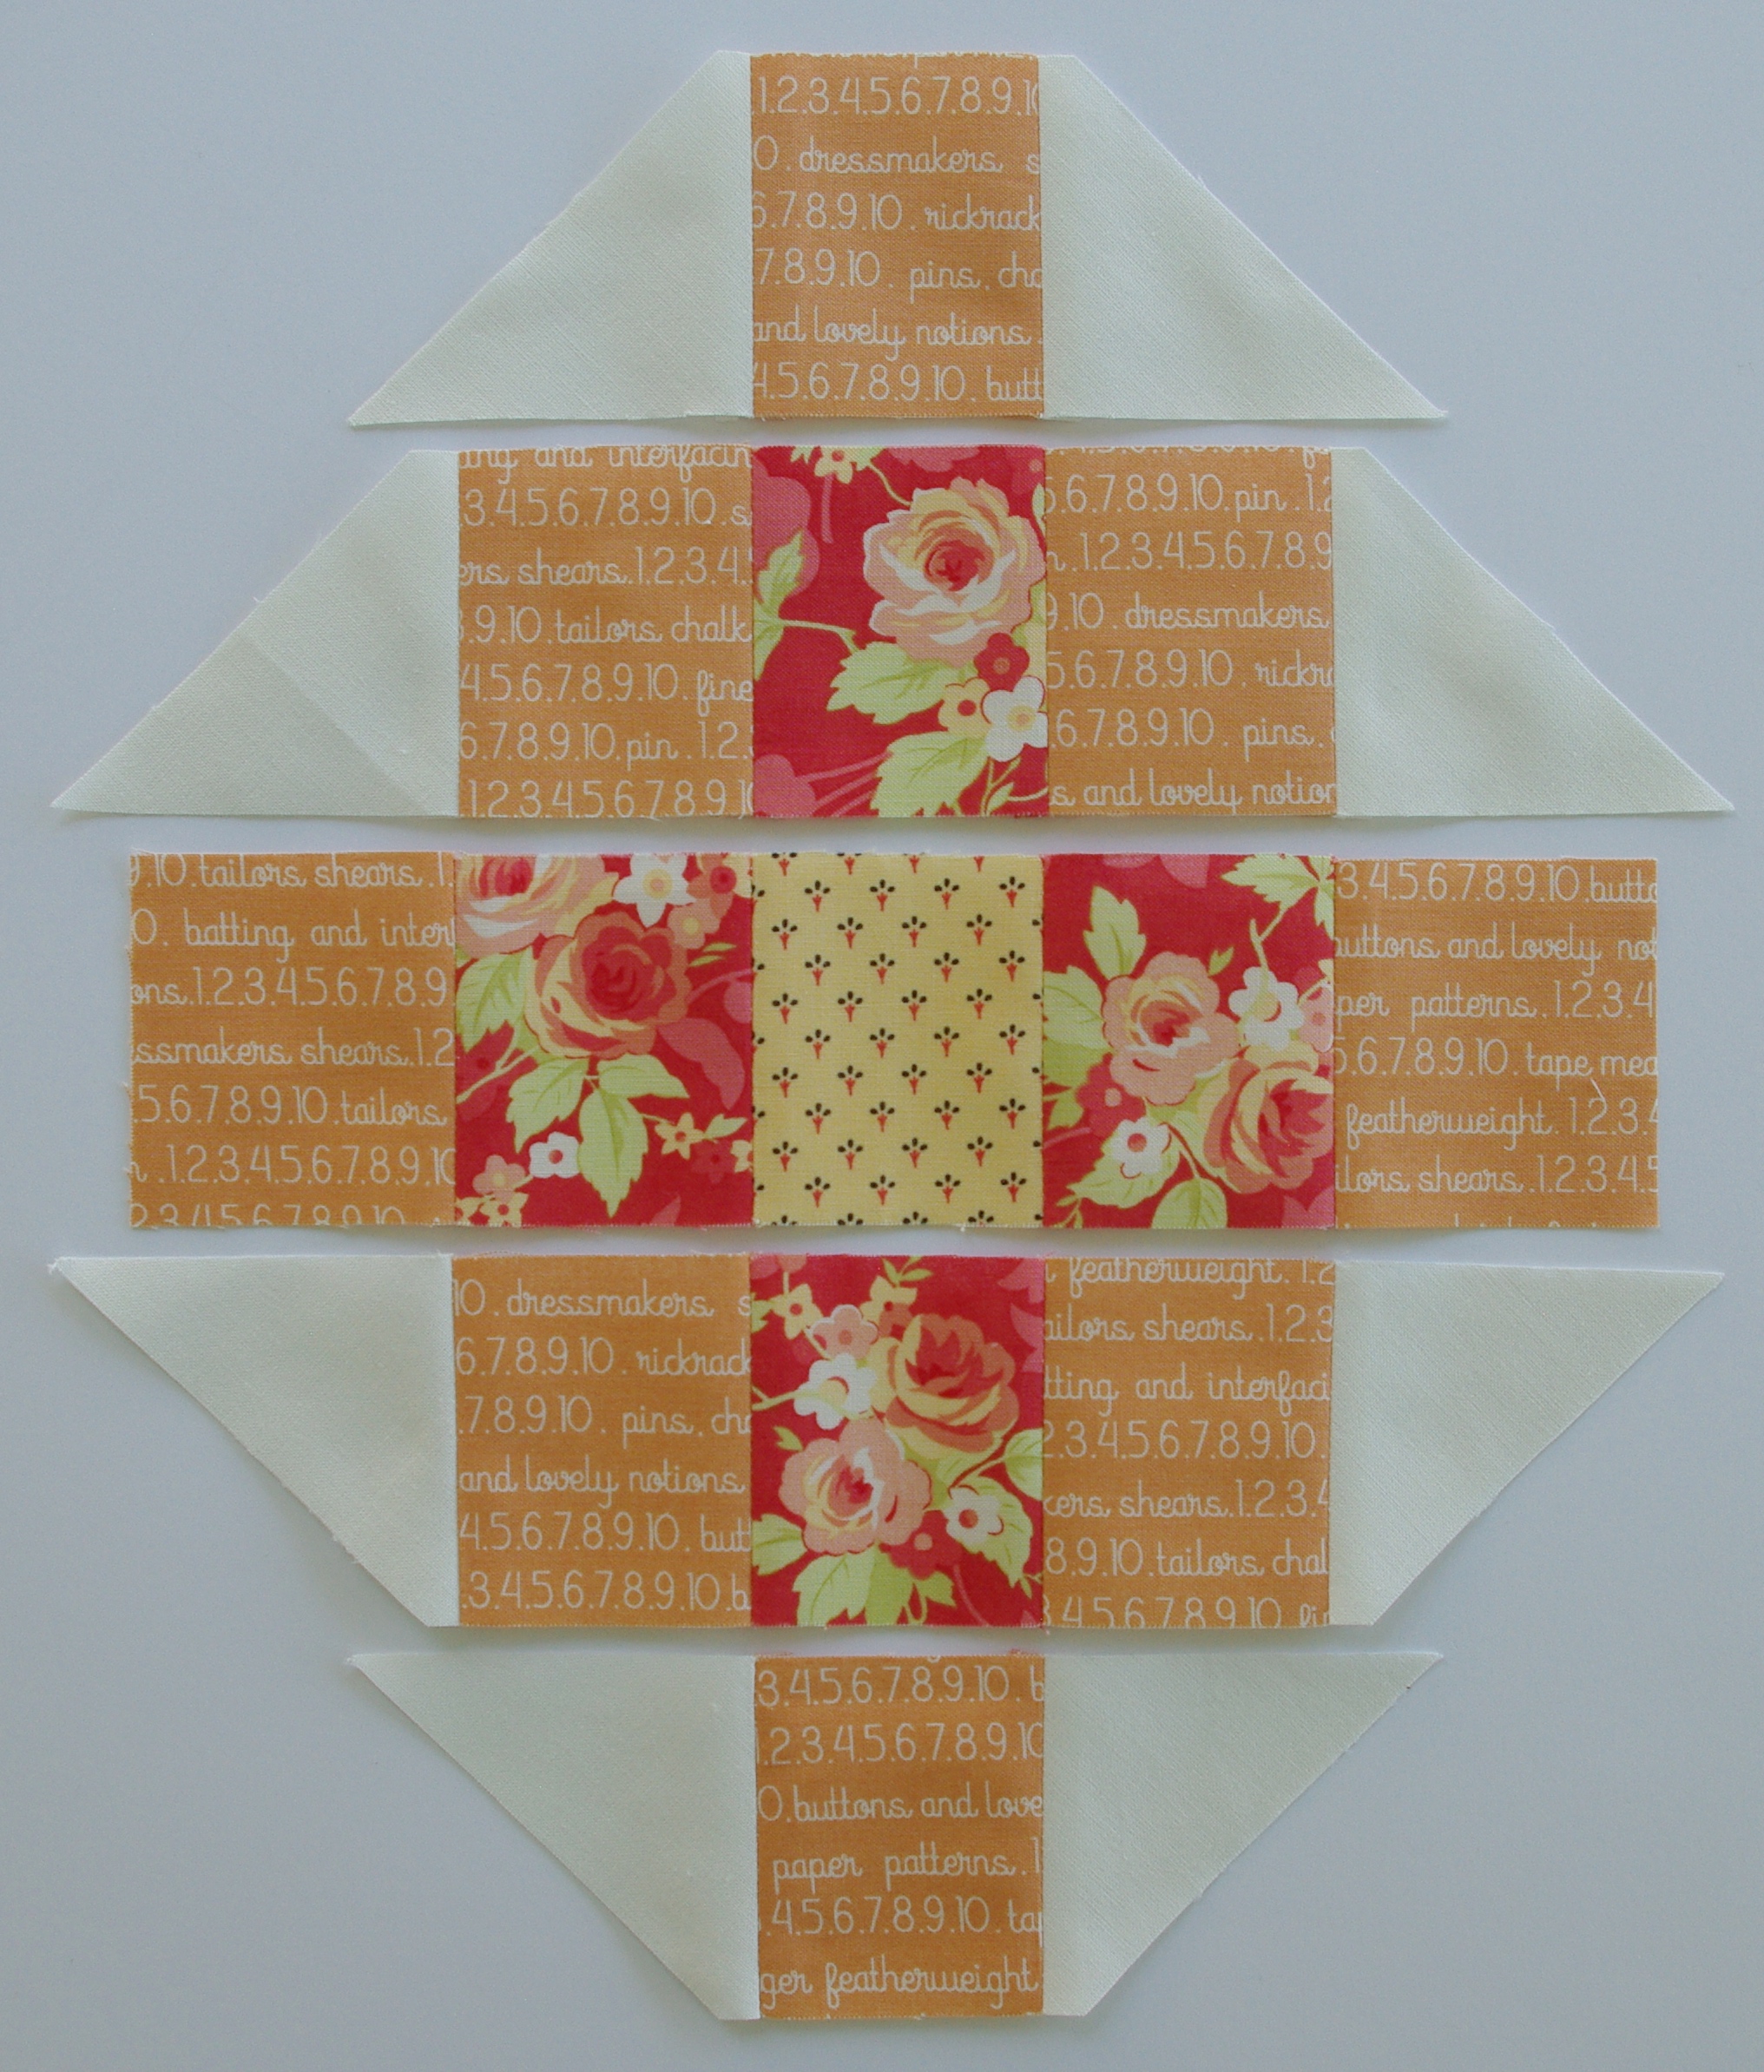
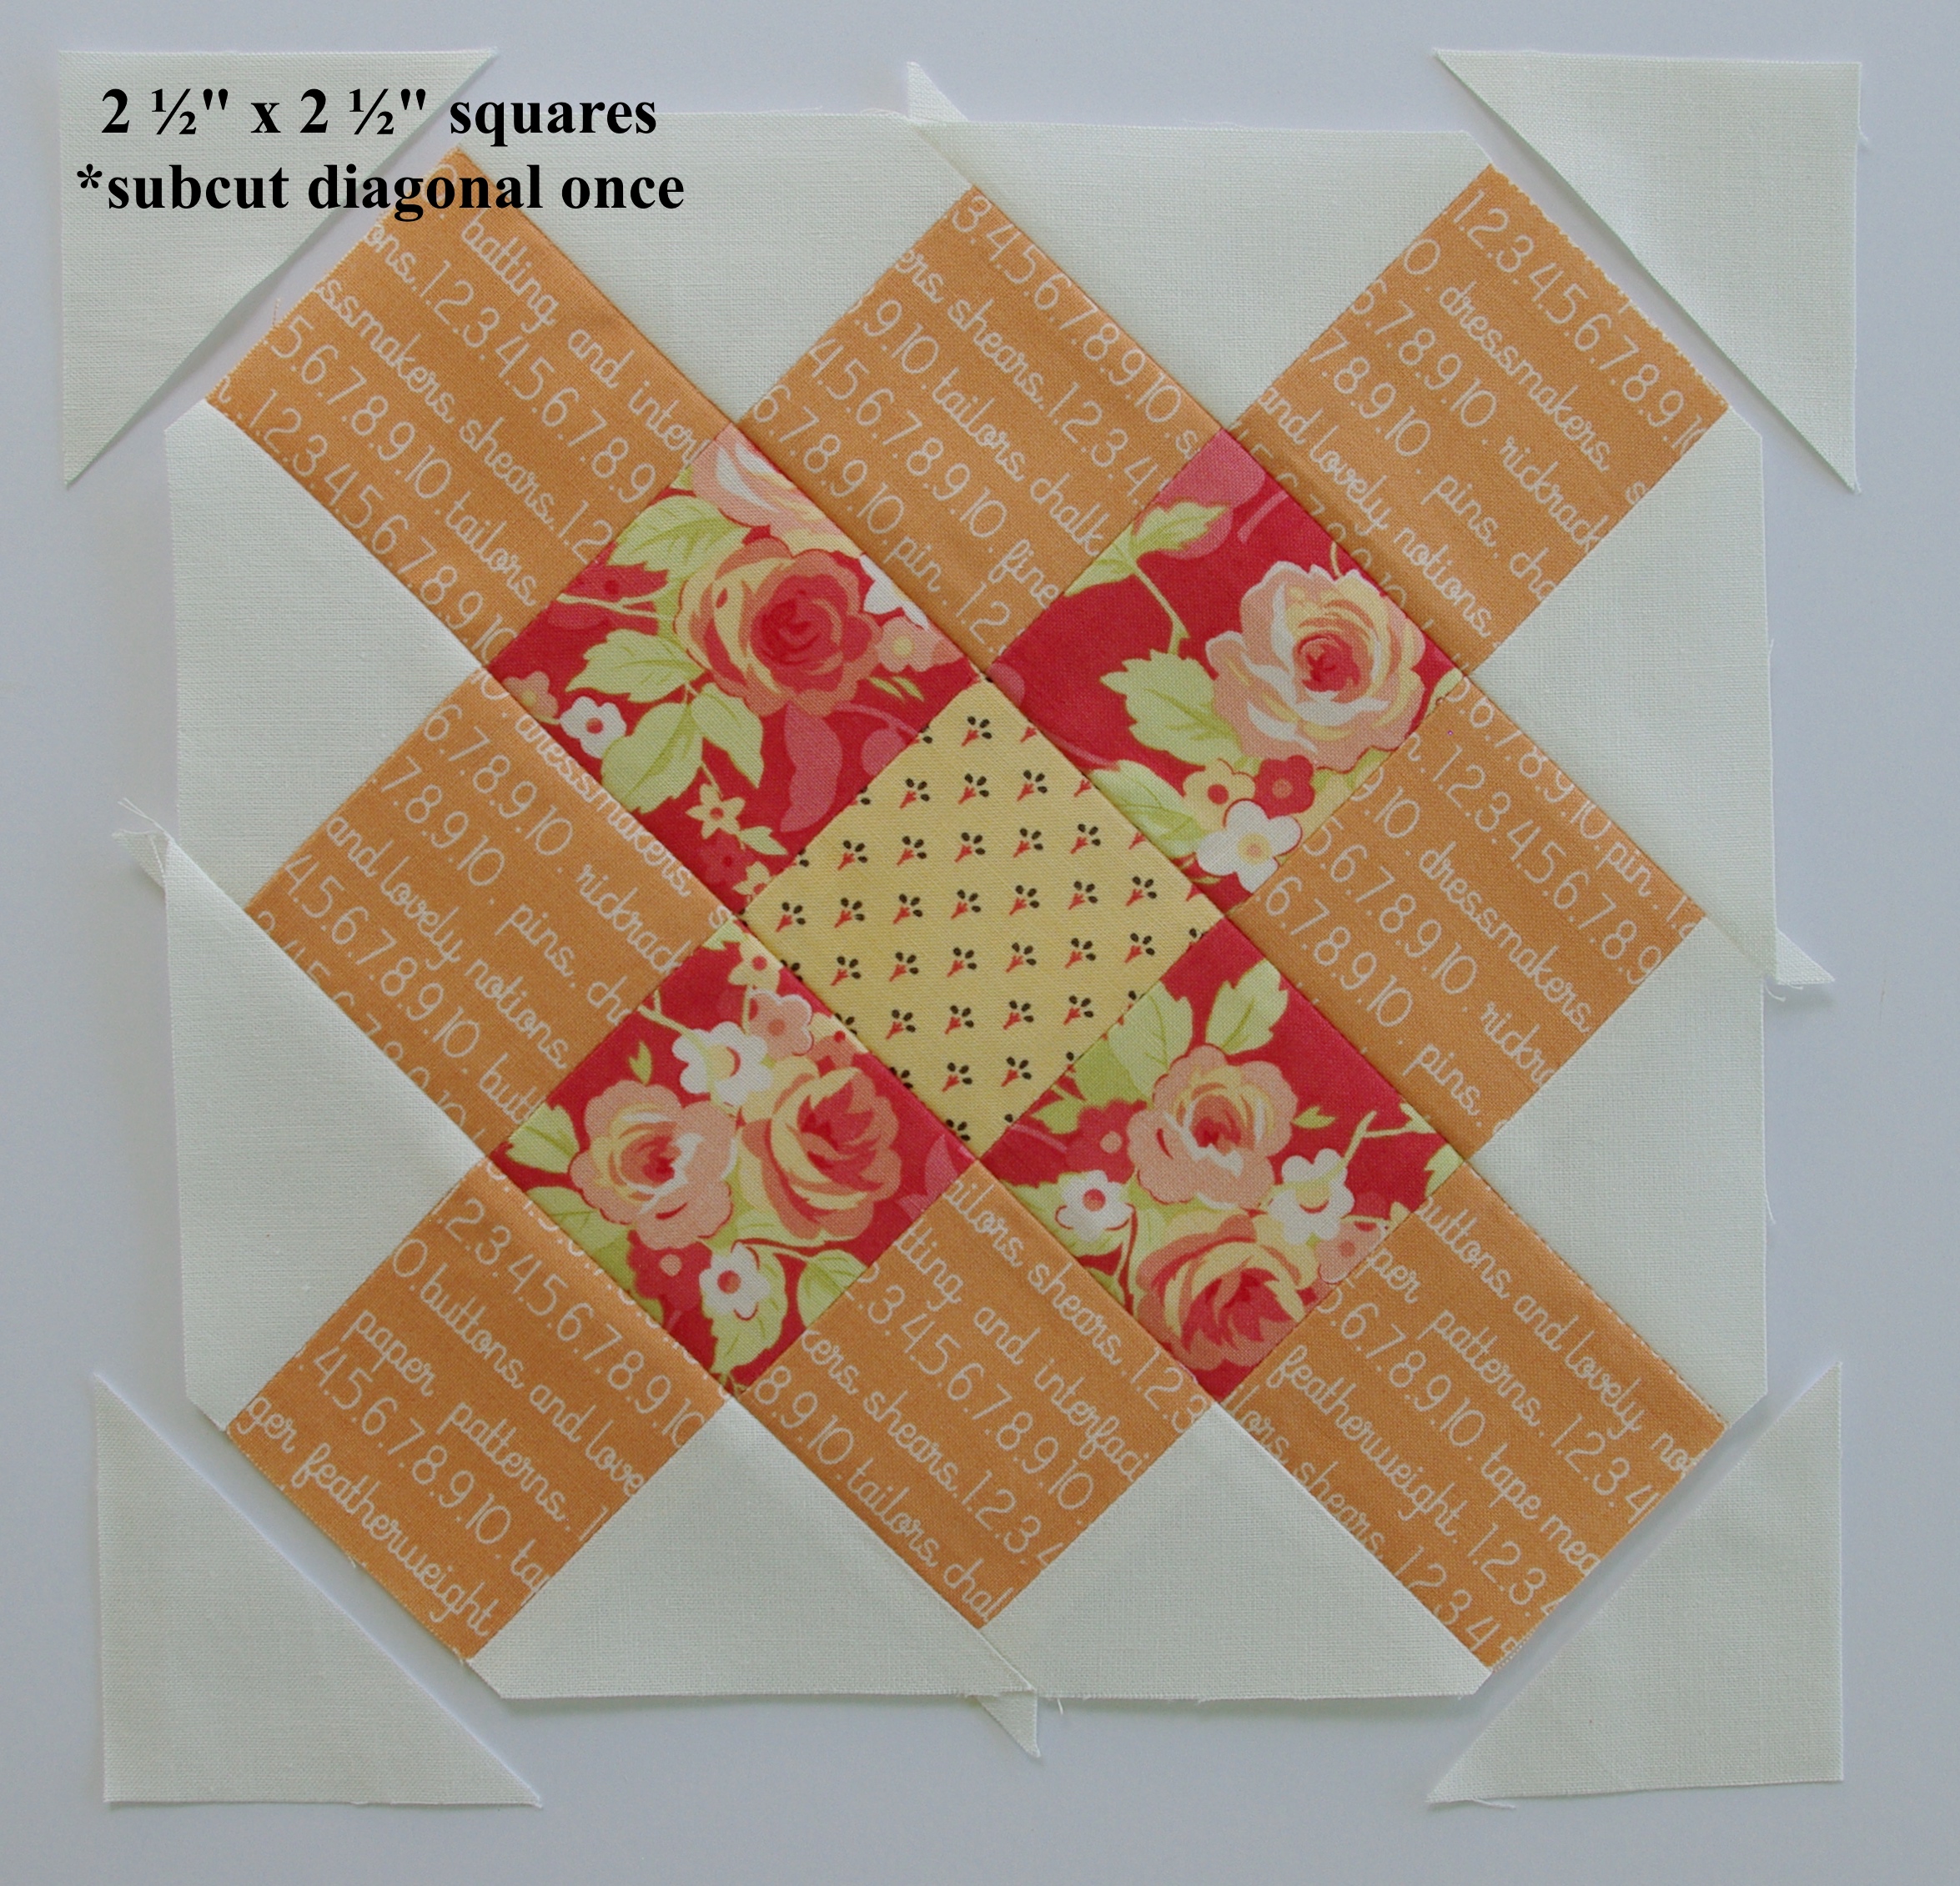
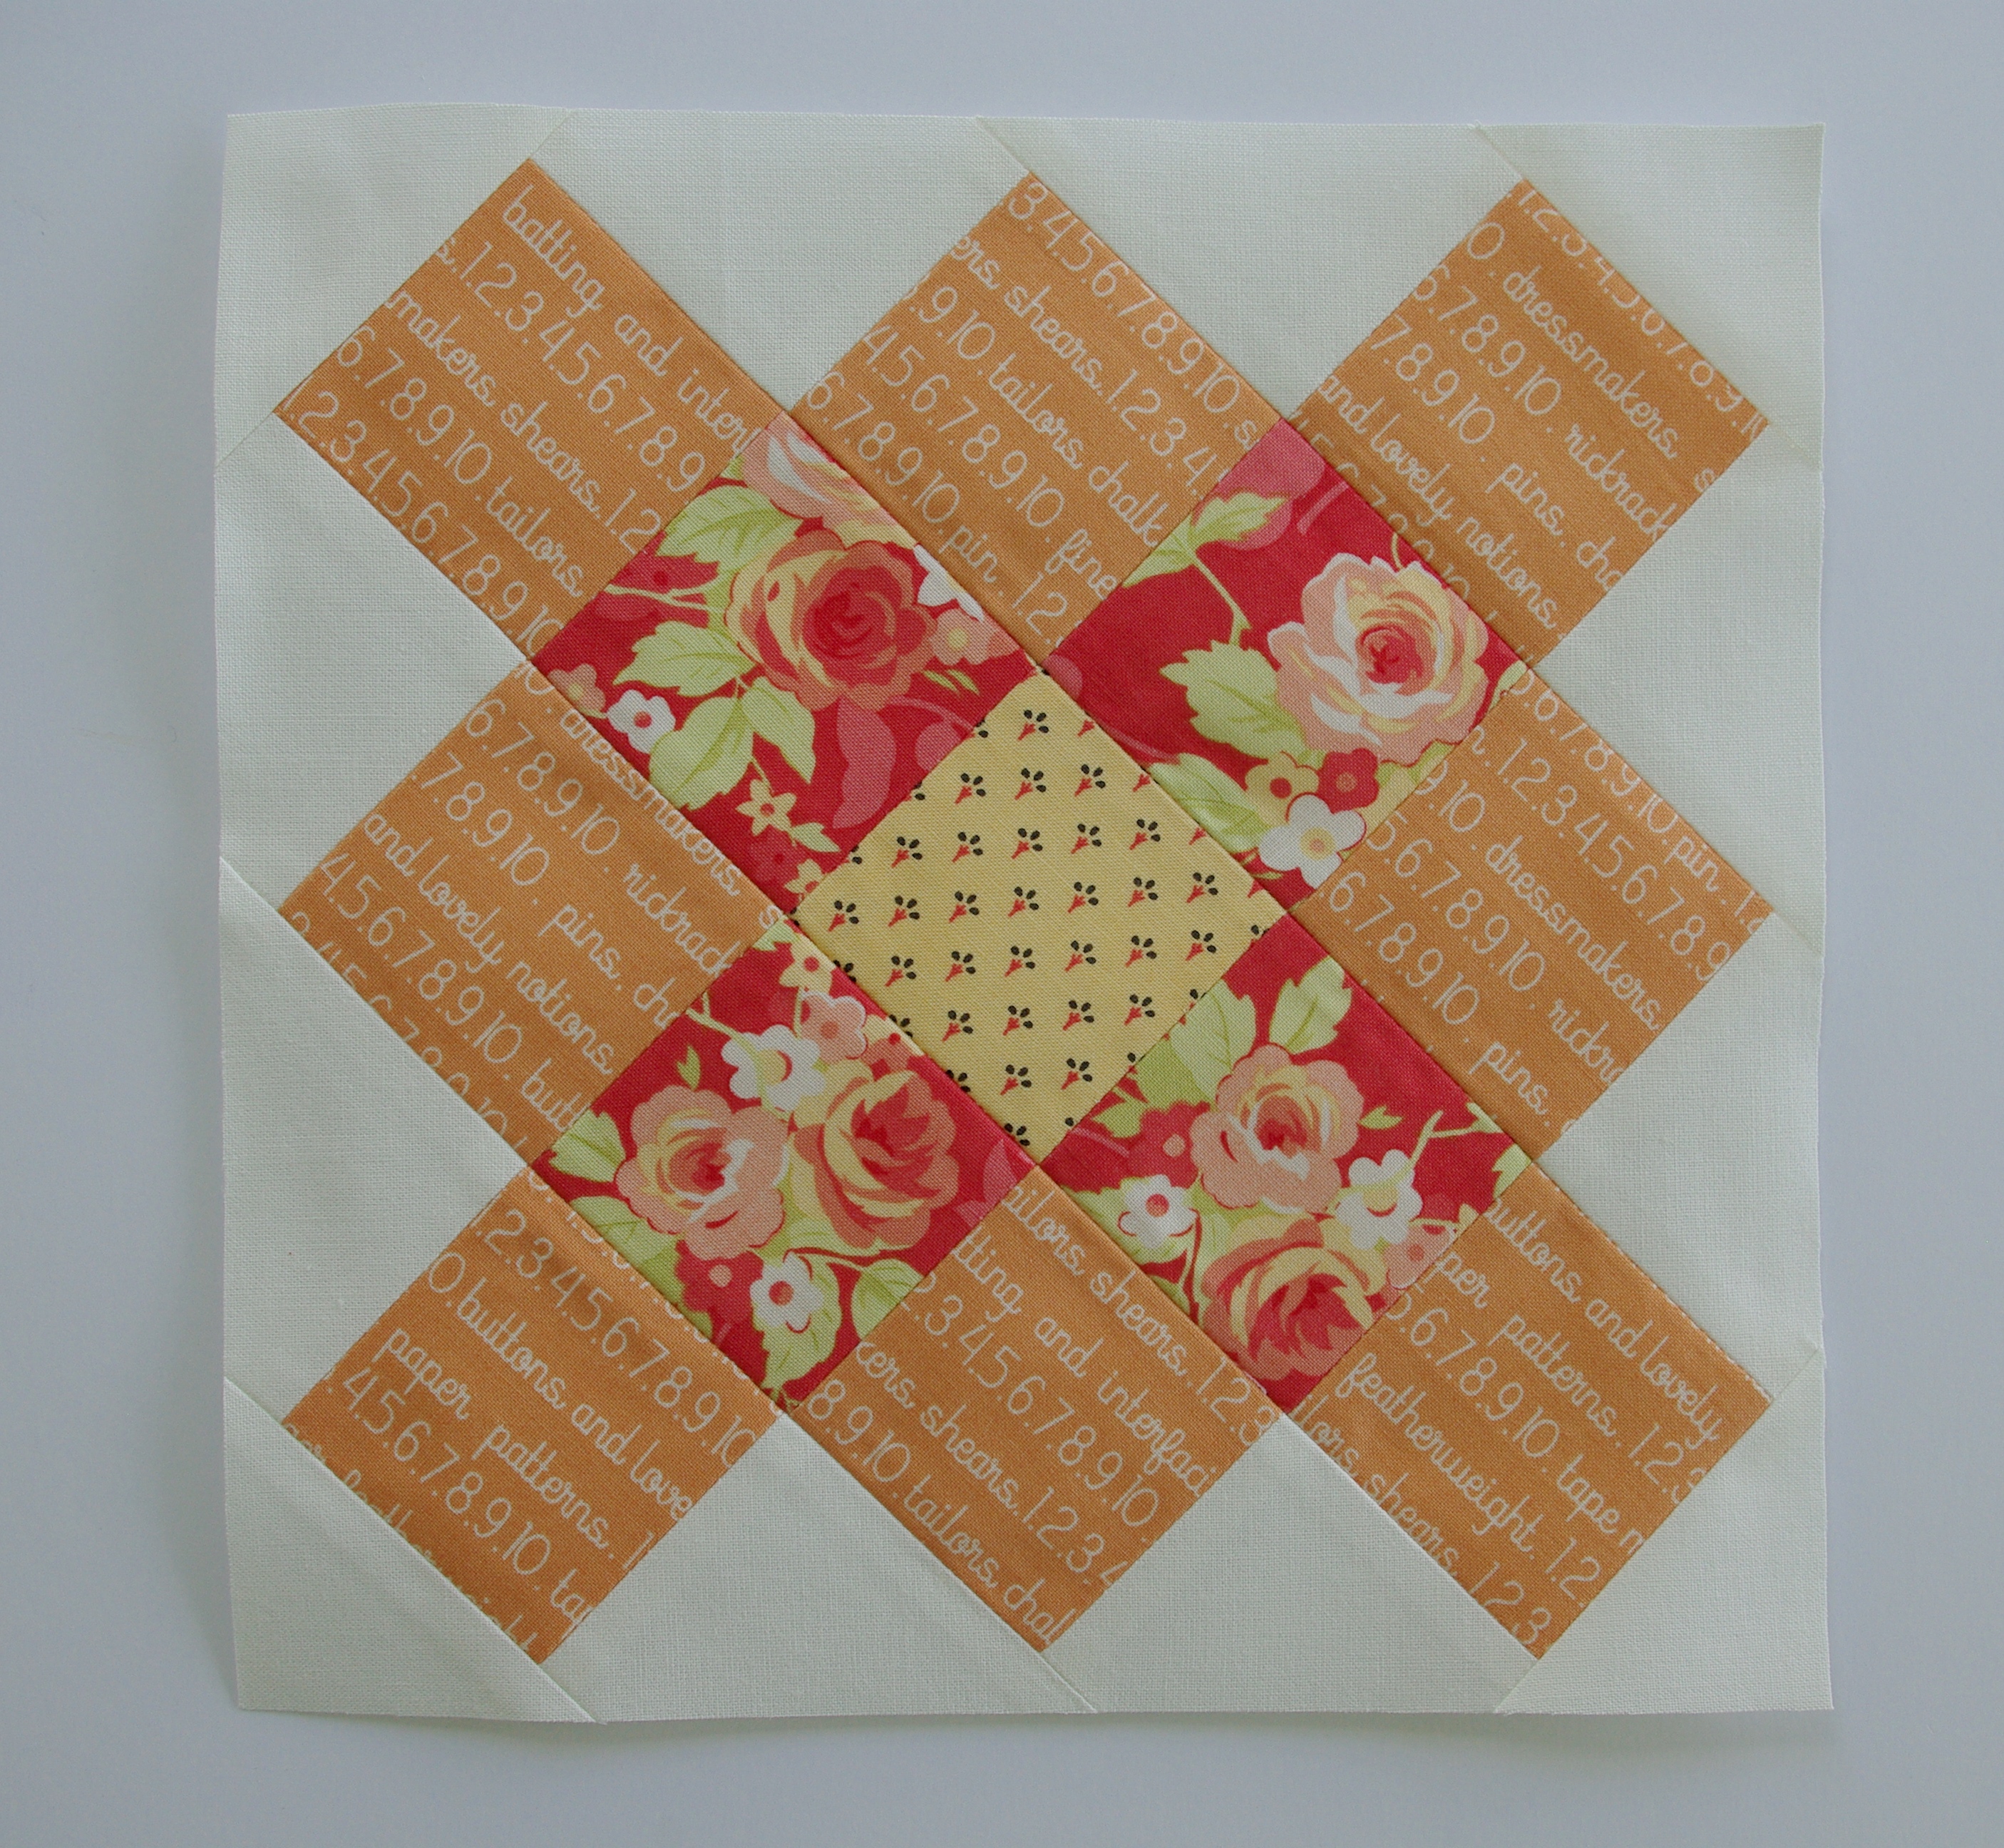
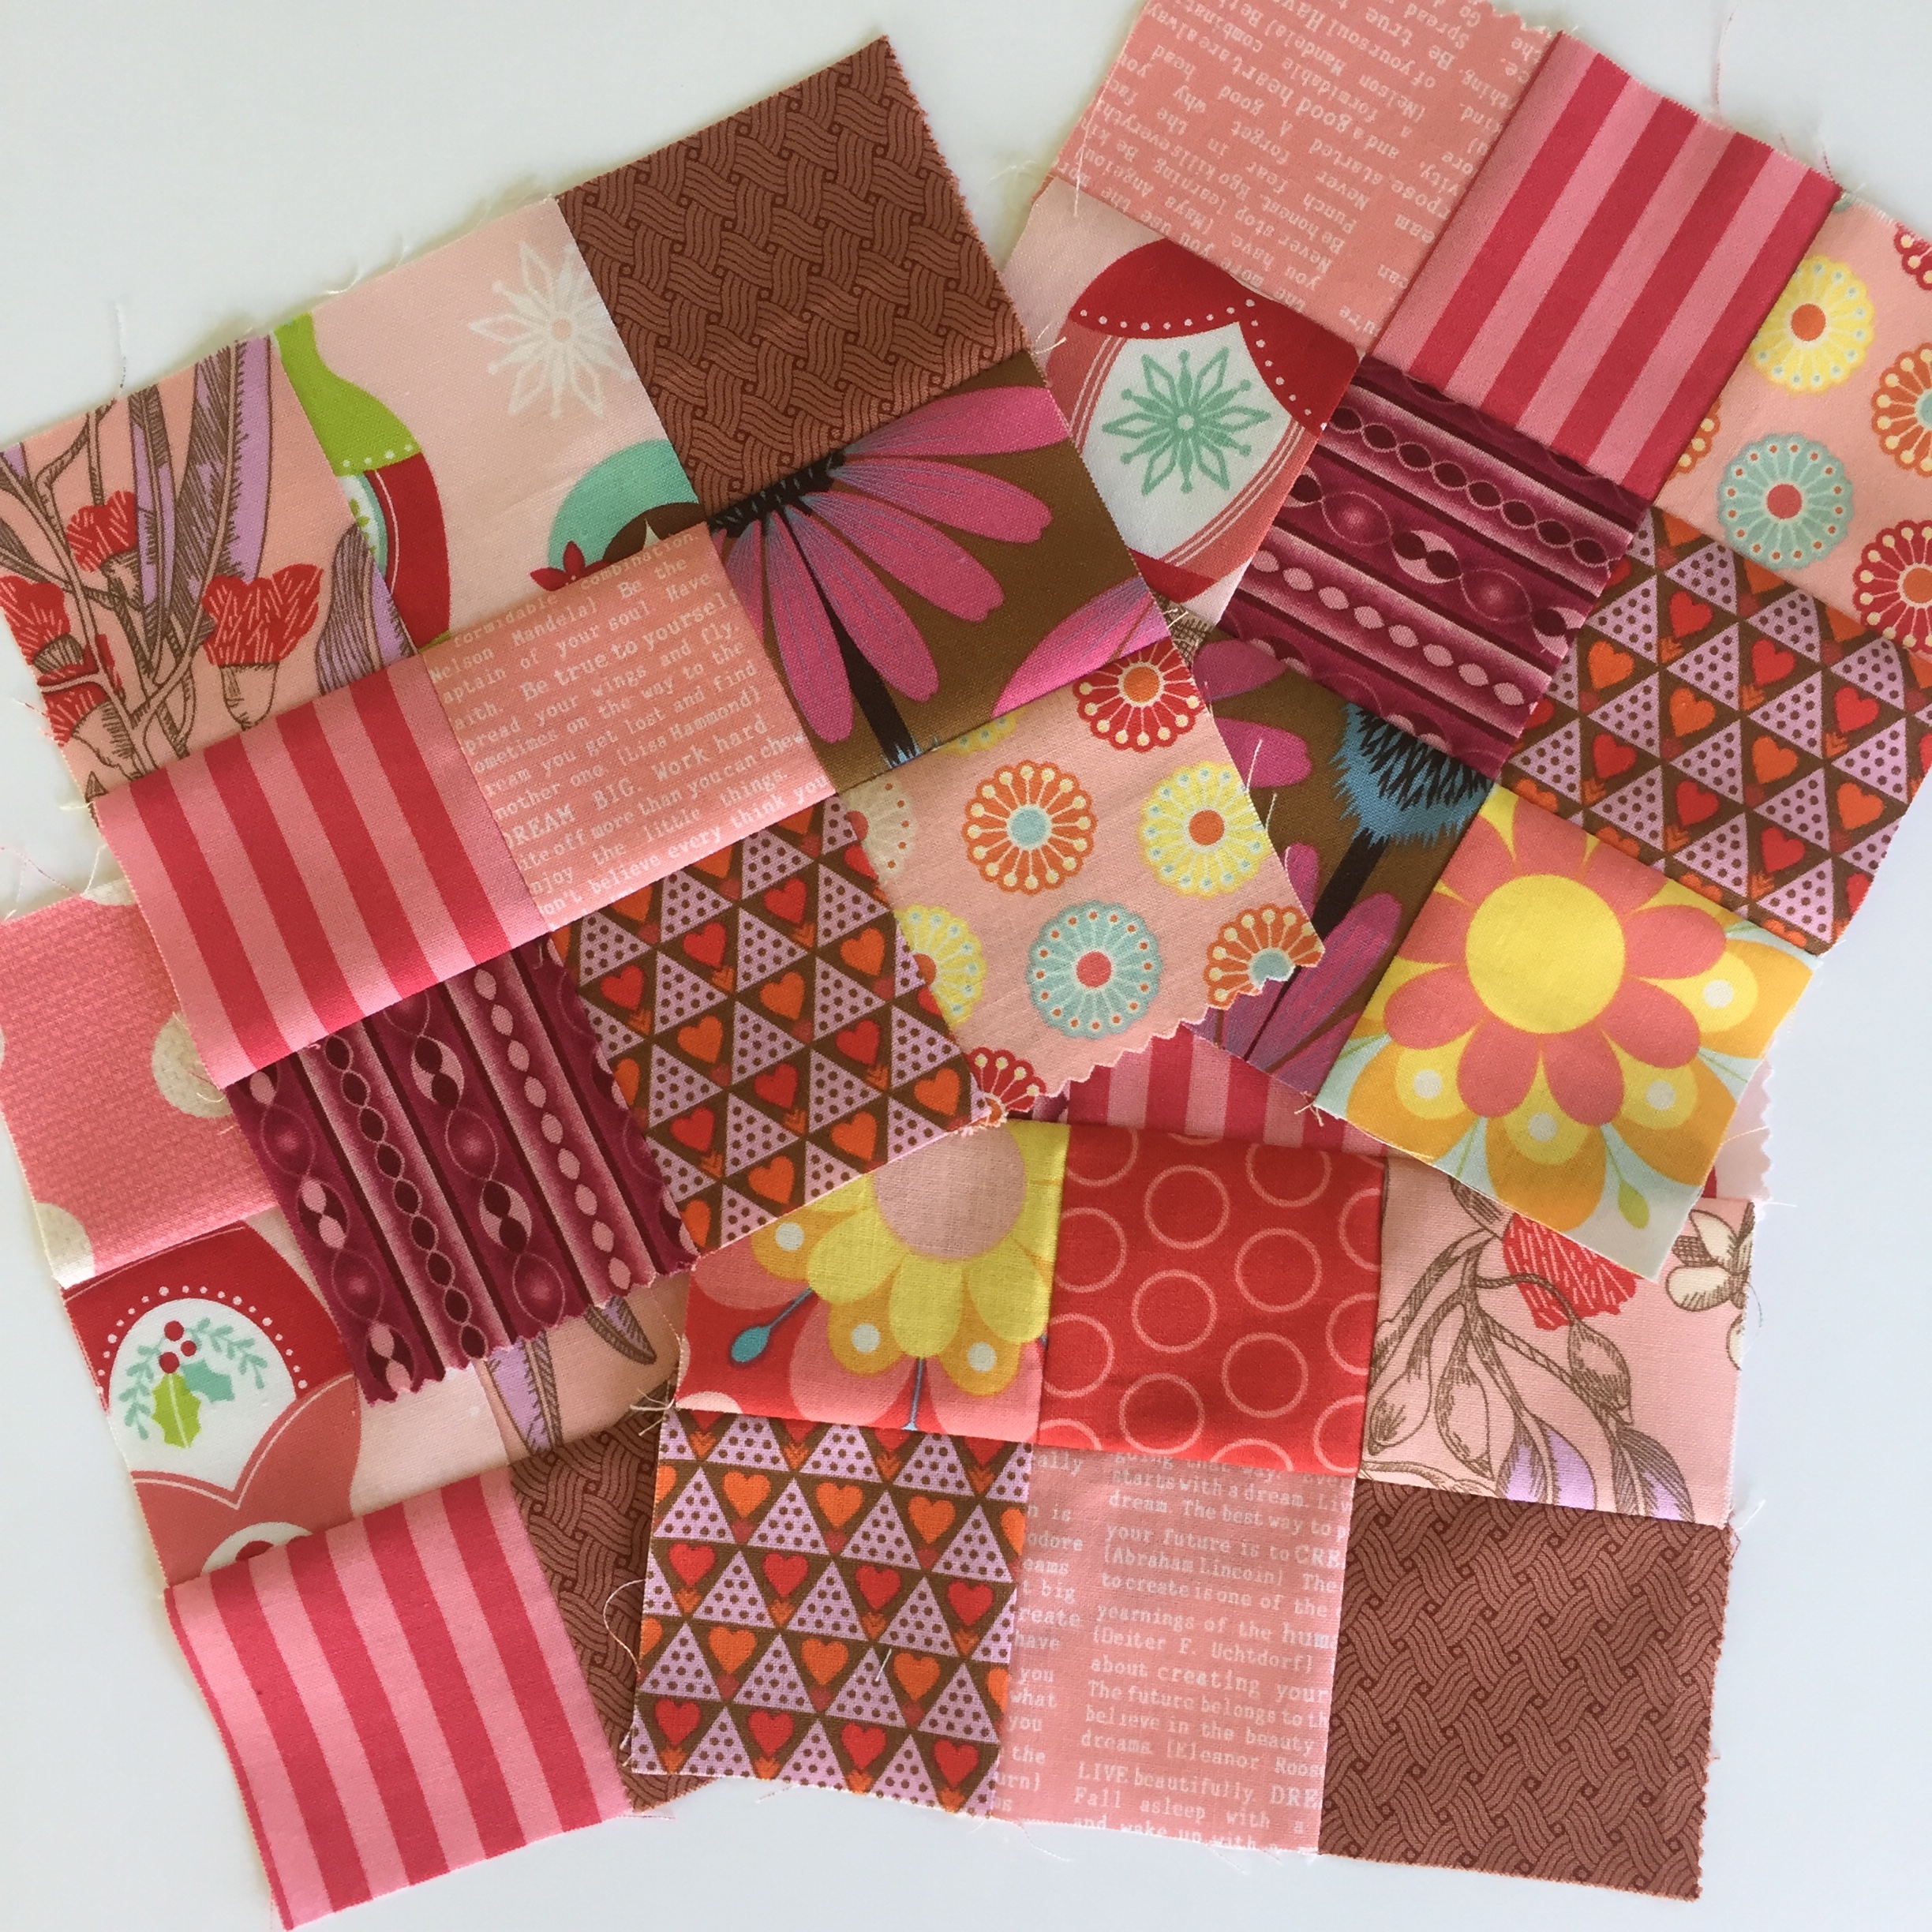
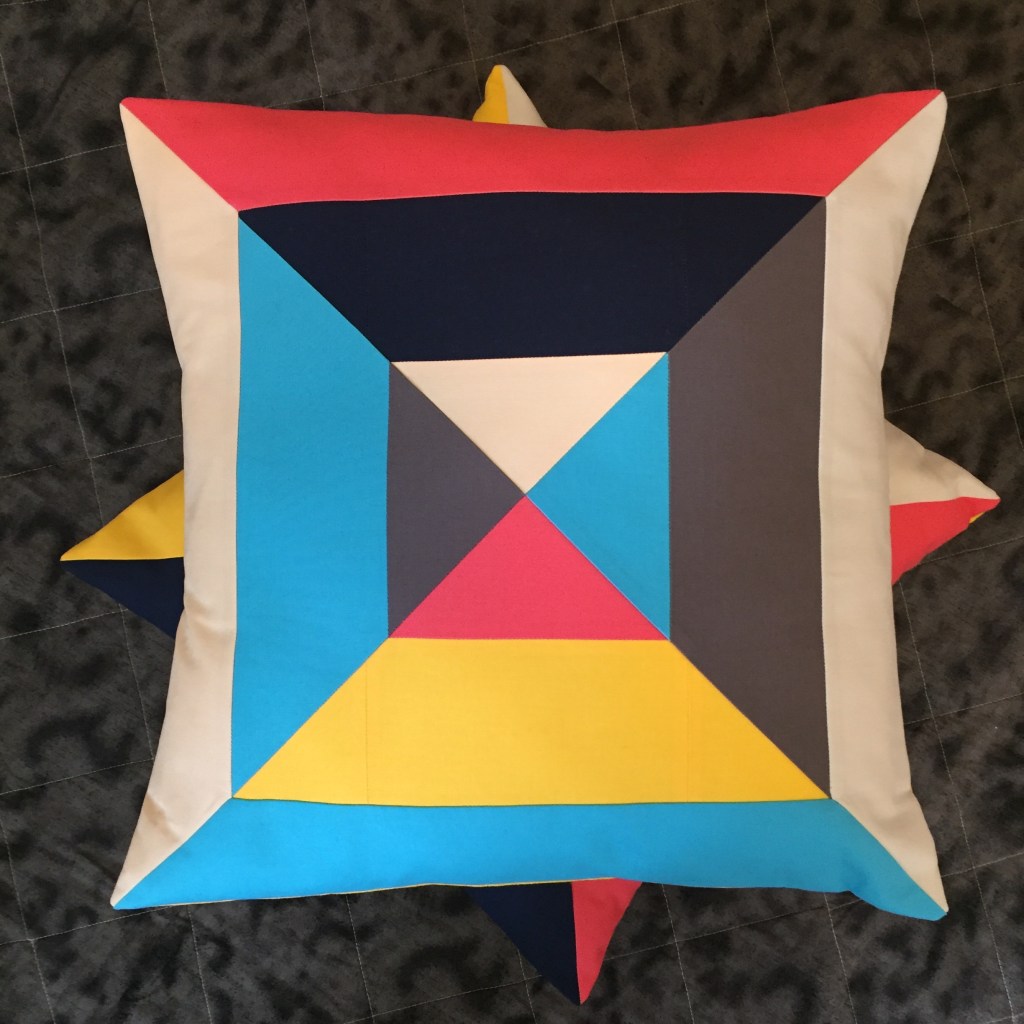
The quilt pattern, Picnic Play by Michelle Bartholomew, is made up of large blocks approximately 15″ square untrimmed, making it relatively easy to turn the blocks into 18″ pillows by adding borders. I say ‘relatively’ easy because I couldn’t just add the traditional squared borders due to the nature of the block construction.

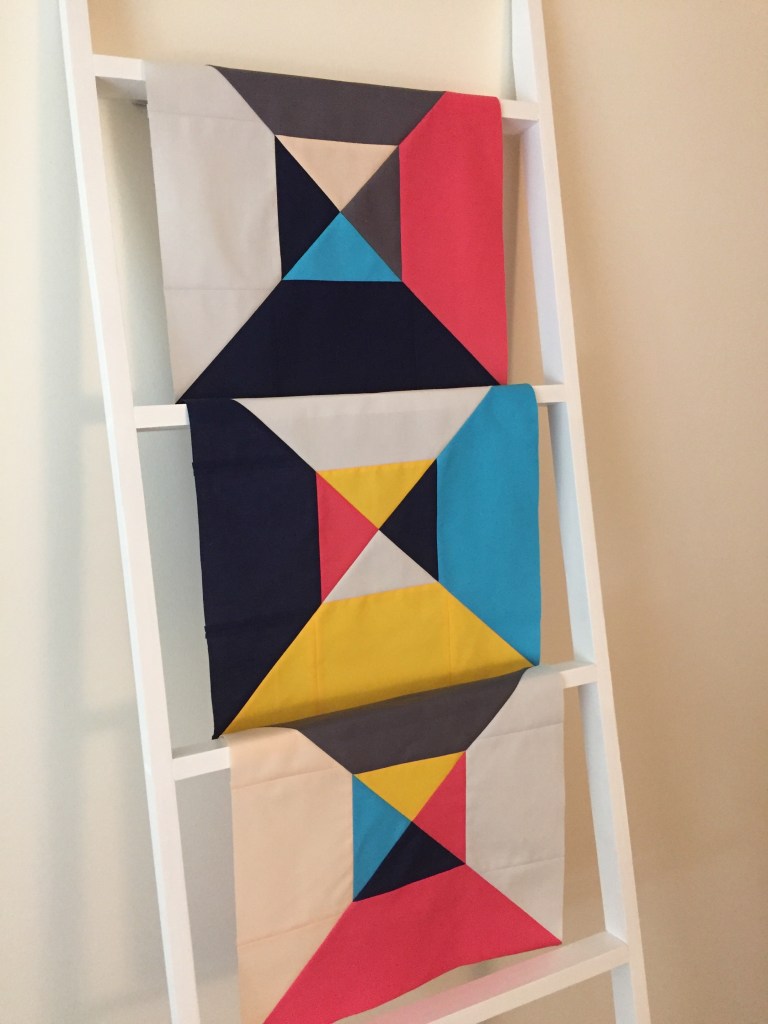
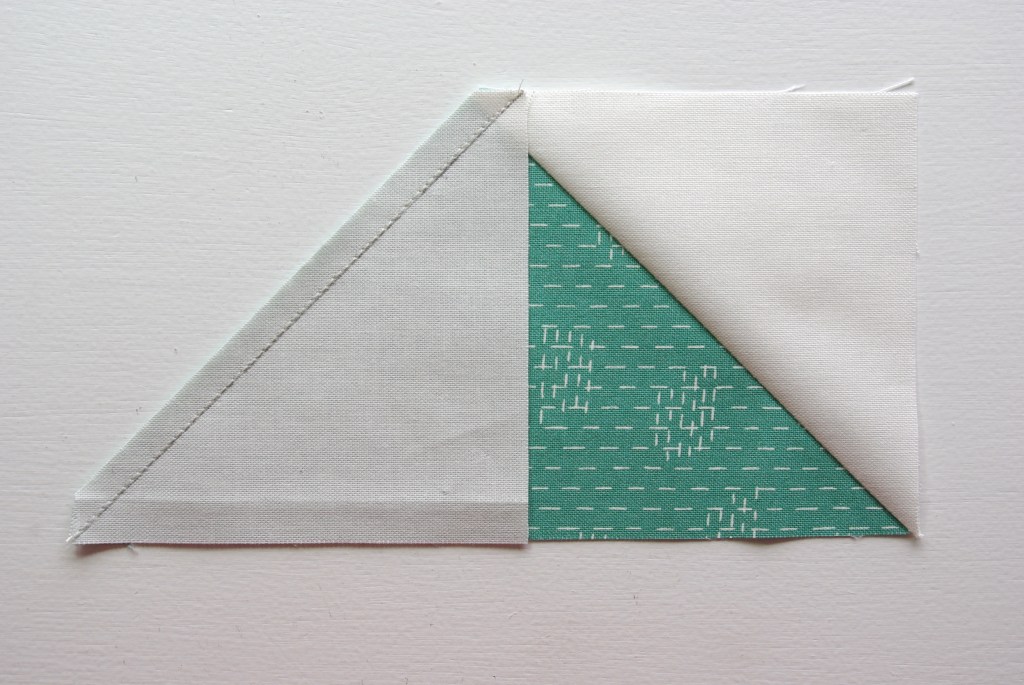
Since the quadrants are triangles, I had to add mitered borders…and I’d never done that before, but I was up for the challenge.

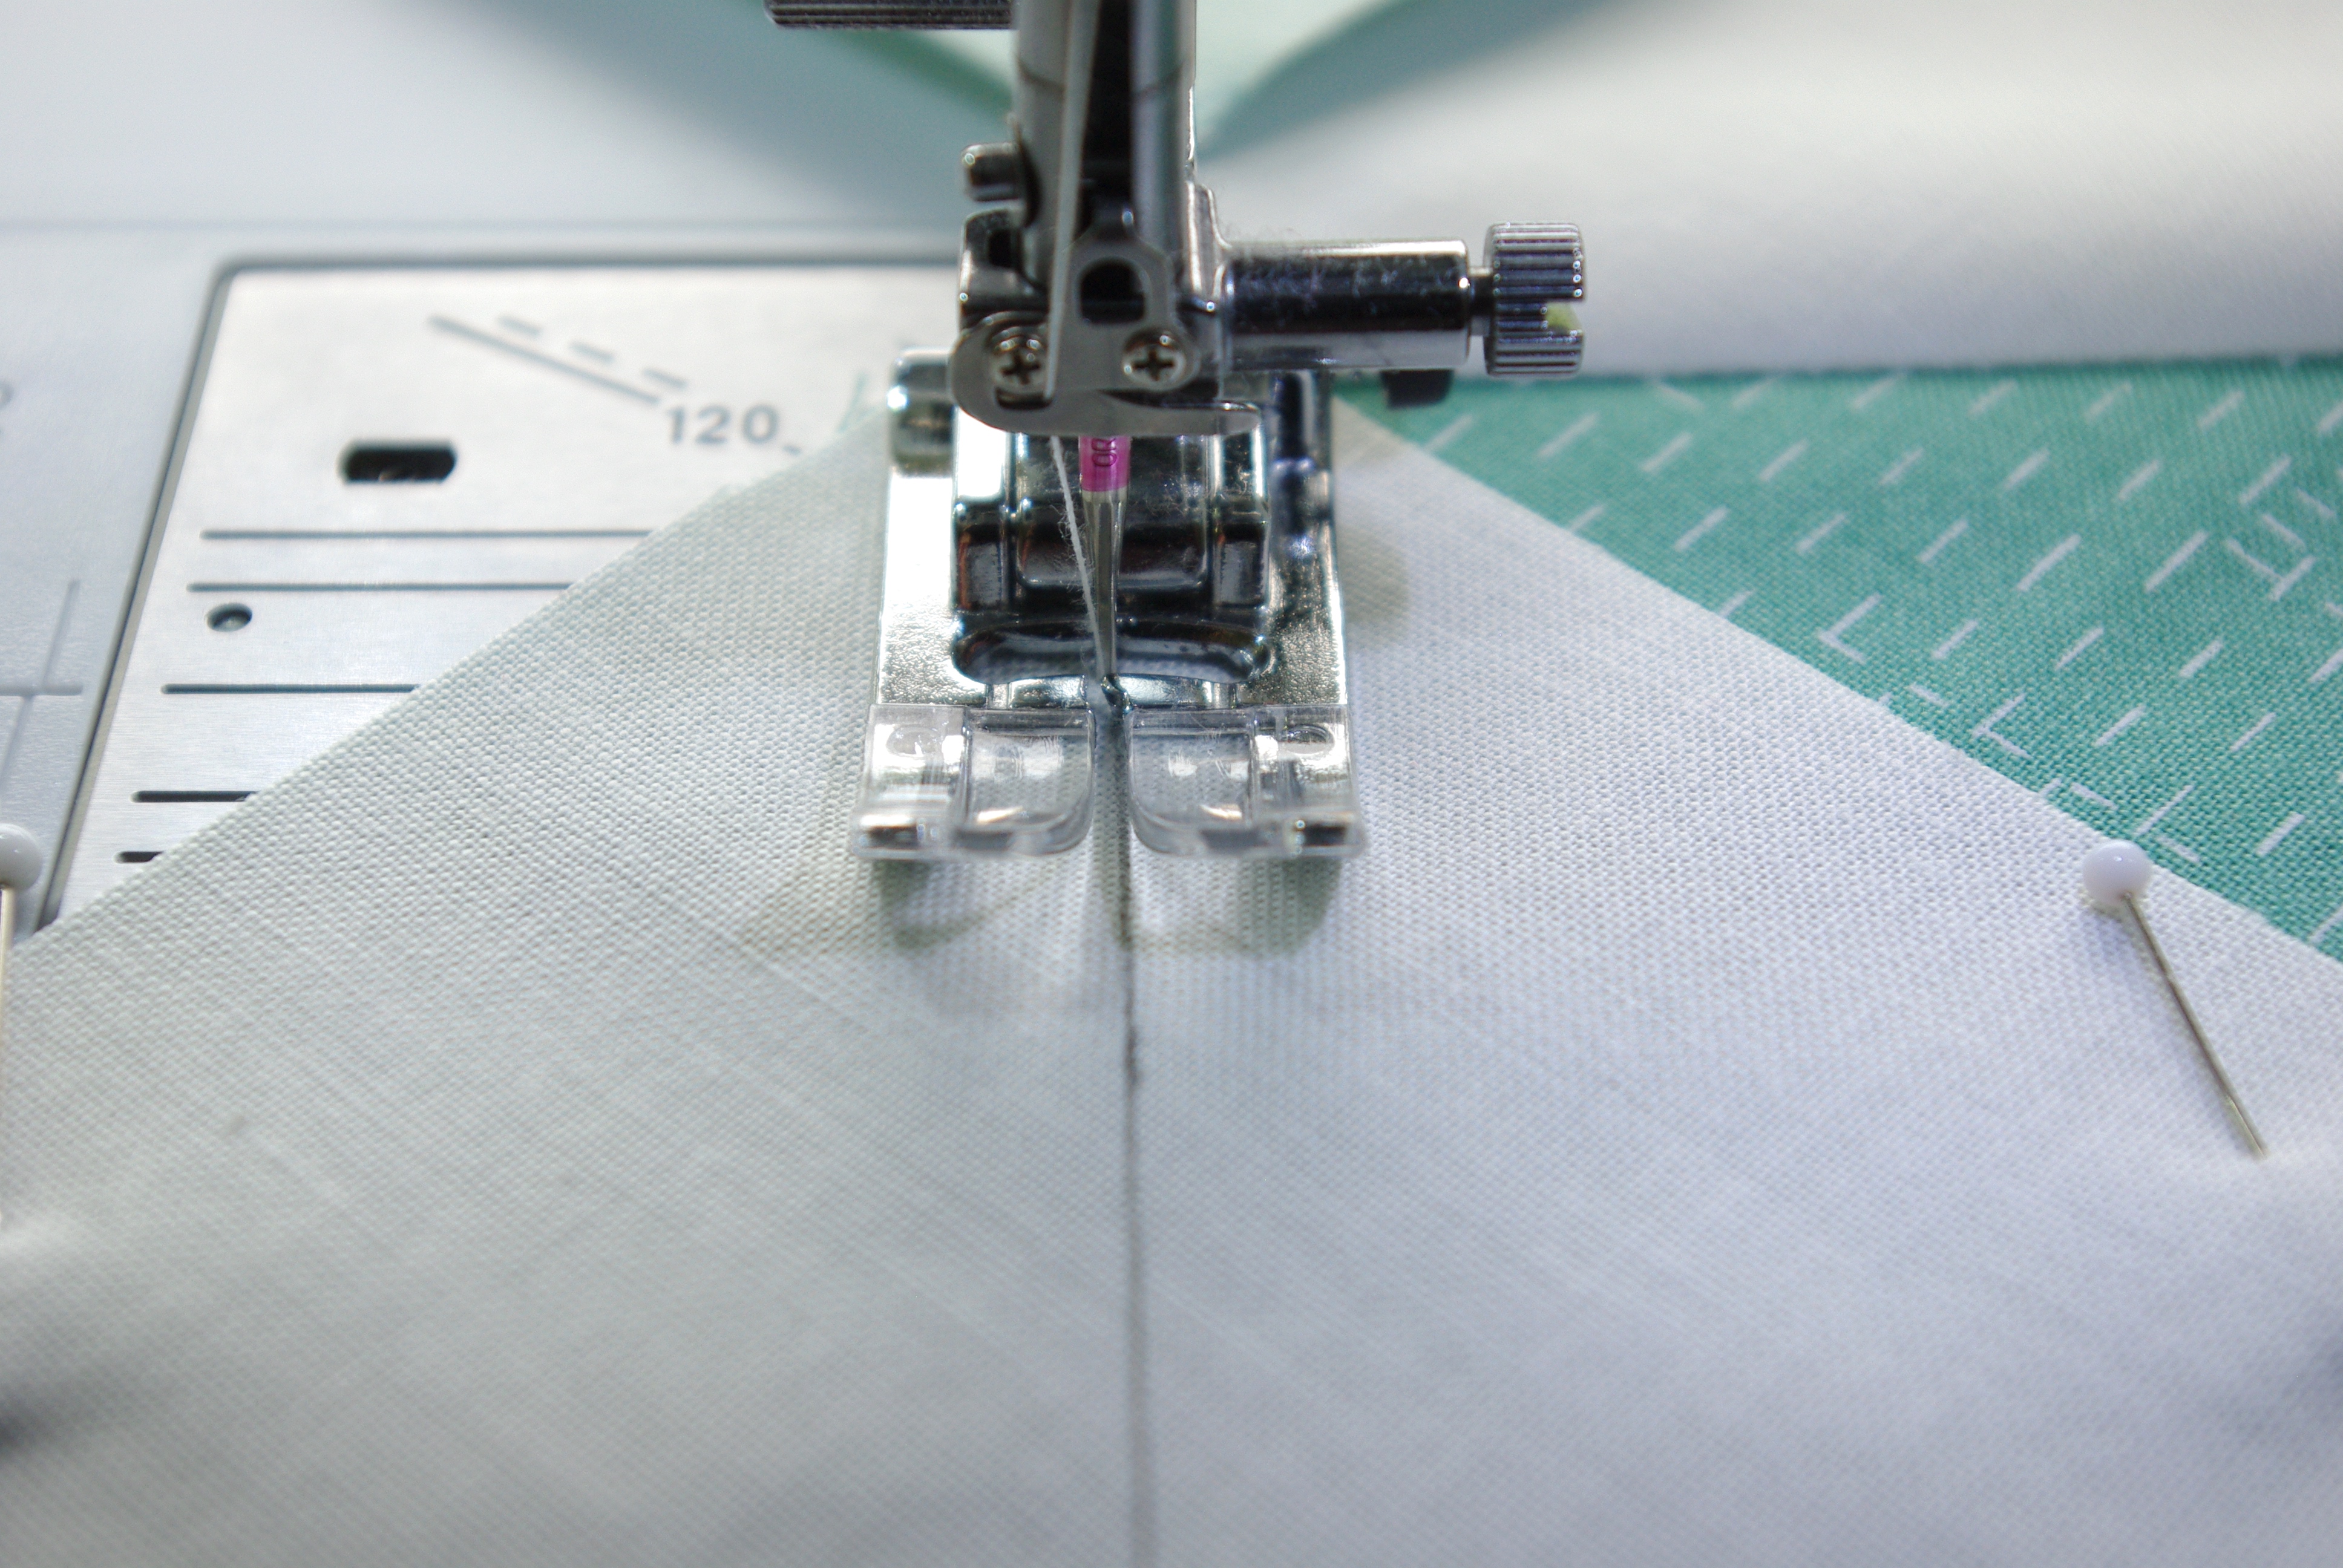
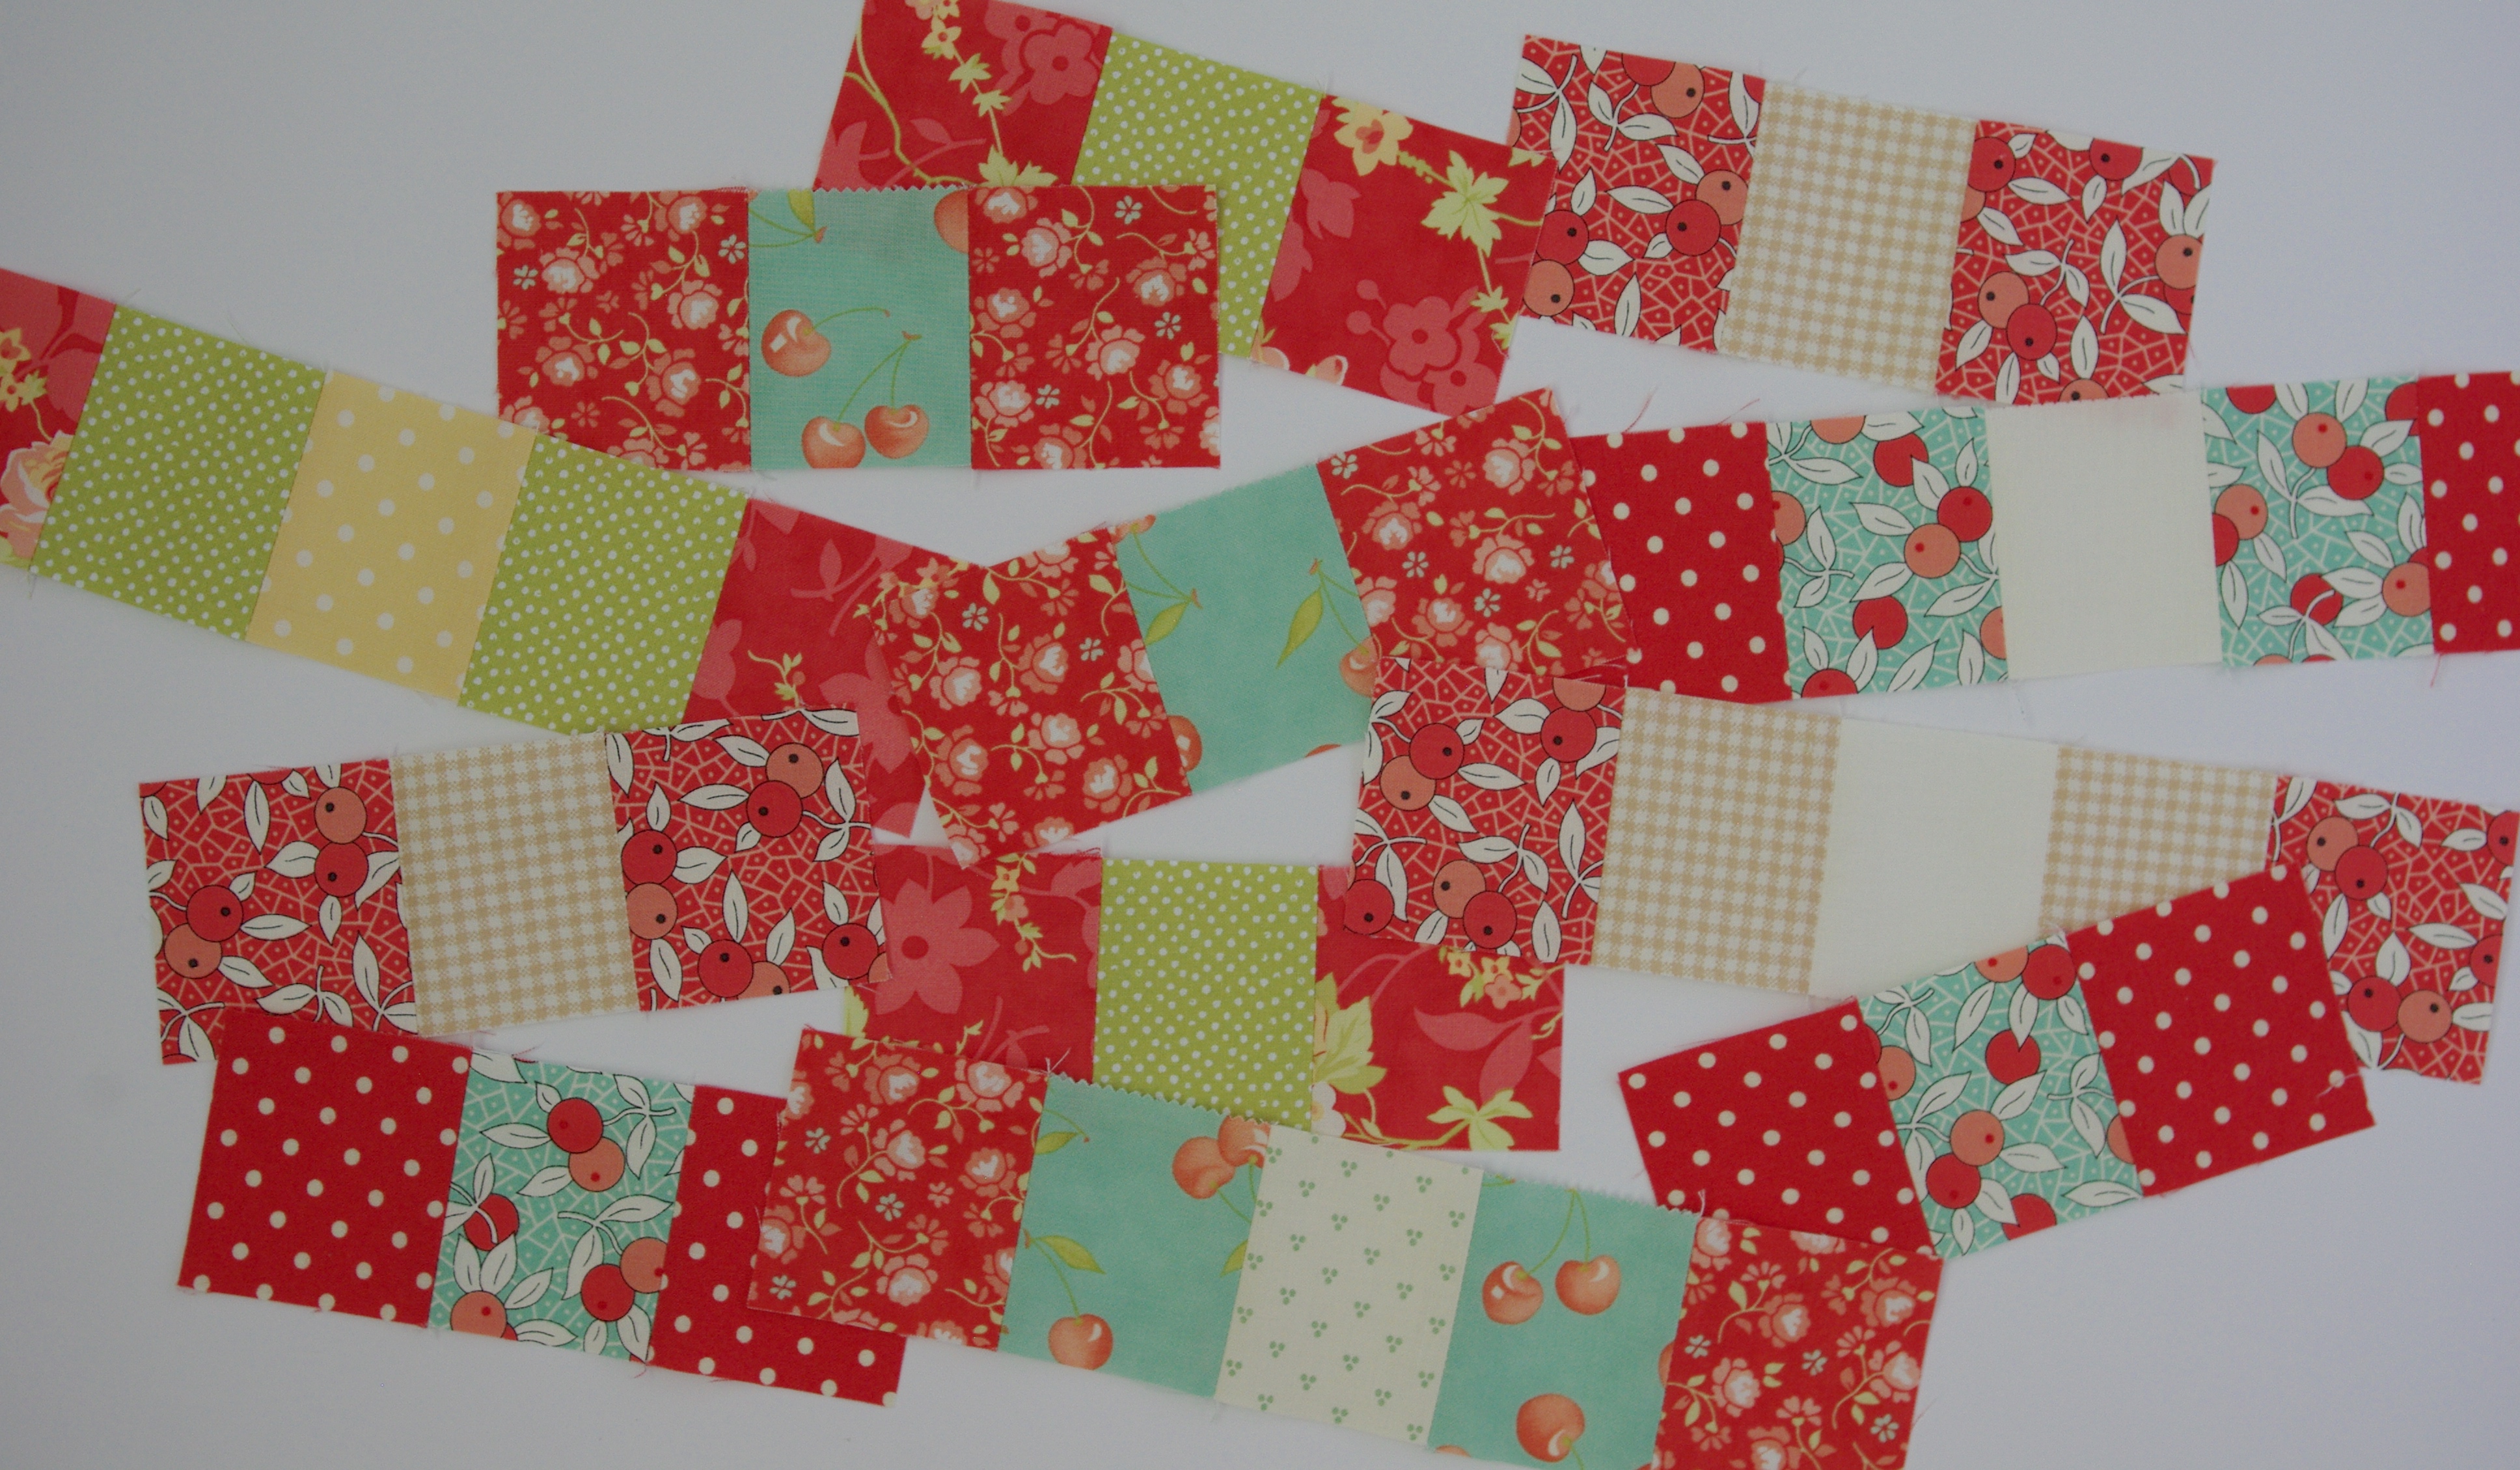
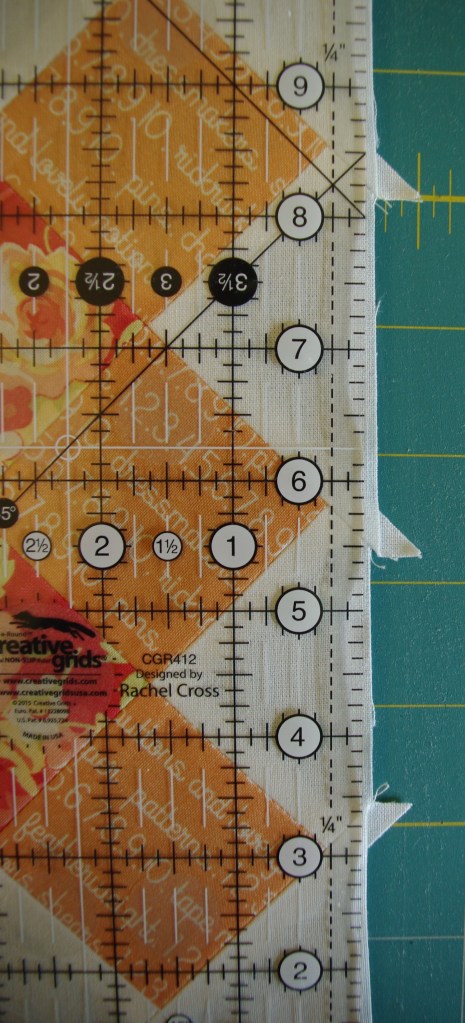
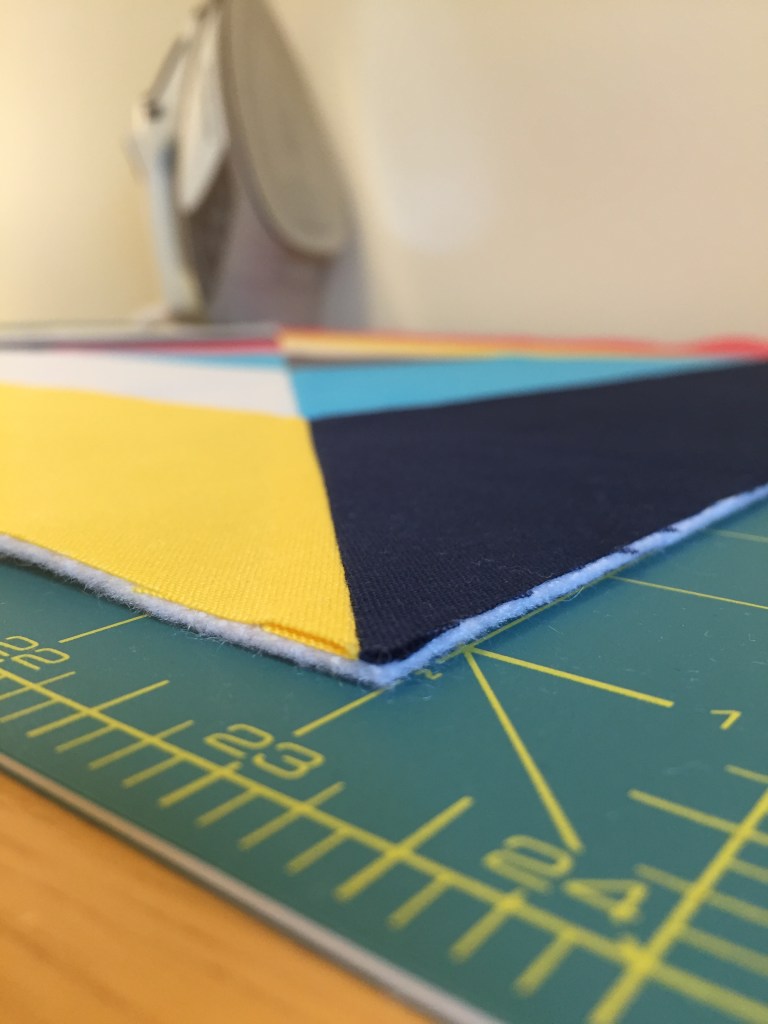
To keep the triangles a consistent width, I cut off approximately 1″ all the way around and added 4 ½” mitered borders. Once attached and pressed (½” seam allowance), I trimmed about 3/8″ off each side to square the block. I ended up with a final measurement of 18″. They’re not bad for a first try. 😉

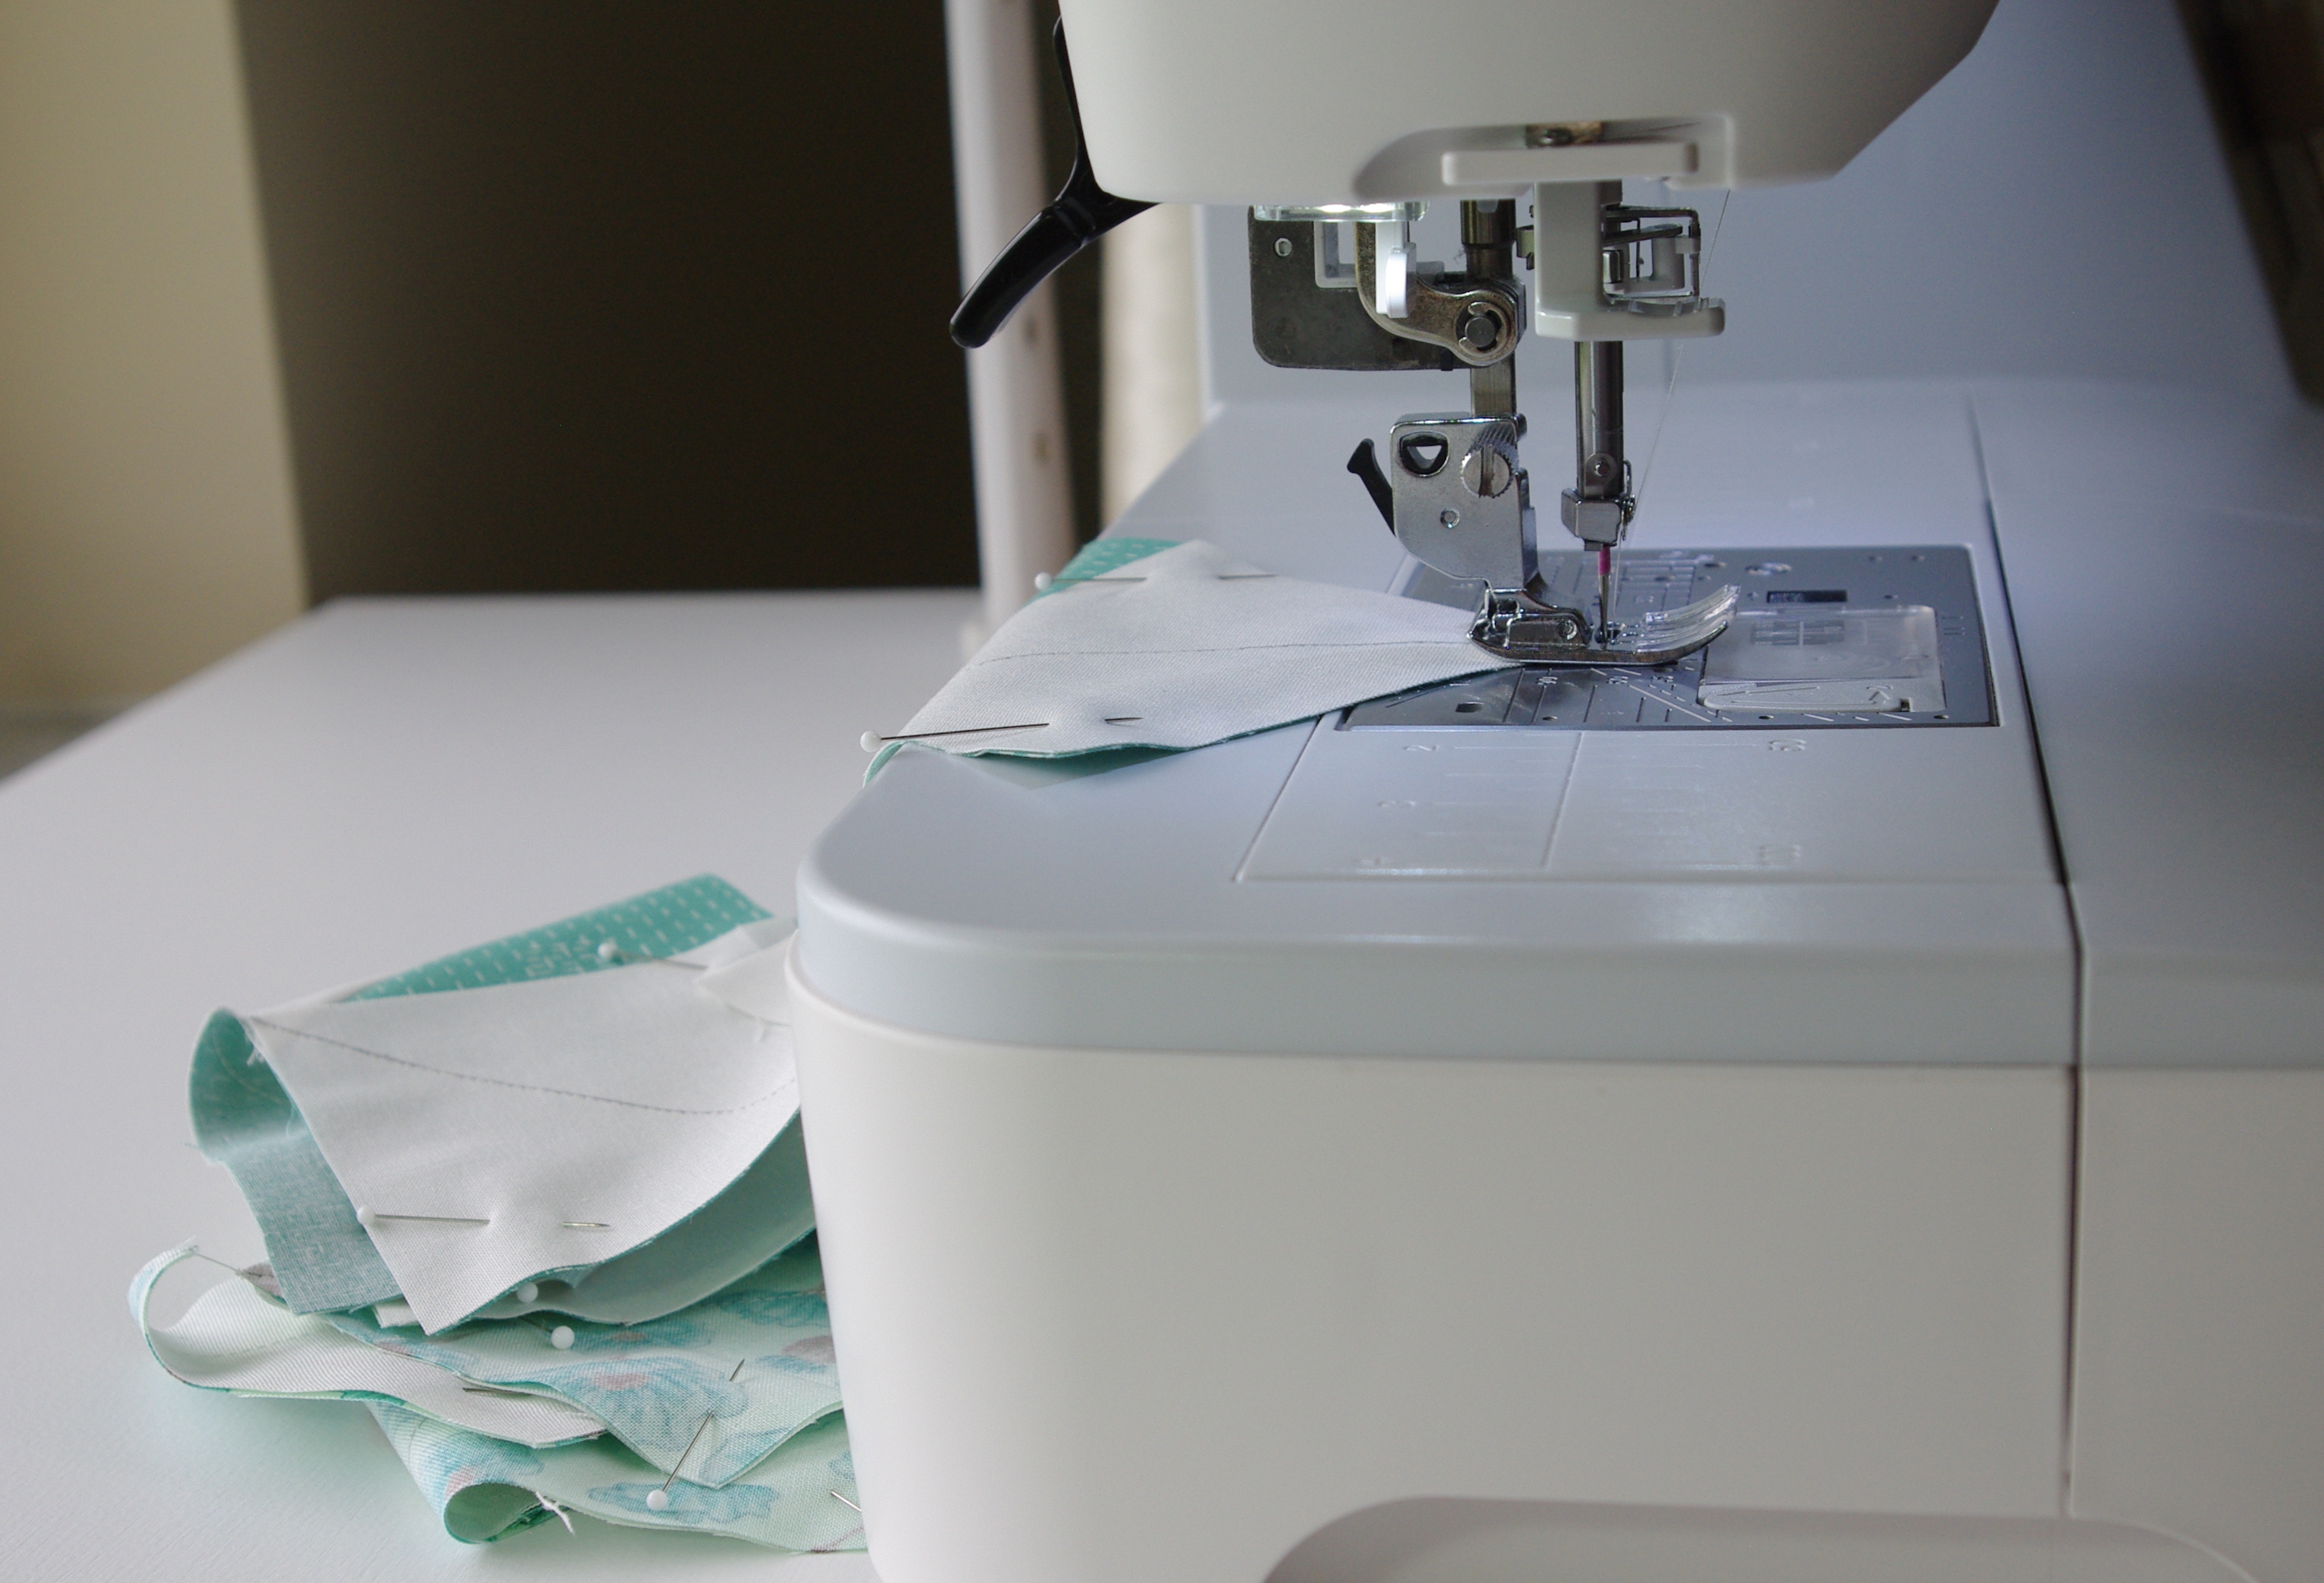
While adding mitered corners wasn’t particularly difficult, it was a bit tricky due to all the conjoining seams, but it got easier with each corner. I followed this informative video on how to make mitered borders from the Fat Quarter Shop.

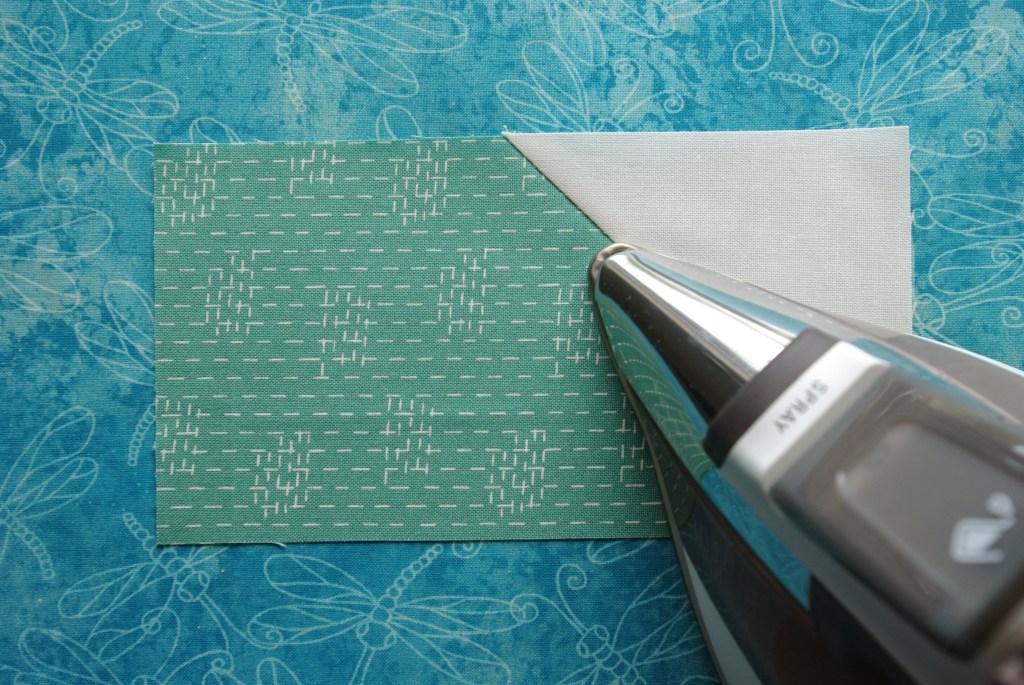
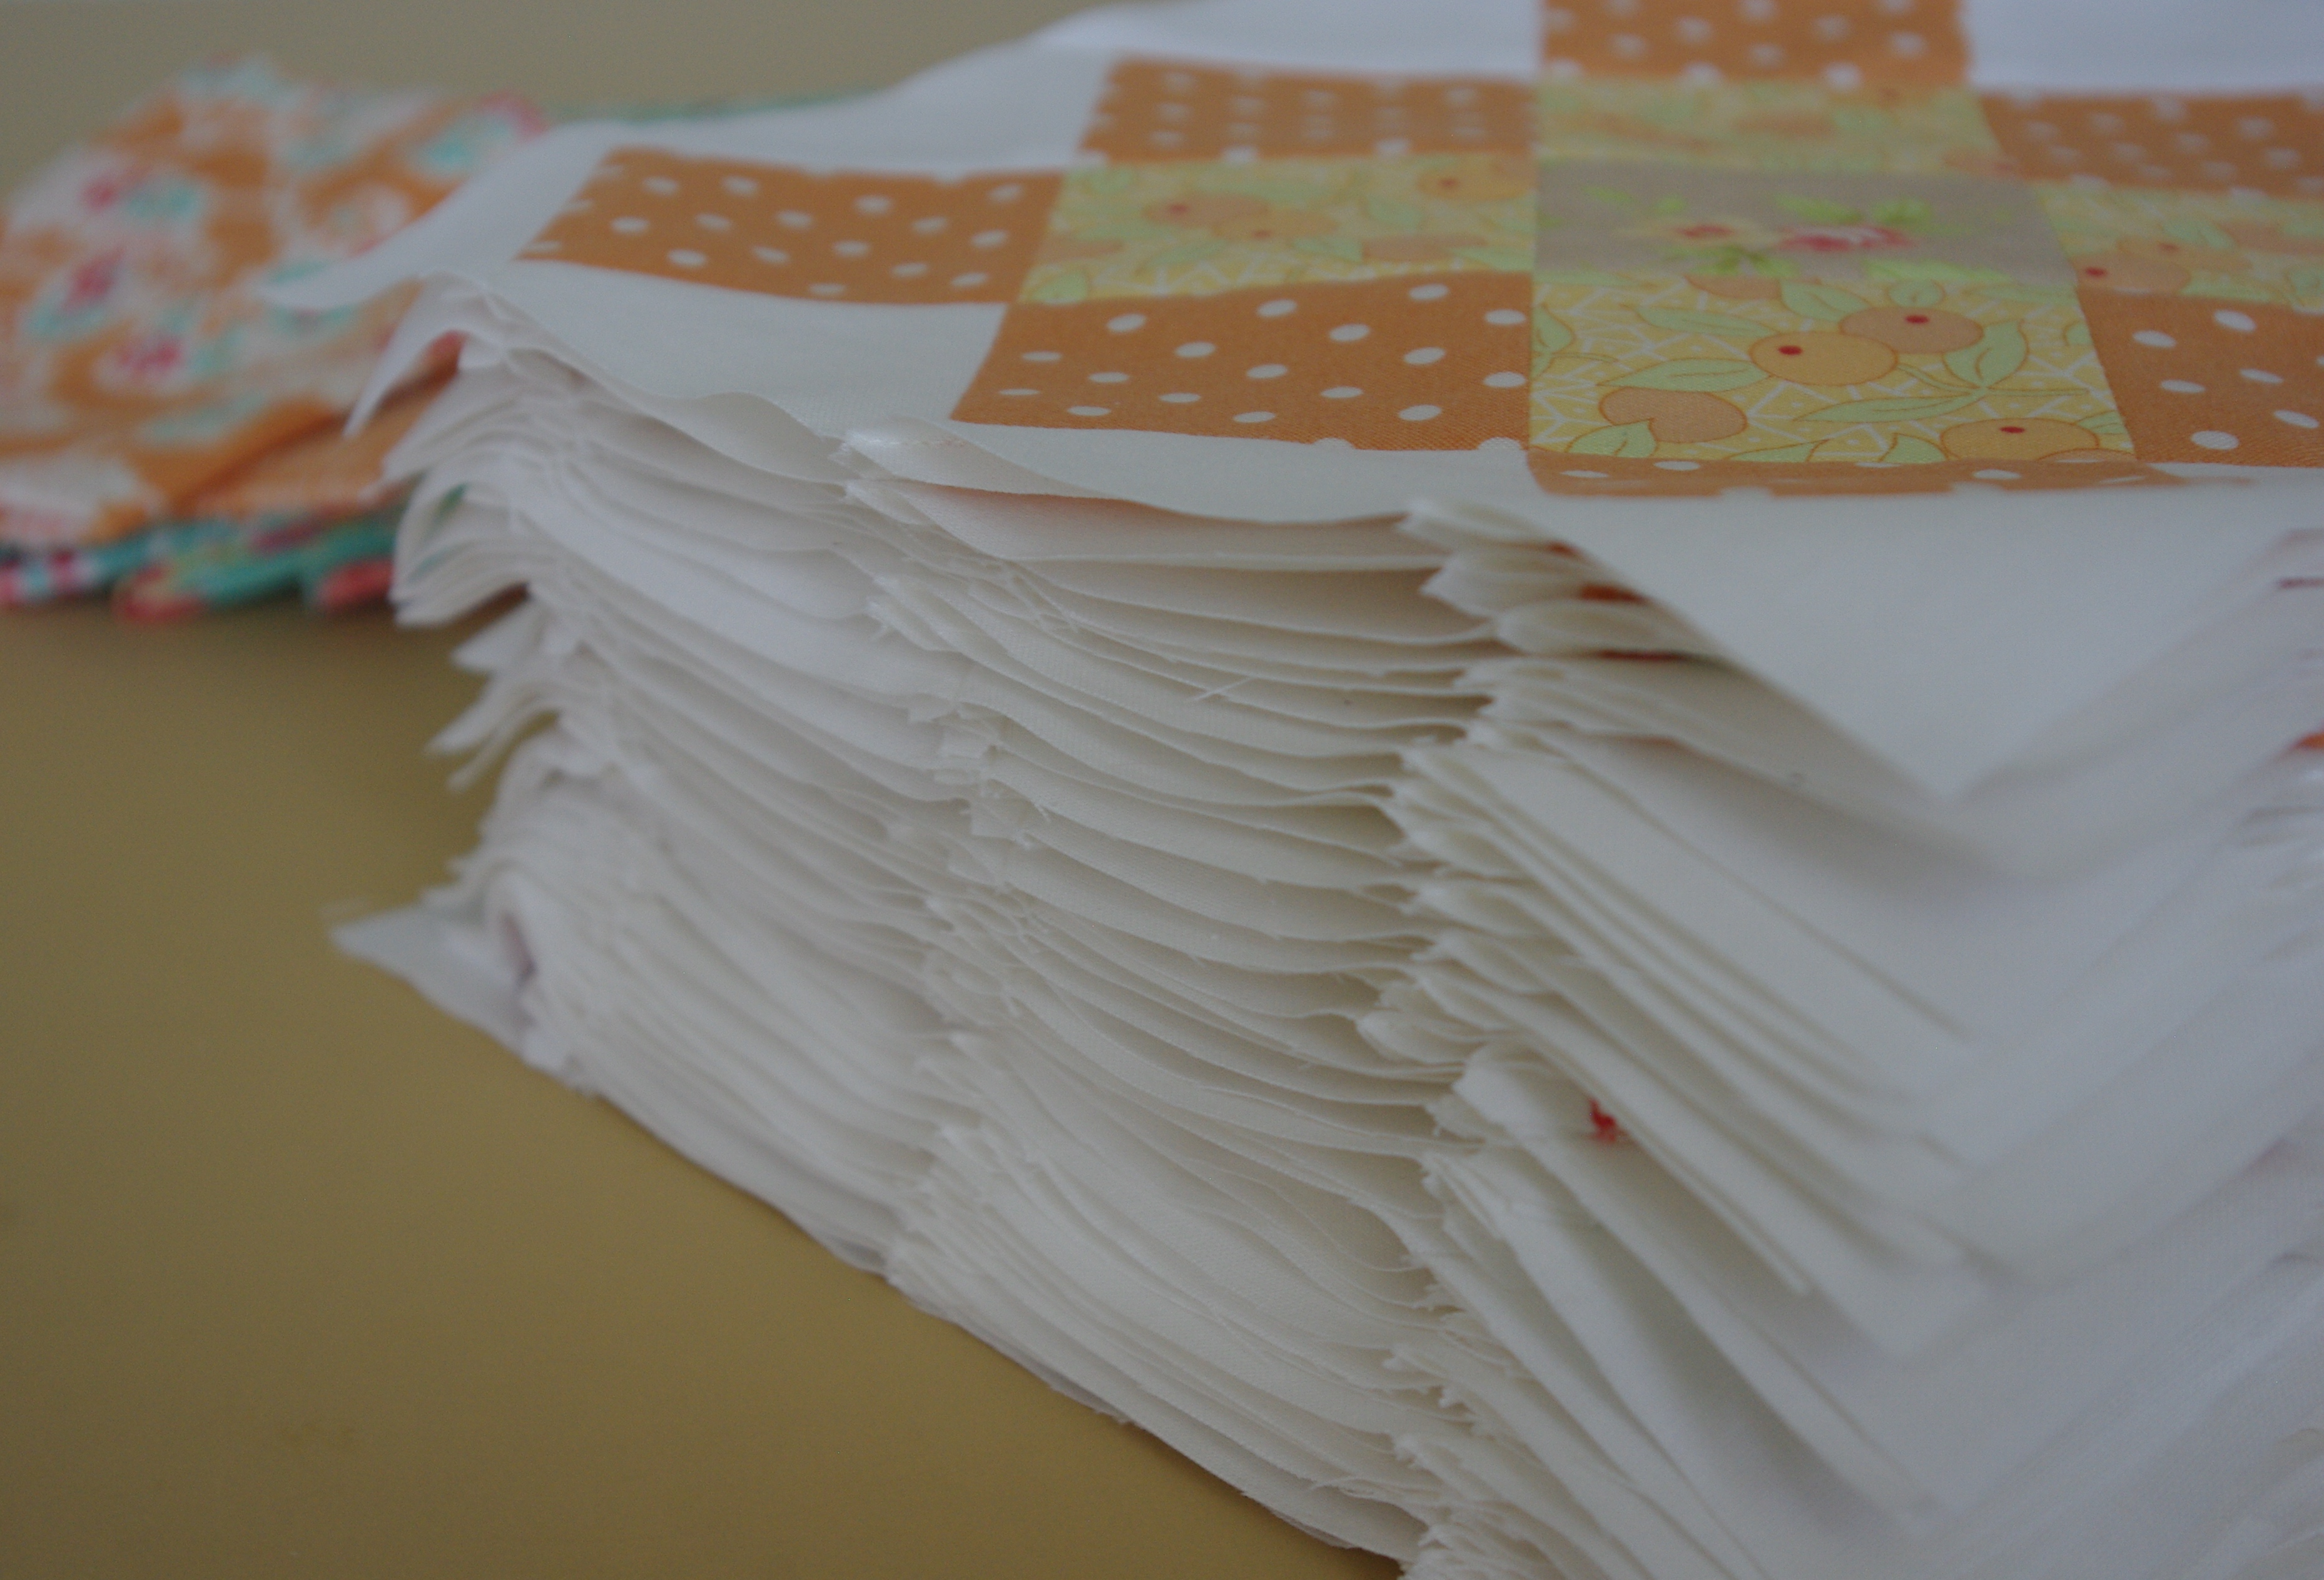
Once the blocks were cut to size, I ironed on a light fusible fleece to help them hold shape and to secure the seams and threads.

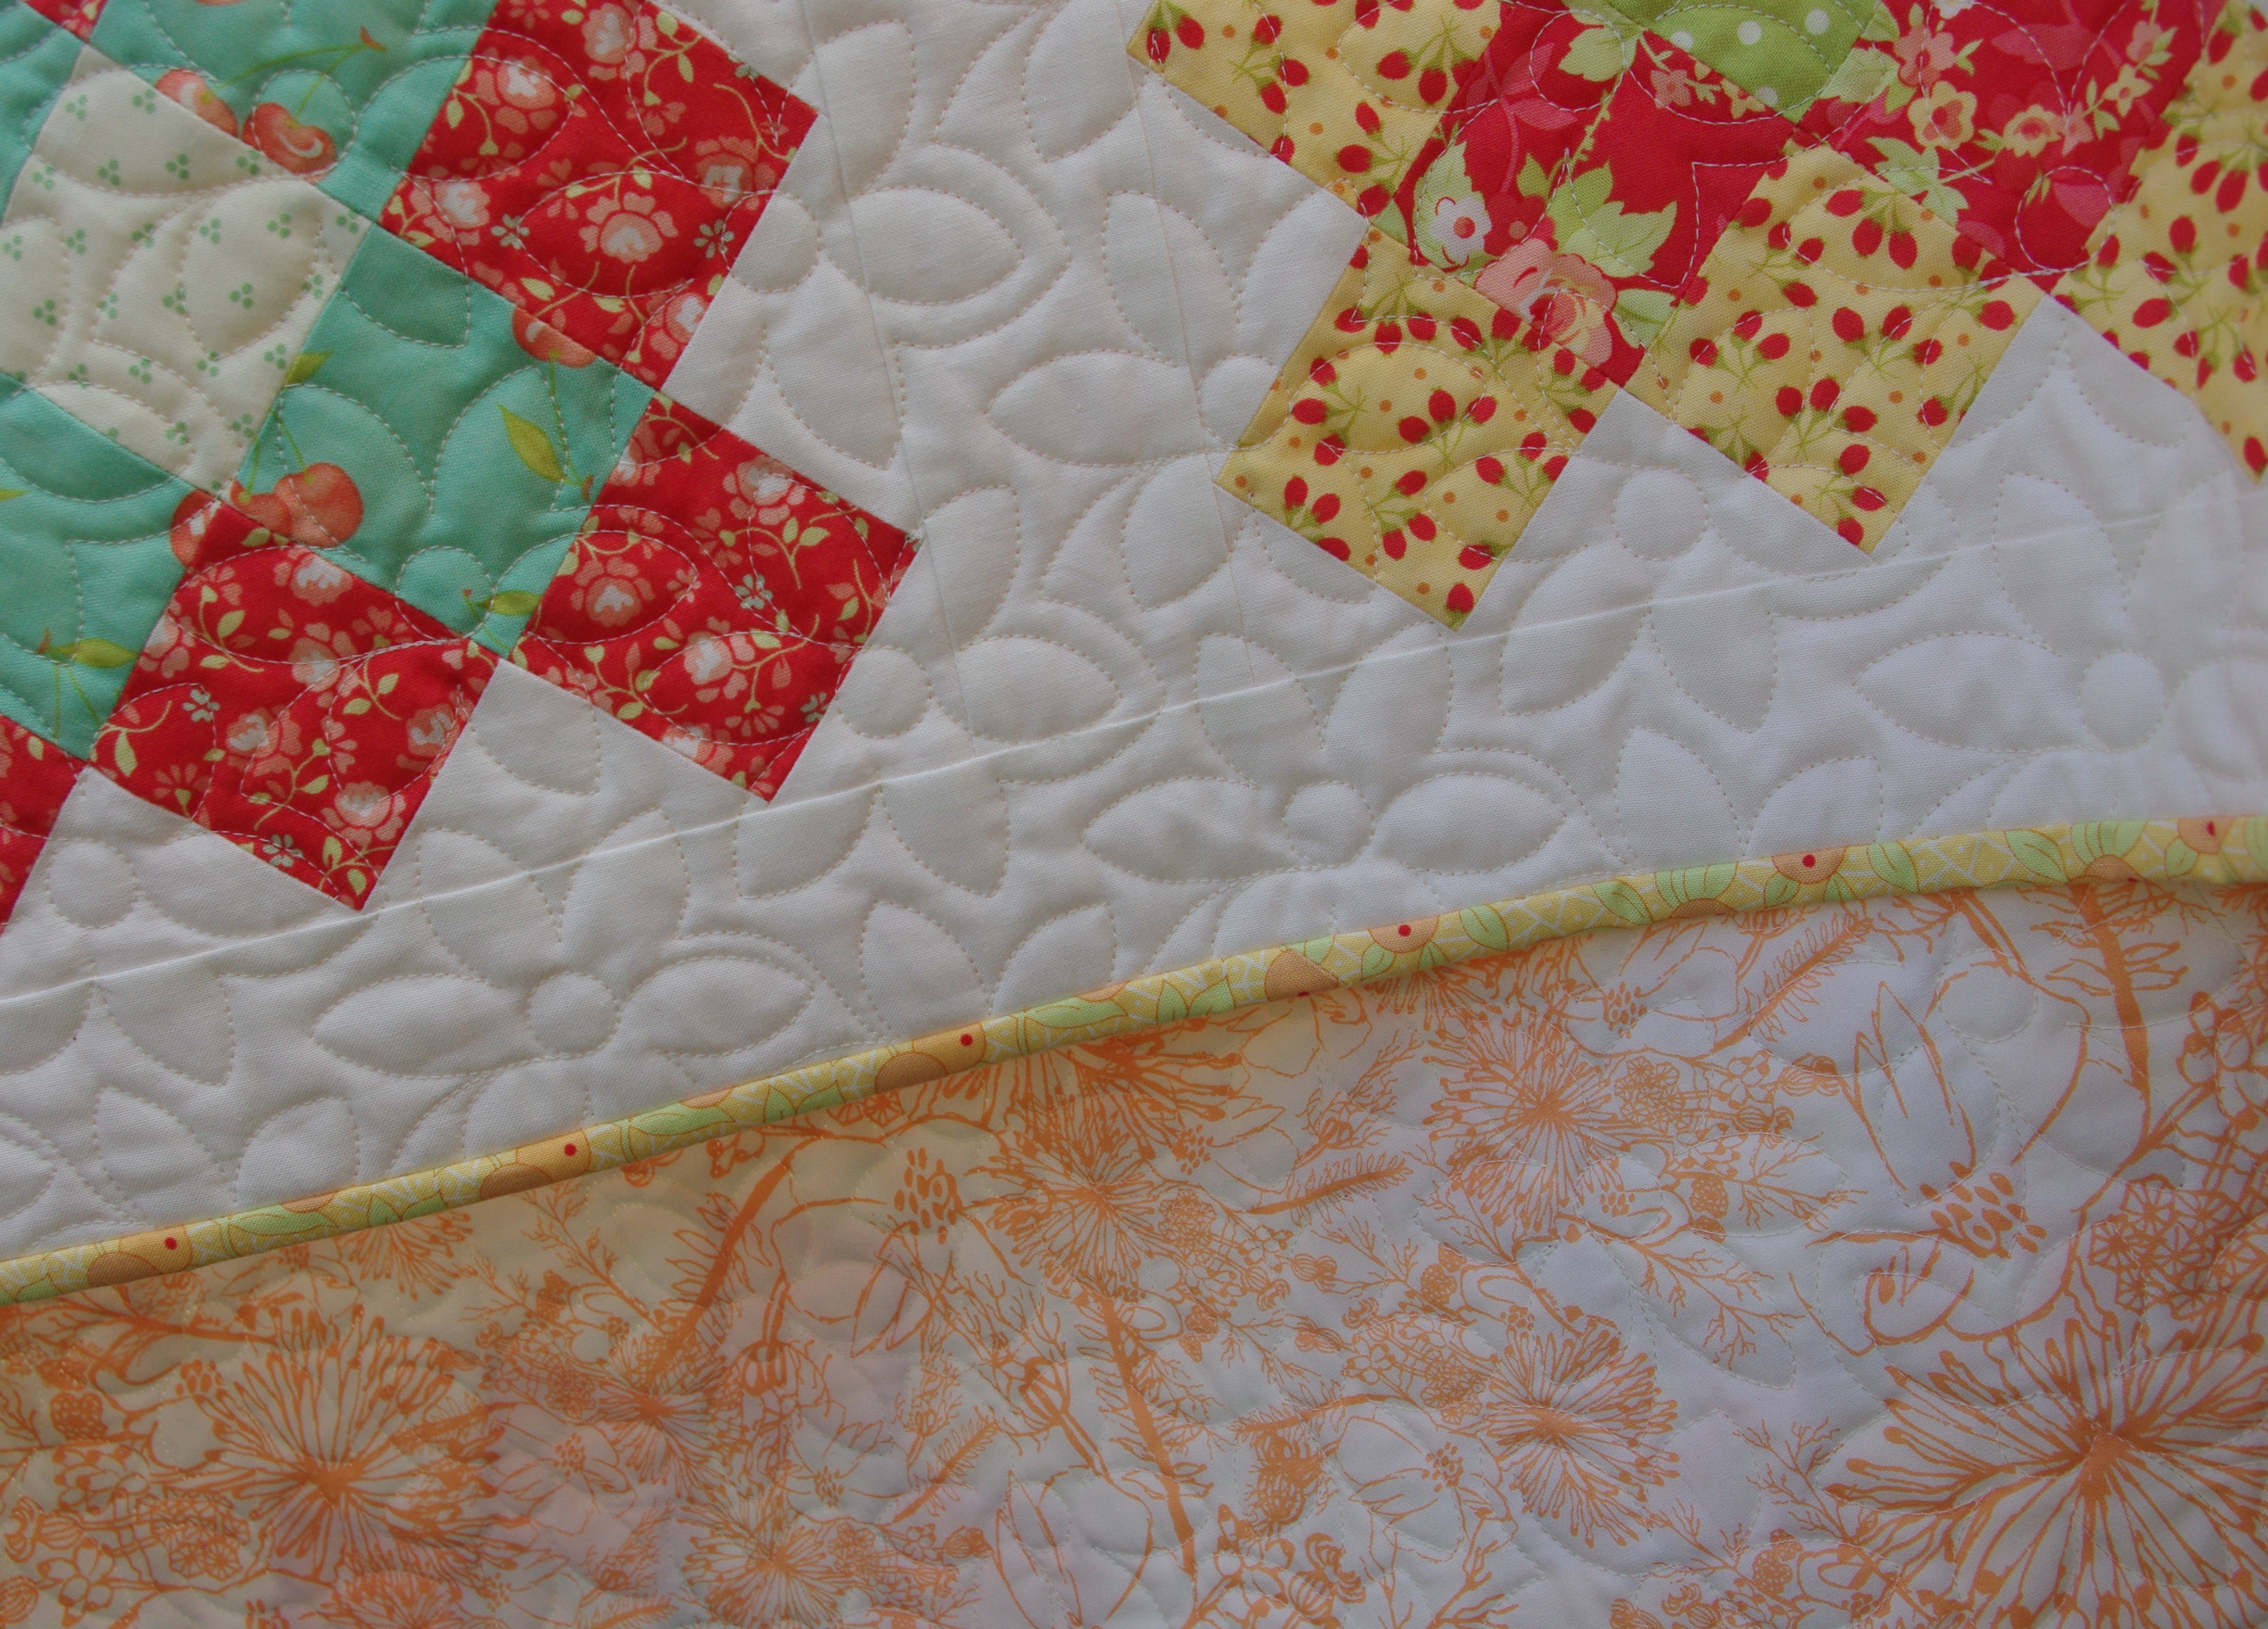
And, instead of making a zippered pillow, I decided on an envelope back. I’ve wanted to try this method for quite some time, and not only did I learn a new and easy way to make a pillow back, I love the results. I used the same backing fabric as the quilt.

Eliana Medallion in Sunshine by Wilmington Fabrics

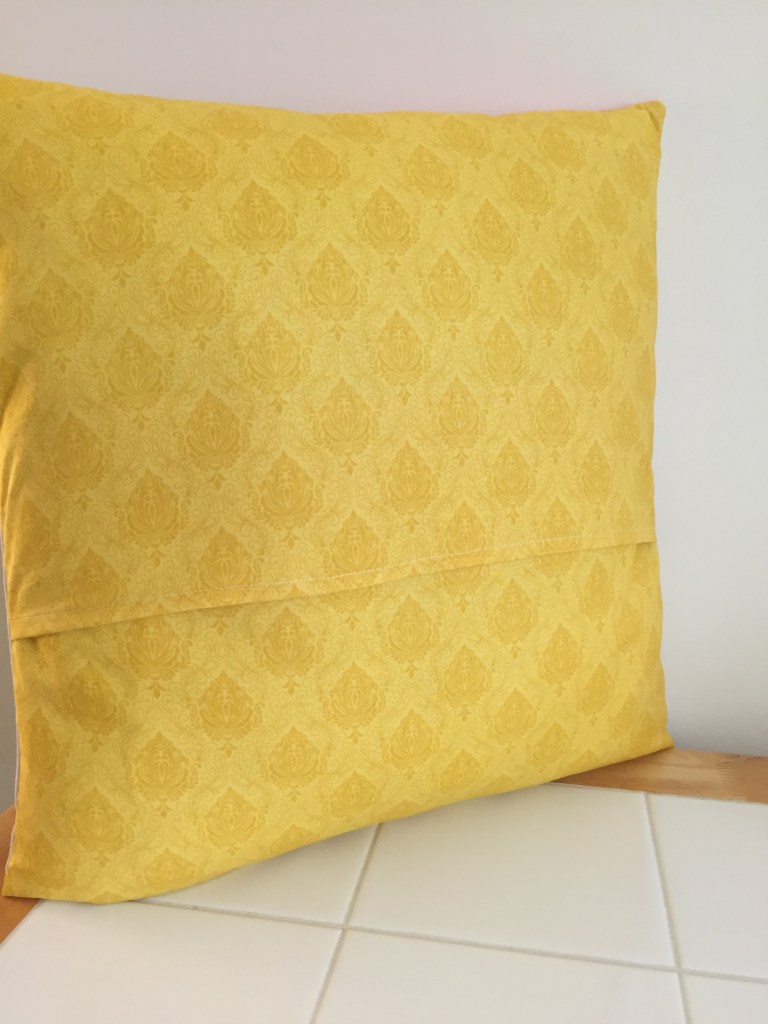
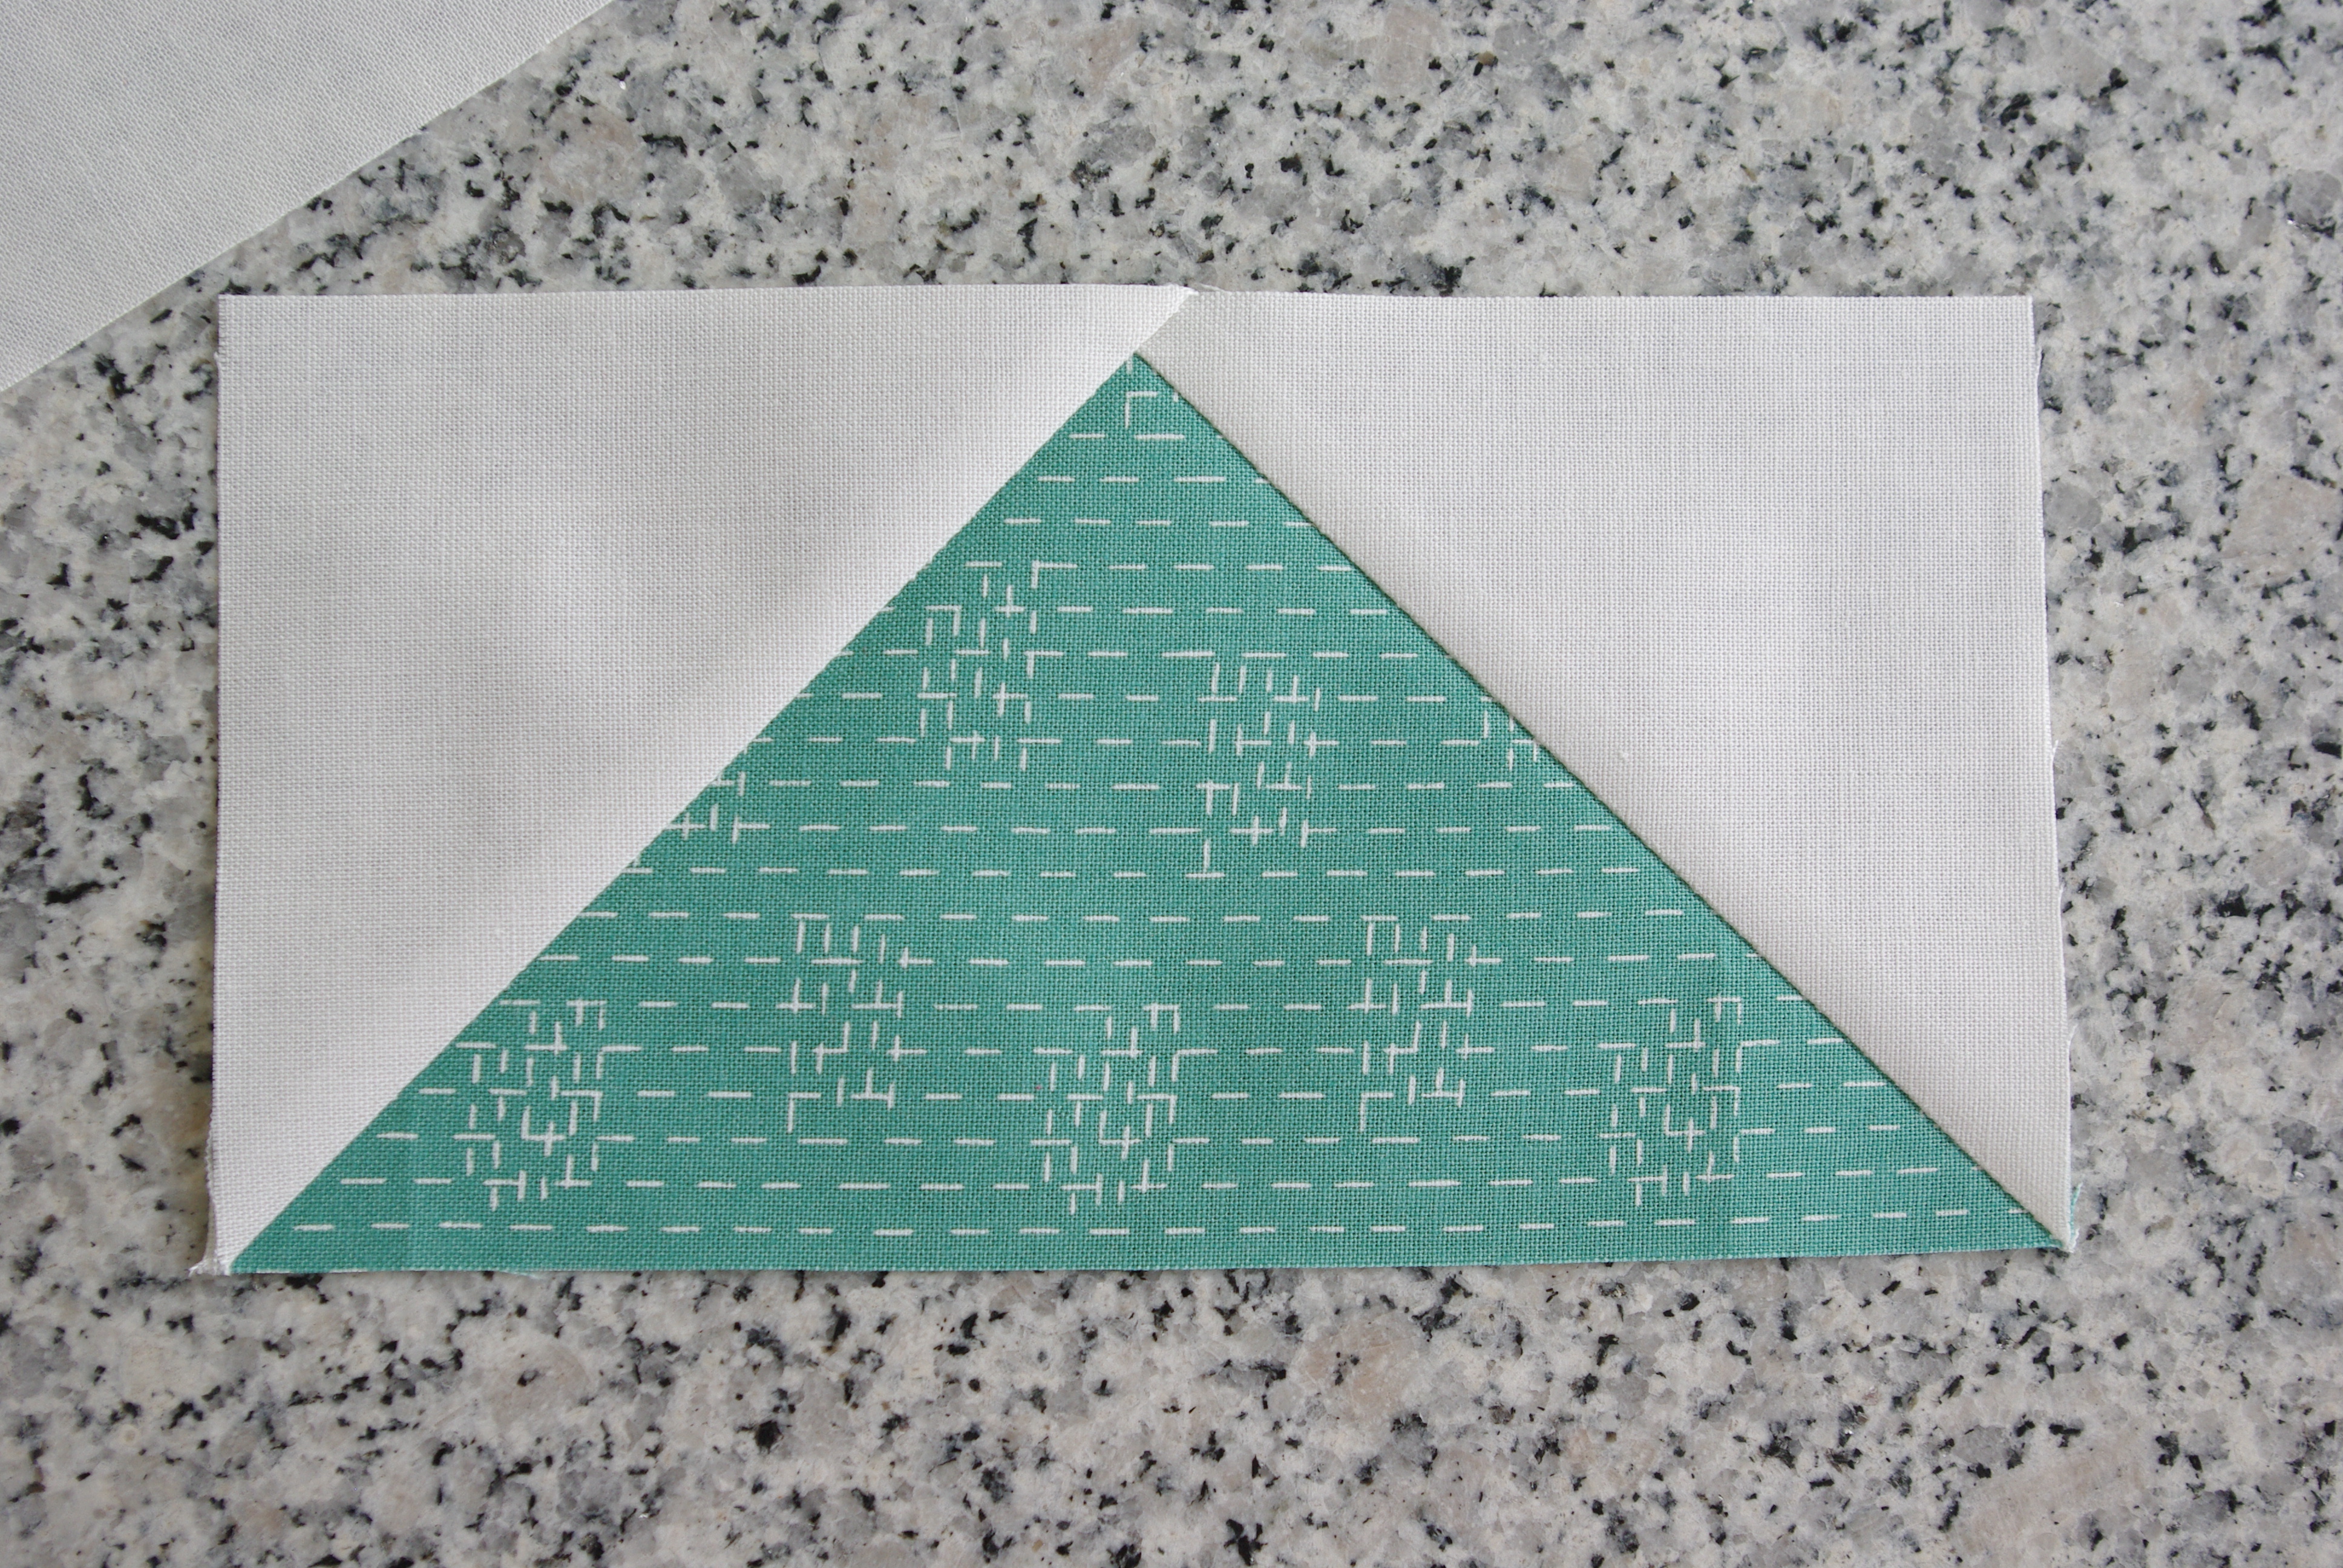
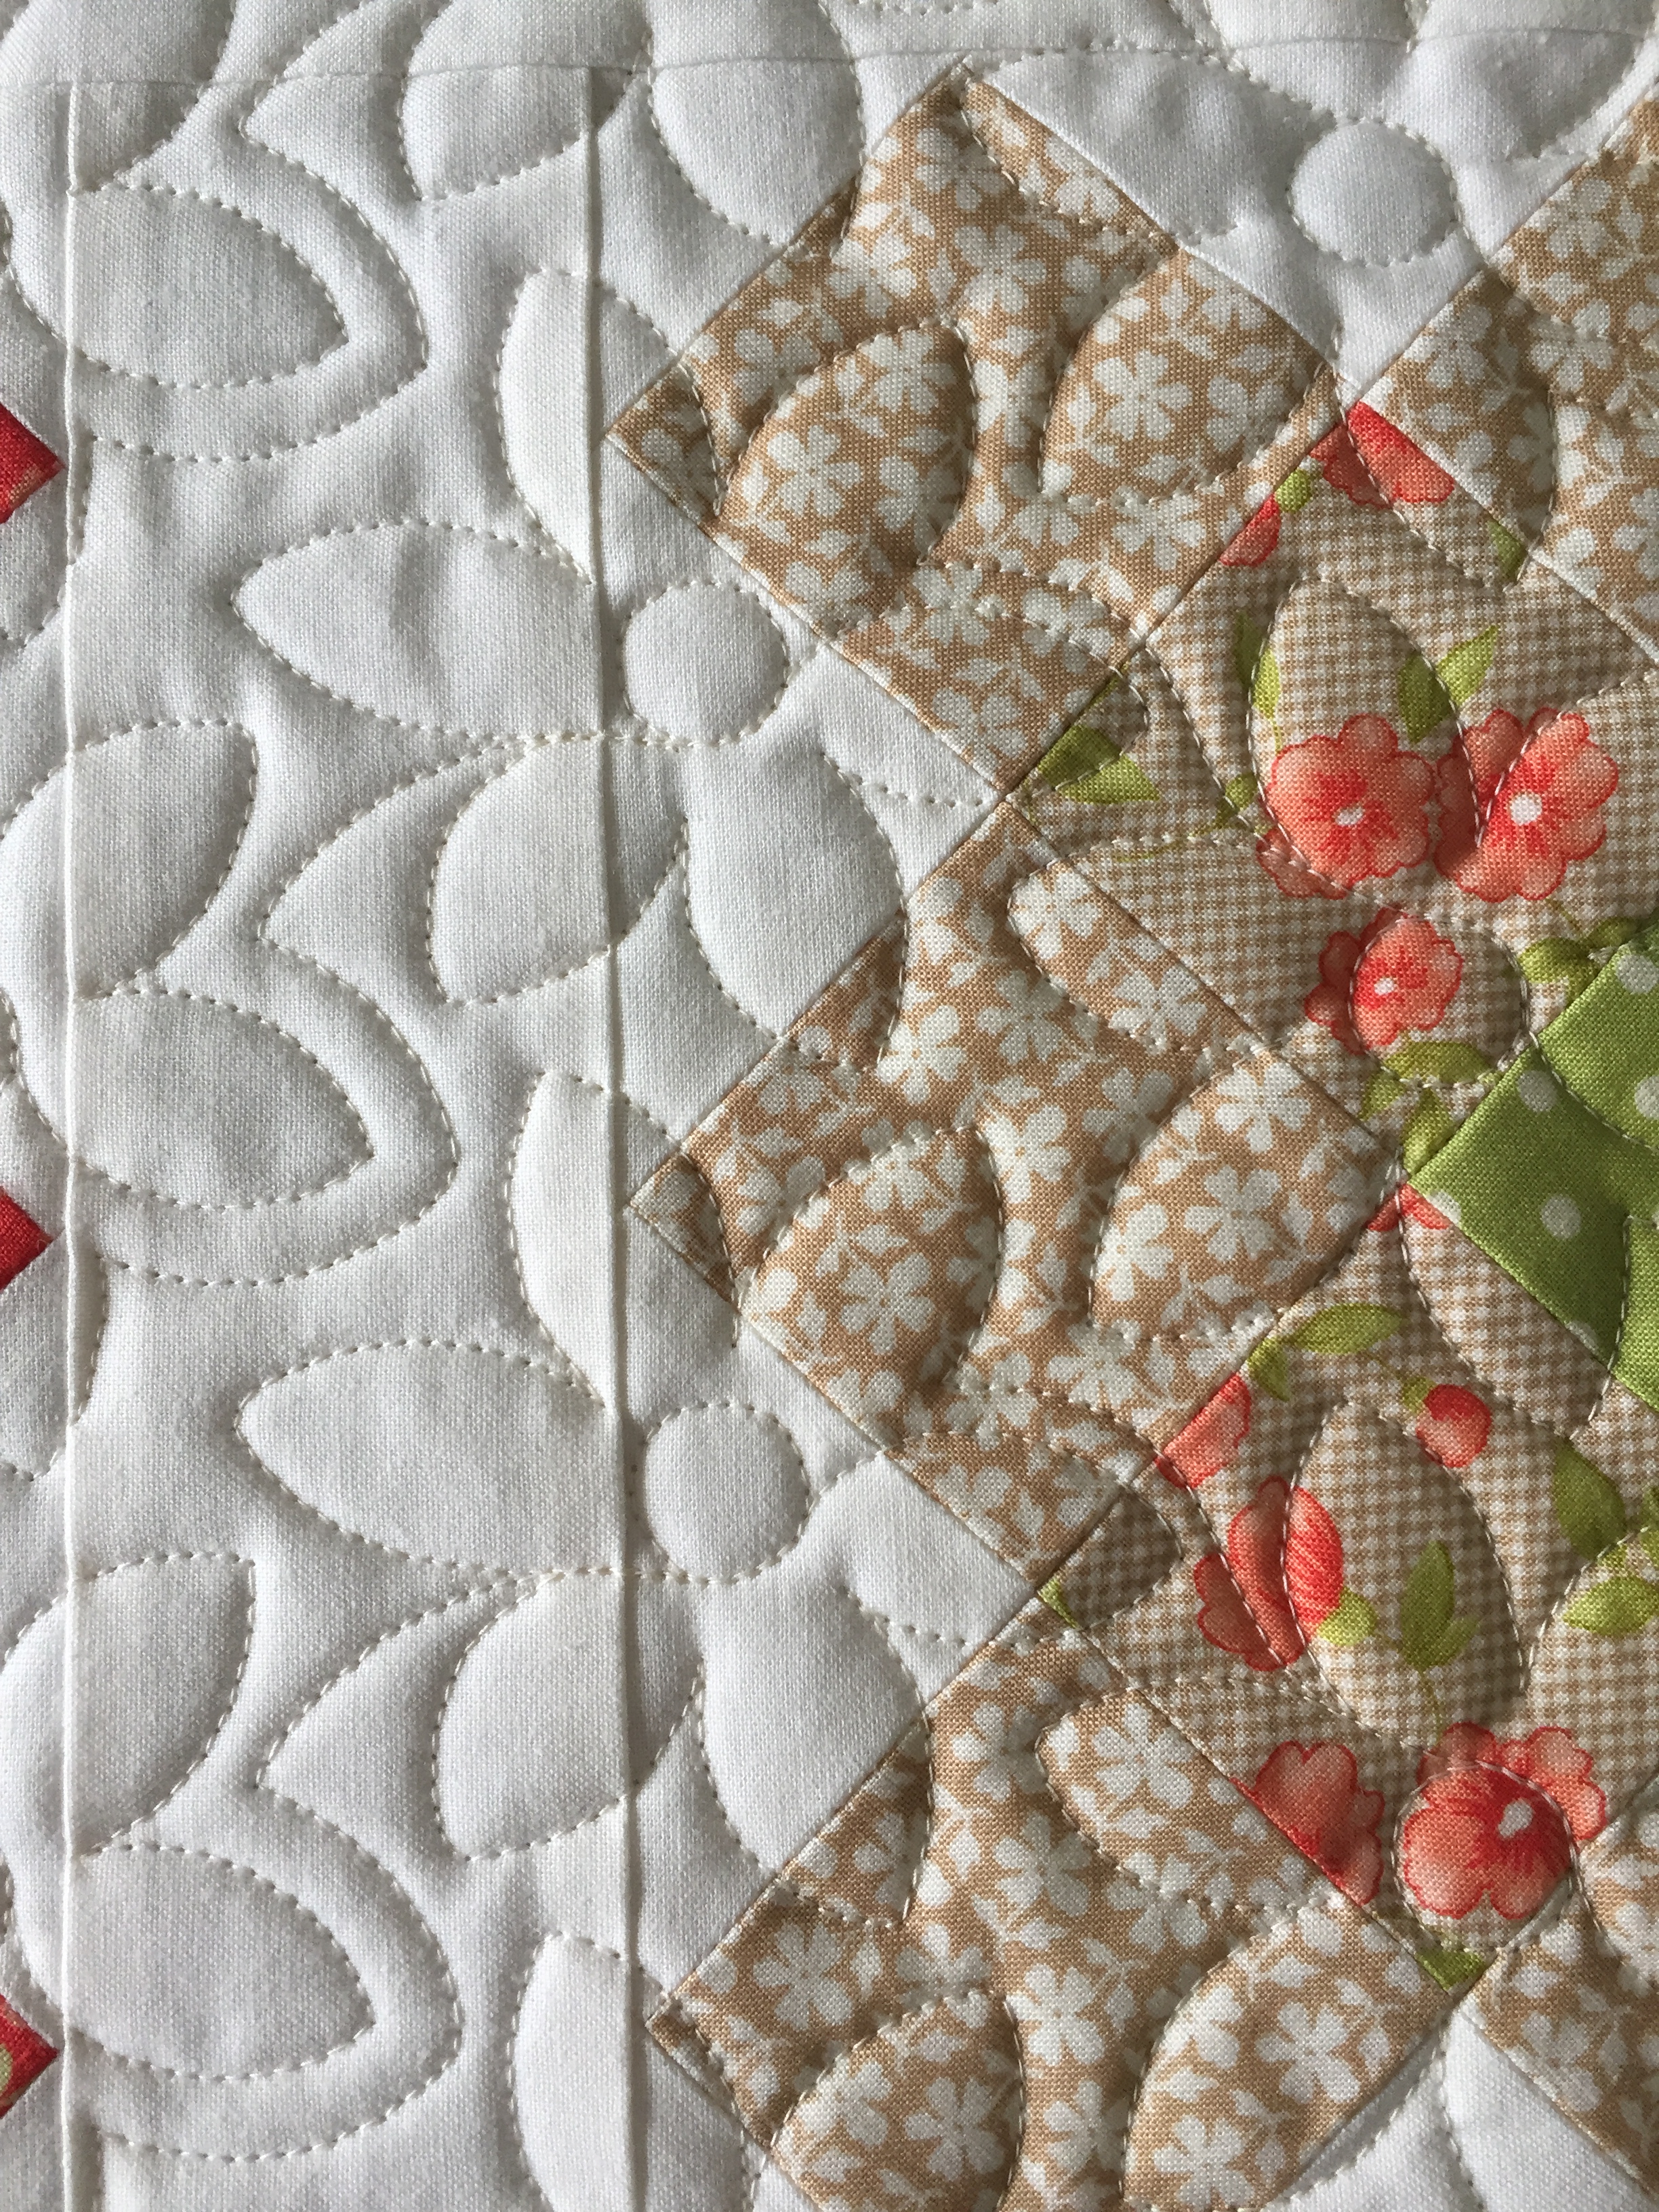
My son opted for a non-quilted front and we both agree that the crisp blocks look fresh and modern as is.

Here’s the finished pair.

I really enjoy learning and trying new methods, and I accomplished learning two in one project! I’m hoping my son will enjoy the toss pillow and quilt ensemble once he finally receives his gifts.

quilt blocks, quilting, Quilting 101, tutorials, Uncategorized

How to Sew Accurate Flying Geese

There’s no doubt flying geese are essential to quilting and they’re fun to experiment with. They give quilts an interesting perspective and can be addicting to make once you get started.

If you’re new to quilting or having trouble with your flying geese blocks, here’s an easy tutorial on how to sew an accurate flying geese unit that won’t need squaring up.

To get started, cut fabric to the required sizes. You’ll need a rectangular piece for the background and two squares for the sides. The flying geese I made in this tutorial are based on the measurements below.

Once your fabric is cut, draw a diagonal line on the wrong side of both side squares. Place a marked square on the right hand side of the rectangle, as illustrated, lining up the outside edges. Pin together.

NOTE: You can choose to sew the first square on either the left or right hand side, there will be no difference in the outcome.

The next step is sewing the pinned pieces together. But before sewing, be sure to follow this important tip…instead of sewing directly on the drawn line, sew just along side of it.

And here’s why. By having sewn along side of the drawn line, it frees up about a thread’s width of space so when you press the fabric to the corner, the new piece will line up accurately. That small width might seem minor, but it can make all the difference in your finished unit.

Here’s how to set your foot and needle before sewing…

And this is what it looks like sewn just to the right of the line…

A rule of thumb to follow is to sew to the right of the drawn line for the right hand side of the flying geese unit and sew to the left of the line on the left hand side of the unit.

Once you’ve finished sewing, cut ¼” away from the sewn line. Press the square to the corner.

Your results will be a nicely aligned corner. 🙂

To finish your flying geese, repeat the same steps for the opposite side. Place the fabric with the drawn line as shown. Pin.

Sew just along side of the line.

Cut away the corner and press.

And done! A finished flying geese with no trimming required. 🙂

Simple, right?

I made my blocks for a Swoon quilt I have in the works. If you’re making several for a project, they can be chain pieced, one side at a time. It’s a great time-saver.

Now that you’ve added the traditional flying geese block to your quilting repertoire it’s time to experiment and have some fun!

quilting, quilts, tutorials, Uncategorized

Quilting on a Whim (A Granny Square Quilt)

I admit, this is the first time I’ve ever made a quilt on impulse. It happened while scrolling Instagram and granny square posts kept showing up from the Moda Bake Shop. Almost instantly it clicked—I knew I wanted to make a granny square quilt and I had the perfect fabric for it. And since I recently finished a rather challenging and labor intensive queen size quilt, I needed something easy!

A while back I ordered a fat quarter bundle of Moda’s Chestnut Street for a fall quilt. While I cut what was needed for the pattern, I never made the quilt because I couldn’t decide on a background fabric. Since I had plenty of Chestnut Street left over, along with additional fabrics from other Fig Tree collections, I knew I had enough fabric and variety (plus I added two Dear Stella Mini Dots). I’d also been intent on stashing down, so it was definitely a go! I stopped what I was working on and started pulling fabric. And let me tell you, it was FUN. 🙂

Image-1.jpg

IMGP7220

There were so many things about making this quilt that made it fun…for example, I had no plan, it was literally on a whim. I randomly mixed and matched fabric, whatever I felt went together got put together. I was using what I had, and of all cuts – an older charm pack, scraps, fat quarters, yardage…including the background fabric, Kona Cotton Snow. I truly enjoyed the entire process.

IMGP8567.jpg

Once I finished 28 squares, I figured it was time for a plan. I decided on a throw quilt with six blocks per row, seven rows (42 squares total), 2″ sashing and a background border.

IMGP8601

IMGP8636

Because it came out so lovely, I had it professionally quilted with the digital pattern Daisy Delight.

IMG_7815.JPG

I did have to purchase binding fabric, luckily I found what I wanted from the Chestnut Street line. I also had to purchase the backing. Since the quilt has a lot of orange in it, I wanted to incorporate it onto the back as well. I decided on Tule Quietude in Sunset by Leah Duncan for Art Gallery Fabrics. I loved how this print blended nicely with the colors on the front.

IMGP8814.JPG

My Granny Square quilt finished at 64 ½” x 74 ½”. And I just love it!

IMGP8794.JPG

I mentioned that the granny squares popped up on IG from the Moda Bake Shop, so I visited their site for block instructions. Because I wanted to use scraps that I had already cut into 2 ½” squares, I had to do some recalculating for a more petite block. Also, this size block is great because it can be easily made with precuts, including 2 ½” strips, 5″ squares and 10″ squares.

IMGP8409

IMGP8478

Here’s a quick tutorial on how to make a granny square block with the dimensions I used. My blocks finished at roughly 8 3/8″ square.

FROM COLOR/PRINT FABRIC, CUT:

(1) 2 ½” x 2 ½” square (center square)

(4) 2 ½” x 2 ½” squares (inner squares)

(8) 2 ½” x 2 ½” squares (outer squares)

FROM BACKGROUND FABRIC, CUT:

(2) 2 ½” x 2 ½” squares

*subcut diagonal once

(2) 4 ¼” x 4 ¼” squares

*subcut diagonal twice

Lay out fabric as illustrated below:

IMGP8576.jpg

Sew pieces together into rows using ¼” seam allowance. I recommend pinning! Be sure to trim away dog ears. Pressed rows will look like this:

IMGP8577.jpg

Because sewn pieces are relatively small, I pressed all my seams open to reduce bulk. It definitely helps the blocks to lay nice and flat.

Next, turn the block sideways, as shown. Place the remaining triangle pieces in the four corners. Sew and press.

IMGP8585.JPG

The final step, trimming your block (and the remaining dog ears). Line up your ruler with the ¼” mark placed at the corners of the outer squares, as shown. Trim.

IMGP8590

Give your block one last press and you have a beautiful granny square!

IMGP8592.jpg

I know it’s common for quilters to finish a quilt and say it’s their new favorite, but this one really is for me. It’s different from most of the quilts I’ve made, mainly because of the fabrics, many were soft and feminine floral prints.

IMGP8810.jpg

I think every quilter needs to make a granny square quilt, well, just because…don’t you agree?

quilting, quilts, Uncategorized

Scrappy Nine Patch Quilt

It seems as though a lot of quilters plan out their projects; I see plenty of Instagram posts with lovely planners available for purchase along with planner images of scrawled notes and ideas. While I’m an organized person to a fault, I just couldn’t see myself planning out my quilts. I’m not exactly sure why, I suppose it’s because I just like to wing it from time to time. Enter my Scrappy Nine Patch quilt.

A while back I had been thinking about making something scrappy, mainly because I rarely do and I was tired of looking at fabric left over from so many past projects. One day while working on something else, I completely switched gears and began pulling fabric and putting together scraps in color combinations. Now I know why scrappy projects are so much fun; you don’t need an exact plan (other than a pattern), anything goes and nothing is considered wrong.

I set to work making a variety of nine patches—if a fabric looked good, it went in. It’s funny how I still can remember what projects I used those fabrics for, what collection they’re from, why I bought them, etc. I guess that’s why scrappy quilts are also called ‘memory quilts.’

Here are a few of my block groups.

IMG_4047

IMG_4055

IMG_4054

IMG_4052

Had a little fun putting this together…

IMG_4068

Upon completion, I was surprised that I ended up using 144 different fabrics! I wouldn’t have guessed I even had that much variety in my stash at the time. In all, I made 48 blocks, added sashing, and ended up with a throw quilt measuring roughly 49″ W x 57″ L. And it definitely helped with my stash down.

IMGP8176

I’ve since gifted this quilt, but because it was so fun to make I’m thinking about making another one, with an entirely different selection of fabrics, of course. And I won’t be planning it either! 🙂