Uncategorized

My Swoon Quilt

My Swoon quilt is finished. And I love it.

I’d seen so many Swoon quilts on Instagram that I finally had to join the crowd and make one for myself. The minute I saw Moda’s fabric line Le Pavot by Sandy Gervais I absolutely had to have it. I received a fat quarter bundle for Christmas 2018 and made the quilt in 2019, so I’ve actually have had it done for over a year now!

I dove right in after receiving the fabric, and as always, it takes a good chunk of time to cut pieces. With the use of my stripology ruler (below) I was able to get the background strips done fairly quick.

I think what drew me to the pattern (by Camille Roskelley) is the large blocks, and to date these are the largest blocks I’ve ever made. They measure 24″ and the entire quilt has only nine blocks altogether.

I’m a huge fan of peachy, coral colored fabrics so I chose this adorable tiny flowered print for the binding.

I also favor the color teal. These two fabrics made the most gorgeous flying geese…

For the quilting, I decided to go with a different motif than what I’d usually choose—bubbles or swirls or something on the petite side. To mix it up I chose a big design to compliment the big blocks, it’s called seaweed. I’m really happy with how it turned out.

Here it is finished.

The colors, pattern and quilting…all made for a lovely quilt. 🙂 And a new favorite.

fall decor, modern quilts, quilt blocks, quilting, quilts, Uncategorized

My Maple Charm Quilt

My Maple Charm quilt is finished just in time for fall, and it’s been a long time coming since I cut fabric in March 2018 and made blocks in February 2019. Shortly after that, we sold our house and moved 1,200 north where everything was nicely packed away for another time. In late summer I put the quilt top together hoping to have it done in October—mission accomplished!

Most of my quilt is made from Moda’s Chestnut Street collection by Fig Tree and Co., a bundle I purchased in October 2017!

There’s also some Farmhouse fabric included as I had a charm pack from a few years ago (back when fabric stores would sell them as a daily deal for $2, remember that?!?) I only used natural leaf colors from the bundle and I added some Dear Stella Mini Dot fabric as needed.

I chose Kona Cotton Cream for the background to give the quilt a nice, warm feeling. And of course I love to save on cutting time by using my Stripology ruler.

Since selling my house, I no longer have a design wall so I have to use the floor for laying out my quilt tops. 😦

Because I had all the blocks made and the sashing strips cut before moving, sewing together the quilt top went pretty fast.

But, it wasn’t without issues…when I set out to make this quilt I didn’t plan on a border. I don’t really like borders on quilts; I just don’t feel they’re necessary (even if they’re written in the pattern). As an exception, I thought this particular quilt would look better with one, so I decided to add it. Since I didn’t purchase border fabric in the beginning, and so much time had passed since the fabric line came out, finding something I liked and available was quite a challenge! I ended up going with a red polka dot border and a solid red binding, both from Fig Tree’s Farmhouse II collection.

For the back, I used a leaf print in mustard from Moda’s Valley collection by A Quilting Life. I bought yardage on sale ages ago when I planned to make this quilt. I think it’s a perfect fit, I just love that fabric!

And after many, many months—my finished quilt!

Pattern by Coriander Quilts – Quilted in Whirlpool

I’m really happy with this fall quilt and plan to display it on my quilt ladder through Thanksgiving. After all that time it is finally finished! 🙂

quilting, quilts, tutorials, Uncategorized

Quilting on a Whim (A Granny Square Quilt)

I admit, this is the first time I’ve ever made a quilt on impulse. It happened while scrolling Instagram and granny square posts kept showing up from the Moda Bake Shop. Almost instantly it clicked—I knew I wanted to make a granny square quilt and I had the perfect fabric for it. And since I recently finished a rather challenging and labor intensive queen size quilt, I needed something easy!

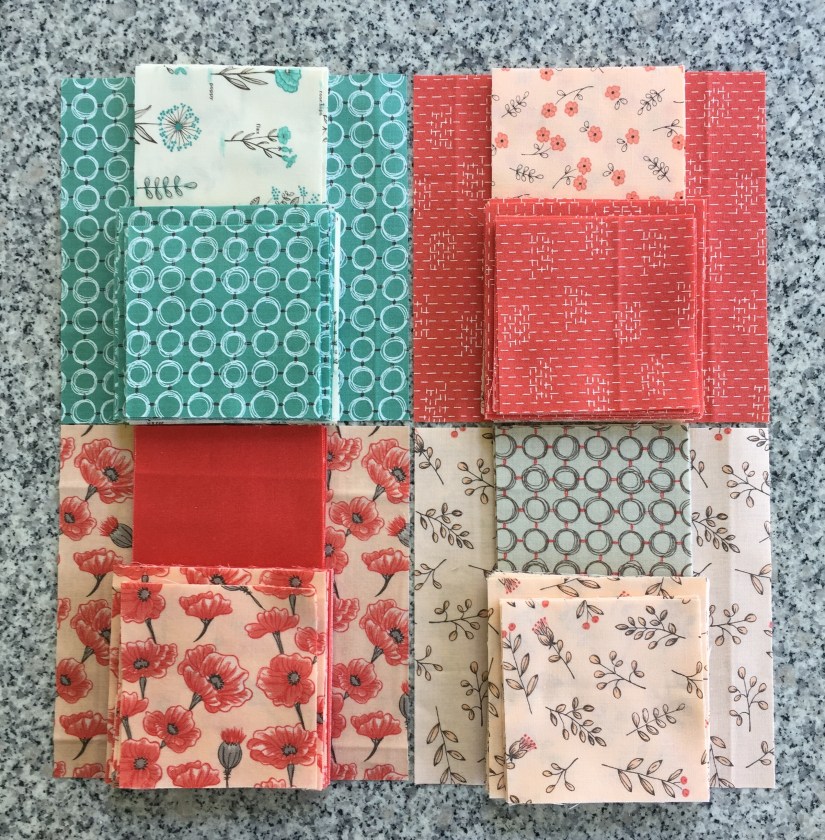
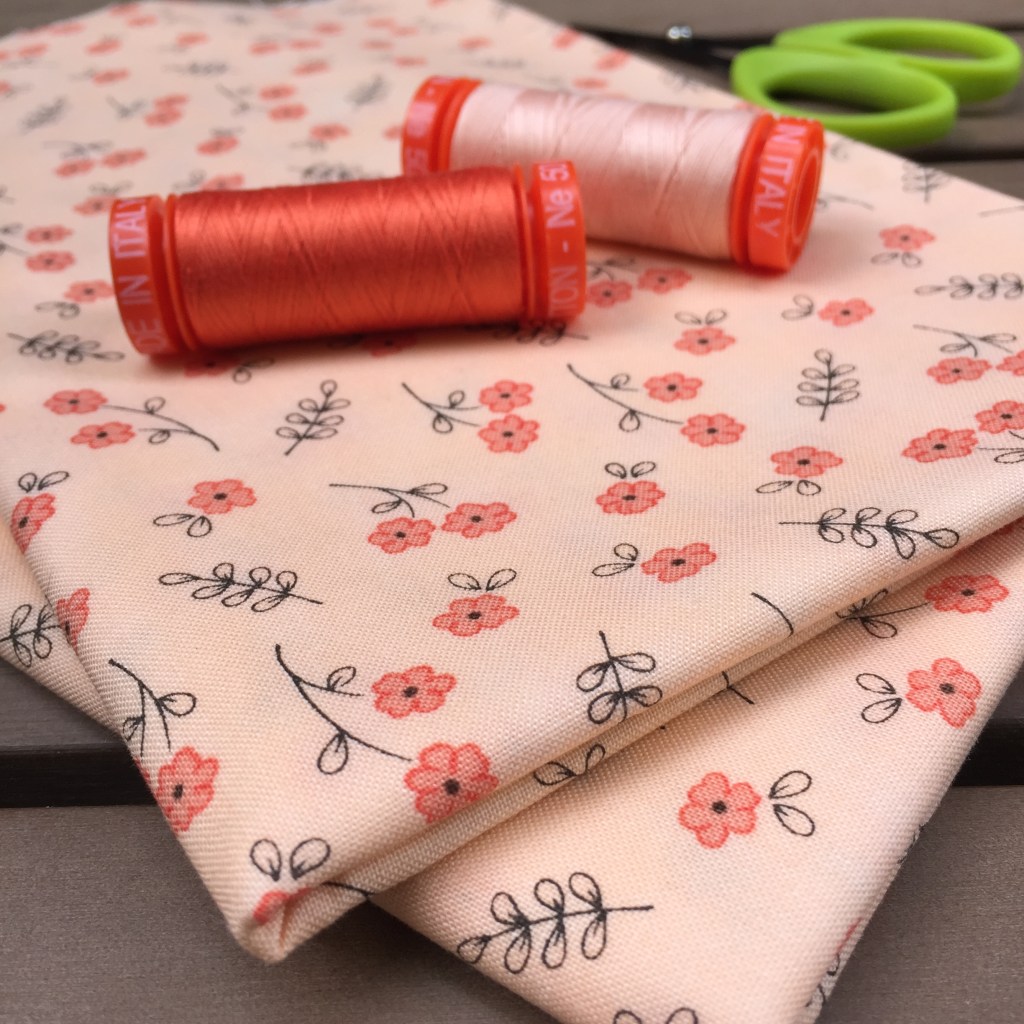
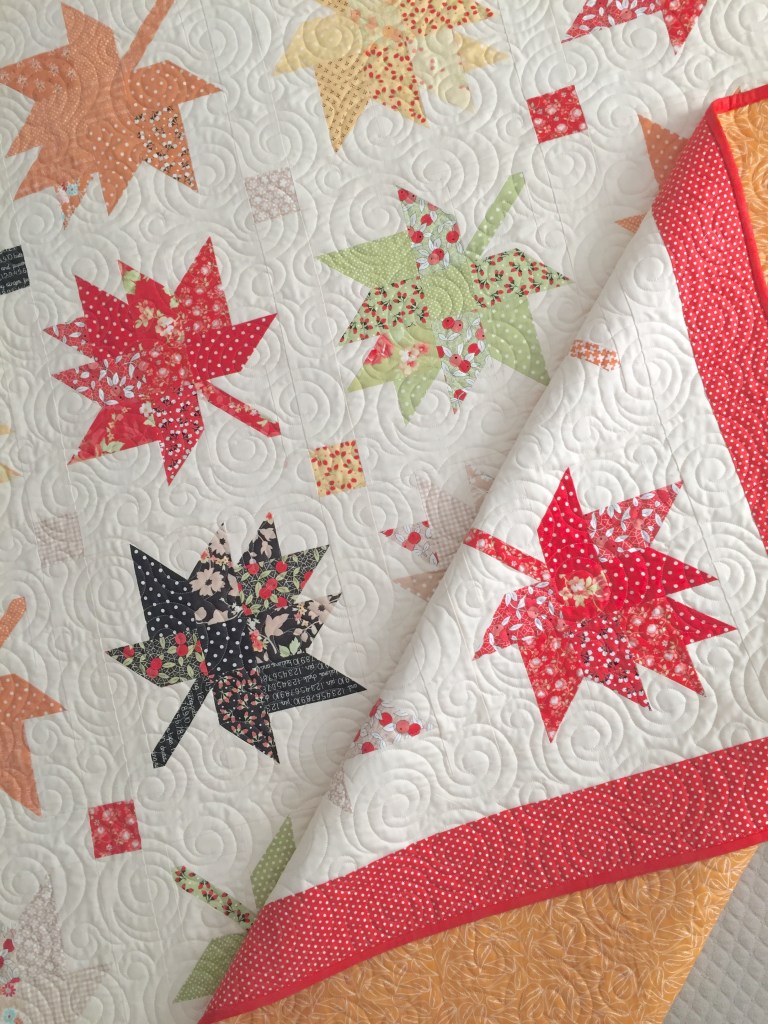
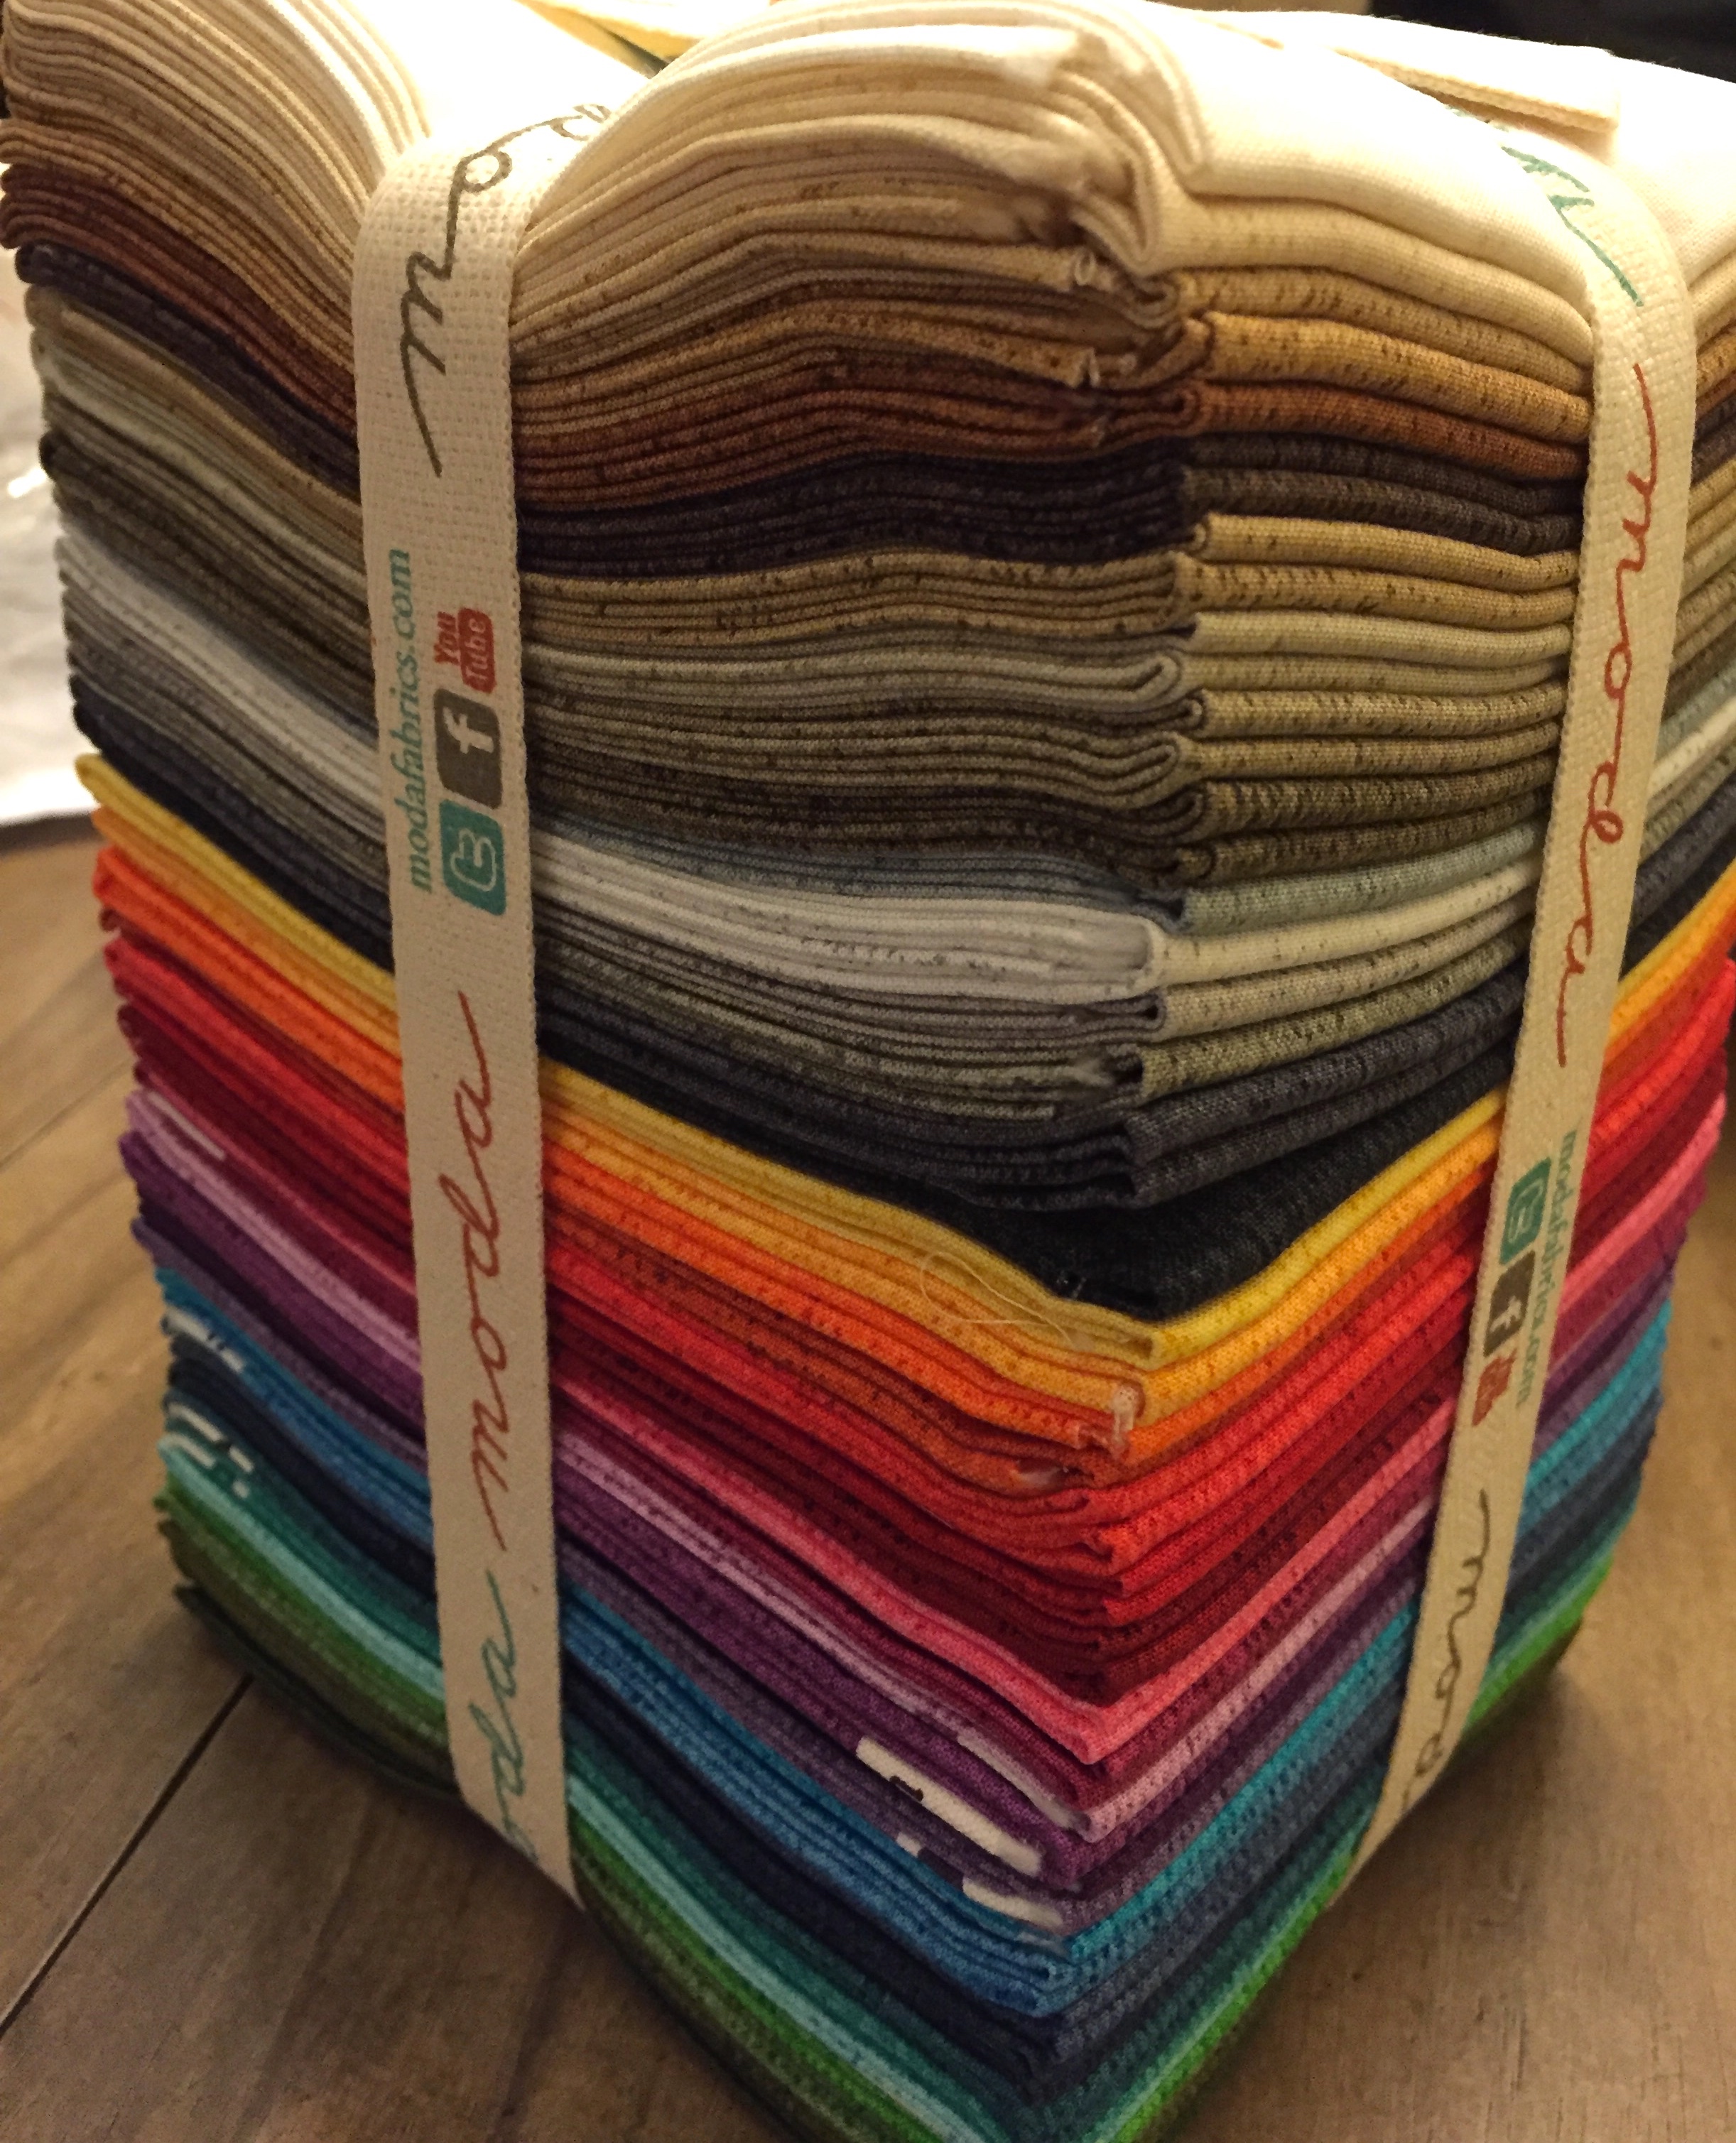
A while back I ordered a fat quarter bundle of Moda’s Chestnut Street for a fall quilt. While I cut what was needed for the pattern, I never made the quilt because I couldn’t decide on a background fabric. Since I had plenty of Chestnut Street left over, along with additional fabrics from other Fig Tree collections, I knew I had enough fabric and variety (plus I added two Dear Stella Mini Dots). I’d also been intent on stashing down, so it was definitely a go! I stopped what I was working on and started pulling fabric. And let me tell you, it was FUN. 🙂

Image-1.jpg

IMGP7220

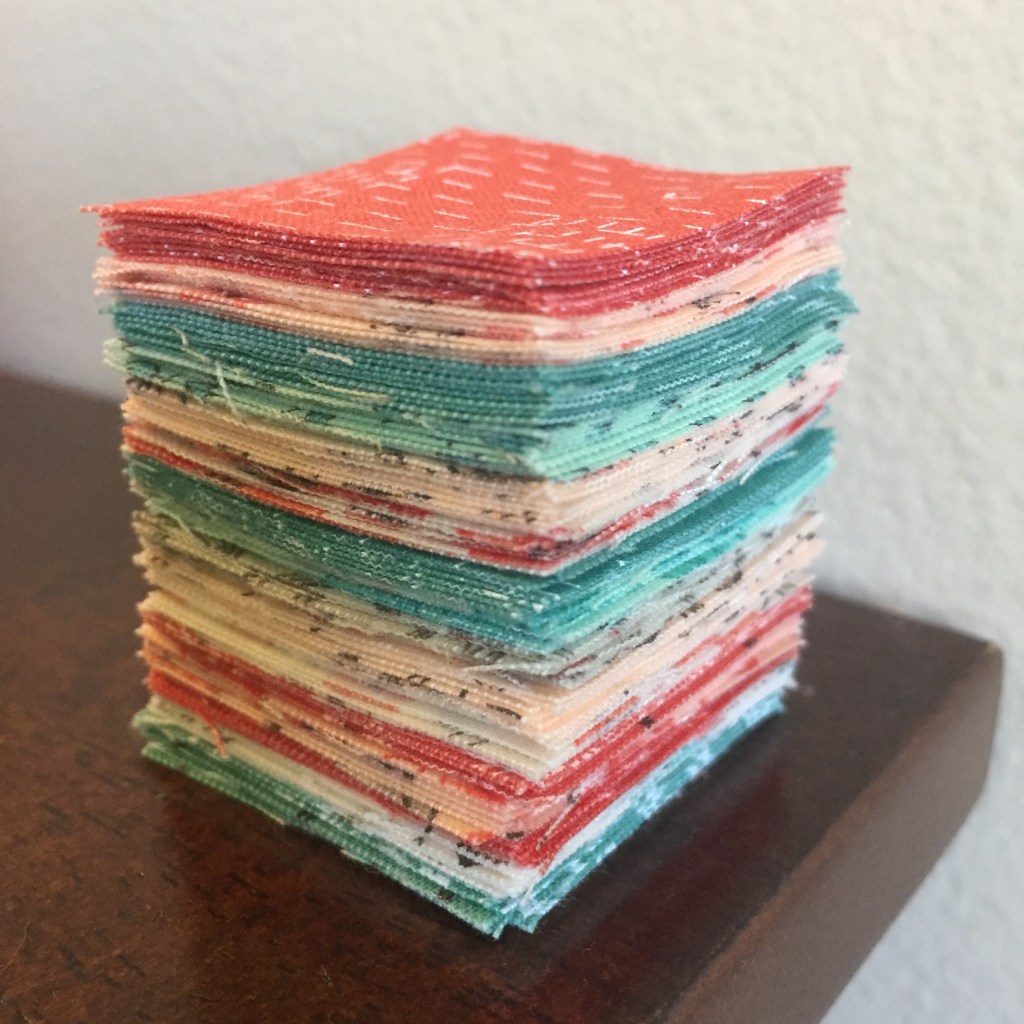
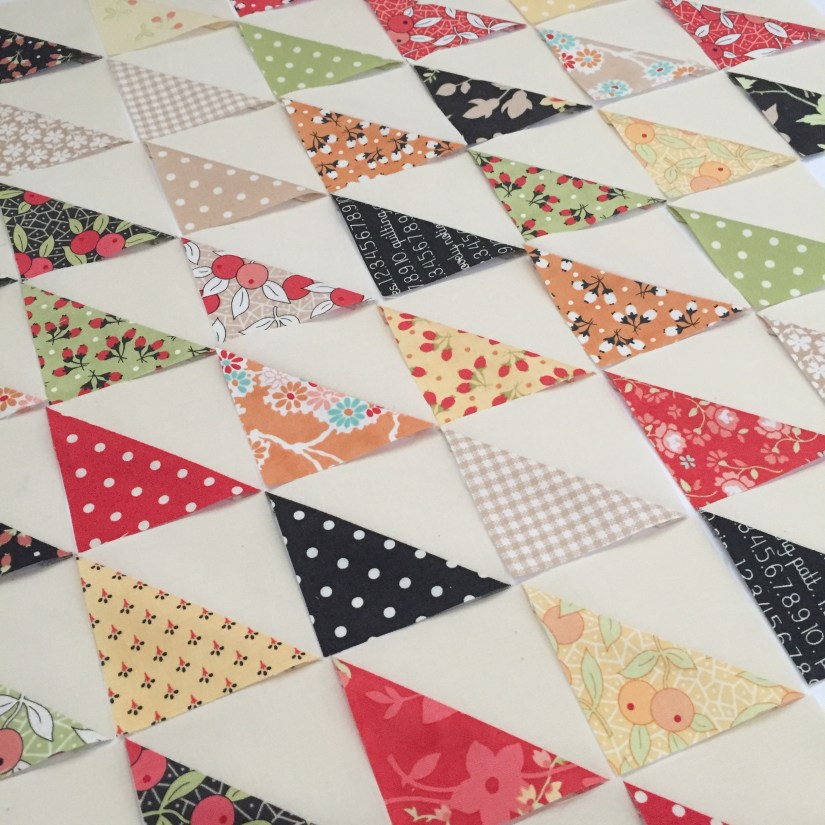
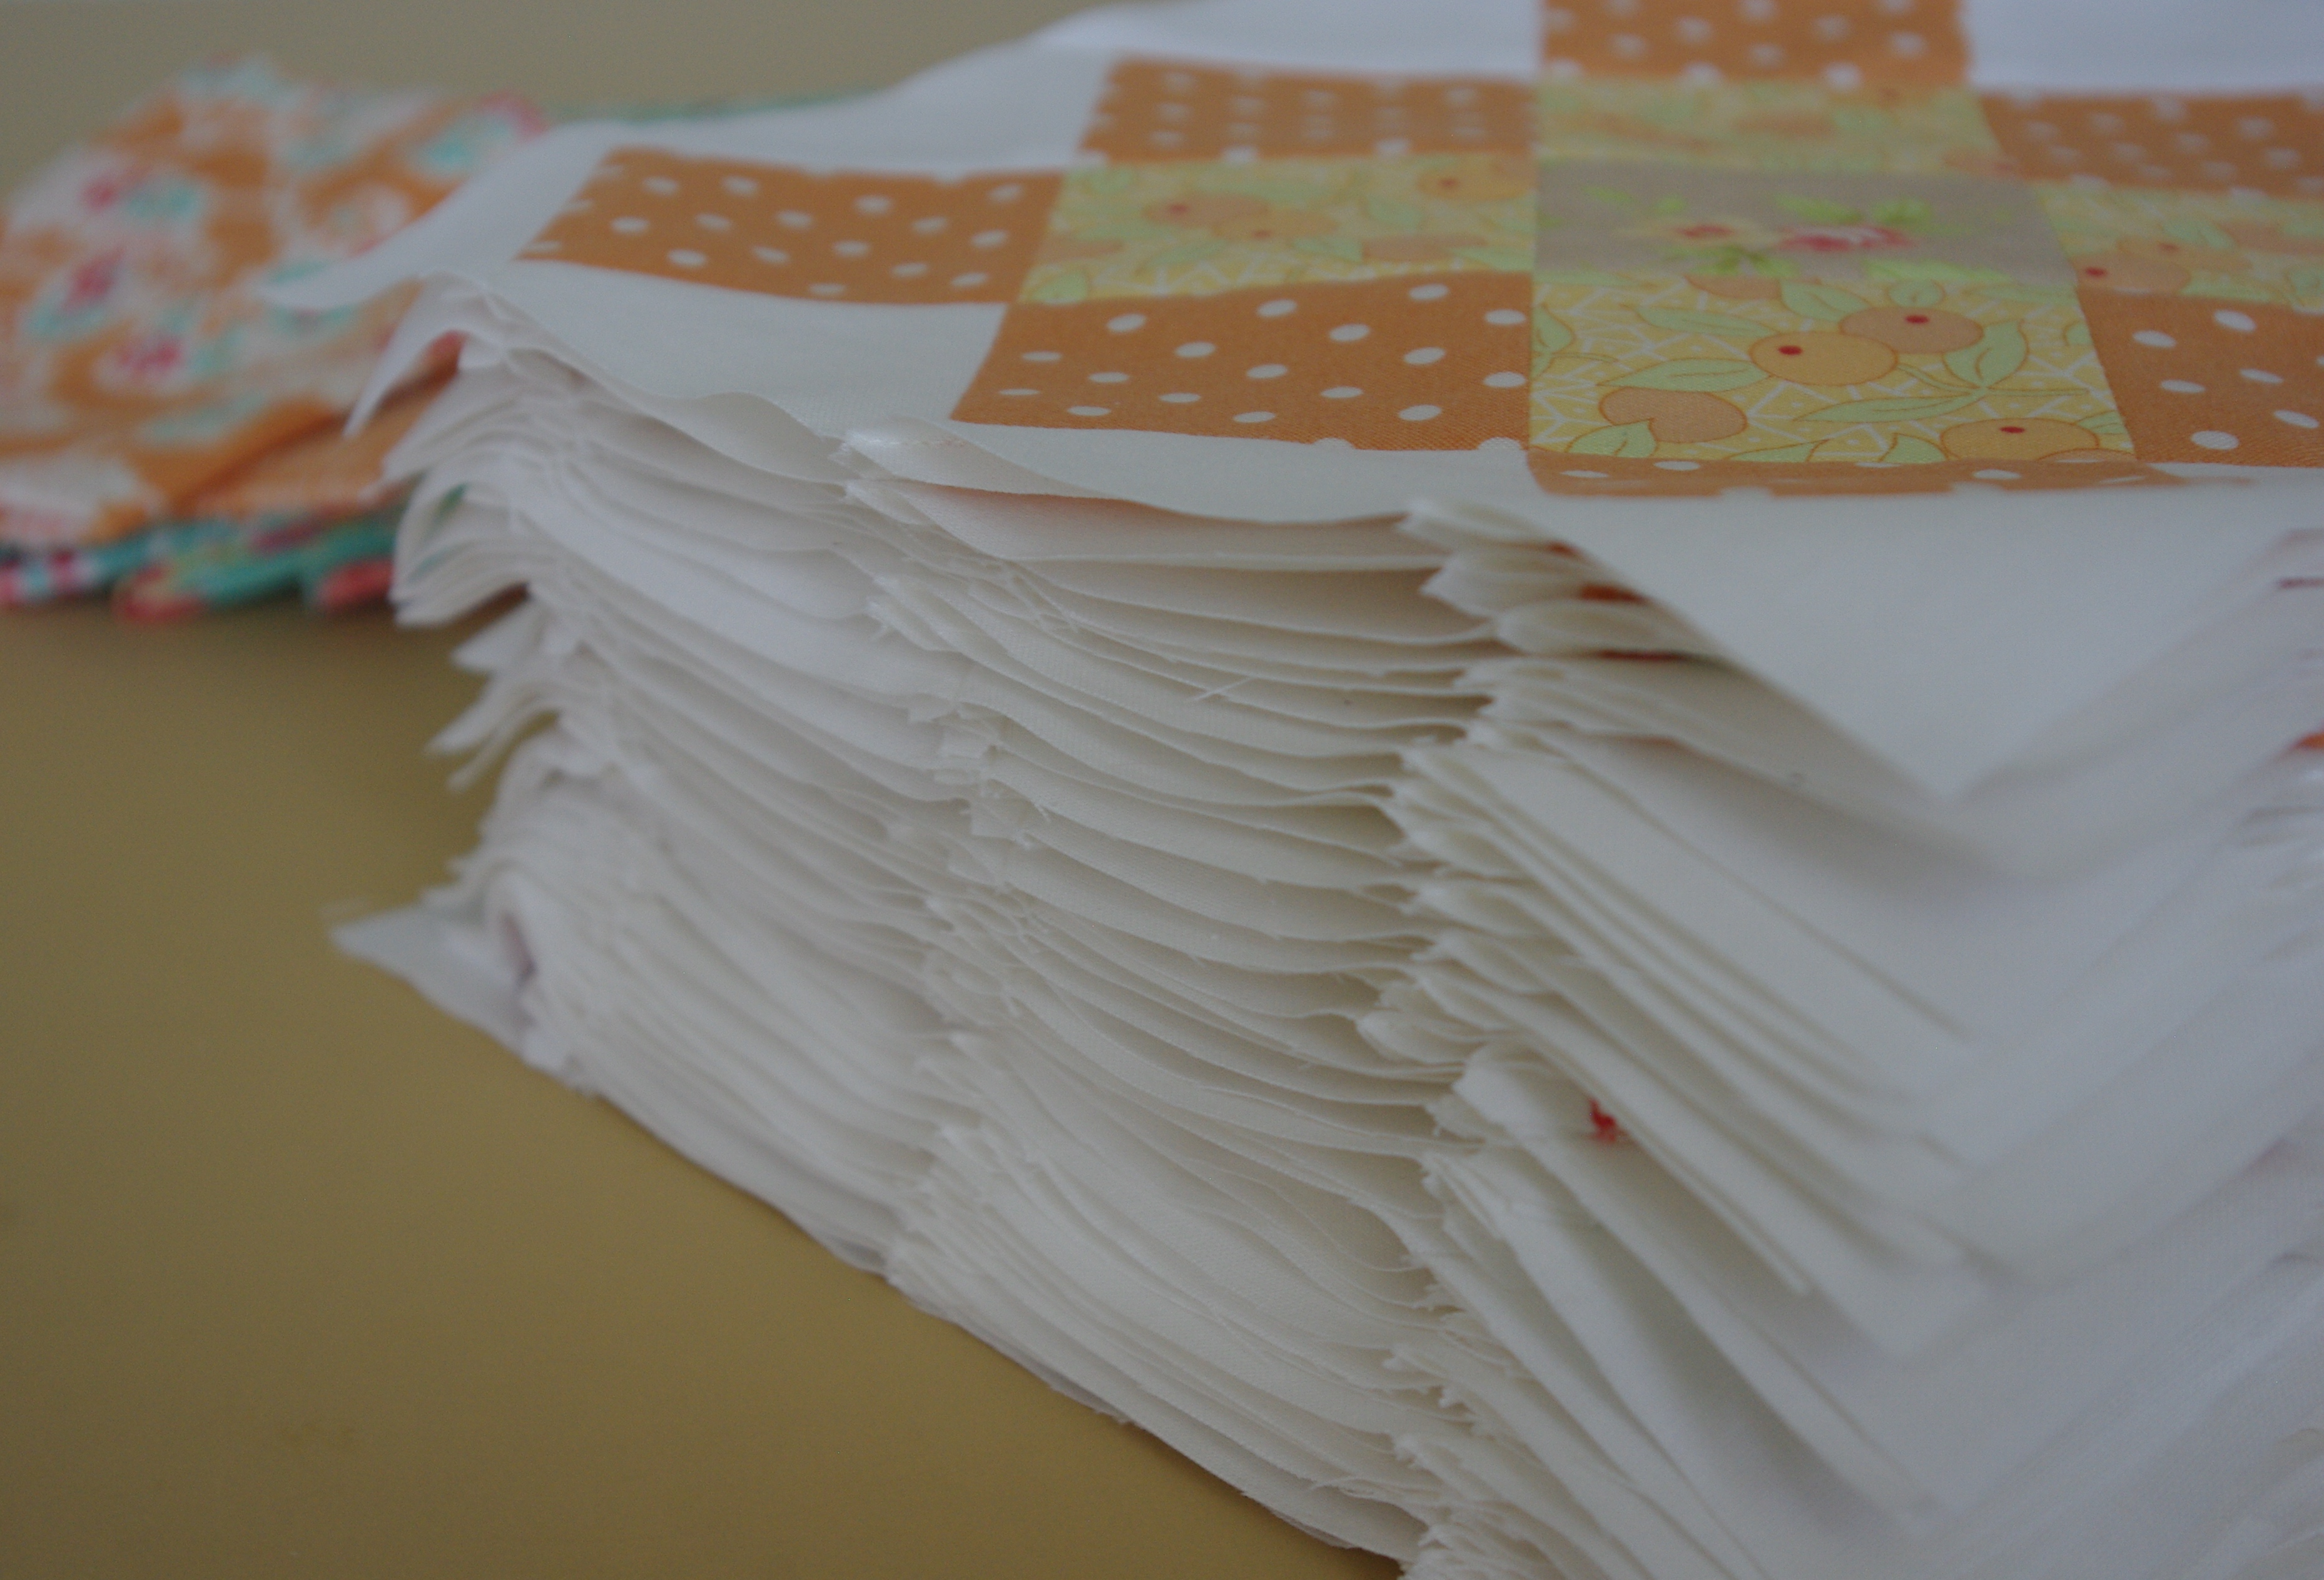
There were so many things about making this quilt that made it fun…for example, I had no plan, it was literally on a whim. I randomly mixed and matched fabric, whatever I felt went together got put together. I was using what I had, and of all cuts – an older charm pack, scraps, fat quarters, yardage…including the background fabric, Kona Cotton Snow. I truly enjoyed the entire process.

IMGP8567.jpg

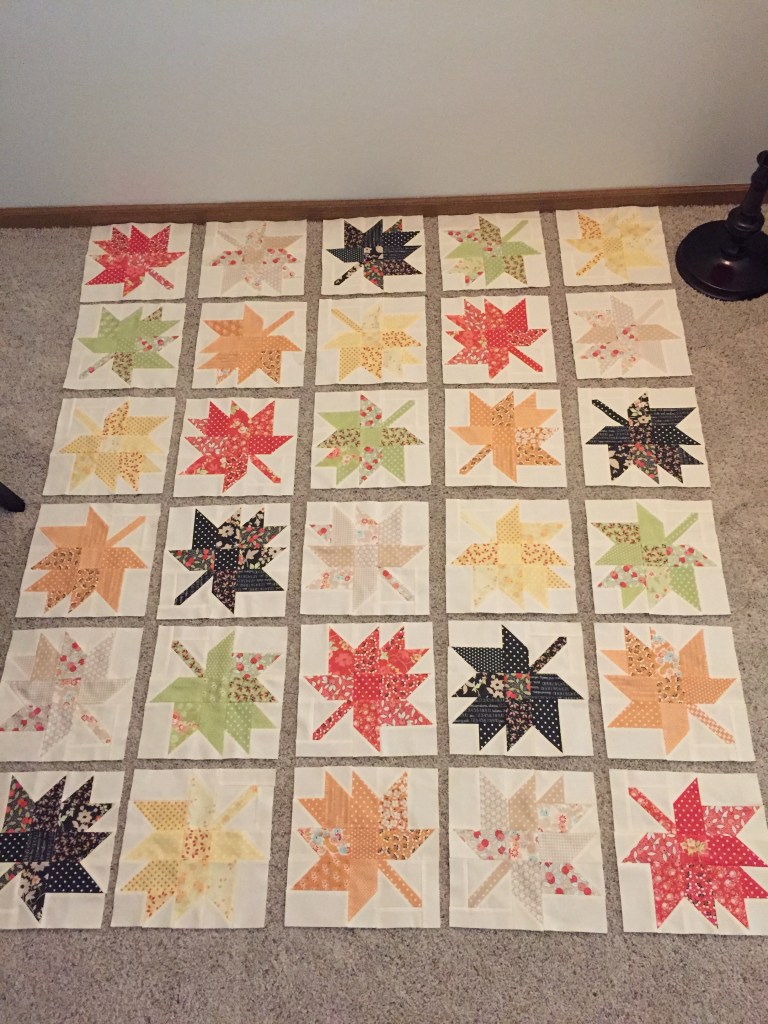
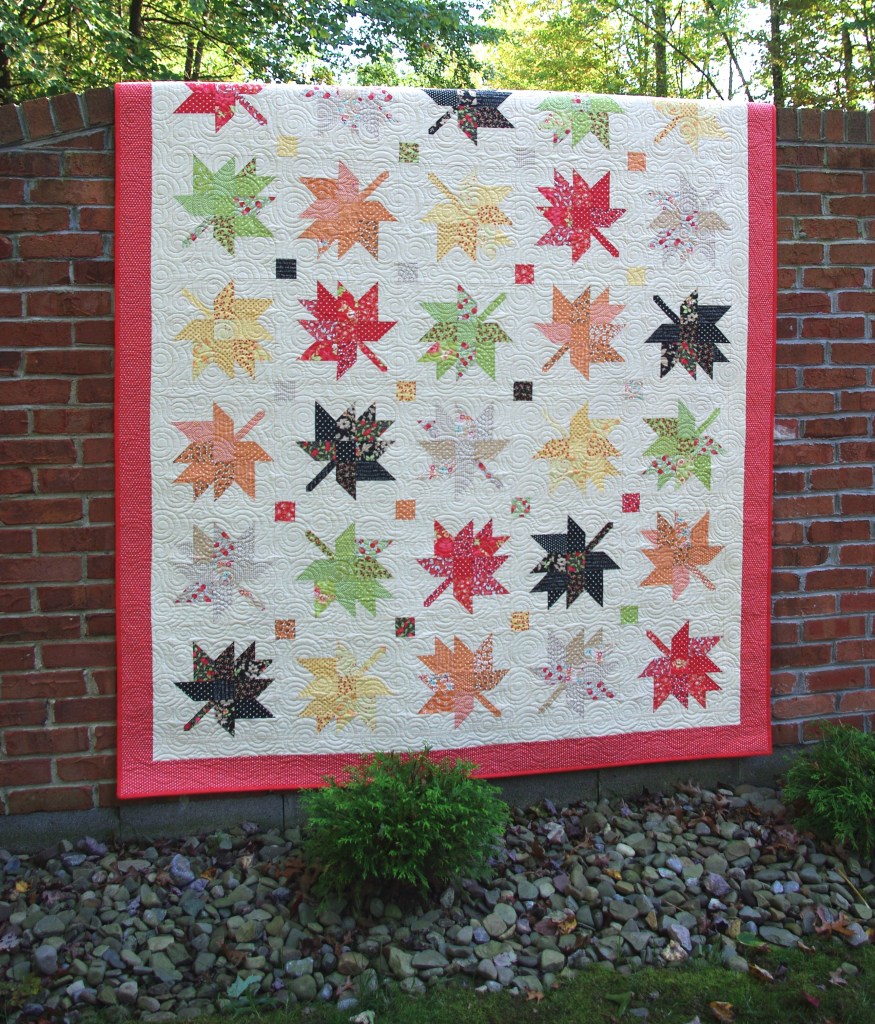
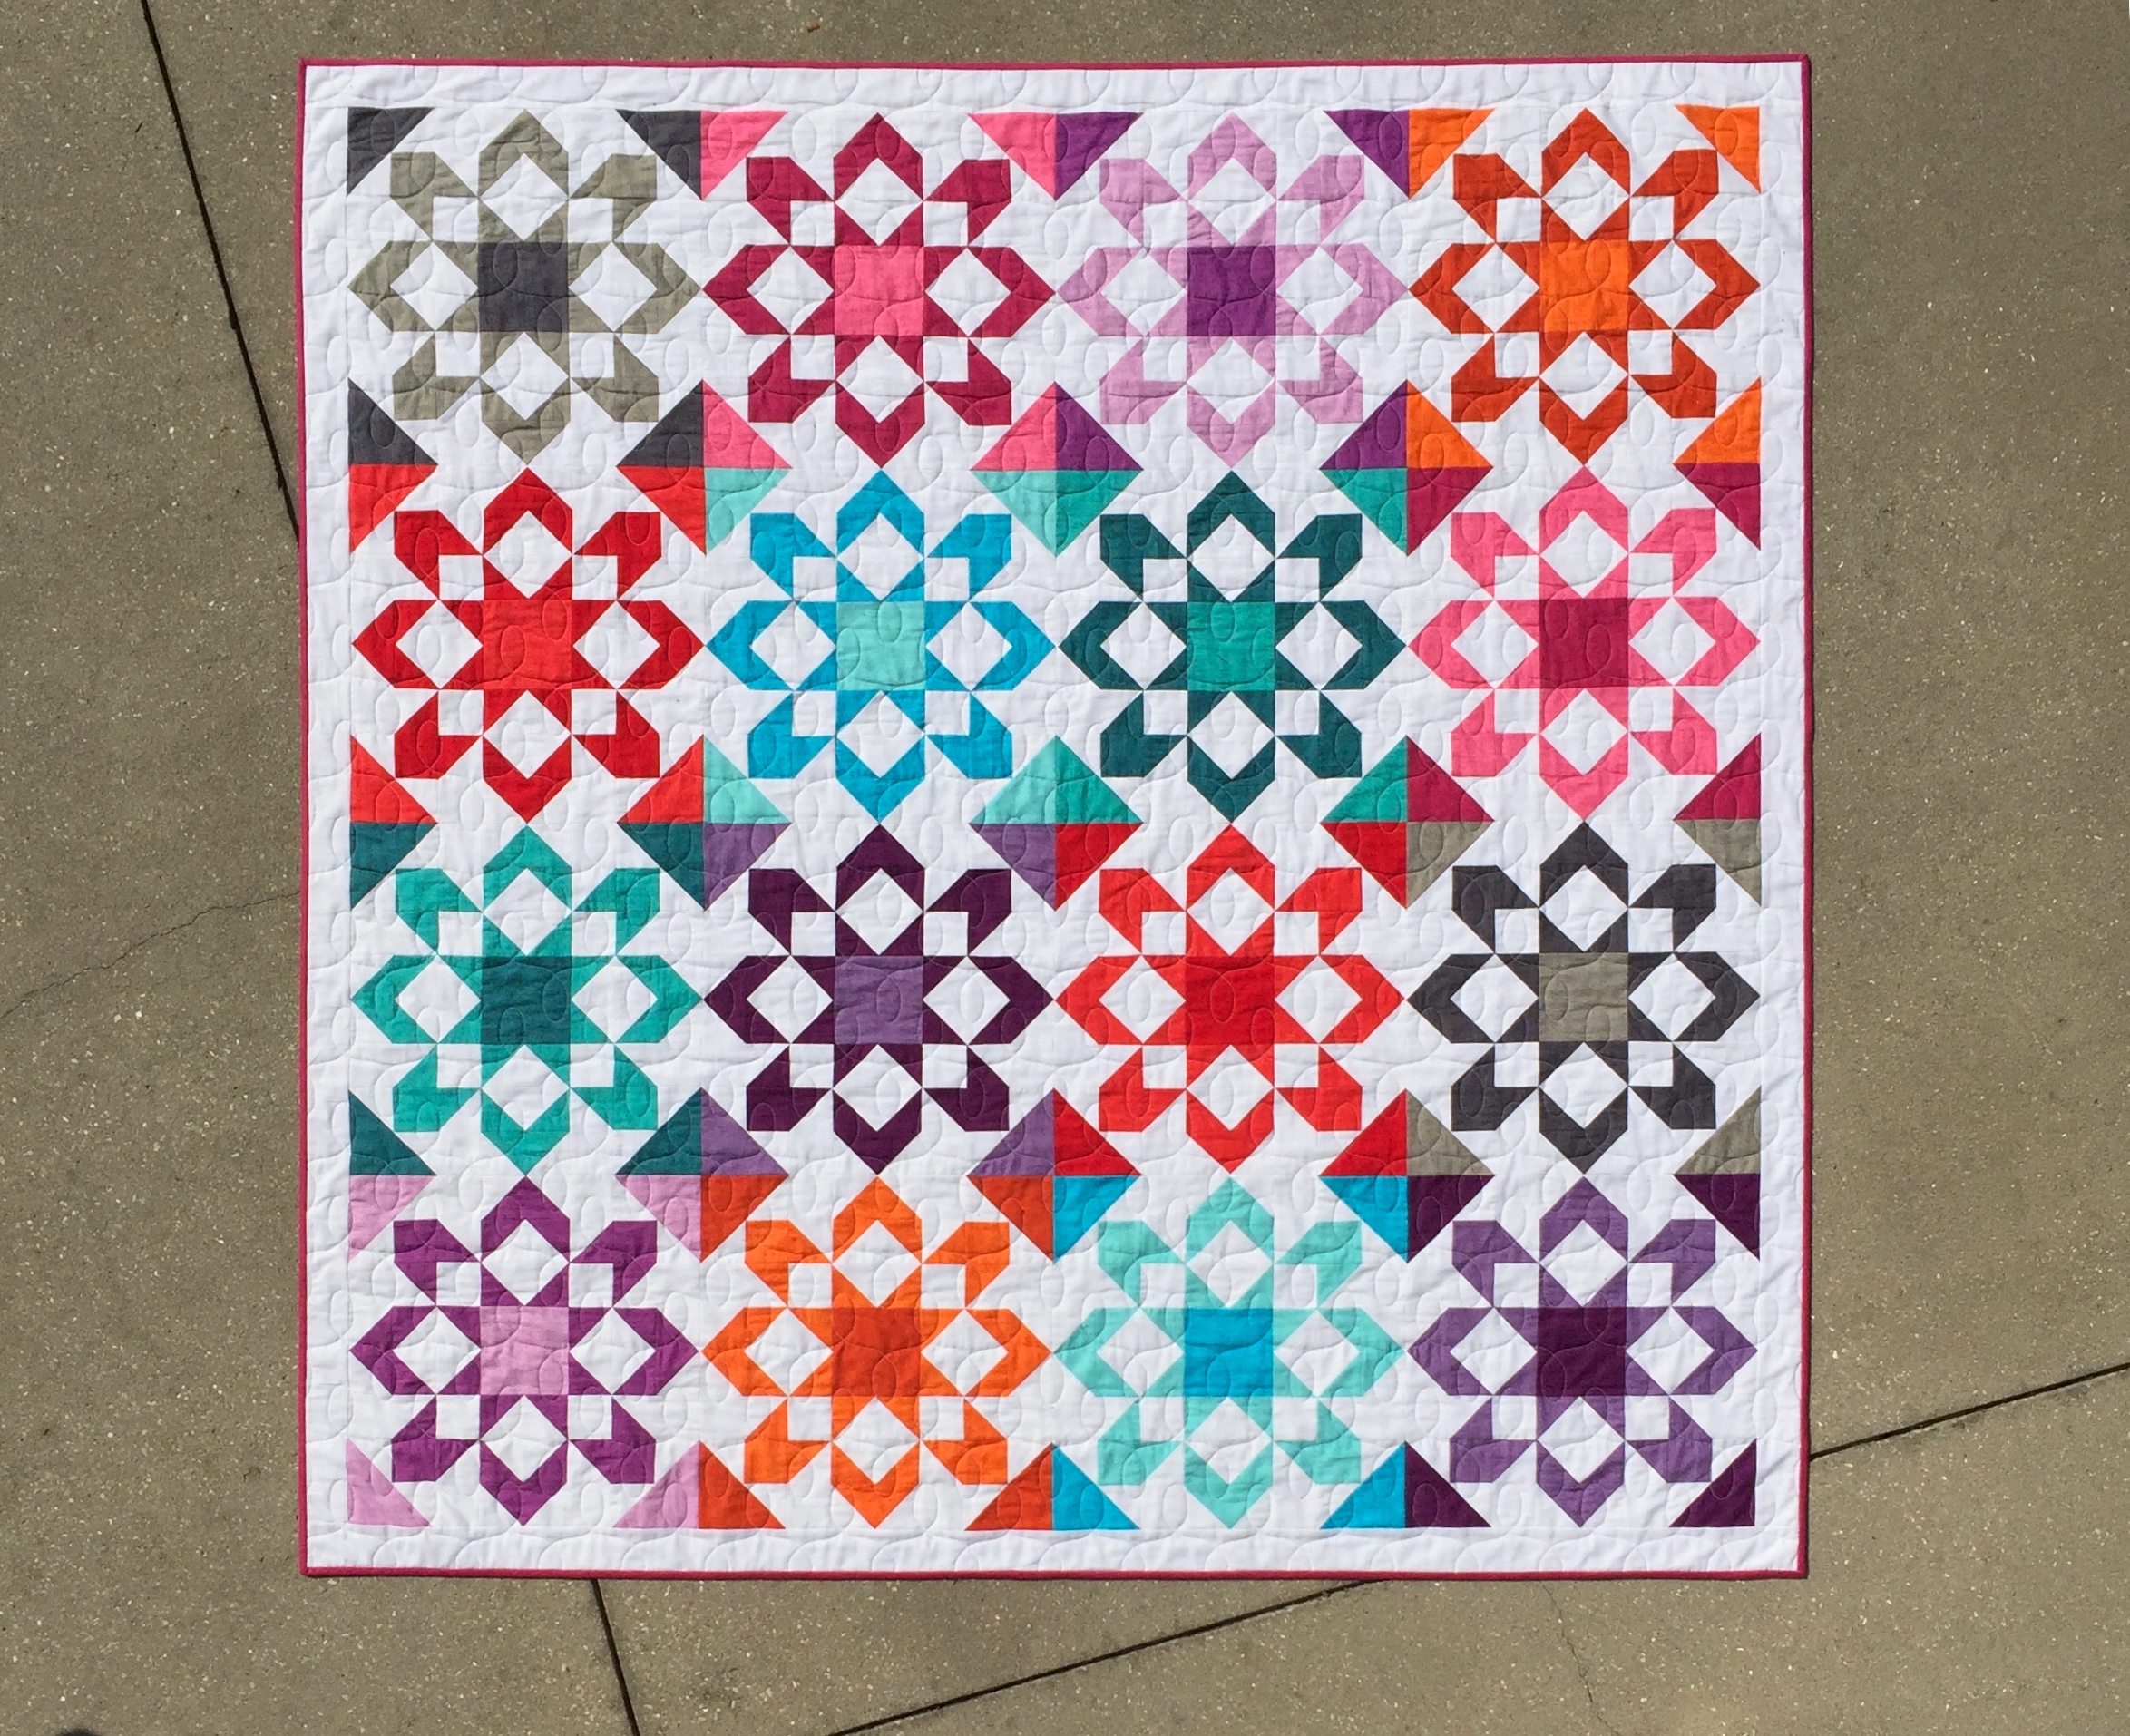
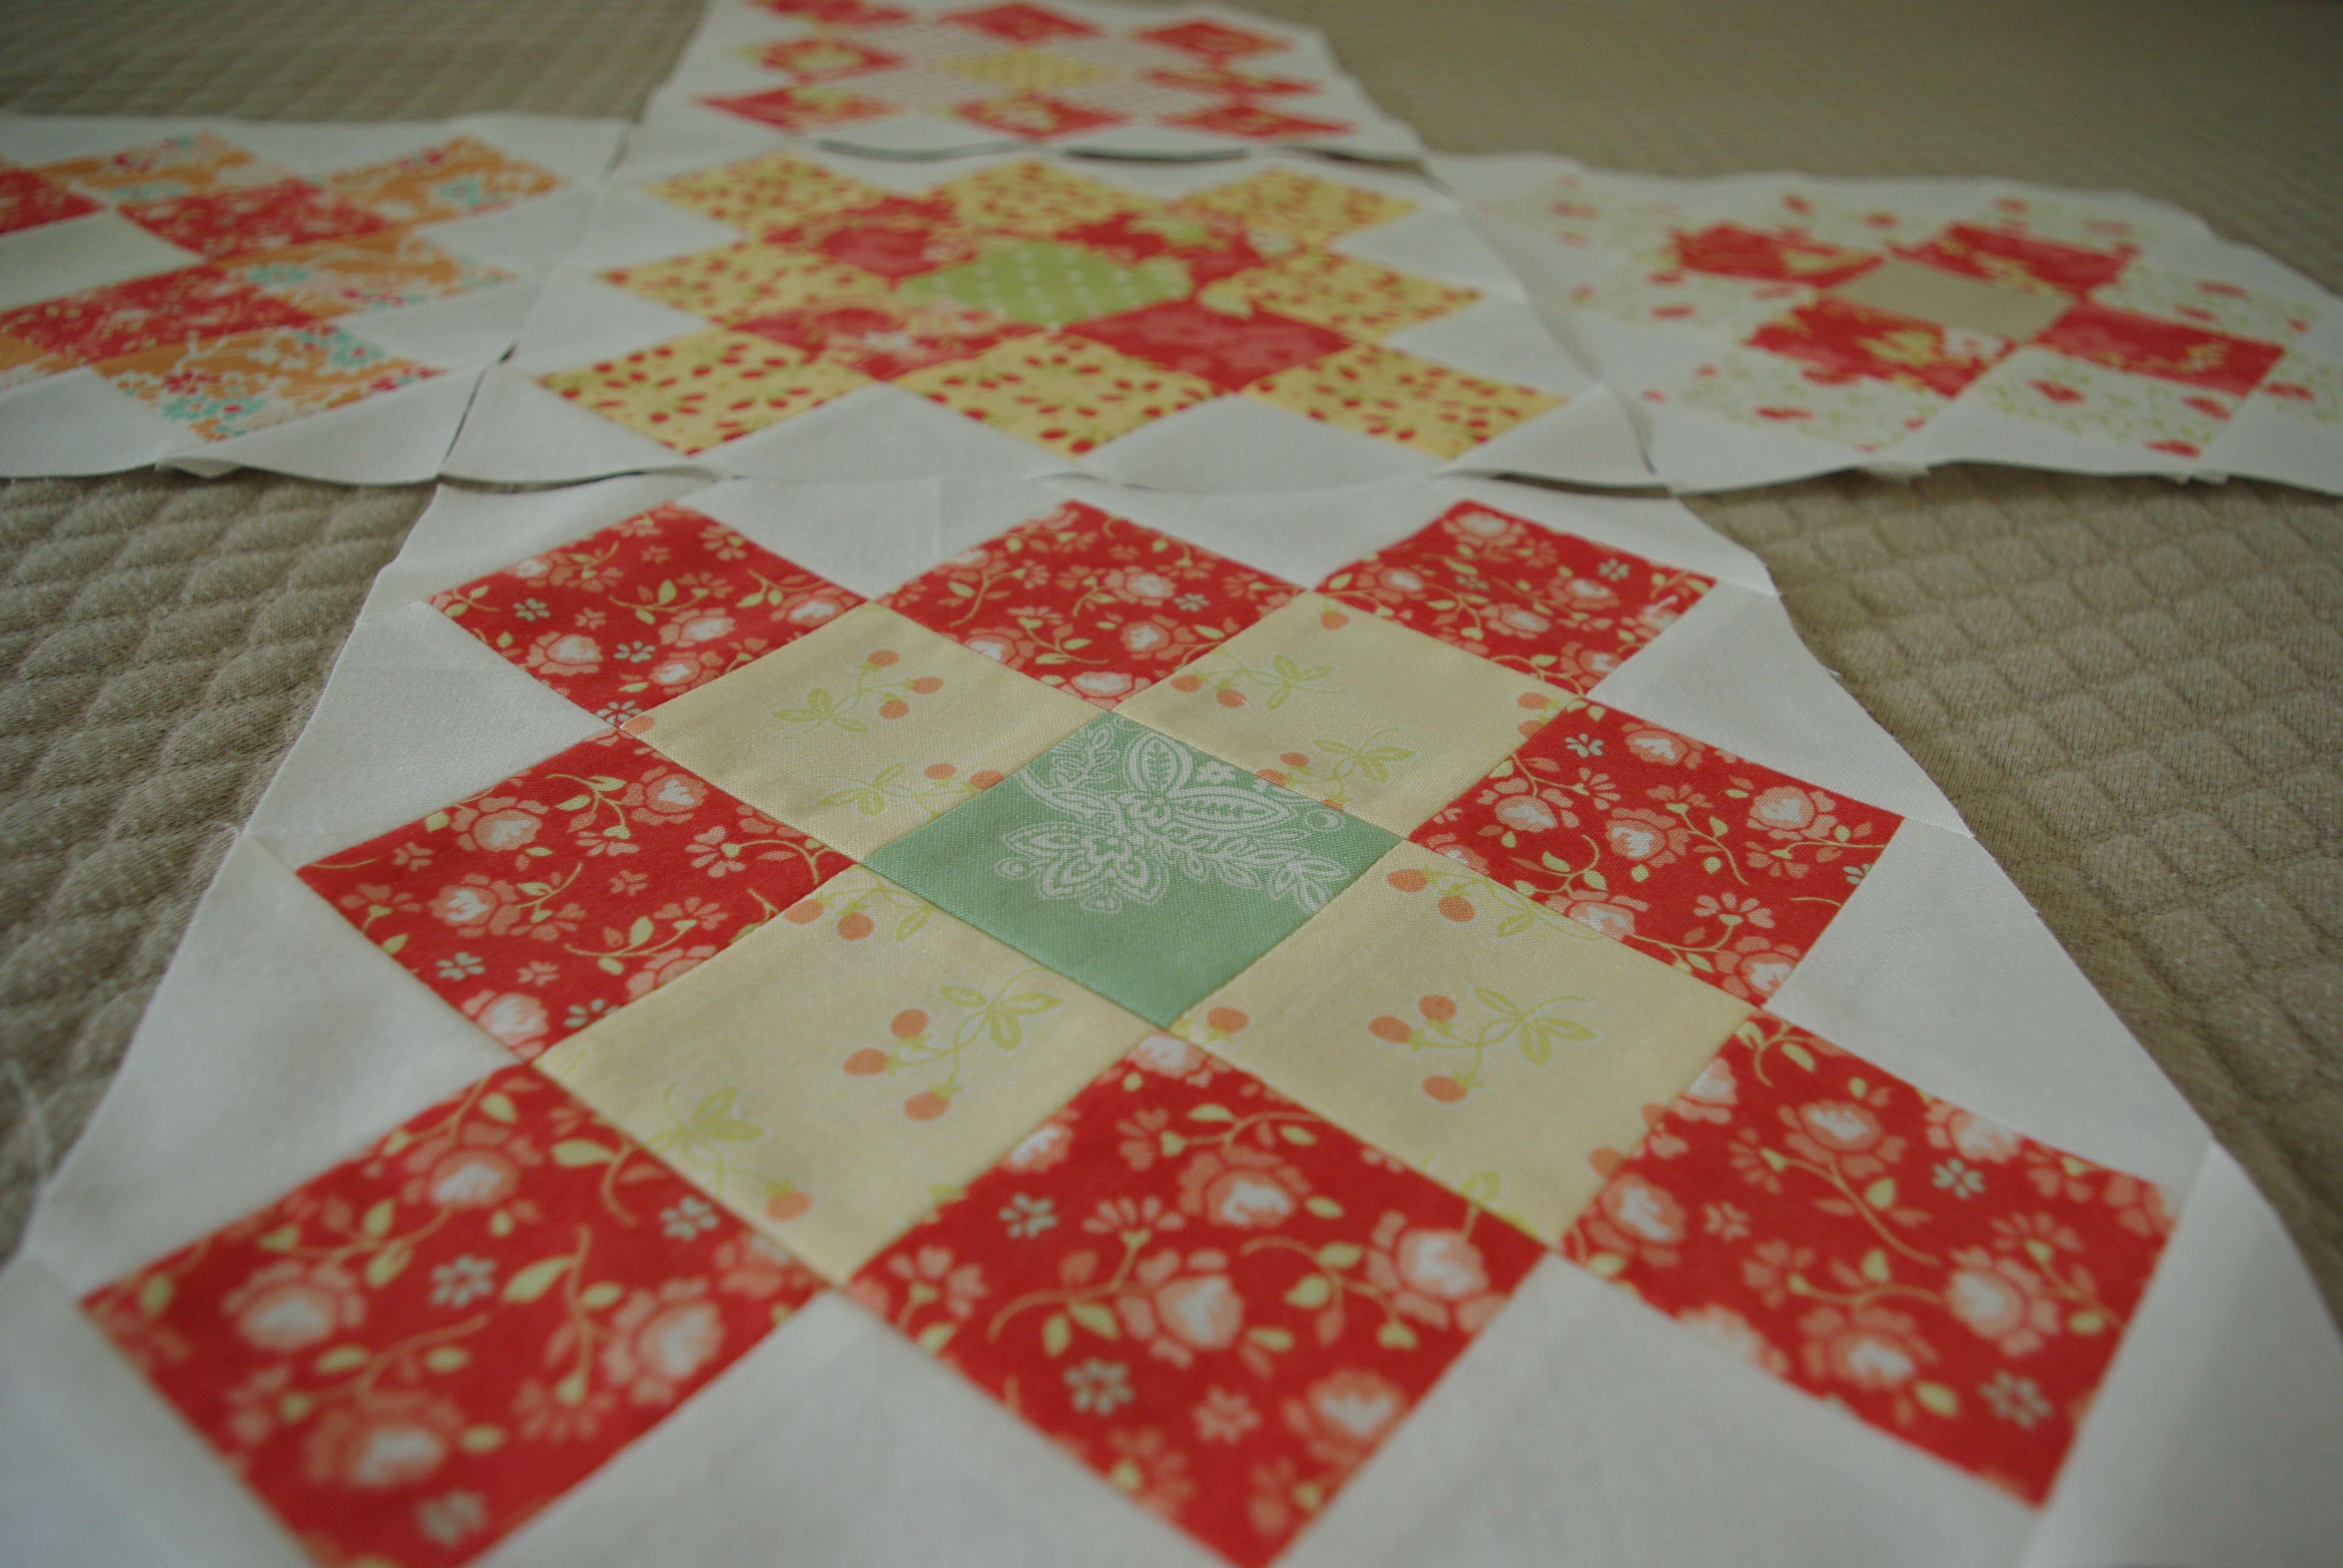
Once I finished 28 squares, I figured it was time for a plan. I decided on a throw quilt with six blocks per row, seven rows (42 squares total), 2″ sashing and a background border.

IMGP8601

IMGP8636

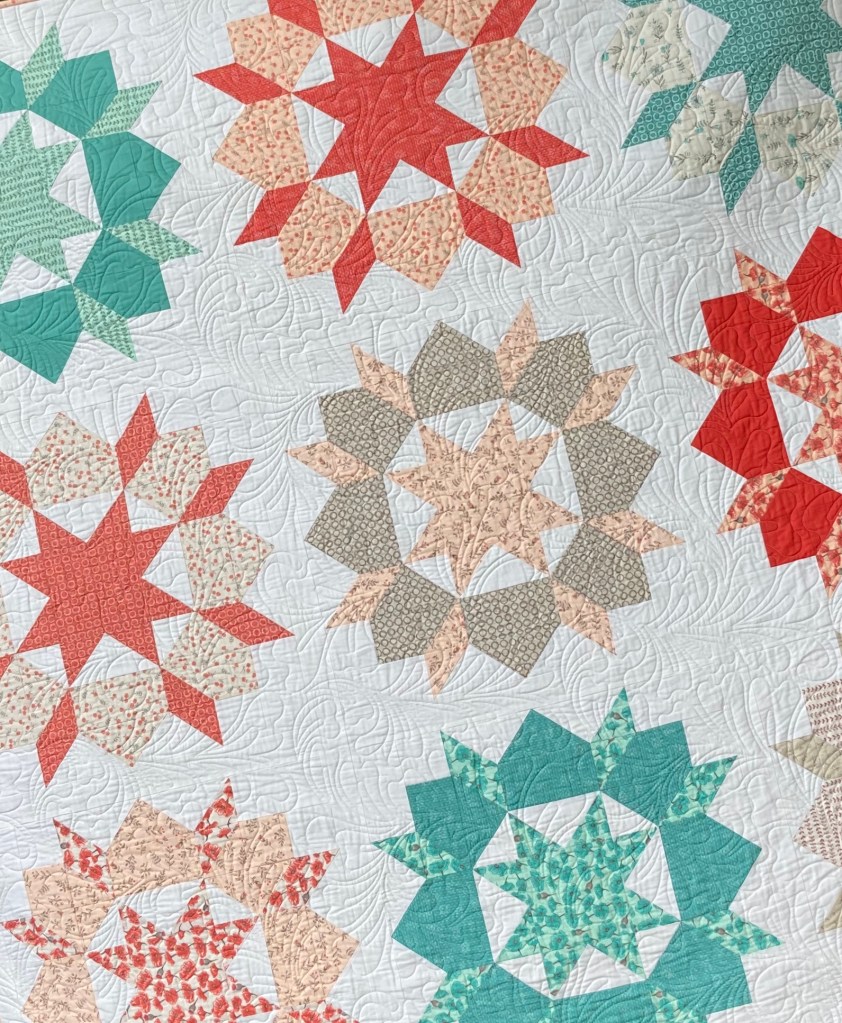
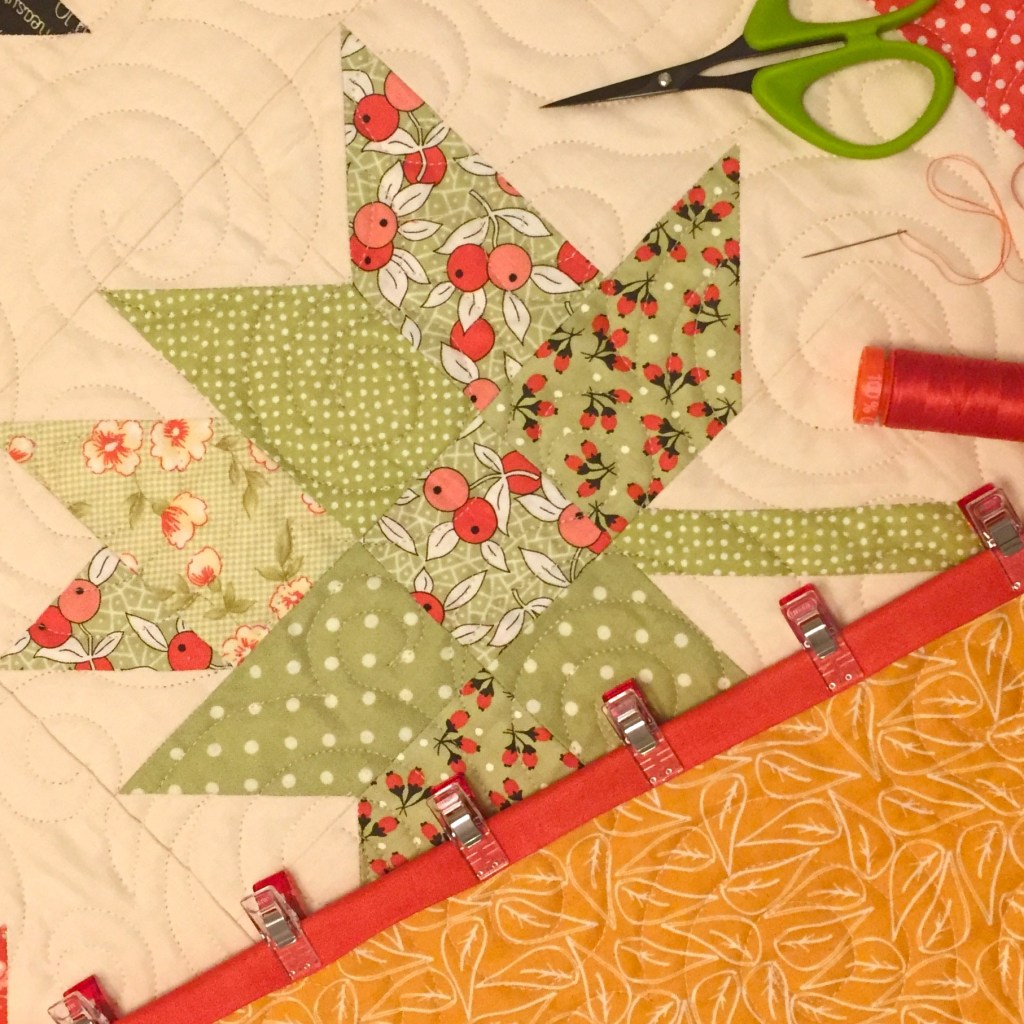
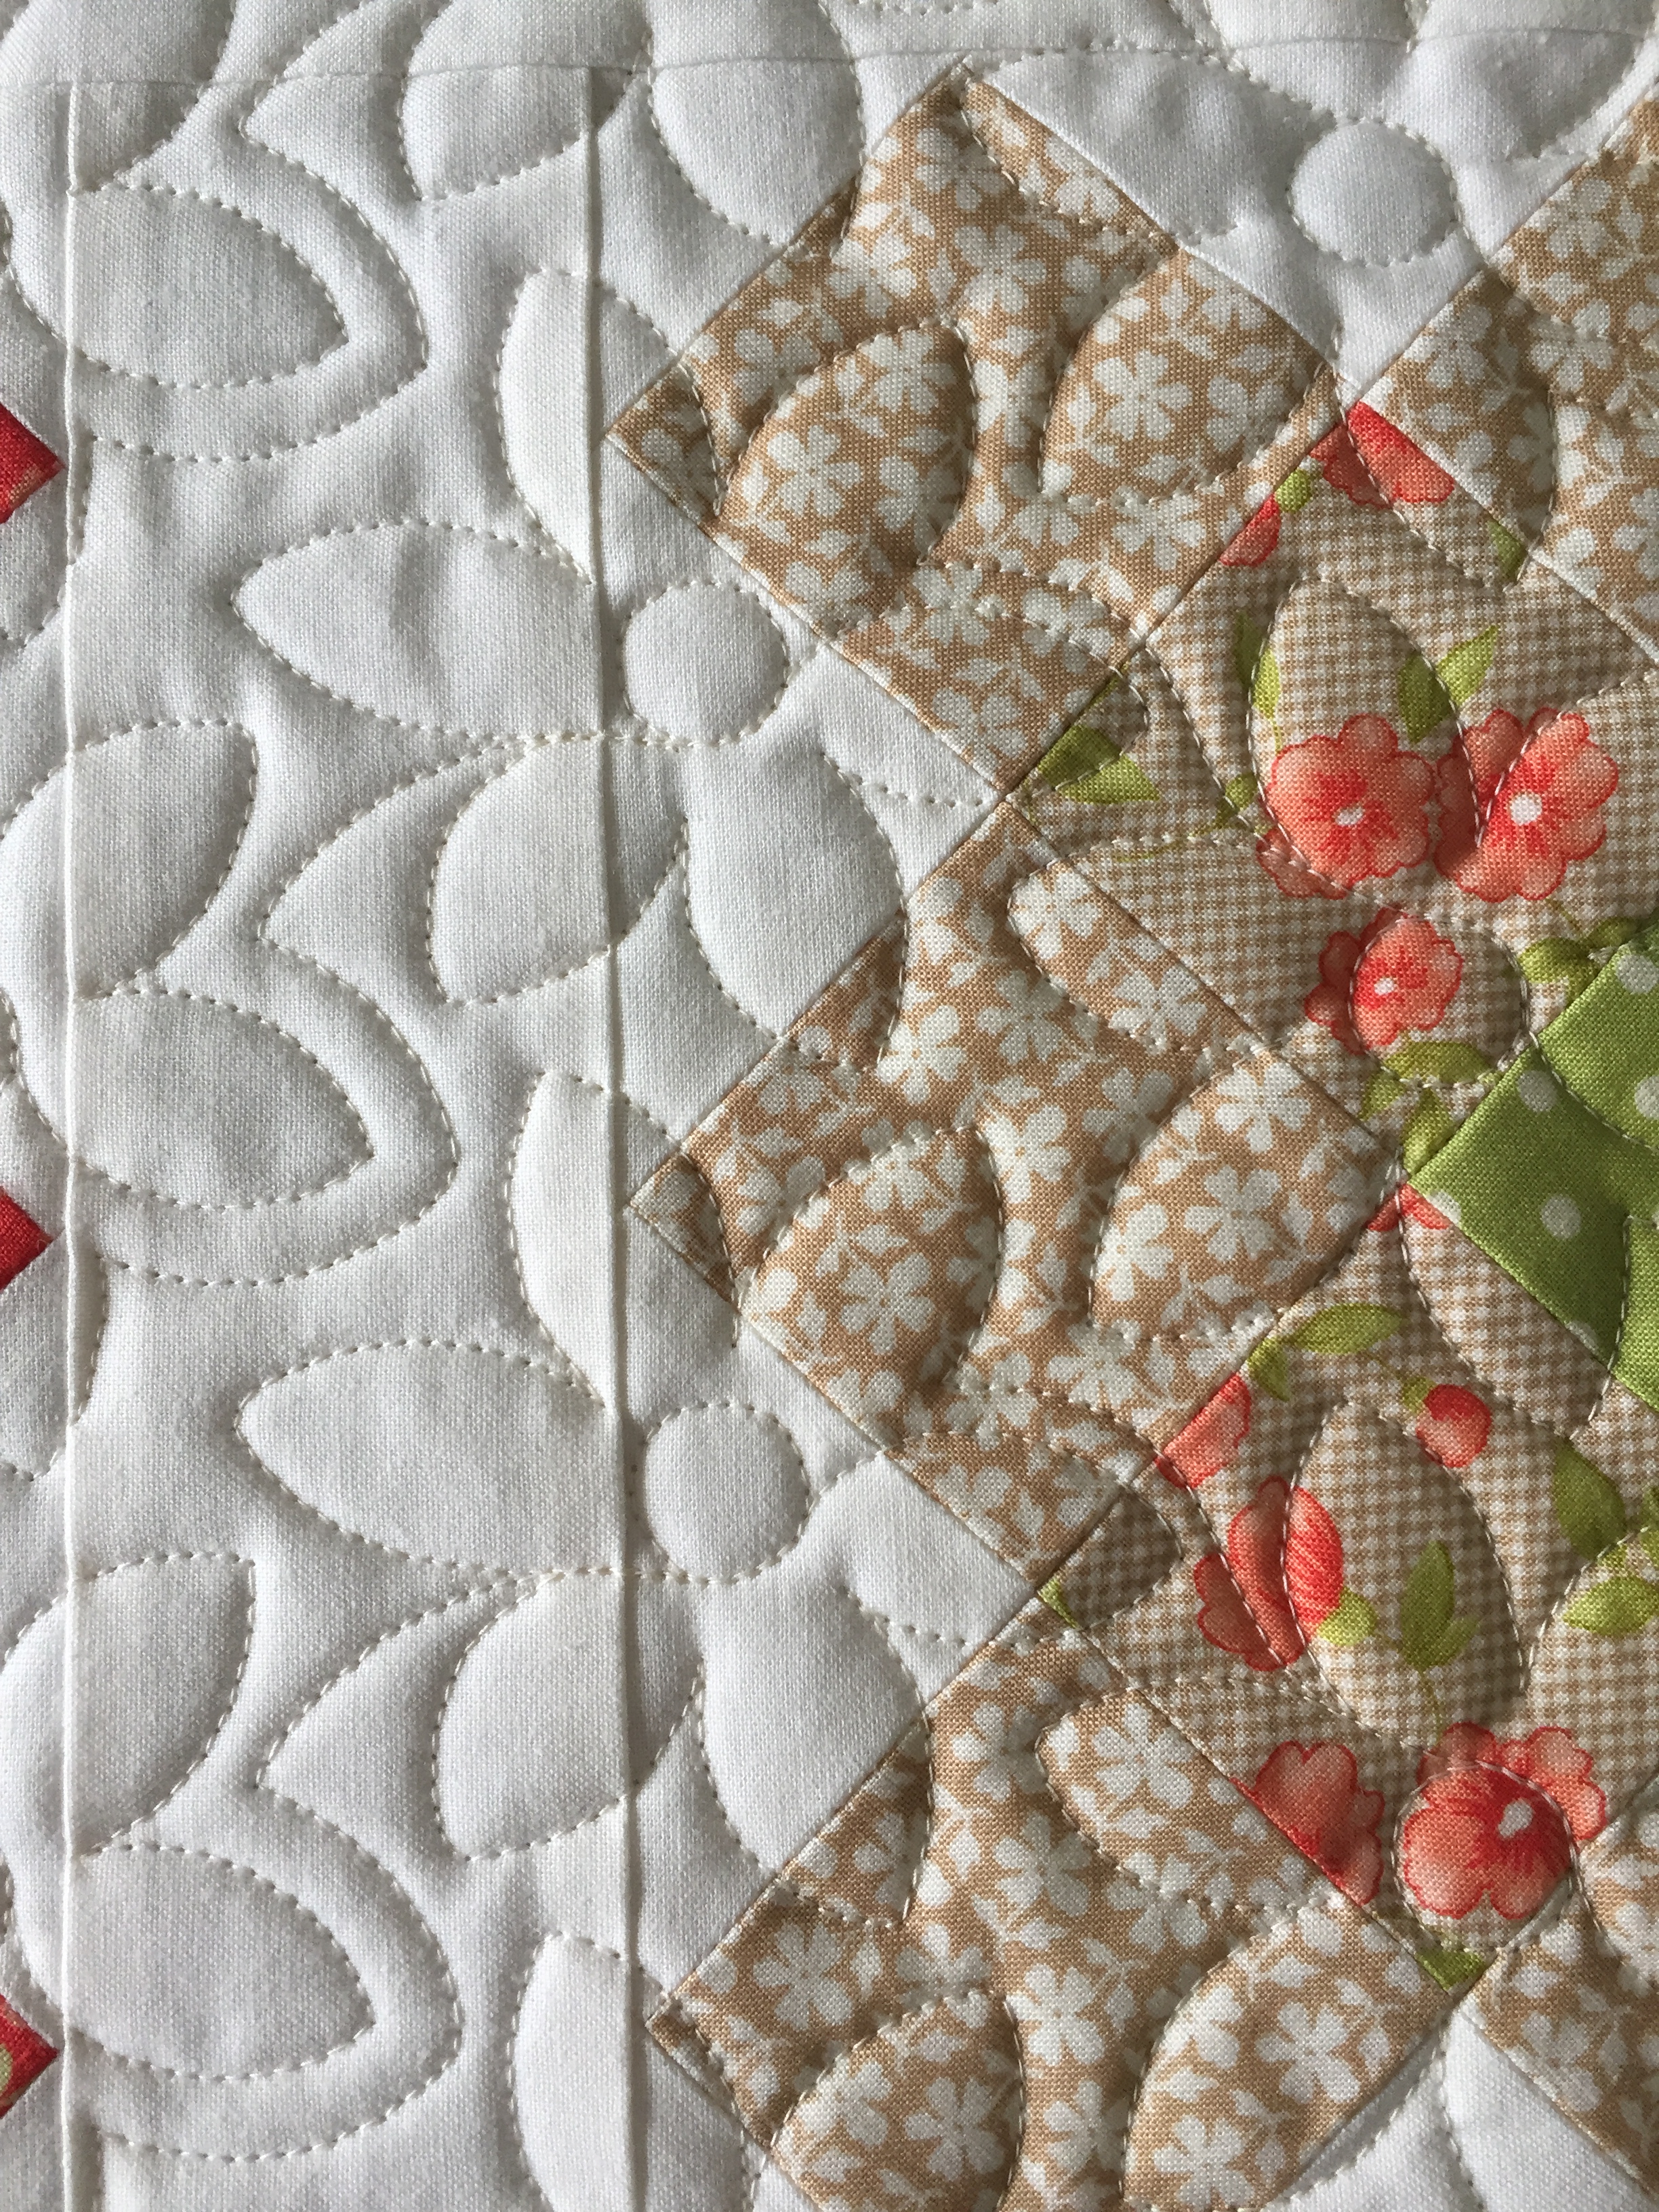
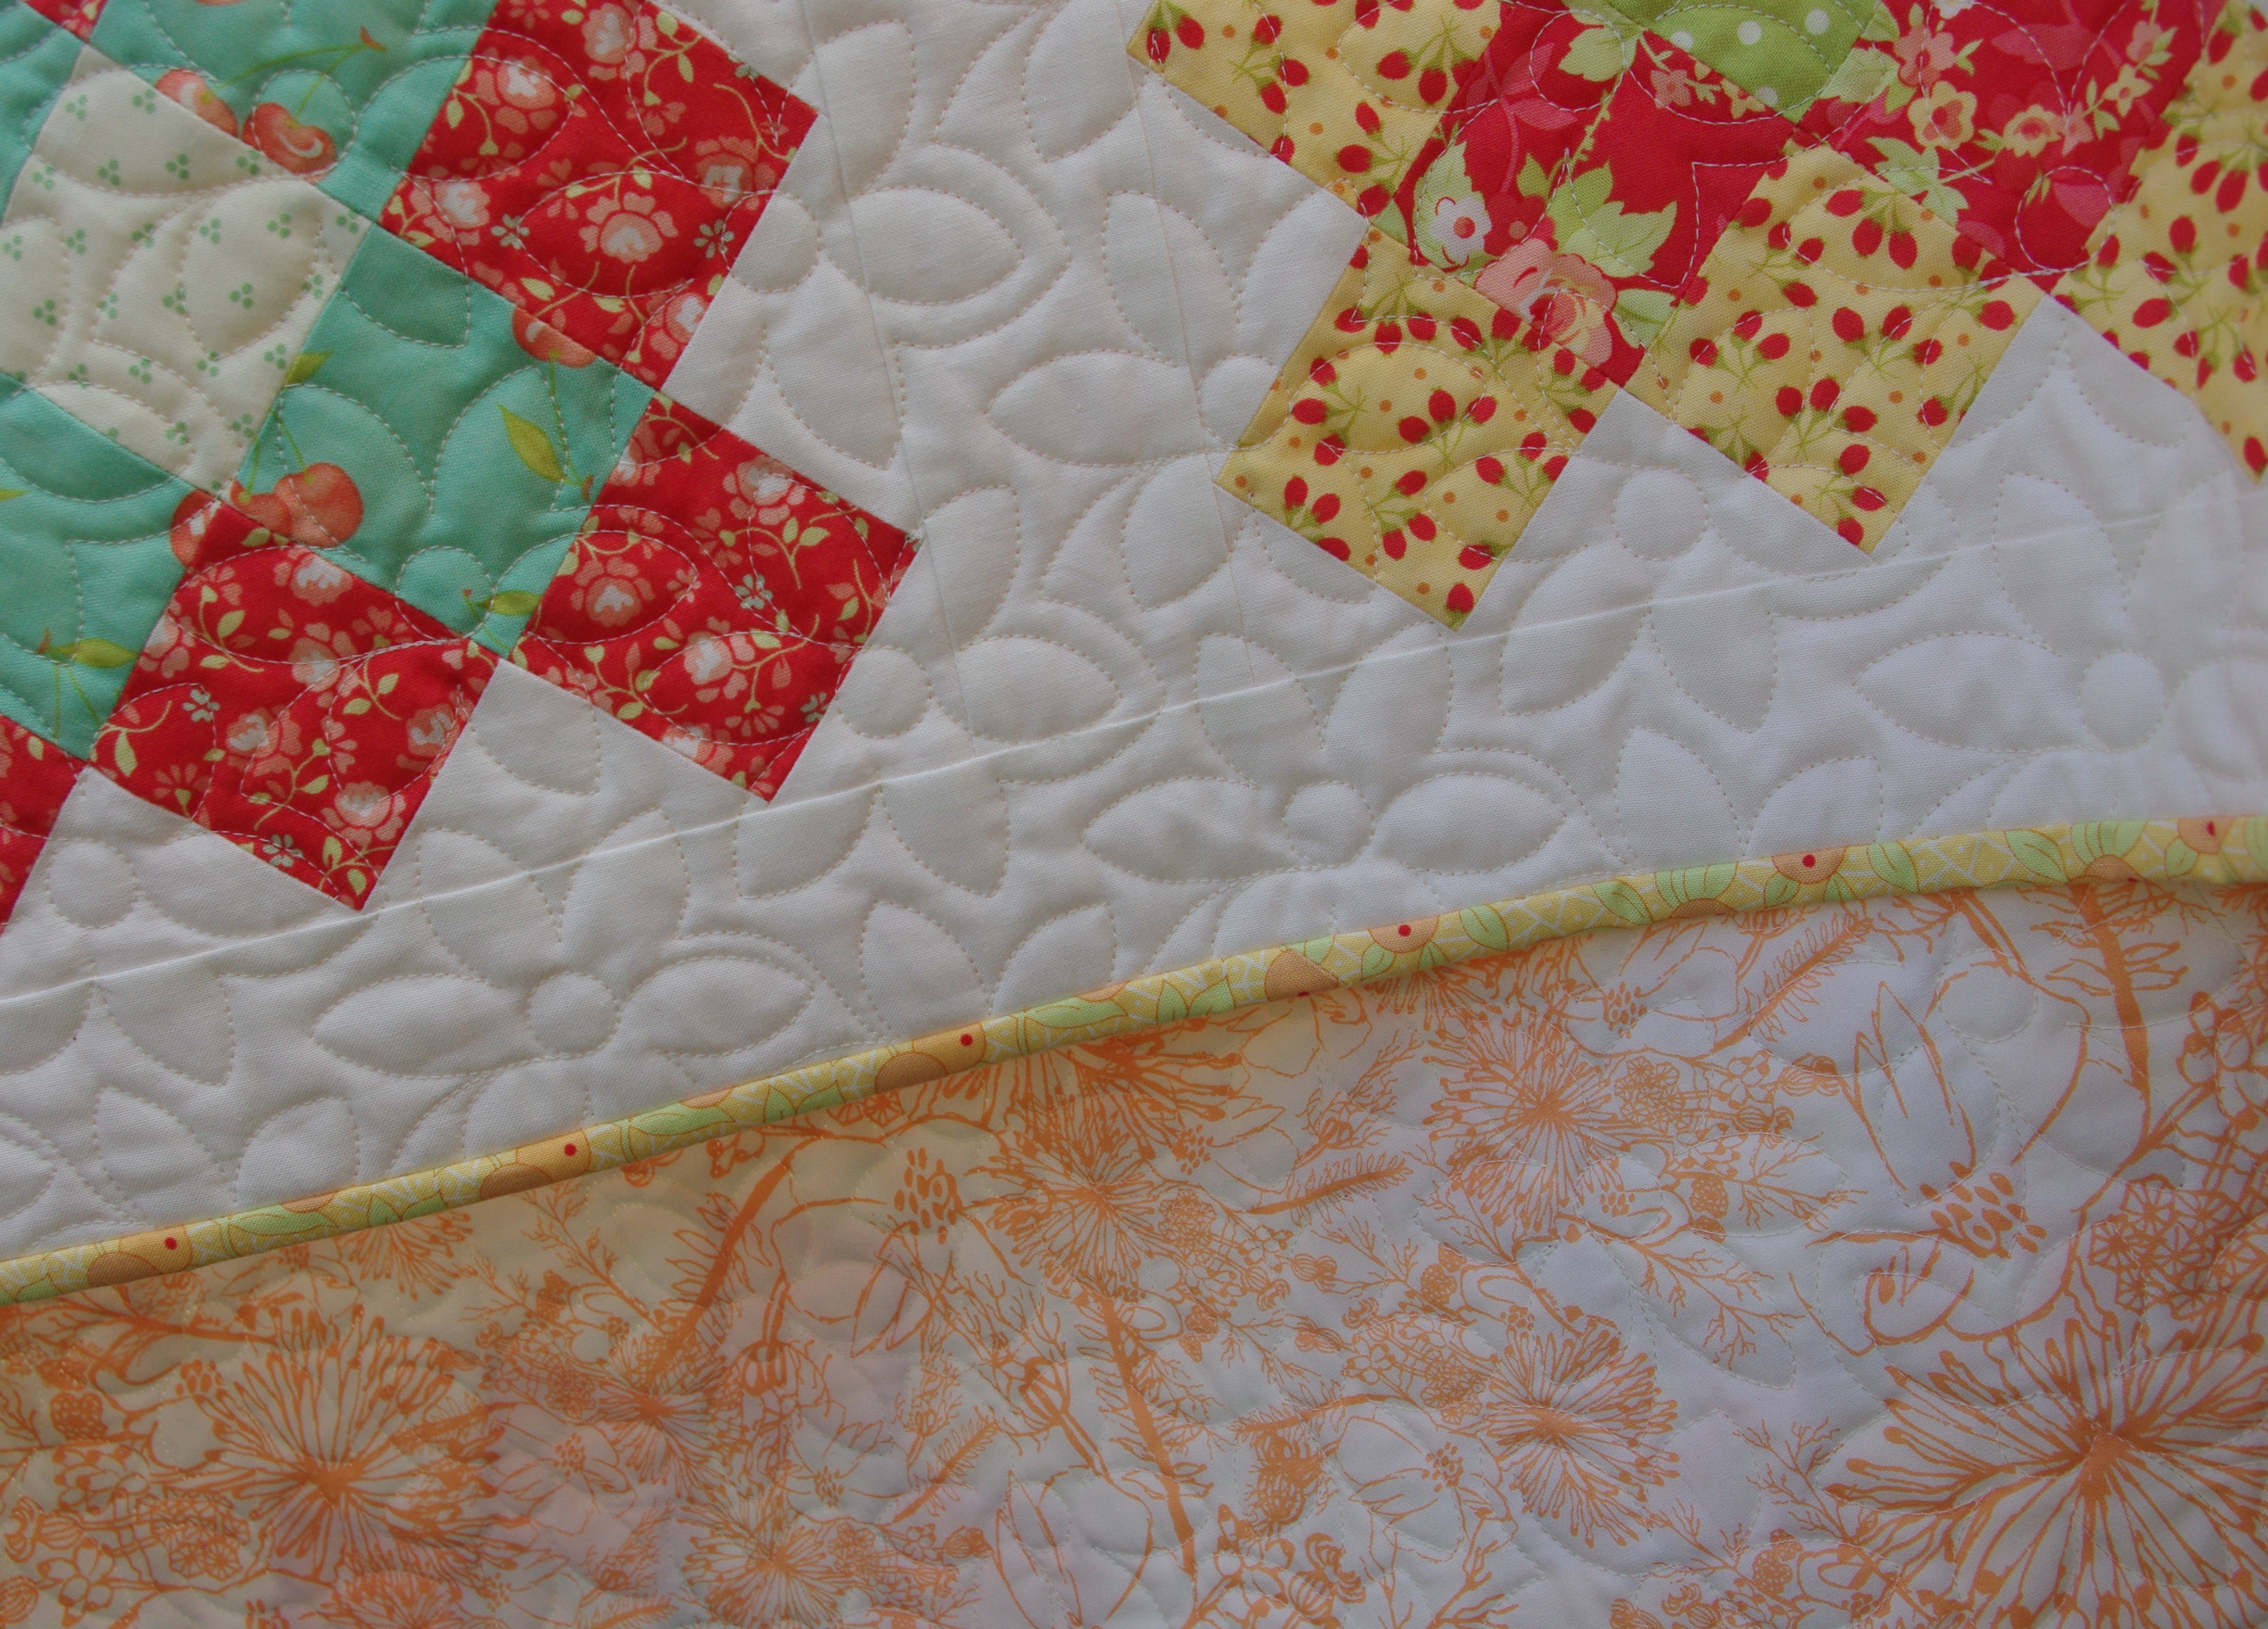
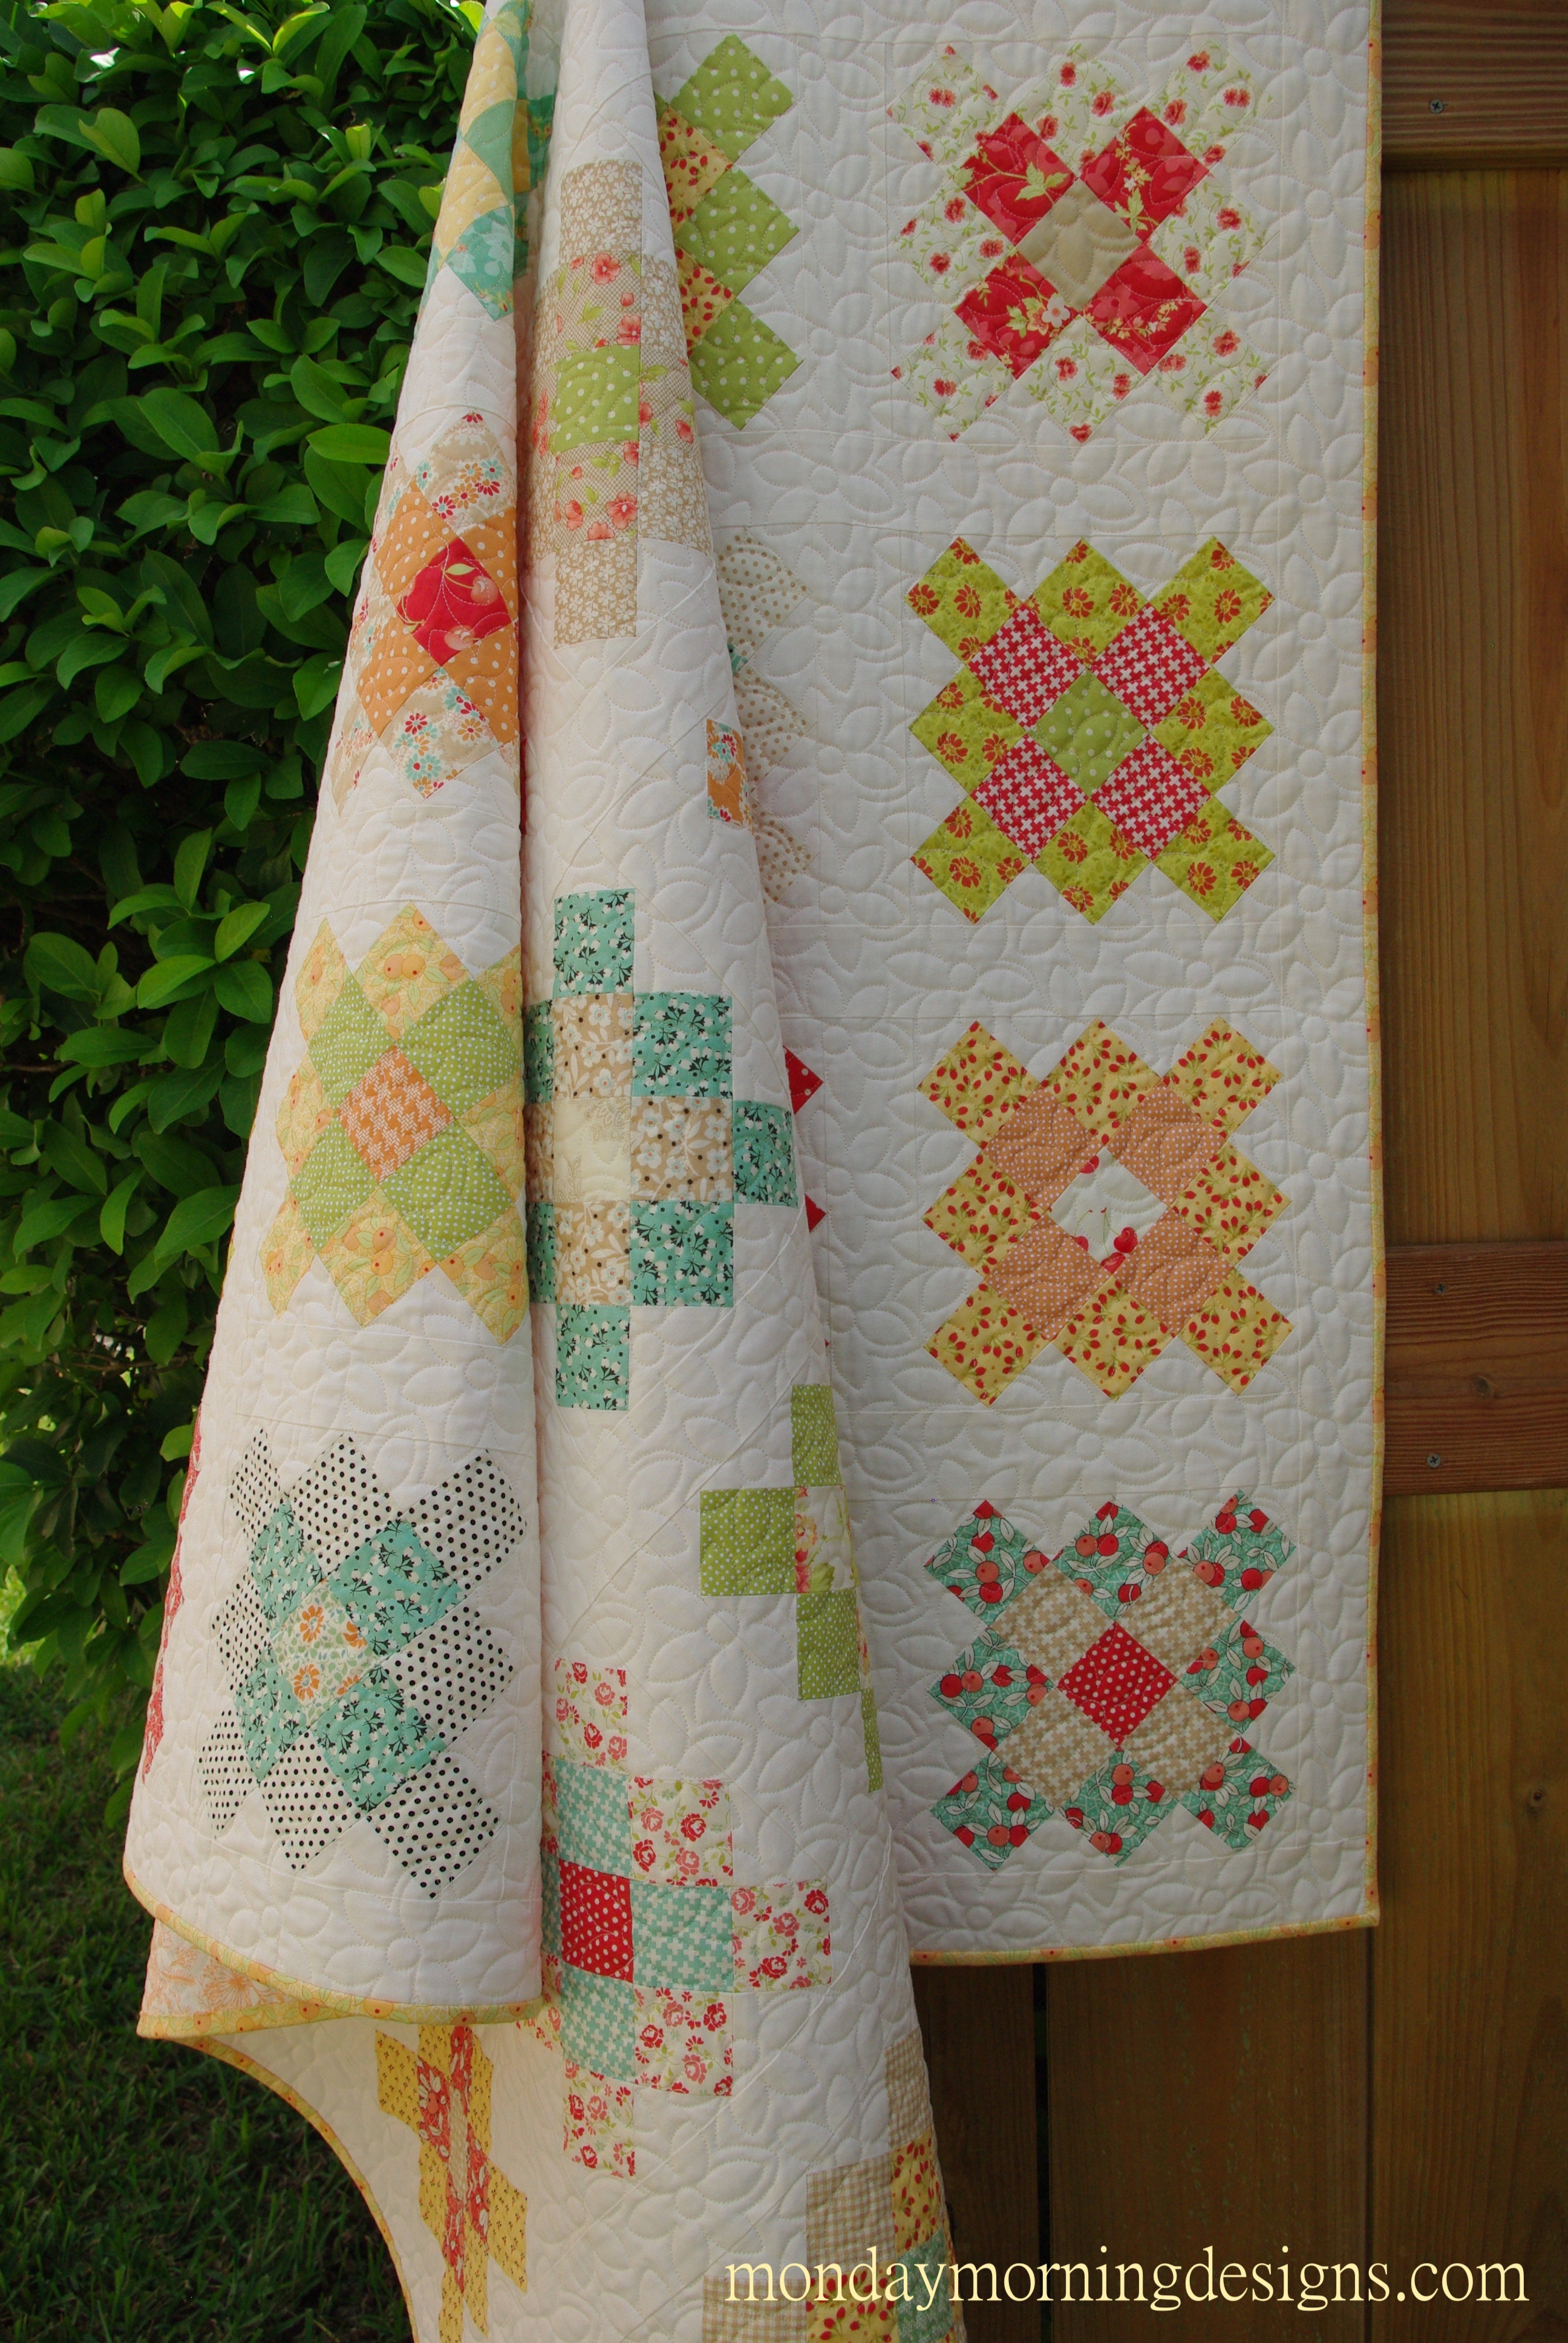
Because it came out so lovely, I had it professionally quilted with the digital pattern Daisy Delight.

IMG_7815.JPG

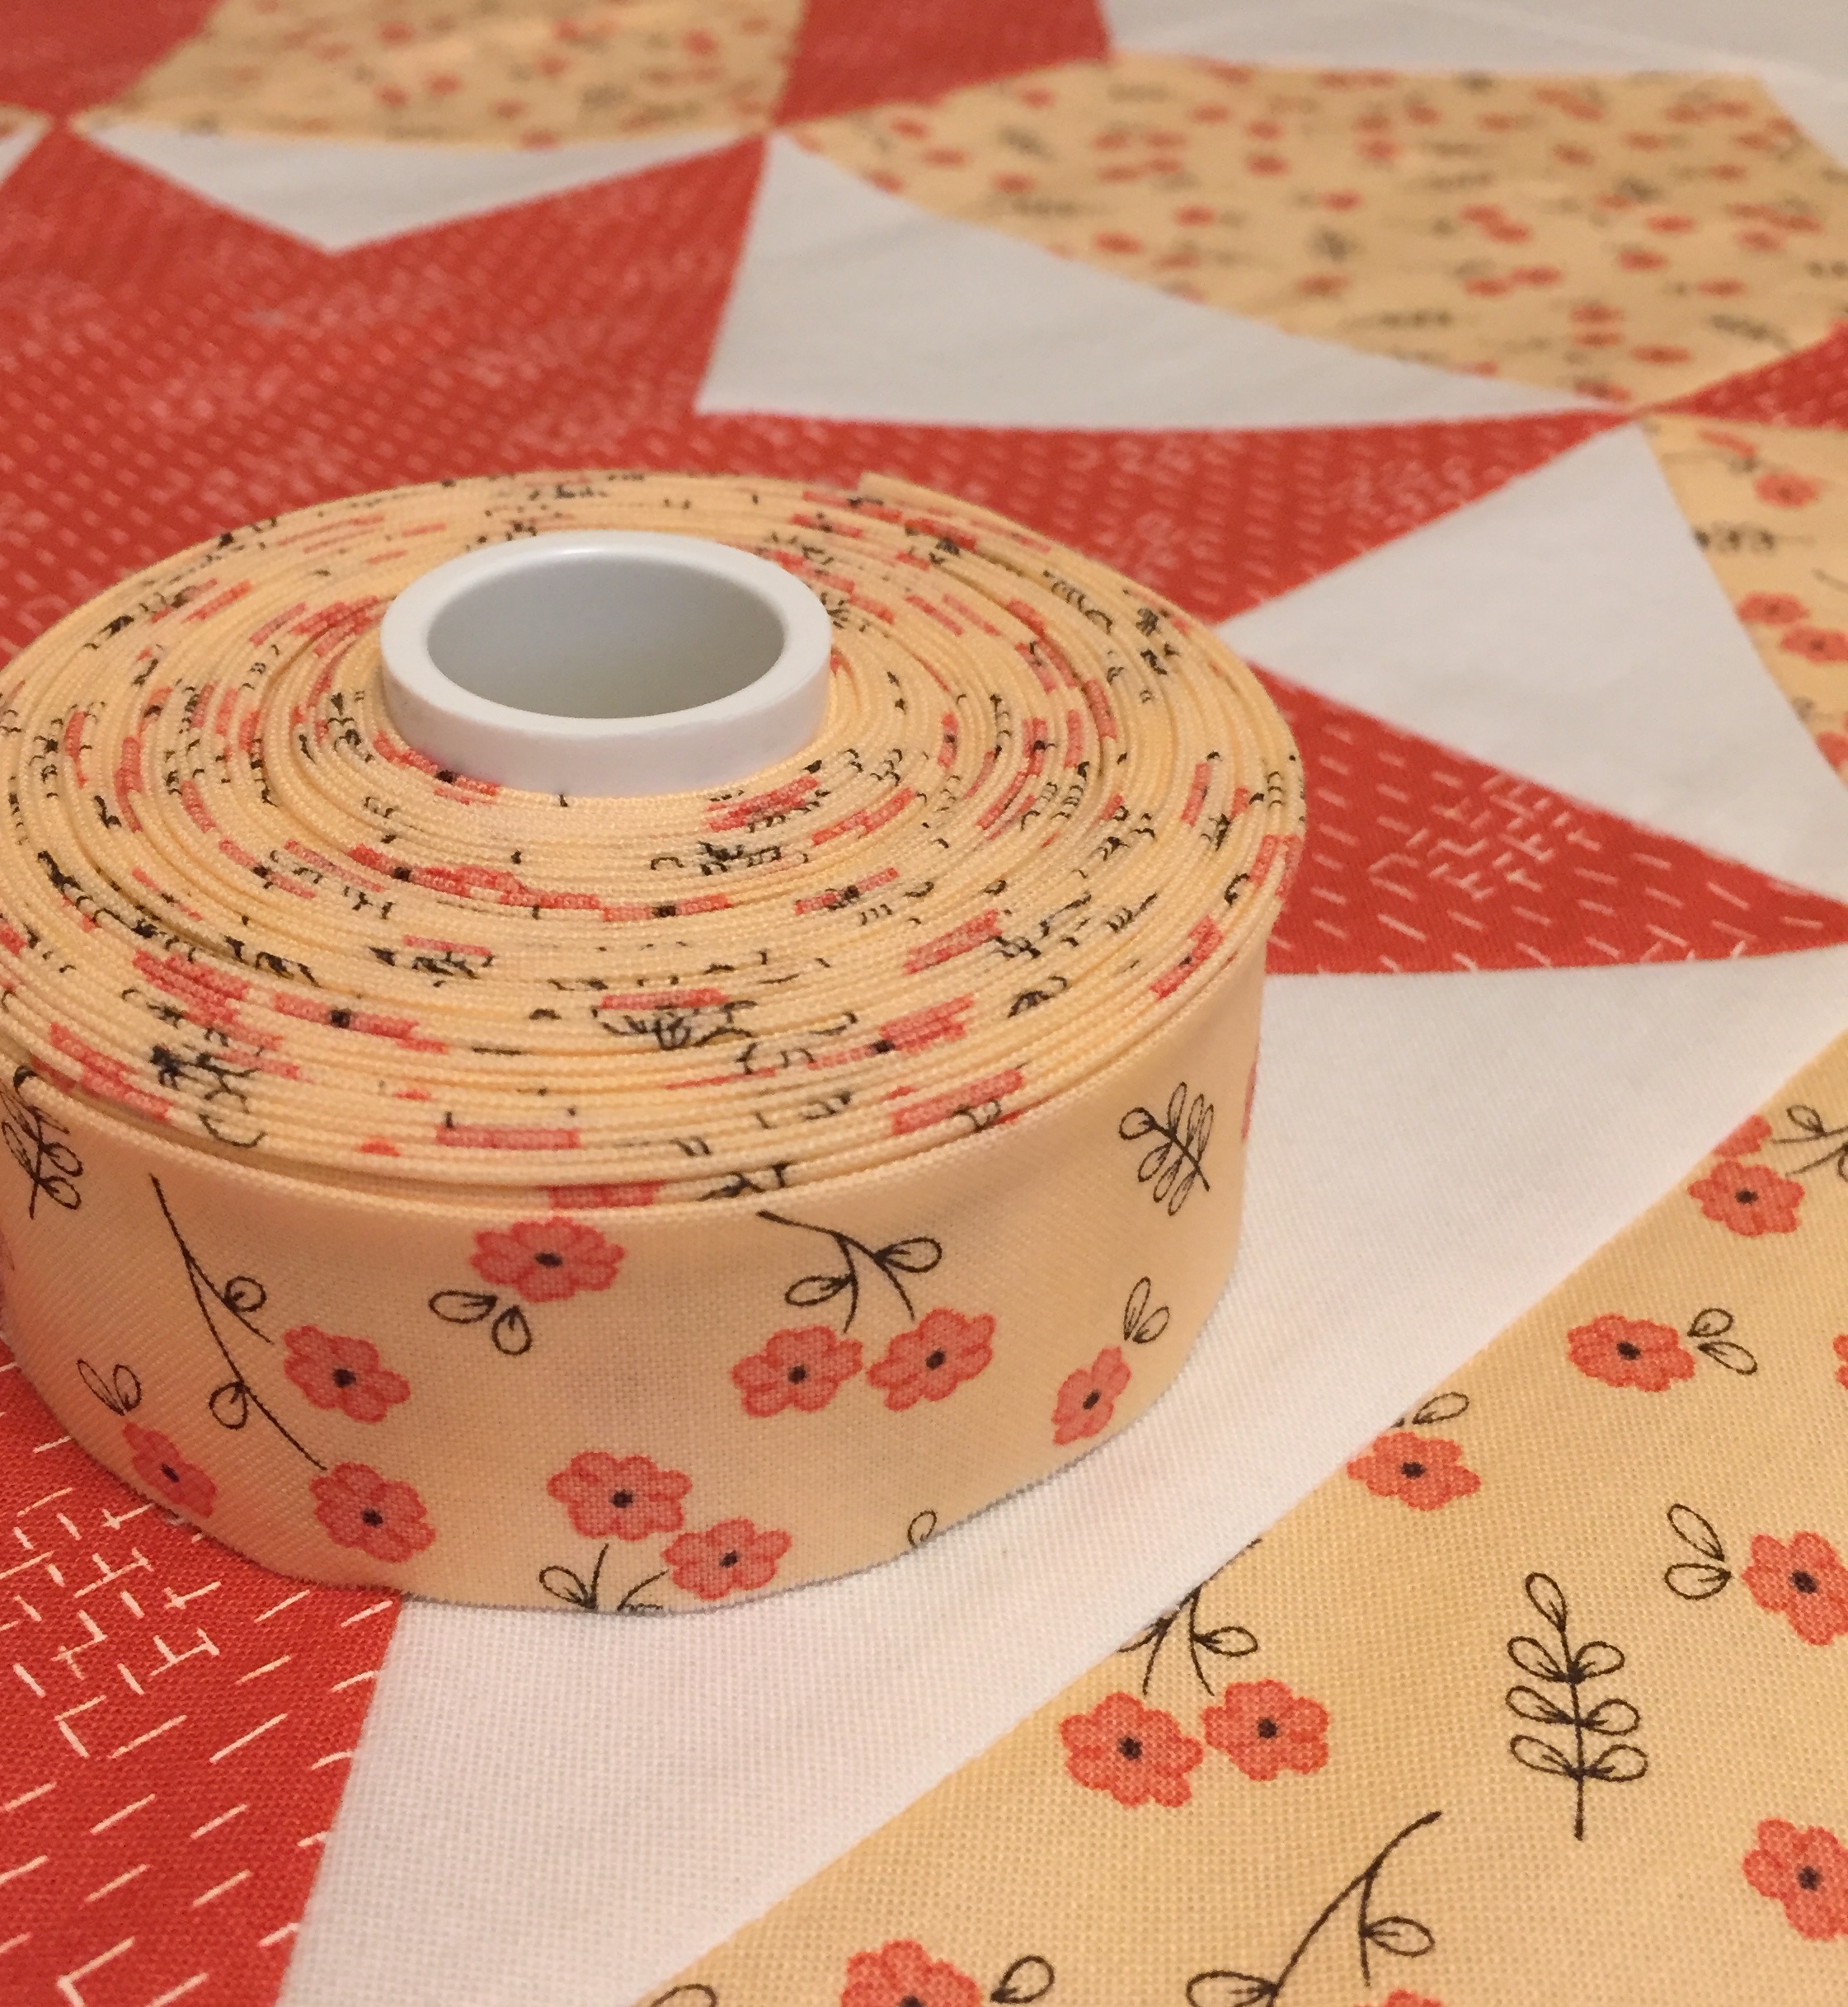
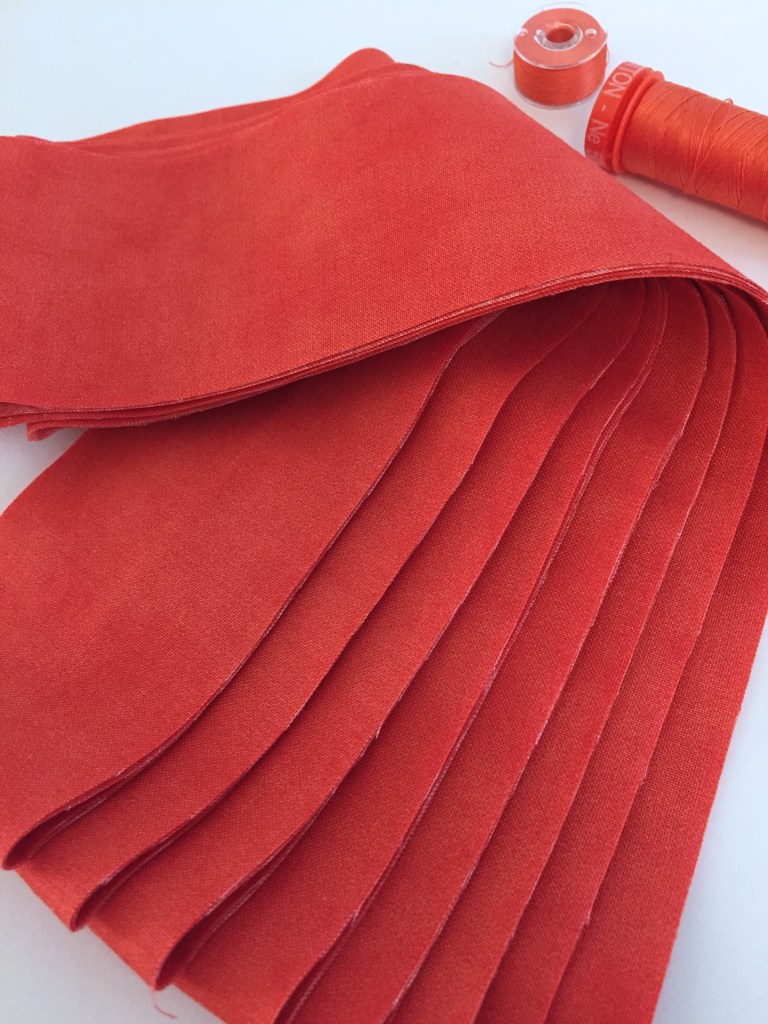
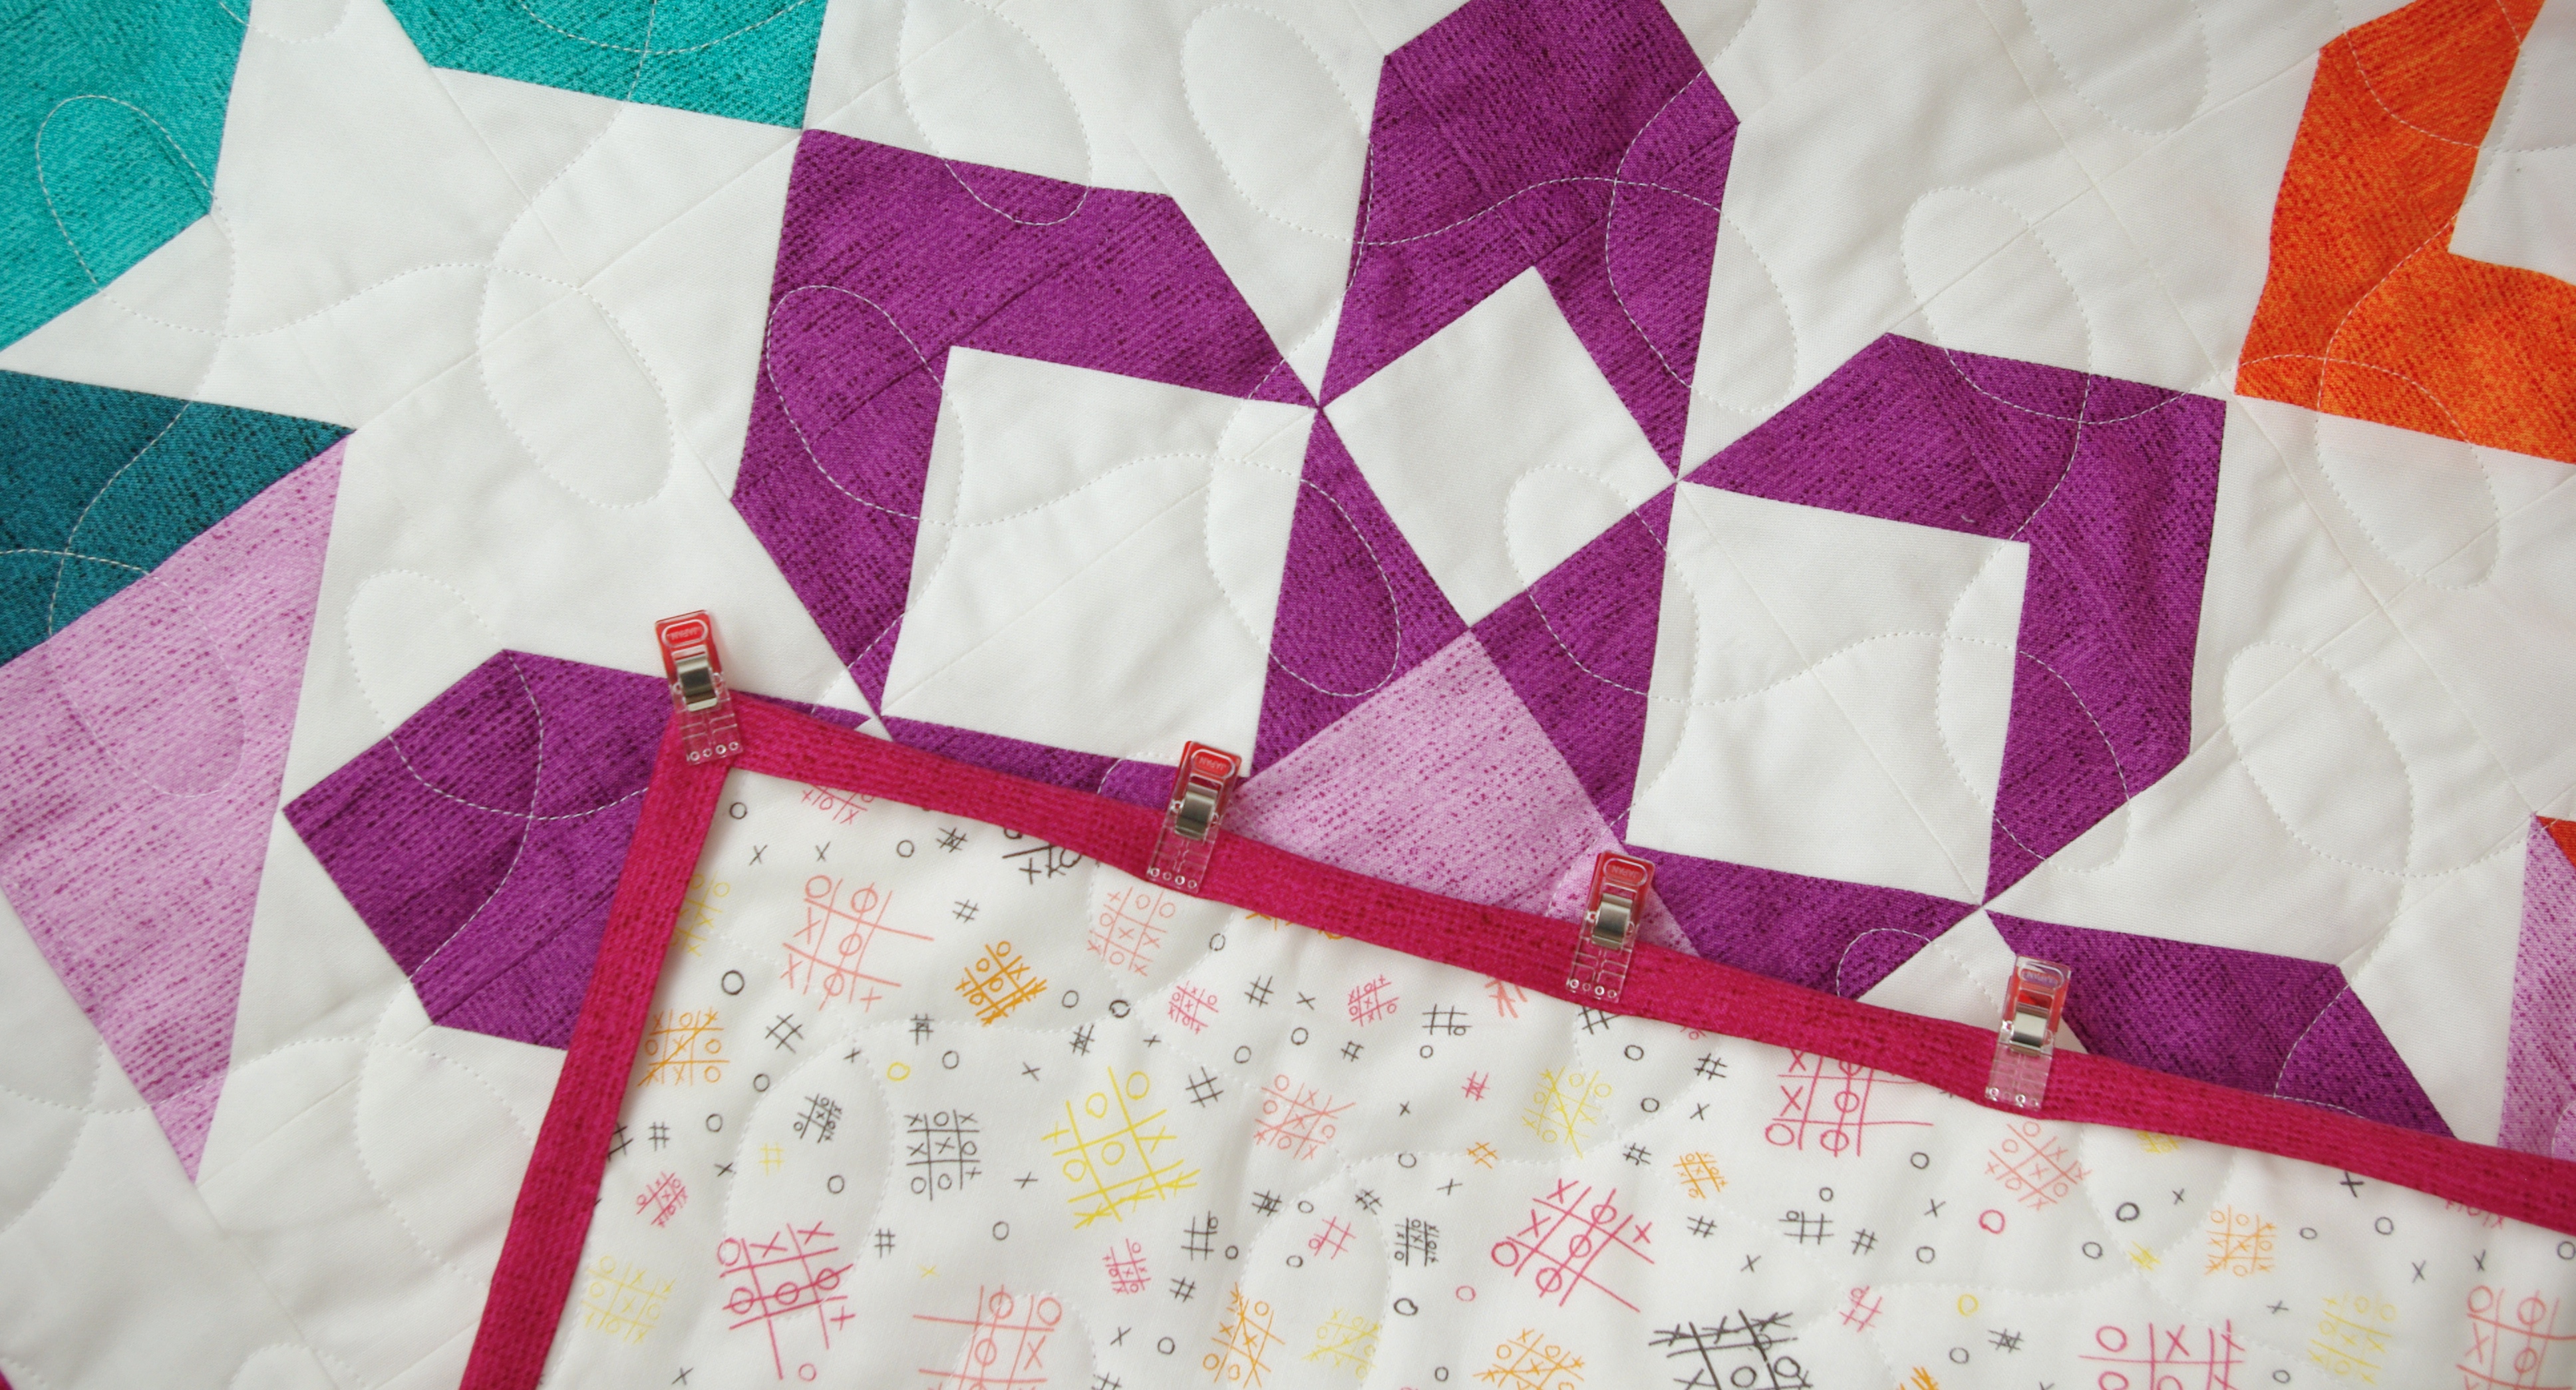
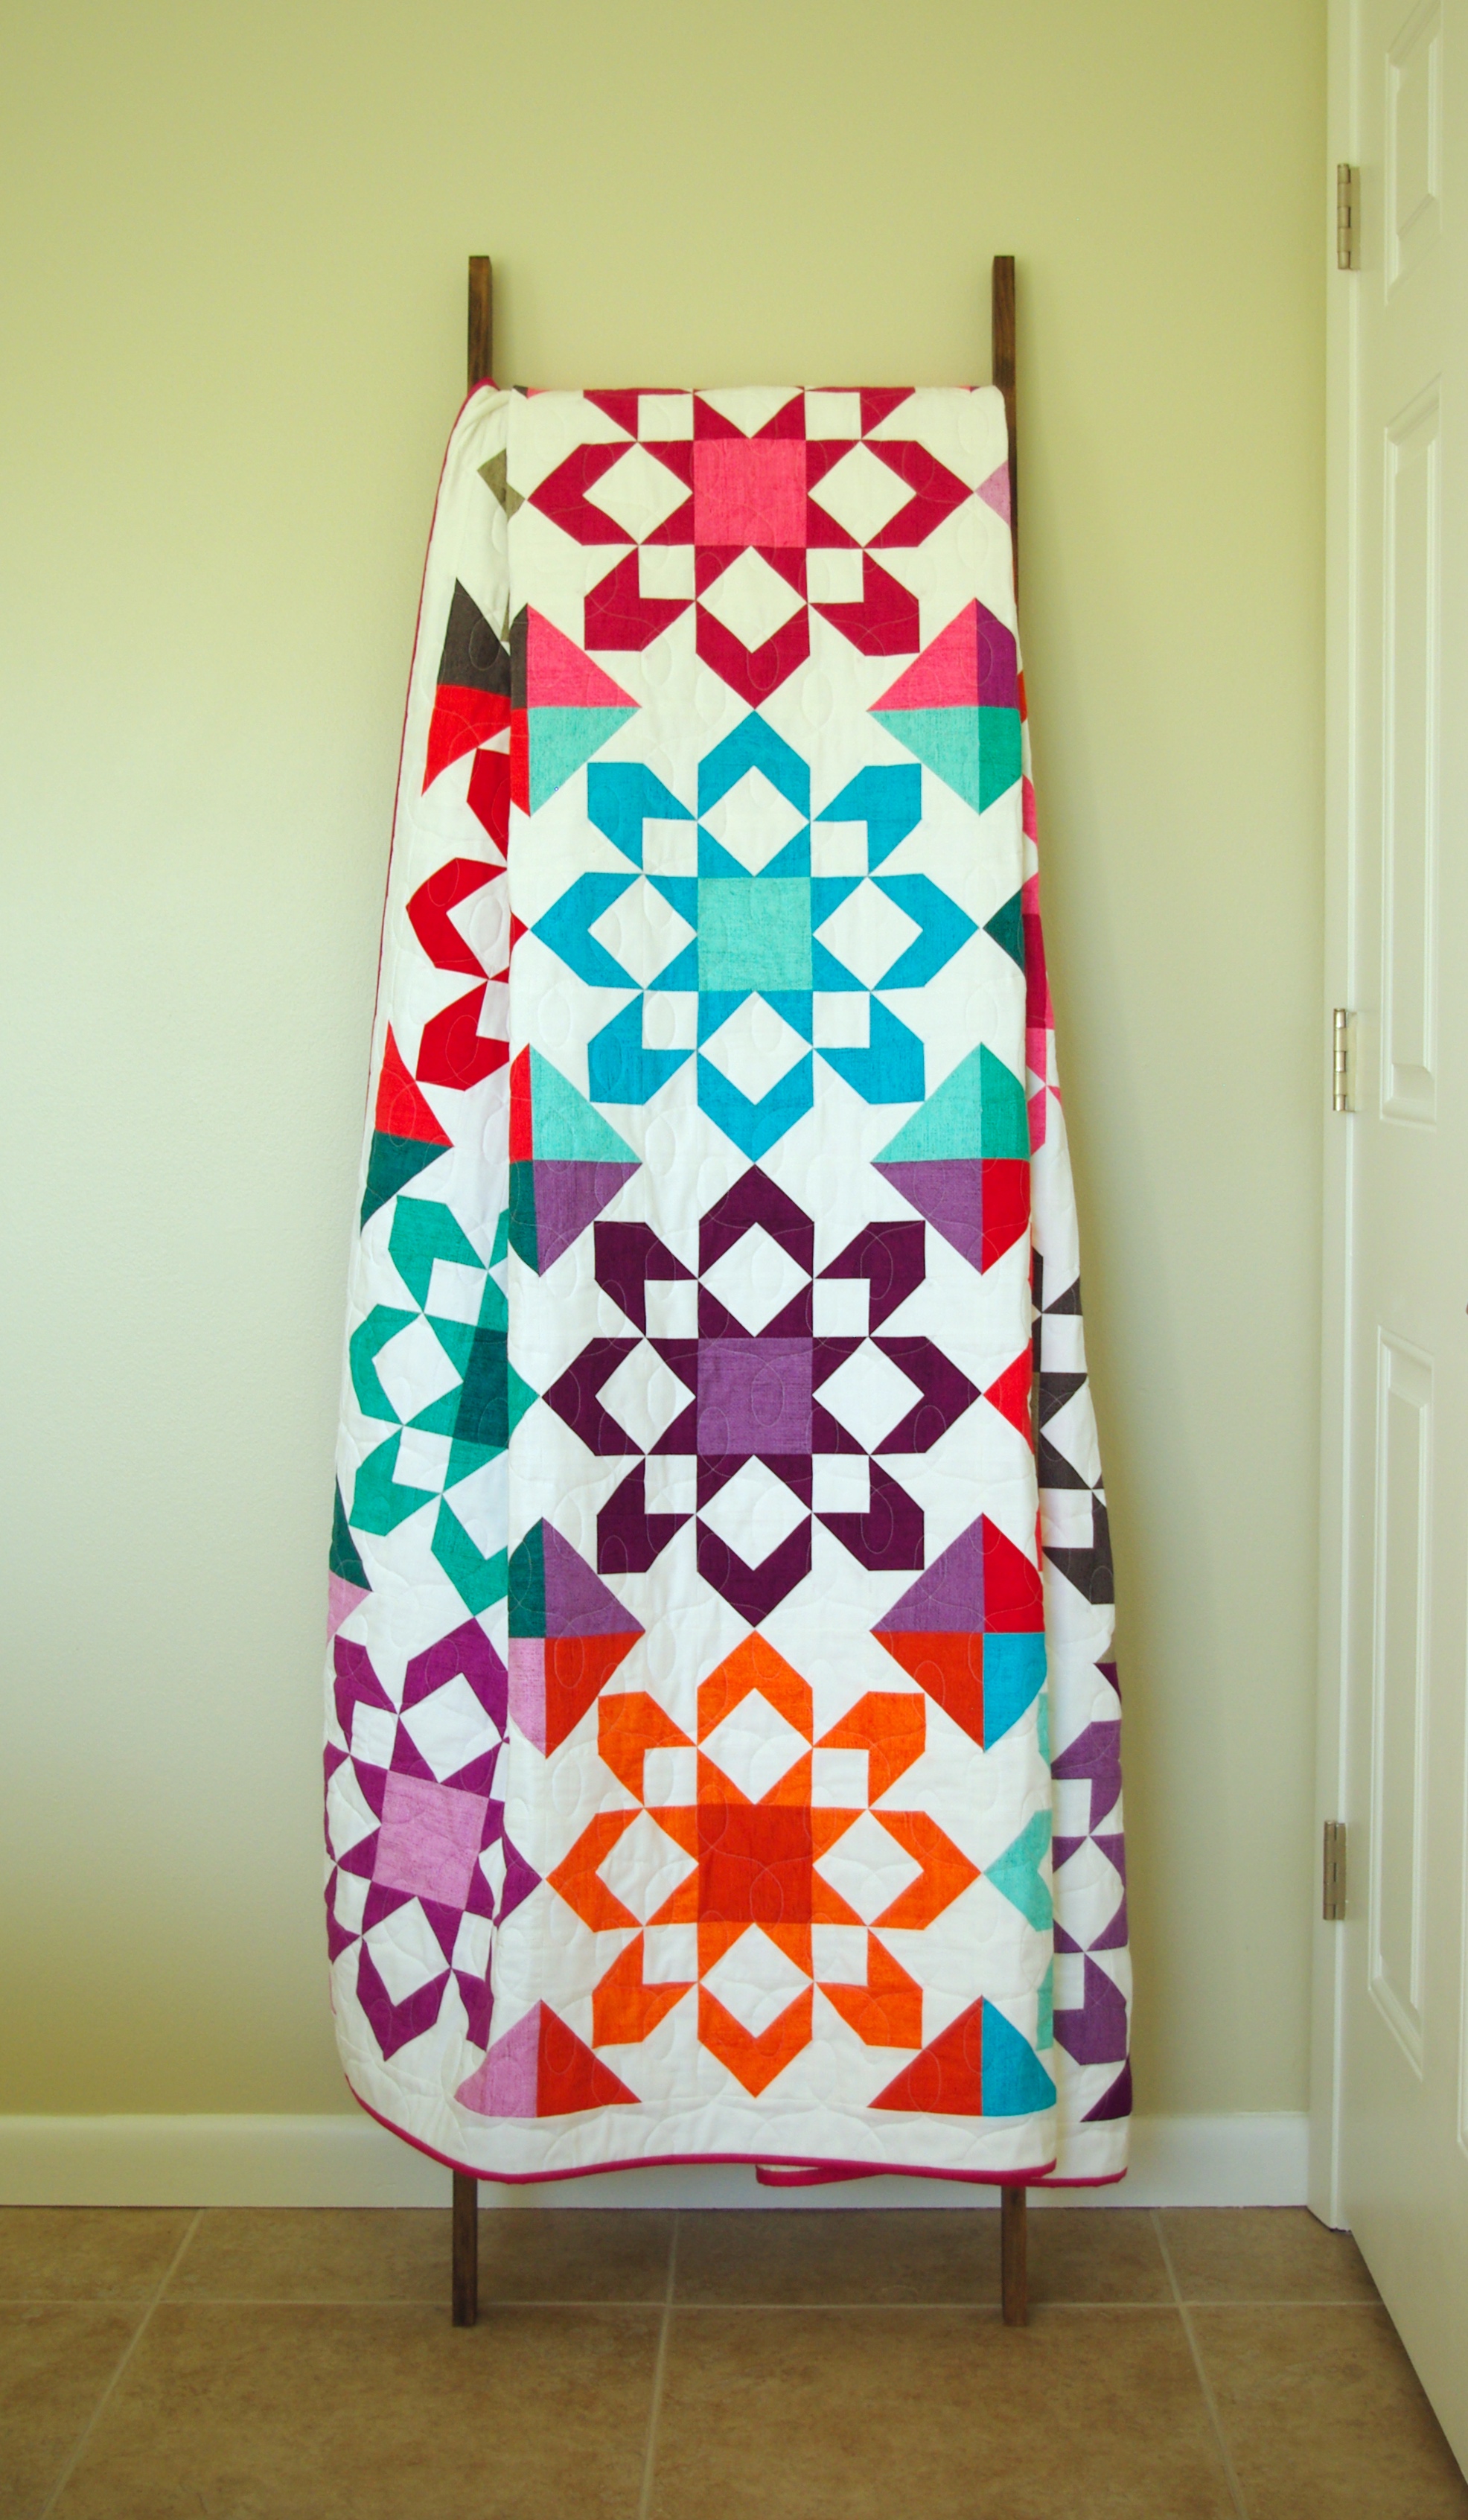
I did have to purchase binding fabric, luckily I found what I wanted from the Chestnut Street line. I also had to purchase the backing. Since the quilt has a lot of orange in it, I wanted to incorporate it onto the back as well. I decided on Tule Quietude in Sunset by Leah Duncan for Art Gallery Fabrics. I loved how this print blended nicely with the colors on the front.

IMGP8814.JPG

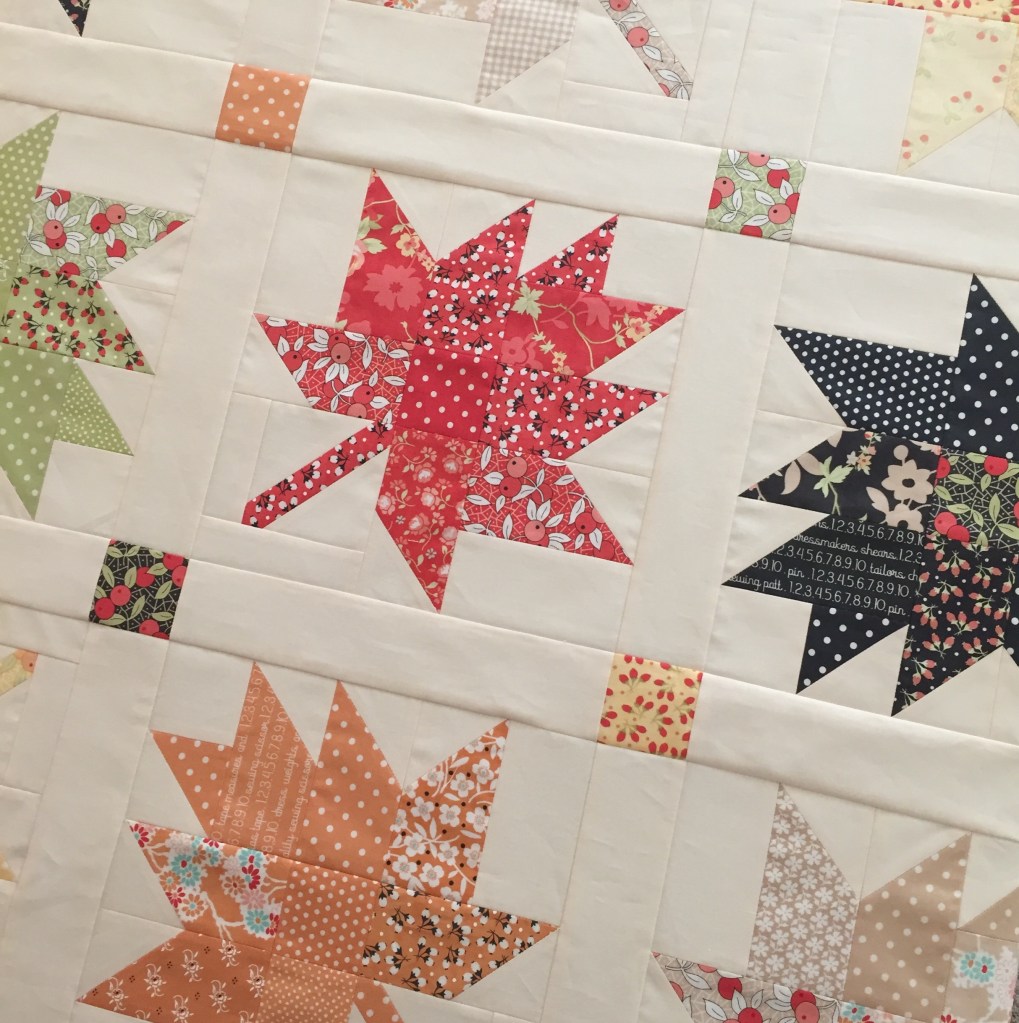
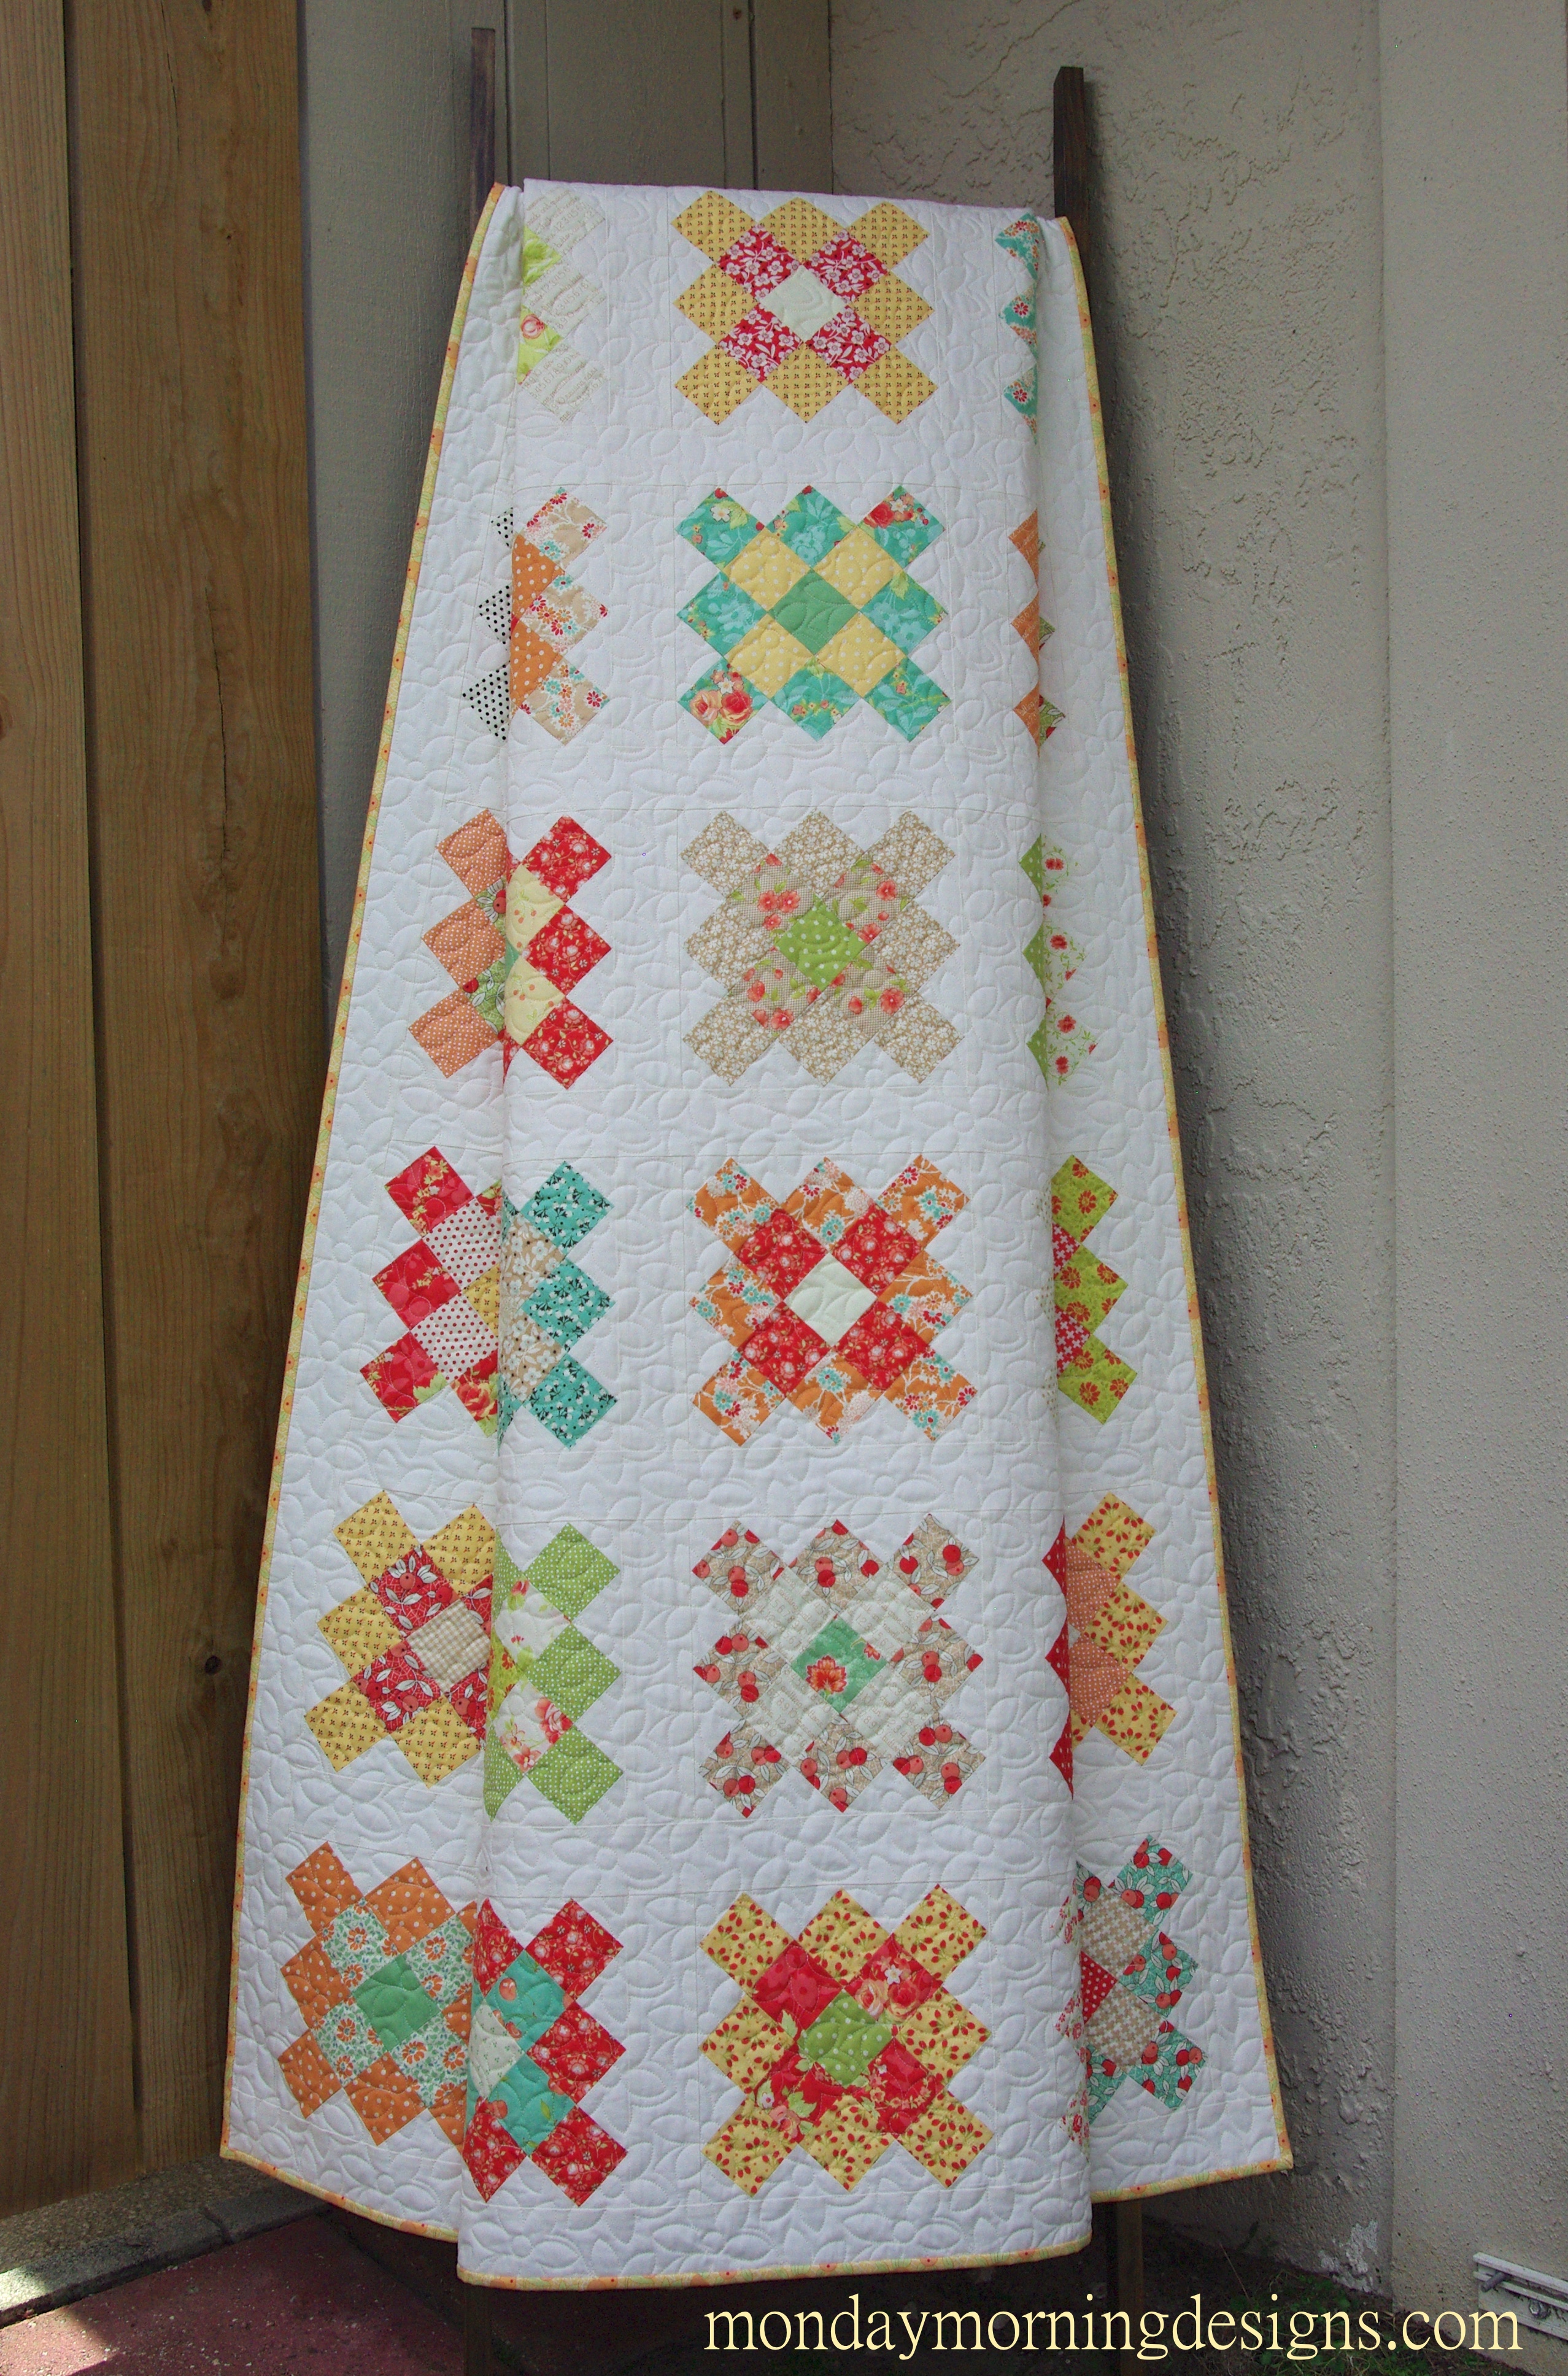
My Granny Square quilt finished at 64 ½” x 74 ½”. And I just love it!

IMGP8794.JPG

I mentioned that the granny squares popped up on IG from the Moda Bake Shop, so I visited their site for block instructions. Because I wanted to use scraps that I had already cut into 2 ½” squares, I had to do some recalculating for a more petite block. Also, this size block is great because it can be easily made with precuts, including 2 ½” strips, 5″ squares and 10″ squares.

IMGP8409

IMGP8478

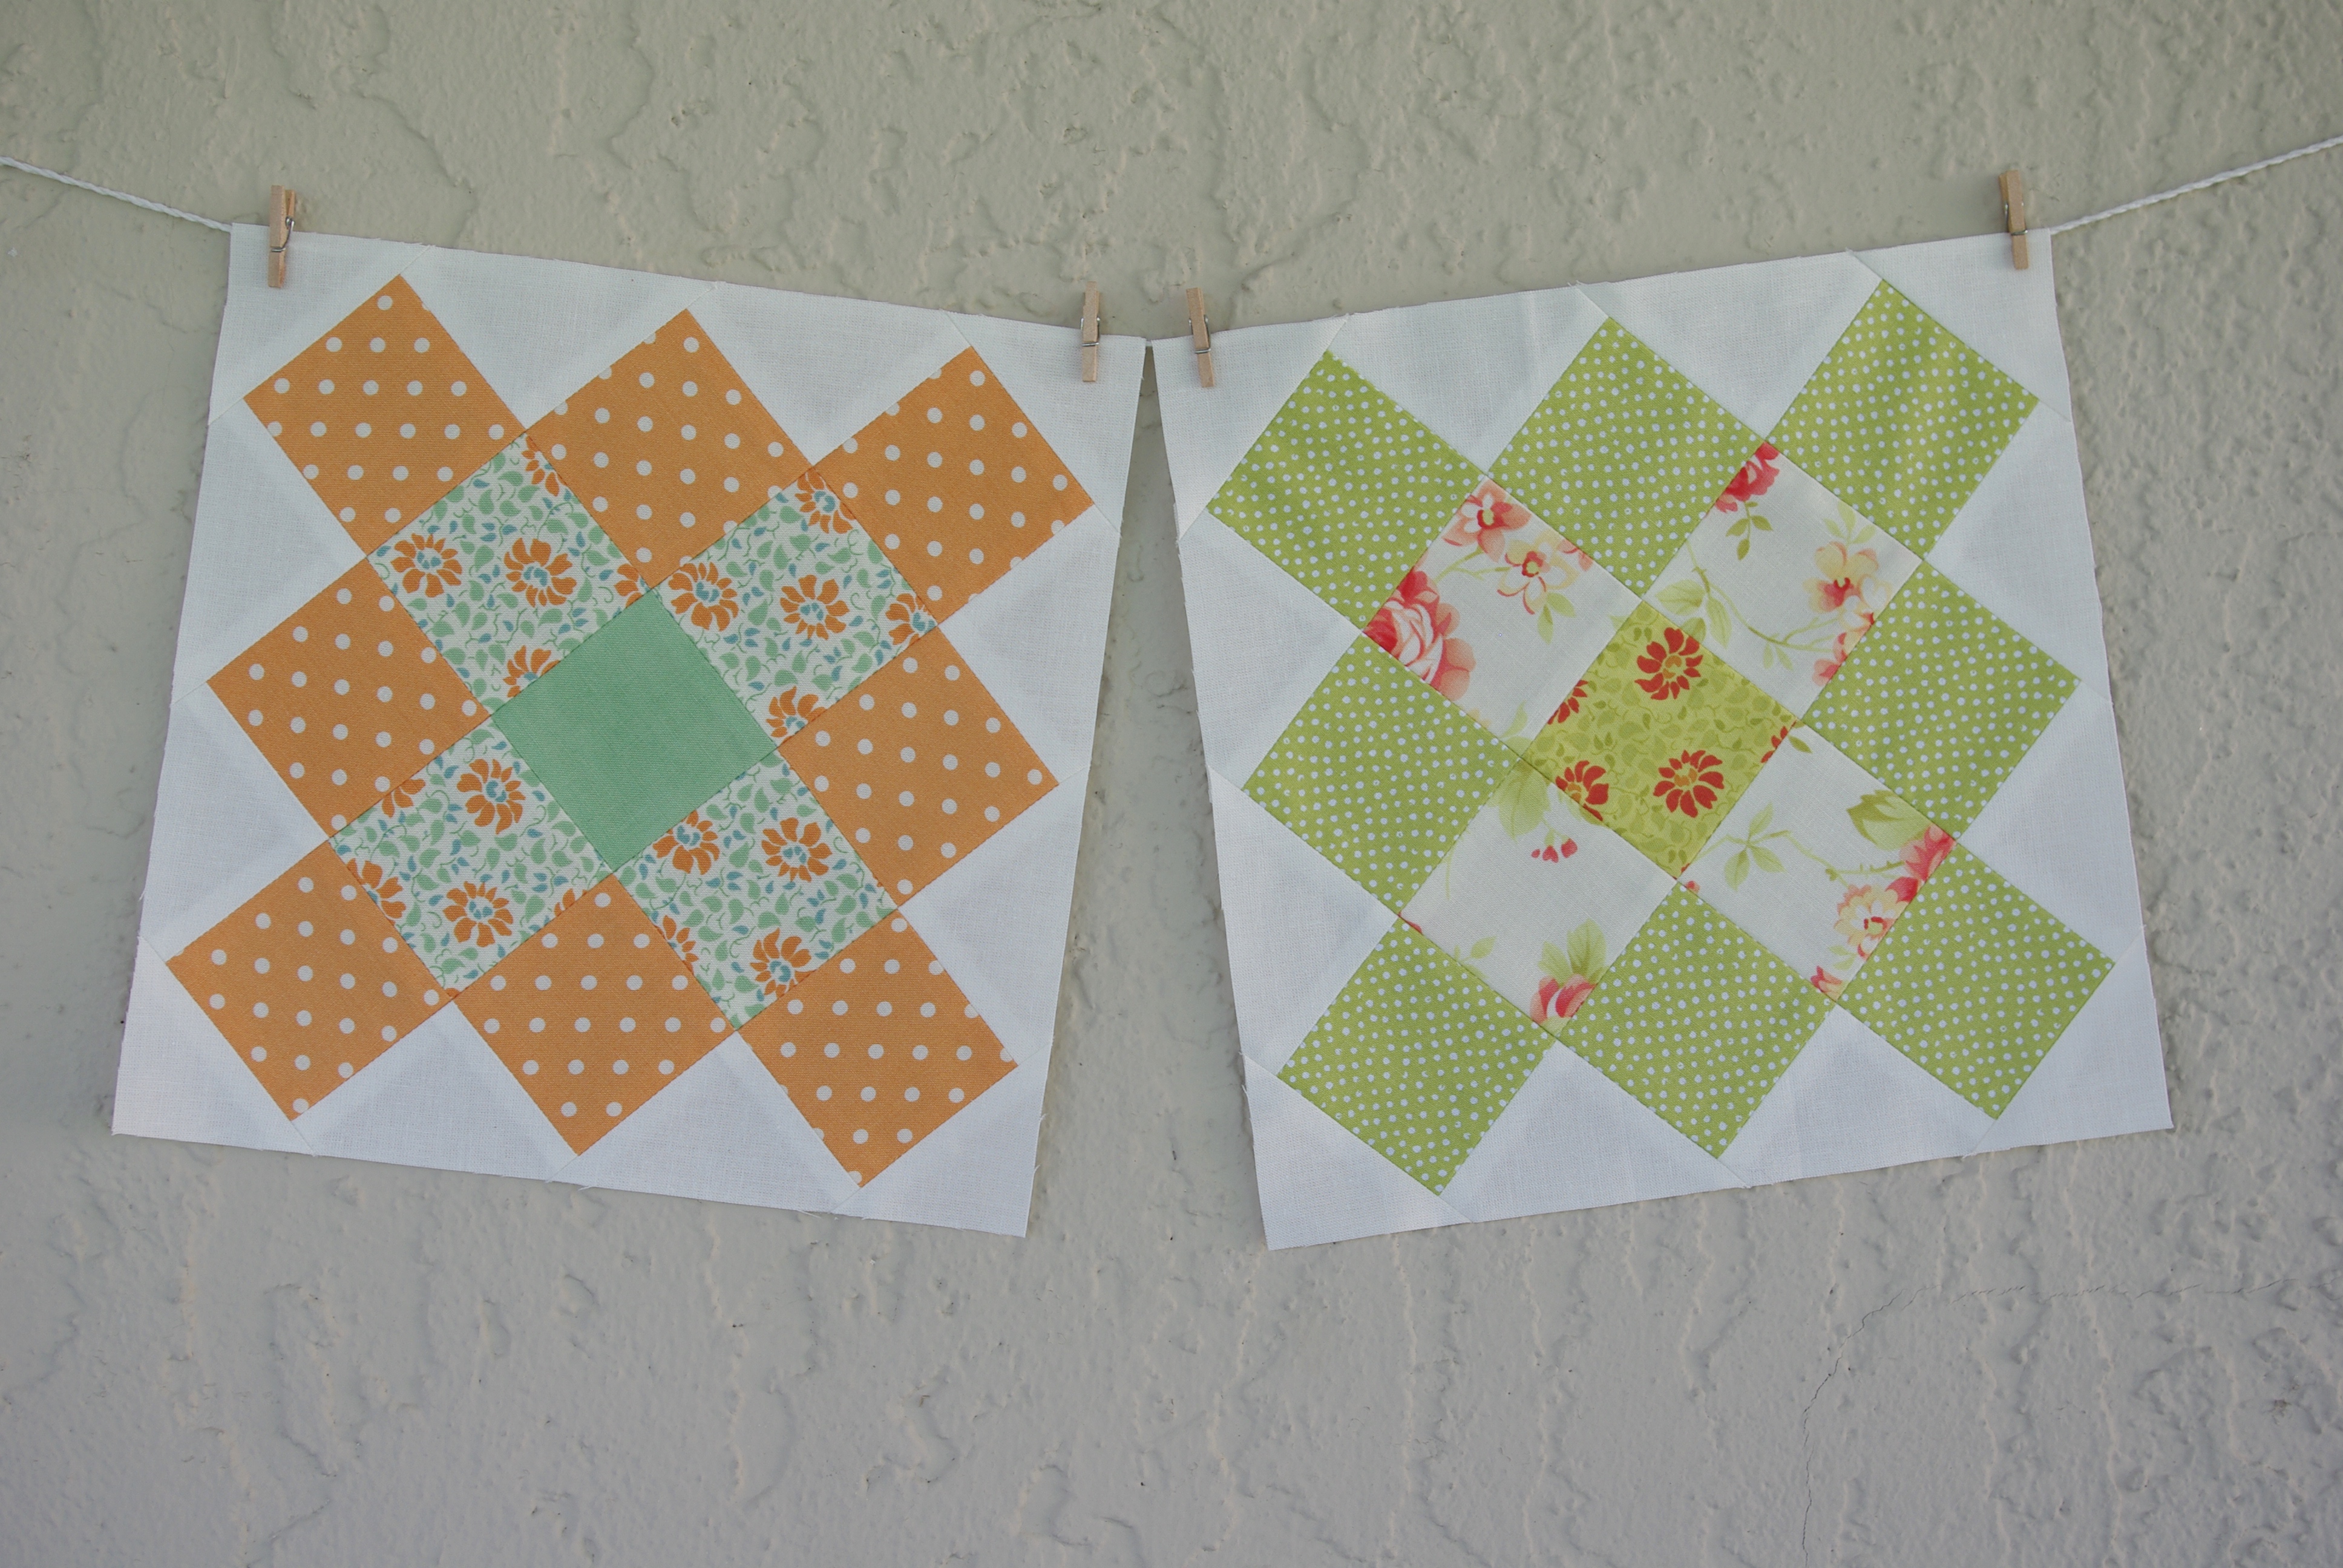
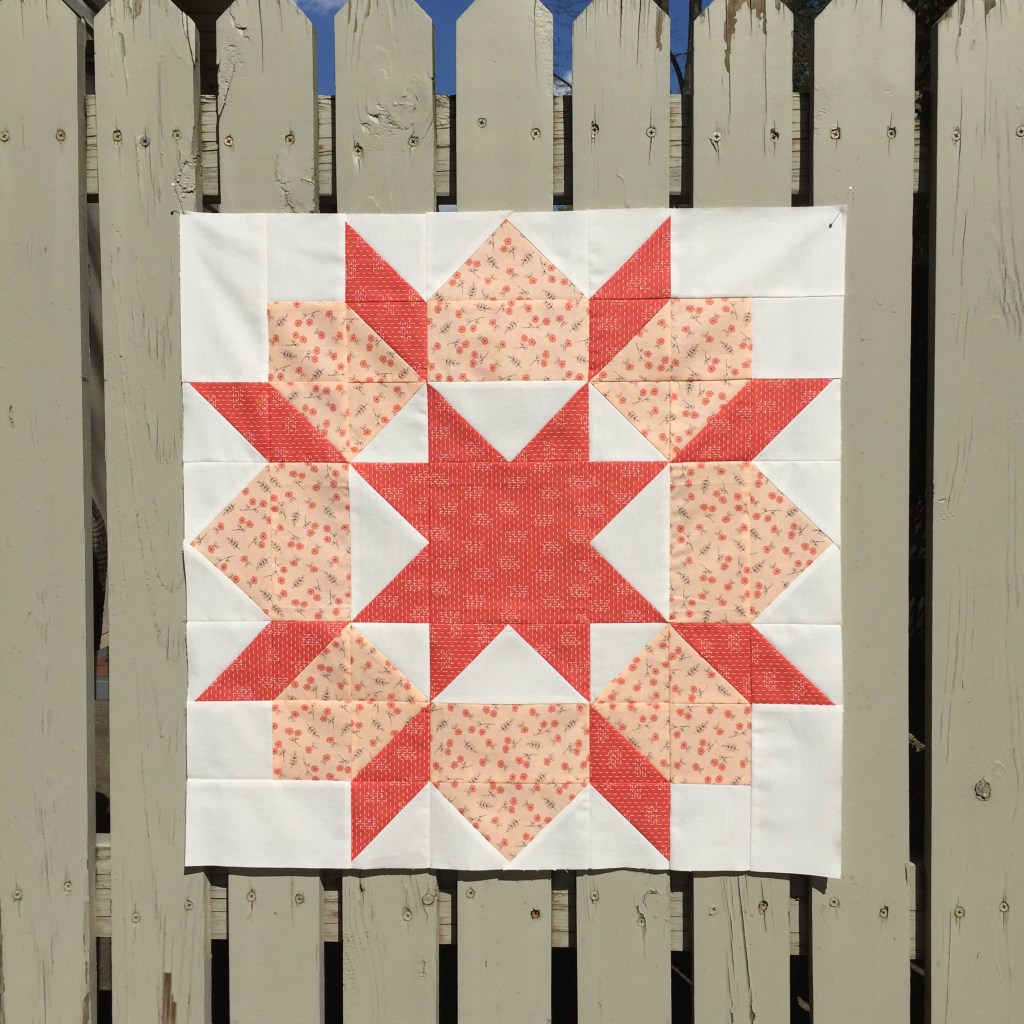
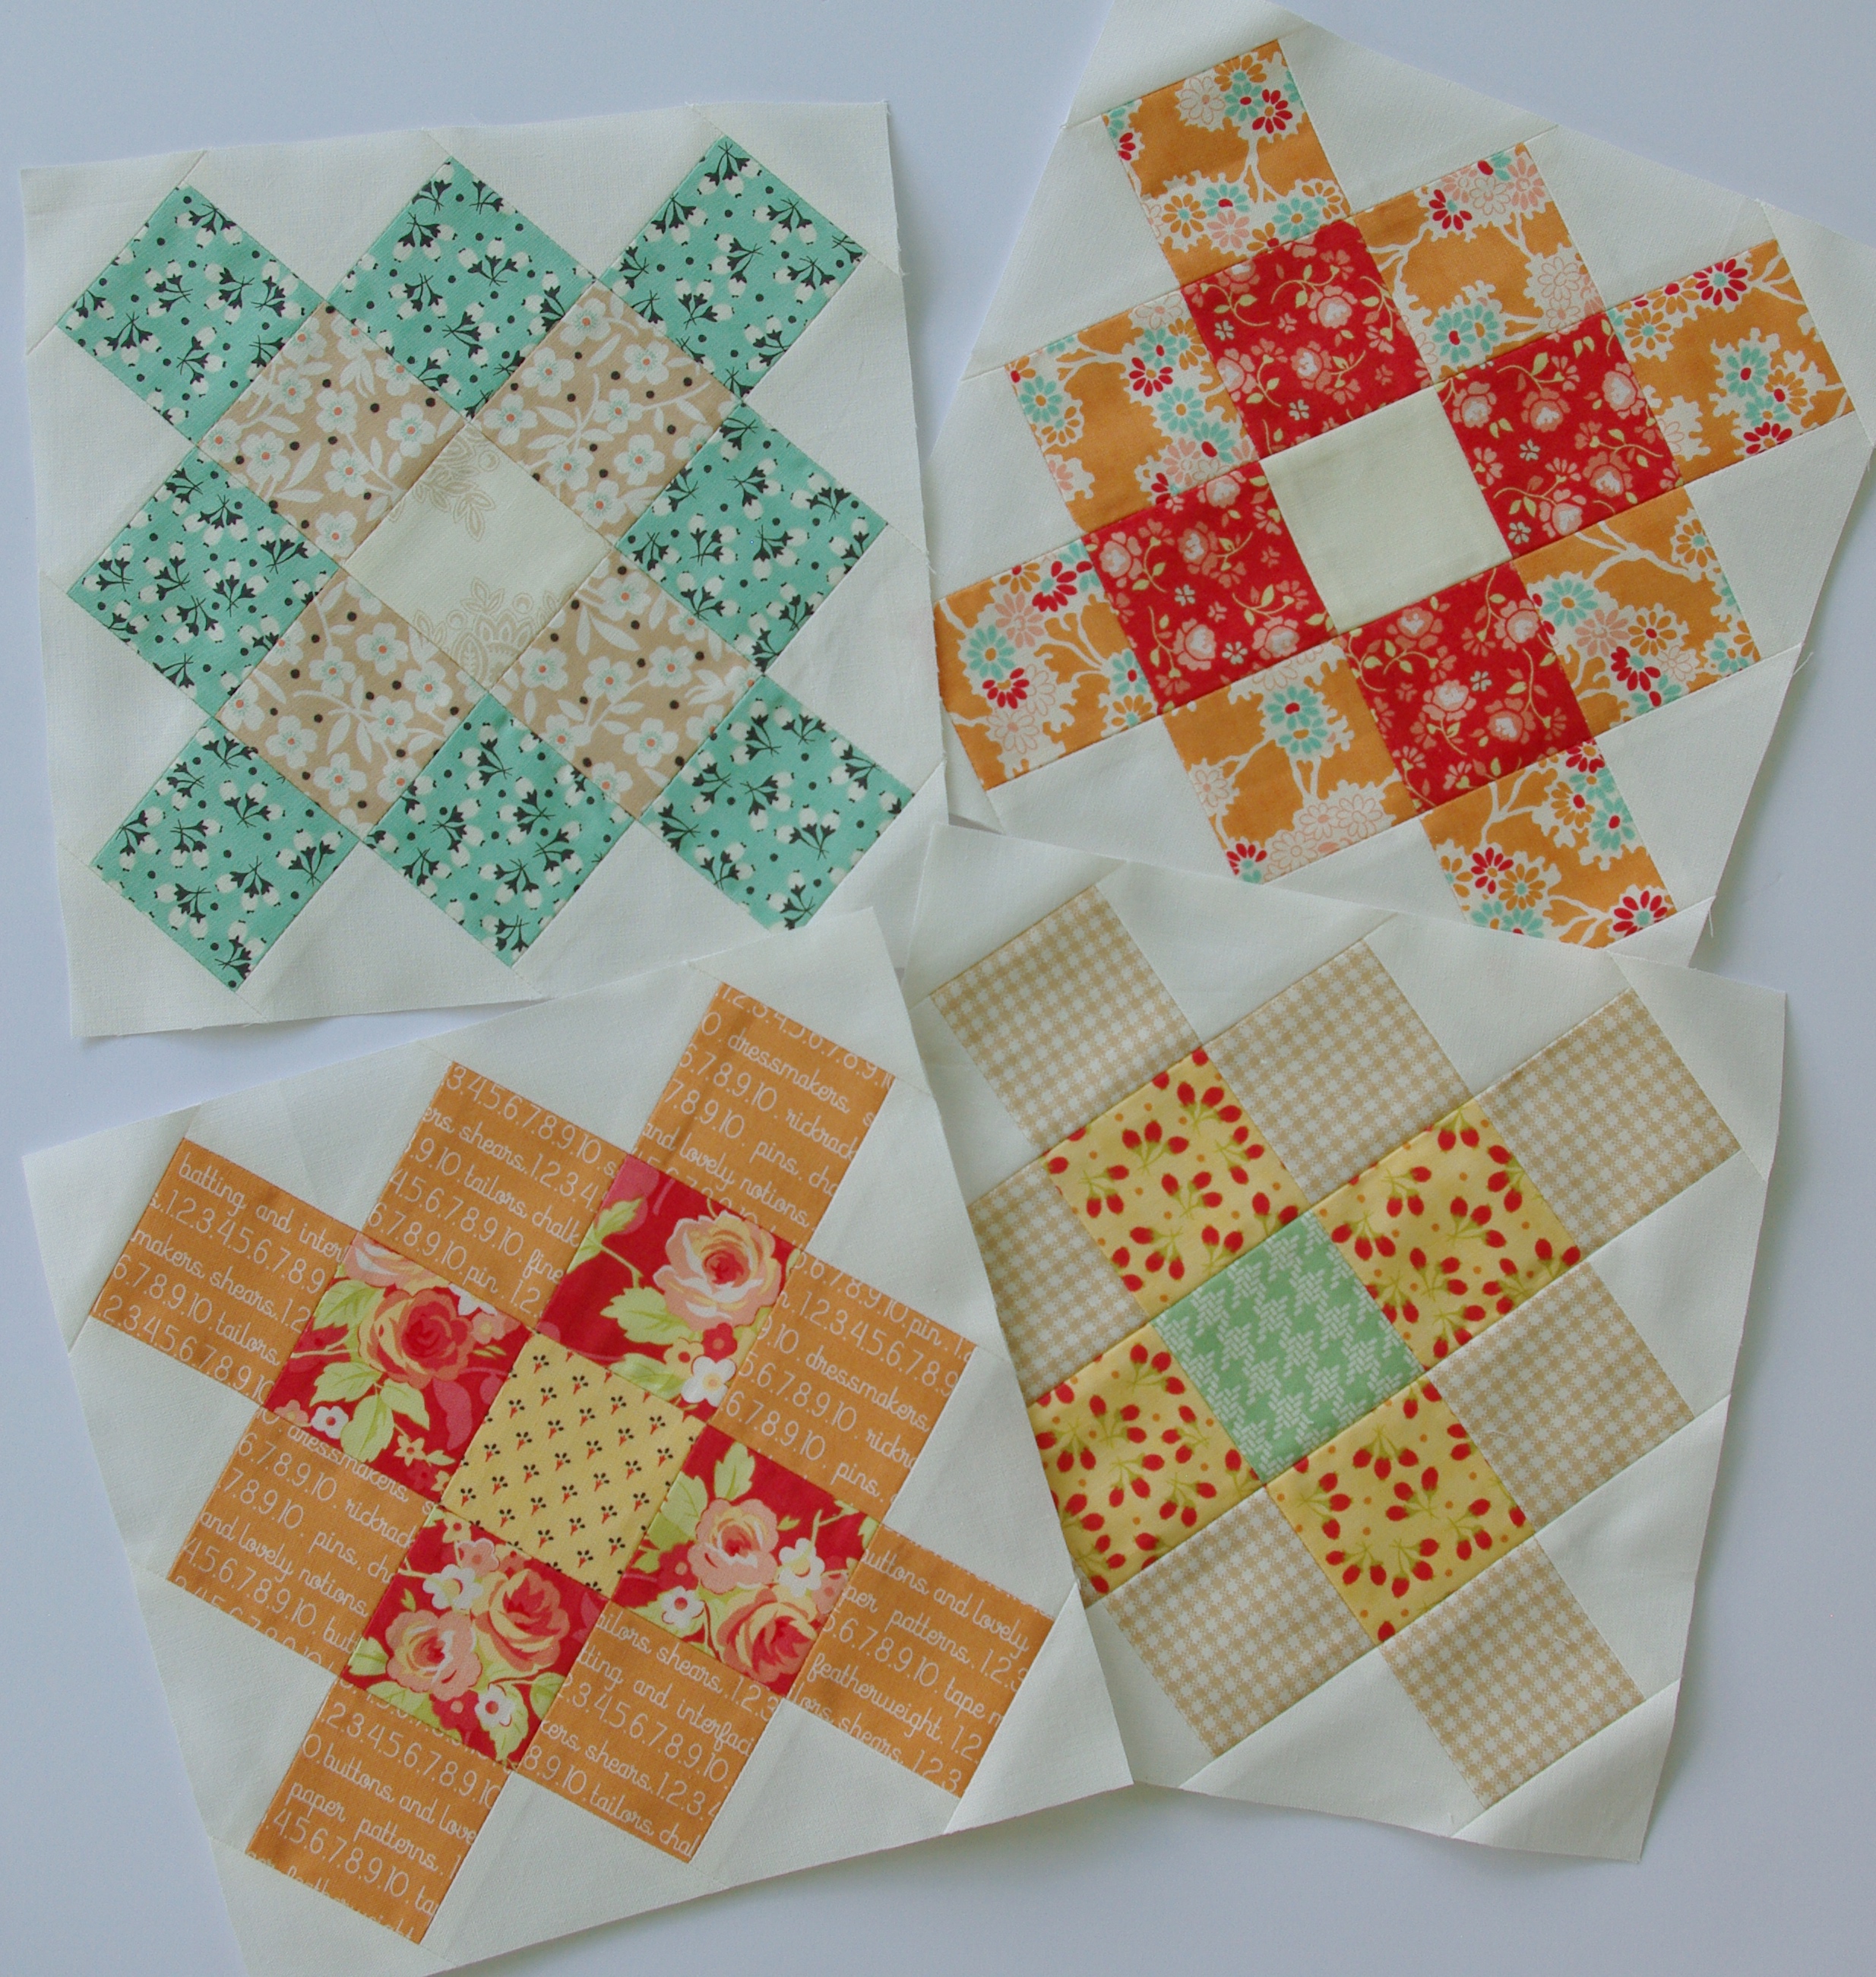
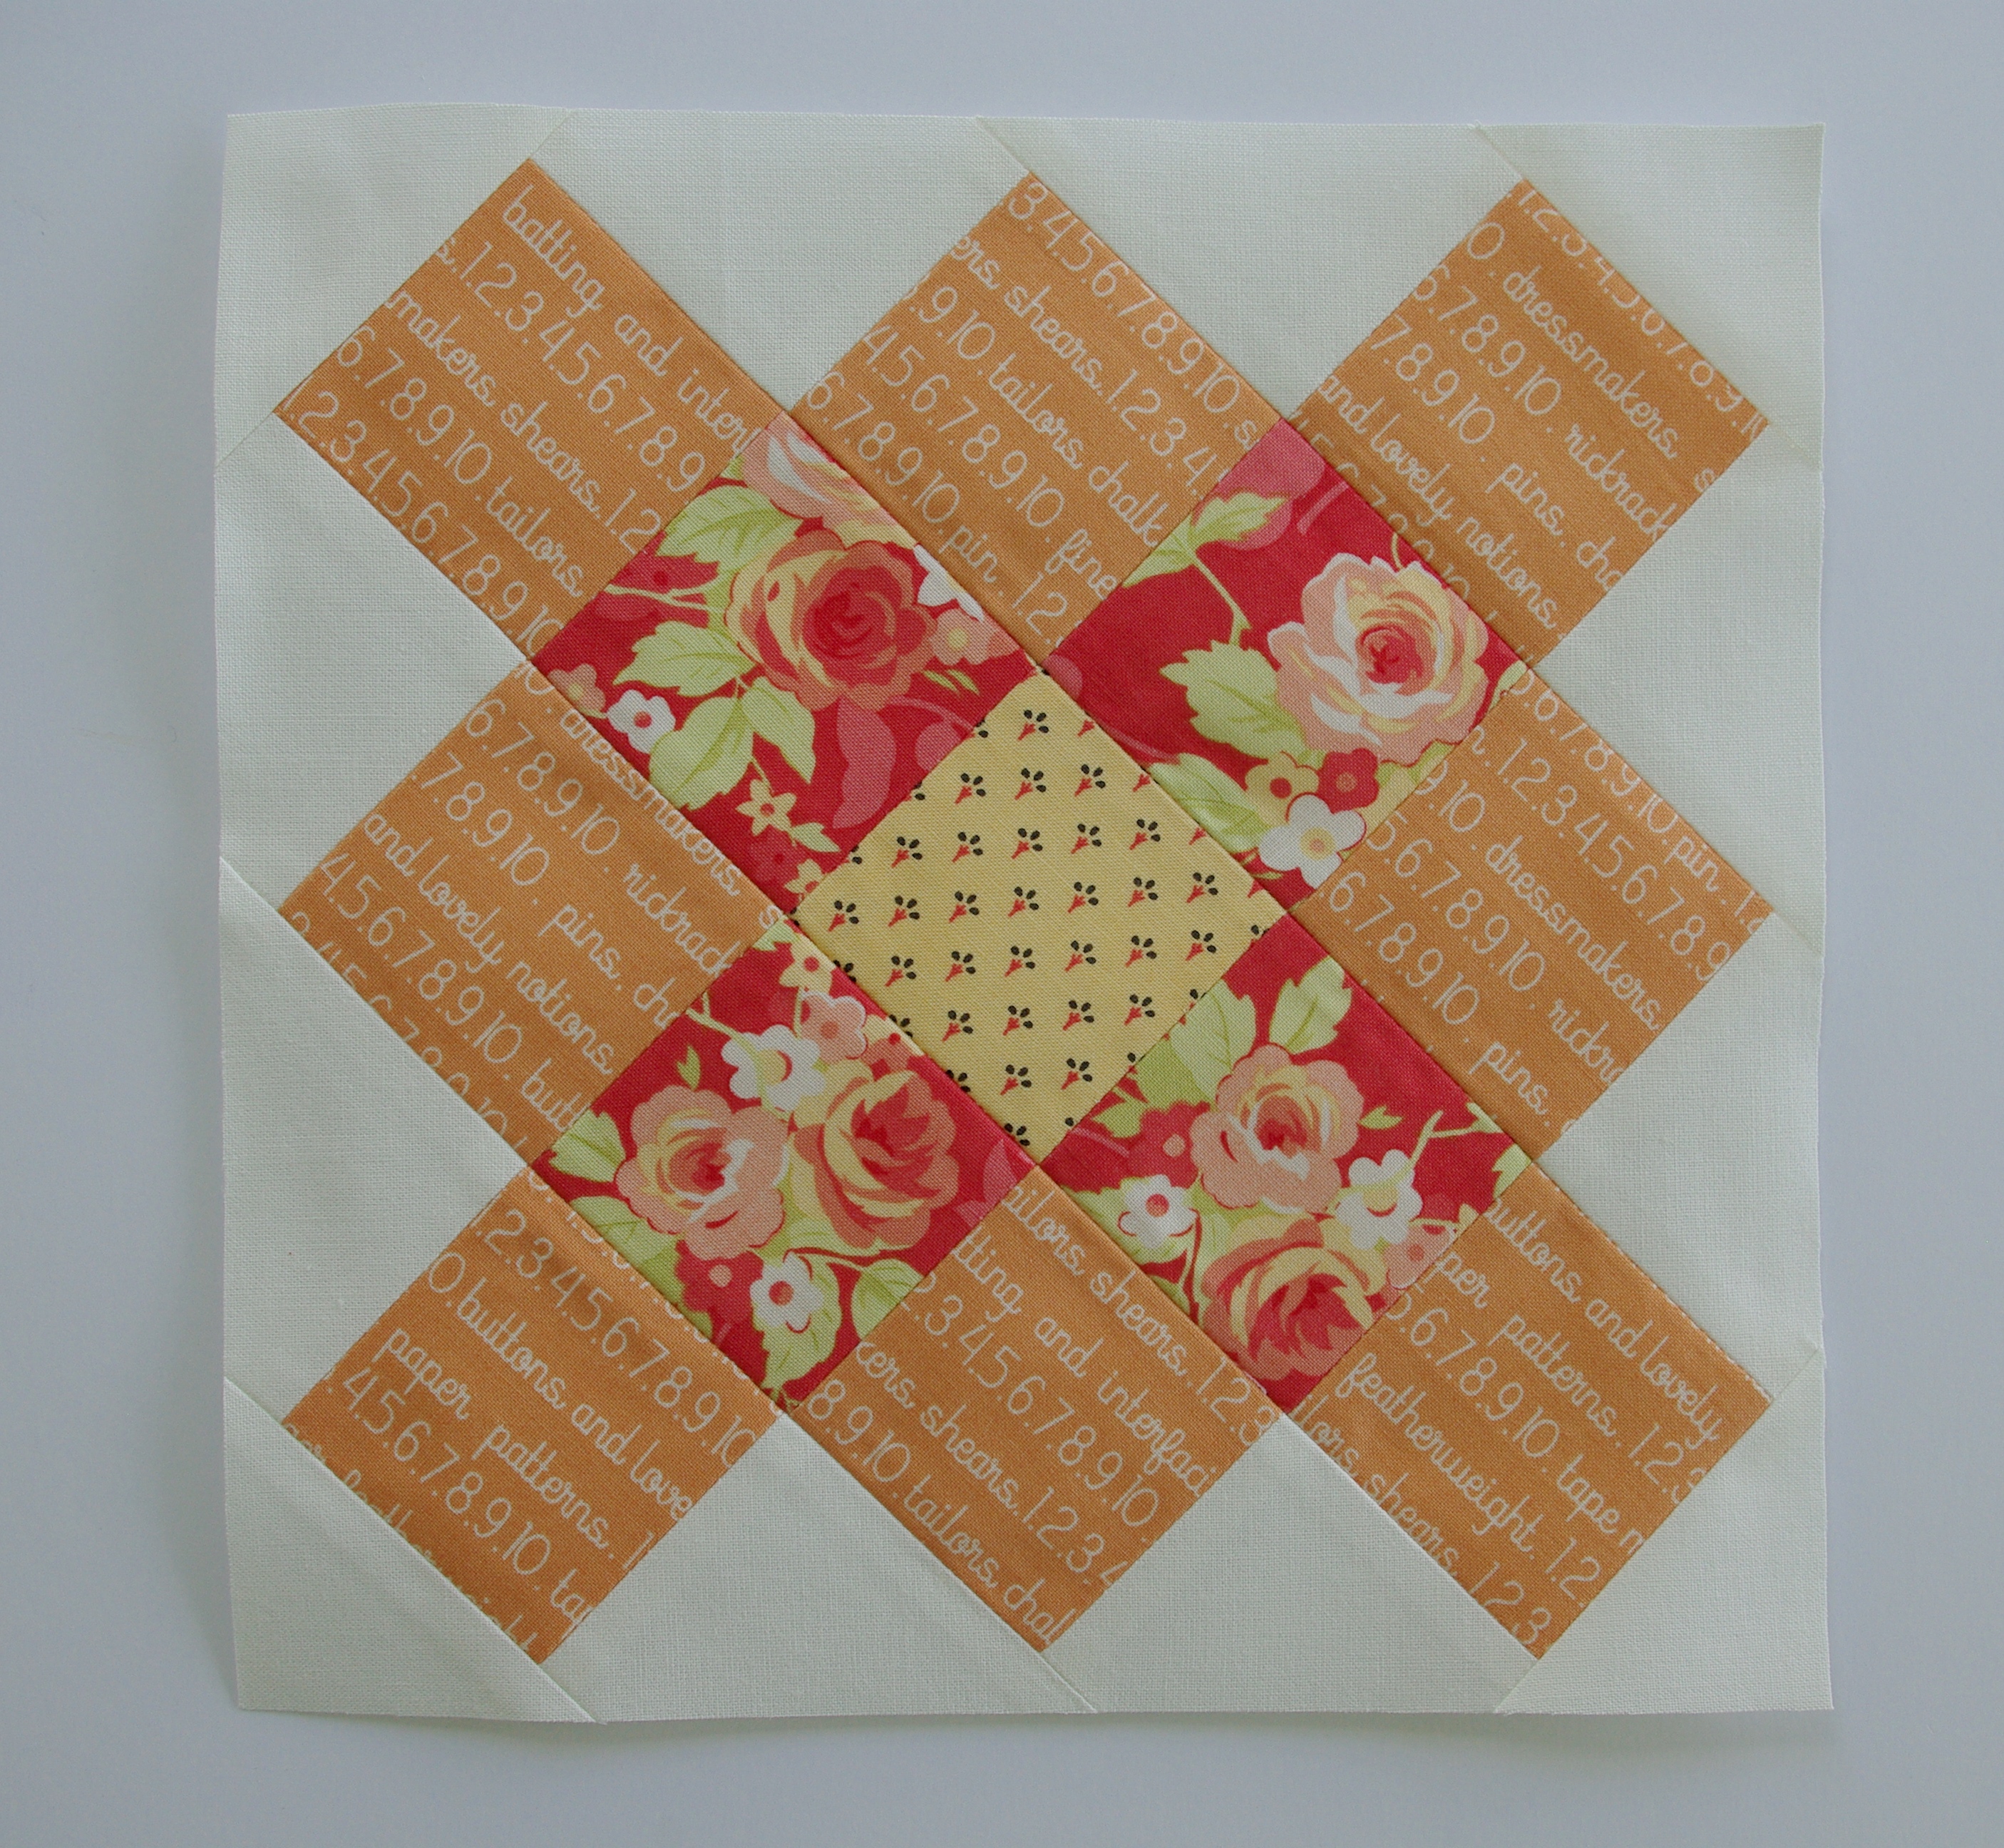
Here’s a quick tutorial on how to make a granny square block with the dimensions I used. My blocks finished at roughly 8 3/8″ square.

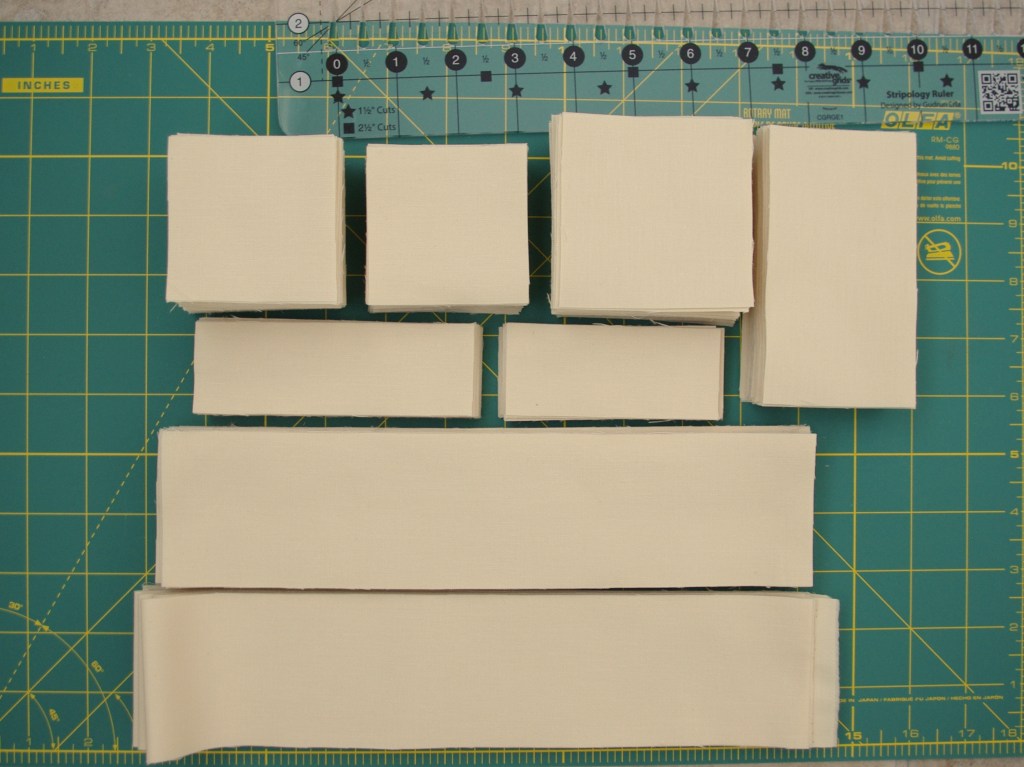
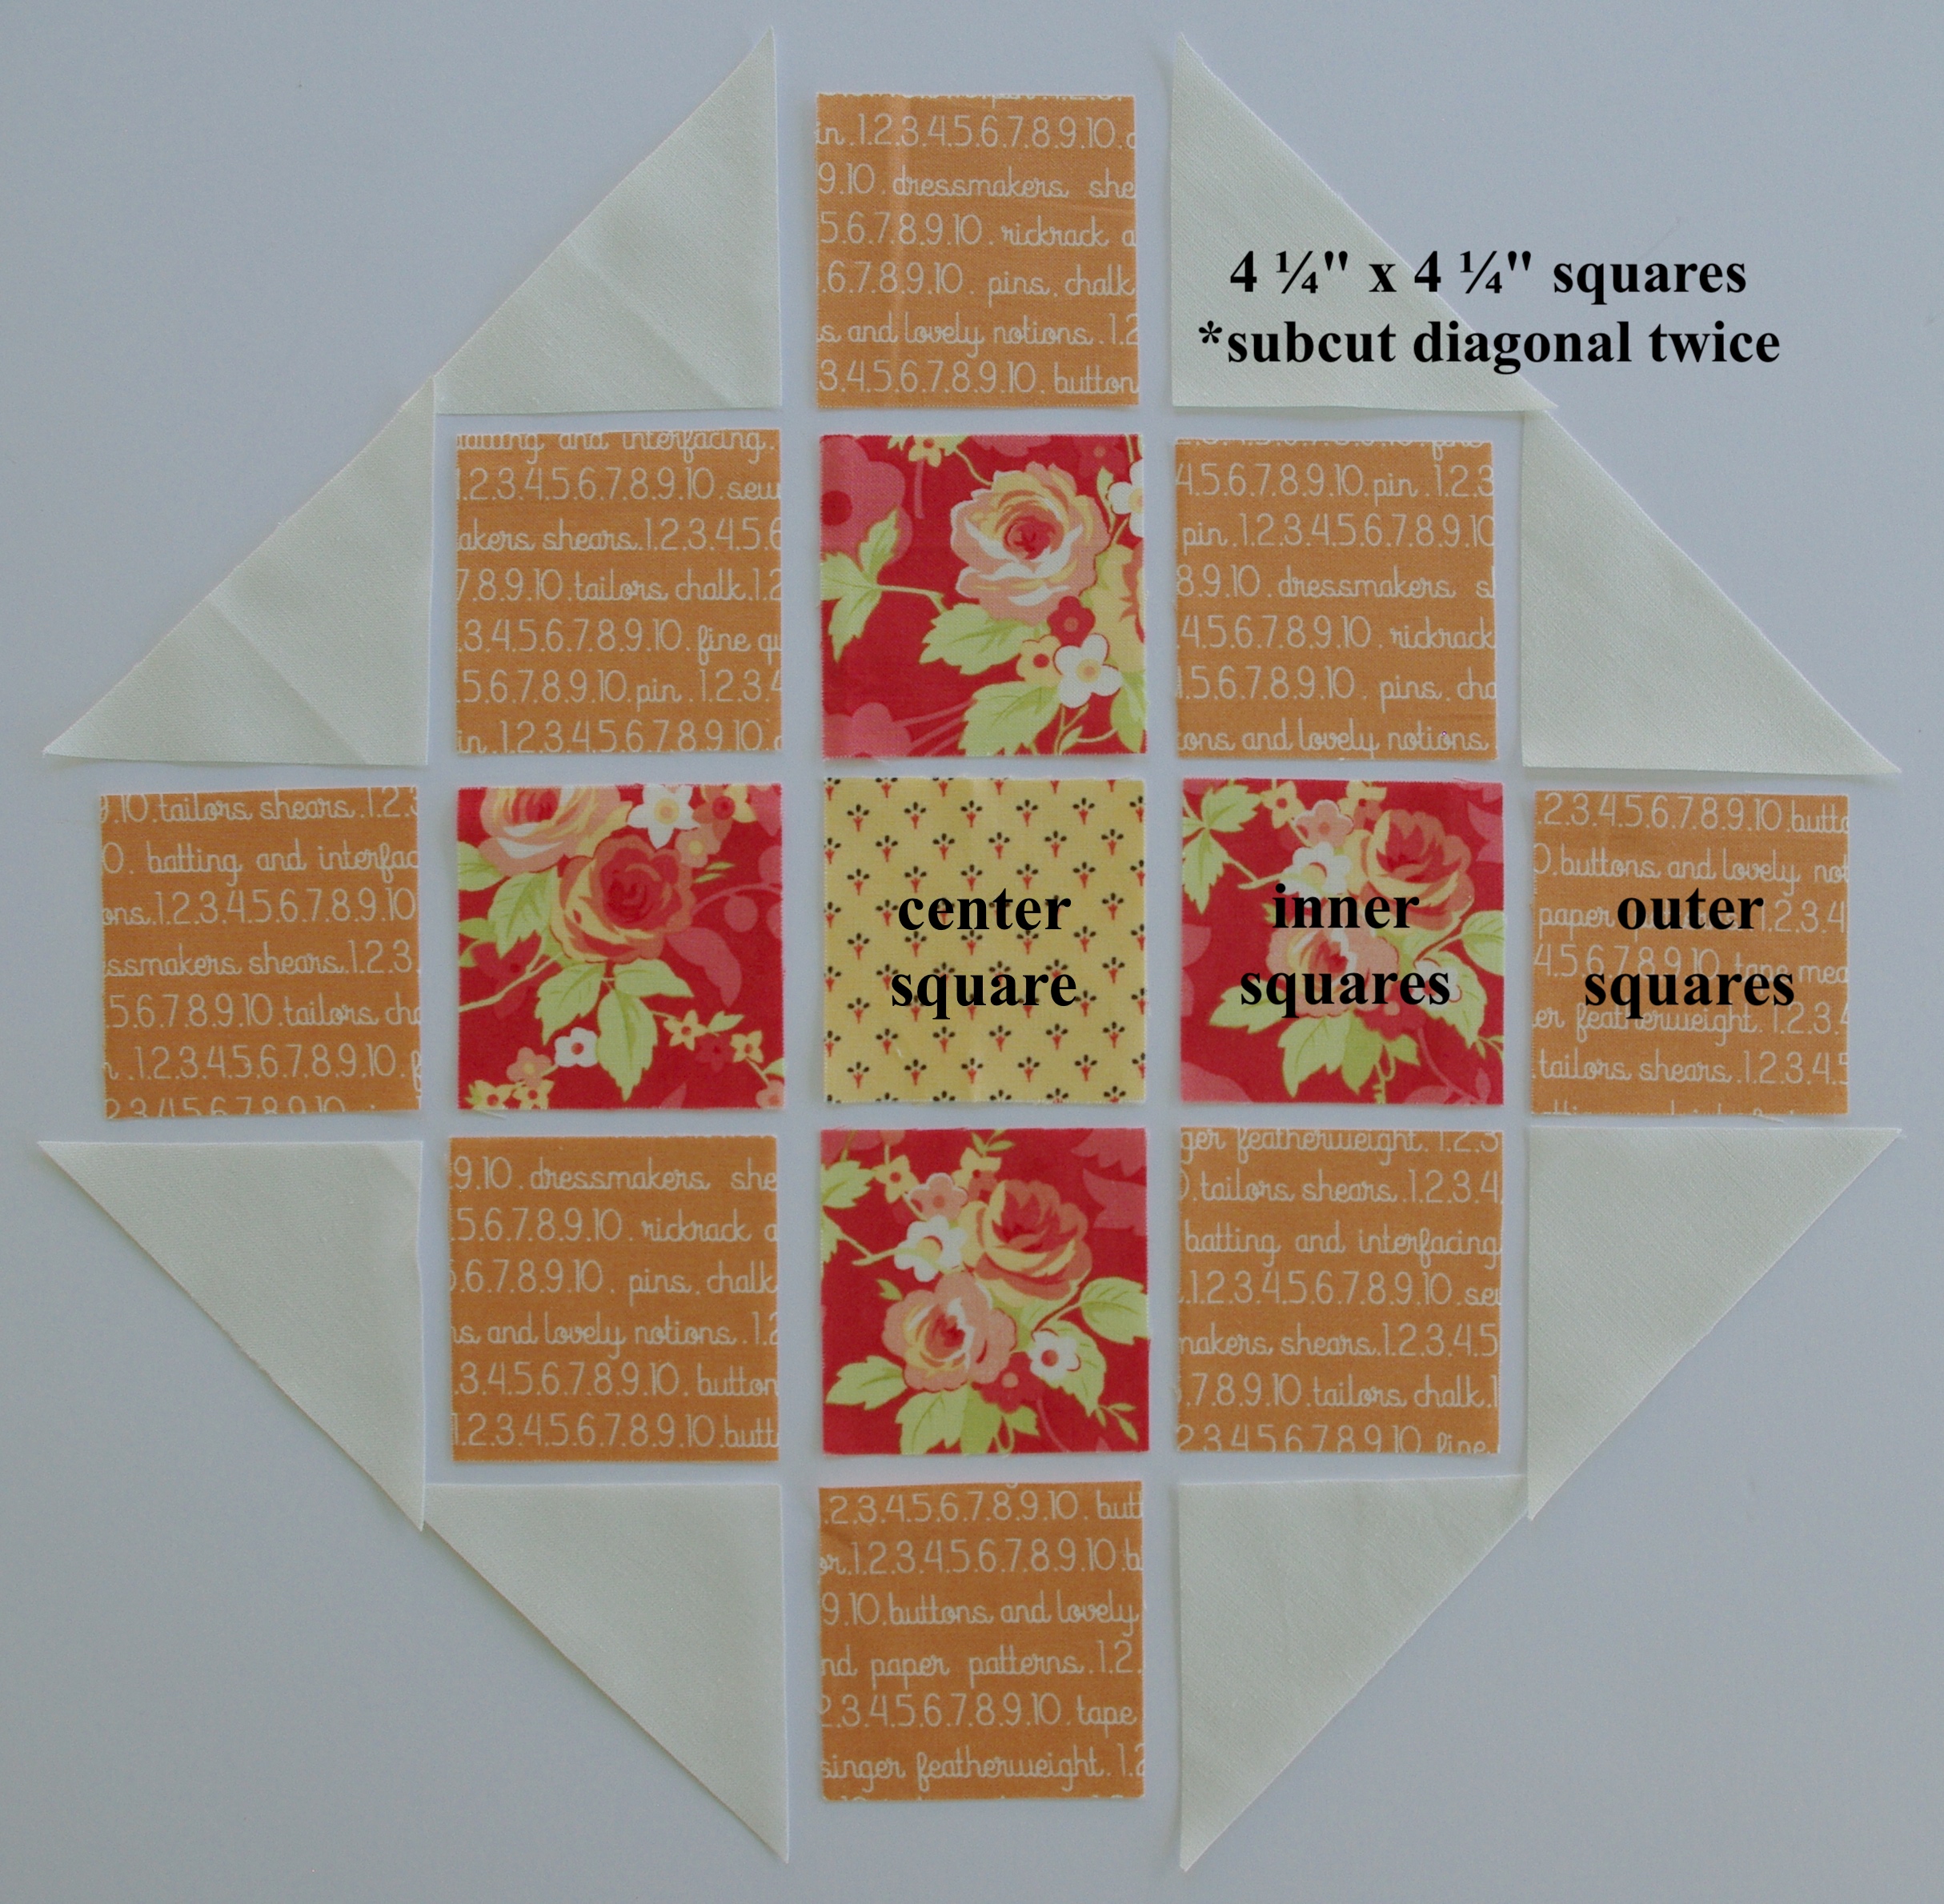
FROM COLOR/PRINT FABRIC, CUT:

(1) 2 ½” x 2 ½” square (center square)

(4) 2 ½” x 2 ½” squares (inner squares)

(8) 2 ½” x 2 ½” squares (outer squares)

FROM BACKGROUND FABRIC, CUT:

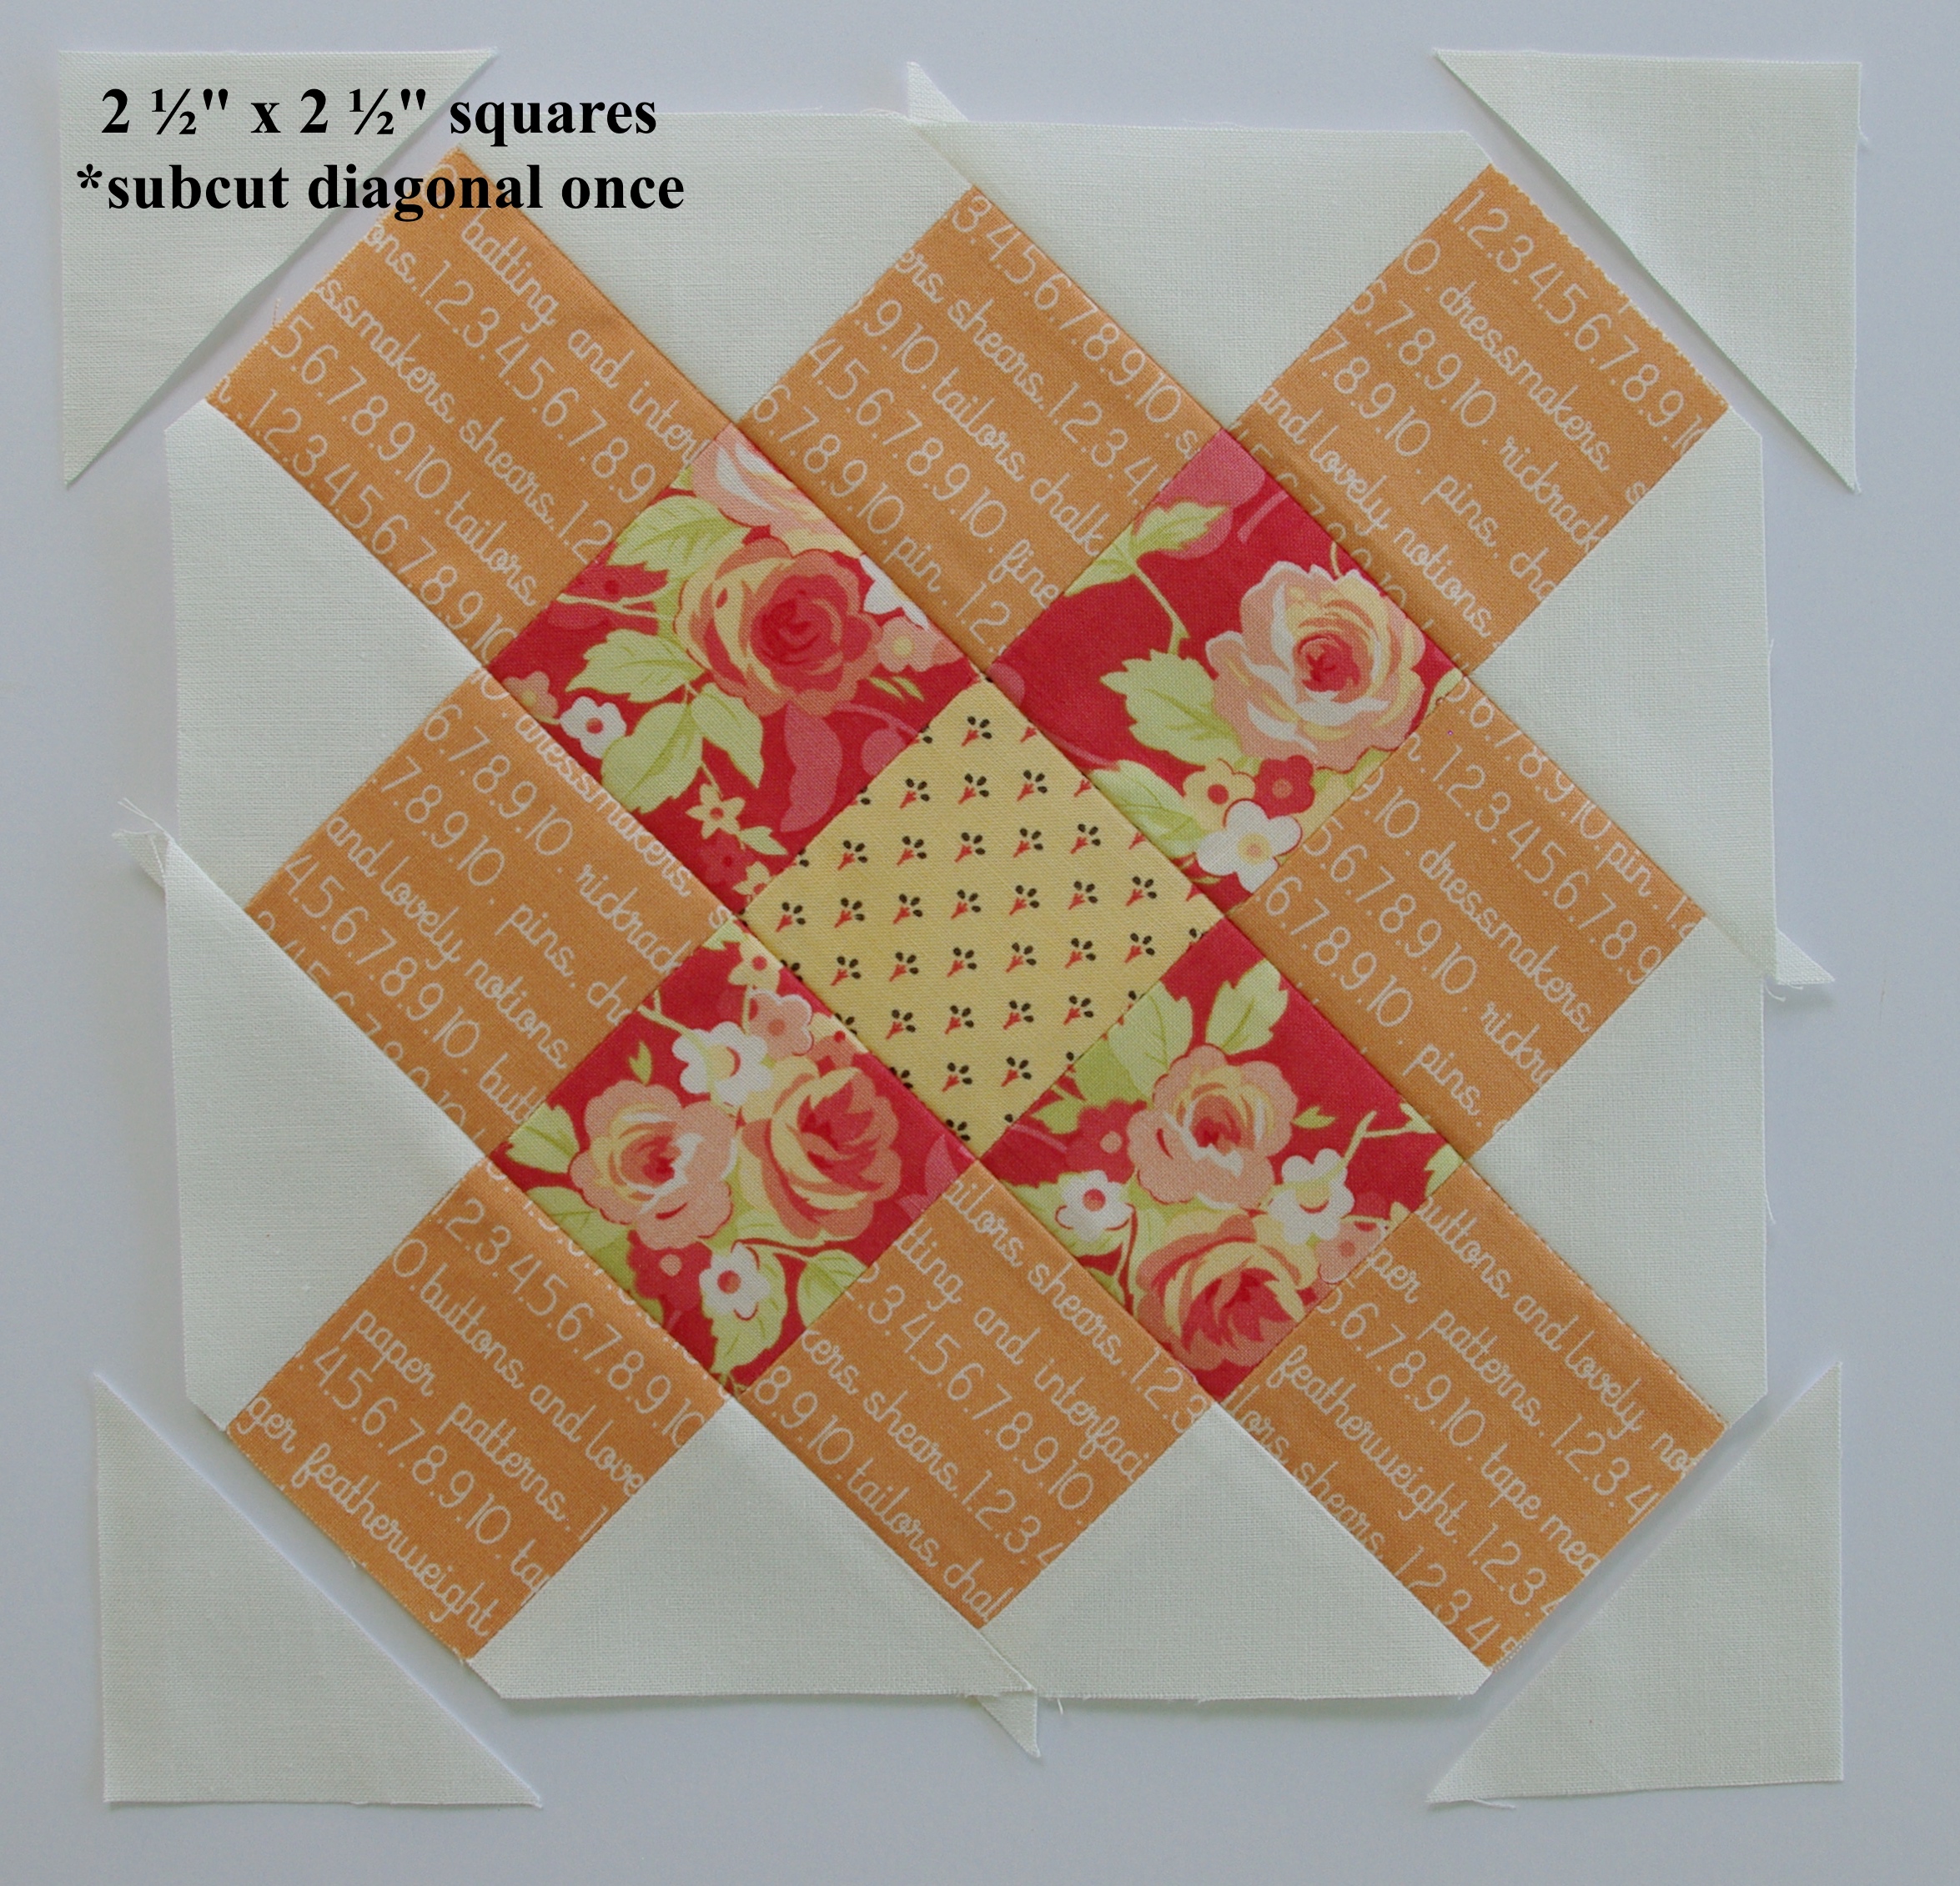
(2) 2 ½” x 2 ½” squares

*subcut diagonal once

(2) 4 ¼” x 4 ¼” squares

*subcut diagonal twice

Lay out fabric as illustrated below:

IMGP8576.jpg

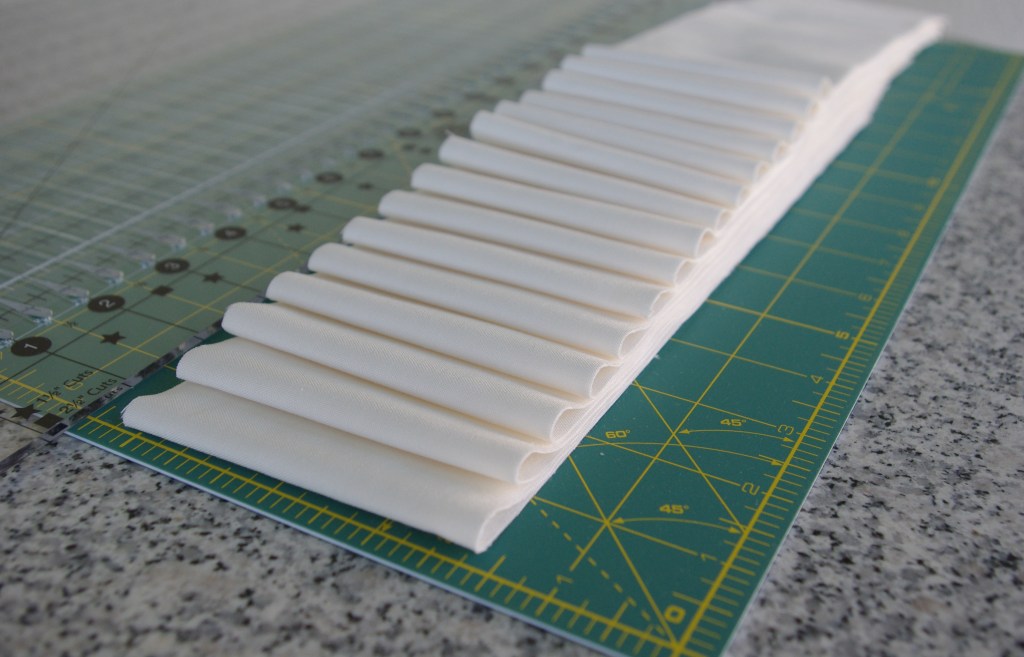
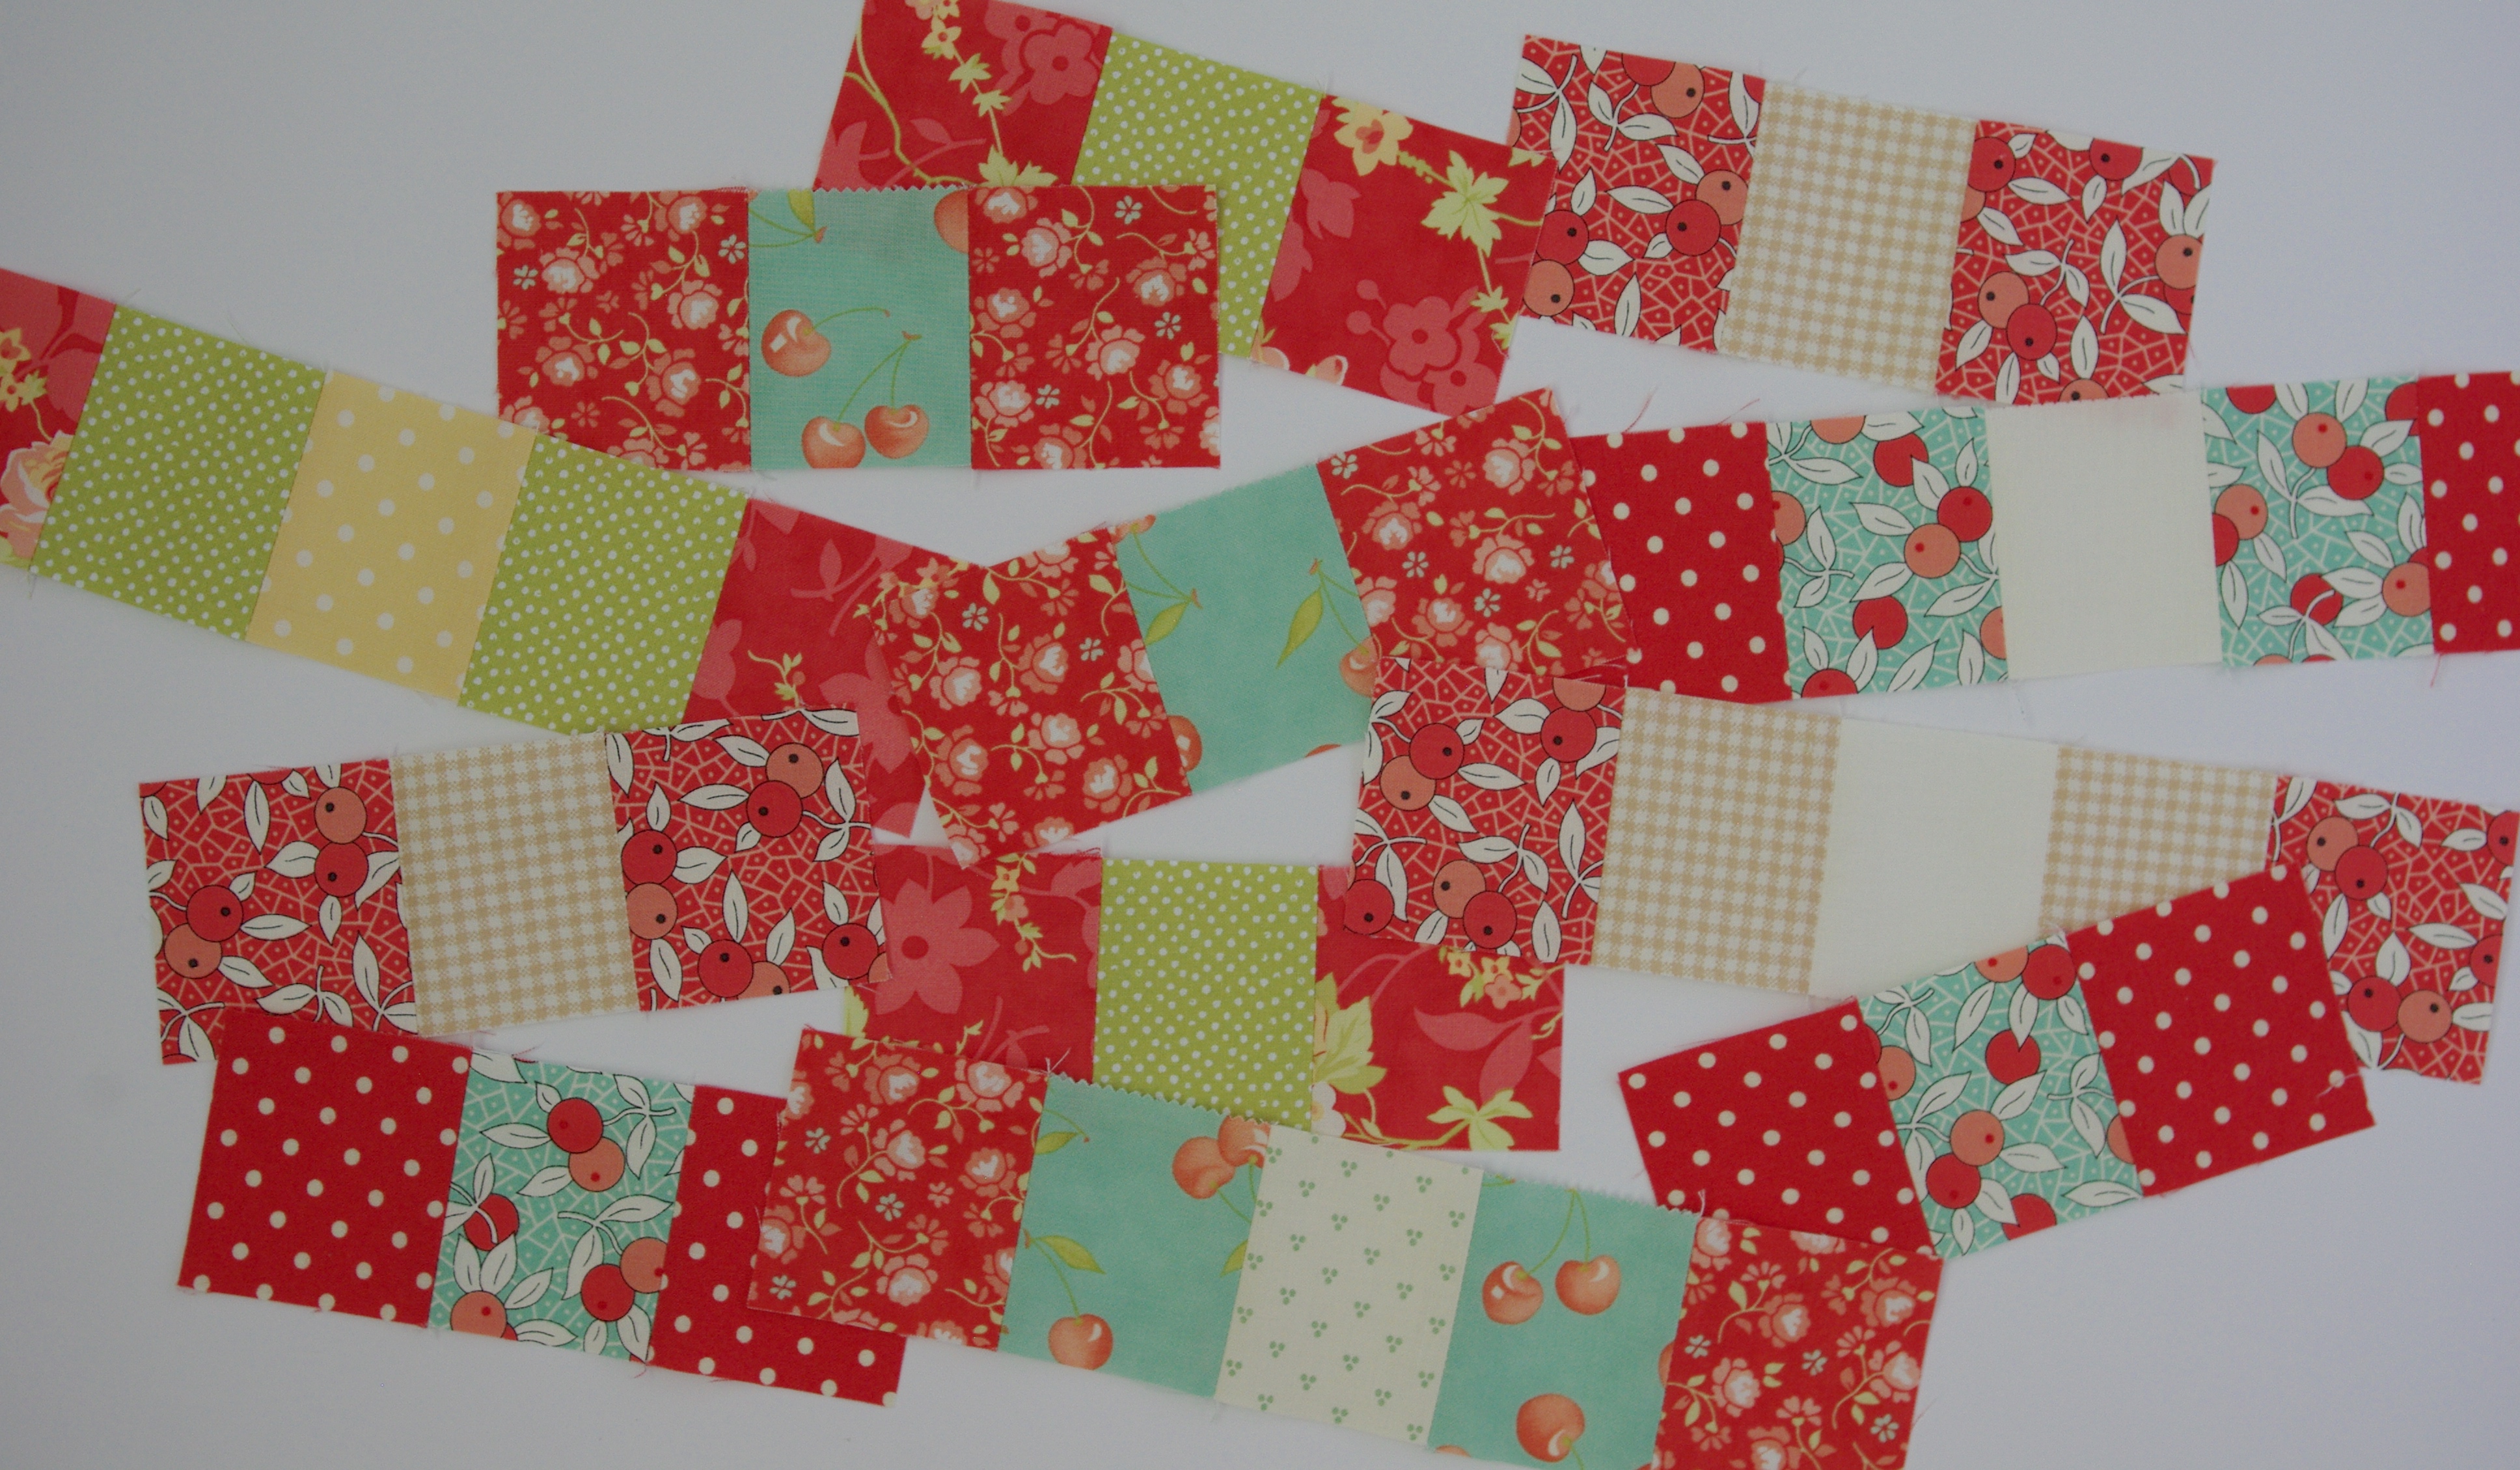
Sew pieces together into rows using ¼” seam allowance. I recommend pinning! Be sure to trim away dog ears. Pressed rows will look like this:

IMGP8577.jpg

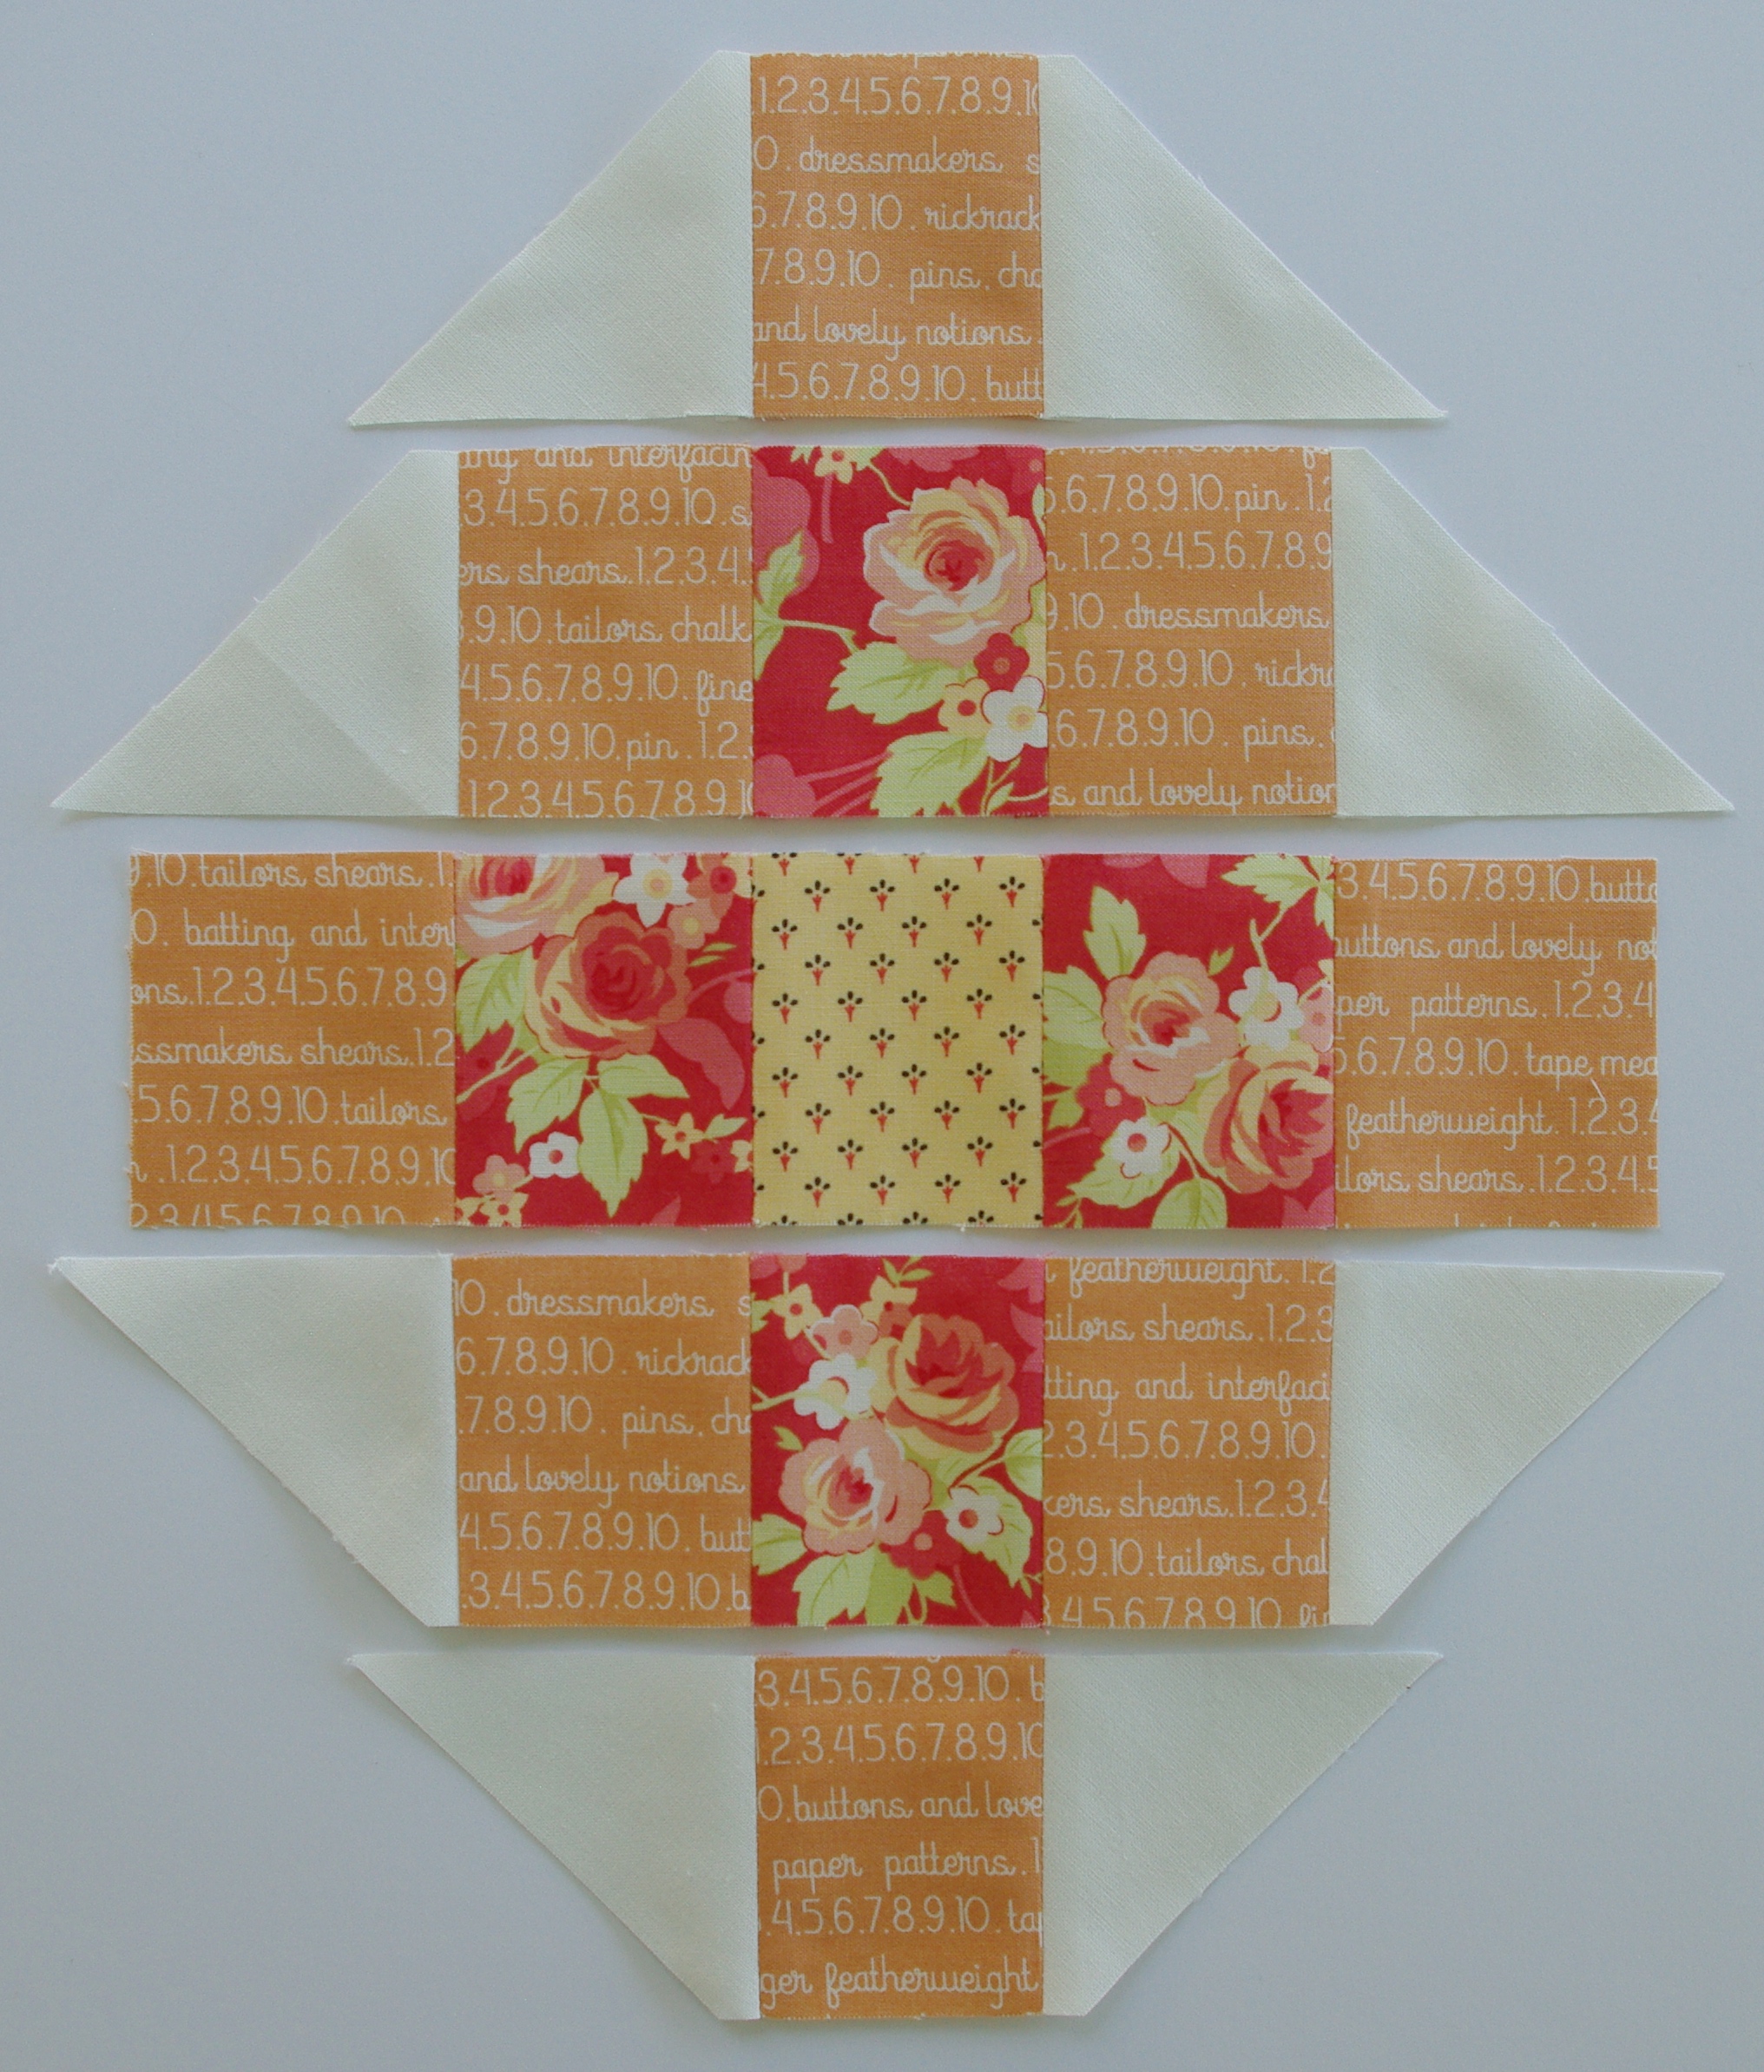
Because sewn pieces are relatively small, I pressed all my seams open to reduce bulk. It definitely helps the blocks to lay nice and flat.

Next, turn the block sideways, as shown. Place the remaining triangle pieces in the four corners. Sew and press.

IMGP8585.JPG

The final step, trimming your block (and the remaining dog ears). Line up your ruler with the ¼” mark placed at the corners of the outer squares, as shown. Trim.

IMGP8590

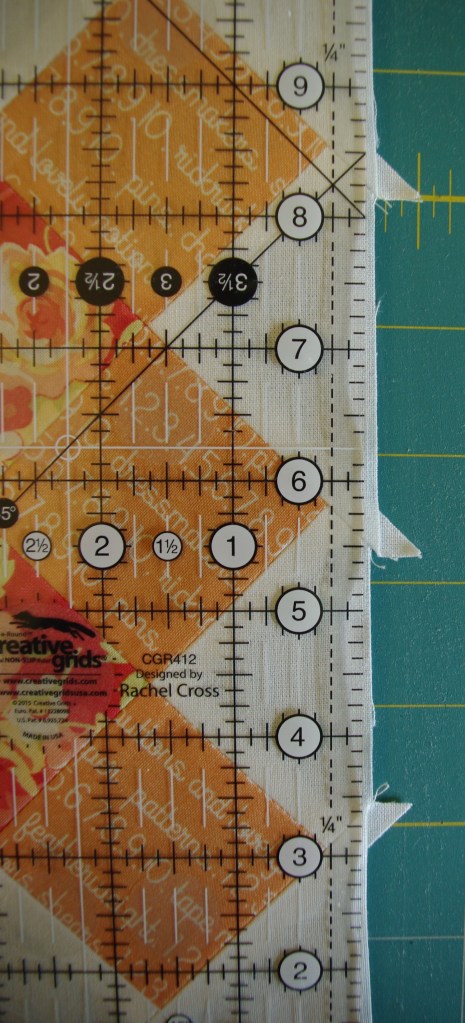
Give your block one last press and you have a beautiful granny square!

IMGP8592.jpg

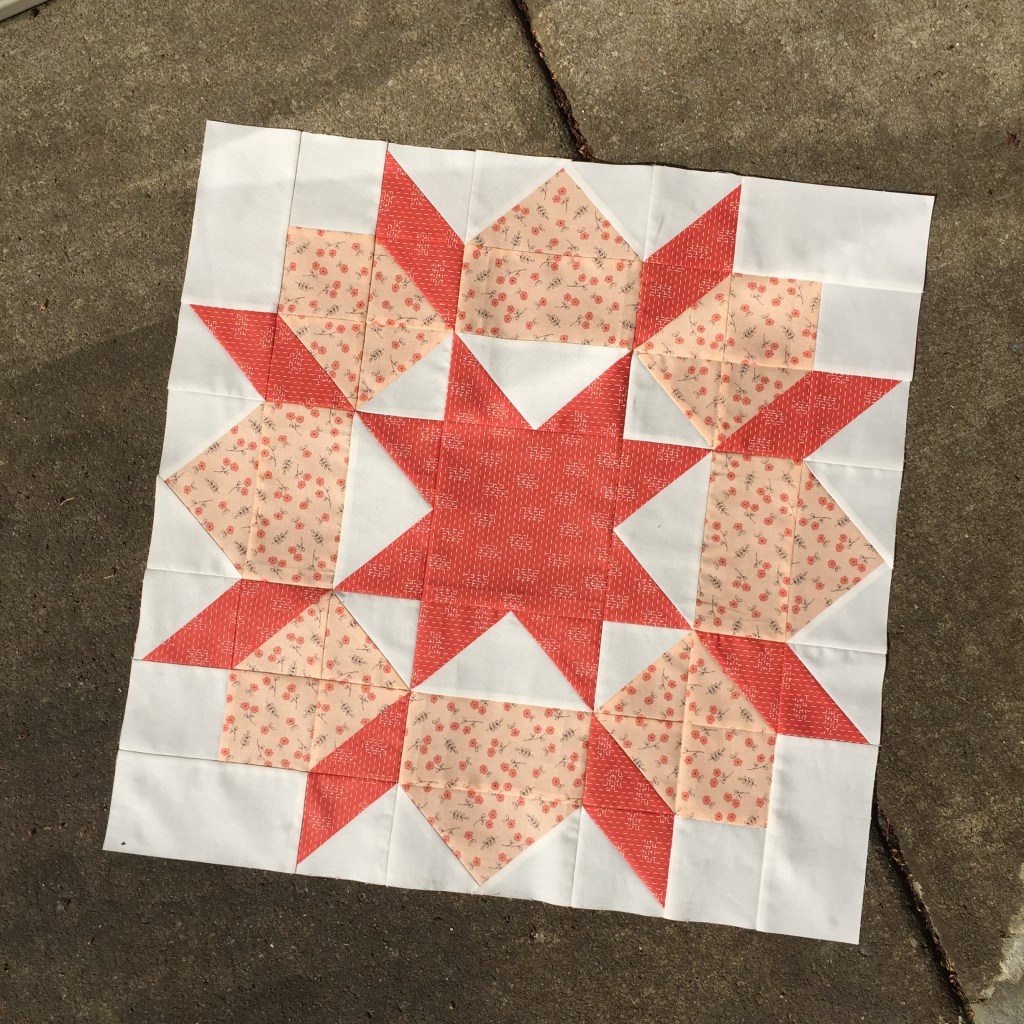
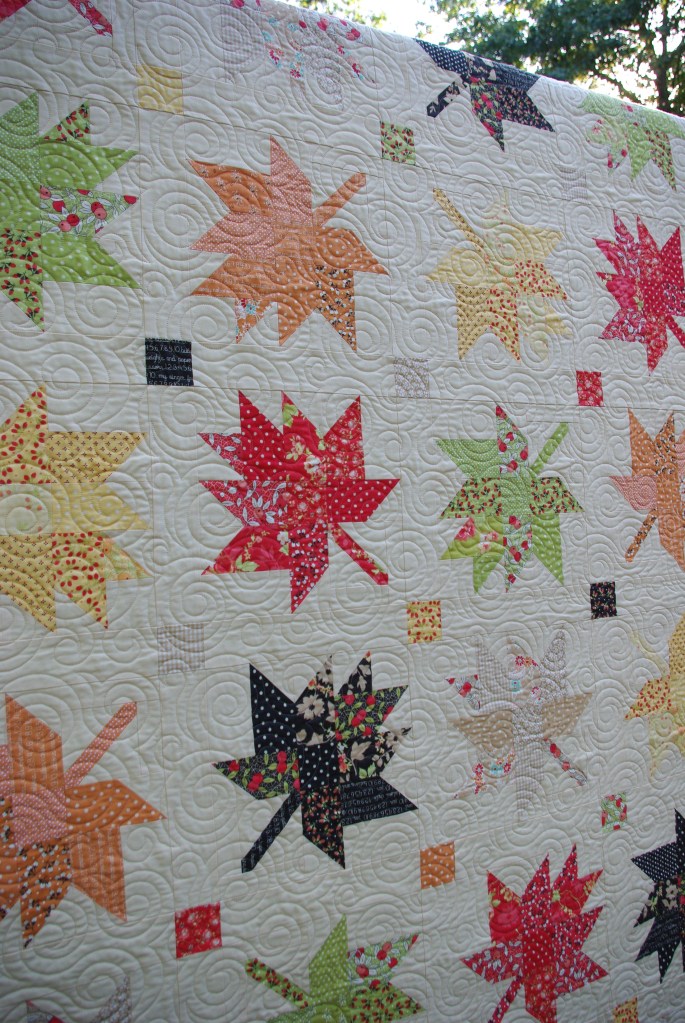
I know it’s common for quilters to finish a quilt and say it’s their new favorite, but this one really is for me. It’s different from most of the quilts I’ve made, mainly because of the fabrics, many were soft and feminine floral prints.

IMGP8810.jpg

I think every quilter needs to make a granny square quilt, well, just because…don’t you agree?

quilting, Uncategorized

Fireworks Quilt Finish

Finally, my Fireworks quilt is done! Last year I saw one posted on Instagram and I knew I had to make one for myself. As usual, I like to use my stash and my Moda Rustic Weave fat quarters came to mind immediately. I bought this bundle two years ago for my Circus Trio mini patterns. It’s bright and colorful with a woven pattern that gives it texture, just a bit more than a solid.

IMG_3249

Another neat thing about this collection is the light and dark coordinating colors that allowed me to make light colored blocks with dark centers and vice versa. It isn’t widely available anymore, but I did find enough online for the binding.

The quilt pattern (by Thimble Blossoms) wasn’t difficult, there’s just a lot of precision involved. The blocks go together pretty fast despite the fact it took me several months from start to finish. I guess it was all the Christmas sewing in between, given I started this quilt last August.

Sometimes I think of the whole quilt making process and the time involved—going from just fabric, to cutting, to sewing, to a completed quilt. I posted this photo on Instagram after a few hours of cutting fabric.

IMG_6128

Not to mention the time spent trimming threads off the back before quilting…

IMGP6796
before eight+ hours of trimming…
IMGP6854
after eight+ hours of trimming…

What a difference and well worth the effort!

Because of the white front, I chose mellow backing. This fabric is Tic Tac Go by Sarah J. Maxwell for Studio 37 Marcus Fabrics. It has some of the same colors as the front, and I love how it’s so fun.

IMGP7117.JPG

I hand-sewed the binding, which I do most of the time; I love how it looks.

IMGP7121

Here’s the finished quilt…

IMG_6815
IMGP7129

It’s definitely bold and bright!

It measures 68″ square. I opted for professional long arm quilting with up and down loops to compliment all the angles.

IMGP7203
IMGP7215

That wraps up my first lap sized quilt finish in 2018. What to do next…?