fall decor, home decor, mini quilts, monday morning designs quilt pattern, Uncategorized

Mini Mania Sale

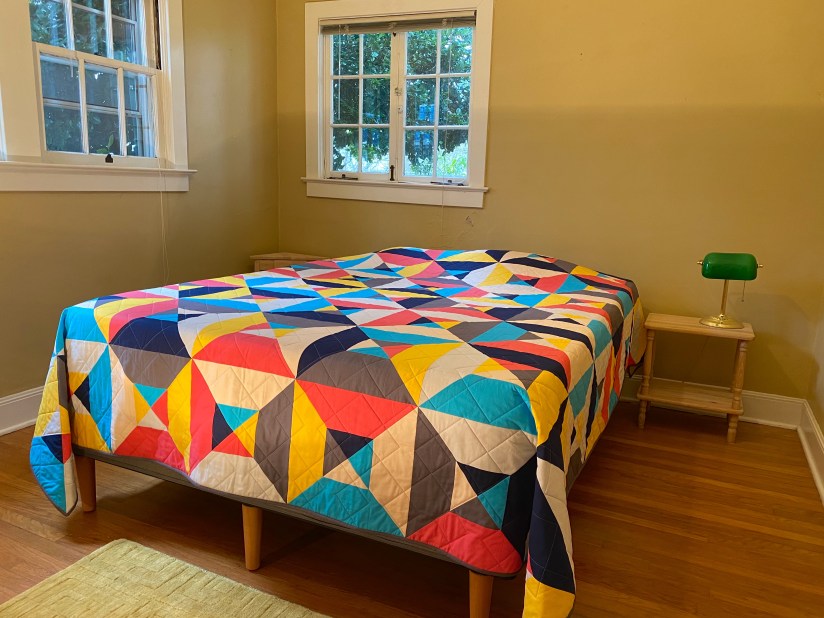
After relocating and settling in, I’ve decided it’s time to clear out some of my mini quilts. Now most people would have thought to do this before moving, but, well…you know… 😉 Anyway, these minis are great for hanging on your wall or door -or- they make excellent table toppers. I have five on sale for 20% off on my Etsy shop for this week only! (More details are available on Etsy listing).

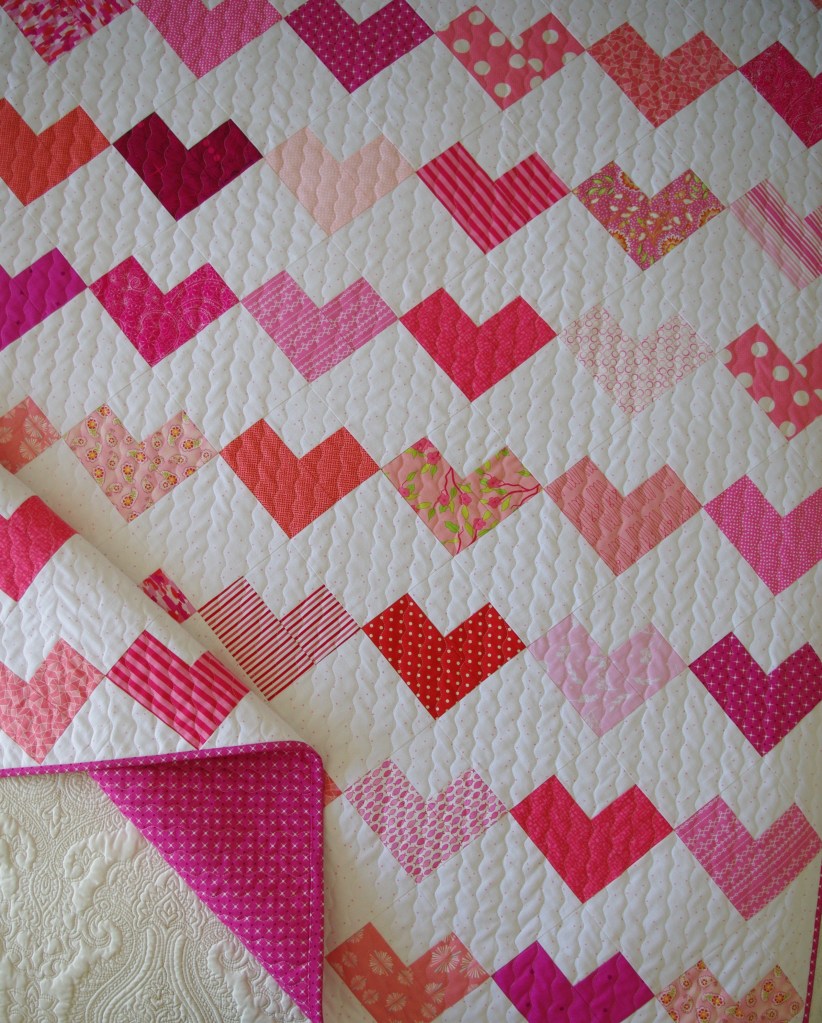
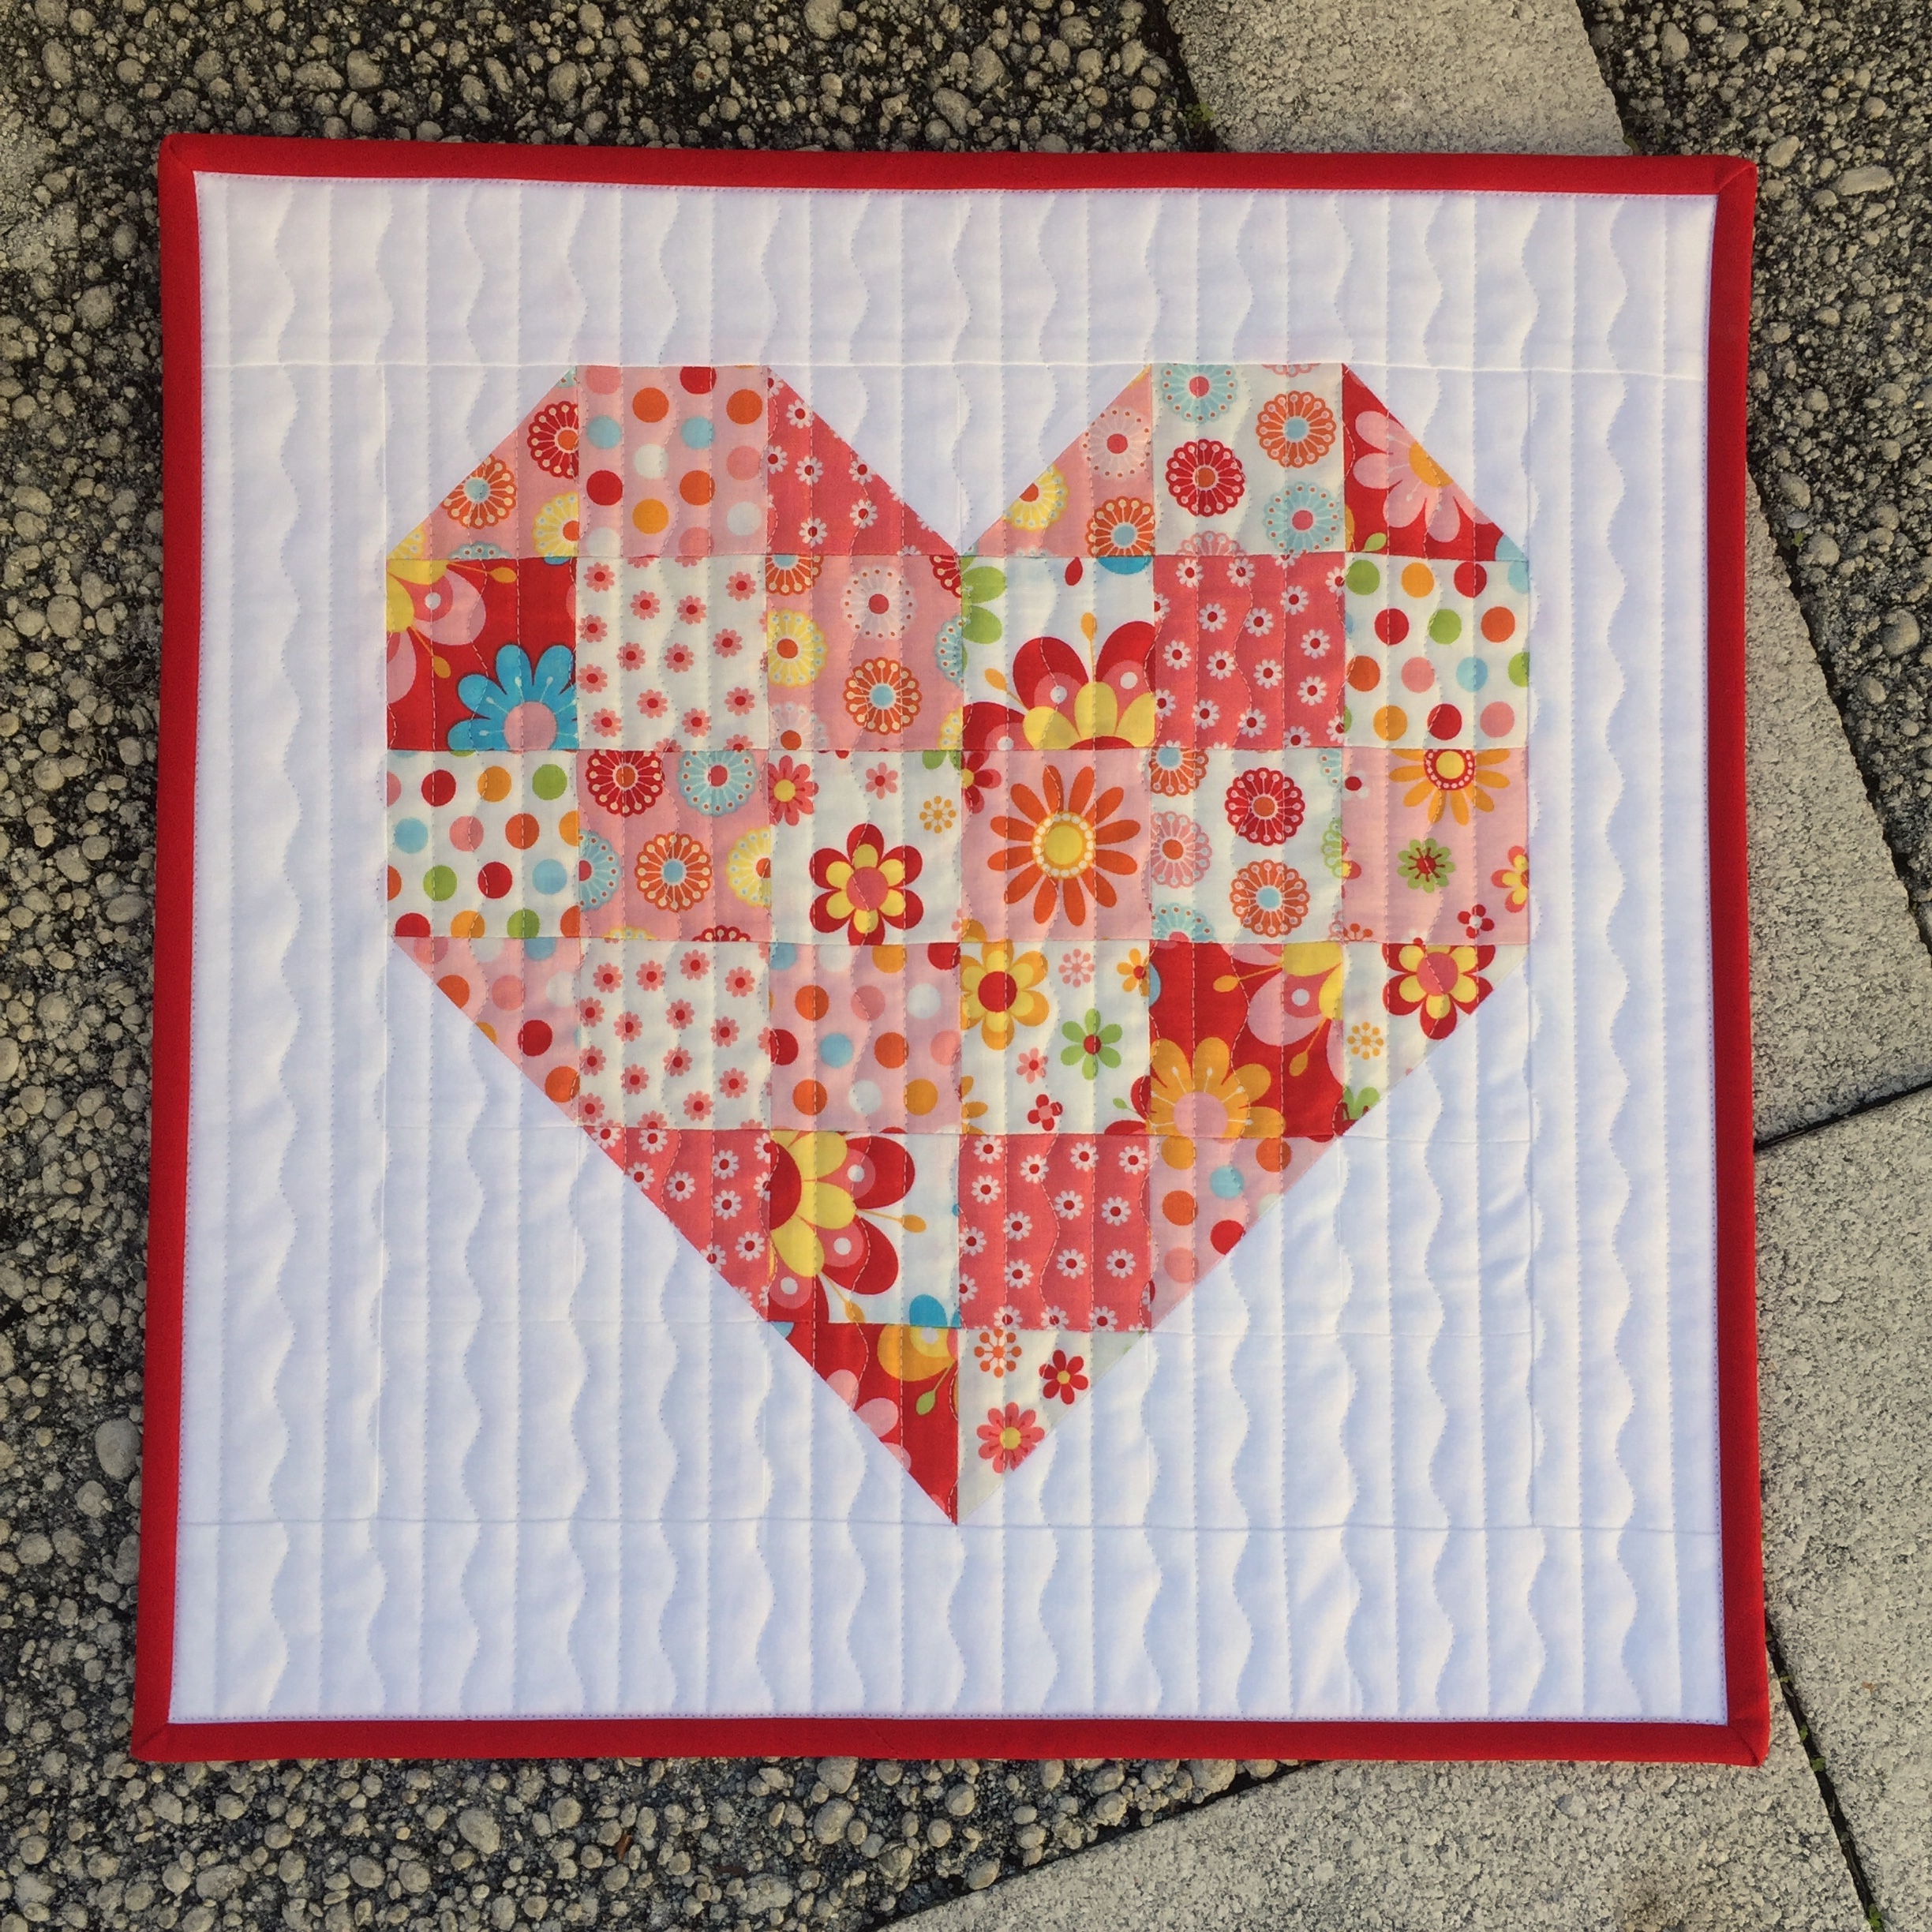
Here’s a run down of what’s available. Let’s start with my retro Flower Heart mini. I made this for my Scrappy Heart Mini tutorial a few years ago. It’s made with a fun, flowery collection from Riley Blake fabrics.

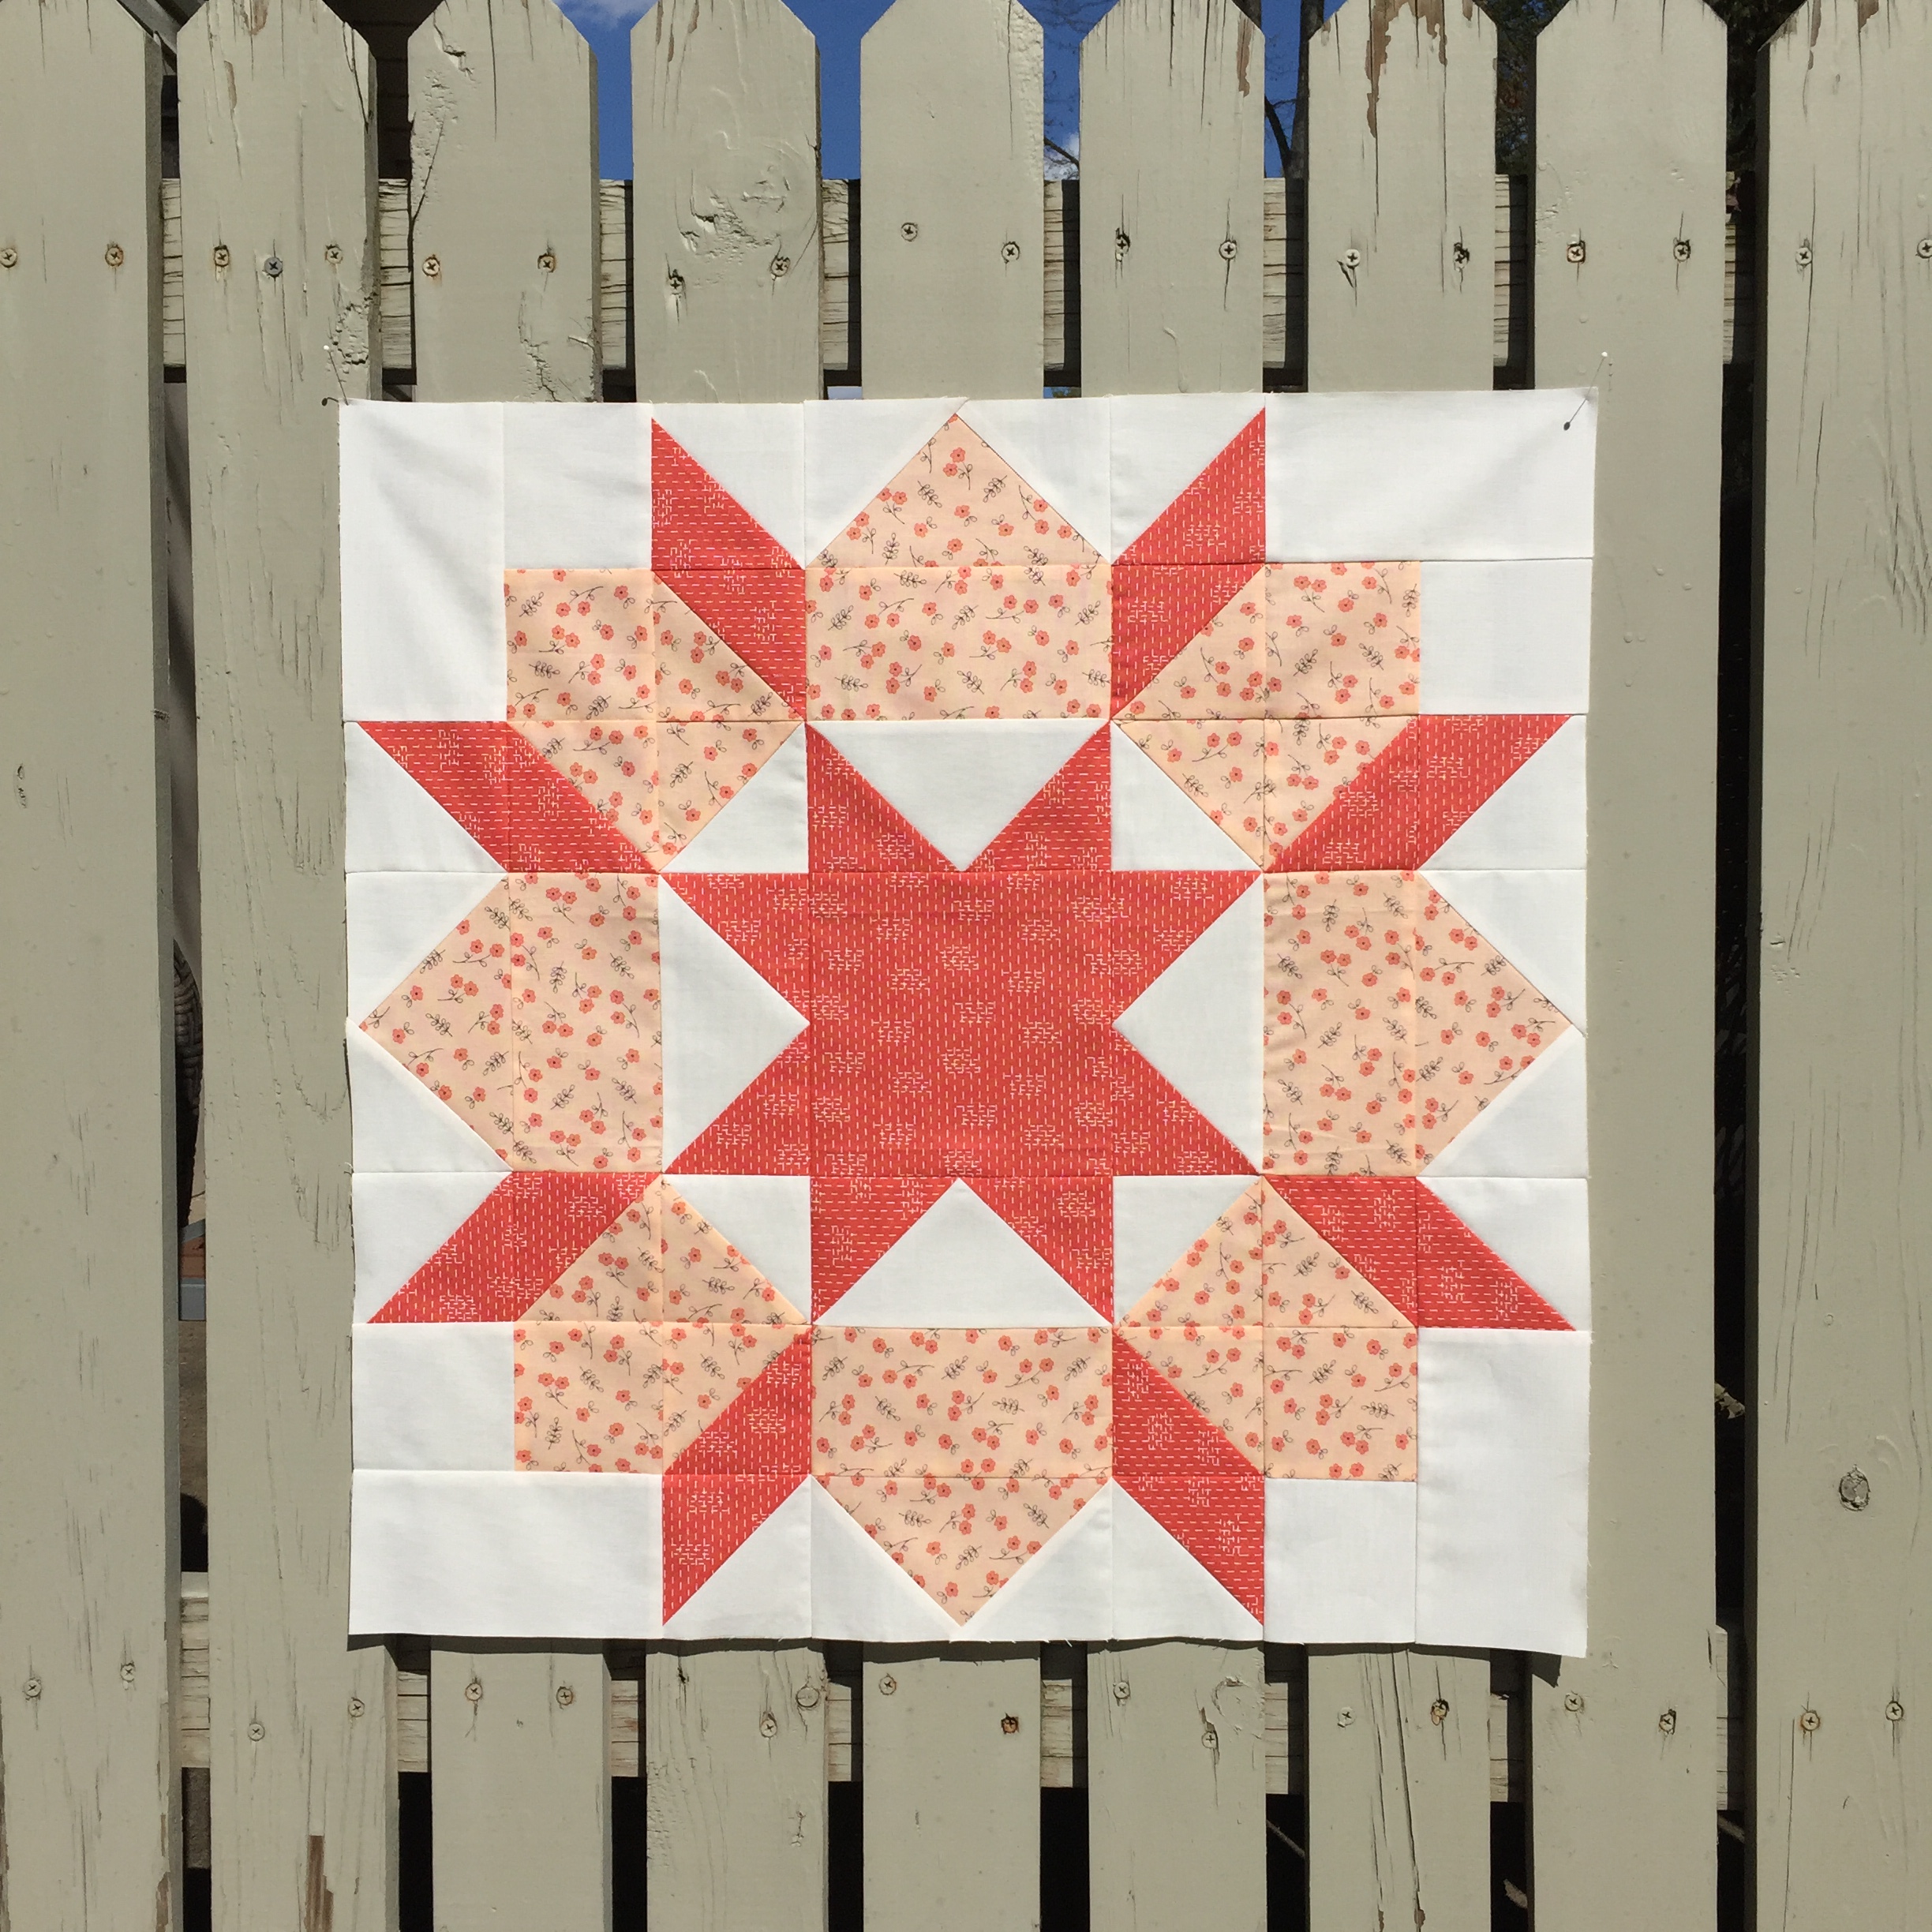
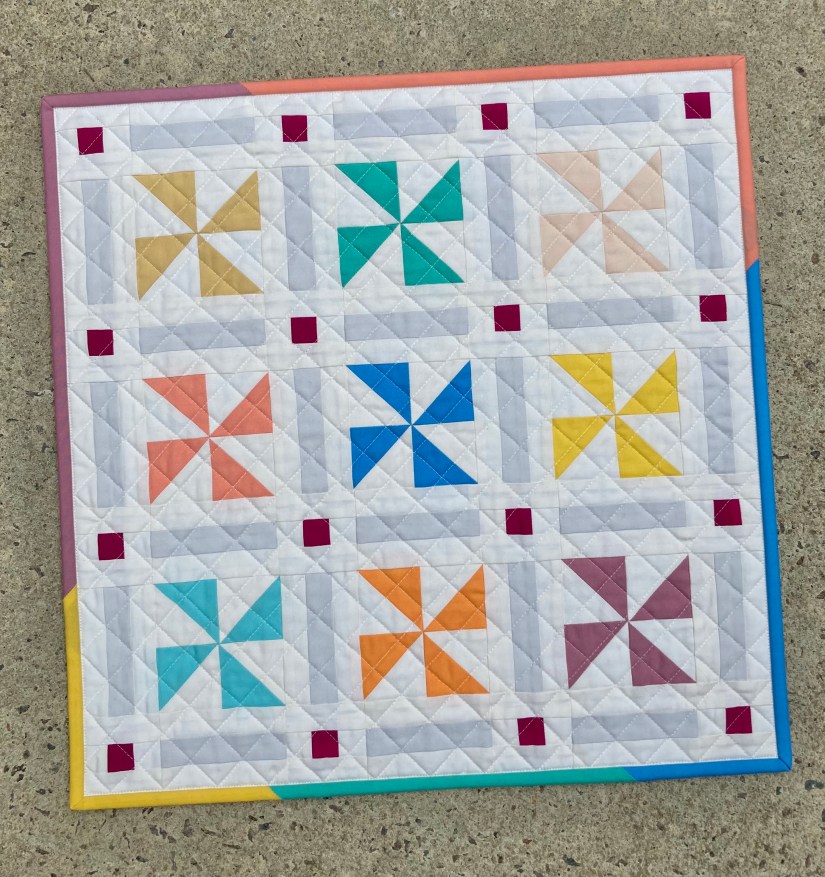
Next up is my Pinwheels Galore mini quilt. This mini is the one featured on the cover of my PDF pattern. Also, a baby size quilt version of this pattern was published in Quilts & more fall edition 2021. It’s a Monday Morning Designs pattern.

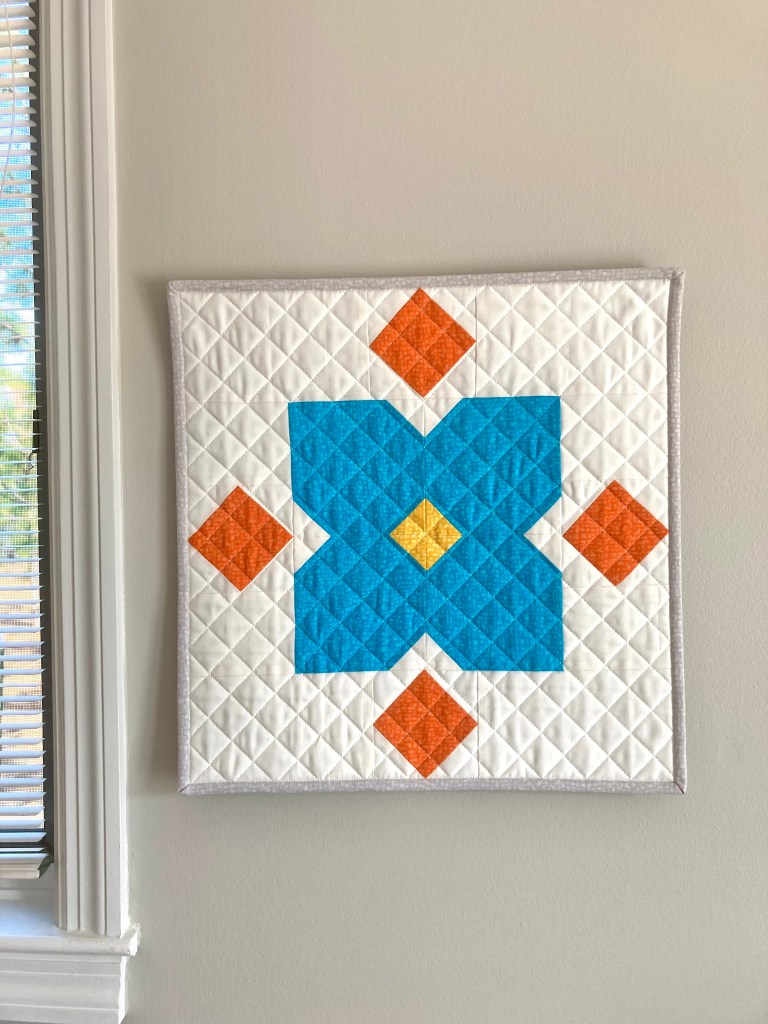
Another Monday Morning Design is my Floriography mini quilt. I embellished the block by adding a square-in-a-square border to help frame the center. This colorful mini is made with the Bedrock collection from Windham fabrics and boy does it pop!

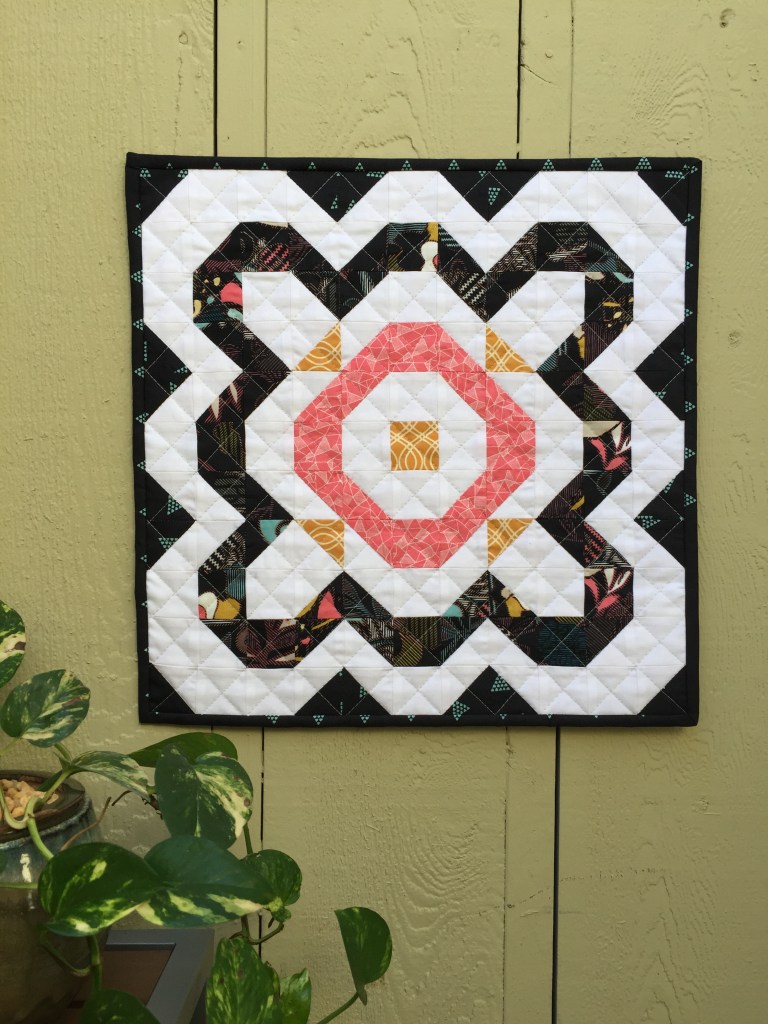
This bold black, white and pink Flower mini is from a pattern by the Family Hearth. I used delightful prints by Pat Bravo for Art Gallery Fabrics for a striking aesthetic.

Full Bloom Mini Quilt

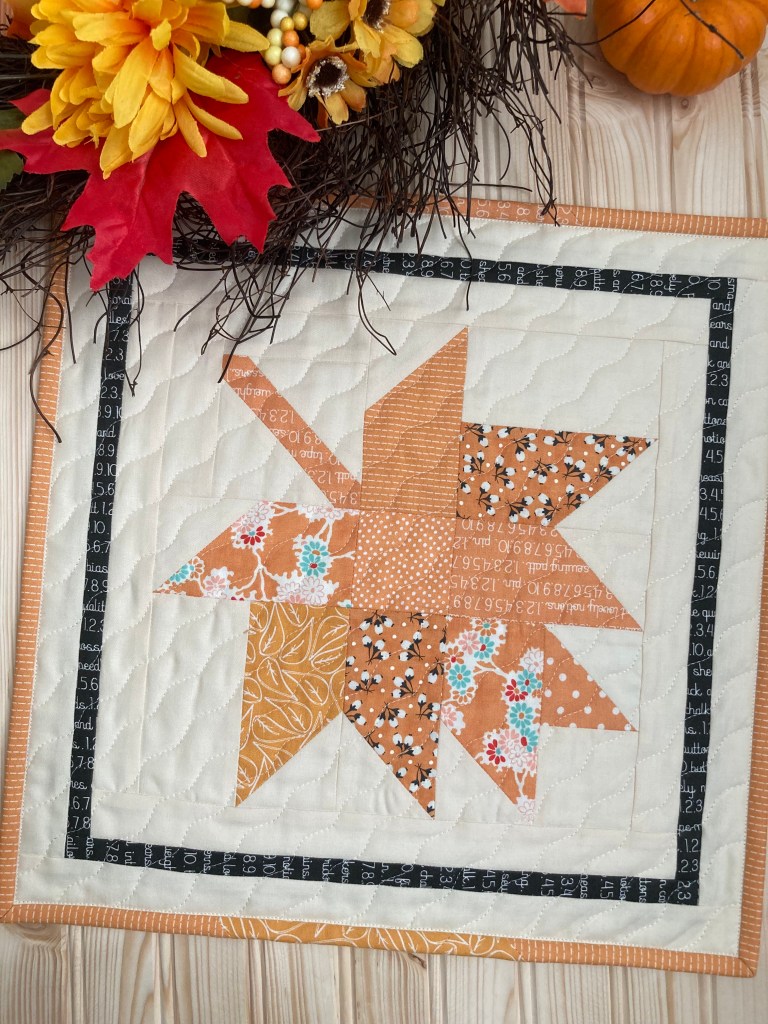
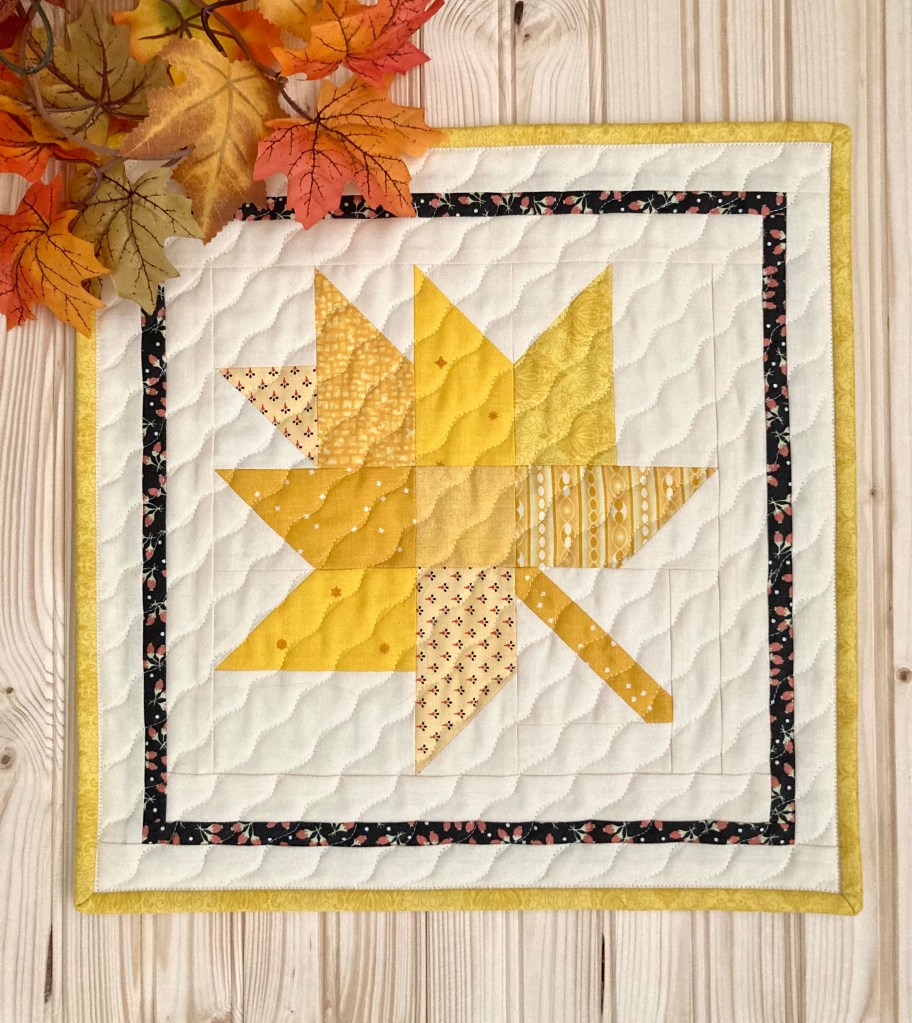
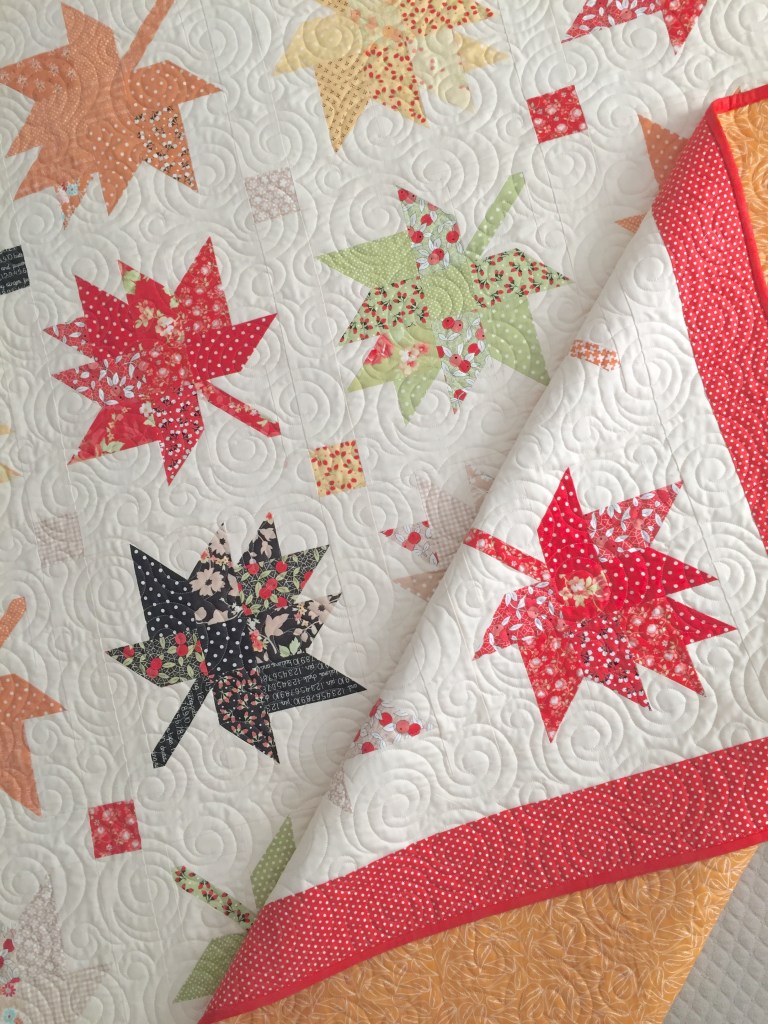
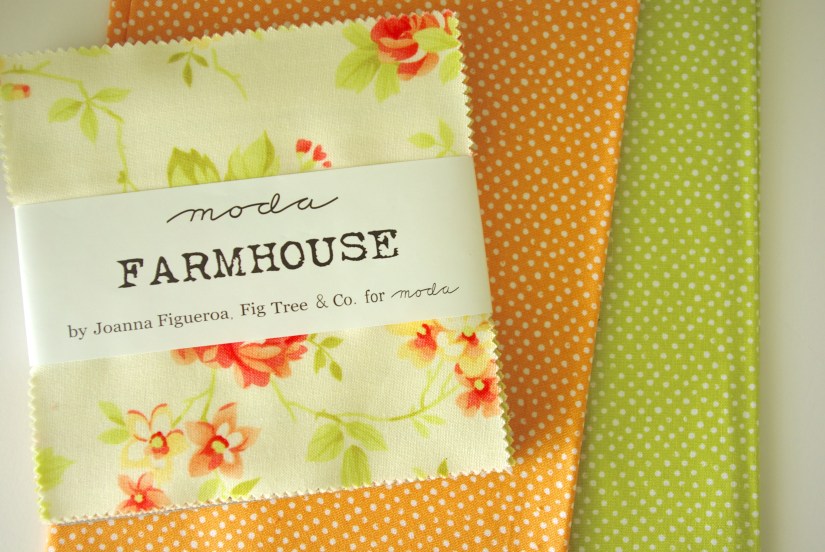
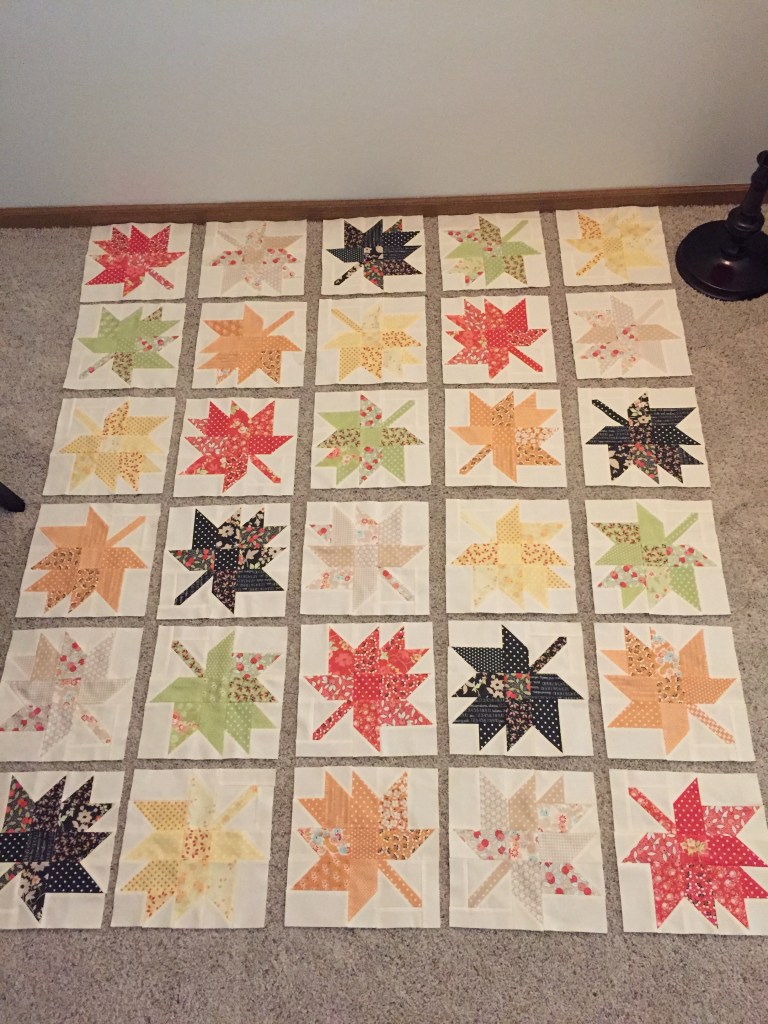
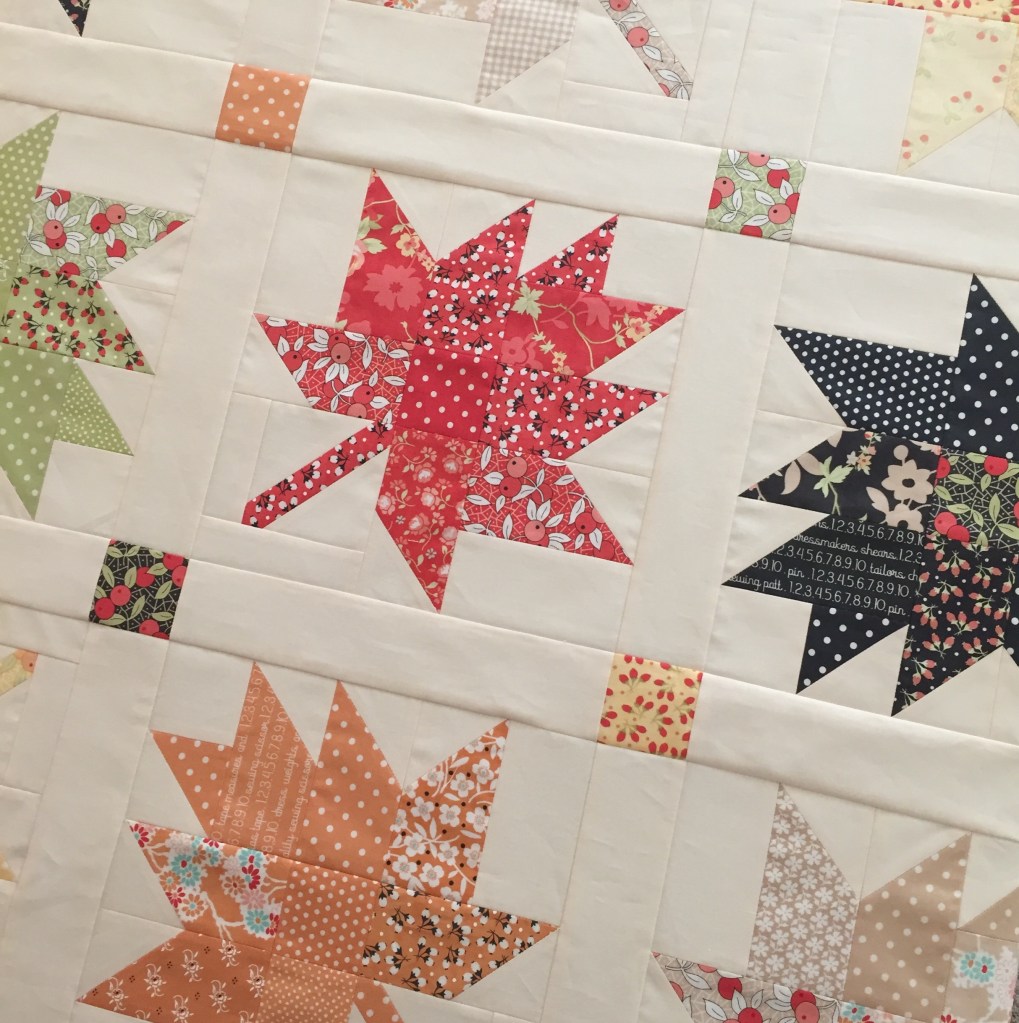
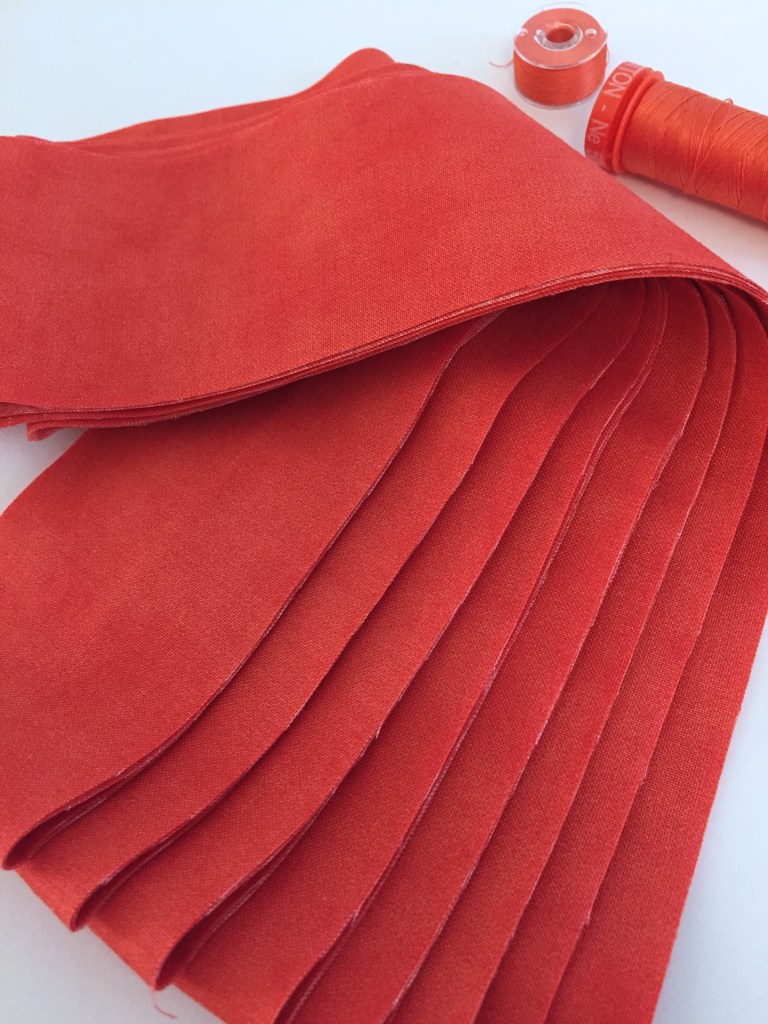
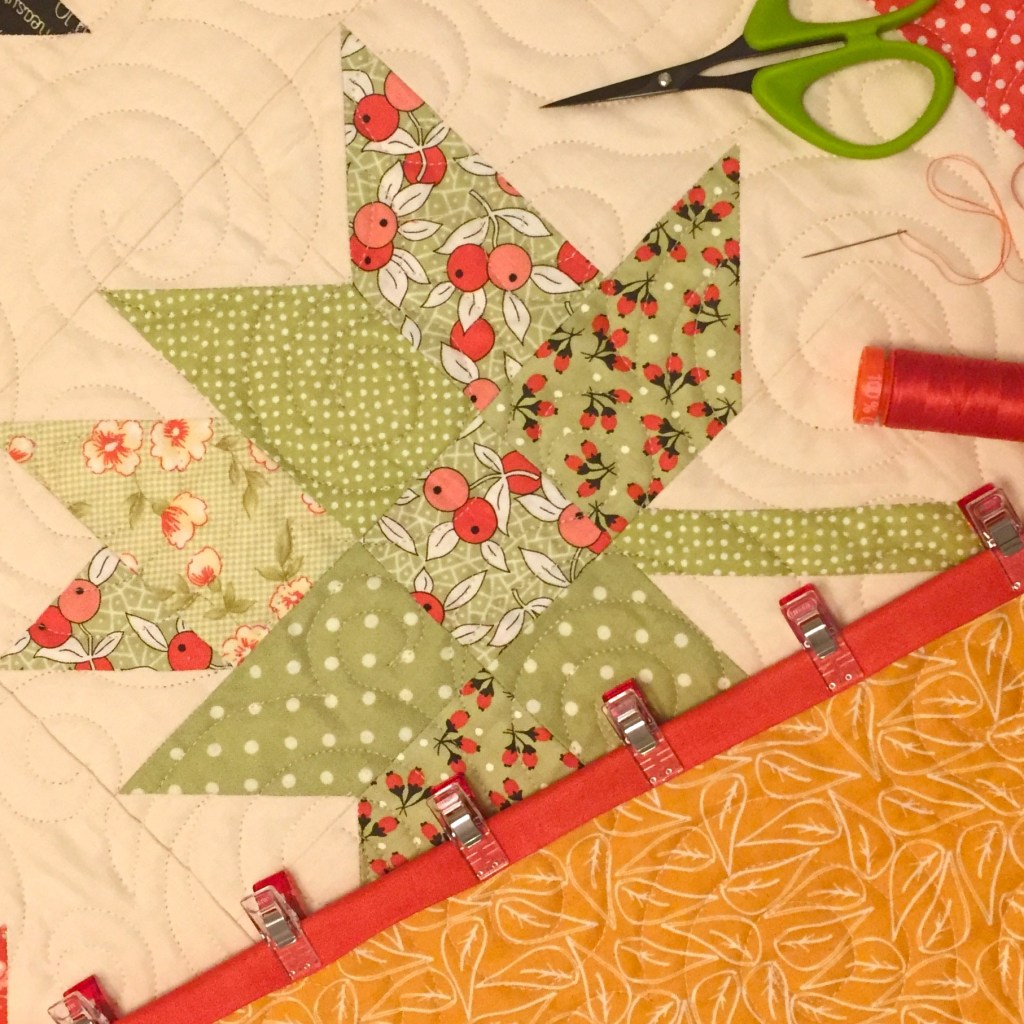
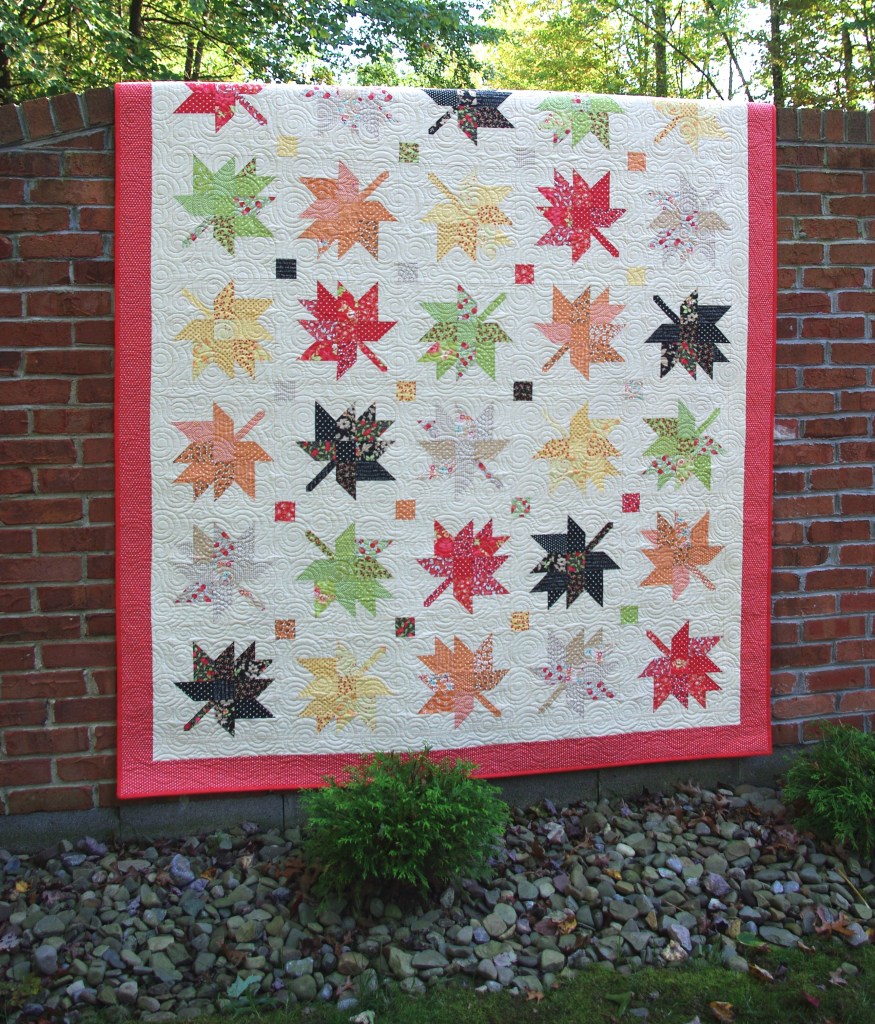
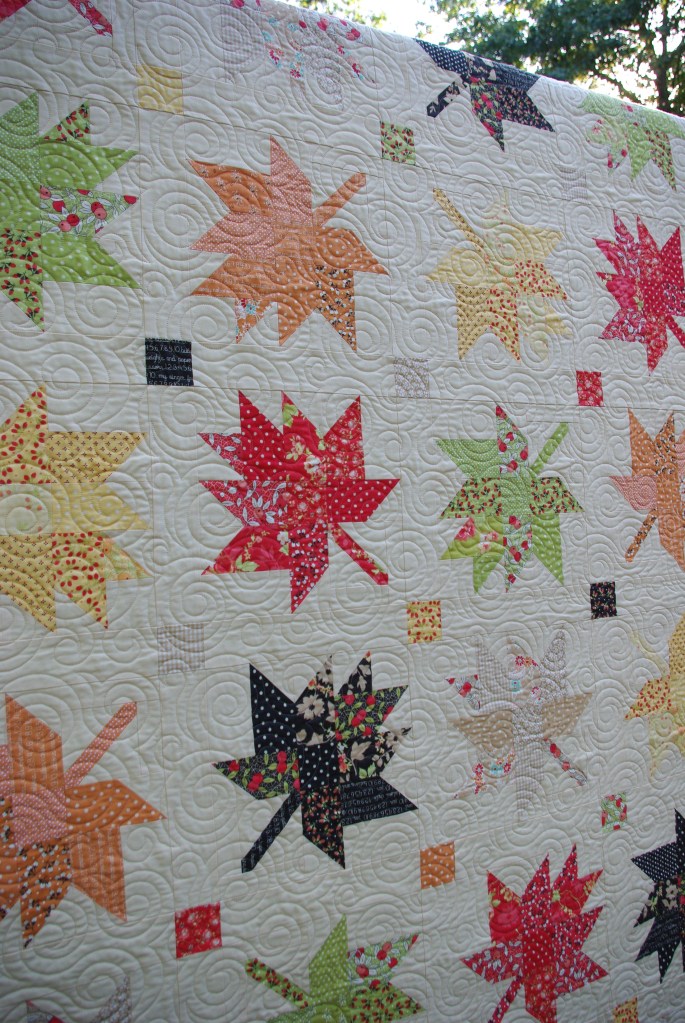
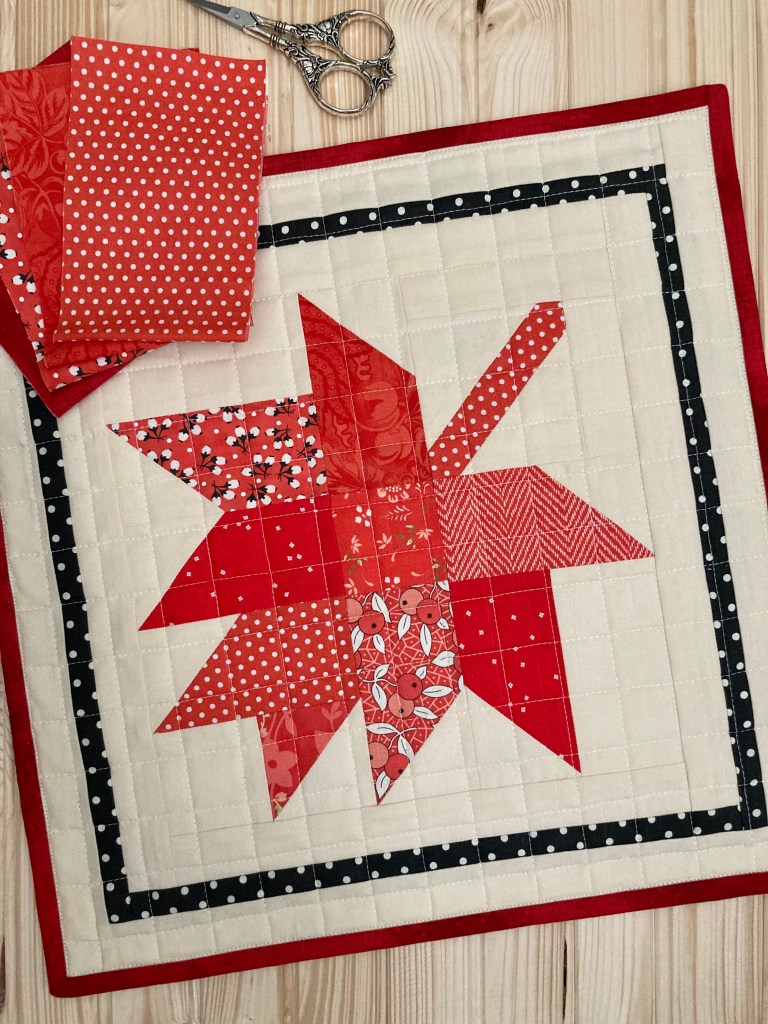
If you’re looking to bring autumnal colors indoors, this Maple leaf mini will do the trick! The pattern is by Cori Yoder. I used Moda fabrics throughout to give it a true-to-life fall vibe.

All five mini’s have corner pockets sewn onto the back to accommodate a dowel rod for easy hanging. All minis are handmade by me.

Choose a favorite for yourself, give one to a friend or loved one as they make great gifts!

fall decor, home decor, mini quilts, quilt blocks, quilting

Maple Leaf Minis

A couple of years ago I made a Maple Charm throw quilt by Coriander Quilts. It’s a definite all-time favorite and I bring it out every autumn (for display only). 🙂

But lately, for some reason, I’ve really slowed down on making larger size quilts and I’ve been focusing on making minis or other small sewing projects instead. Hopefully I’ve just misplaced my quilt-making motivation for a while and it’ll show up soon. 😉

In the meantime, I wanted something more than just the quilt to decorate with so I decided to make minis using just one block. I chose three traditional autumn colors for the leaves: orange, yellow and red. Some fabrics were used in the quilt, others I’ve accumulated recently.

Picking out the fabric is half the fun, isn’t it? So, once my fabric choices were decided, I made one block out of each color. For the background I used Moda’s Cream Solid, the same fabric as in the full size quilt.

Since I wanted the minis a bit bigger than the block, I added a finished 1/2″ inner border using dark brown fabric to frame the leaf in. I then added a finished 1″ outer background fabric border to make it complete. The minis finish at 15″ x 15″.

I quilted the orange and yellow minis with a diagonal serpentine stitch to give a falling/windy effect which I thought worked out rather nicely.

I quilted the red mini in a 1″ square grid, just for something different than the other two.

I also added a corner hanging sleeve in all four corners—that way I can orient the mini any way I want. This hanging method is so easy! If you’re not familiar with it, I have a Corner Hanging Sleeve Tutorial on my website if you want to give it a try.

Overall, these were a really fun project and added great color and variety to my autumn décor. They also would make nice table setting minis for your holiday displays…another reason to make a few.

Happy Thanksgiving!

fall decor, halloween, modern quilts, quilt blocks, quilting, quilts

A Ghost Quilt

When this quilt pattern came out 4 years ago (The Ghost Quilt by Pen + Paper Patterns) I knew my daughter would ask me to make her one. What I didn’t anticipate was that it’d take that long for me to actually do it. 🙂

Once fabrics were decided upon, ordered and received, from start to finish it took me a couple of months, mainly because I worked on other things in between and those cute little ghosts could be a challenge to line up!

The quilt itself requires 25 ghost blocks, but I decided to go through my gray fabric and having enough, I made 4 extra blocks, added a small border and made them into minis to give as gifts.

…I did keep one for myself though. 😉

For the throw size quilt fabrics, I used Kona Solid Gotham Gray for the background and Kona Solid Crocus for the binding which looks great paired together and they’re definitely in the spirit of Halloween. For the minis, I used Kona’s Gotham Gray, Coal and Metal for the backgrounds and School Bus for bindings.

For quilting, I ran a vertical serpentine stitch about 1 1/2″ apart. You can see how it gives the quilt movement and a bit of a spooky vibe.

The backing is a fun black and white asterisk print that worked perfectly because the asterisks kind of look like mini spider webs.

I think this pattern is one of the cutest ones out there. And it’s a fun make too. I’m glad I finally got around to seeing this project through even if it was on my list for a really, really long time.

Happy Halloween!

Christmas, fall decor, home decor, how to, mini quilts, patterns, PDF pattern, quilt blocks, quilting, sewing, tutorials, Uncategorized

2019 Project Recap

Every year I like to write a blog post recapping all the projects I’ve made. I mainly do this to have a quick reference should I ever need to know when something in particular was made. And it’s fun to see how I’ve spent my time sewing. So here goes…

First up is my Petite Hearts quilt that I made on a whim. It has a funny story to go along with it…I thought I was onto an original pattern, but while looking for a name I found it had been published before as baby quilt. Still a top favorite.

I started making a Swoon quilt by Thimble Blossoms in the spring and got it back from longarming late September. I haven’t written a blog post on it yet because I haven’t gotten any good photos, so these two blocks will have to do for now. 🙂

I started my Maple Charm quilt before we moved in April and had it finished just in time for fall. I enjoyed it the entire season.

This Five Squared throw quilt is a Monday Morning Designs pattern (available for purchase in my Etsy shop; see sidebar). I made it out of fabrics I had on hand and I love that all the colors of the rainbow are included.

Also while trying to use what I had on hand, I made a Four Patch Charm quilt. I’m hoping somebody has a special event this year so I can gift it.

Lastly, I made my son a Picnic Play quilt designed by Michelle Bartholomew. While this quilt looks innocent, it was a tough one! It was a huge project, too. My son enjoys finally having a quilt large enough to use on his queen size bed.

I made quite a few mini quilts, too. This one was completed early 2019. I’ve also written a tutorial on how to make a Scrappy Heart mini. It’s a fun and quick one to make.

What can I say about this cute crab pattern by Ellis and Higgs? The big crab was a gift for my daughter, the other one is mine.

This Radiant mini is also a Monday Morning Designs. I was fortunate to have it featured in the July/August edition of Quiltmaker. It surely brightens up my space! I plan to release the pattern this summer.

I made quite a few Little Quilted Star ornaments for gifts for Christmas. Very festive.

My pattern Wee Three Trees became available for purchase in time for the holiday sewing rush. I made two, one for myself and one as a gift for my niece.

Here’s the last of my projects. I made the microwave bowl cozy for myself as a holiday bowl for pine cones. The little holders are for gift cards; gifted as party favors, and the bottom photo shows my process on a mini Christmas tree skirt.

These pillows were also gifts…

And a pillow case for my bird-loving husband.

Lastly, towels with cute toppers made for my mom. You can download my free PDF tutorial How to Make a Hanging Kitchen Towel. It’s easy-to-follow, complete with photos, a template and lots of tips!

Well, that sums up last year, and I’m well into making for 2020!

fall decor, modern quilts, quilt blocks, quilting, quilts, Uncategorized

My Maple Charm Quilt

My Maple Charm quilt is finished just in time for fall, and it’s been a long time coming since I cut fabric in March 2018 and made blocks in February 2019. Shortly after that, we sold our house and moved 1,200 north where everything was nicely packed away for another time. In late summer I put the quilt top together hoping to have it done in October—mission accomplished!

Most of my quilt is made from Moda’s Chestnut Street collection by Fig Tree and Co., a bundle I purchased in October 2017!

There’s also some Farmhouse fabric included as I had a charm pack from a few years ago (back when fabric stores would sell them as a daily deal for $2, remember that?!?) I only used natural leaf colors from the bundle and I added some Dear Stella Mini Dot fabric as needed.

I chose Kona Cotton Cream for the background to give the quilt a nice, warm feeling. And of course I love to save on cutting time by using my Stripology ruler.

Since selling my house, I no longer have a design wall so I have to use the floor for laying out my quilt tops. 😦

Because I had all the blocks made and the sashing strips cut before moving, sewing together the quilt top went pretty fast.

But, it wasn’t without issues…when I set out to make this quilt I didn’t plan on a border. I don’t really like borders on quilts; I just don’t feel they’re necessary (even if they’re written in the pattern). As an exception, I thought this particular quilt would look better with one, so I decided to add it. Since I didn’t purchase border fabric in the beginning, and so much time had passed since the fabric line came out, finding something I liked and available was quite a challenge! I ended up going with a red polka dot border and a solid red binding, both from Fig Tree’s Farmhouse II collection.

For the back, I used a leaf print in mustard from Moda’s Valley collection by A Quilting Life. I bought yardage on sale ages ago when I planned to make this quilt. I think it’s a perfect fit, I just love that fabric!

And after many, many months—my finished quilt!

Pattern by Coriander Quilts – Quilted in Whirlpool

I’m really happy with this fall quilt and plan to display it on my quilt ladder through Thanksgiving. After all that time it is finally finished! 🙂

fall decor, halloween, mini quilts, quilting, quilts, tutorials, Uncategorized

Pumpkin & Stars Mini Quilt Tutorial

It’s not too late to make a Halloween themed project! This one came to be because I wanted to combine a cute pumpkin with colorful friendship stars (making it the third project this year where I’ve incorporated these stars)…anyway, my latest mini quilt, Pumpkin & Stars, goes together relatively quick and will definitely show off your festive spirit! The pumpkin in this project is pretty basic, made with scrappy strips; I’m sure you’ve seen it used in several other projects. For mine, all I did was make the easy strippy pumpkin and add stars all the way around, in the traditional black and orange Halloween colors.

IMGP8955.JPG

After finishing, I thought another variation could be to give it a general autumnal look, leaning away from Halloween by replacing the black with gold, green, tan or taupe…any fall-like colors would work well. It also finishes to a toss pillow size.

This was a really fun project, I recommend it! If you’d like to give it a try, here’s what to do:

PUMPKIN & STARS MINI QUILT

MATERIALS
Variety of 2″ strips of orange and black fabric
(1) 1 ½” x 1 ½” square of brown fabric
(1) 1 ½” x 3″ rectangle of green fabric
(1) Fat quarter for background
(1) Fat quarter for backing
(1) Fat quarter for binding
20″ x 20″ quilt batting

GENERAL GUIDELINES
RST = Right Sides Together
HST = Half Square Triangle
WOF = Width Of Fabric
Use ¼” seam allowance throughout.
Press seams open unless otherwise indicated.

To make PUMPKIN:
Cut print fabric:
(1) 1 ½” x 1 ½” brown square
(1) 1 ½” x 3″ green rectangle
(6) 1 ½” x 5 ½” orange strips

Cut background fabric:
(6) 1 ½” x 1 ½” squares
(1) 1 ½” x 3″ rectangle
(2) 1 ½” x 6 ½” rectangles
(2) 1 ½” x 8 ½” rectangles

RST, sew (6) orange strips together lengthwise. Press.

Place (1) background square on each corner of the strip unit. Sew on diagonal line. Trim ¼” from sewn line. Press toward corner. Finished unit illustrated below.

Screen Shot 2018-10-24 at 8.56.35 PM.png

RST, place (2) background squares on the green strip so that the diagonal lines start on the lower left and end on the upper right. Sew on diagonal lines. Trim ¼” from sewn lines. Press toward corners. Finished unit illustrated below.

Screen Shot 2018-10-24 at 7.57.46 PM

To make STEM/LEAF UNIT:

Place the 1 ½” x 3″ background strip on the left, the brown square in the middle and the green leaf unit on the right. Sew the background strip onto the left edge of the brown square and the leaf unit onto the right edge. Press.

Sew the stem/leaf unit to the top of the pumpkin strip set. Press.

Your finished pumpkin block will look like this:

Screen Shot 2018-10-24 at 9.16.06 PM

To attach BORDERS:
Sew (1) 1 ½” x 6 ½” background strip to each edge of the pumpkin block. Press toward the border strips.

Sew (1) 1 ½” x 8 ½” background strip to the top and bottom edge of the pumpkin block. Press.

Unfinished size: 8 ½” x 8 ½”

To make FRIENDSHIP STAR:

Cut print fabric:
(1) 1 ½” x 1 ½” square
(2) 2″ x 2″ squares

Cut background fabric:
(4) 1 ½” x 1 ½” squares
(2) 2″ x 2″ squares

To make HSTs:
Draw a diagonal line on the wrong side of (2) background 2″ x 2″ squares. Place a marked square on a 2″ x 2″ print square. Sew ¼” from the drawn line on both sides. Cut on the drawn line, press open. Trim HSTs to 1 ½” square. One sewn unit makes 2 HSTs.

Place 1 ½” HSTs and 1 ½” background squares in order as shown below. Sew into rows. Press. Sew rows together, as illustrated.

Screen Shot 2018-10-24 at 7.54.00 PM

Make (4) orange friendship stars and (4) black friendship stars.

Unfinished block size: 3 ½” x 3 ½”

To make the SIDES:
Cut background fabric:
(4) 3″ x 3 ½” squares

RST, sew (1) 3″ x 3 ½” square to the top and bottom edge of a black friendship star, as illustrated below. Make 2.

Screen Shot 2018-10-24 at 10.20.08 PM

To attach SIDES:
Fold the pumpkin unit in half lengthwise and place a mark in the center along both edges. Repeat for both friendship star side unit inside edges. Match up a pumpkin center/side unit mark and pin on a side unit, RST. Sew. Press sides toward the pumpkin unit border. Repeat for opposite side. Trim if necessary.

To make TOP/BOTTOM ROWS:
Cut background fabric:
(4) 3″ x 3 ½” squares**

**NOTE: The background fabric cut at 3″ in width may vary due to differences in ¼” seam allowances. For example, mine needed to be a bit less than 3″ wide—more like 2 ⅞”—as my seam allowances always measure slightly larger than ¼”. You may have to adjust accordingly.

RST, sew (1) 3″ x 3 ½” square to each side edge of (1) black friendship star. Sew (1) orange friendship star to each edge of the black friendship star/background square unit. Make 2.

Screen Shot 2018-10-24 at 10.40.18 PM

To attach TOP/BOTTOM ROWS:

Use the same method as ‘To attach SIDES’ above.

To make BINDING:
Cut (4) 2 ½” x WOF from fat quarter. Sew strips end-to-end, press in half. Attach binding using preferred method.

Lastly, sandwich backing sized 20″ x 20″, batting and quilt top, baste. Quilt as desired.

IMGP8956.JPG

Finished size: 14 ½” x 14 ½”, although mine measured 14 ¼” square!

I quilted mine with fun, wavy lines using Aurifil thread 2000, and I love it.

IMGP8958.JPG

I always make my mini quilts with sewn in corners on the back so I can hang them on my sewing room door, but I think this one would look great on a table, too. And I definitely will be quilting those wavy lines on an upcoming quilt…

I hope you enjoy making this project and Happy Halloween!