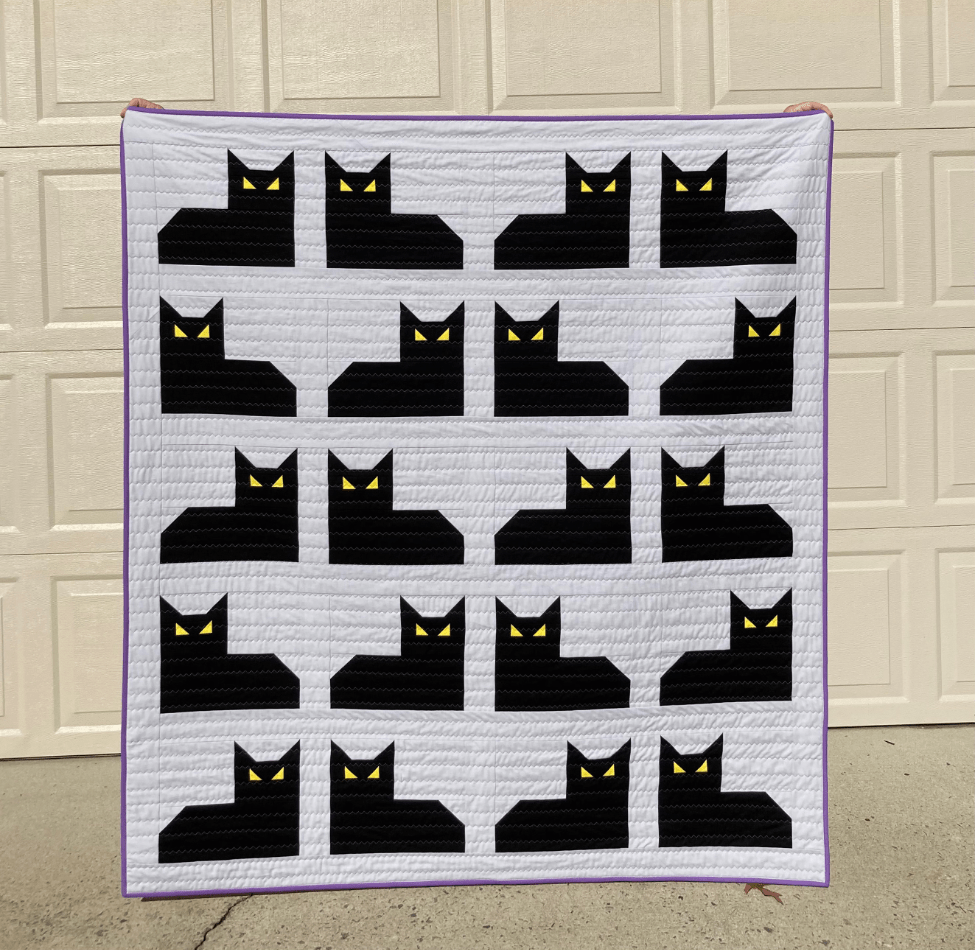
My last entry was about the release of my latest pattern, Spooky Kittens. Since this quilt has gotten quite a bit of interest, I decided to post a write-up with photos for a more in-depth look at my process.

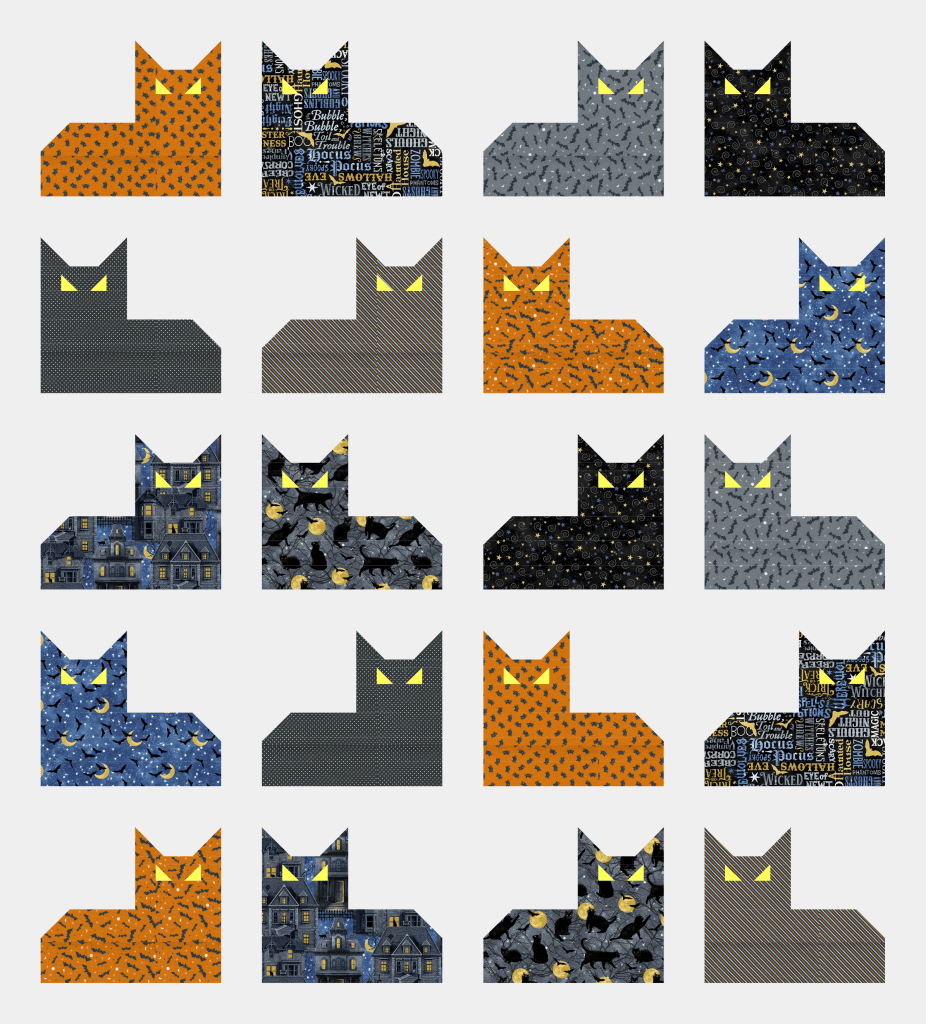
I’d like to start by mentioning that not only is this pattern beginner friendly, it sews together fast and instructions include 2 fabric choices, either fat quarters or yardage. And also for beginners, there are no half square triangles which can sometimes be a challenge!

To make my quilt, I used yardage since I had most of the solids I wanted to use on hand.

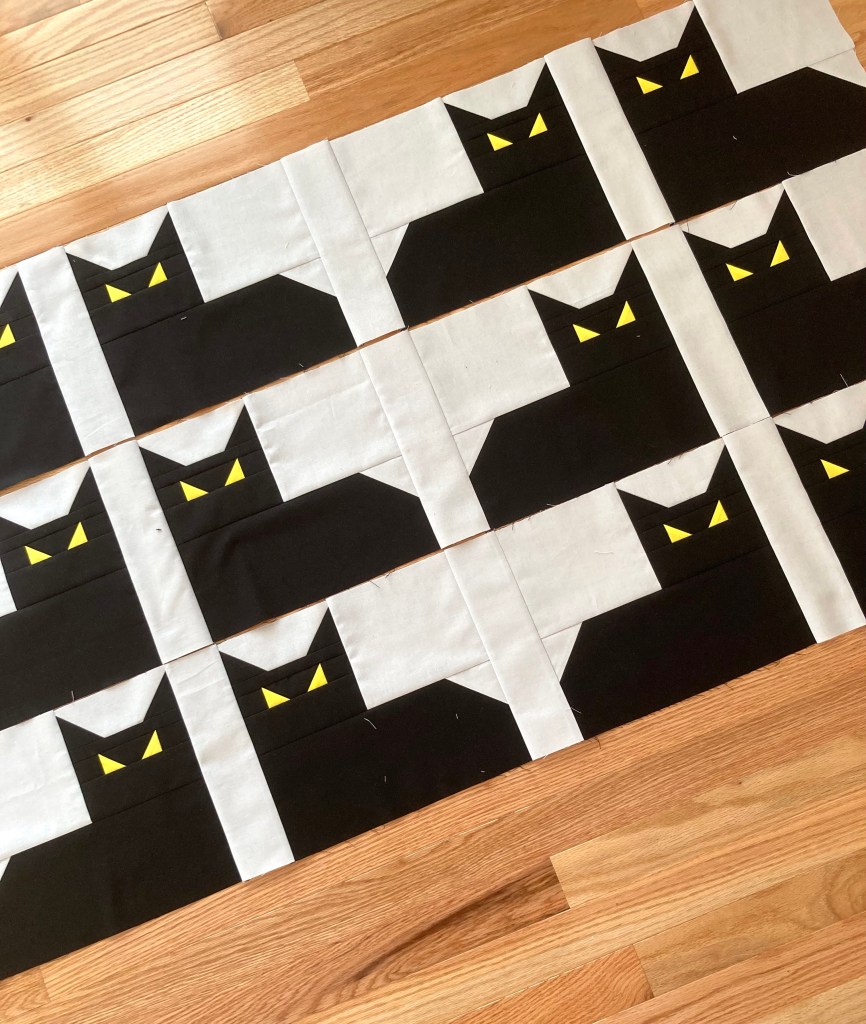
Once my colors were chosen, it was time to get started. In a nutshell, this pattern consists of making two mirrored kitten blocks, adding sashing then putting it all together. All testers agreed—it’s a quick make.
And here’s why…throughout the pattern there are several places where you can chain piece: when assembling the kitten heads and again when attaching sashing strips. It’s no secret that chain piecing is an excellent time-saver. 😉
You can also chain piece when attaching kitten heads to background pieces, as I did here…

And again when sewing the kittens blocks together making finishing blocks a breeze.

Once the blocks were sewn and my layout was complete, it was time to sew the blocks and vertical sashing strips into rows. At this point, everything was coming together as I envisioned so I was pretty happy about that. 🙂
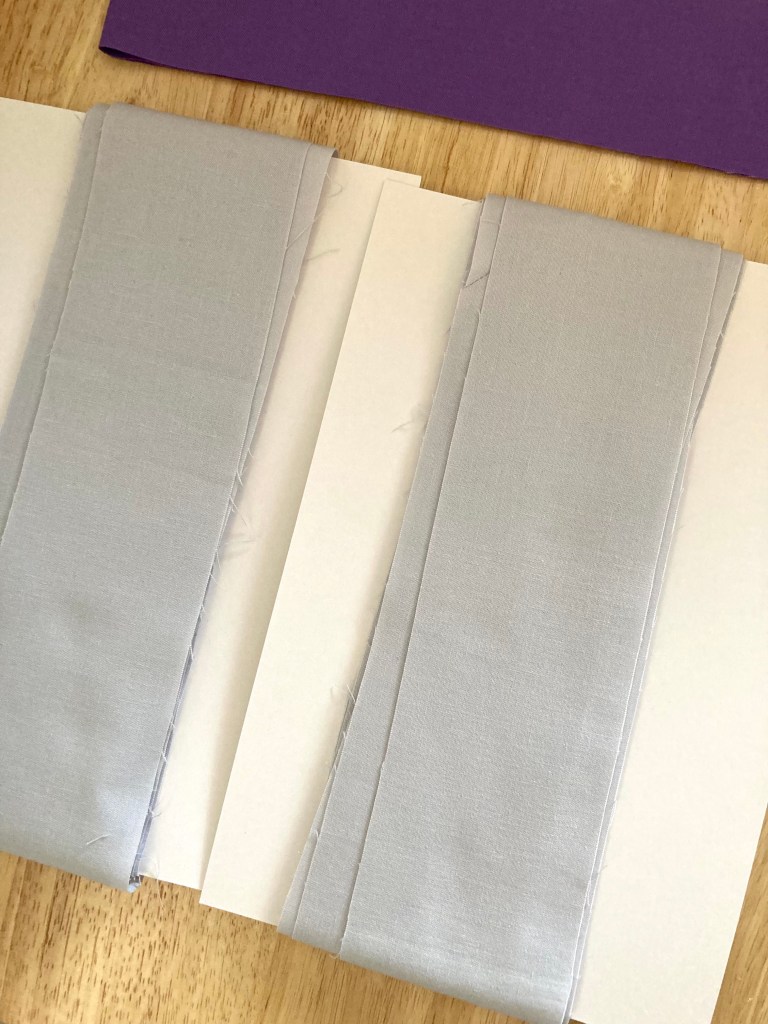
With rows completed, the last thing to do was attach the sashing. Here’s a tip for handling the sashing strips; once they’re sewn into long strips, wrap them around something sturdy so they will unfold nicely when you’re attaching them to rows.
I used comic book cardboard backing boards for wrapping and it worked great. (I happen to have a whole pack for wrapping and storing my solid fabrics). If you don’t have any on hand, cardboard or anything sturdy will work just fine.
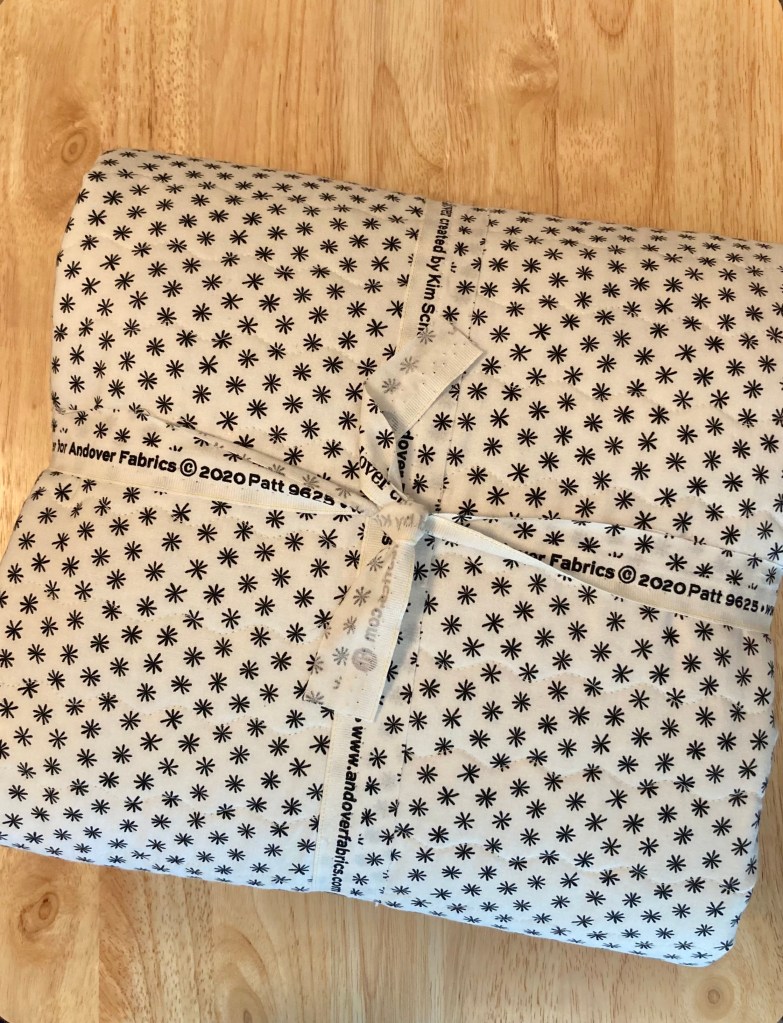
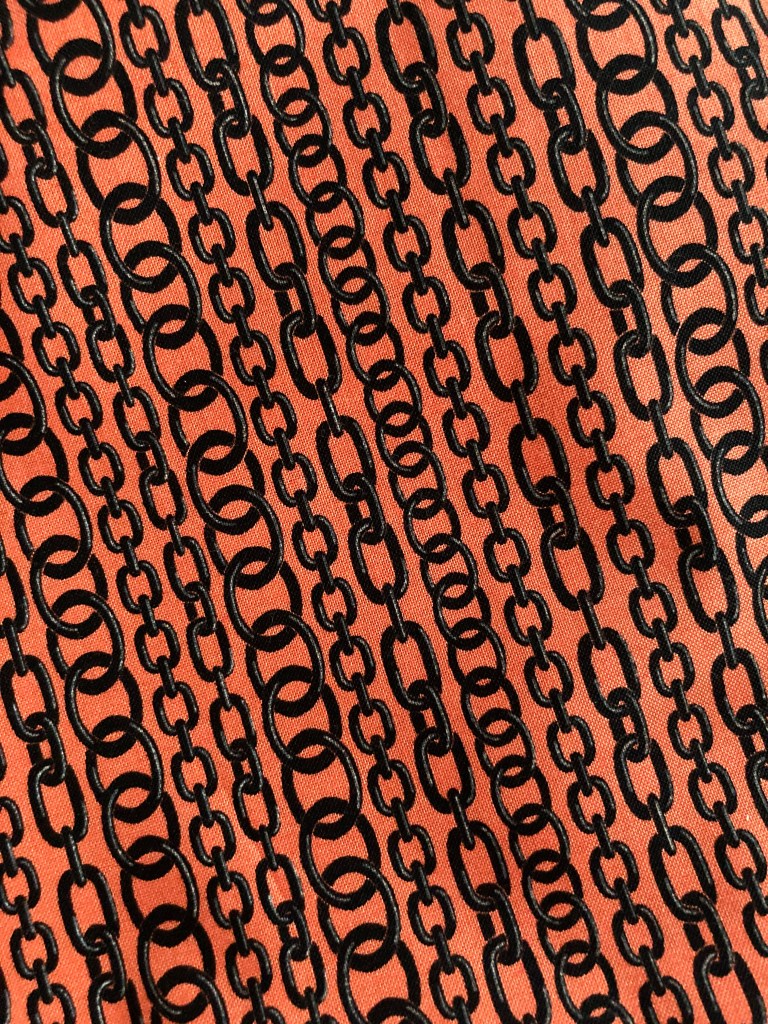
Once my quilt top was complete, I had to pause a while waiting for a fabric order. I wanted something Halloween themed for the backing and I found the perfect fabric. It’s from Free Spirit’s line Spell Bound and it features black chains on a festive orange background. It was the perfect compliment to the quilt front.
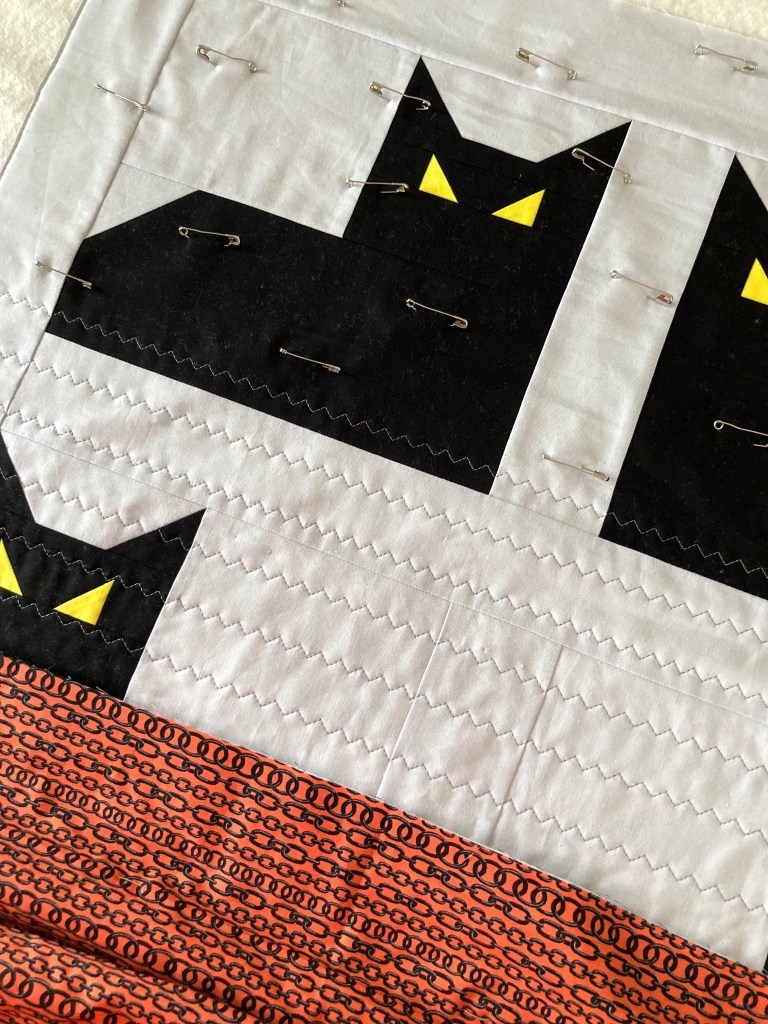
With my quilt top complete, my backing fabric cut, sewn and pressed, it was time to sandwich and pin baste my quilt. Not a favorite part of the process but I managed to get through it easily enough. 😉
After basting, I needed to decide on a quilting pattern. Since the kittens are shorter blocks, I thought the quilting would showcase best by running horizontally. And because the kittens are a bit ‘spooky’, I decided the quilting should give that sort of vibe, too. That said, I chose a three-stitch zigzag with the lines spaced 1 1/4″ apart.
I used medium gray Aurifil thread (2605), and was pleased with the results.
Since the binding is the finishing touch—I consider it ‘framing in’ the quilt, kind of like choosing the right frame for a piece of art—I wanted something to set it off.

I also wanted to use a common Halloween color so I went with purple.

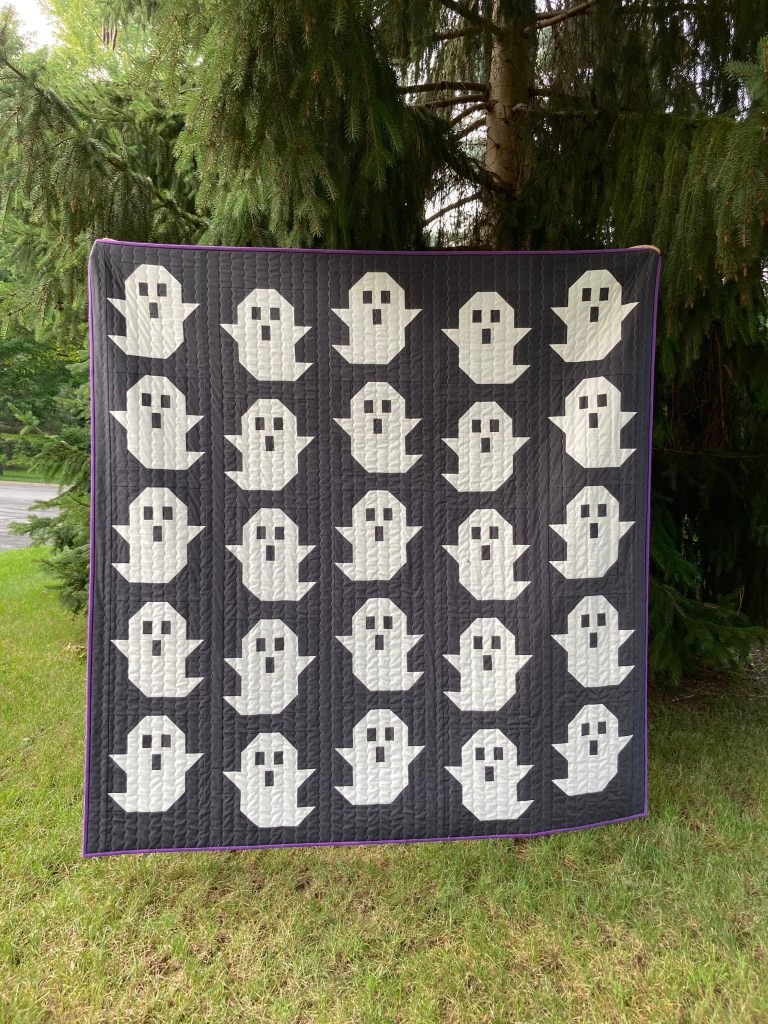
So here it is—my version of Spooky Kittens complete!
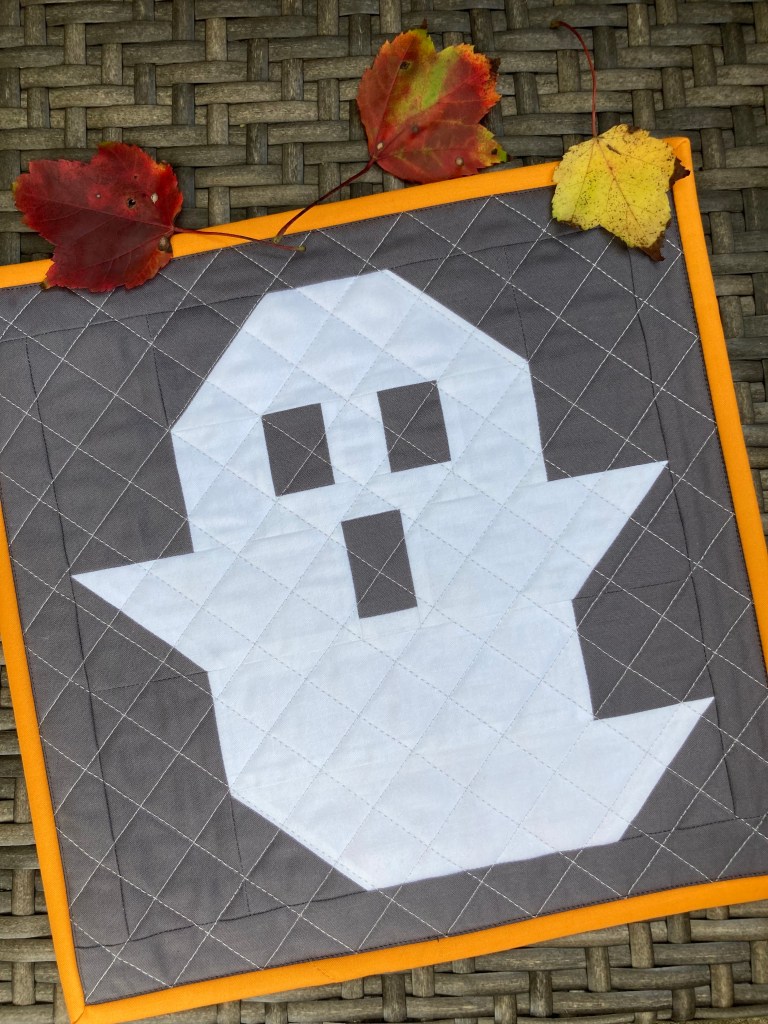
One last thing…I had my test block leftover so I decided to make it into a mini quilt. For this, I used the serpentine quilting motif sewn with a lighter gray thread. I also used Kiwi Kona cotton for the binding. It’ll make a great wall hanging in a small area.

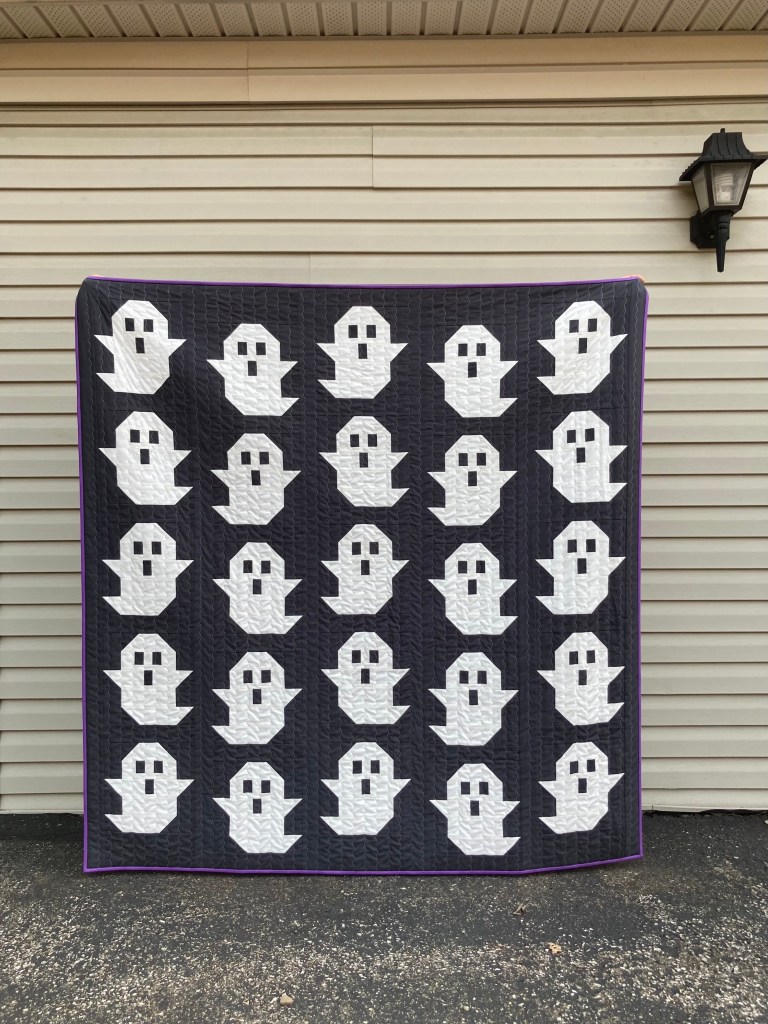
There you have it, easy and quick! And a great quilt to add to your Halloween decor. I hope you enjoy this fun Halloween quilt and you try one out for yourself.