If you’re thinking about taking up quilting as a new hobby but aren’t sure where to begin, I’ve got an easy, basic pattern that’s excellent for the complete beginner, the Checkered Baby Quilt. This quilt is a perfect starter for several reasons—it’s sewing simple squares together, there are no bias edges (when edges can stretch easily), seams nest (fit into one another stress-free) and it can be made with 5″ precuts. For the quilt top you need only two charm packs. And best of all, there’s no pattern to buy, just download my Checkered Baby Quilt tutorial. Easy, right?
I’ve made a few Checkered Baby Quilts and have given them as gifts and I’ve even made a couple for commission, so it’s definitely a classic that stays in style.
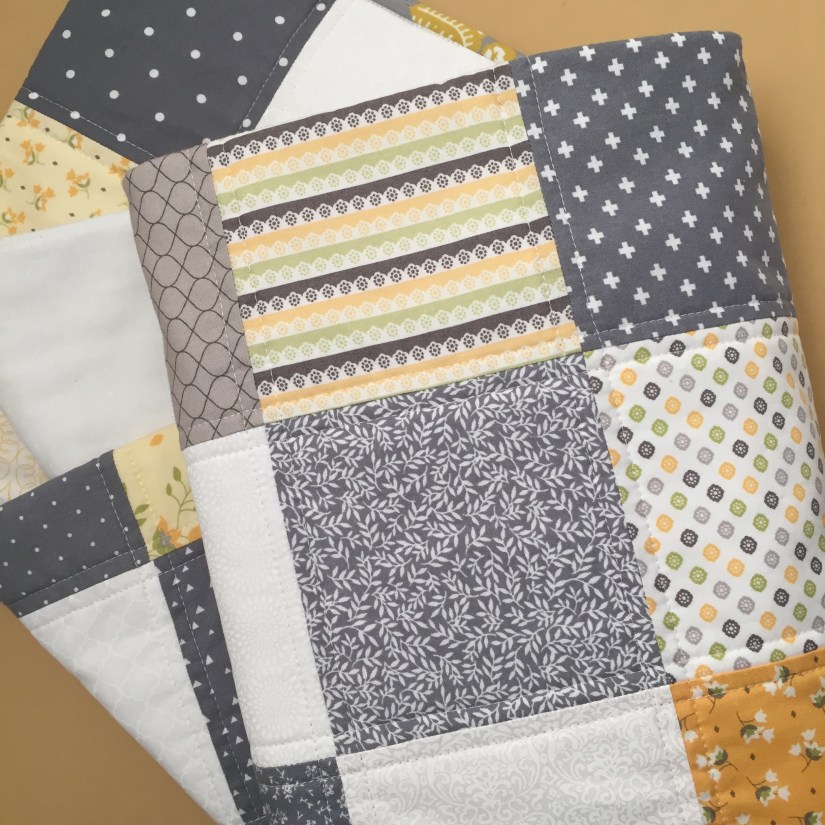
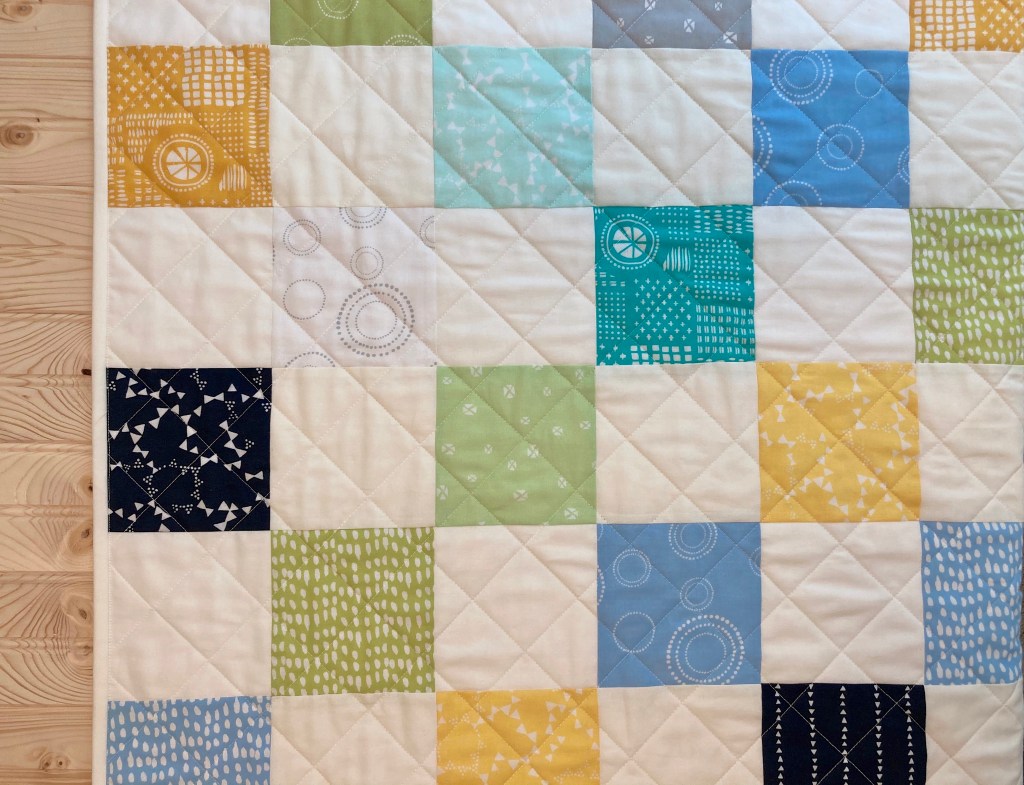
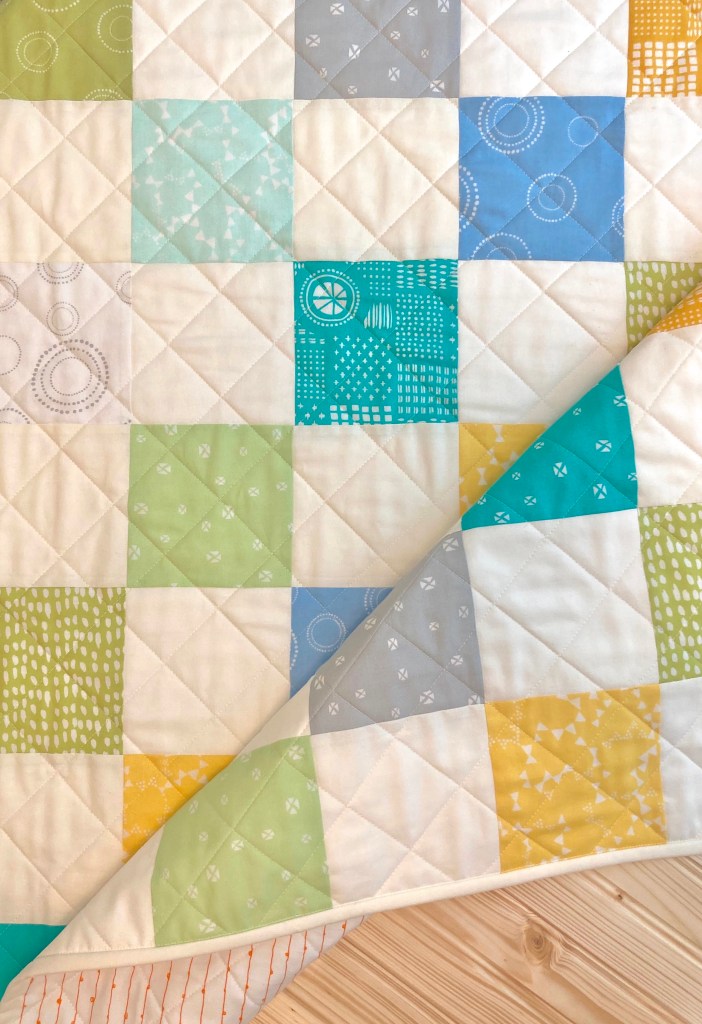
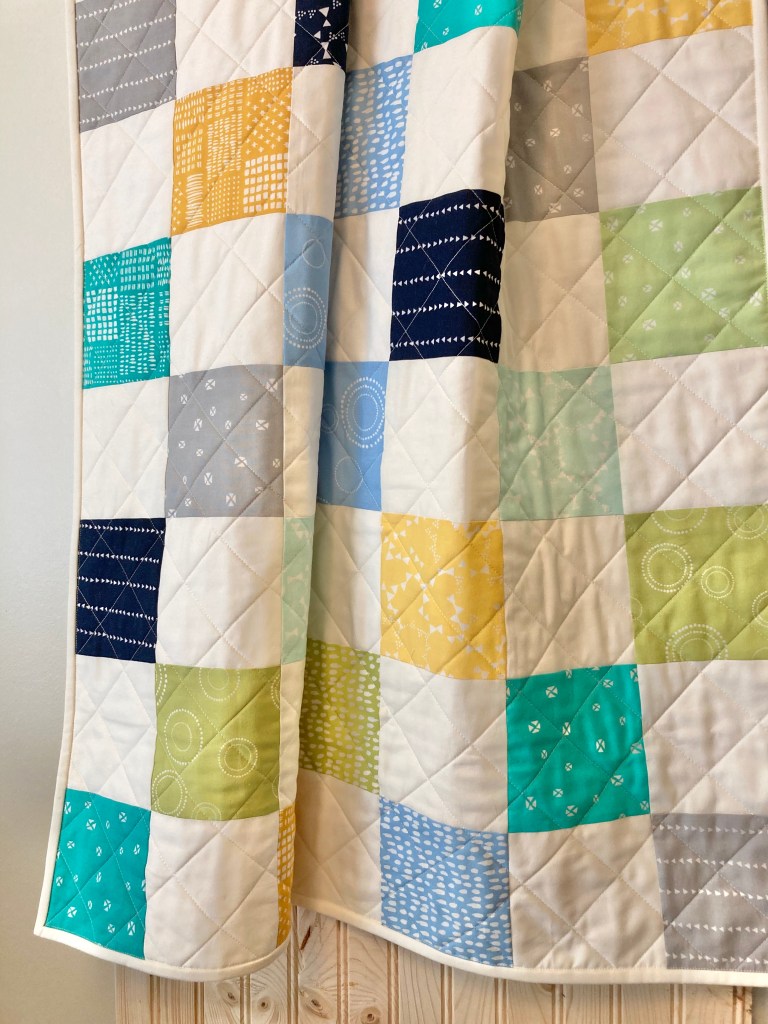
Checkered Baby Quilt made with stackers from Riley Blake’s Little Prince collectionCheckered Baby Quilt made with Moda’s Pepper and Flax and various other prints
The last one I made with Lily and Loom fabric from Craftsy (remember Craftsy?) and Kona Cotton Solid Snow. I chose crosshatch quilting at 2″ apart and a solid binding.
Other reasons why this is great for a new quilter is that it’s a nice sized project suitable for experimenting with color, fabric, thread, quilting designs, etc. All of those quilting elements are part of the learning process plus it’s a lot of fun. So if it’s time to get started, why not grab a couple of charm packs and try this one out?!?
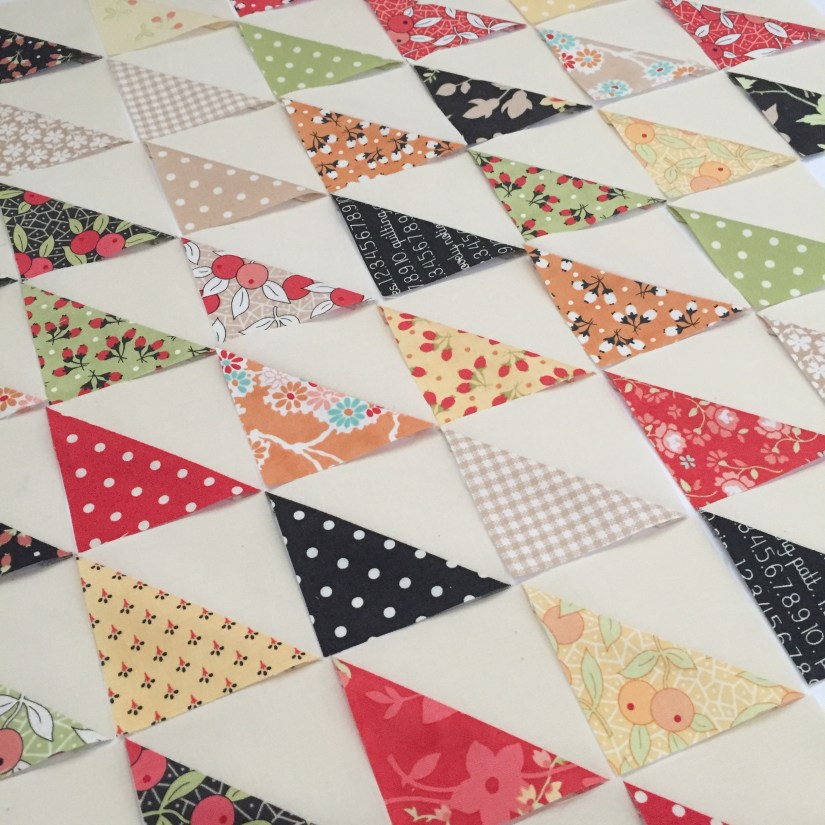
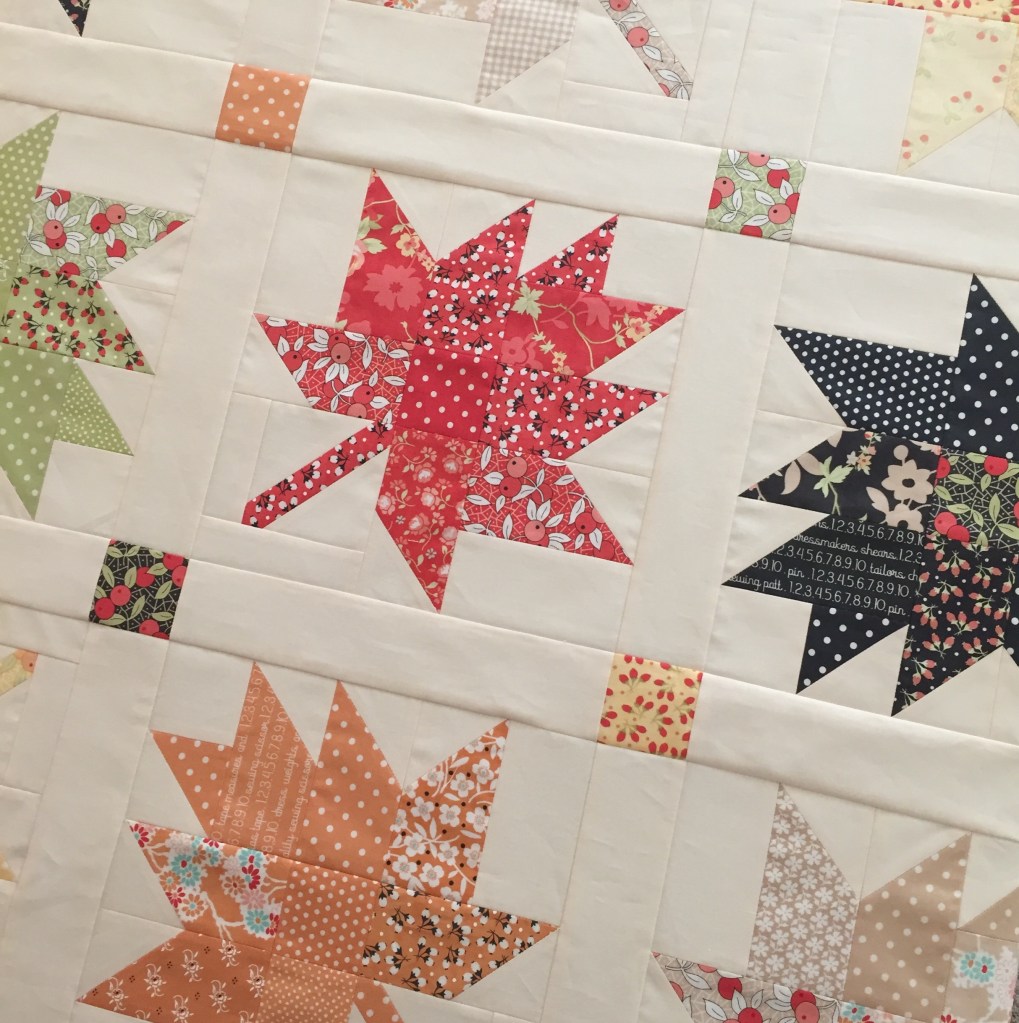
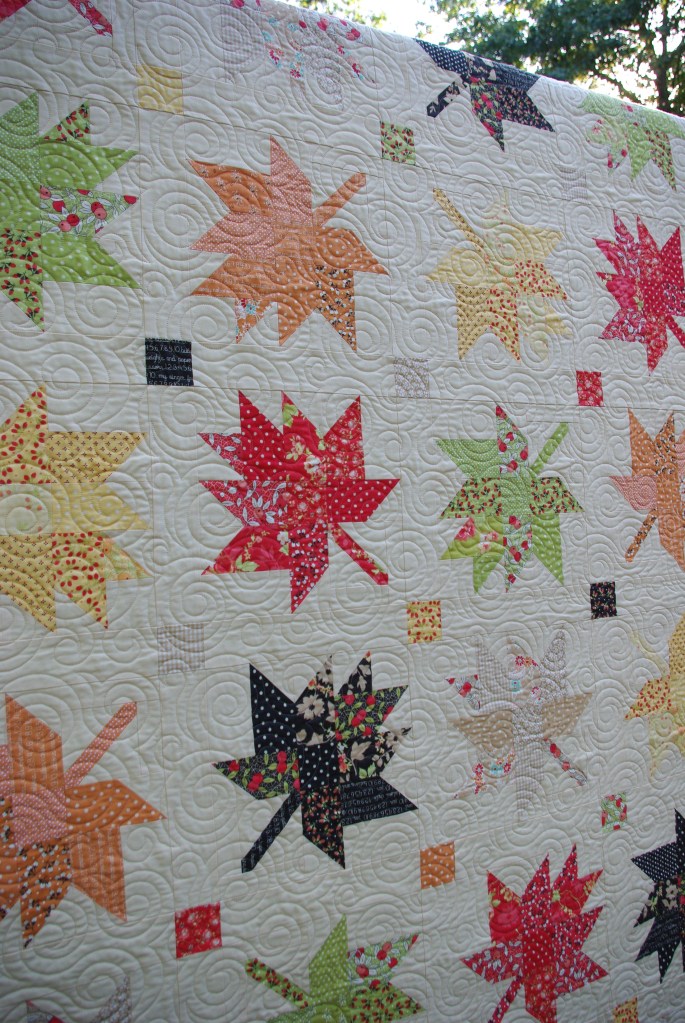
My Maple Charm quilt is finished just in time for fall, and it’s been a long time coming since I cut fabric in March 2018 and made blocks in February 2019. Shortly after that, we sold our house and moved 1,200 north where everything was nicely packed away for another time. In late summer I put the quilt top together hoping to have it done in October—mission accomplished!
Most of my quilt is made from Moda’s Chestnut Street collection by Fig Tree and Co., a bundle I purchased in October 2017!
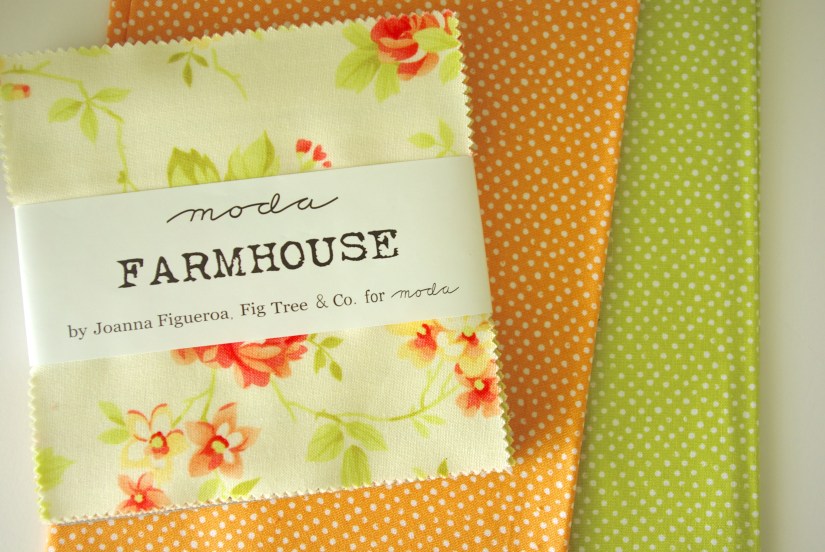
There’s also some Farmhouse fabric included as I had a charm pack from a few years ago (back when fabric stores would sell them as a daily deal for $2, remember that?!?) I only used natural leaf colors from the bundle and I added some Dear Stella Mini Dot fabric as needed.
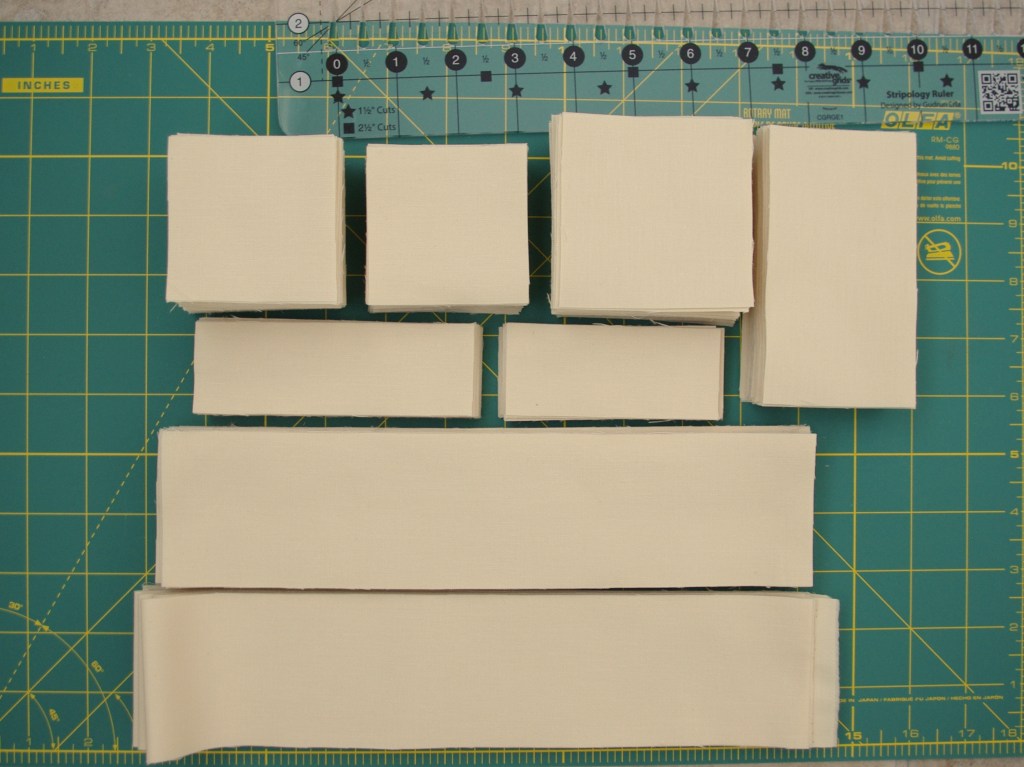
I chose Kona Cotton Cream for the background to give the quilt a nice, warm feeling. And of course I love to save on cutting time by using my Stripology ruler.
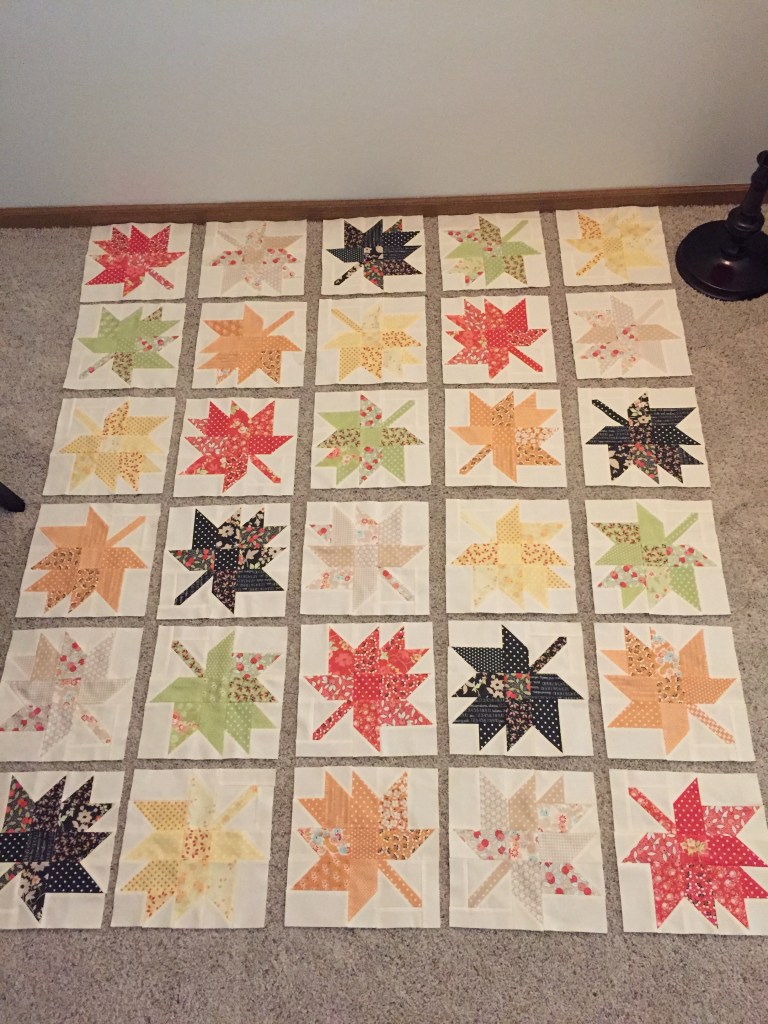
Since selling my house, I no longer have a design wall so I have to use the floor for laying out my quilt tops. 😦
Because I had all the blocks made and the sashing strips cut before moving, sewing together the quilt top went pretty fast.
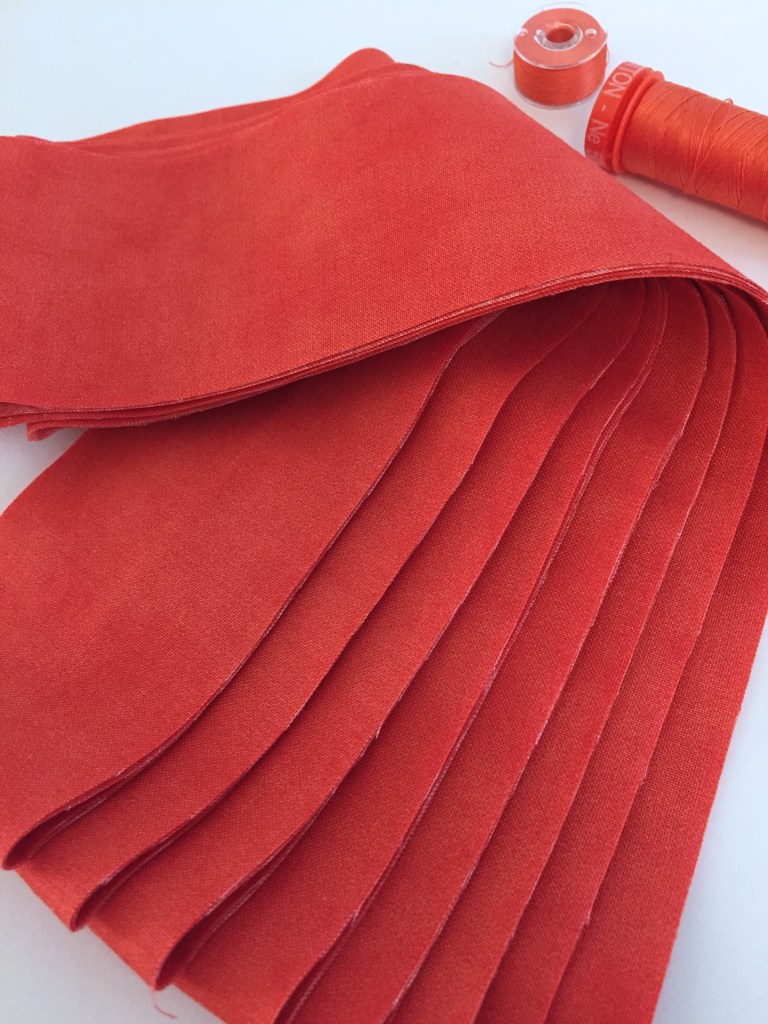
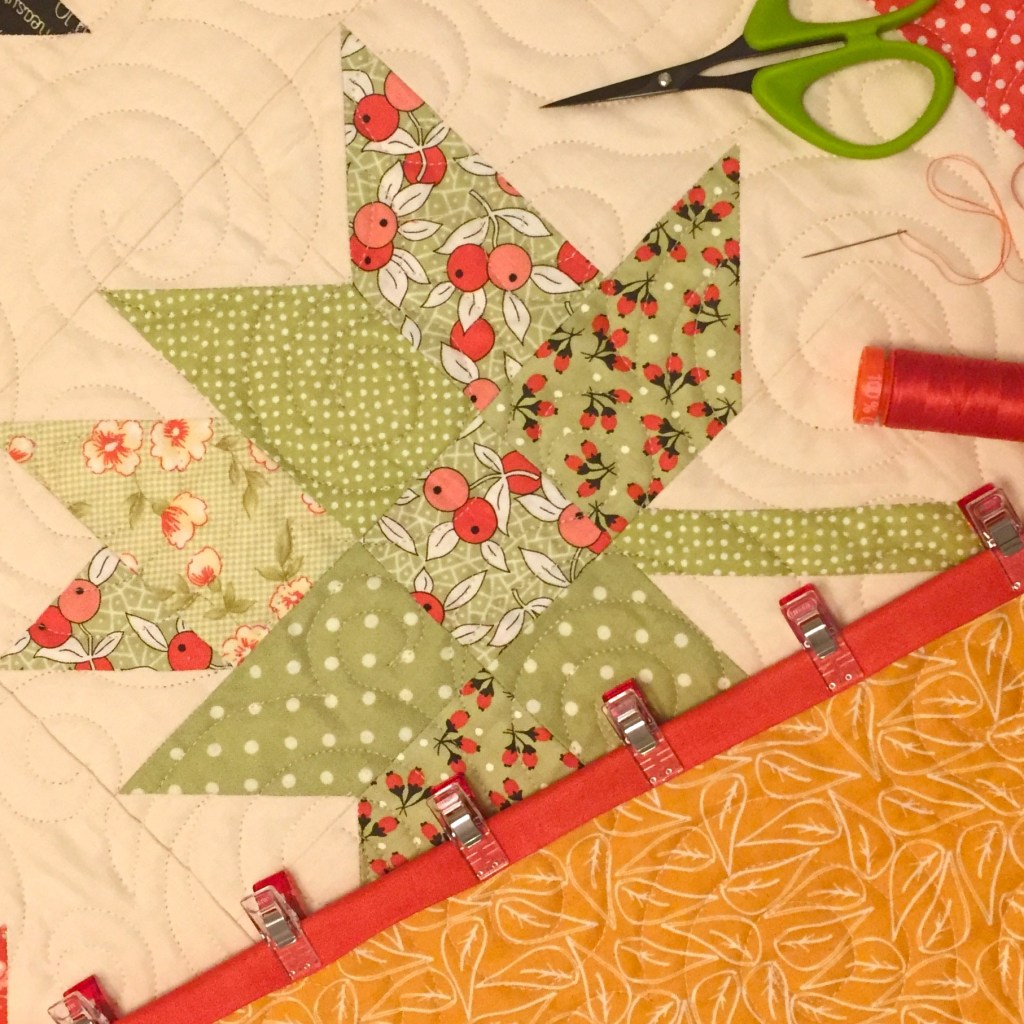
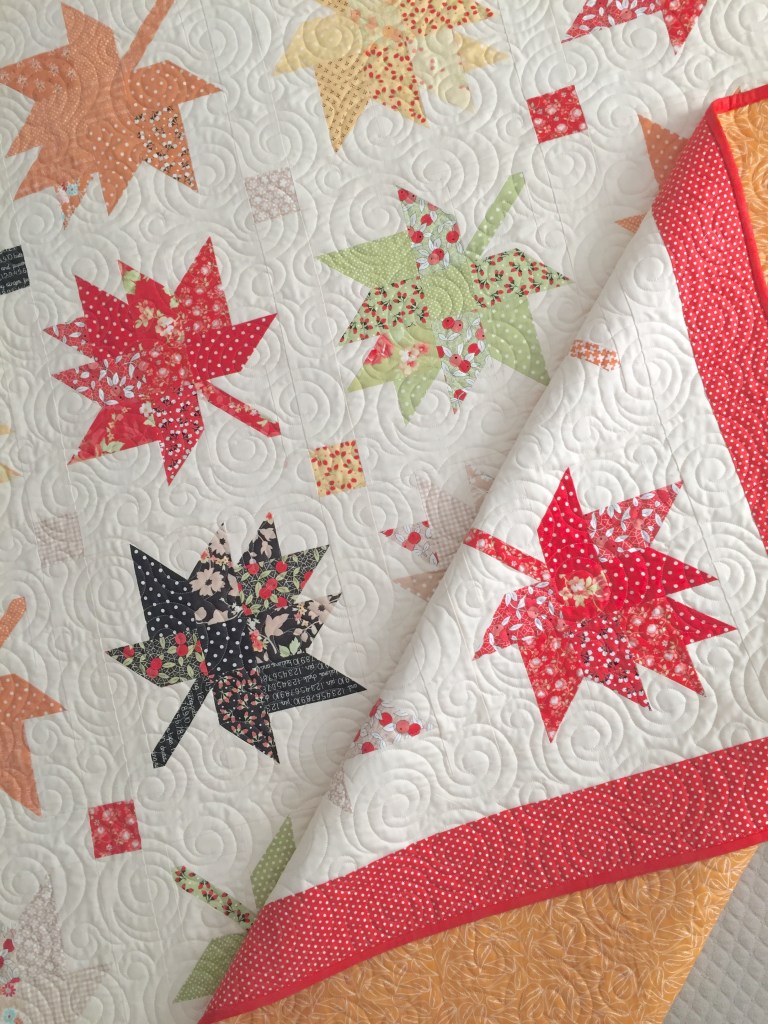
But, it wasn’t without issues…when I set out to make this quilt I didn’t plan on a border. I don’t really like borders on quilts; I just don’t feel they’re necessary (even if they’re written in the pattern). As an exception, I thought this particular quilt would look better with one, so I decided to add it. Since I didn’t purchase border fabric in the beginning, and so much time had passed since the fabric line came out, finding something I liked and available was quite a challenge! I ended up going with a red polka dot border and a solid red binding, both from Fig Tree’s Farmhouse II collection.
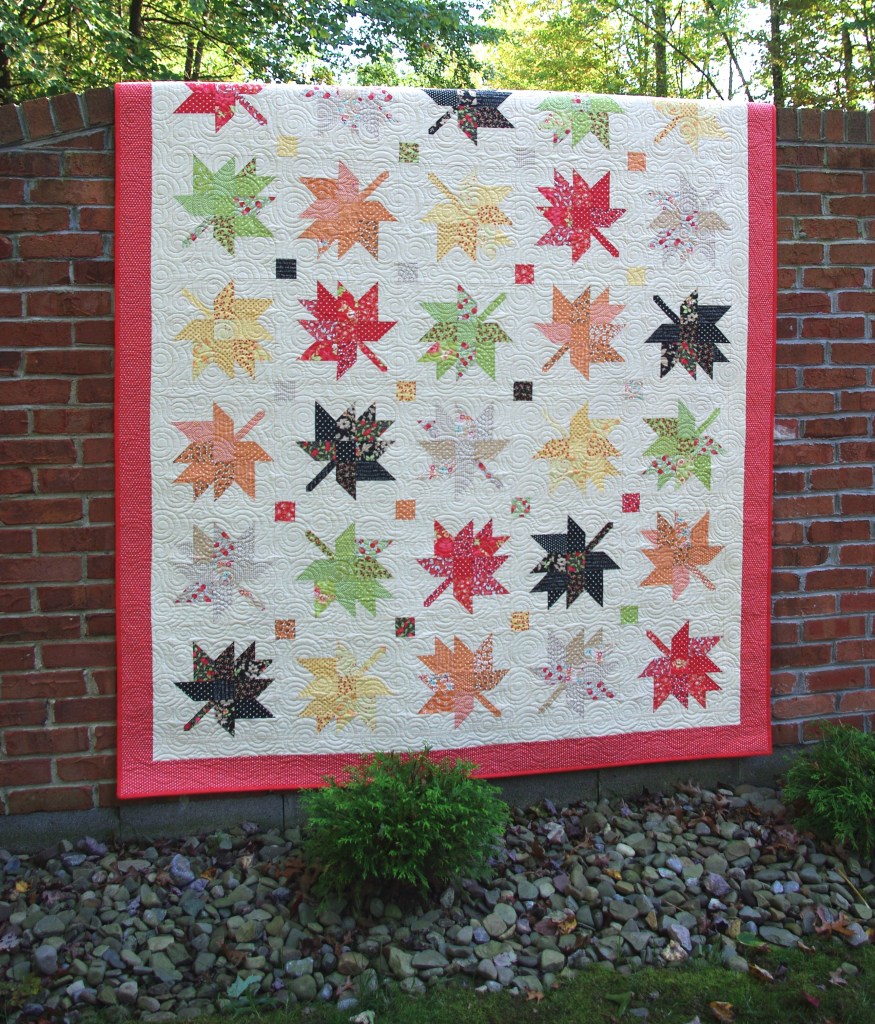
For the back, I used a leaf print in mustard from Moda’s Valley collection by A Quilting Life. I bought yardage on sale ages ago when I planned to make this quilt. I think it’s a perfect fit, I just love that fabric!
And after many, many months—my finished quilt!
Pattern by Coriander Quilts – Quilted in Whirlpool
I’m really happy with this fall quilt and plan to display it on my quilt ladder through Thanksgiving. After all that time it is finally finished! 🙂
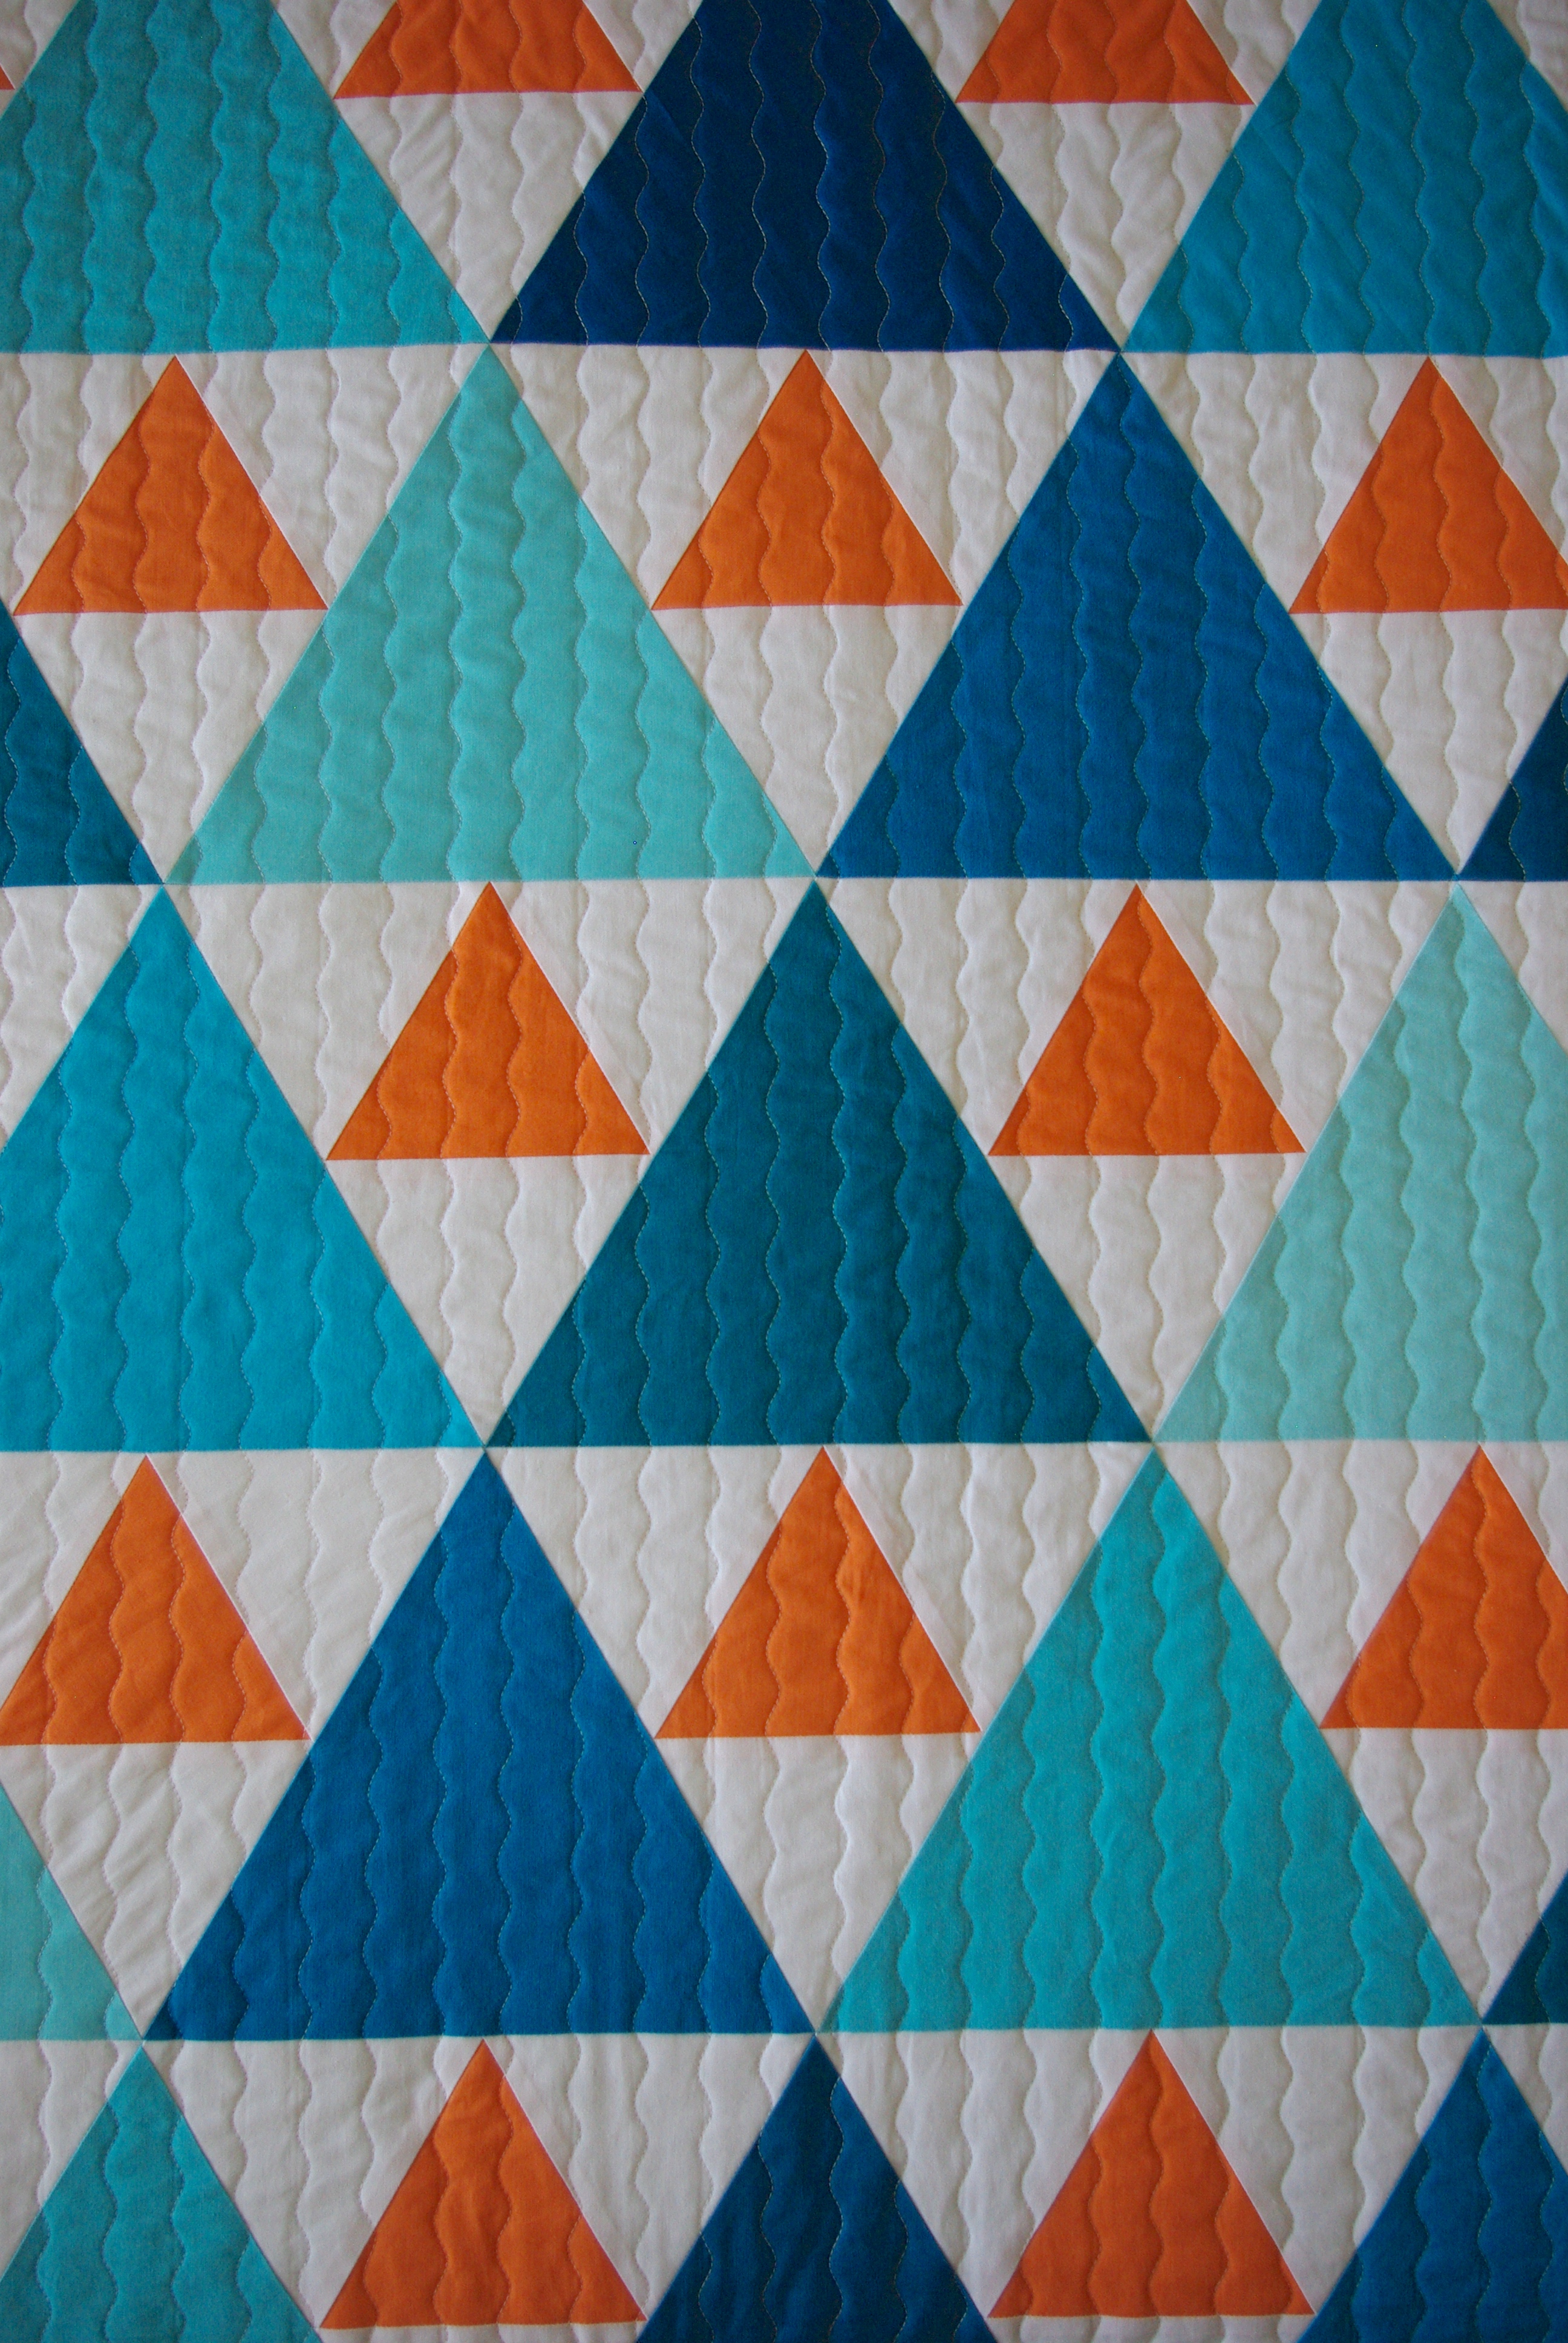
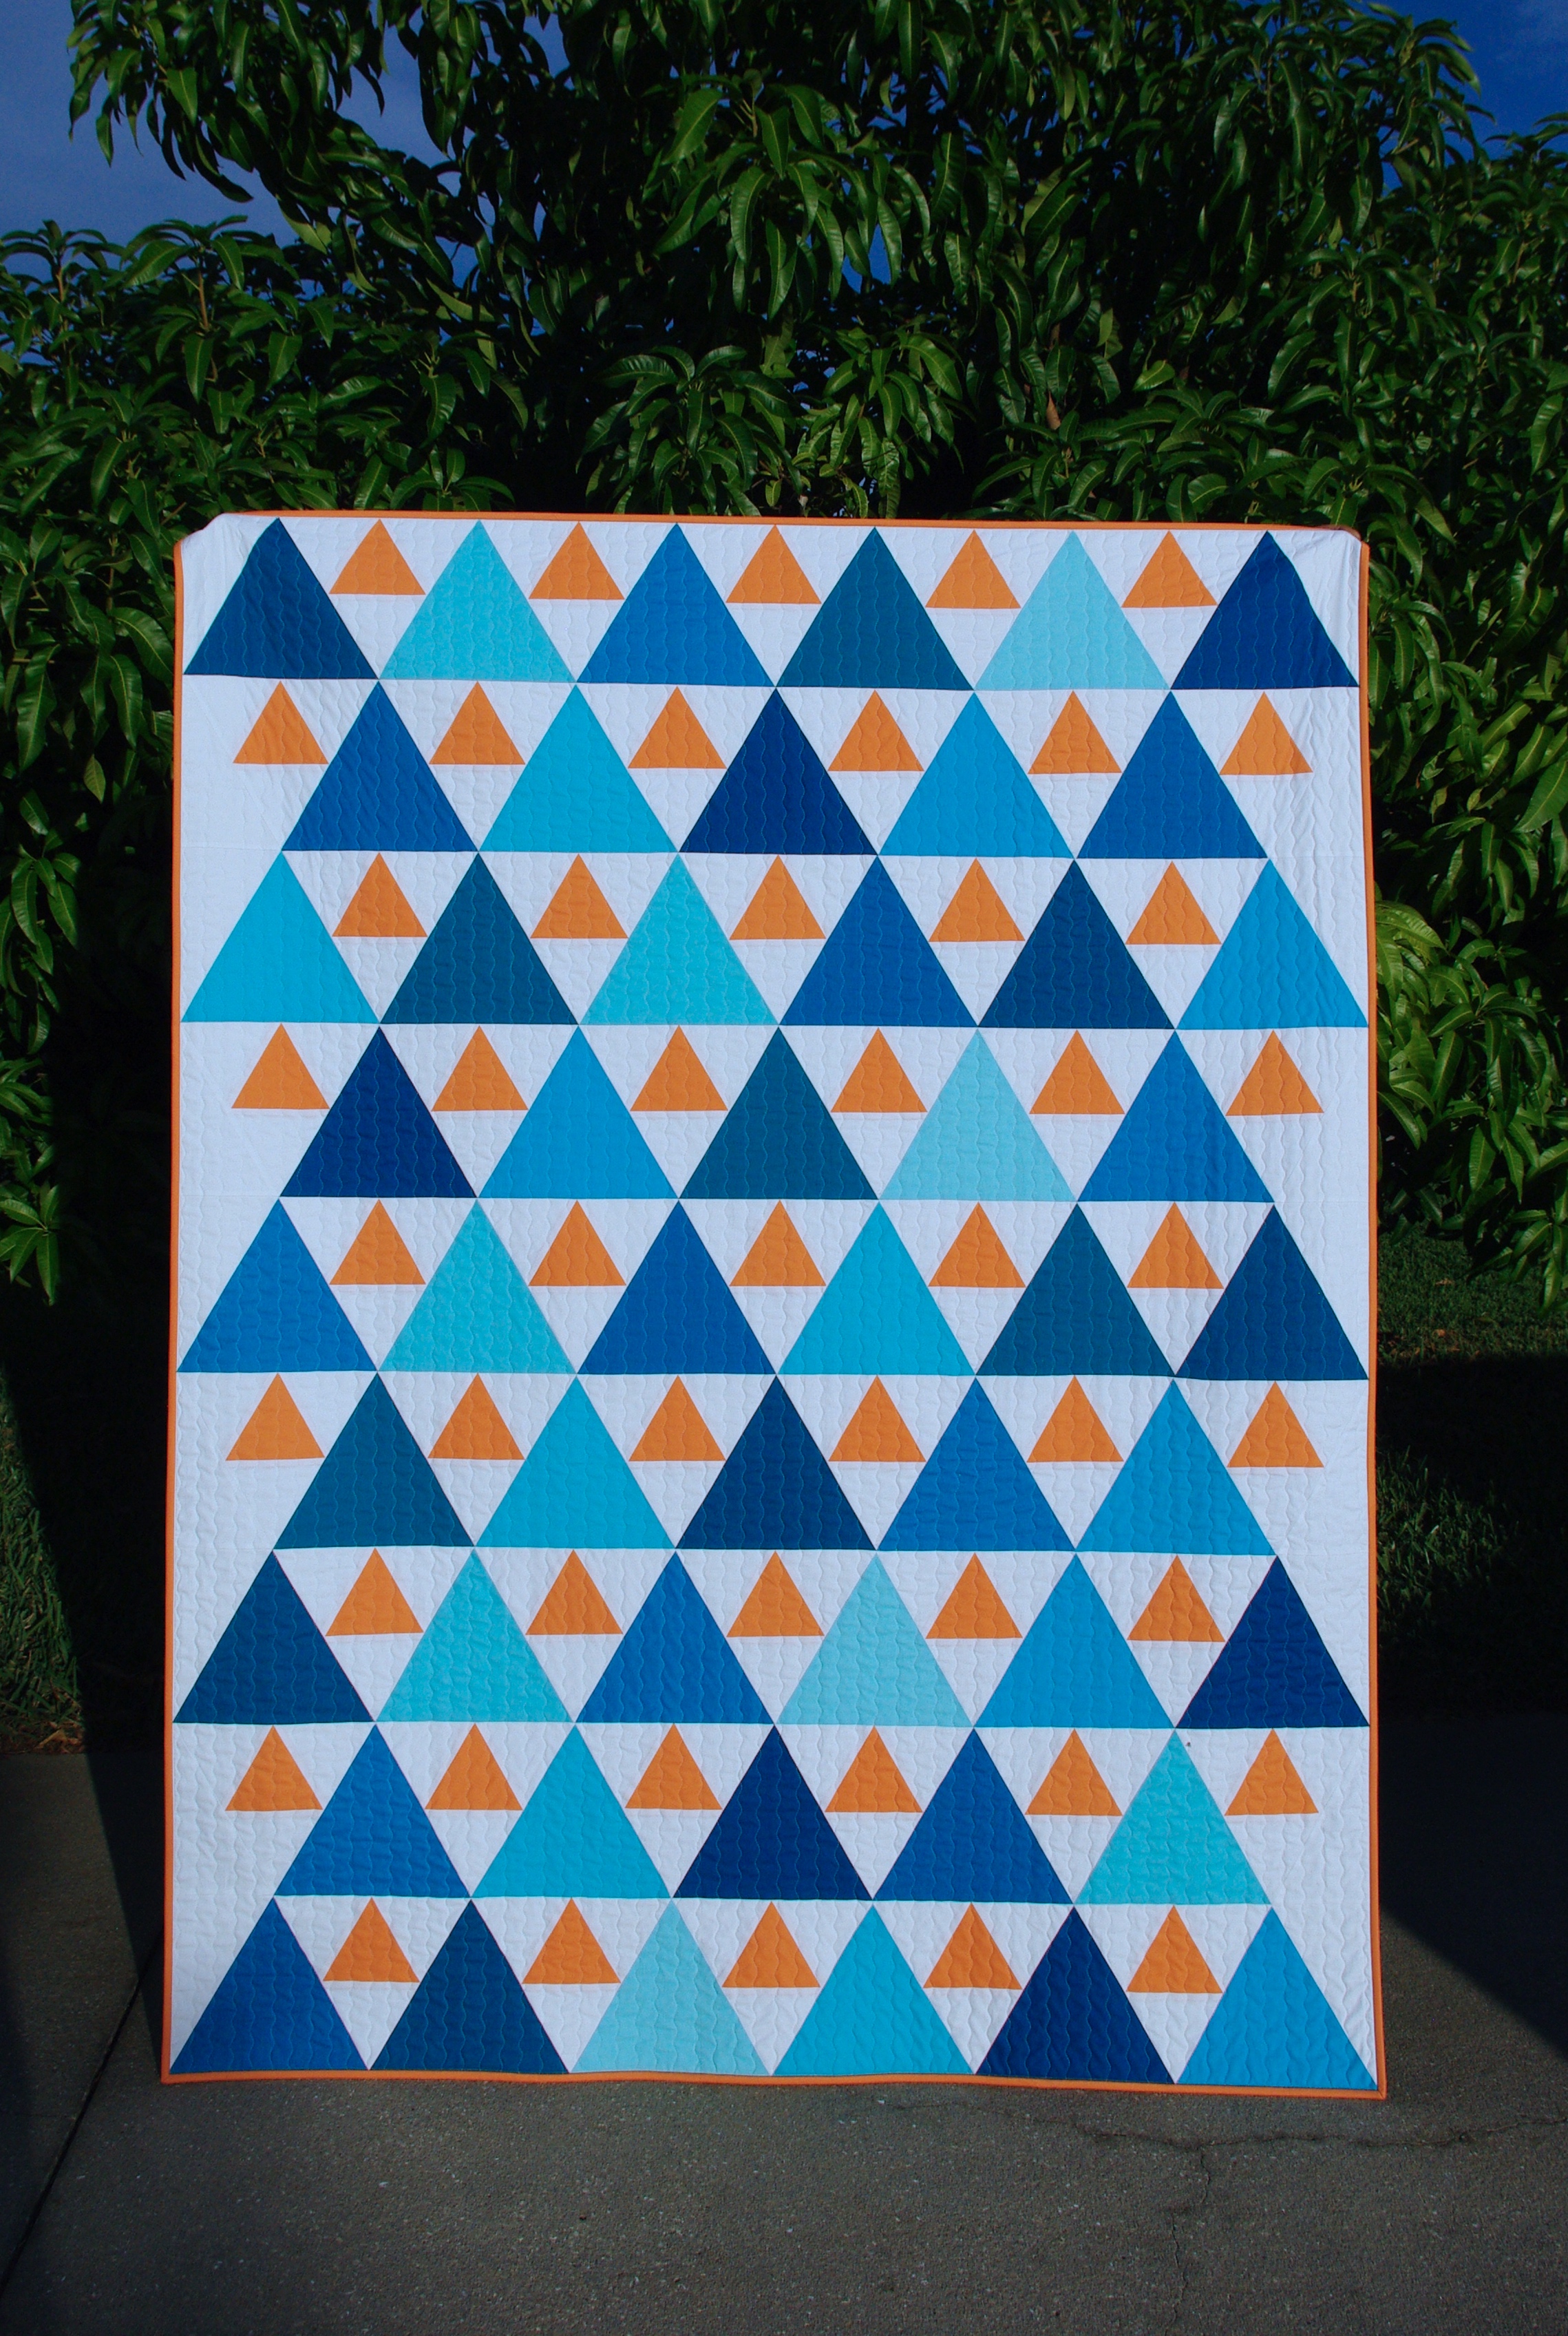
When I saw the Triangle Peaks quilt made by Emily Dennis I knew I needed to make one for myself. Lately I’ve been using fabric I have on hand, which isn’t a whole lot and is probably considered a relatively small stash for a quilter, but I was determined to make this pattern using what I had.
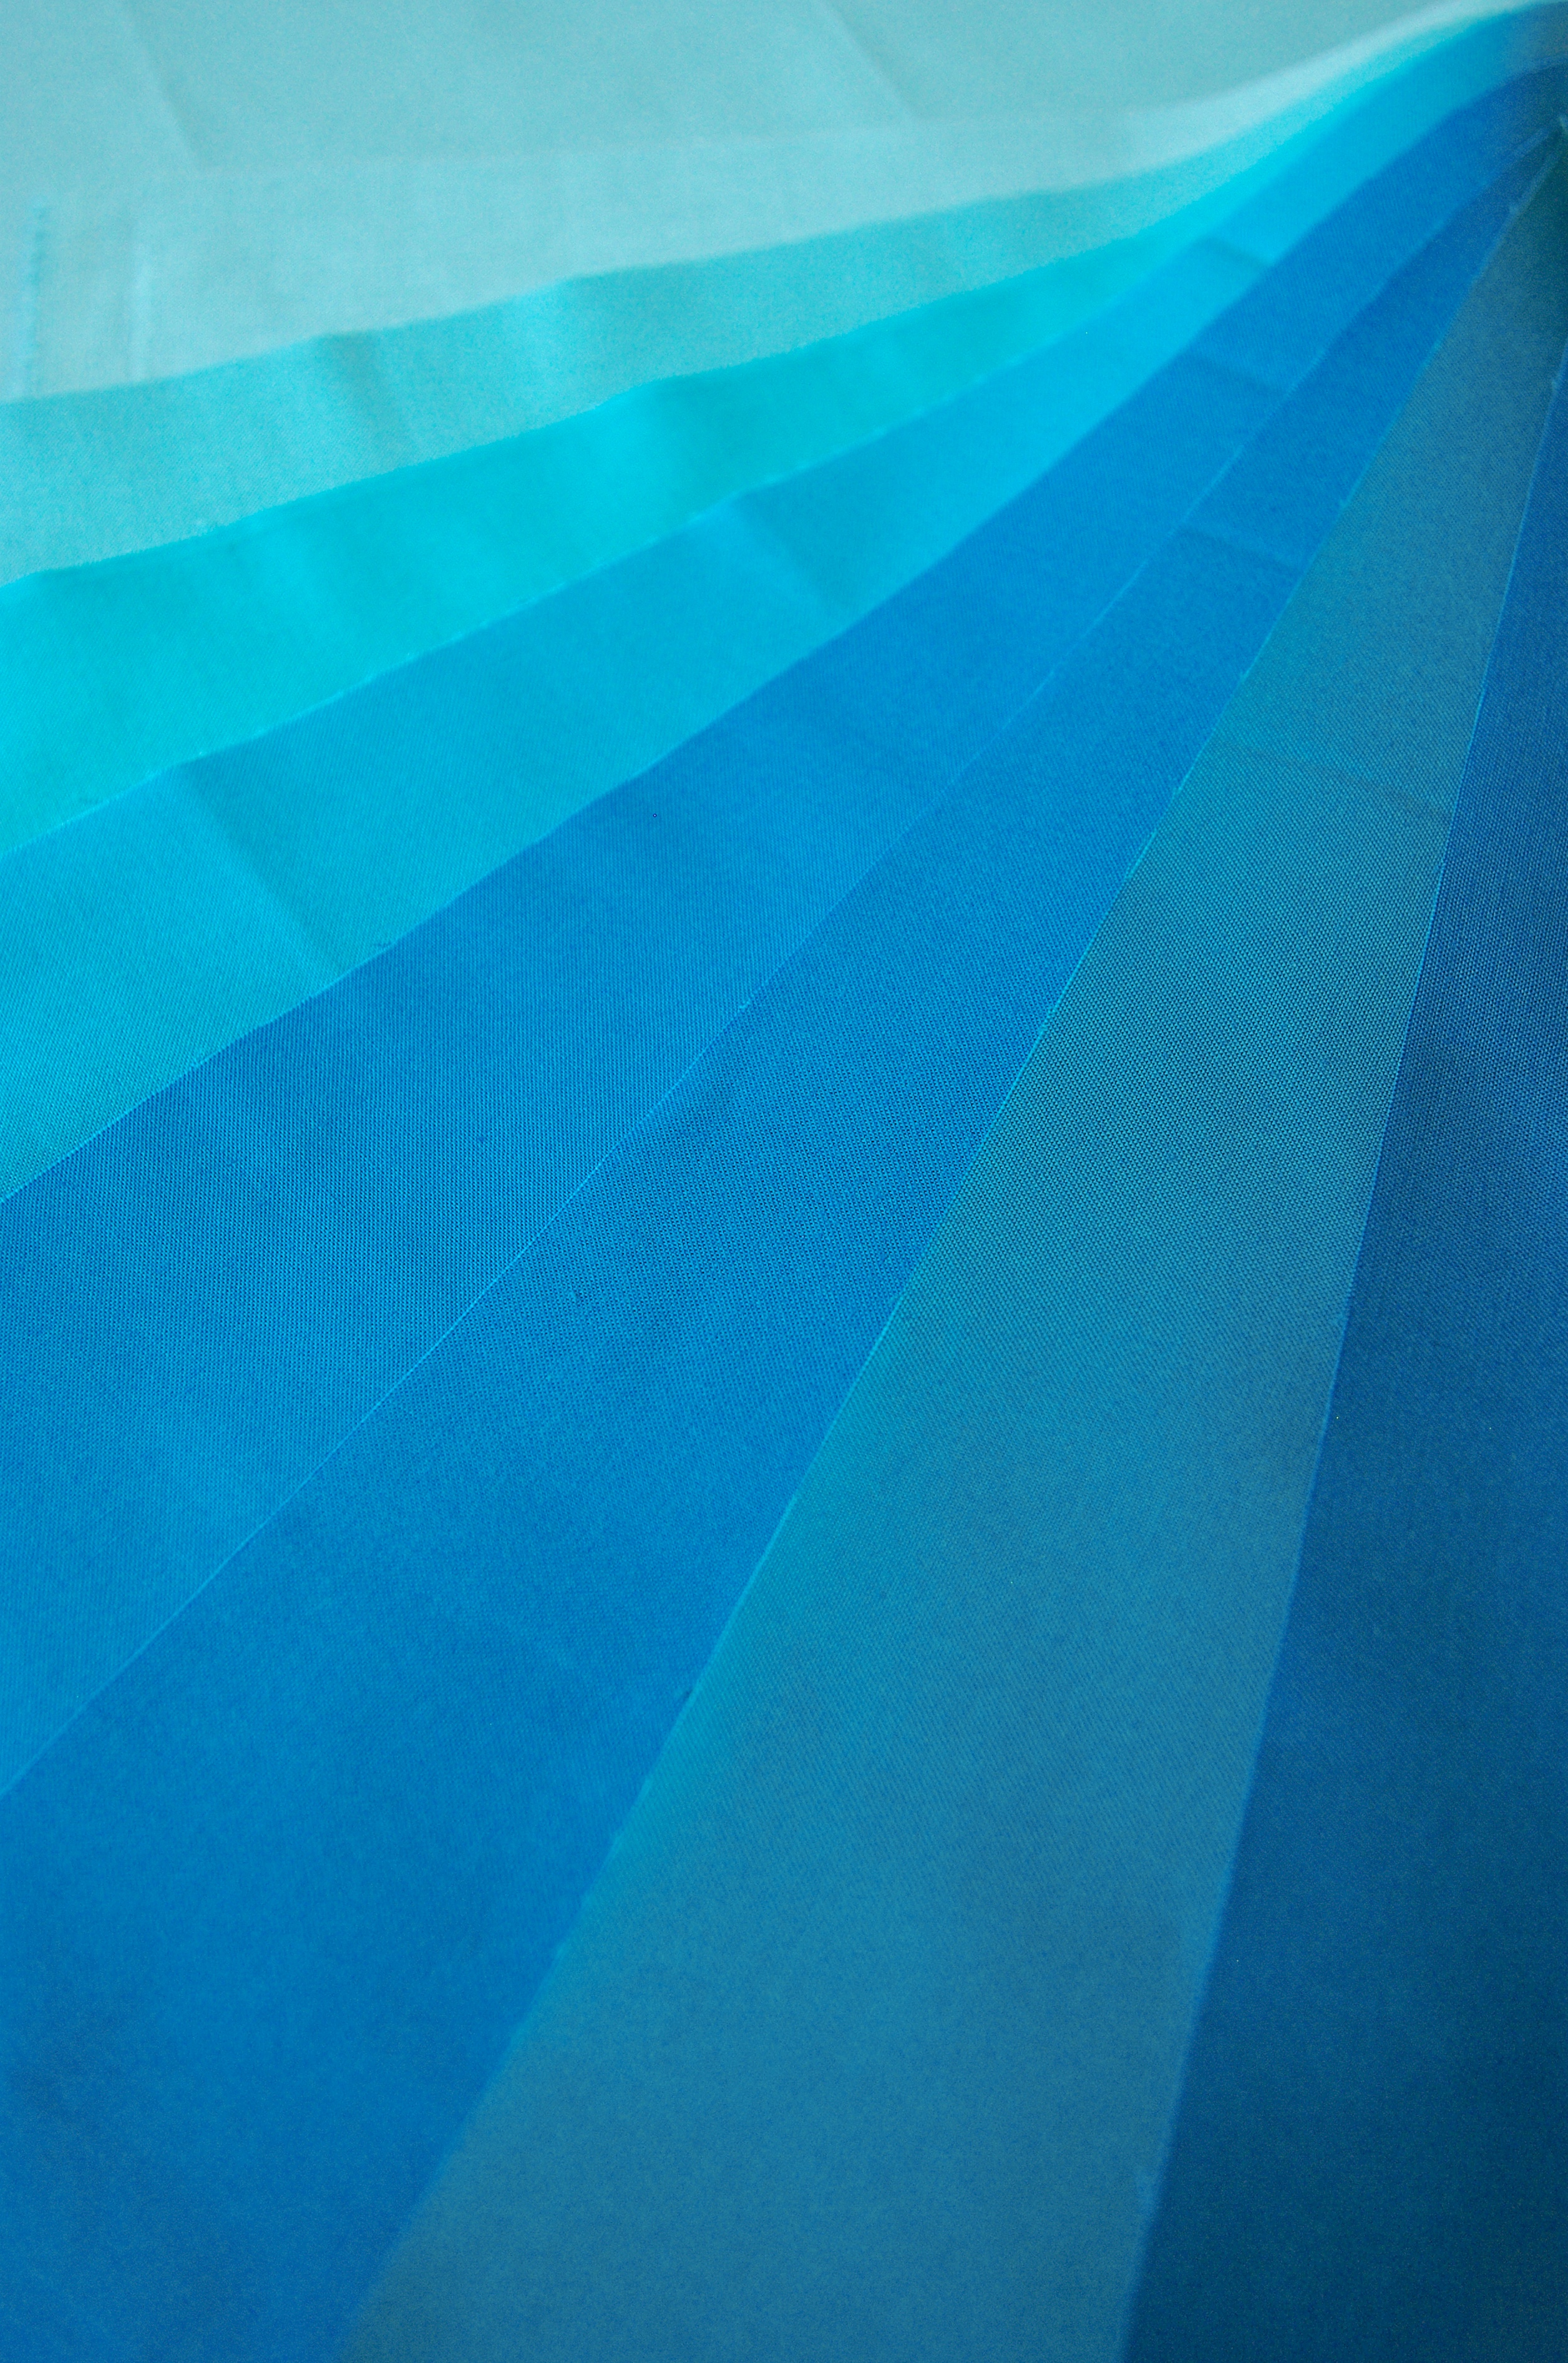
A couple of years ago, with another project in mind, I purchased a 12-piece Kona Cotton fat quarter bundle entitled Pool Party. This lovely collection offered a range of blues and aquas from light to dark with a few deep blue-greens mixed in.
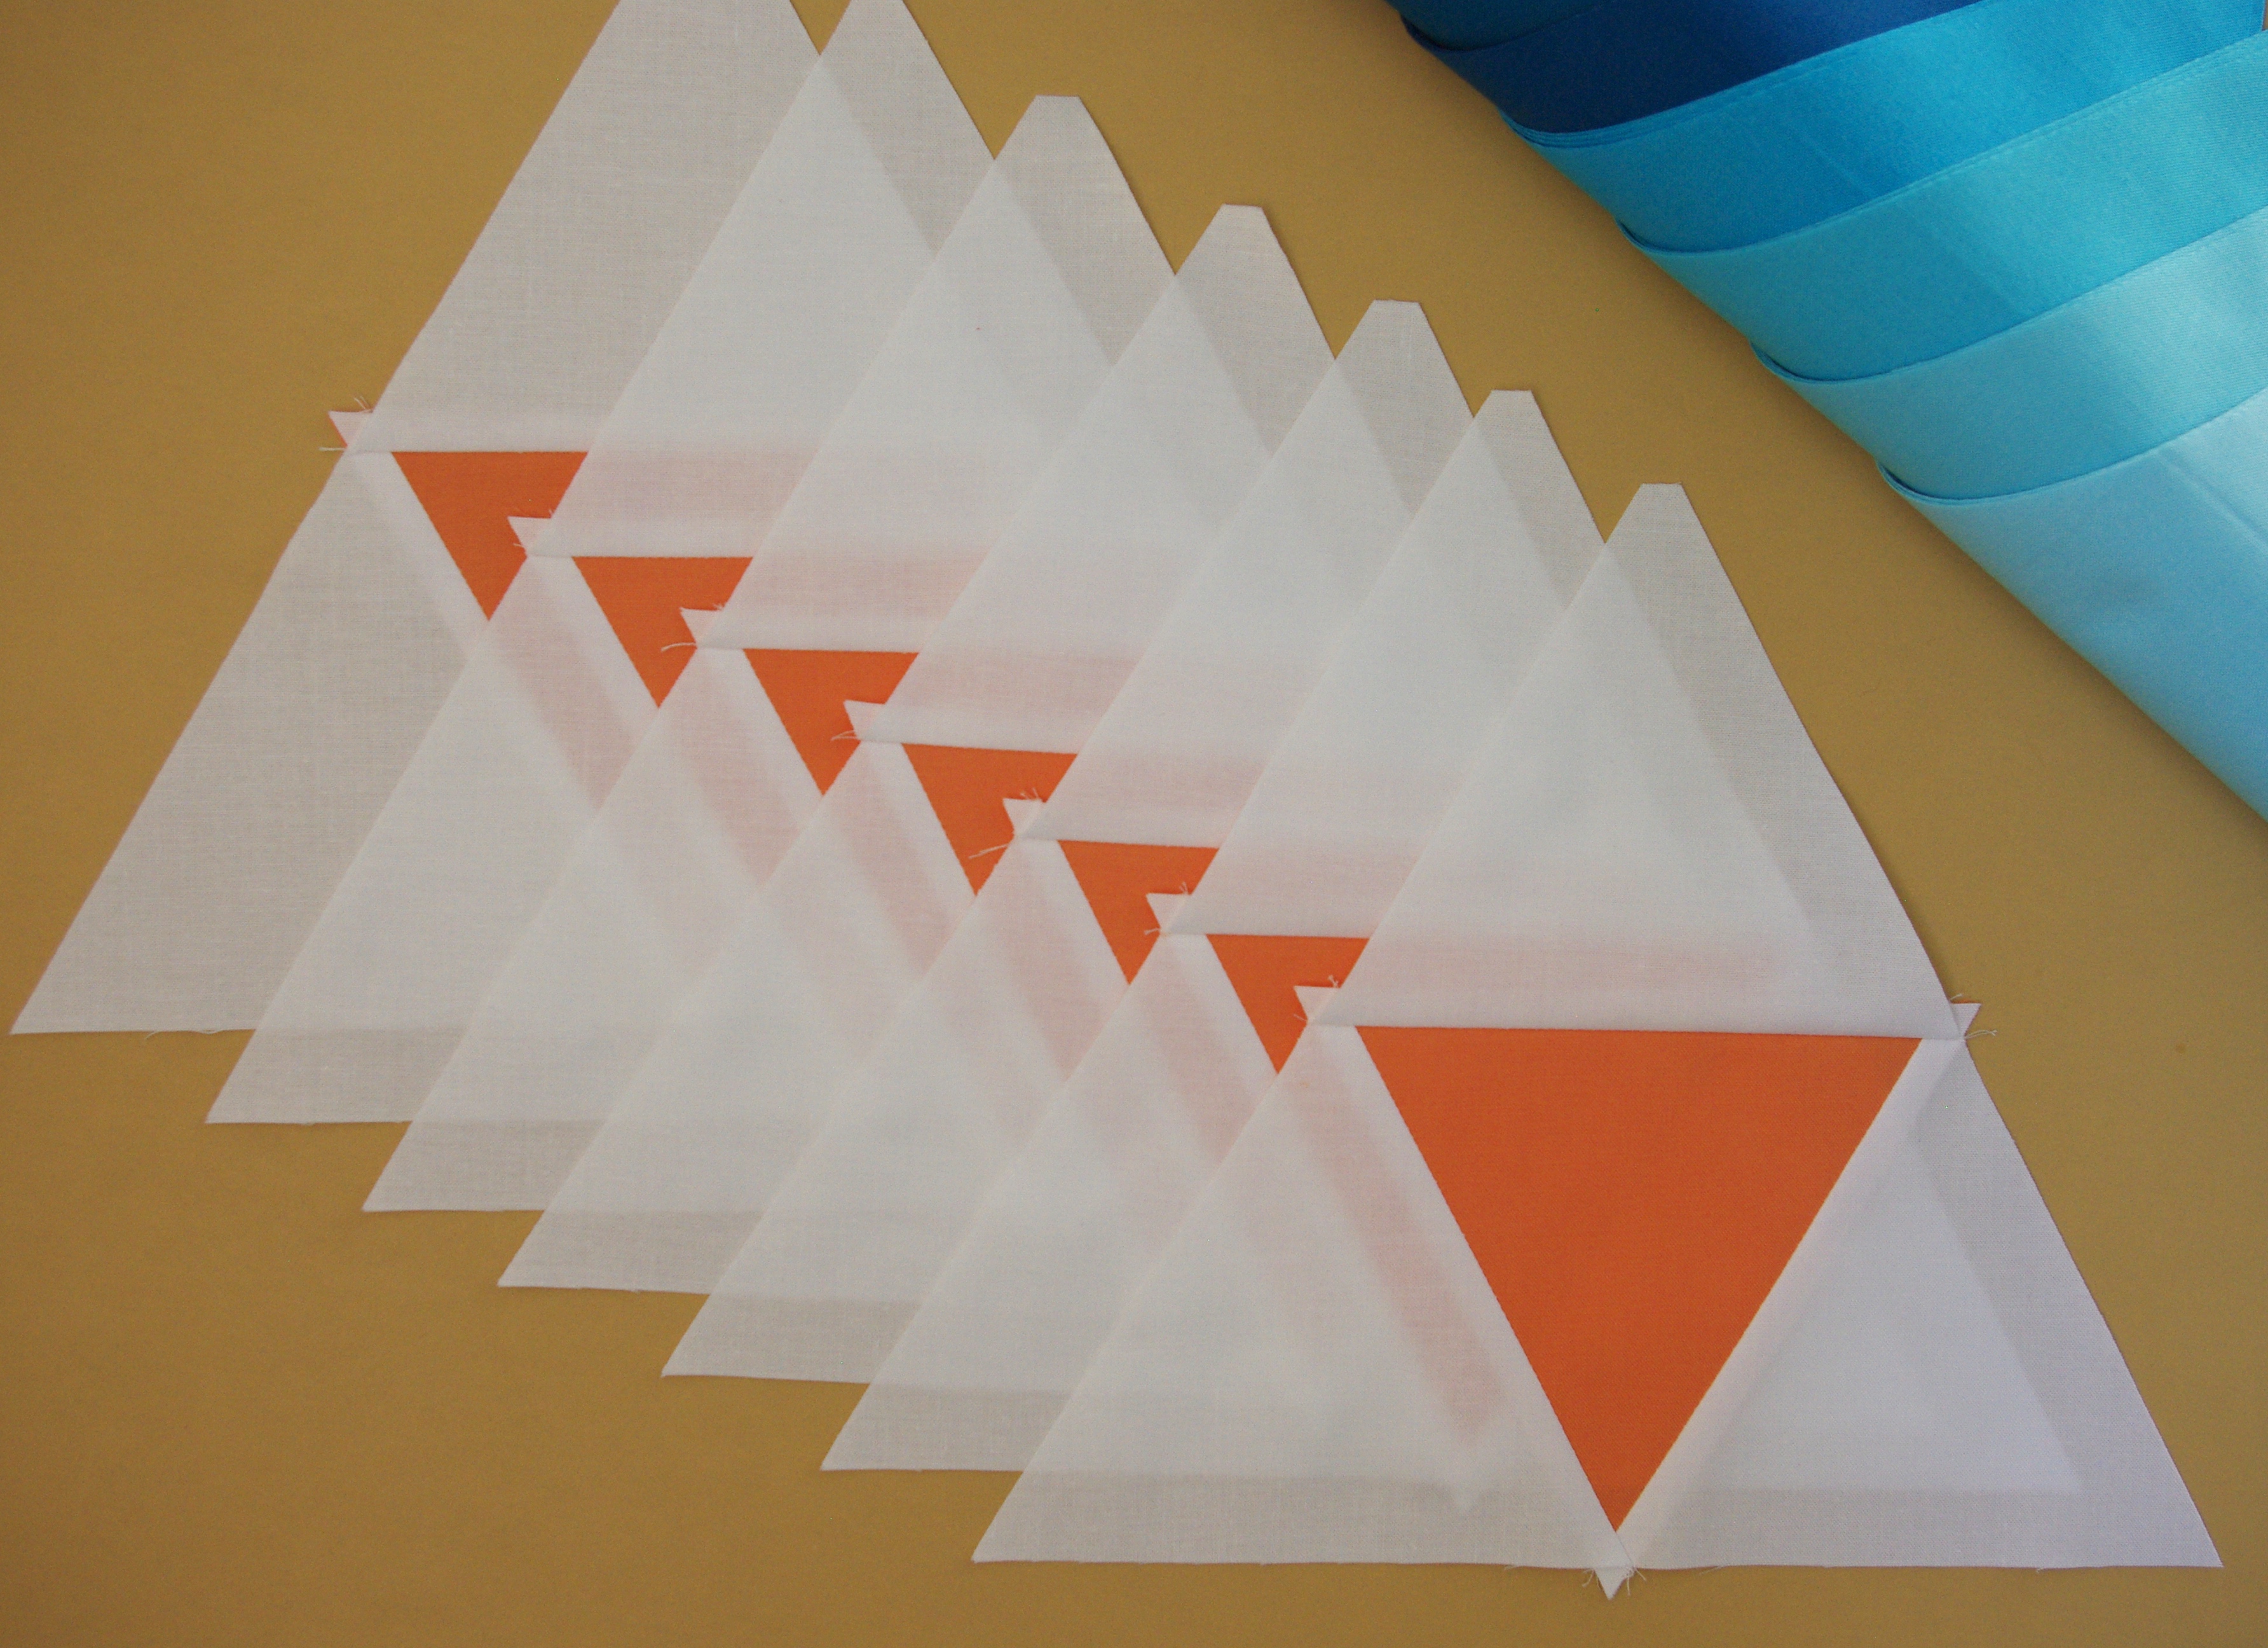
While I don’t consider myself a ‘blue’ person, I really took a liking to this combination. And since that particular project never came to fruition, I pulled my fabric and set out to make my version of a Triangle Peaks quilt. To compliment the blues, I decided on Kona Cotton Mango for my ‘accent’ color (the small triangles) which I did have to purchase, along with backing fabric.
This was my first time working with triangles, which I enjoyed, but bear in mind if you make anything with triangles every one has two bias edges that are prone to stretching if you’re not careful.
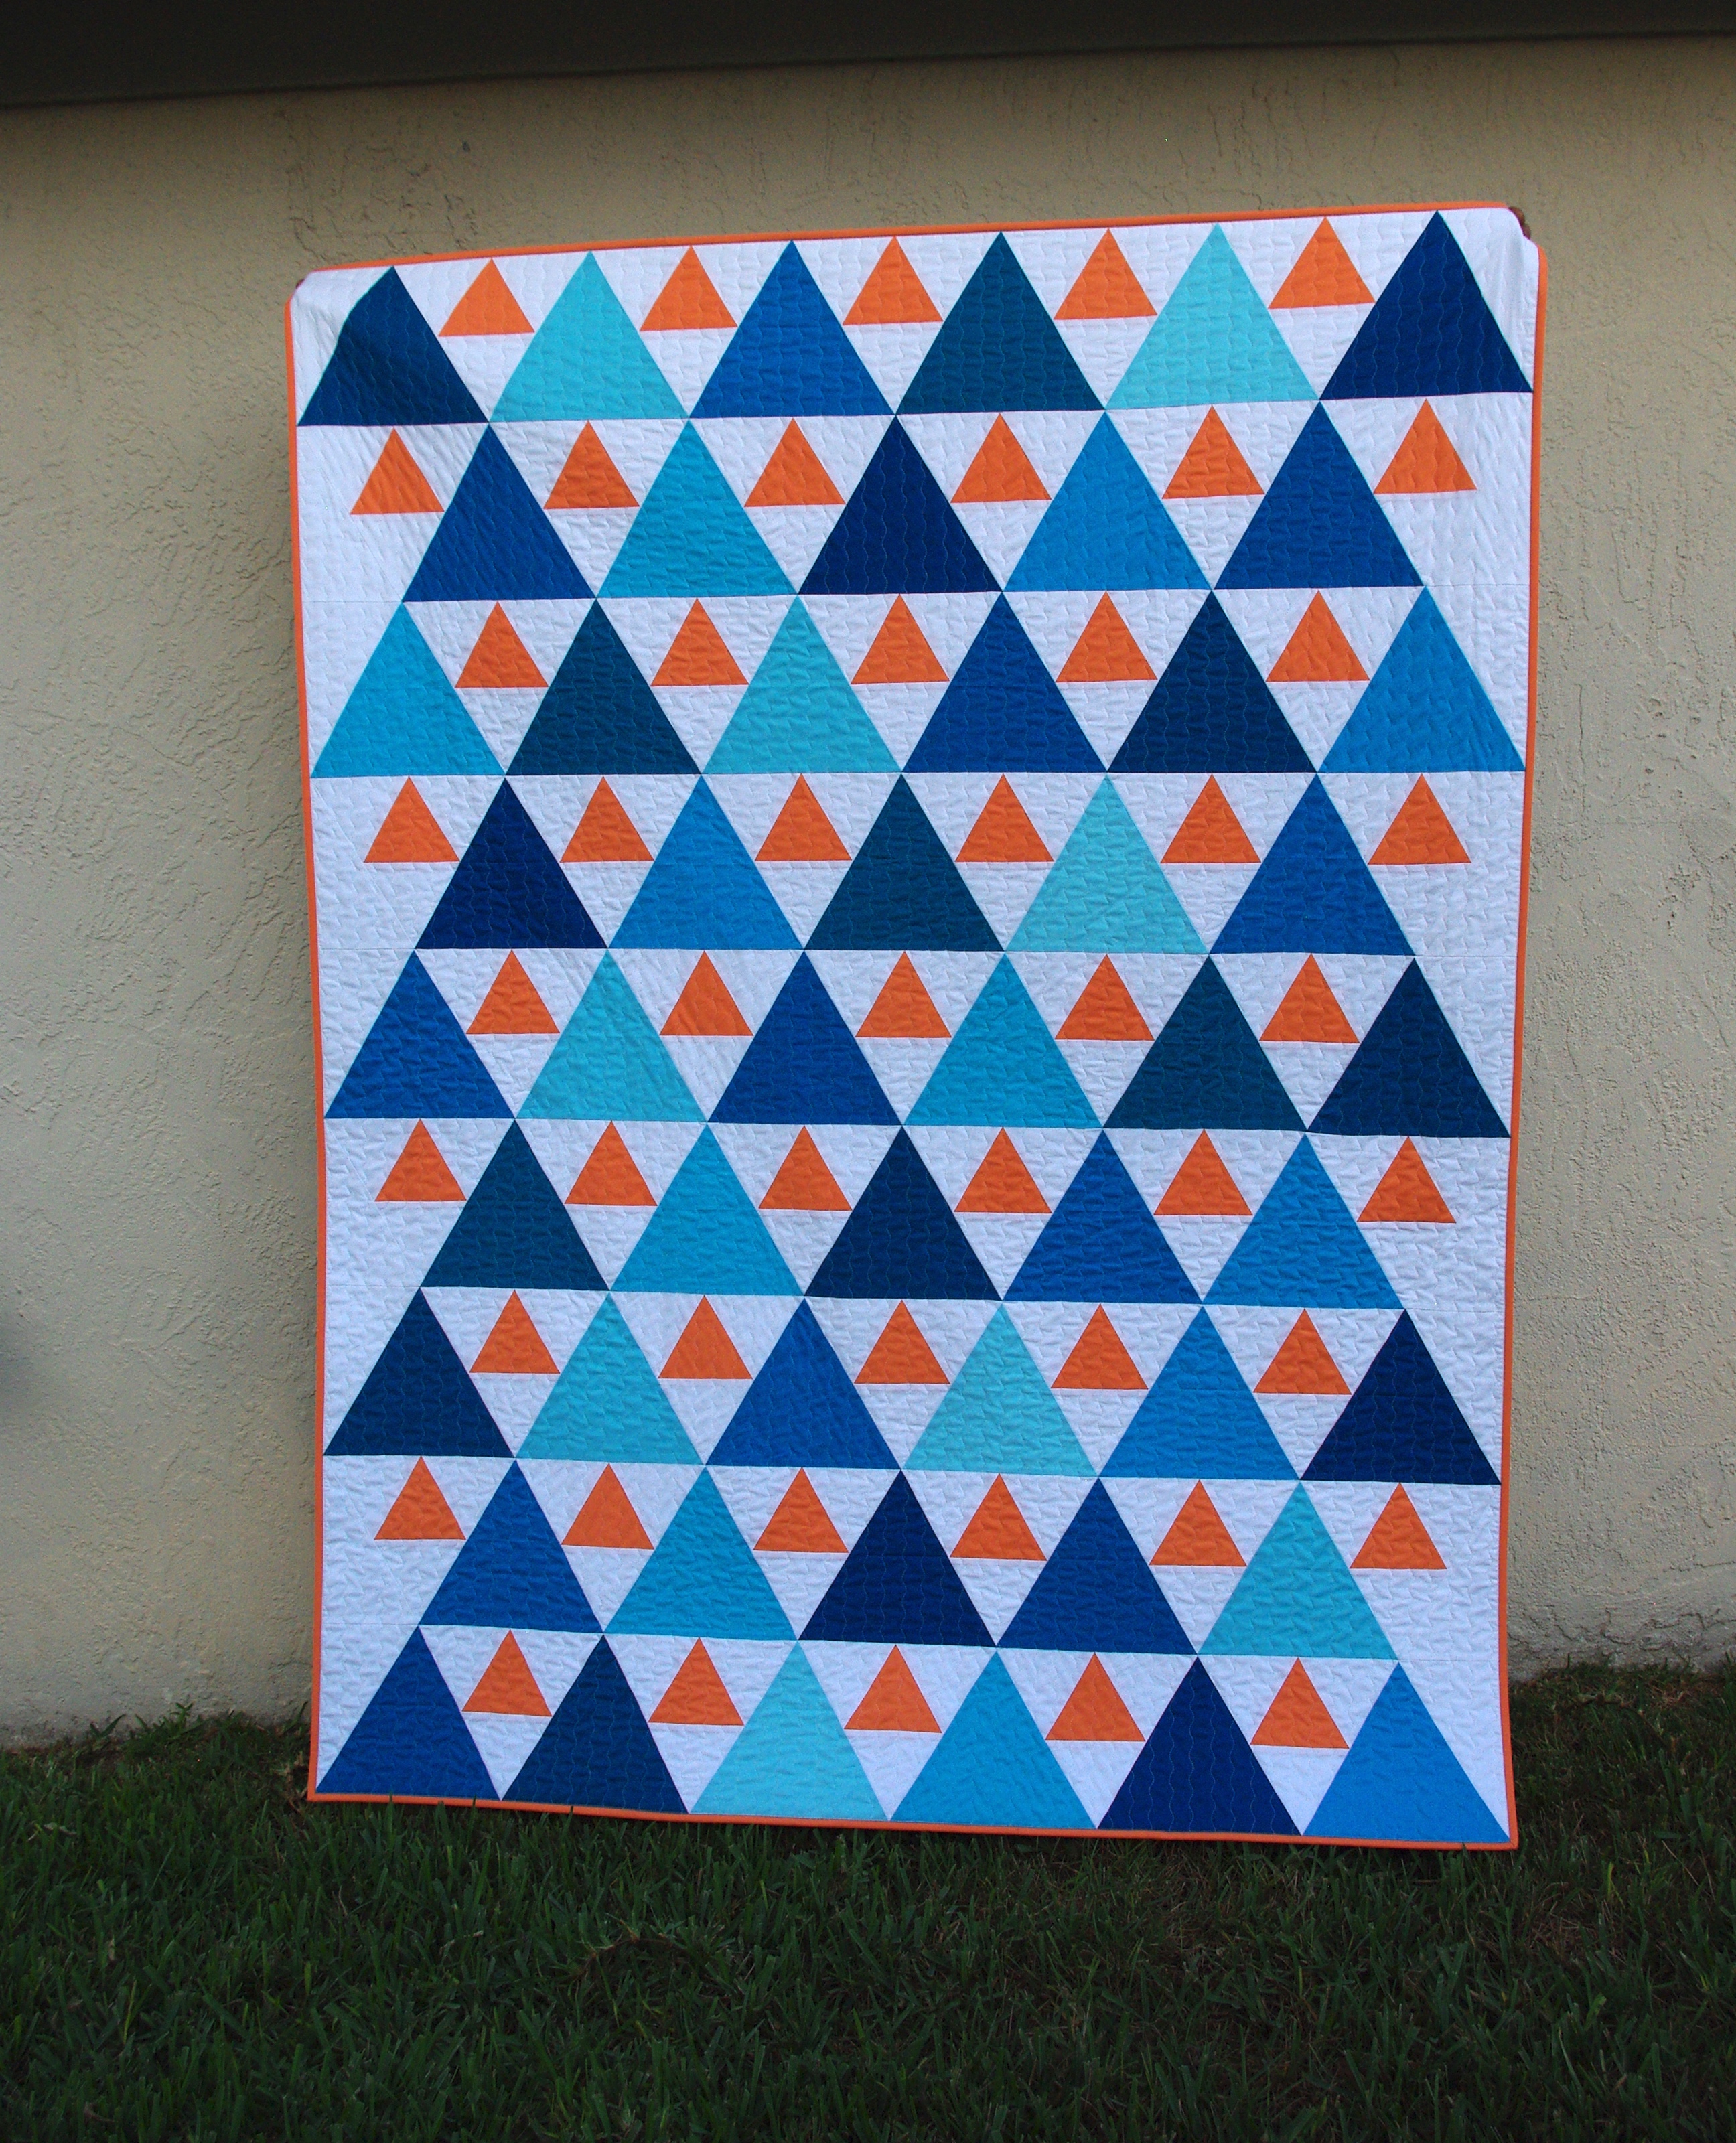
I completed the accent triangles first then everything else was ready to sew together. For me, deciding on the layout was the most difficult part. I used only nine of the twelve colors of blue which was enough to spread them out evenly, but it still took some time to make sure the like-colors were far enough away from one another.
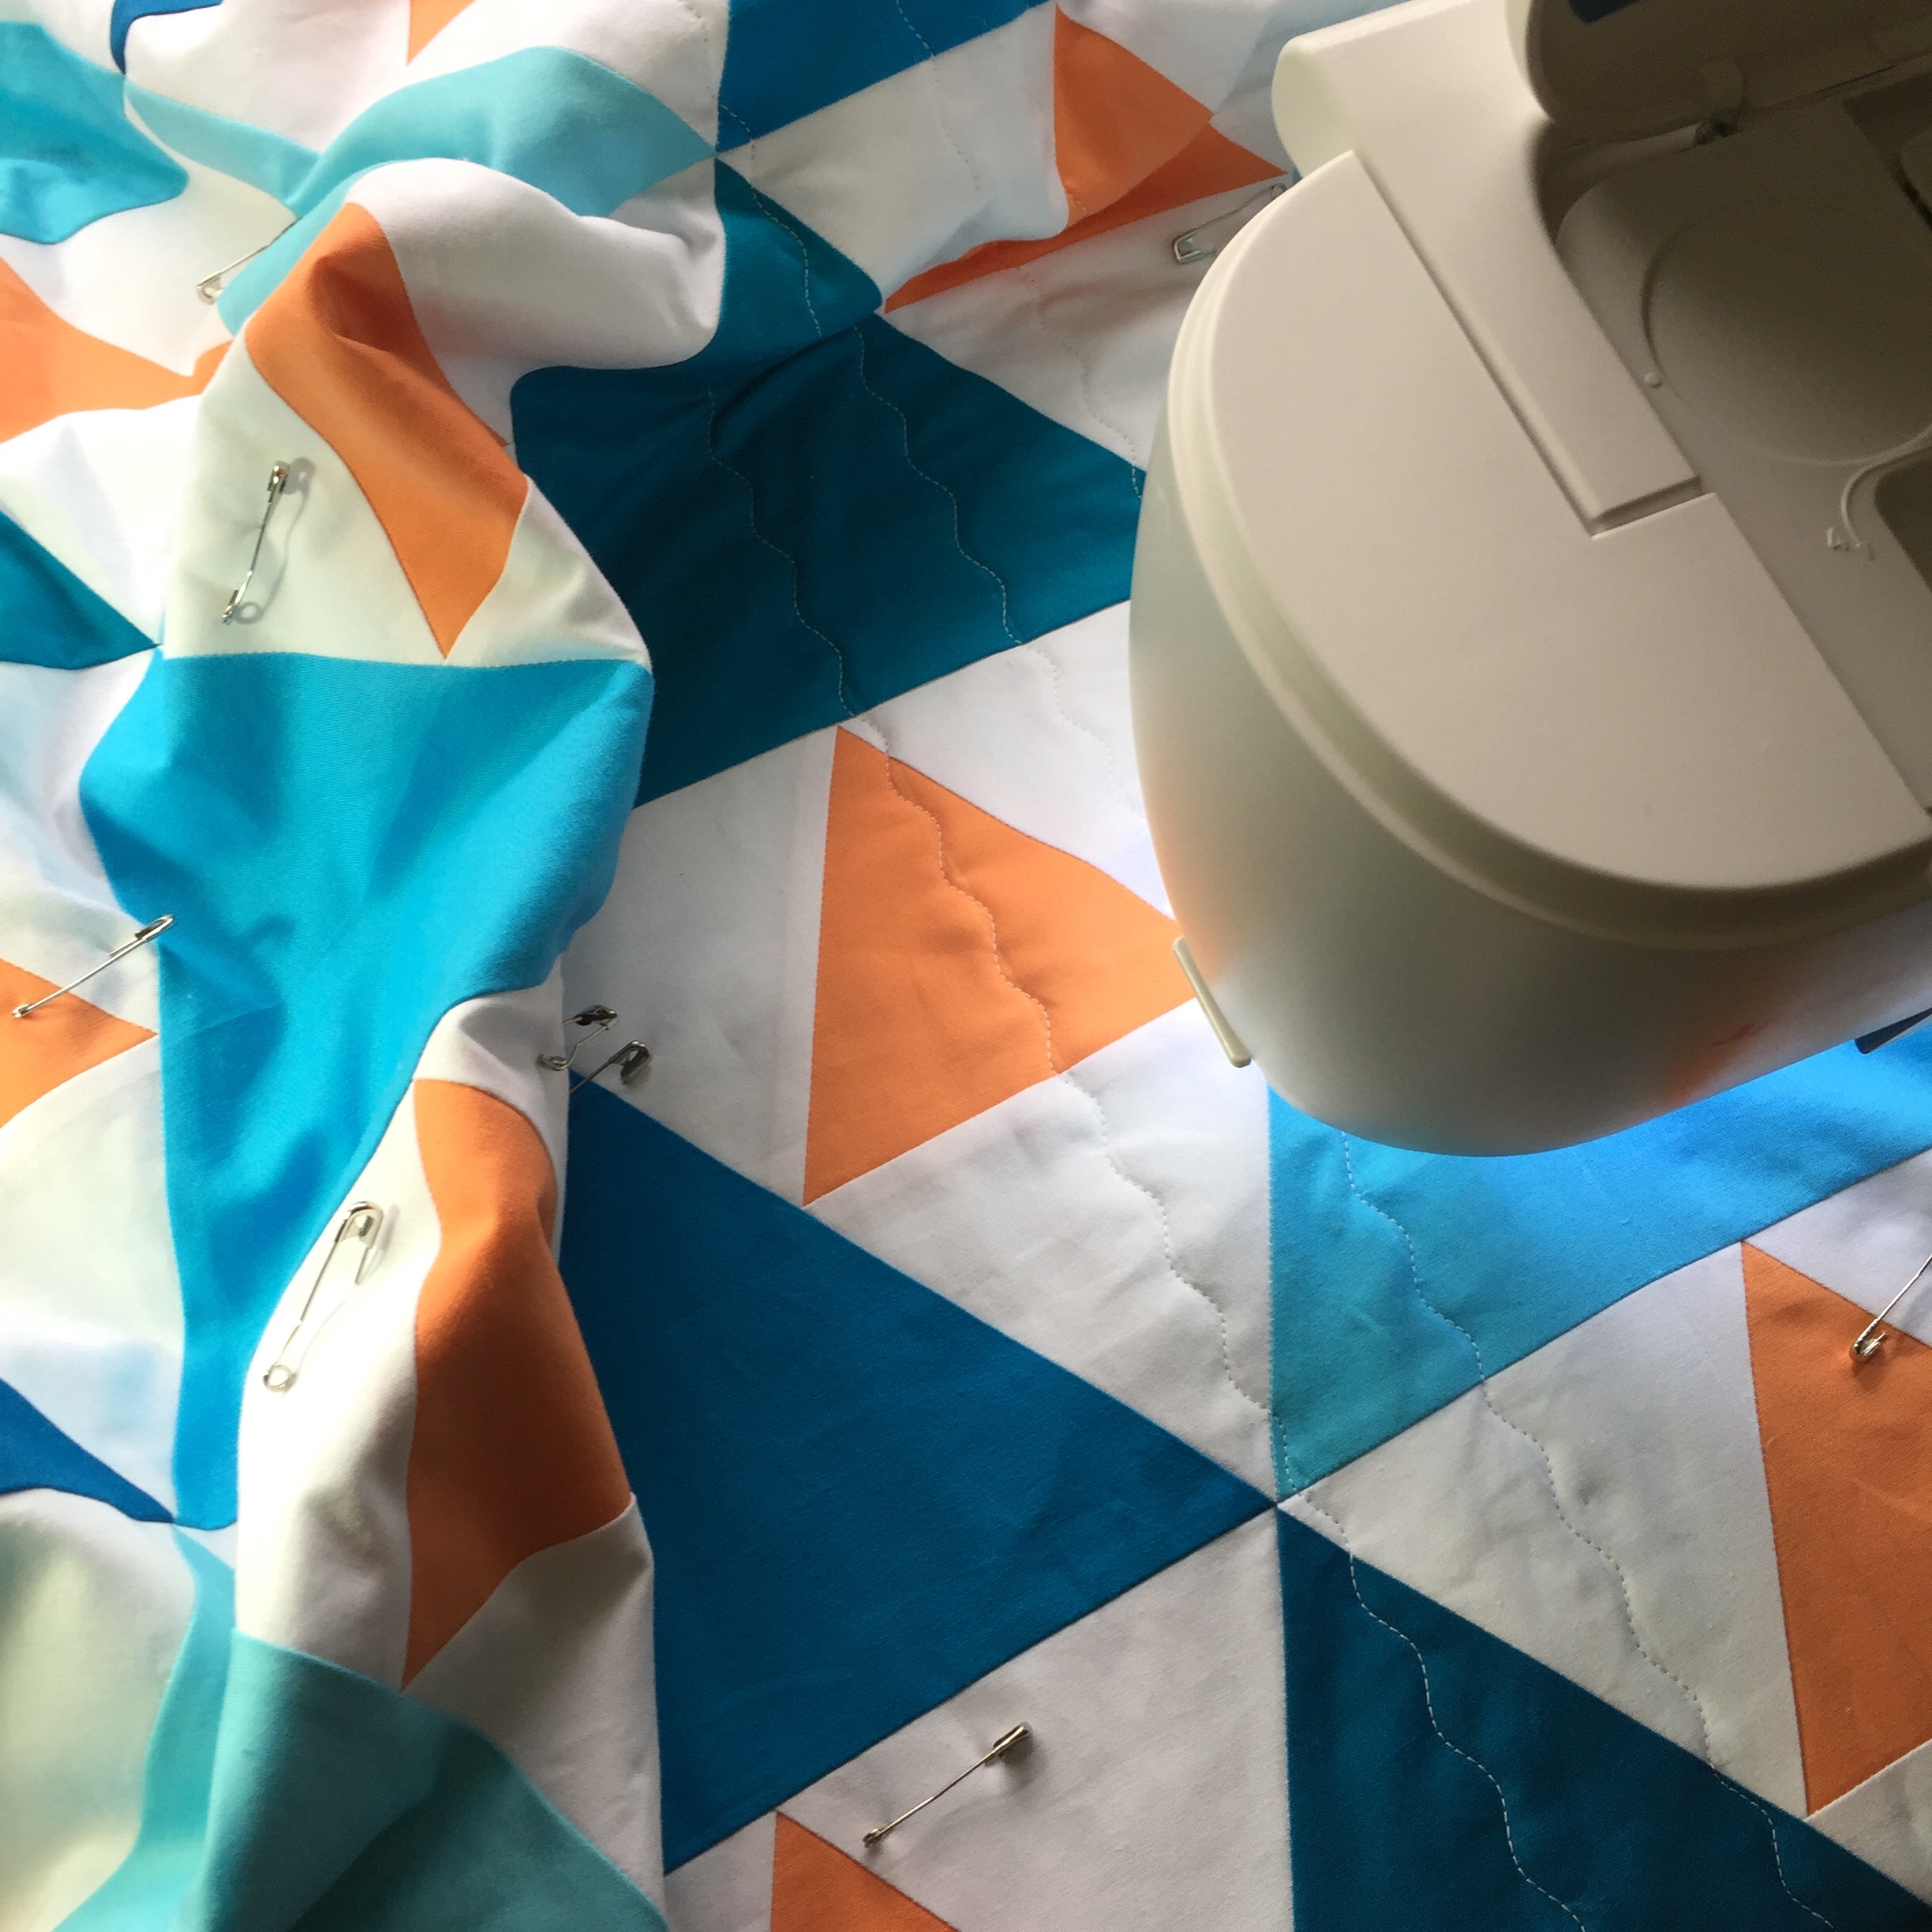
Once the top was finished it was time for quilting. If you’ve read my blog posts in the past you know I don’t exactly love the quilting aspect. If I could afford it I would have just about everything longarmed! But since I can’t, I end up doing quite a bit myself.
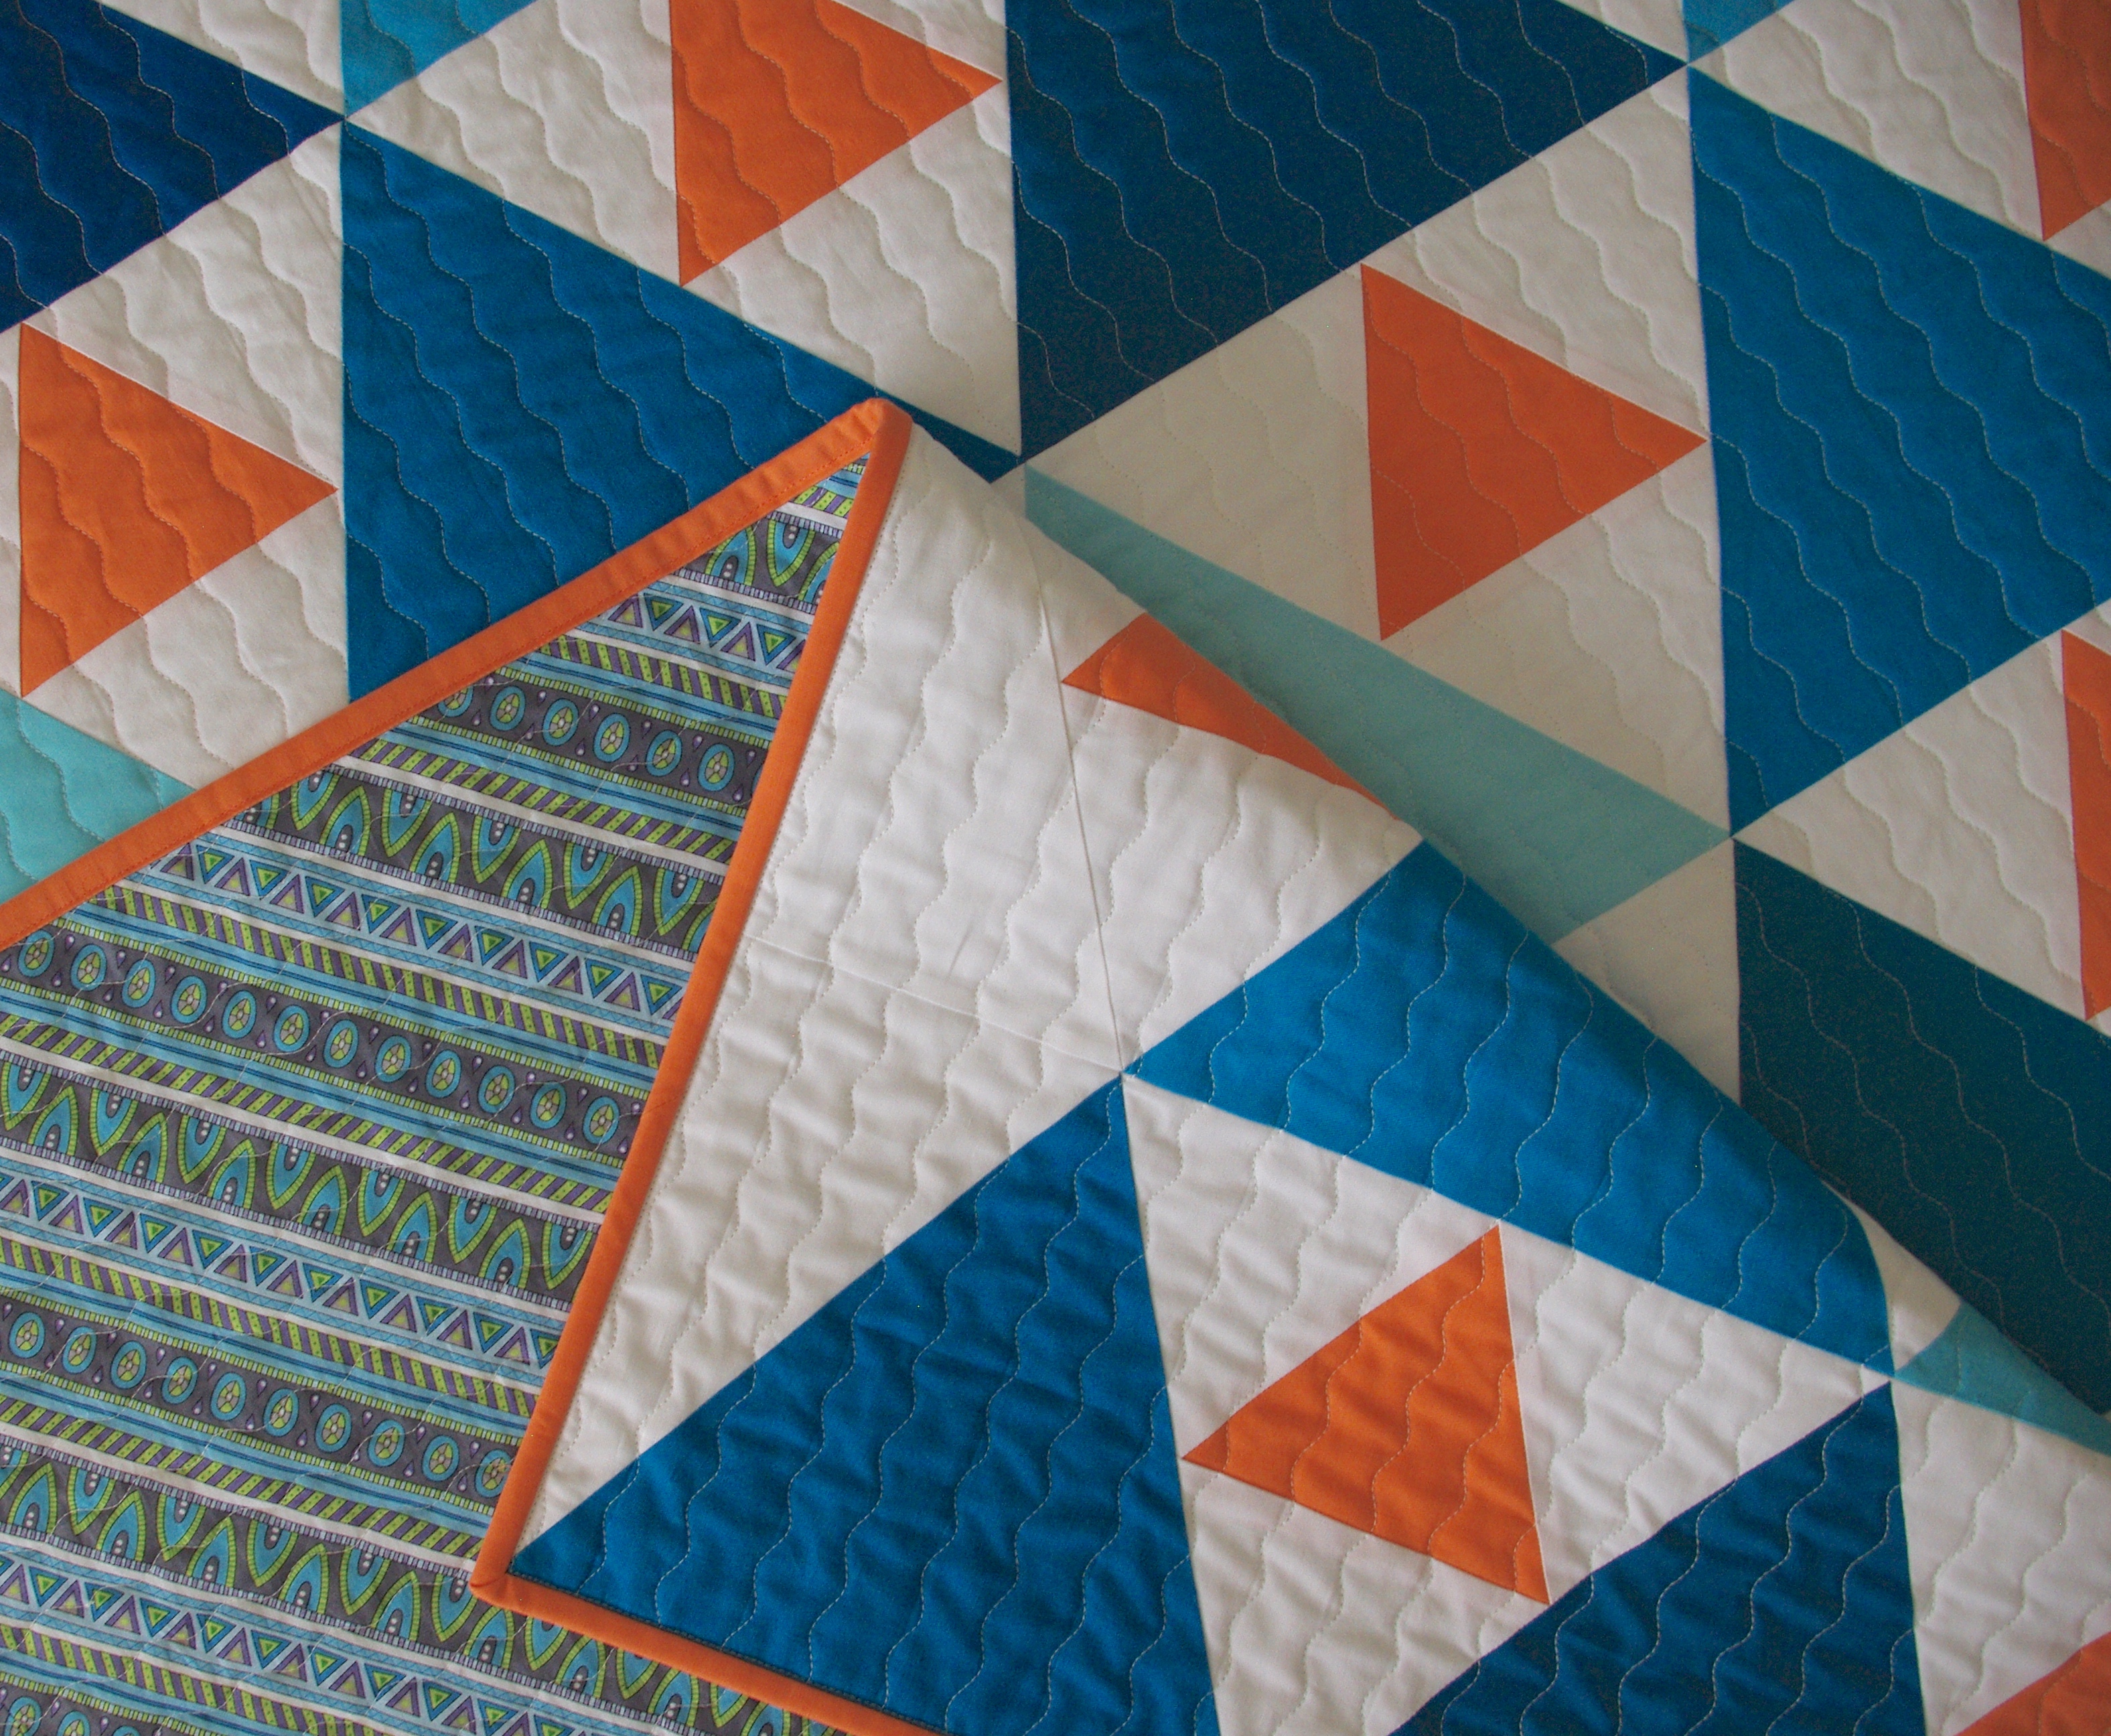
Since this quilt is so modern and angular, I felt the quilting needed to softened it up. That said, I decided on vertical lines using my serpentine stitch. Maybe subconsciously I thought it would give it a wavy, watery feel. 🙂
After sewing my basting stitches across the top (to help reduce shifting and pulling) I started quilting from the middle then to the right, marking lines every 1 ¾” with a hera marker. This process took forever! But I admit, I’m pretty slow.
Once all the 1 ¾” lines were finished, I used my guide to quilt the lines in between. This saves time from marking rows, and it works well, my lines were fairly accurately spaced.
Quilting with Aurifil thread 2026/Chalk
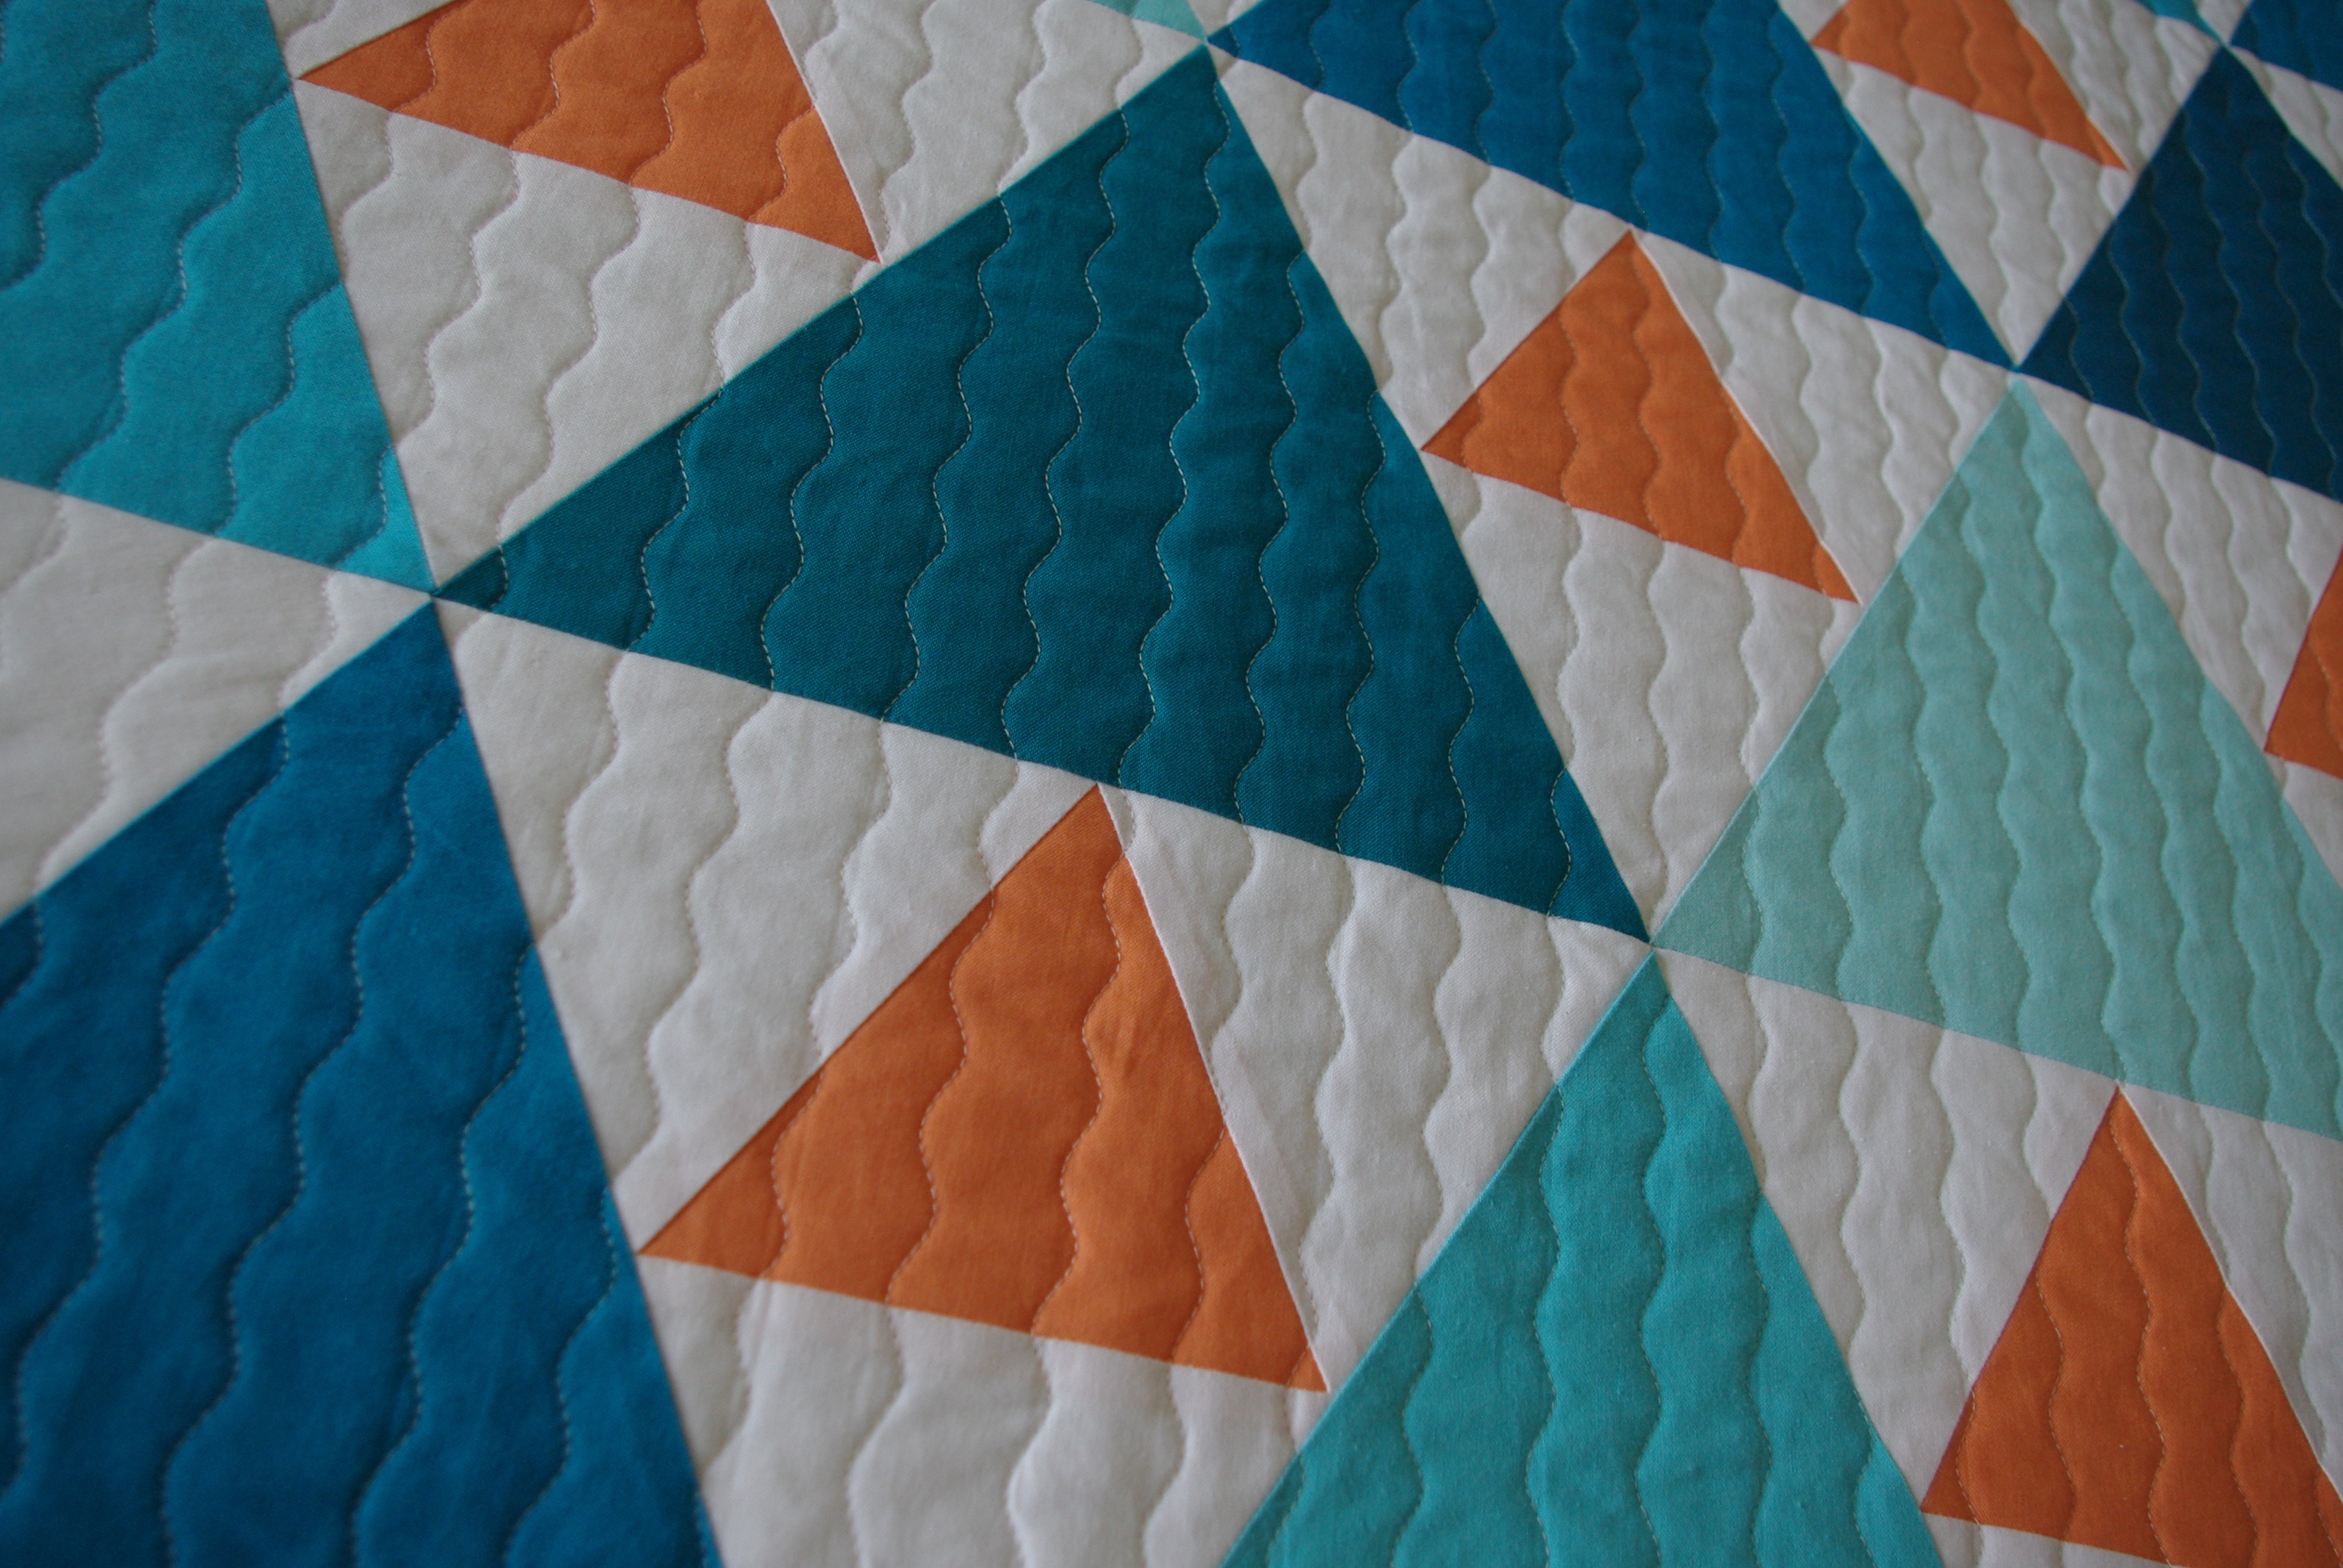
I think the serpentine stitch was a great choice.
It ended up that I didn’t mind quilting this one at all. I kind of went into auto pilot mode, just plugging away row after row. It took me more hours than I could count but I love the results.
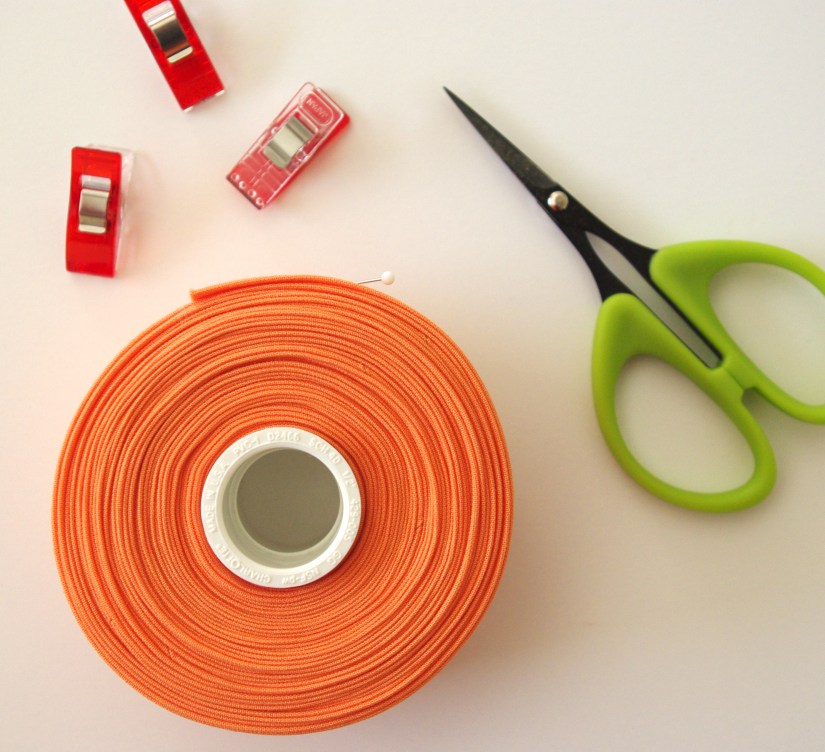
I used Kona Cotton Mango for the binding.
Here’s my finished throw size quilt.
I’m really happy with this one and plan to get some good use out of it!