
When I saw the Triangle Peaks quilt made by Emily Dennis I knew I needed to make one for myself. Lately I’ve been using fabric I have on hand, which isn’t a whole lot and is probably considered a relatively small stash for a quilter, but I was determined to make this pattern using what I had.
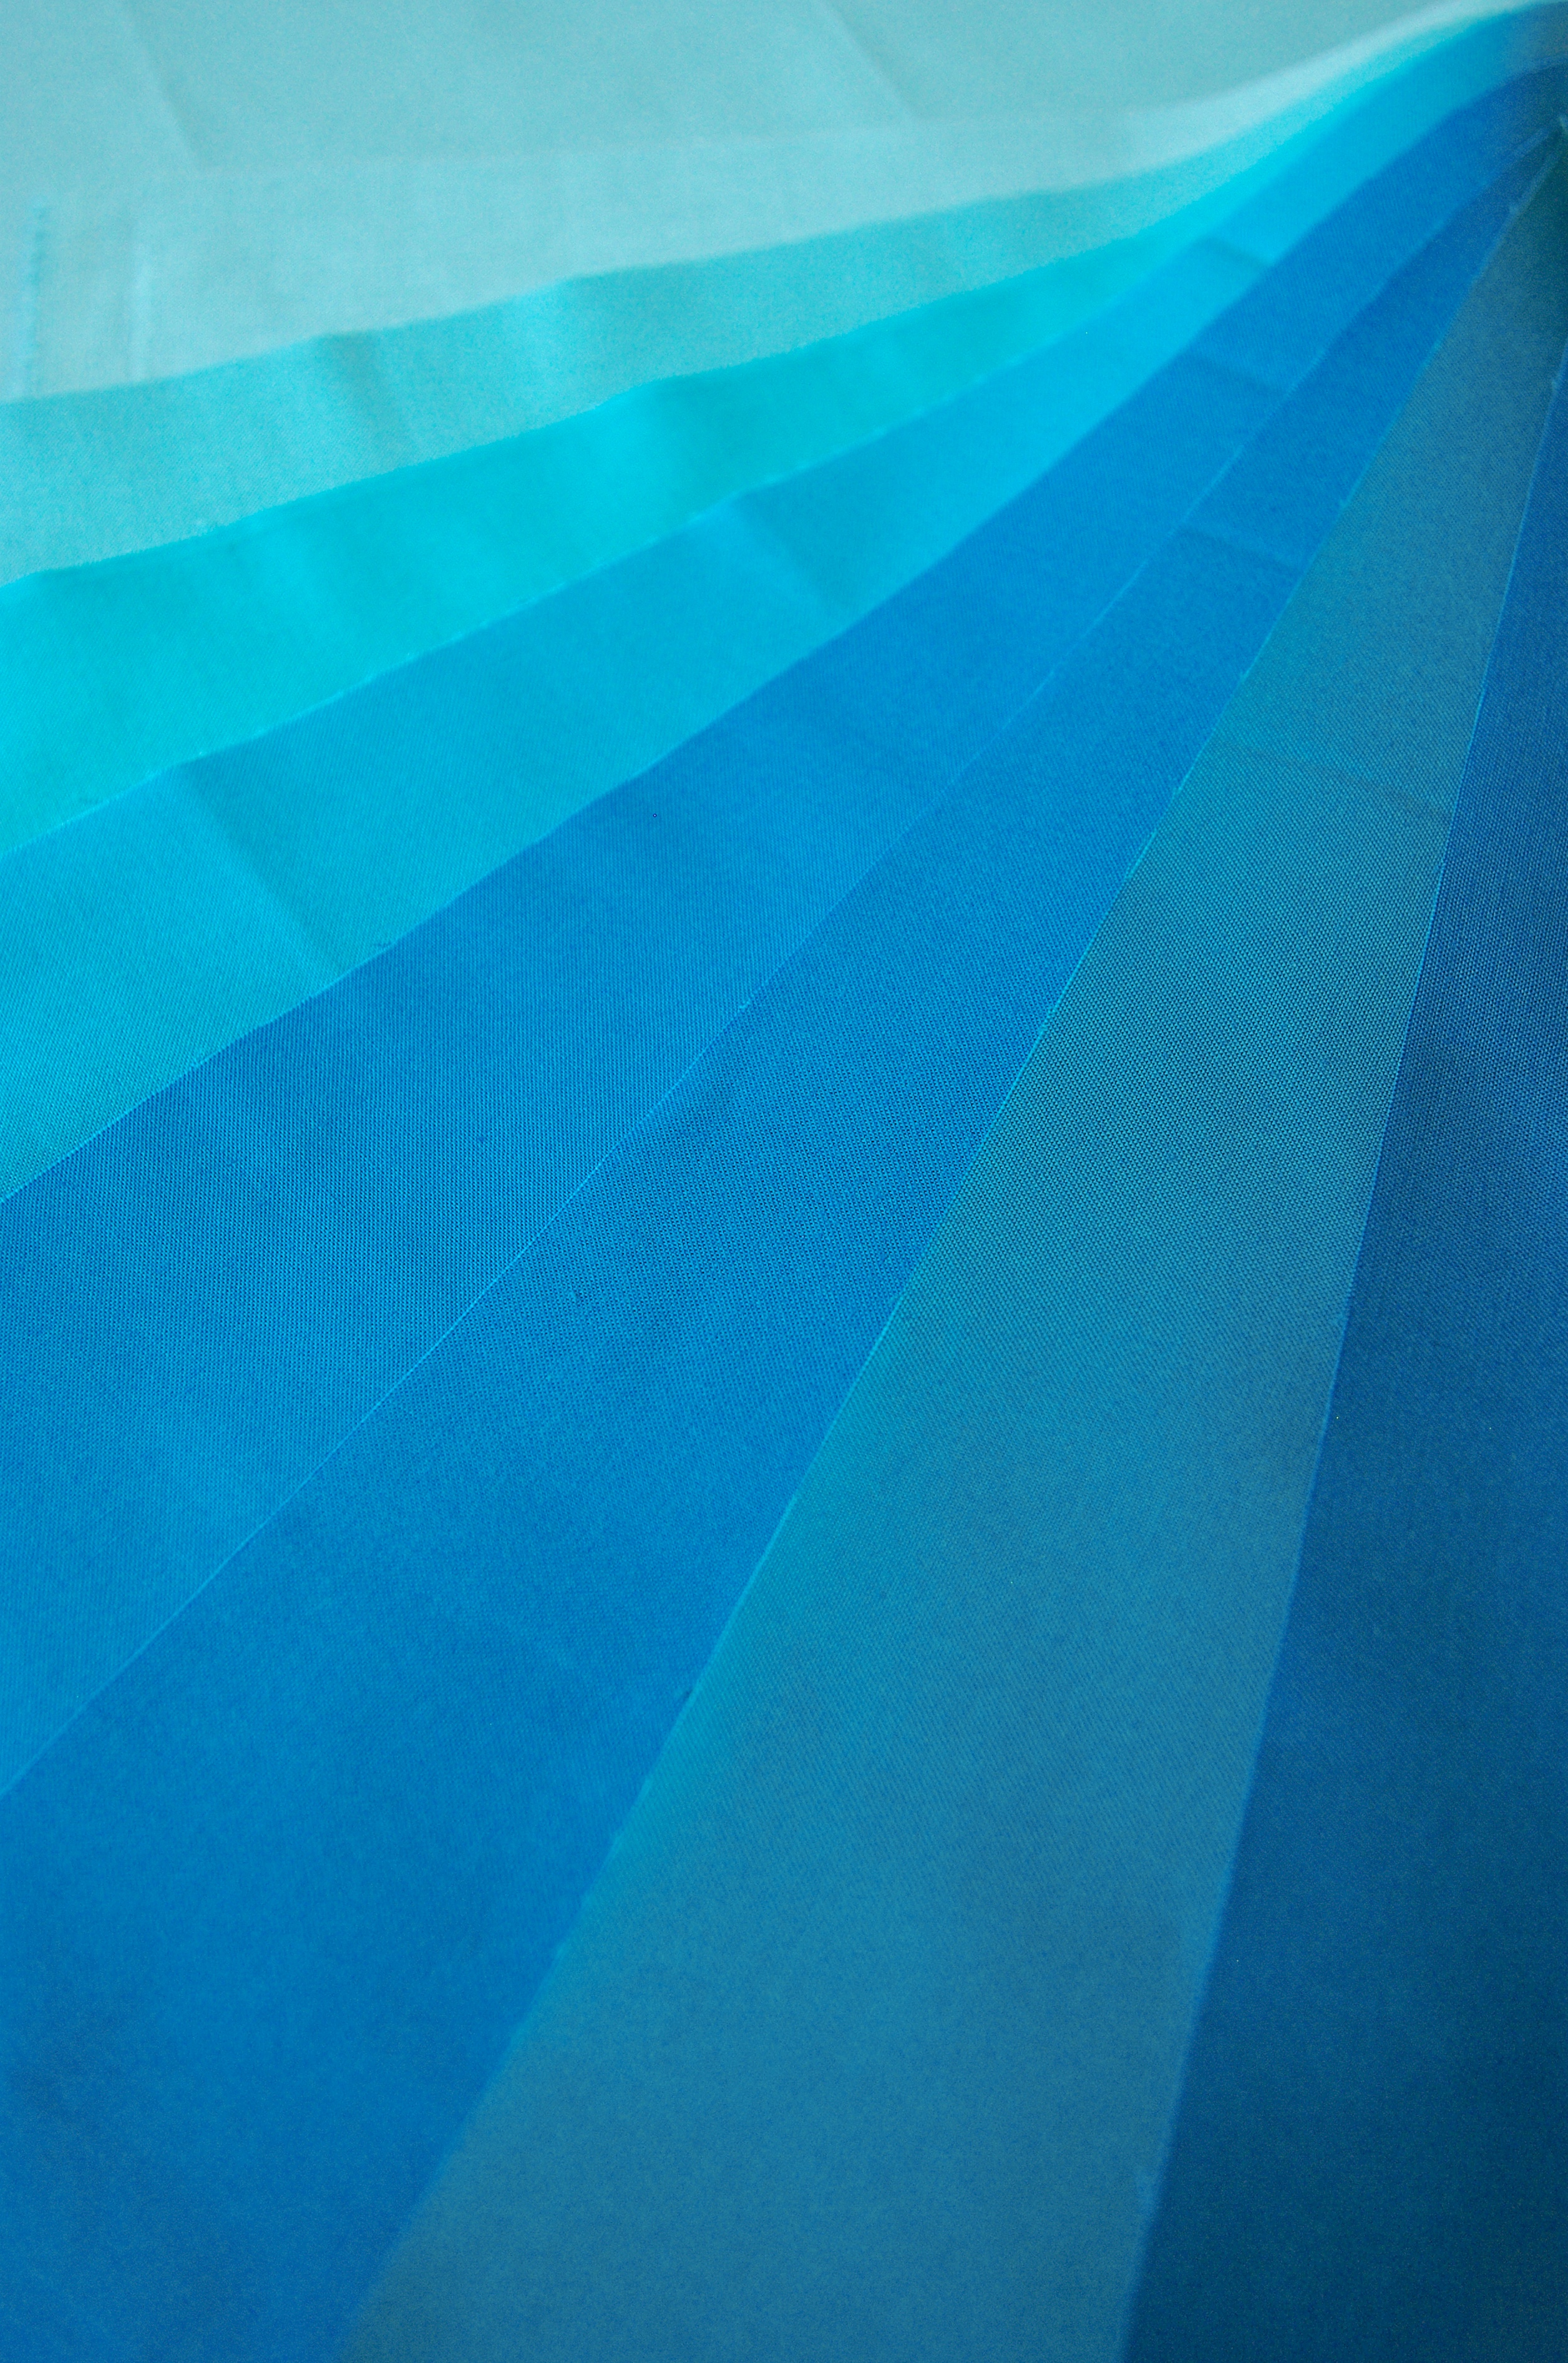
A couple of years ago, with another project in mind, I purchased a 12-piece Kona Cotton fat quarter bundle entitled Pool Party. This lovely collection offered a range of blues and aquas from light to dark with a few deep blue-greens mixed in.
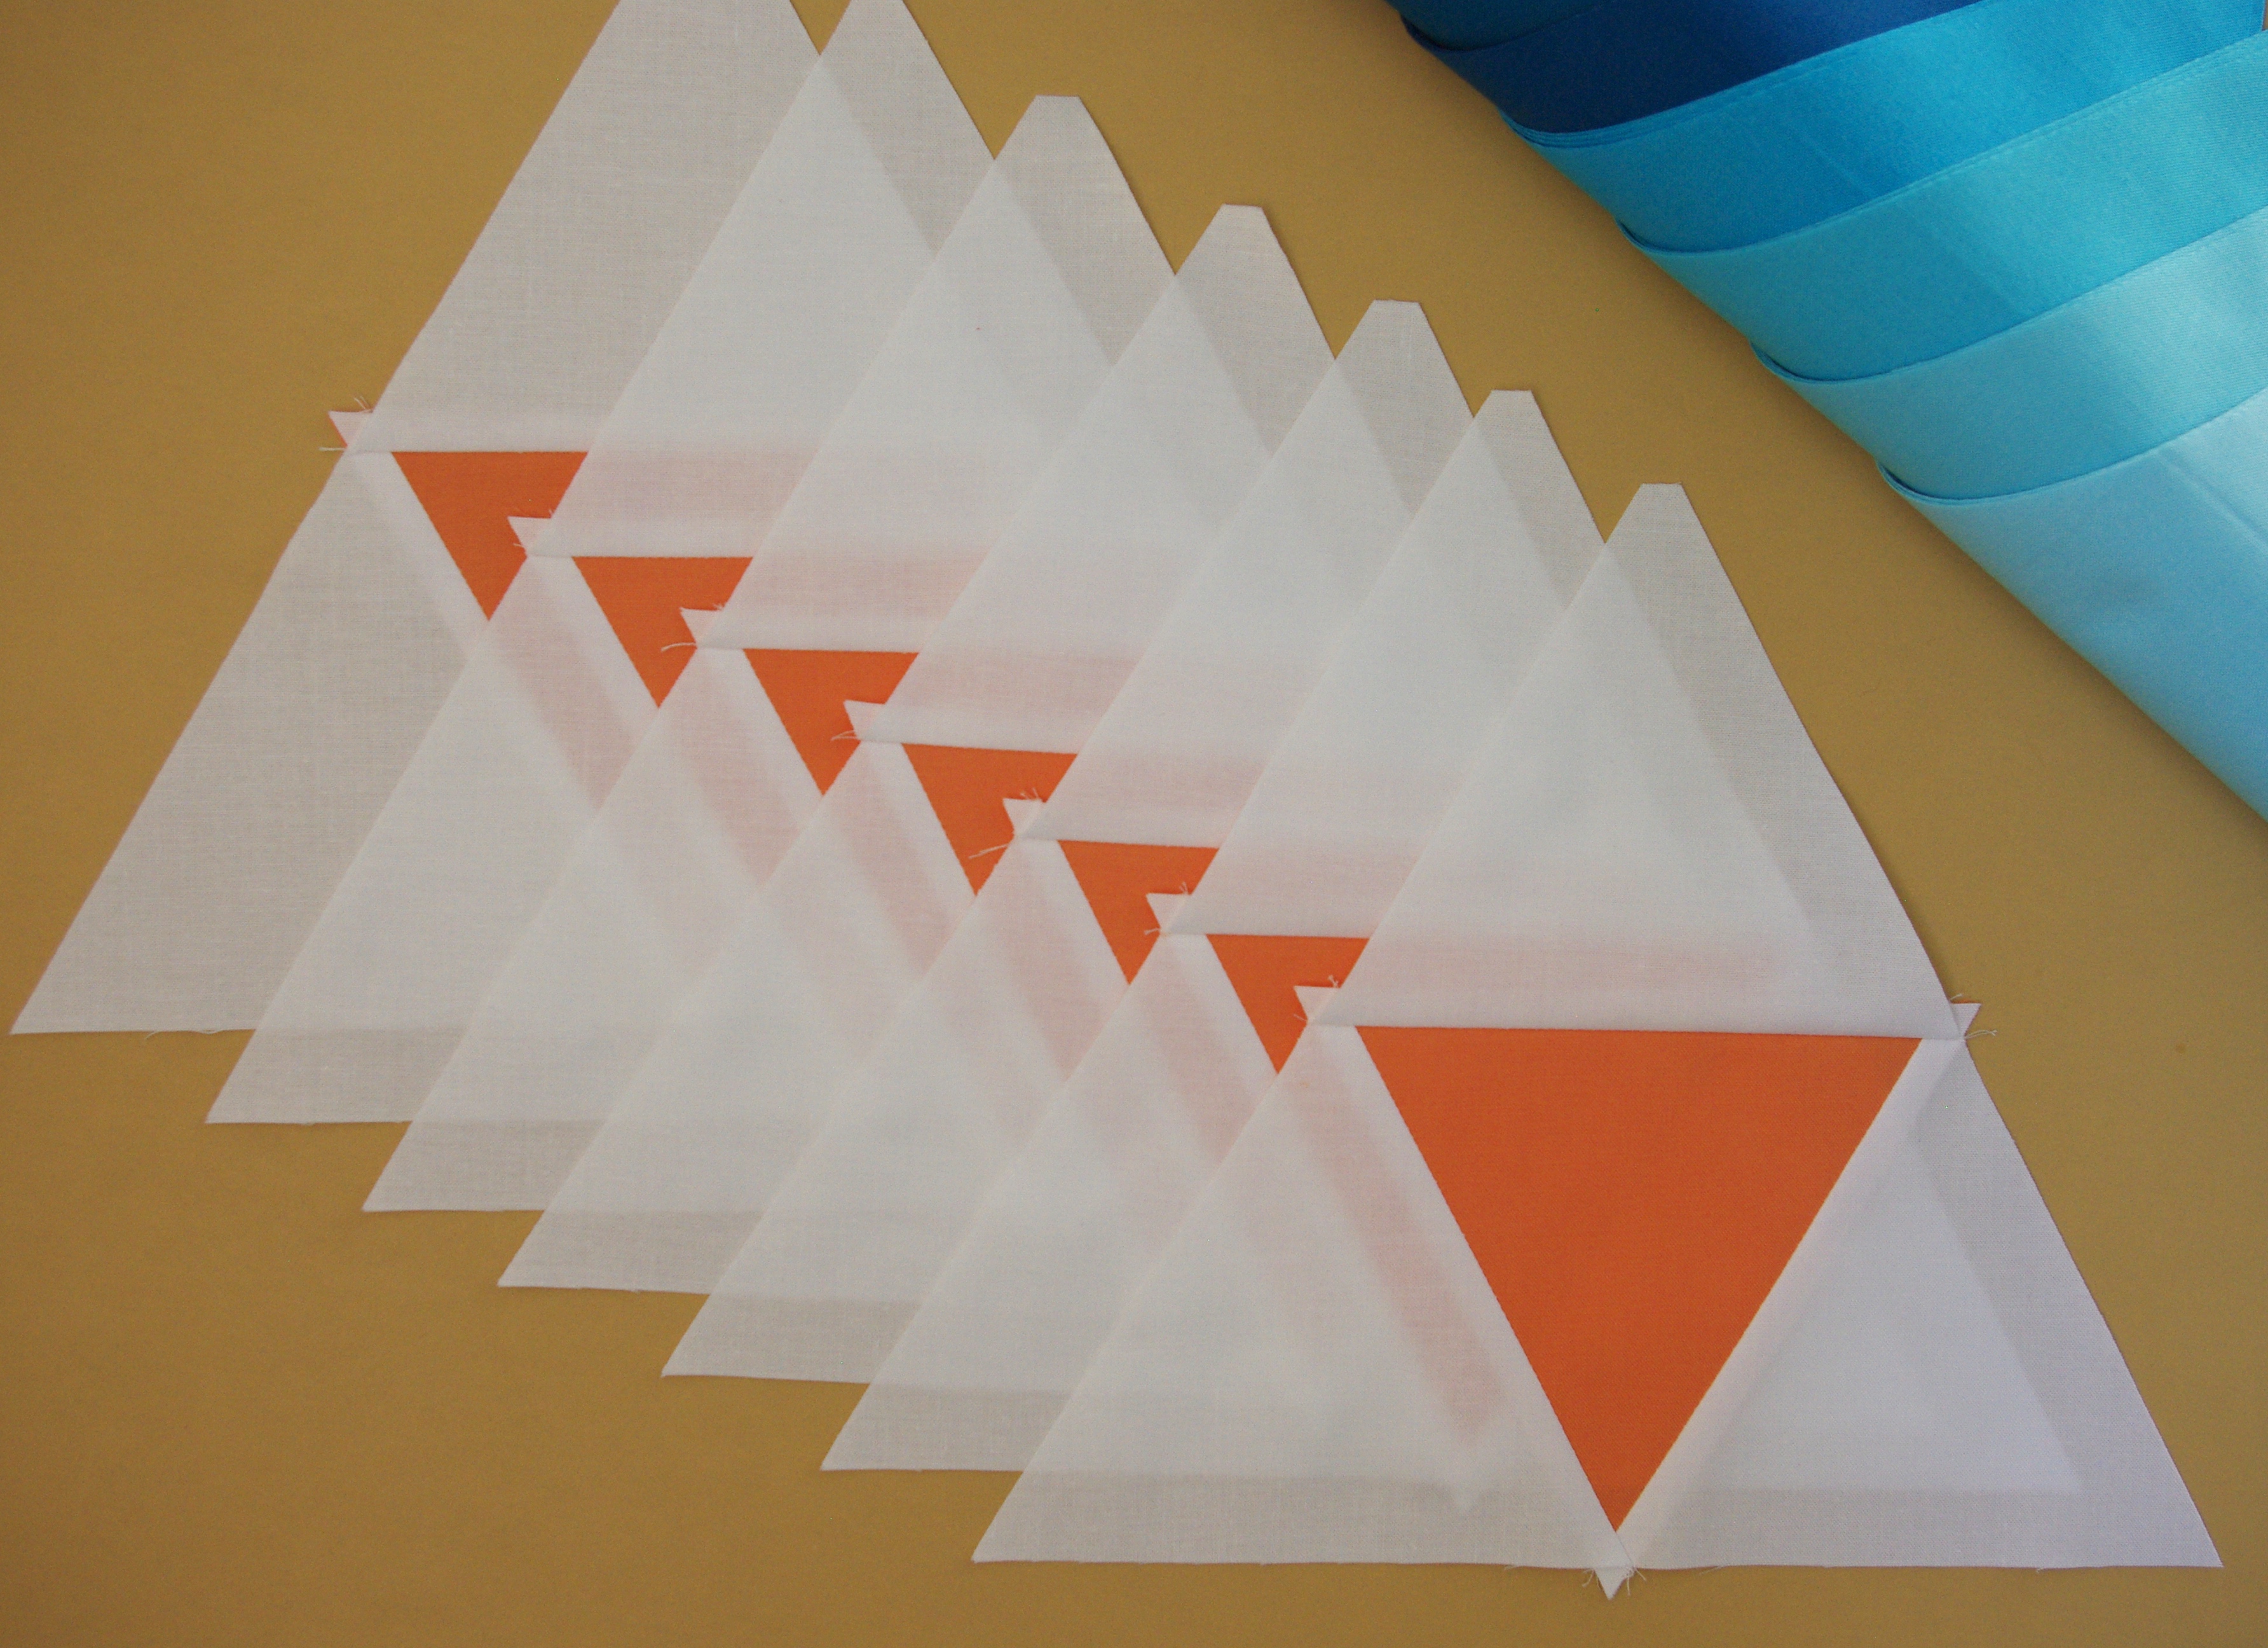
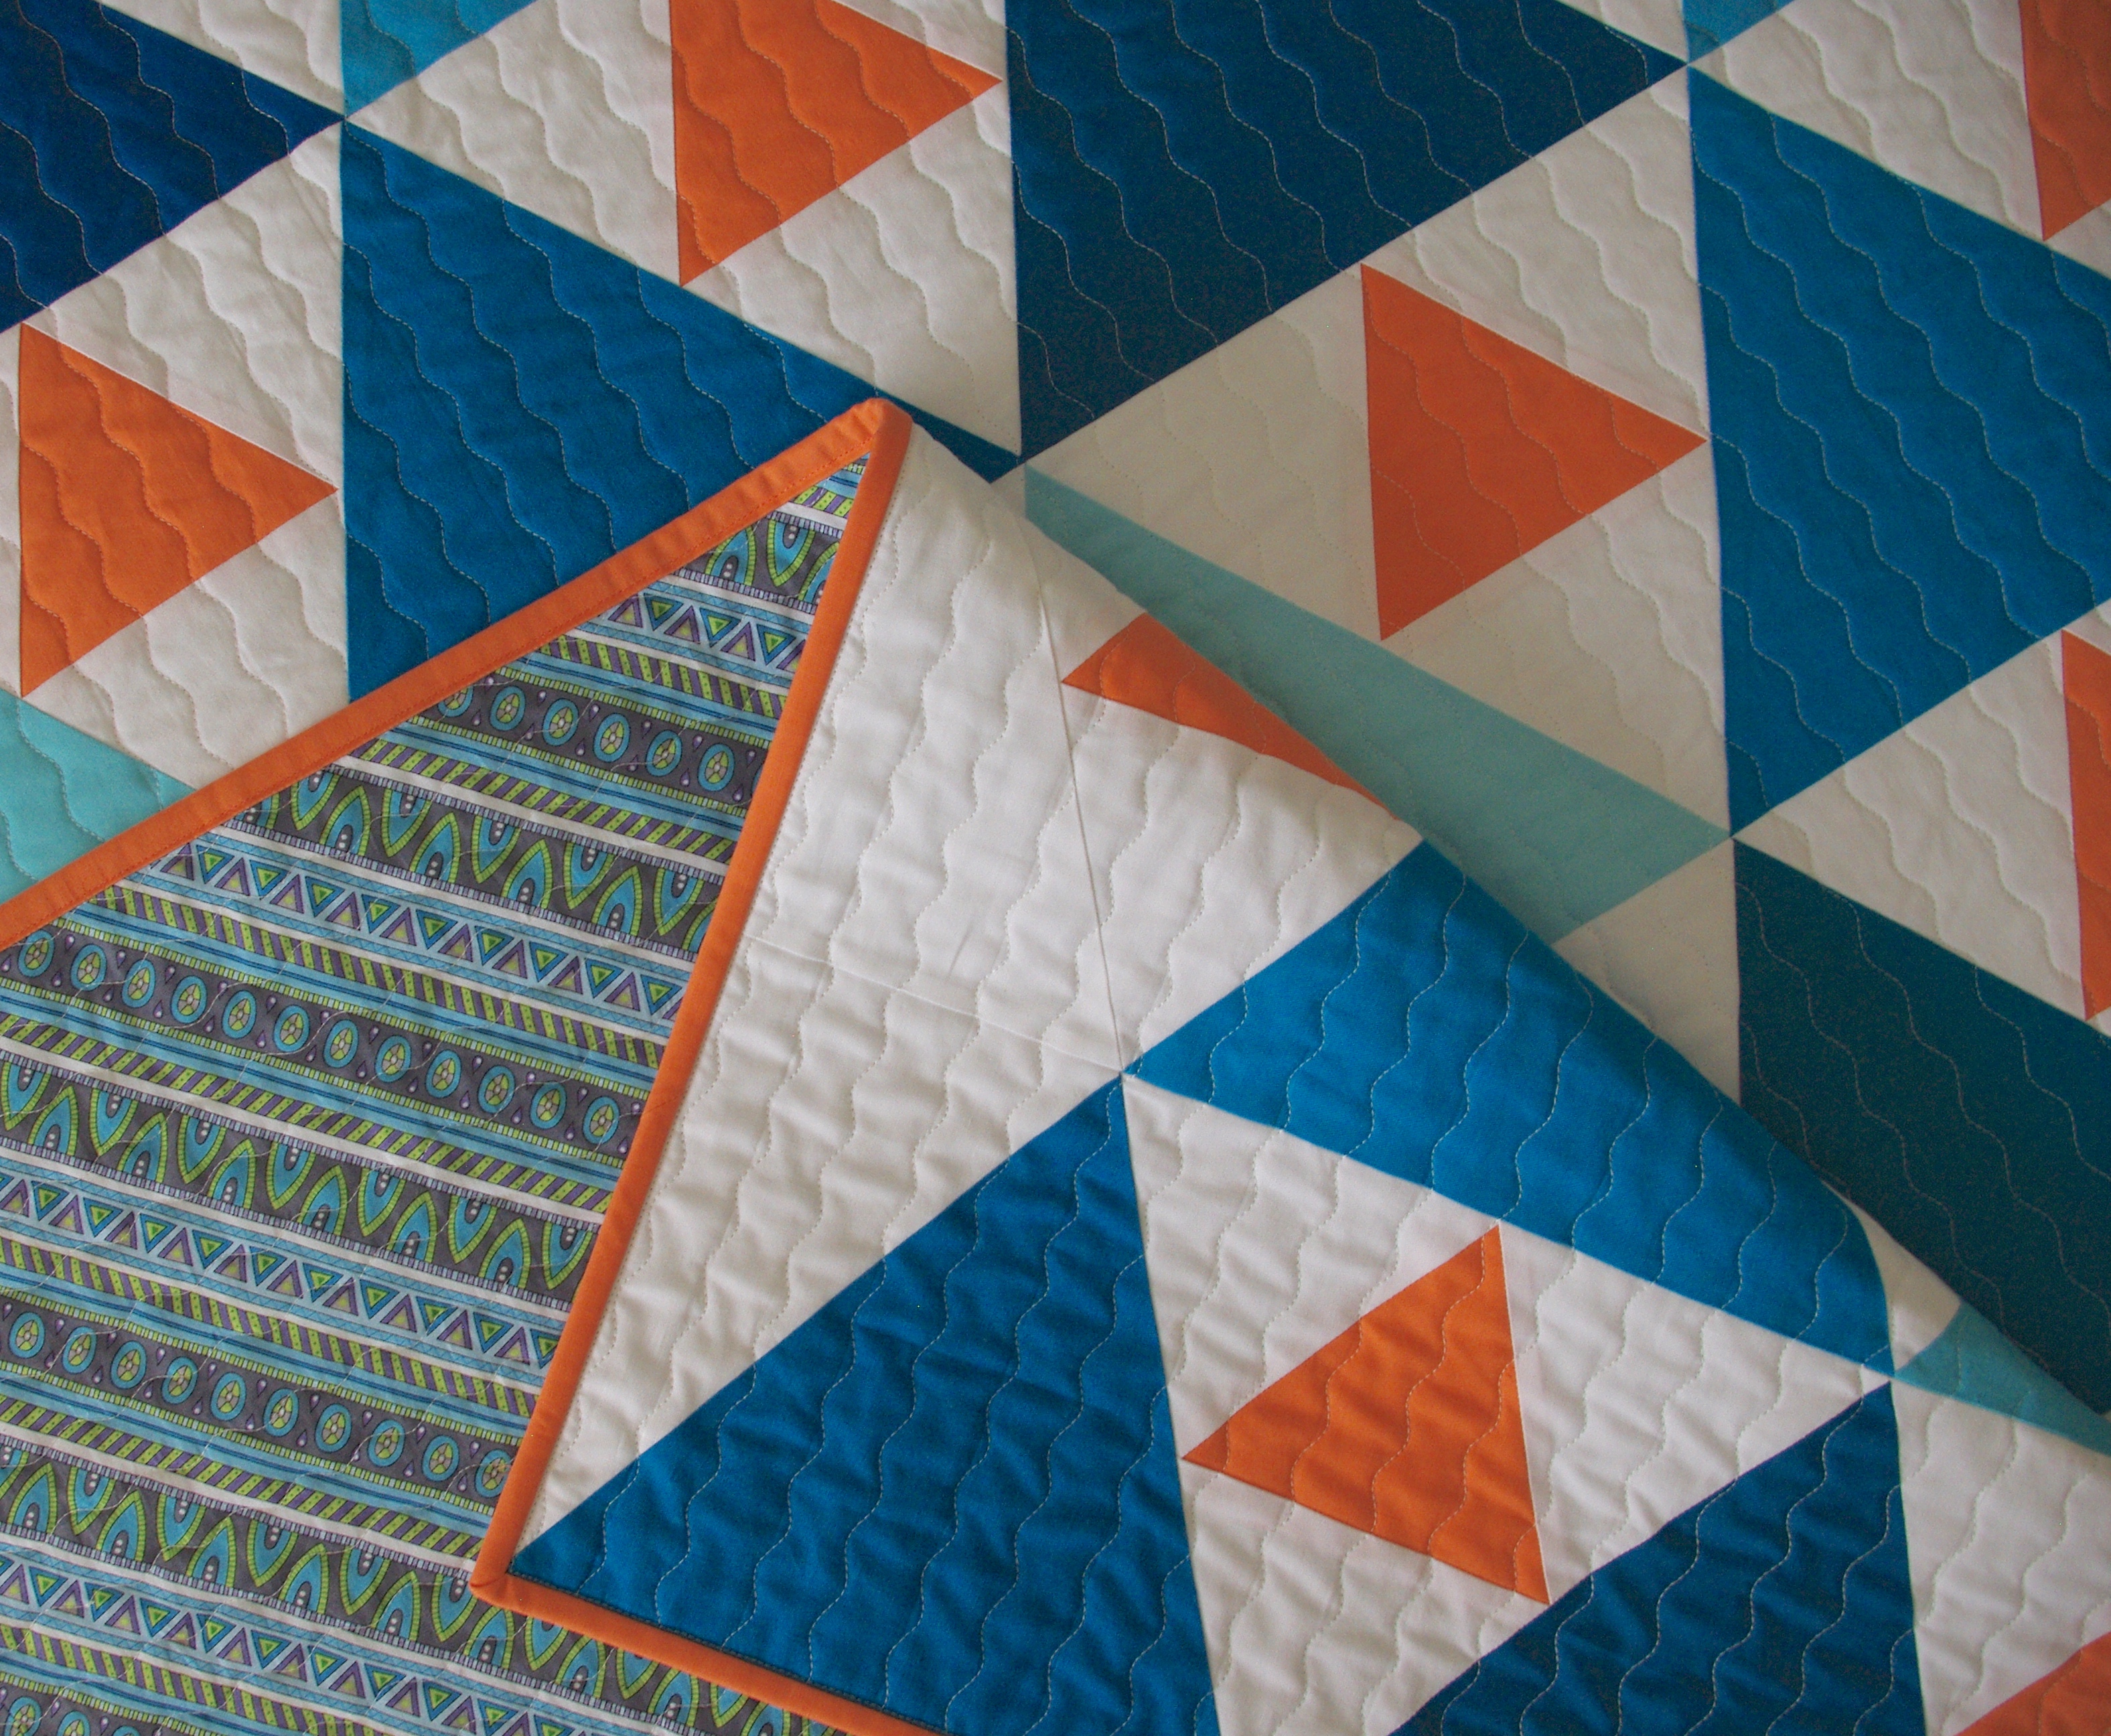
While I don’t consider myself a ‘blue’ person, I really took a liking to this combination. And since that particular project never came to fruition, I pulled my fabric and set out to make my version of a Triangle Peaks quilt. To compliment the blues, I decided on Kona Cotton Mango for my ‘accent’ color (the small triangles) which I did have to purchase, along with backing fabric.
This was my first time working with triangles, which I enjoyed, but bear in mind if you make anything with triangles every one has two bias edges that are prone to stretching if you’re not careful.
I completed the accent triangles first then everything else was ready to sew together. For me, deciding on the layout was the most difficult part. I used only nine of the twelve colors of blue which was enough to spread them out evenly, but it still took some time to make sure the like-colors were far enough away from one another.
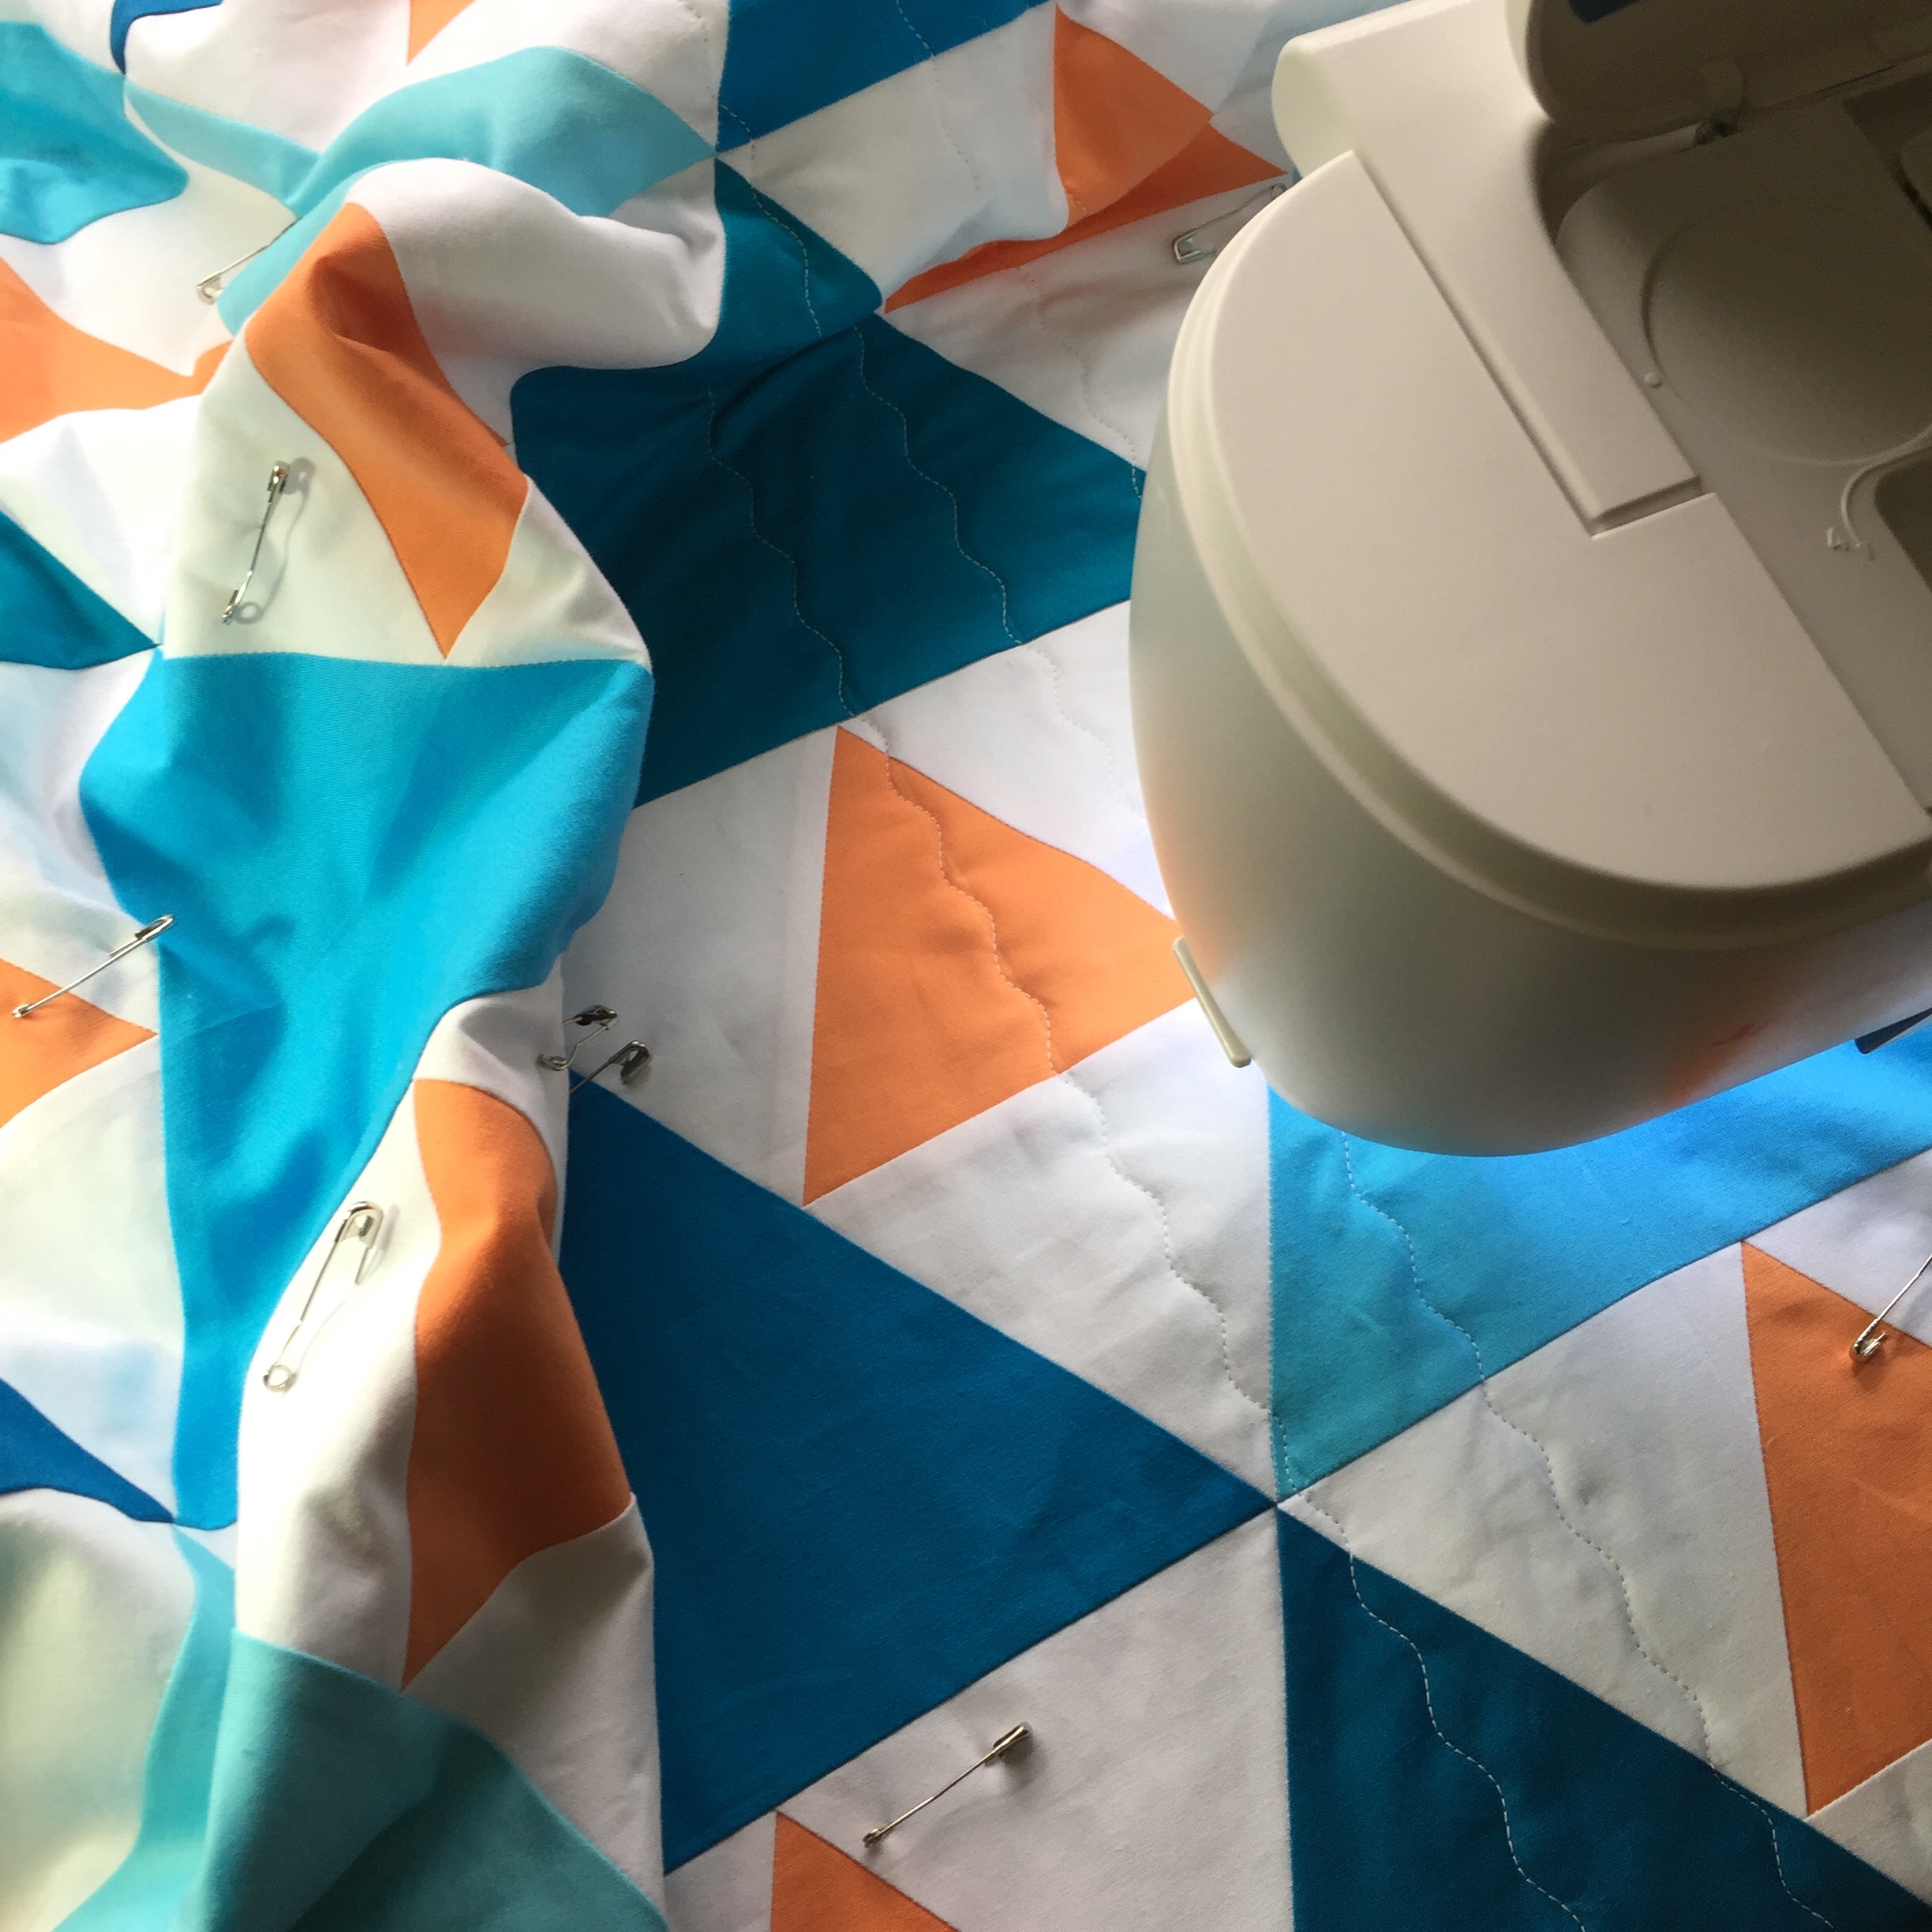
Once the top was finished it was time for quilting. If you’ve read my blog posts in the past you know I don’t exactly love the quilting aspect. If I could afford it I would have just about everything longarmed! But since I can’t, I end up doing quite a bit myself.
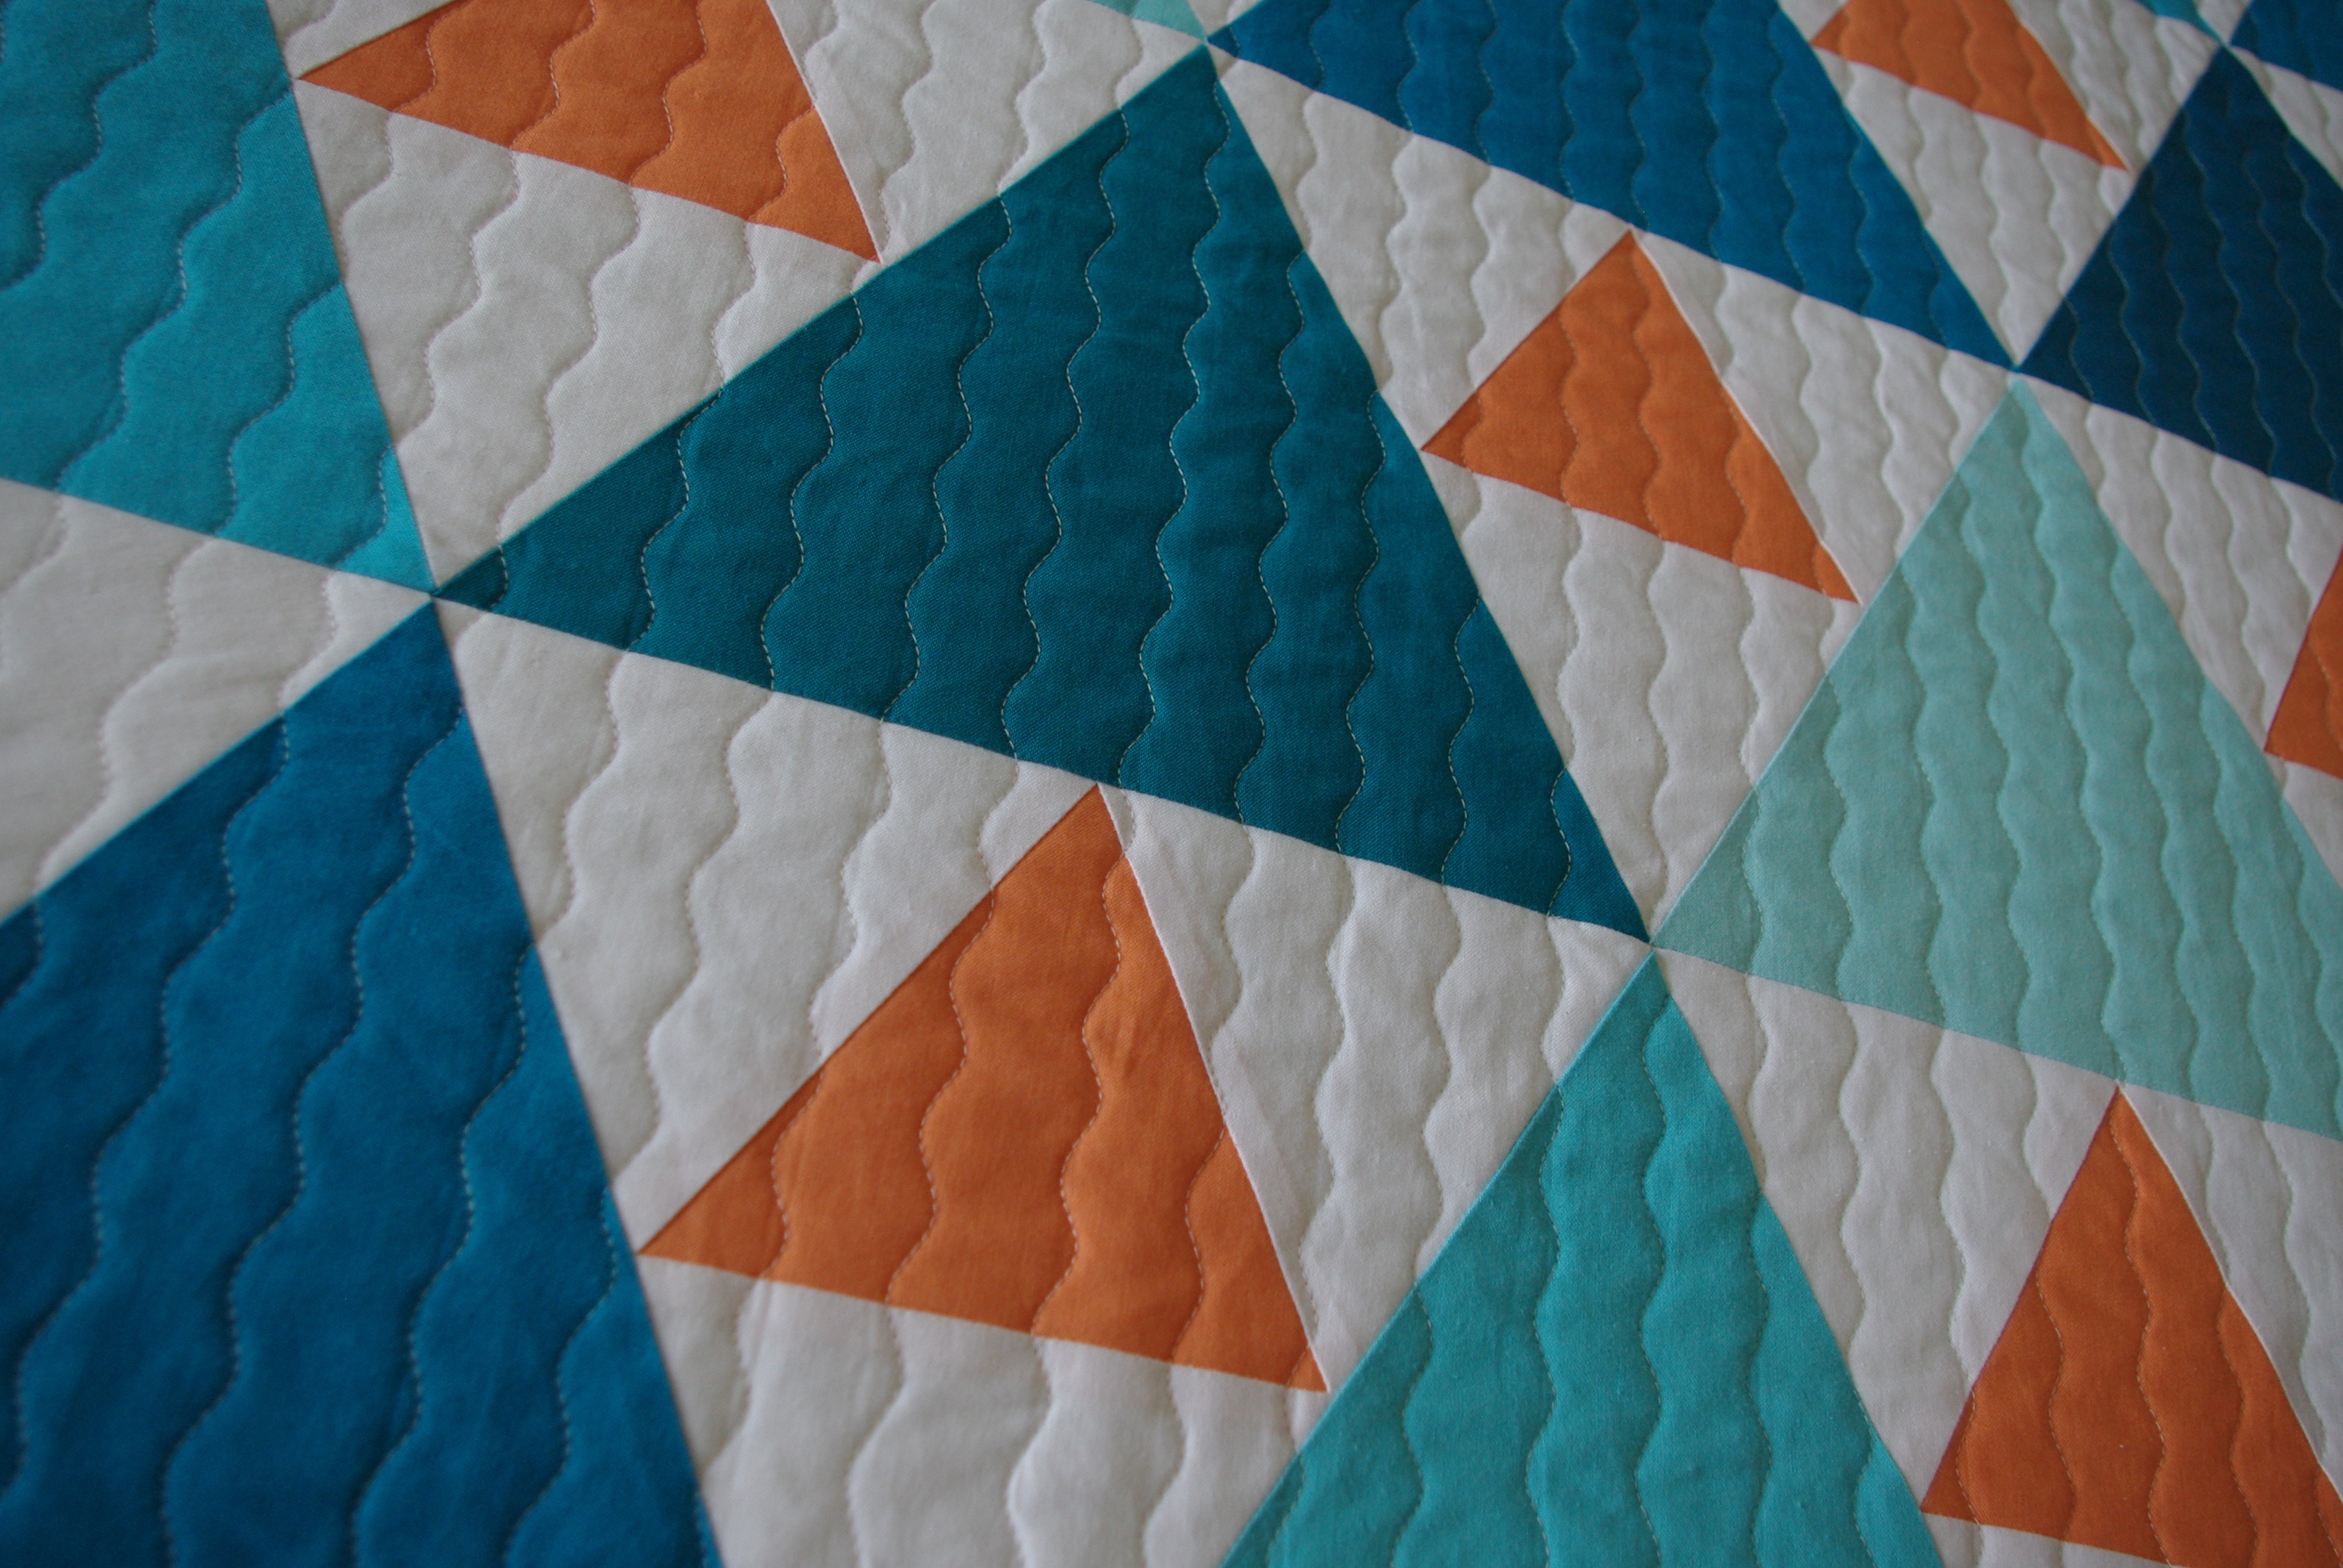
Since this quilt is so modern and angular, I felt the quilting needed to softened it up. That said, I decided on vertical lines using my serpentine stitch. Maybe subconsciously I thought it would give it a wavy, watery feel. 🙂
After sewing my basting stitches across the top (to help reduce shifting and pulling) I started quilting from the middle then to the right, marking lines every 1 ¾” with a hera marker. This process took forever! But I admit, I’m pretty slow.
Once all the 1 ¾” lines were finished, I used my guide to quilt the lines in between. This saves time from marking rows, and it works well, my lines were fairly accurately spaced.

I think the serpentine stitch was a great choice.
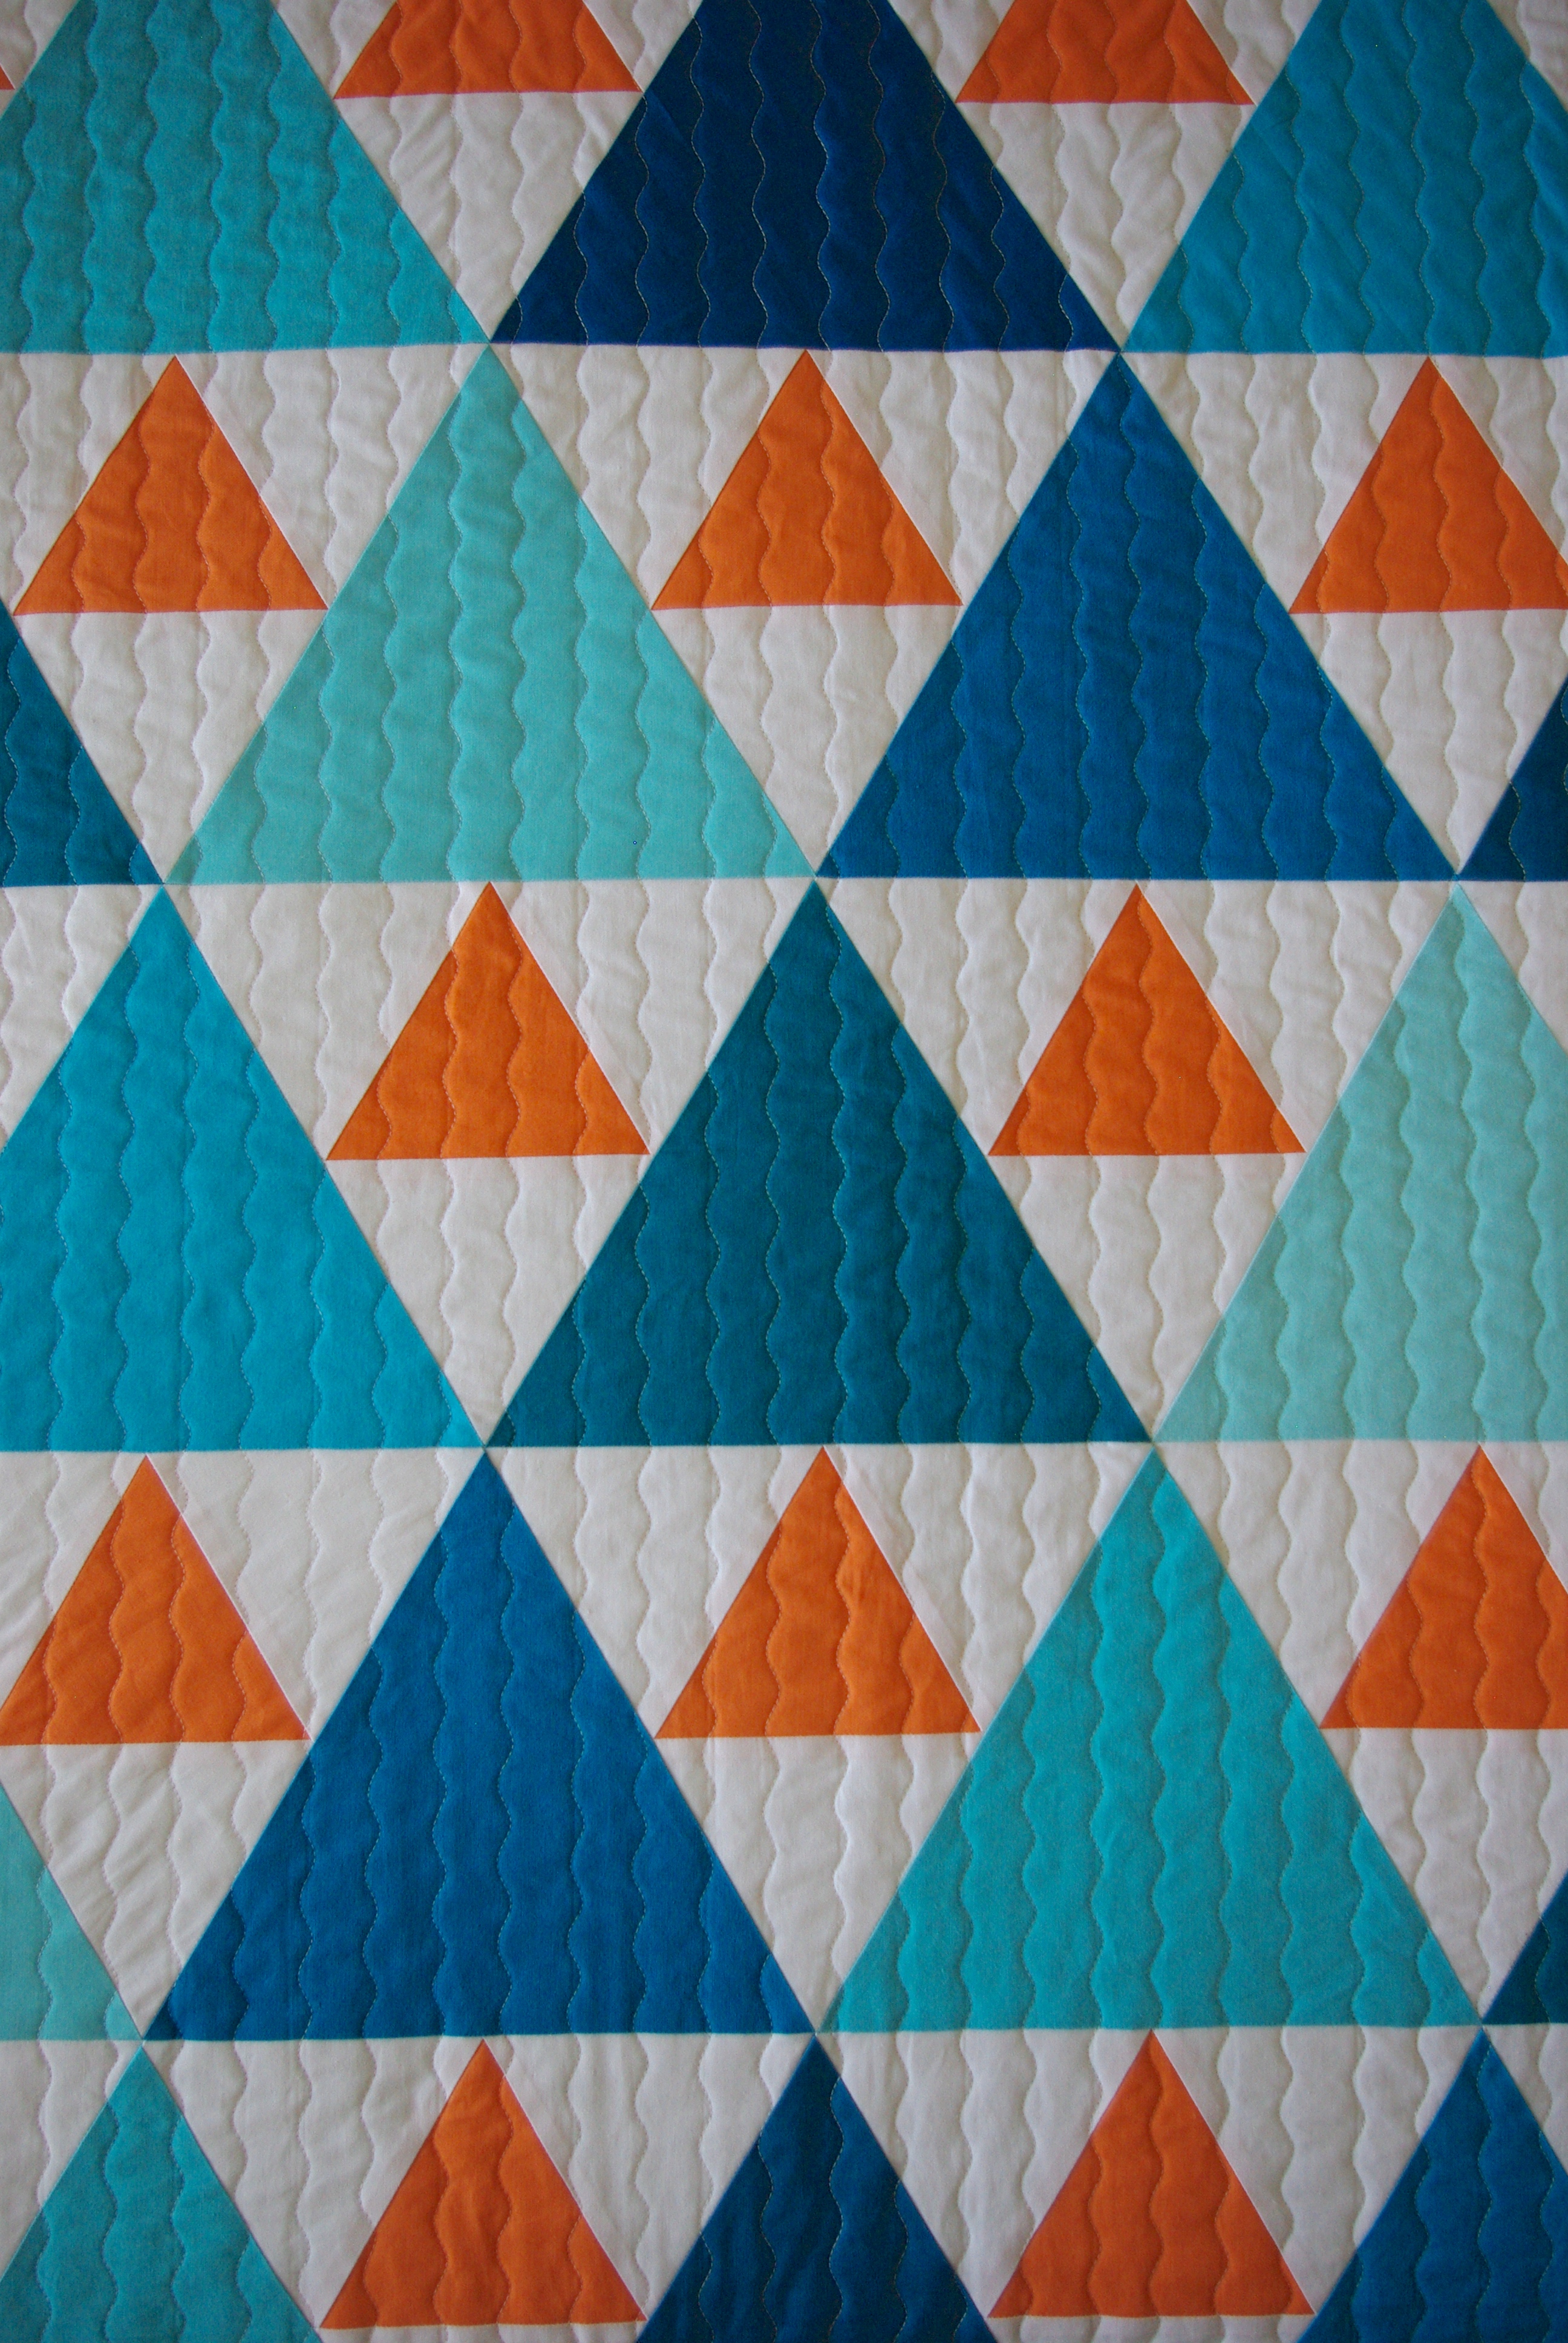
It ended up that I didn’t mind quilting this one at all. I kind of went into auto pilot mode, just plugging away row after row. It took me more hours than I could count but I love the results.
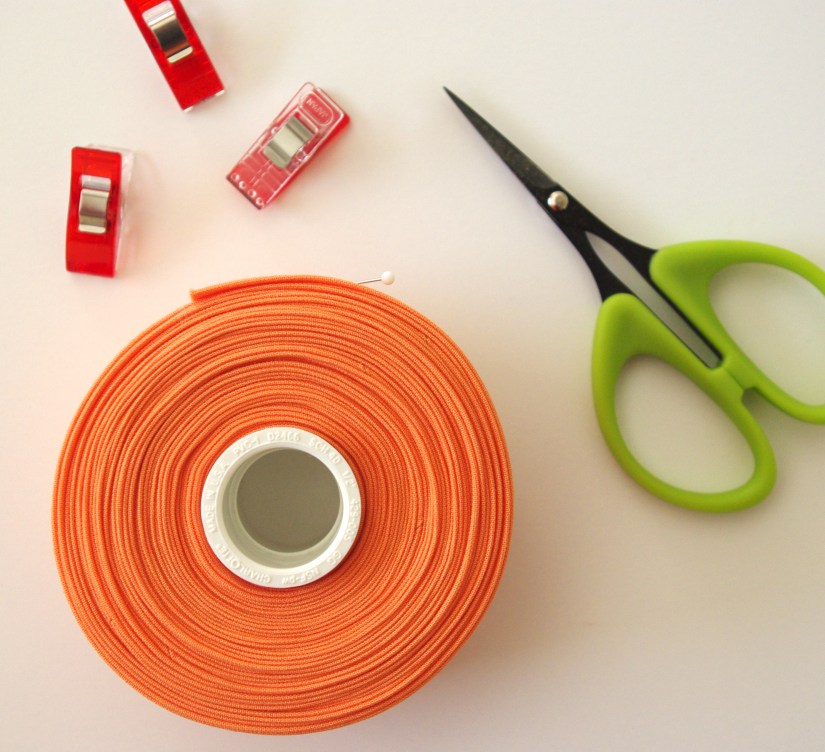
I used Kona Cotton Mango for the binding.
Here’s my finished throw size quilt.
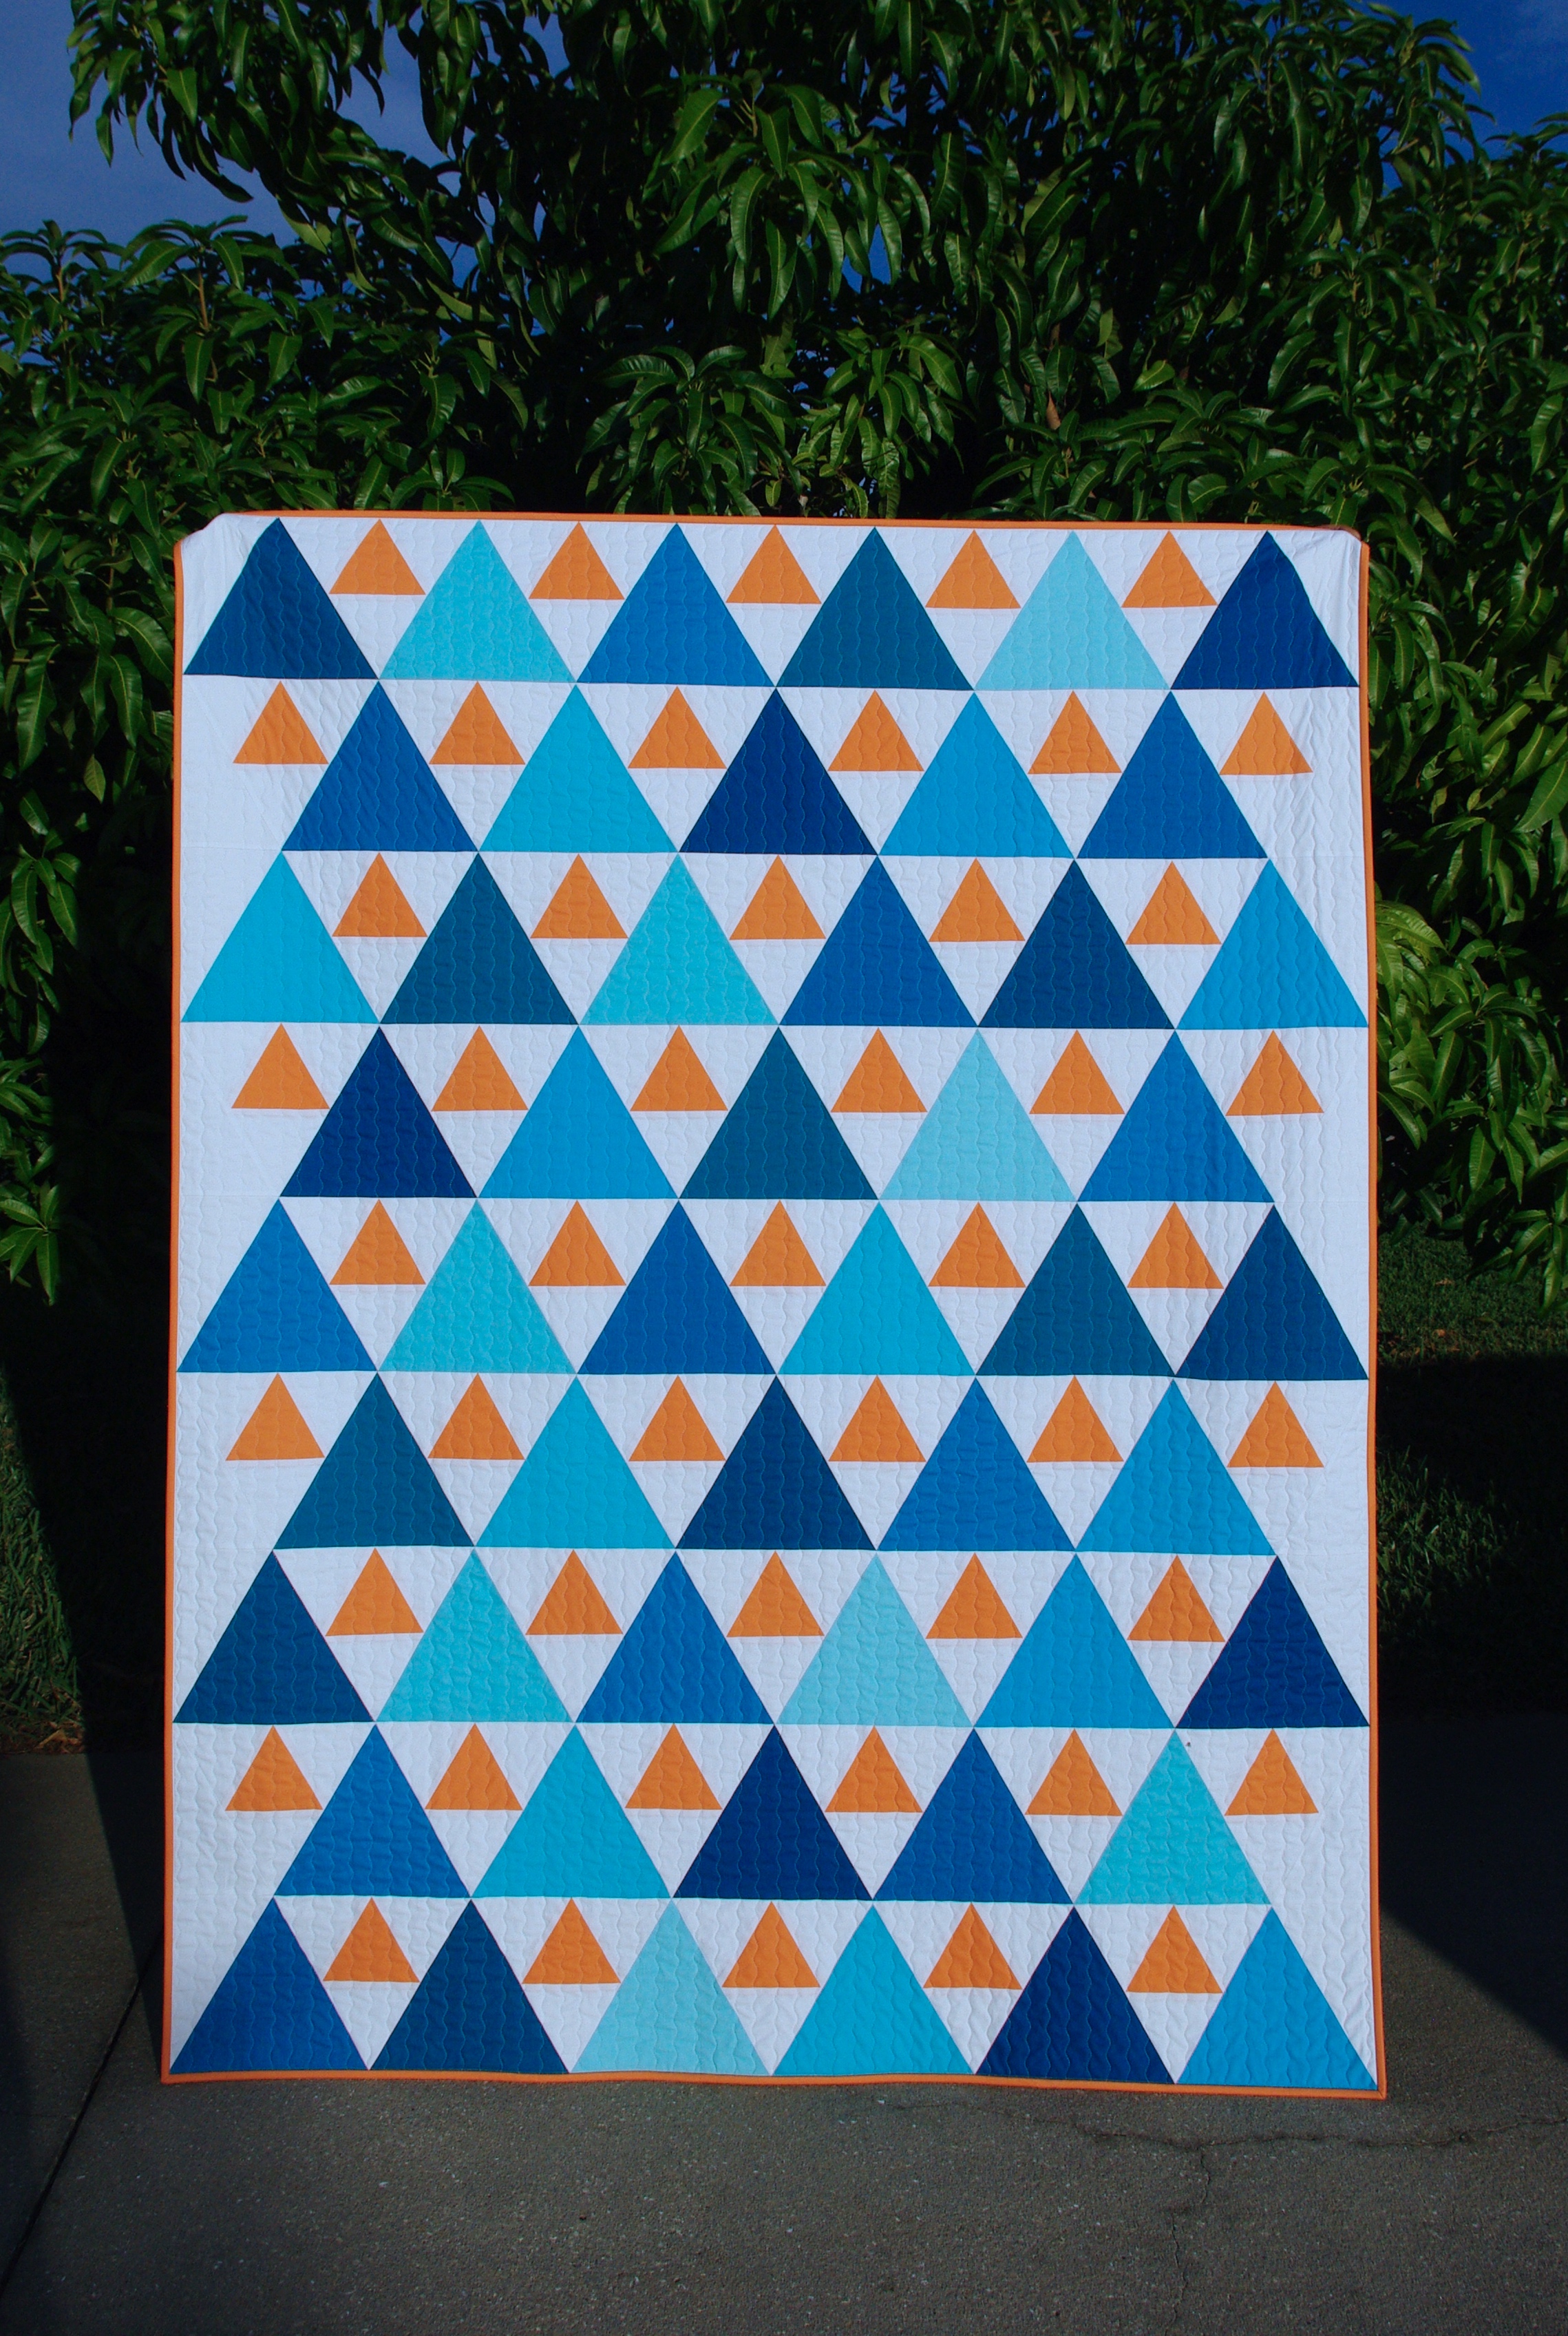
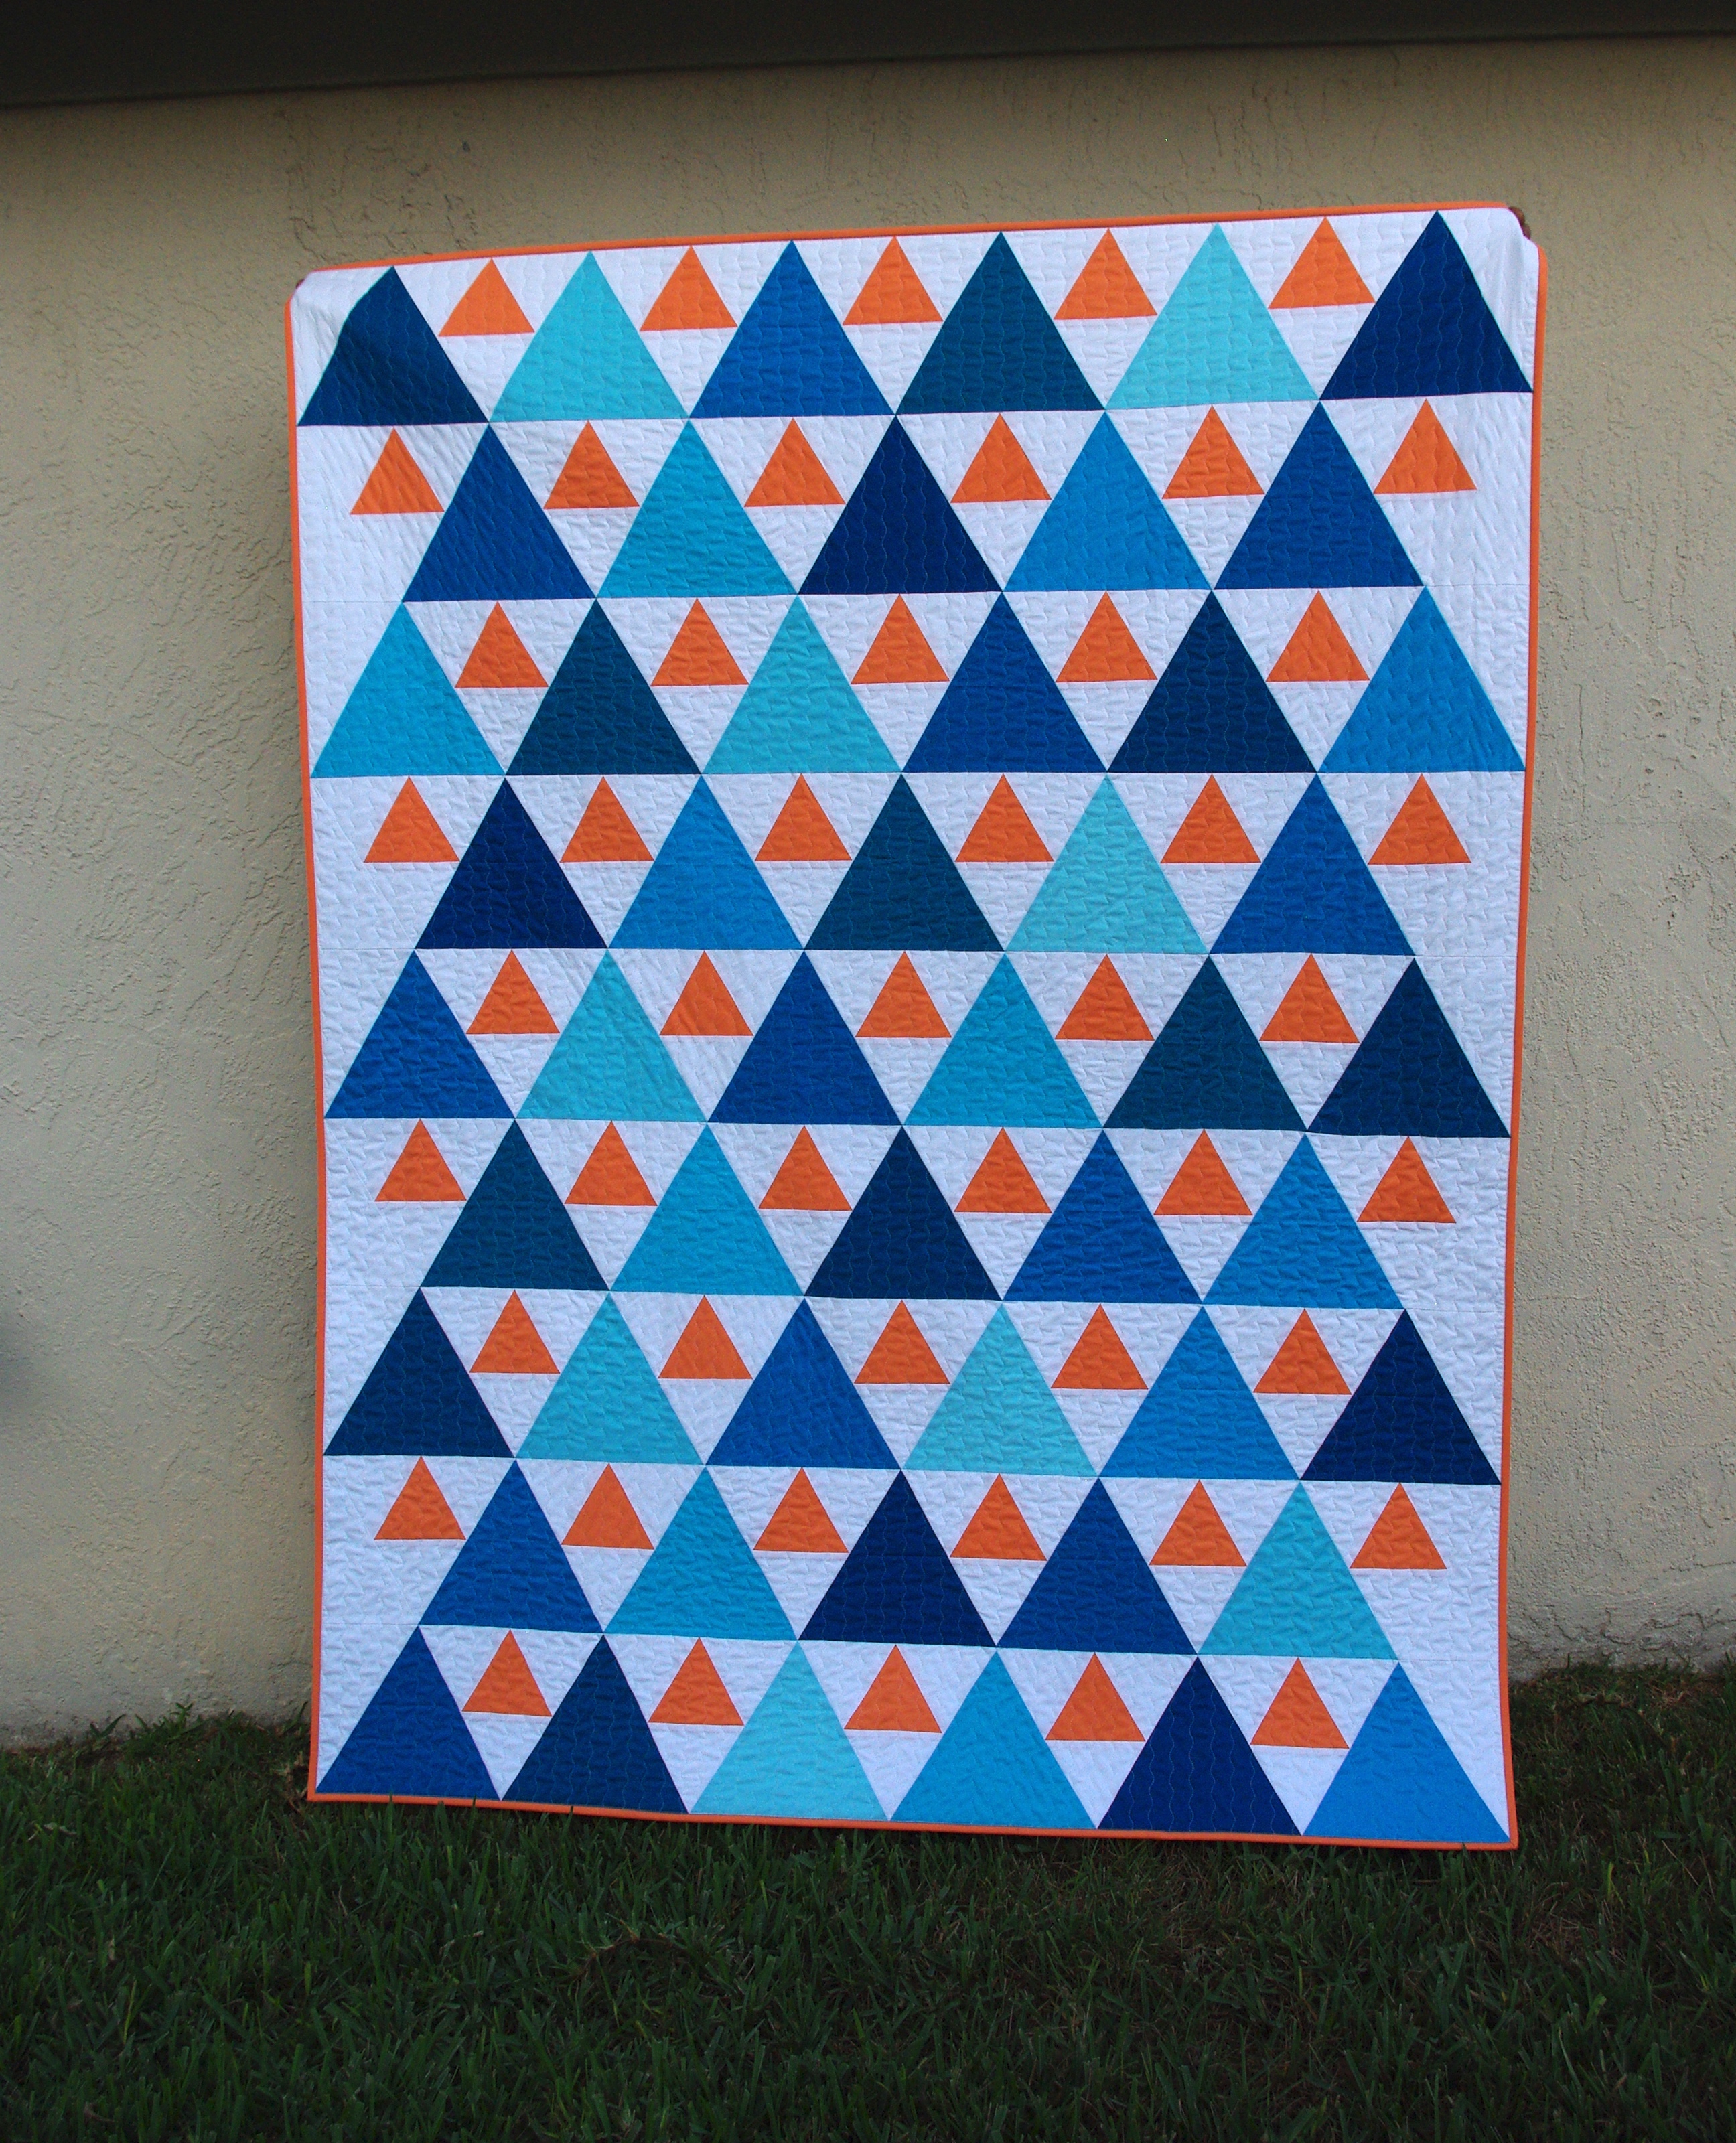
I’m really happy with this one and plan to get some good use out of it!
