Uncategorized

Sewing Tip: Save on Thread

When I bought my sewing machine a few years ago, the sales lady gave me very thorough instructions on machine use, even though I didn’t think it necessary…then one particular thing got my attention—how to ‘unthread’ the machine. I’m sure it’s not really known as that, but changing thread is something we do all the time.

Until then I always pulled the thread from the spool back through my machine, but thanks to Karen I now know that can cause tension issues as the machine is made for thread to go out in only one direction via the needle. That said, the proper way to remove thread is to cut it from the spool and pull it through the bottom. Am I the only person who didn’t know this? Probably. 😉 It makes perfect sense, and I’m glad for the tip because tension problems are the worst.

As time went by and after several thread changes, I realized it’s a lot of waste to throw those strands away. Since thread is expensive and I don’t like waste, I had to ask myself ‘what can I do with these strands?’ I didn’t know at first, I just started saving them on my pincushion.

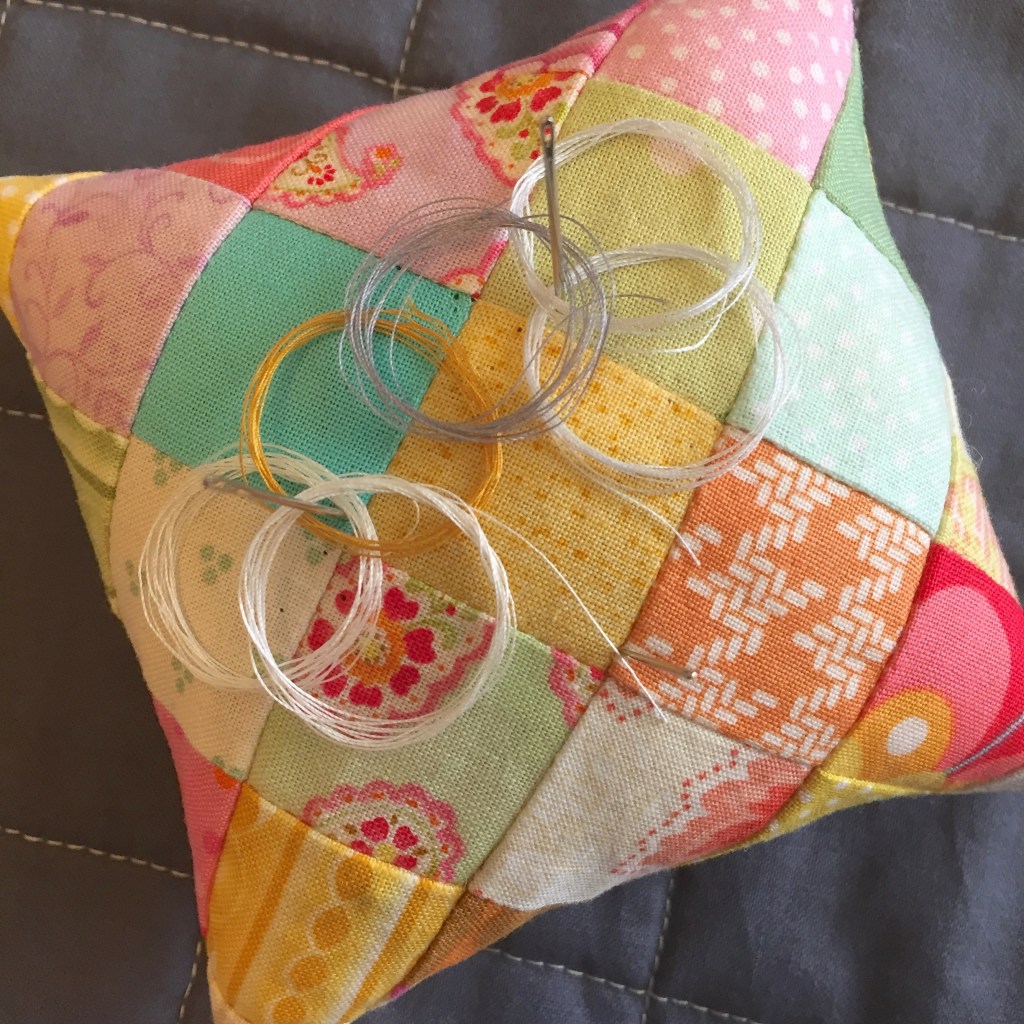
My thread cutaways measure about 24″ long, so it doesn’t go all that far, but I’ve come up with a few tips on putting them to good use.

  • Keep a needle or two threaded, it’s a great way to save time when in a hurry.
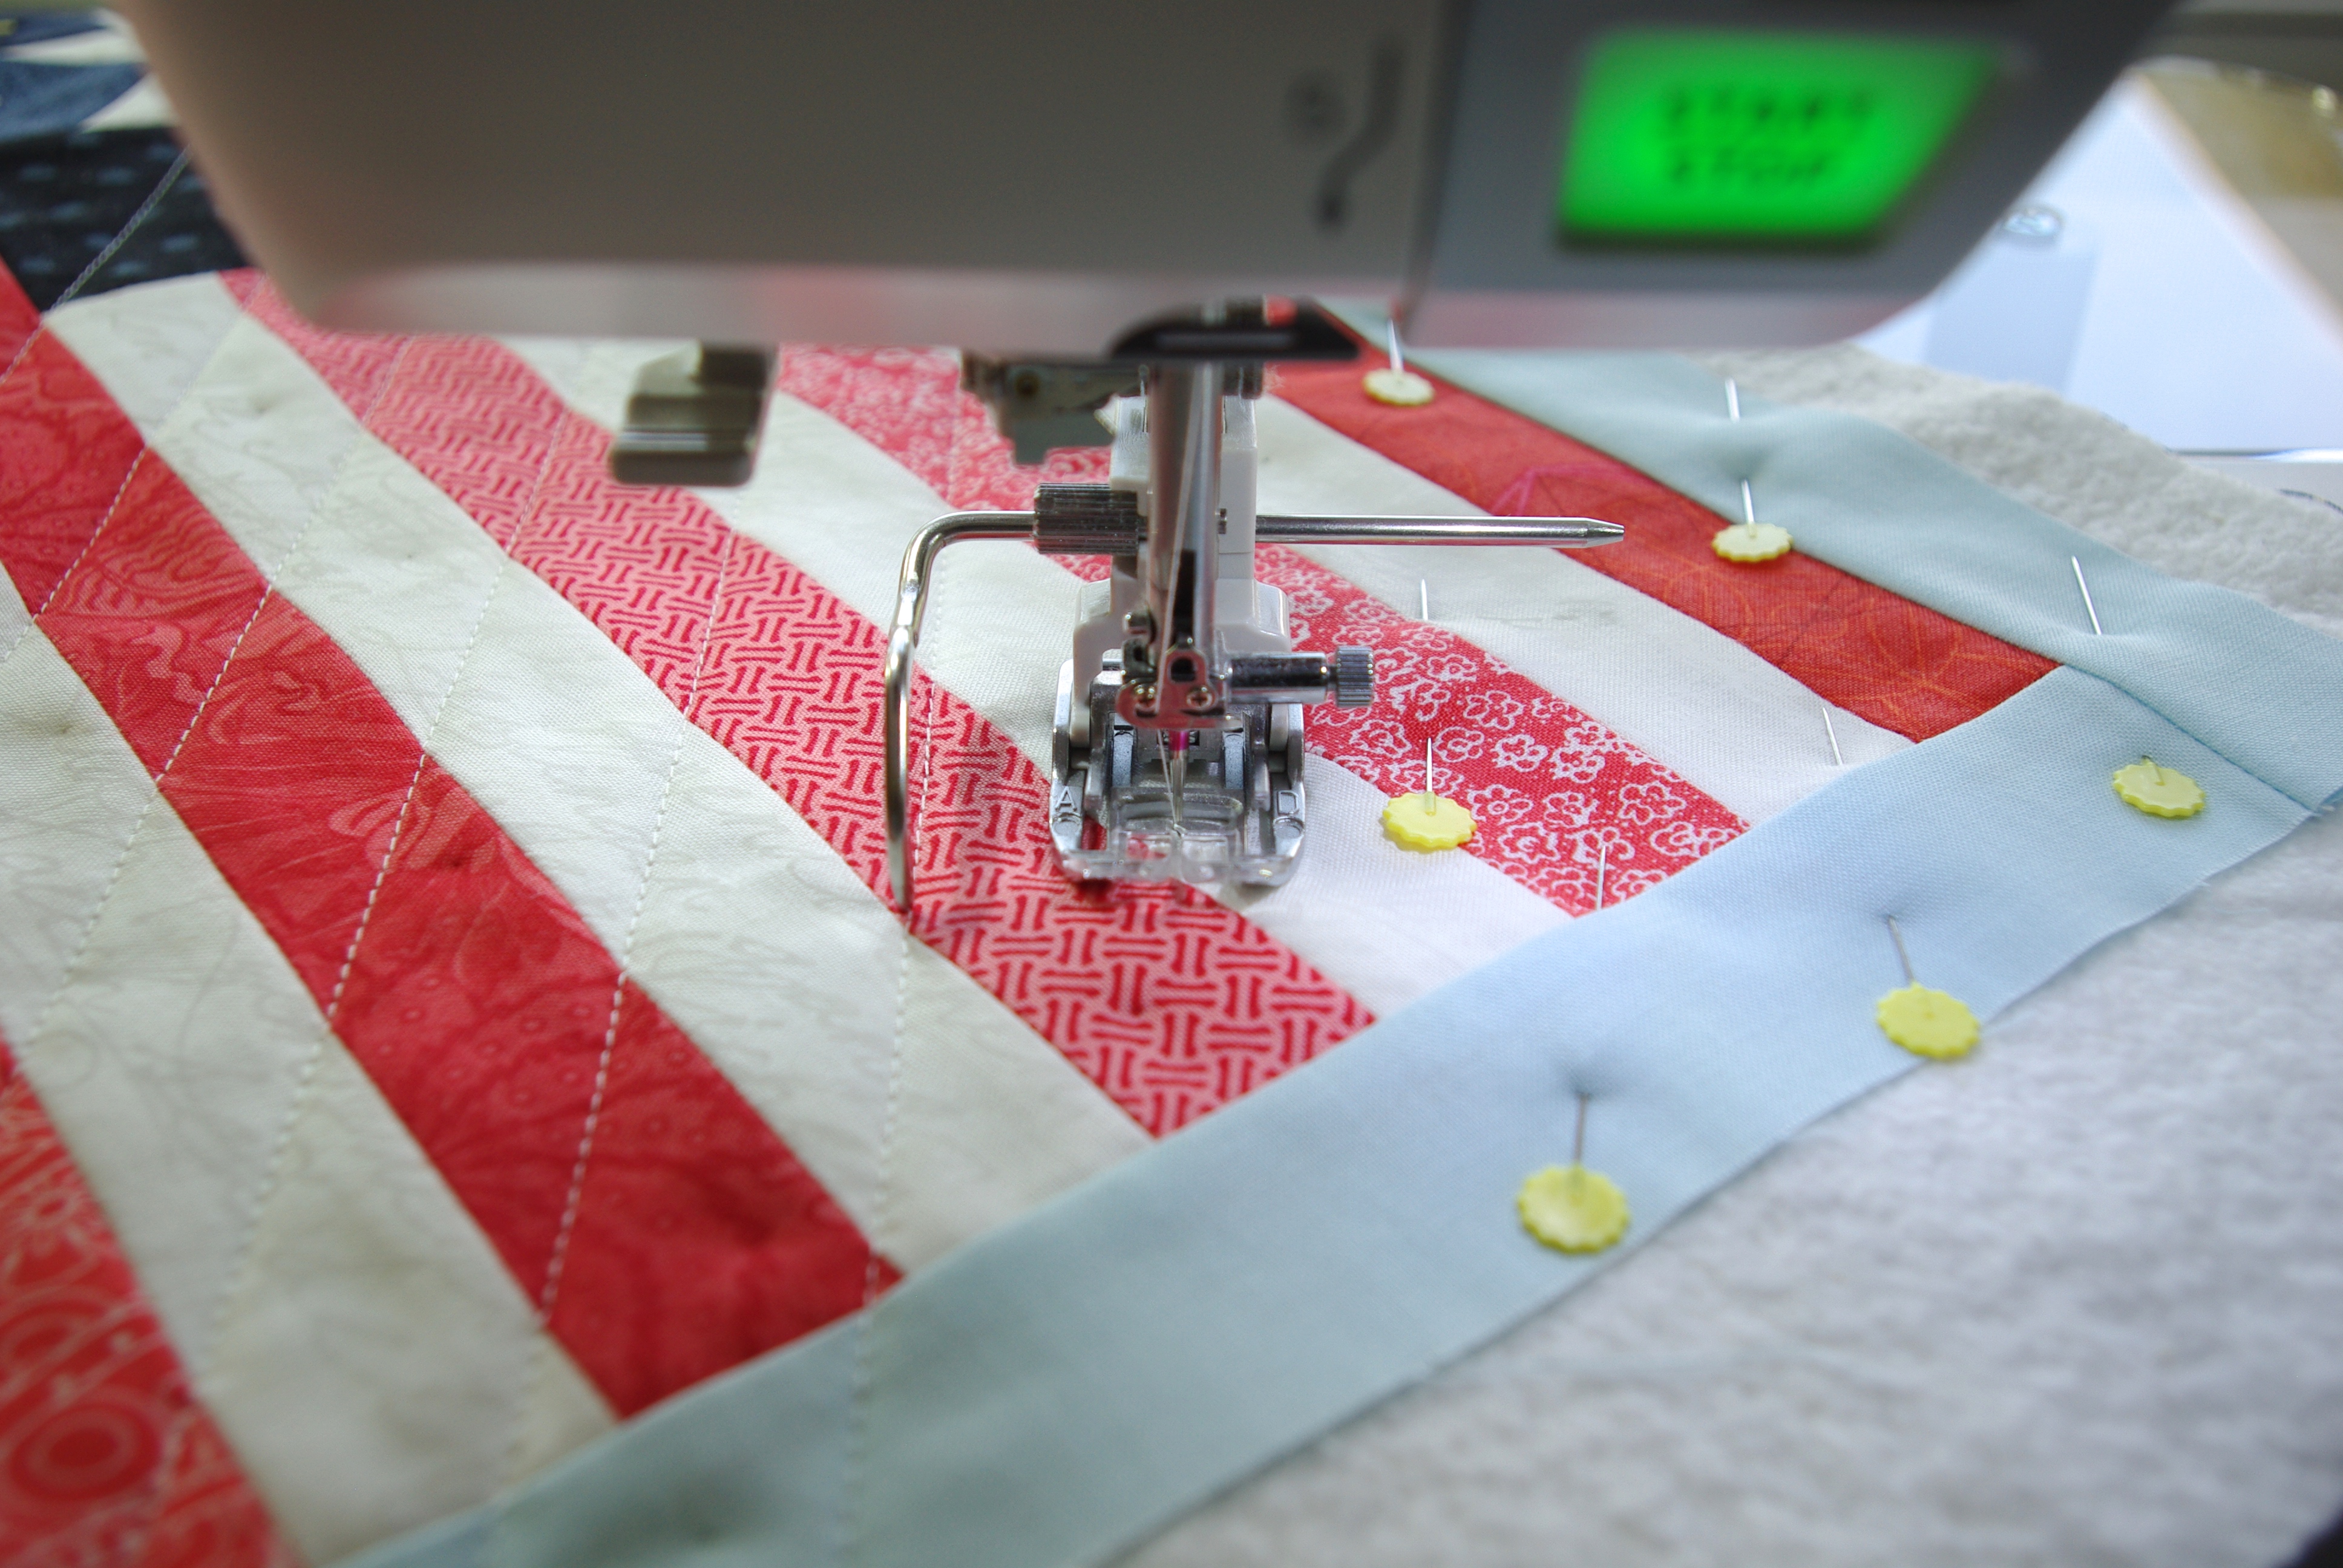
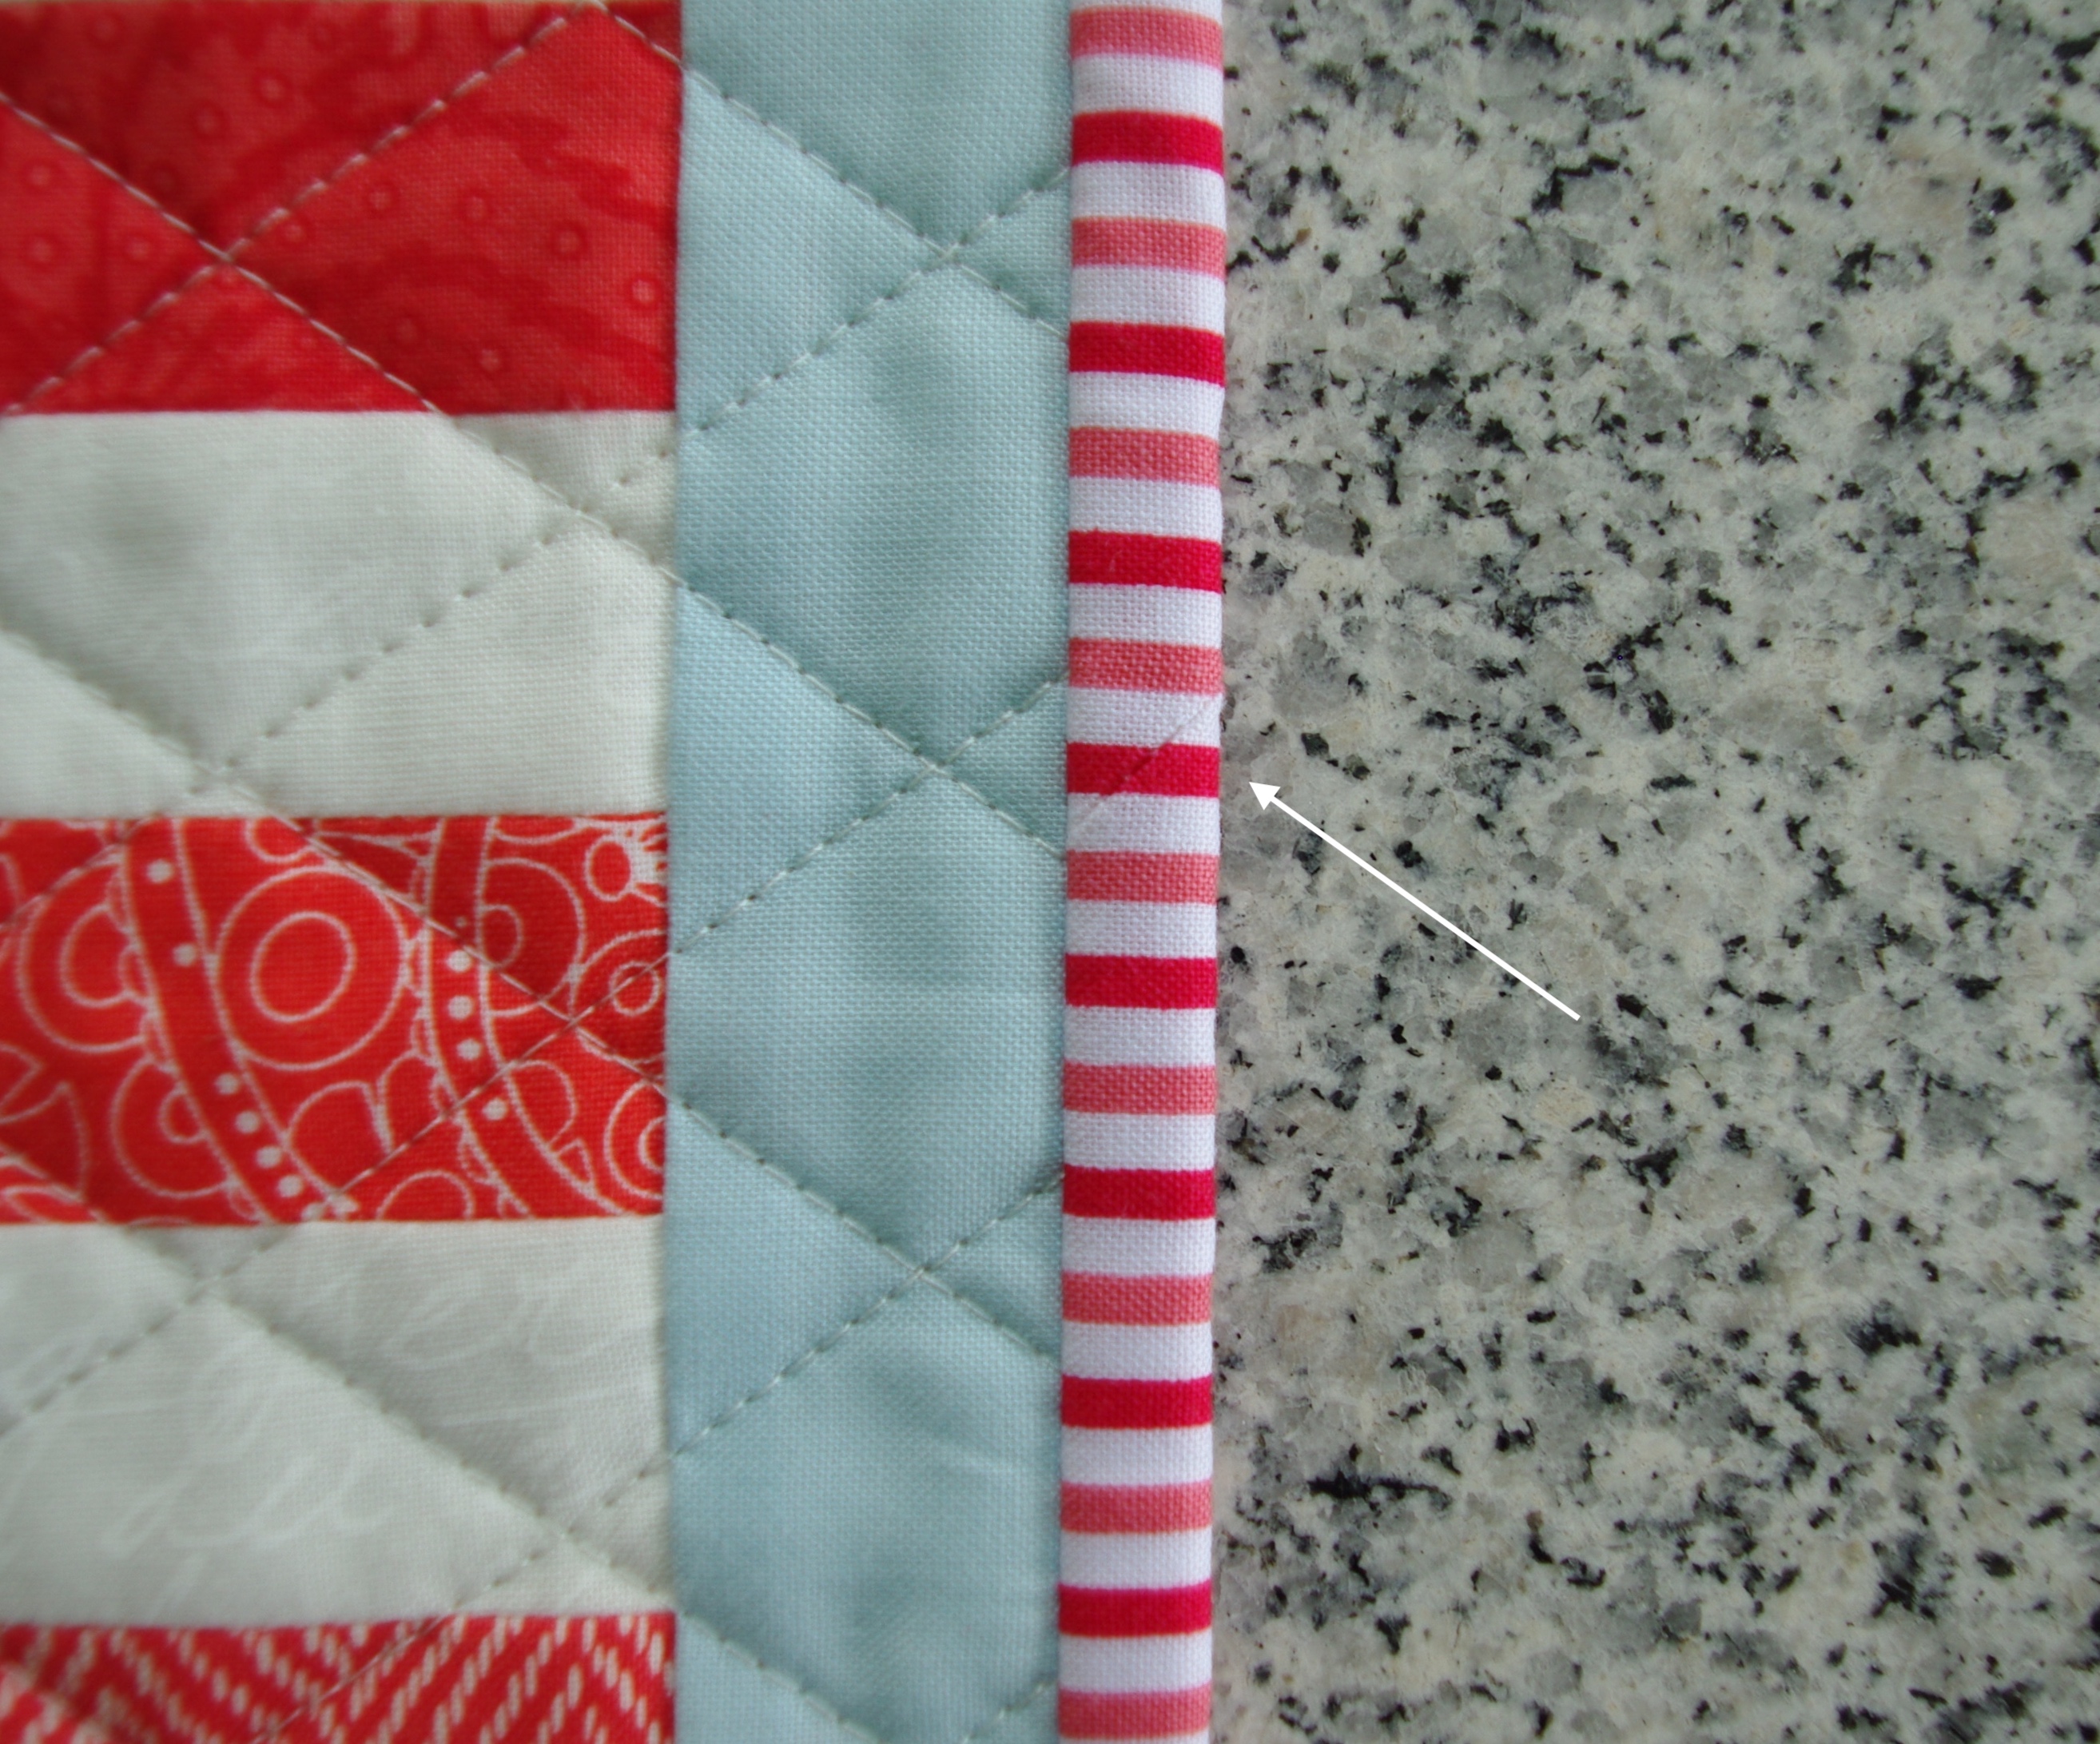
  • Use threads for basting. I always baste my binding before machine sewing, I mainly use these strands for stitching them down.
  • Sew on buttons. A short thread length is plenty.
  • Clothing repairs. They’re just right for a minor fix.

If you hang on to your cutaway strands, you’ll be surprised how quickly they accumulate and in so many different colors, too. And mostly, you’ll see how much it’ll save on thread waste. 🙂

mini quilts, quilts, Uncategorized

Patriotic Flag Mini Quilt

The month of May always brings out patriotism here in the US, with Memorial Day kicking off the summer season then Flag Day and the Fourth of July not too far behind. Right now I have two quilts in the making, a Christmas gift and a new pattern of mine, and I could use a break from larger projects so I set out to find something patriotic that I could finish quickly using left over fabrics.

I usually don’t sew with blue (I don’t know why, I just don’t seem to choose it) but since I made my Americana Stars & Four Patches quilt last year, I had enough blue fabric for something small. Same with red, I don’t use it a lot, but I had some on hand from previous projects plus I got a small fat quarter bundle freebie with some lovely reds included.  🙂

IMGP7940.JPG

After quite a bit of searching, I decided on a free flag tutorial from Cluck Cluck Sew. While she made a lovely pillow, I wanted something for my sewing room door so I added a light blue border and made mine a mini quilt.

IMG_7293.jpg

For the star and stripes, I used a white low volume fabric with handwriting that reminded me of old-fashioned handwritten letters and historic signatures; I thought it was fitting for a flag. It’s kind of difficult to see it unless it’s close up…

IMGP7937IMGP7939

Before I began quilting, I did some ‘thread painting’—my quilting tip that consists of laying out thread on a project to help decide on a quilting pattern. To read more about it, click here. I do tend to gravitate toward crosshatch quilting, especially on rectangular blocks because the end results are diamonds, and I love the look! So yes, I went with crosshatch quilting, yet again.

IMGP7954.jpg
thread painting

When basting a mini quilt, I always use my flower straight pins instead of actual quilting pins. Reasons being: they’re easier to put in and take out, they’re nice and sharp and long, and they seem flatter than other pins.

IMGP7979

I used my guide for quilting accuracy and it gave me very precise results!

IMGP7988.JPG

I was happy to have had enough red and white striped fabric for this project, left over from a Christmas tree skirt. And of course, striped binding is always a favorite.

IMGP8008.JPG

And speaking of binding…how lucky was I to get this tiny stripe to align when I finished off my binding? Absolutely pure luck! Doubt that ever happens again.  🙂

IMGP8022.jpg

For the back, I had this very appropriate fabric from my Stars & Four Patches quilt. As far as backing goes, it’s easy to match up prints, especially on a small project. I have more information on this topic on my Matching Fabric Patterns blog post.

IMGP8019.jpg

And…here’s the finished project!

IMGP7982.JPG

I love everything about this mini—it’s cute, a great size for my sewing room door and I can get it out to enjoy several times a year. Lastly, it was a small but significant scrap buster!

IMGP8000

Happy Memorial Day

Uncategorized

Spools vs. Cones

When I first started quilting, I didn’t realize what a difference thread could make. About a year into my new hobby I started reading great things about Aurifil thread (50wt) so I decided to try it and wow, it does make a difference. Not only does it leave virtually no  lint in the bobbin case (unlike less expensive threads), it’s great to work with, it comes in so many colors and three different sizes.

Once I switched over, I used the mid-size spools for a couple of years but found I went through them rather quickly. And since most of us quilters use our ‘go-to’ thread color for piecing, I wondered if it might be cost effective to use cones instead, and the answer is yes.

I did some price searching and found that craftsy.com has the lowest price on both mid-size spools and cones (I didn’t factor in the smallest size spool because I wouldn’t use that size when piecing).

IMGP6204

Here’s how it works out mathematically:

One Aurifil 50wt cotton mako mid-size spool costs $9.80  and has 1,422 yards which works out to approximately .007 cents/yard. The Aurifil 50wt cone cost $35 and has 6,462 yards which works out to a bit over .005 cents/yard.

There is a savings even though the difference might seem minimal, but you have to consider that you pay for shipping every time you place an order (unless you’ve spent enough to get it free) so to me, not constantly having to order is a savings. Also, Aurifil thread isn’t readily available in quilting stores. And honestly, I’m very environmentally-conscious so I don’t like throwing away the spools, plus I like the idea of my thread lasting a long time.

If you do decide to switch over to cones, another thing to consider is a cone stand. It’s an upfront investment but I feel it’s worth it. I found this Superior Thread Holder Handy Stand on craftsy.com. I paid $15 (now it’s $16+). It’s a great product and I can’t see any reason why I would need to replace it (and I highly recommended it). Another option is to make your own thread stand to save on purchasing one.

IMGP6207

So, that’s my thoughts on thread and economics! If you were wondering, my Aurifil thread of choice is #2026 (Chalk).

Note: I am not endorsed by Aurifil or any other product I have mentioned in this post; they are just items I like, use, and I wanted to share information on.