Overall, a good portion of the quilts I’ve made I’ve given as gifts, and at this point I’ve given them to every family member that has expressed an interest in receiving one. It just happened that this particular niece ended up last, but for no particular reason!
As a surprise, I wanted to make her one for Christmas 2018, which I managed to pull off. If you’re one who makes quilts as gifts (and are on Instagram) you know how hard it can be to keep it a secret. No posting photos unless you block the recipient, but that leads to suspicion if you ask me! (I did sneak in one photo but she had no idea it was for her quilt).
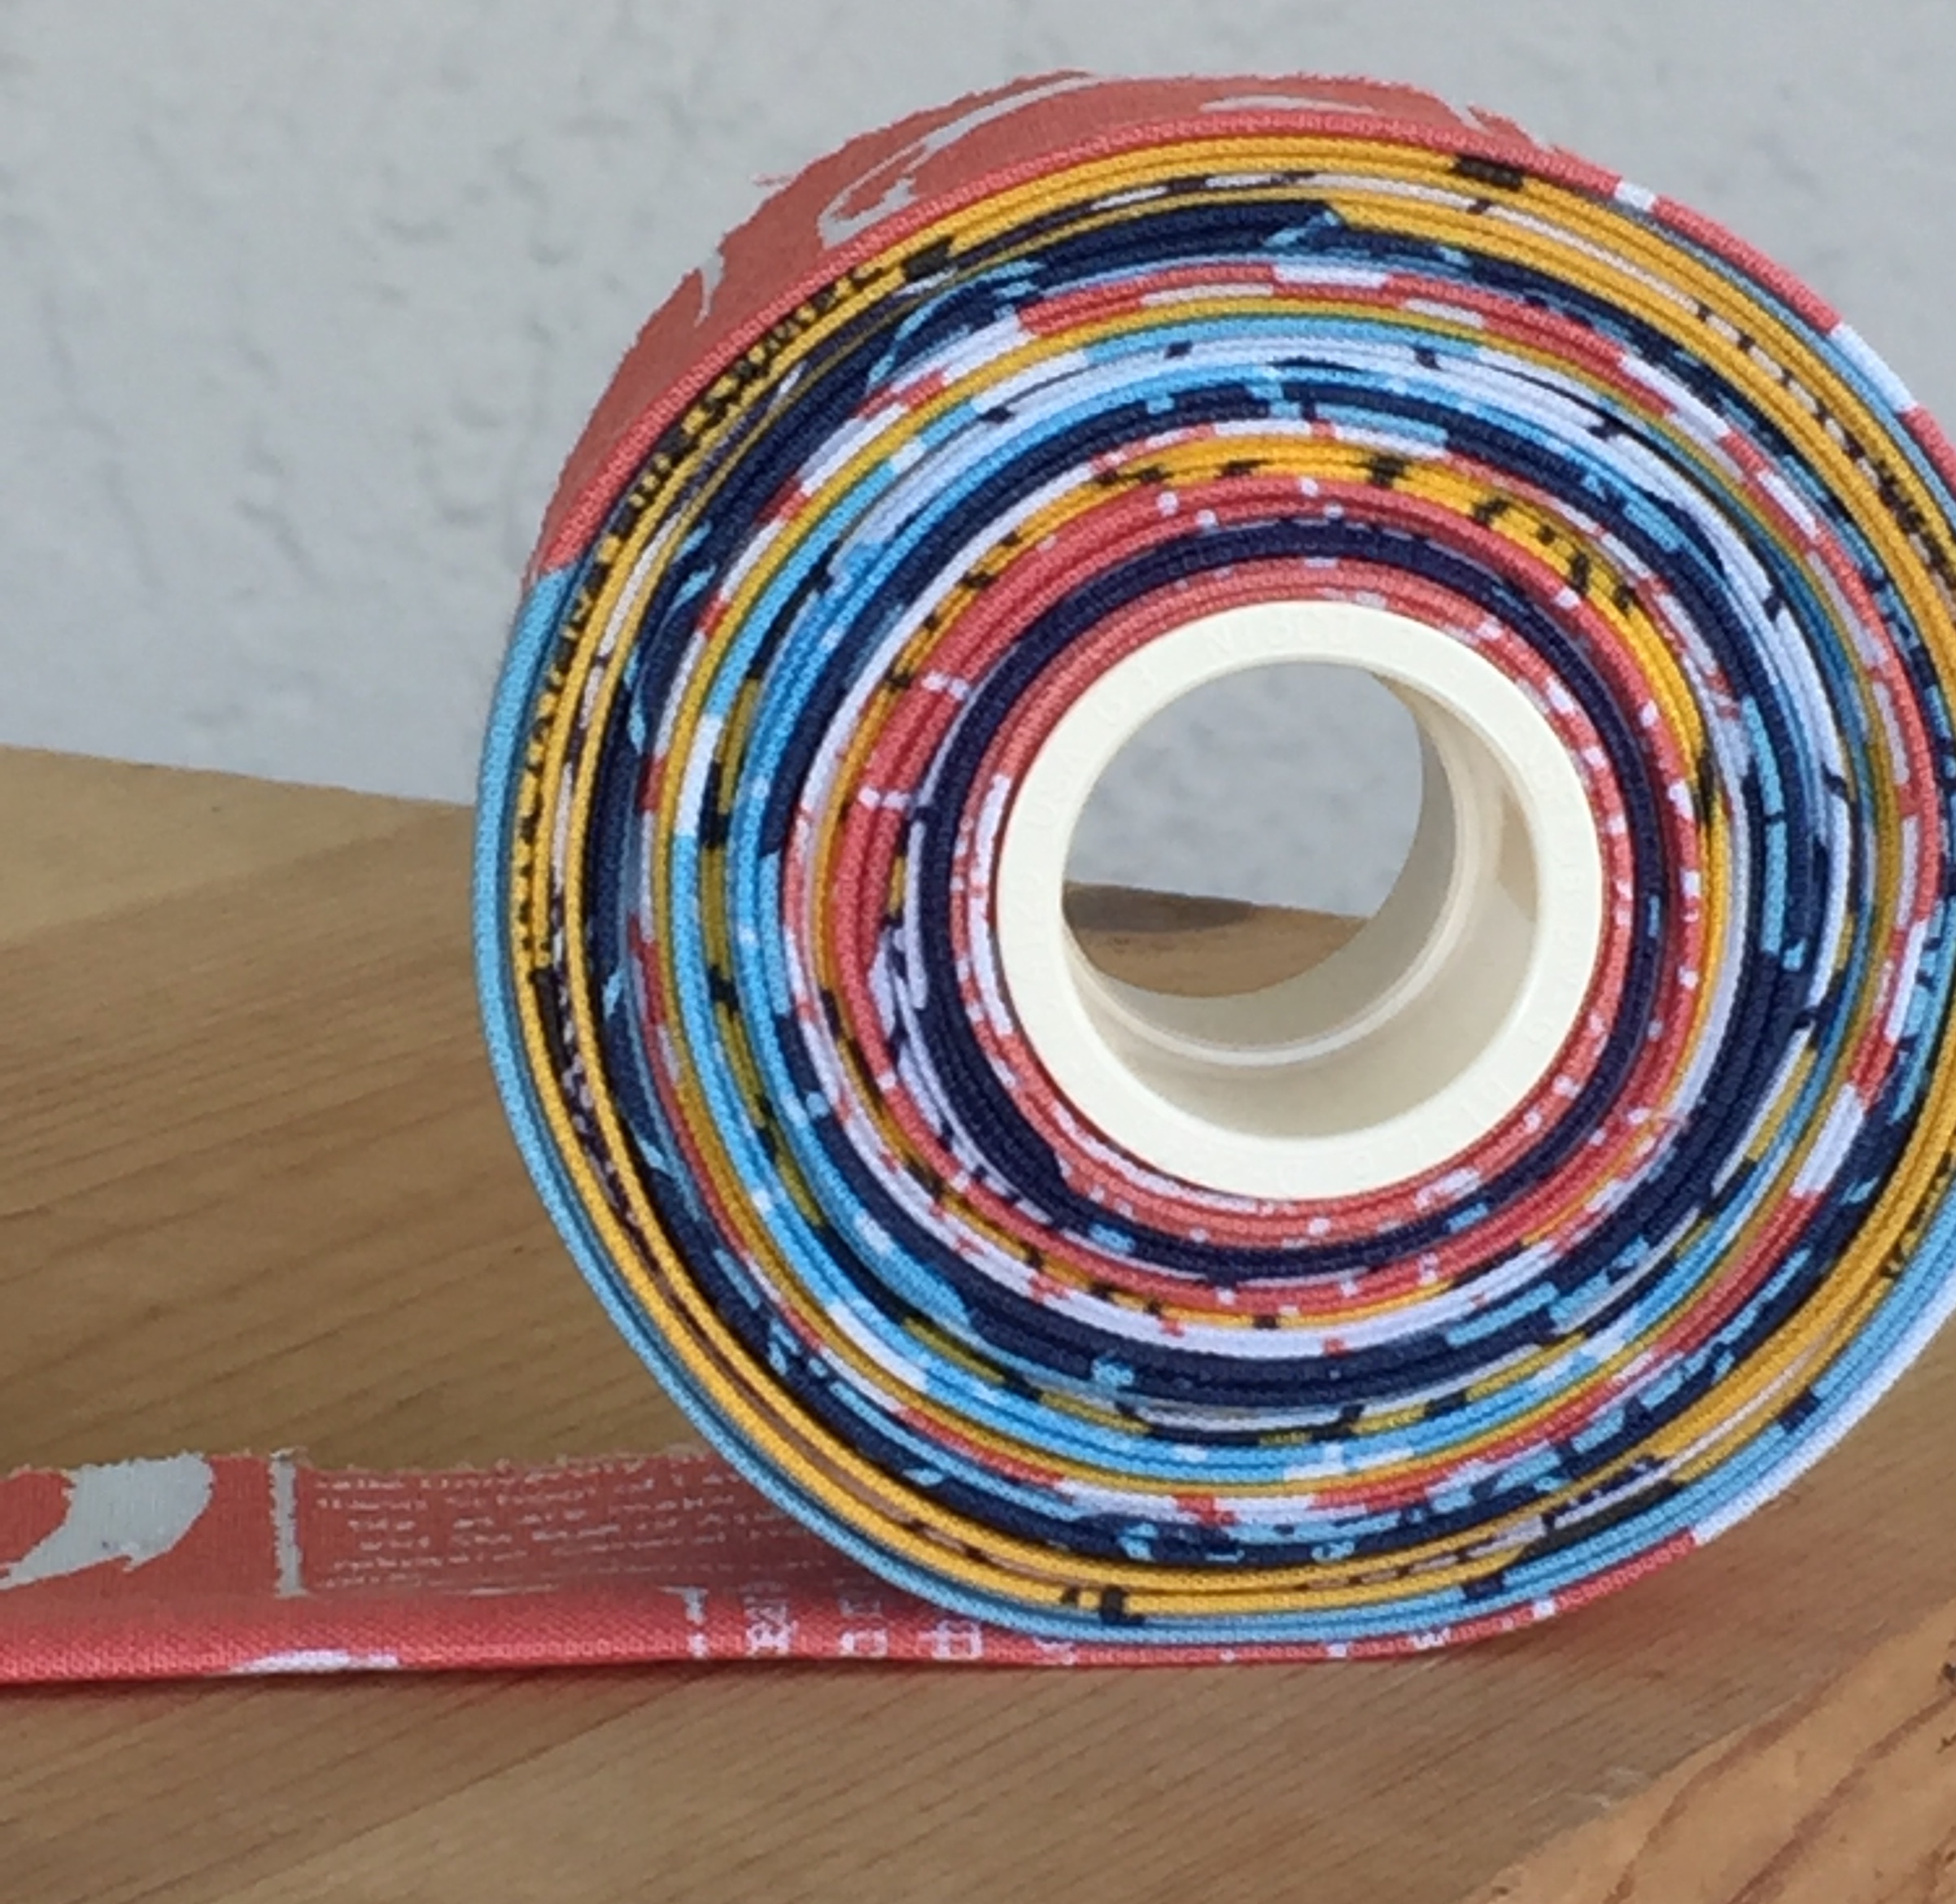
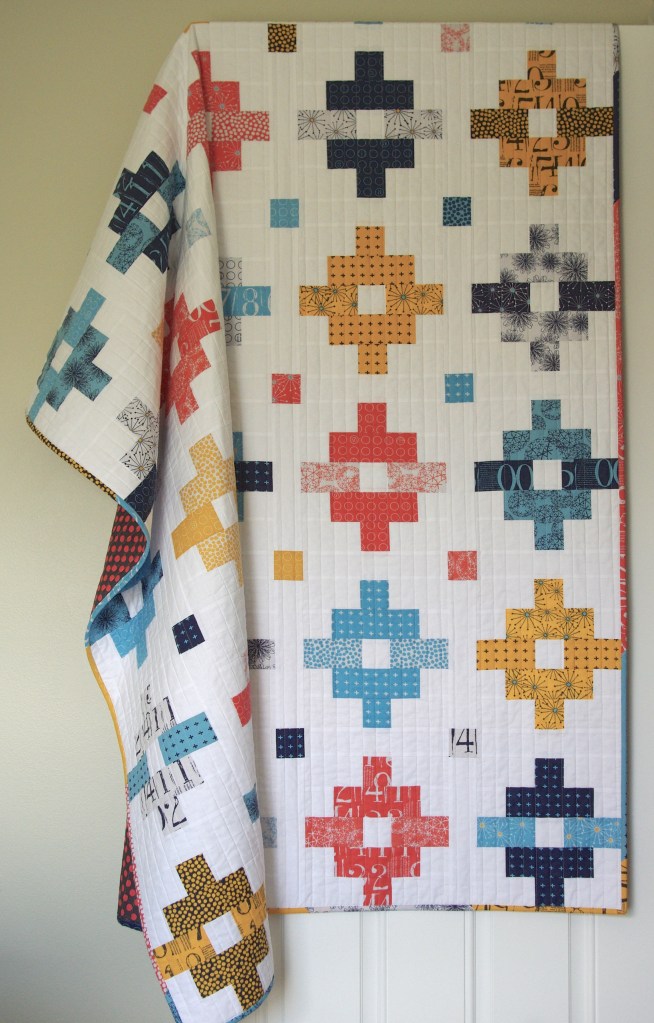
In keeping with the plan to sew with what I have, I decided on using a jelly roll I purchased a few years ago. She loves the color yellow and this Moda collection Figures had plenty of it.
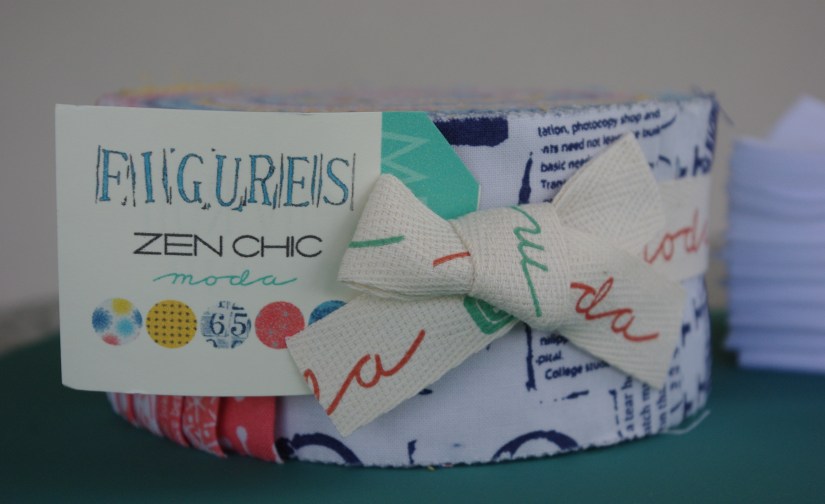

Once the fabric was decided, I needed a pattern. I thought she’d like something more modern verses traditional, so I headed to the Moda Bake Shop and found a great jelly roll pattern, Tropical Punch Quilt.
This pattern is very easy and beginner friendly. Thanks to precuts and my stripology ruler, cutting was a breeze and done in no time.
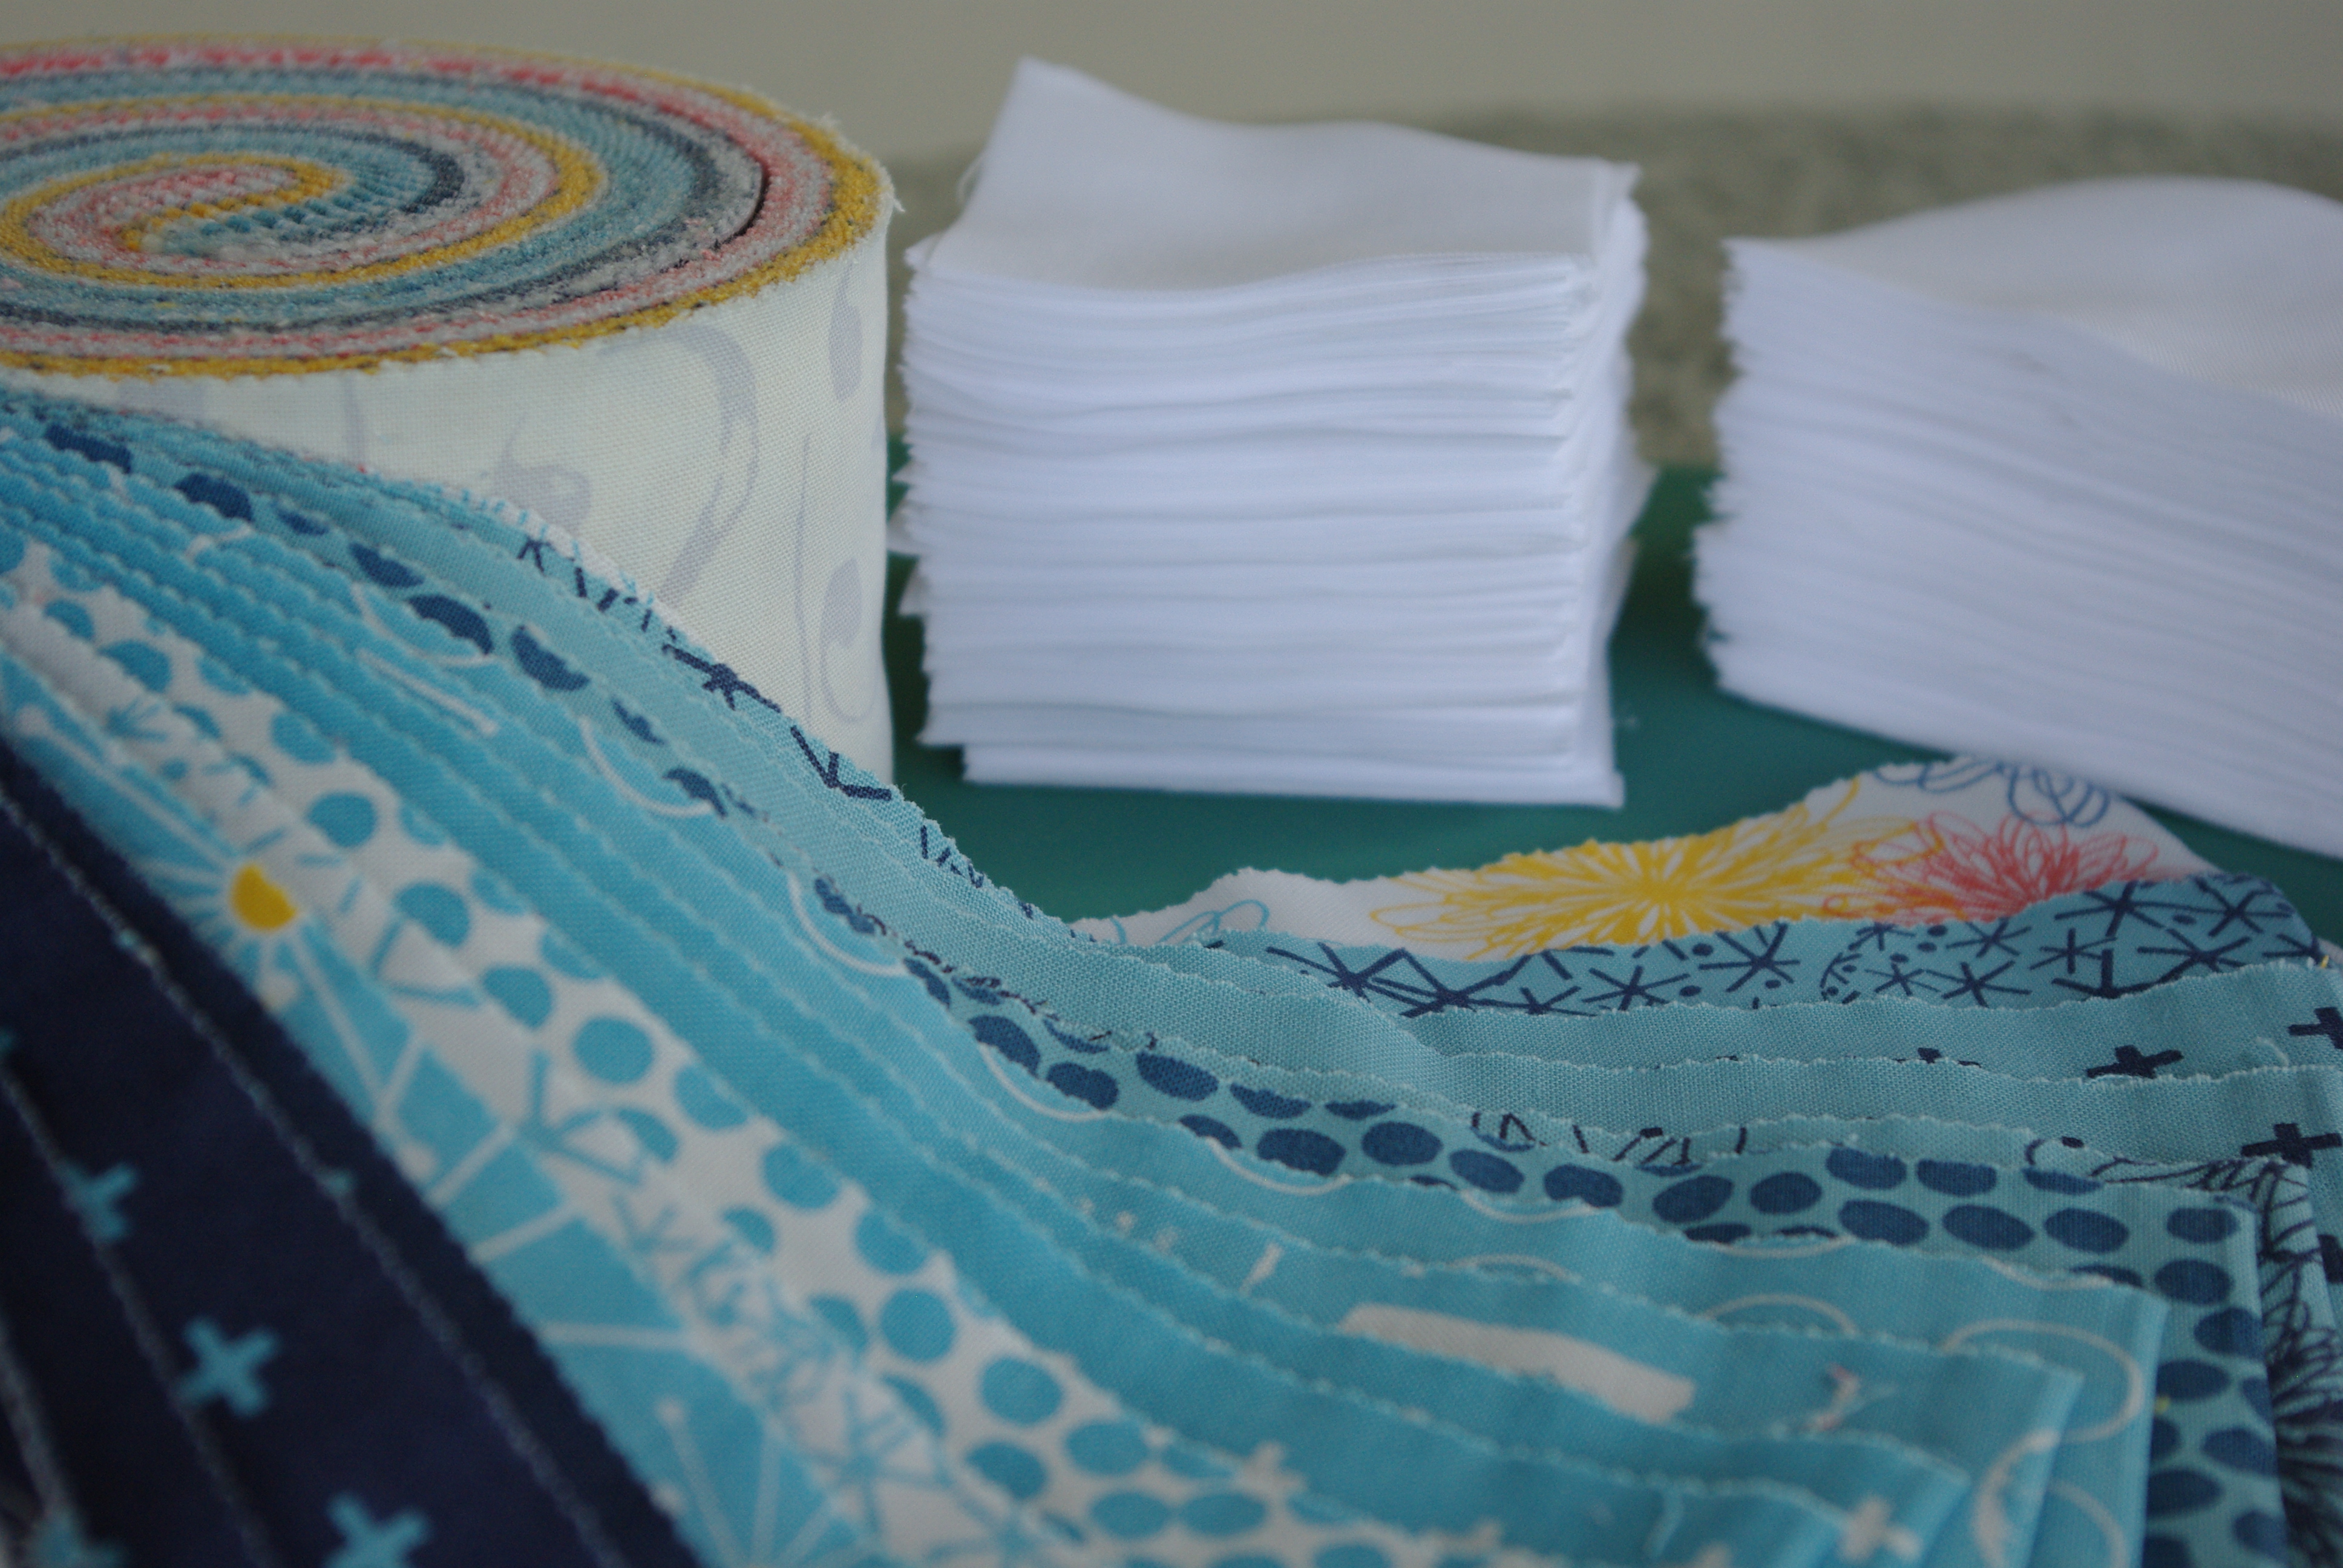
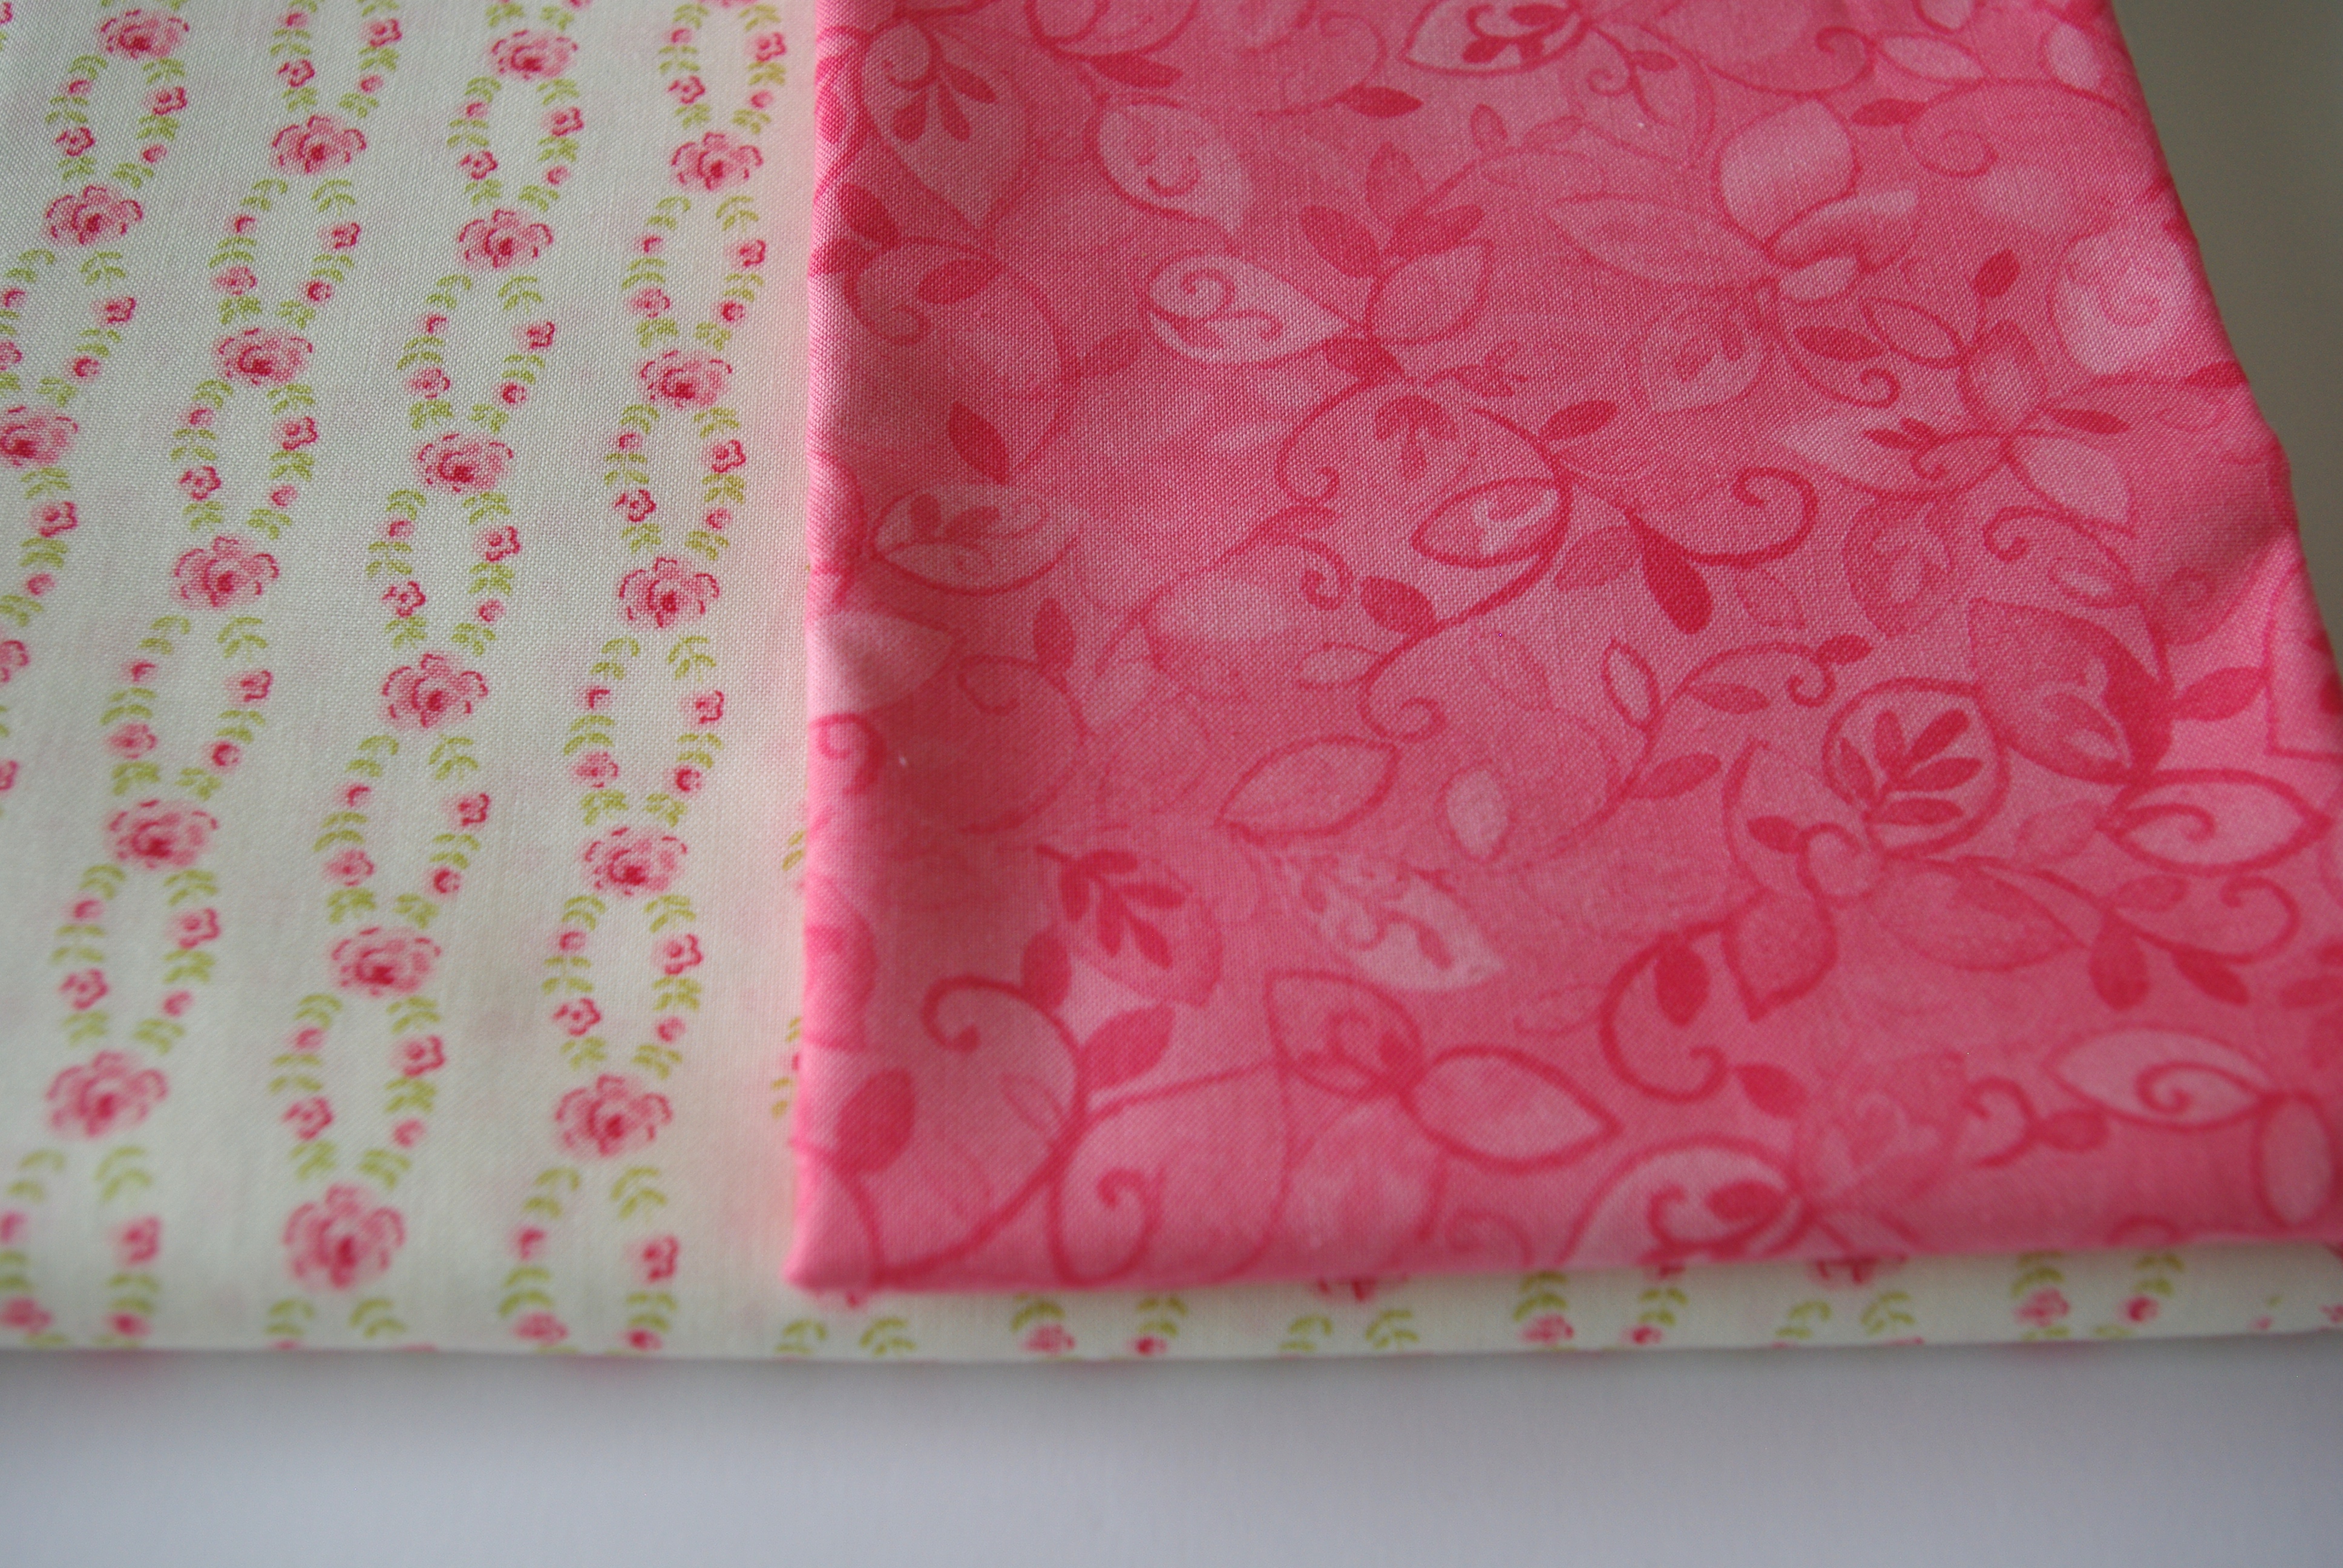
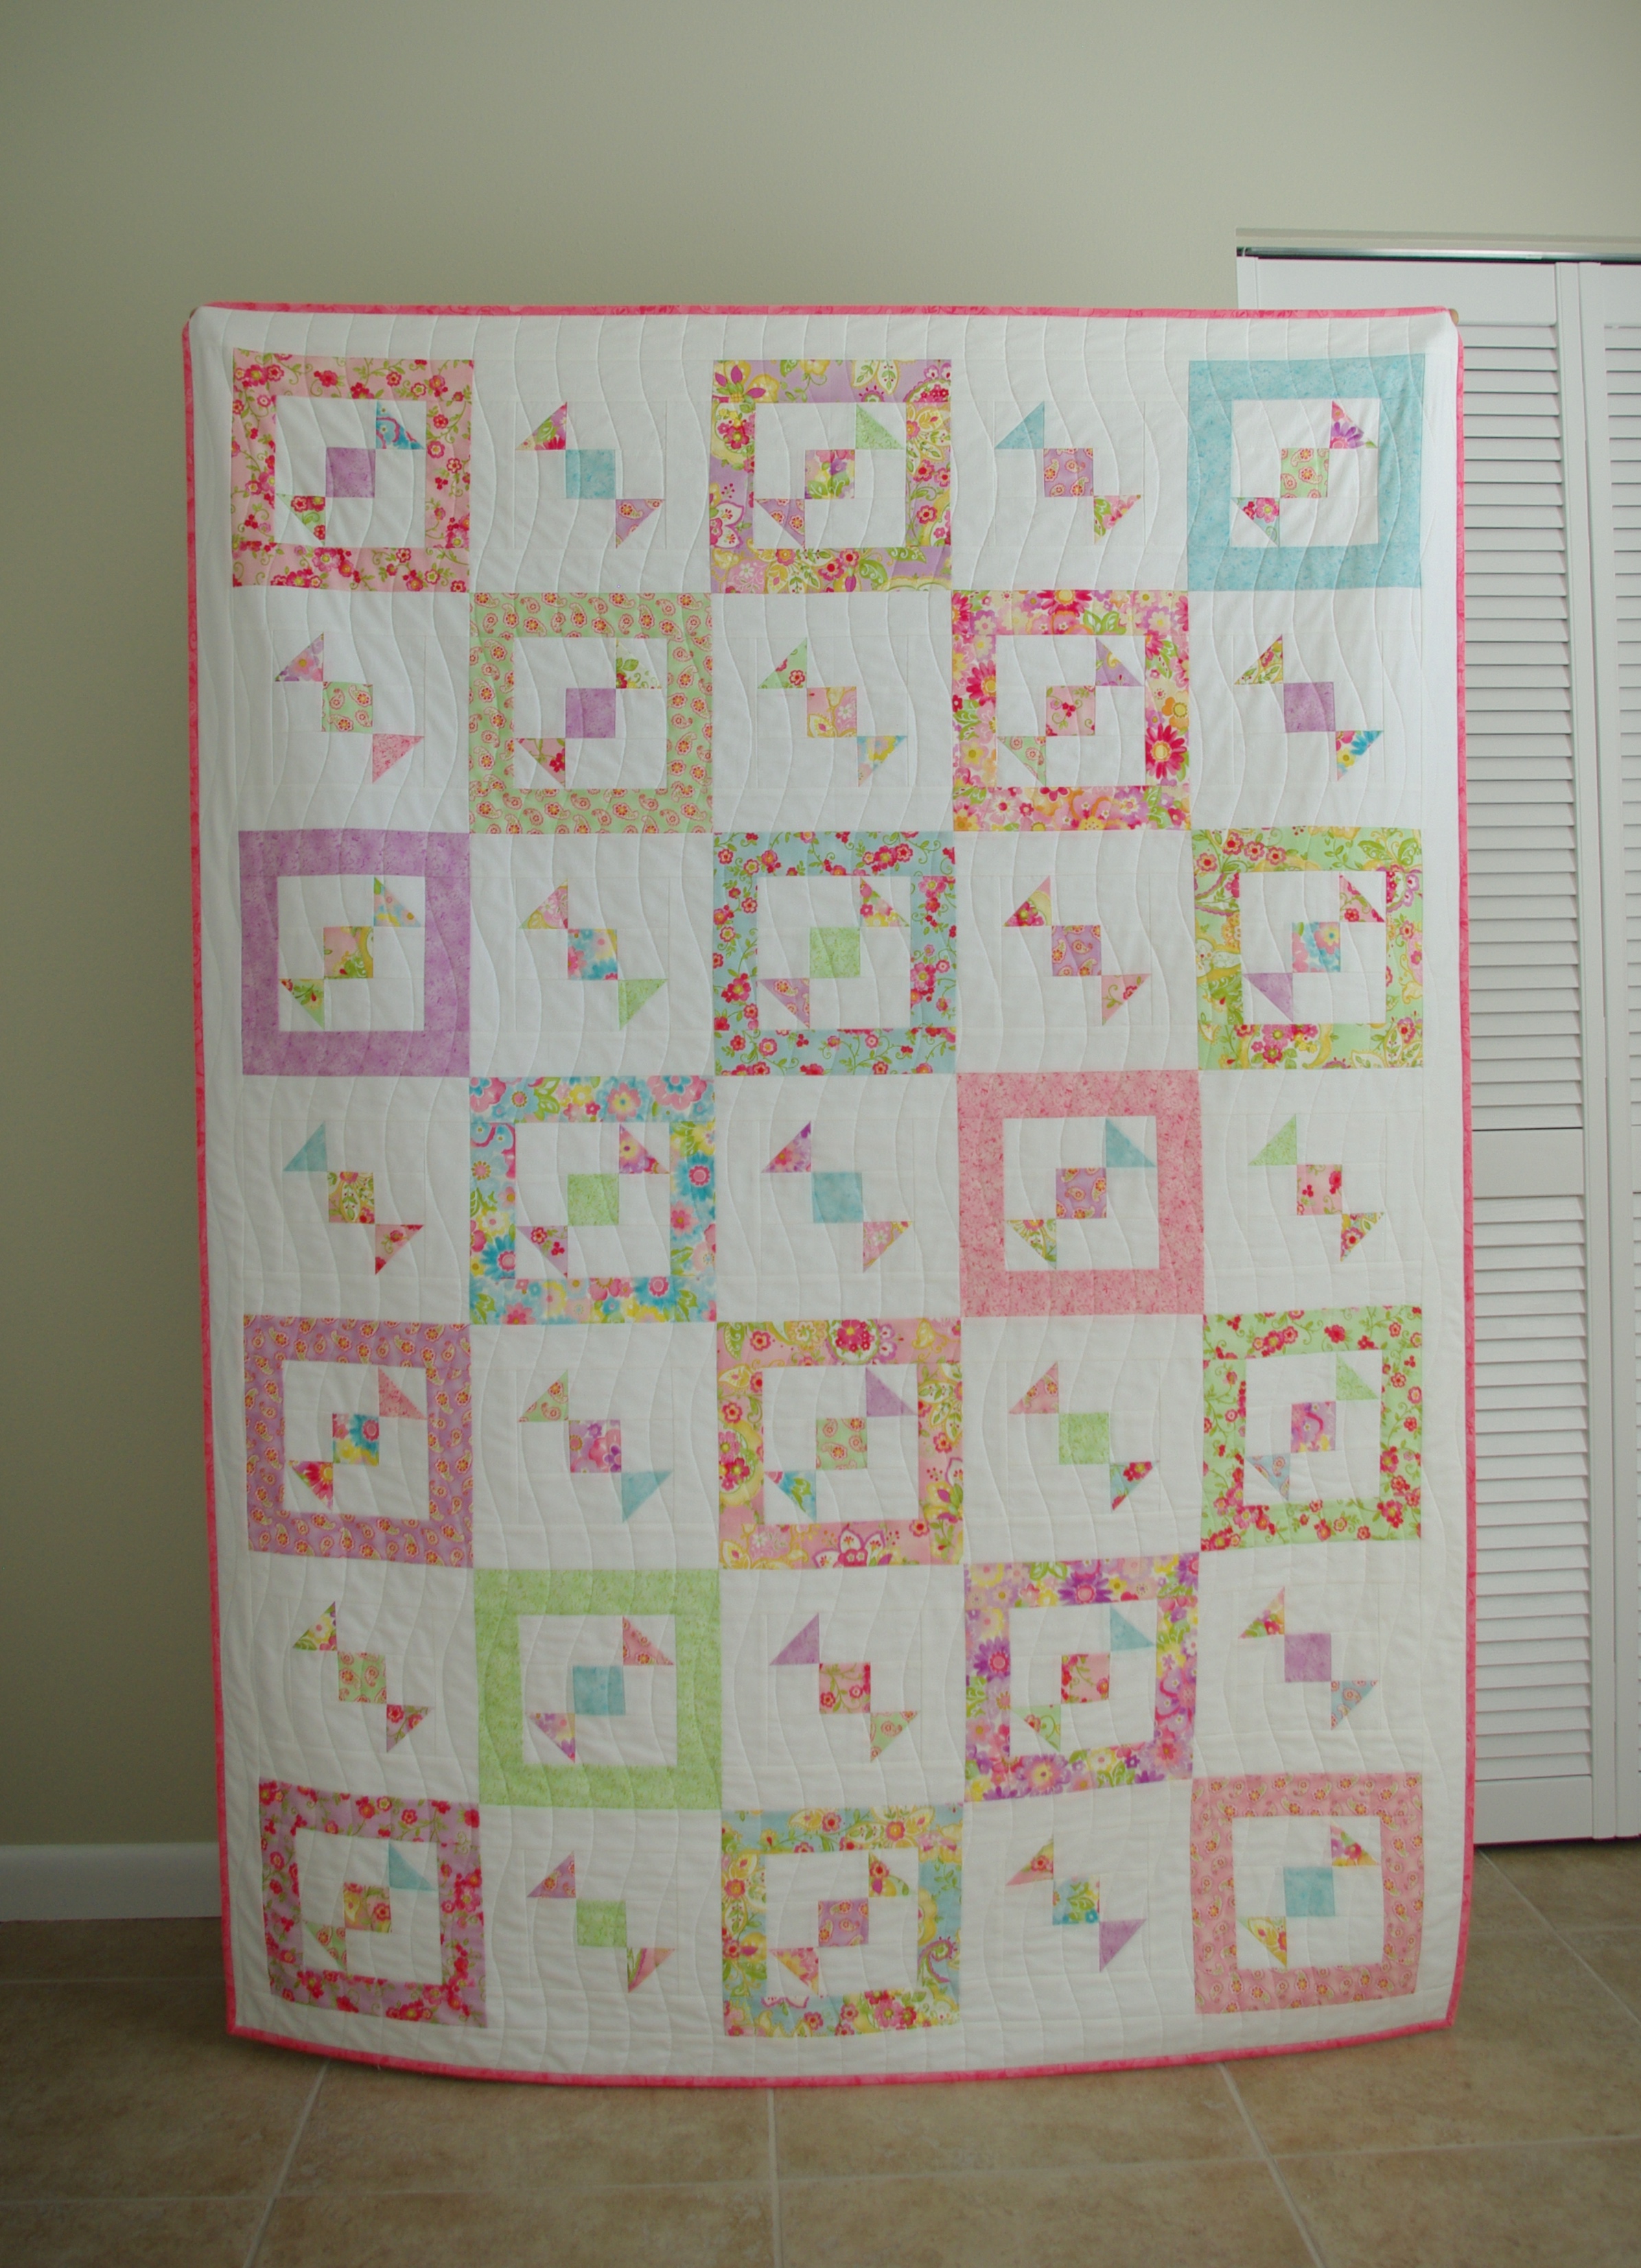
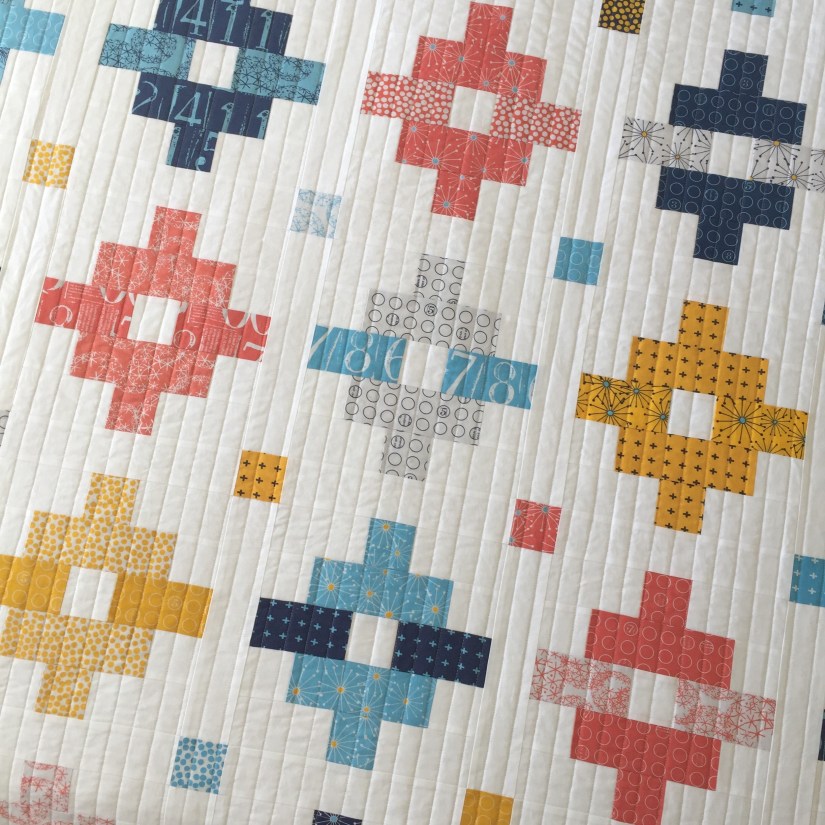
I used Kona Cotton White for the background to give it a bright, fresh look. I paired two coordinating strips together for the block pairs so they would have opposite middles and outer edges because I prefer controlled scrappy over all-out scrappy.
Piecing the top went fast as the blocks are simple and a larger size. The layout took a bit of time because I wanted the coordinating blocks distanced from one another.
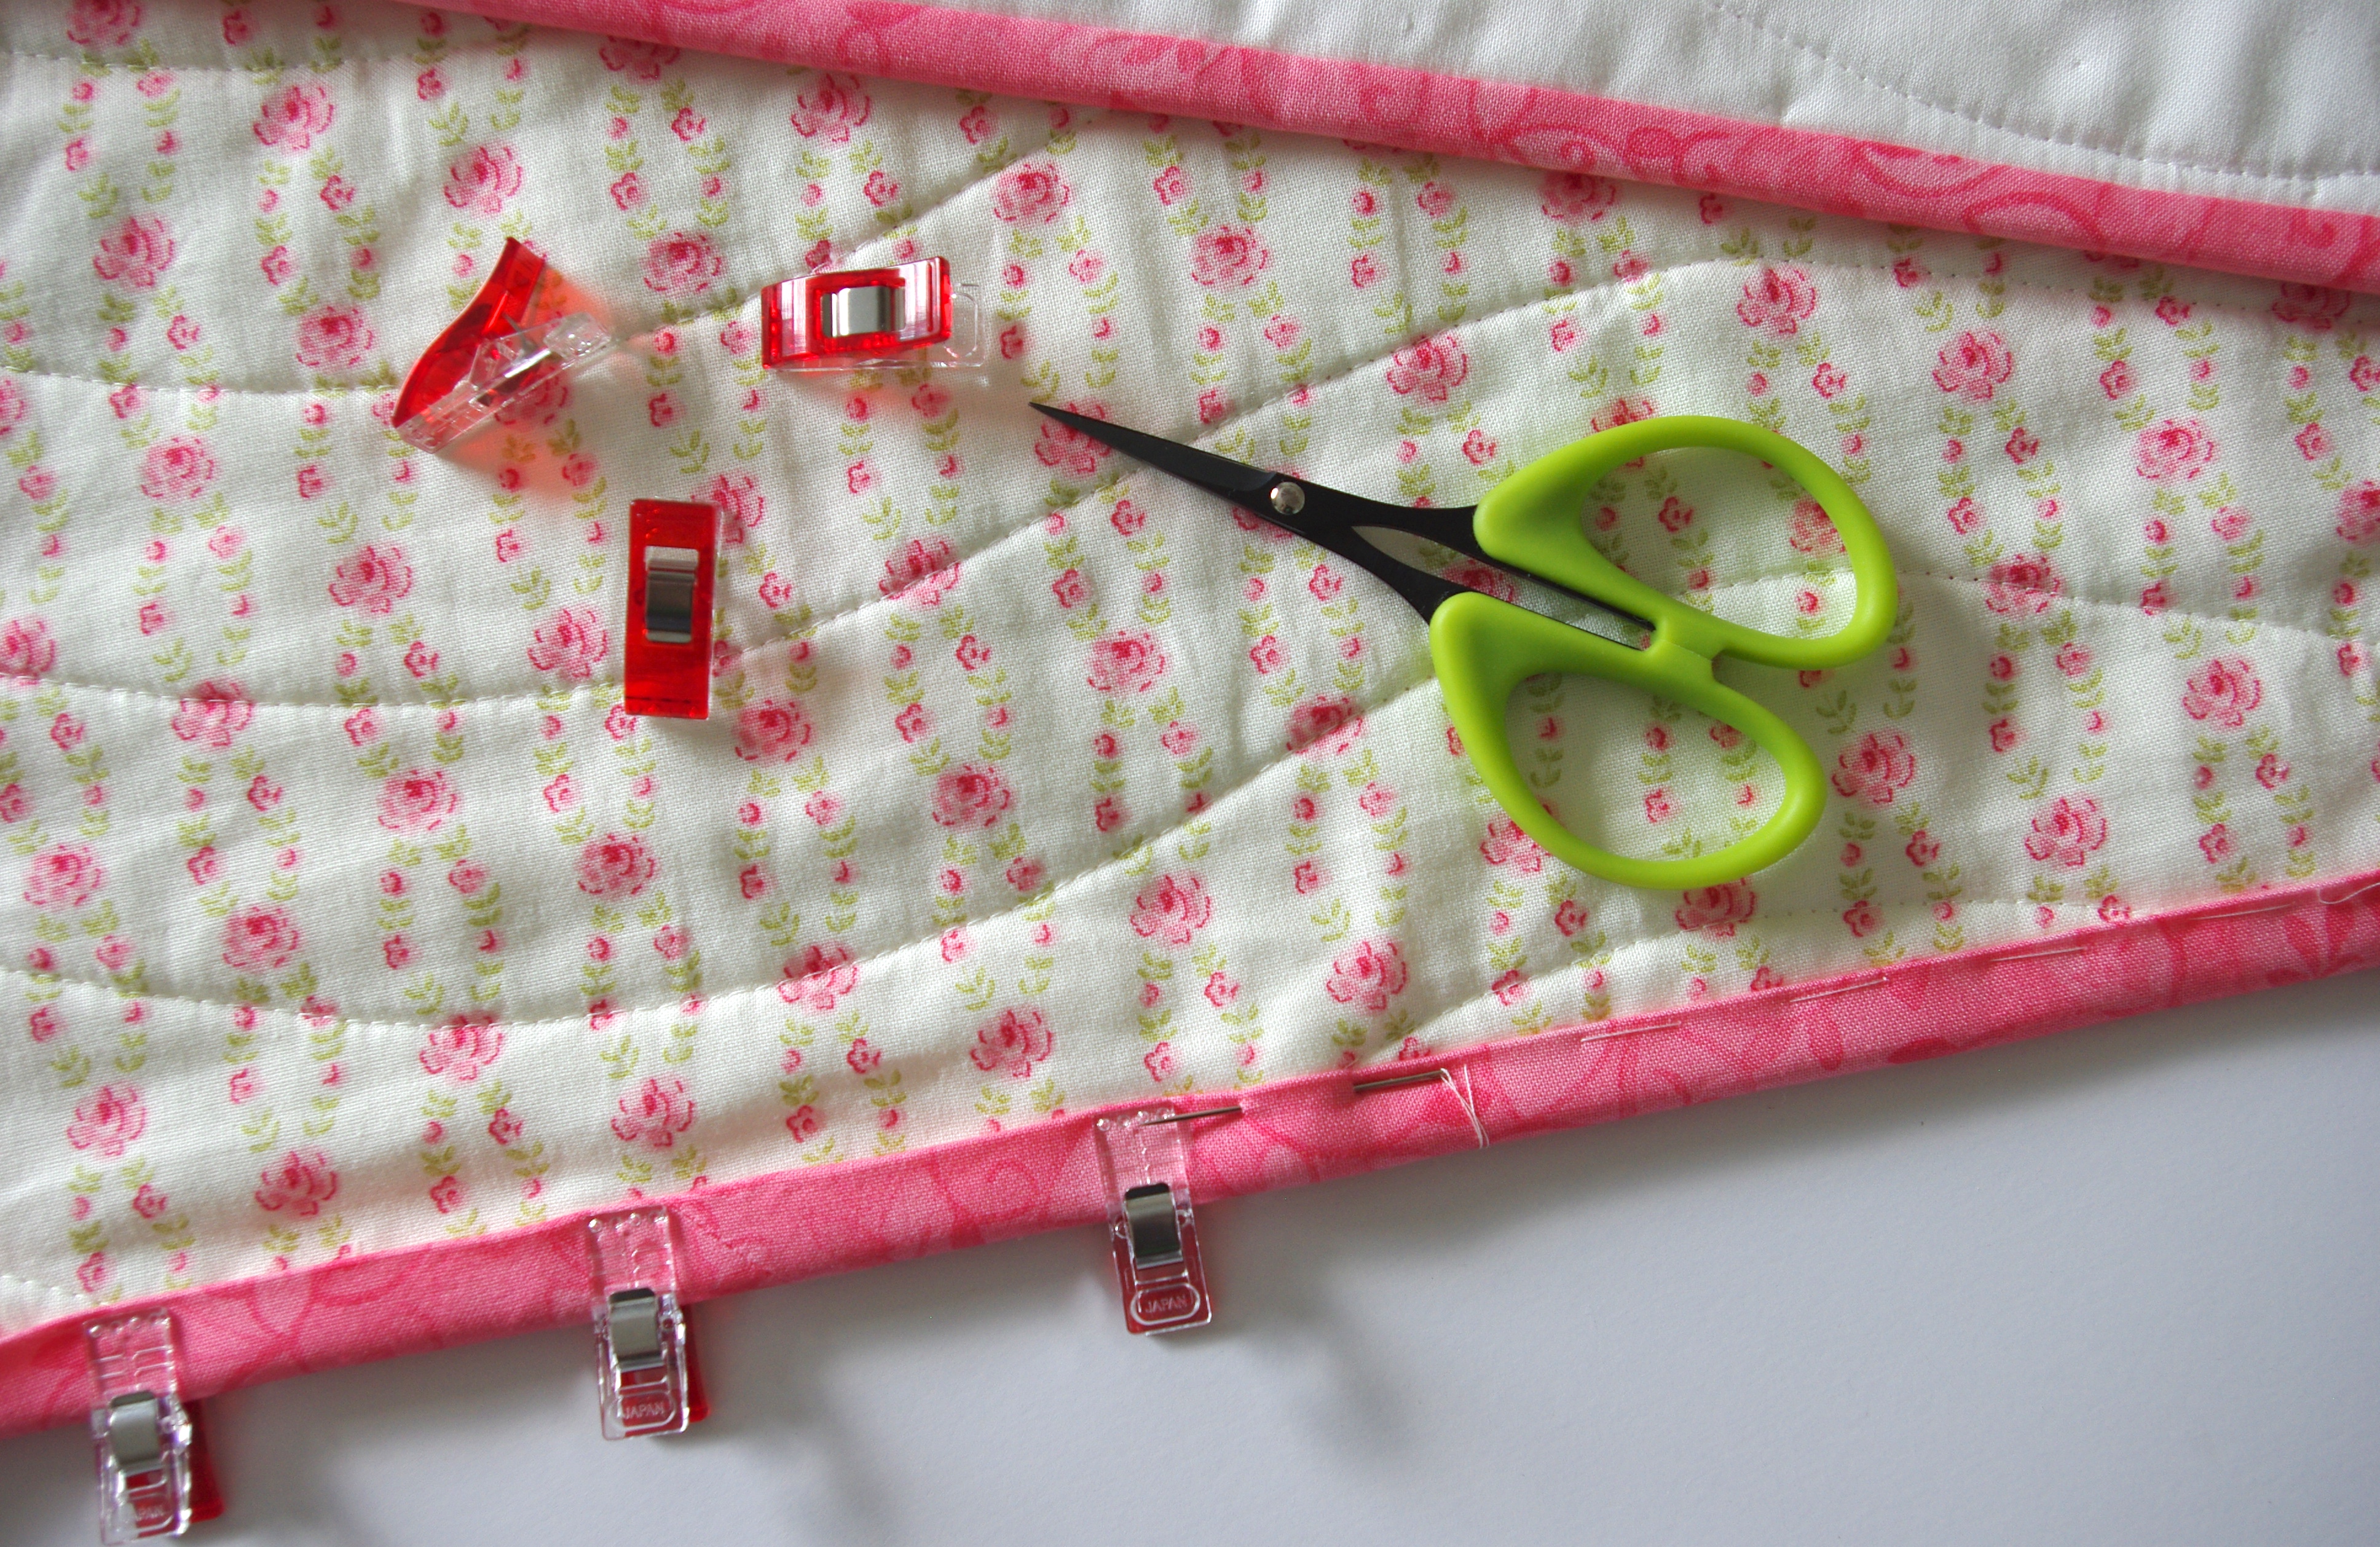
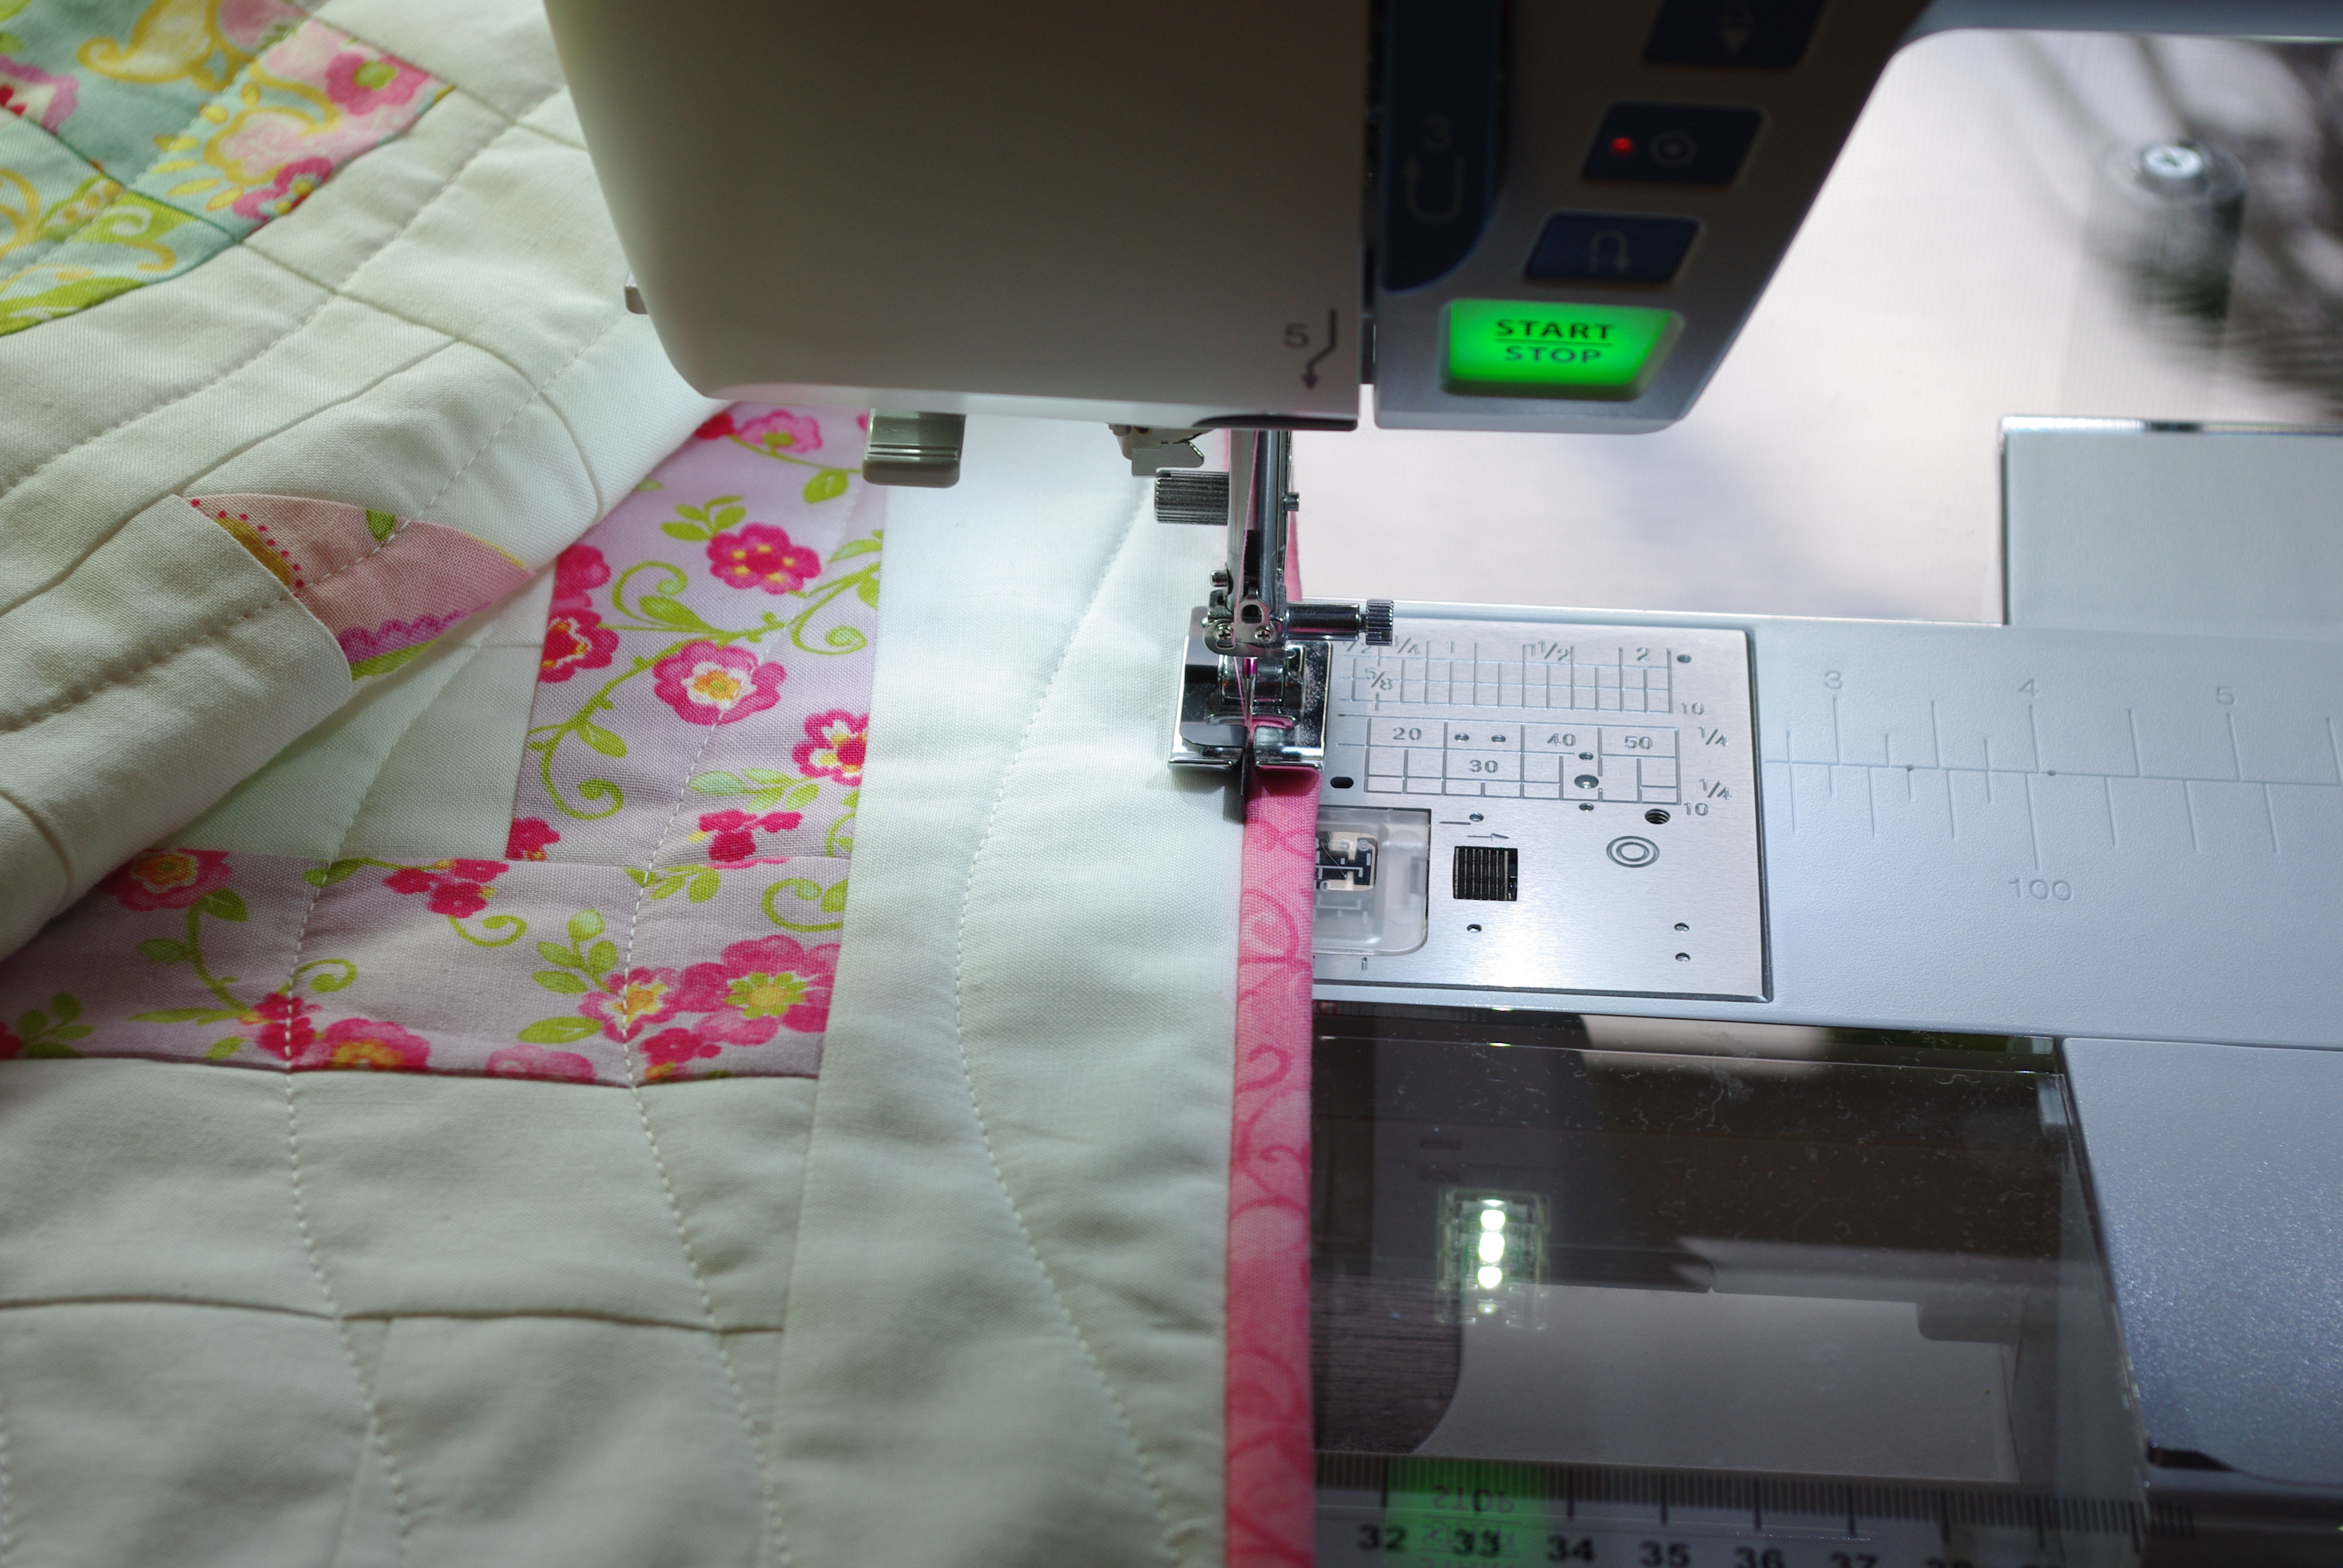
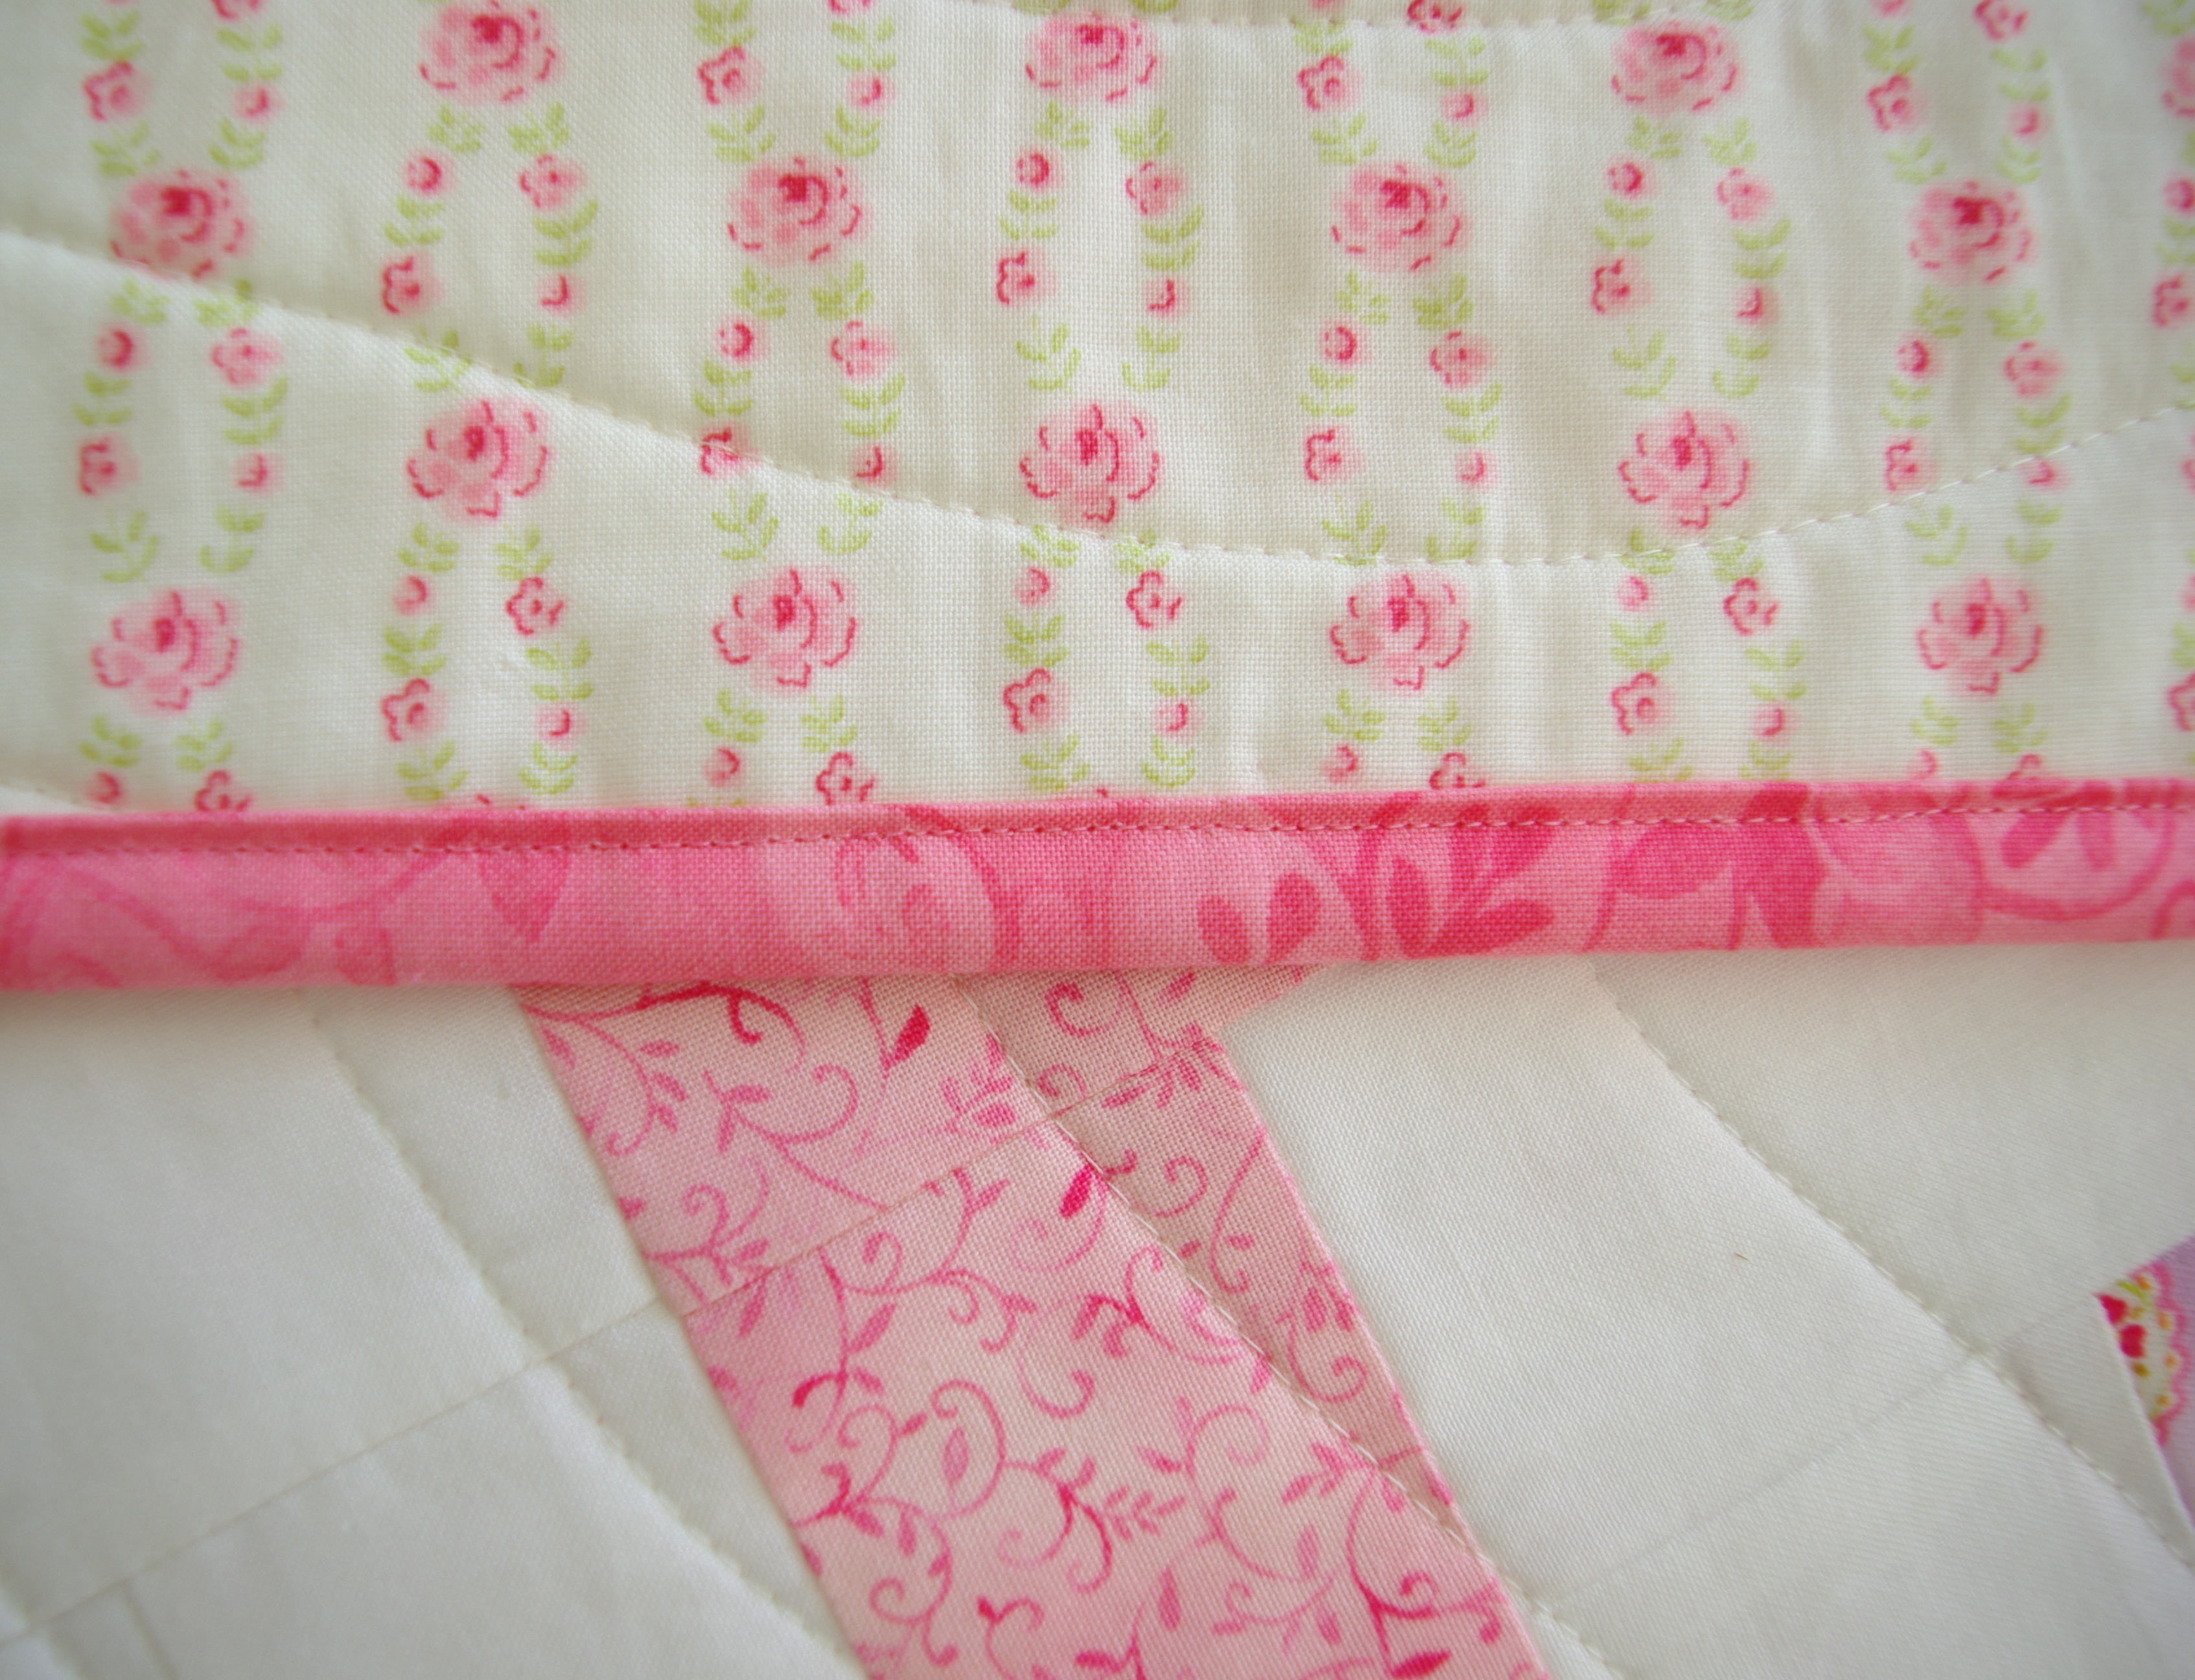
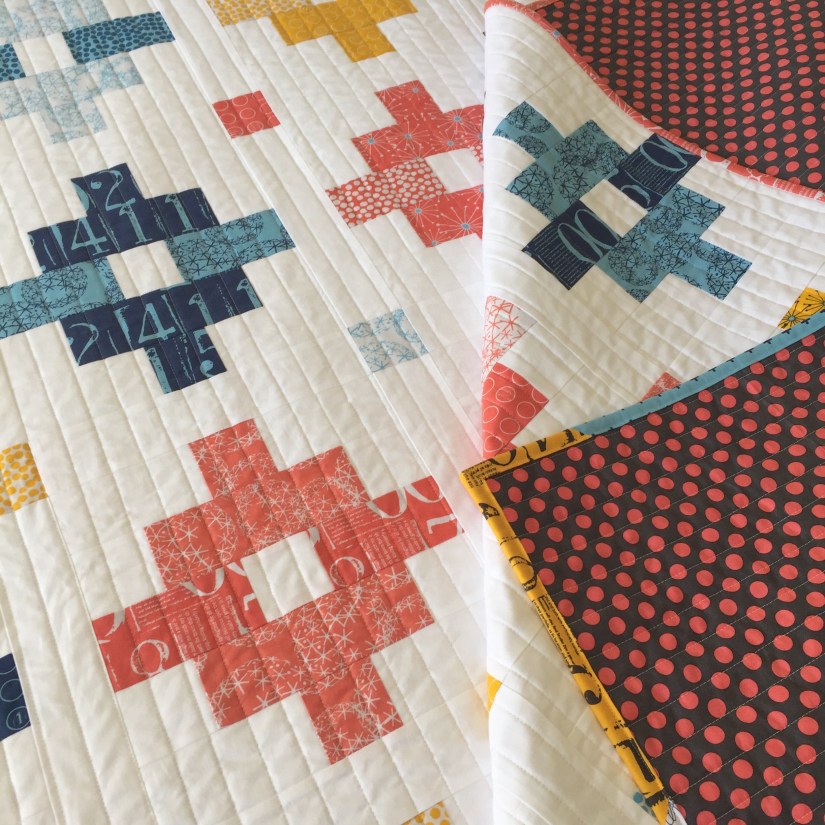
I chose to make the binding scrappy. Need instruction on how to make scrappy binding? Here’s my How To tutorial.
Here’s a trick I used to make sure the same colors in the binding weren’t next to the same colors on the quilt top once I sewed it on. After the top was complete and on my design wall, I laid out the binding strips around it in preferred order. I marked where I needed to start sewing the binding on the actual quilt sandwich so the layout remained as planned. It worked great!
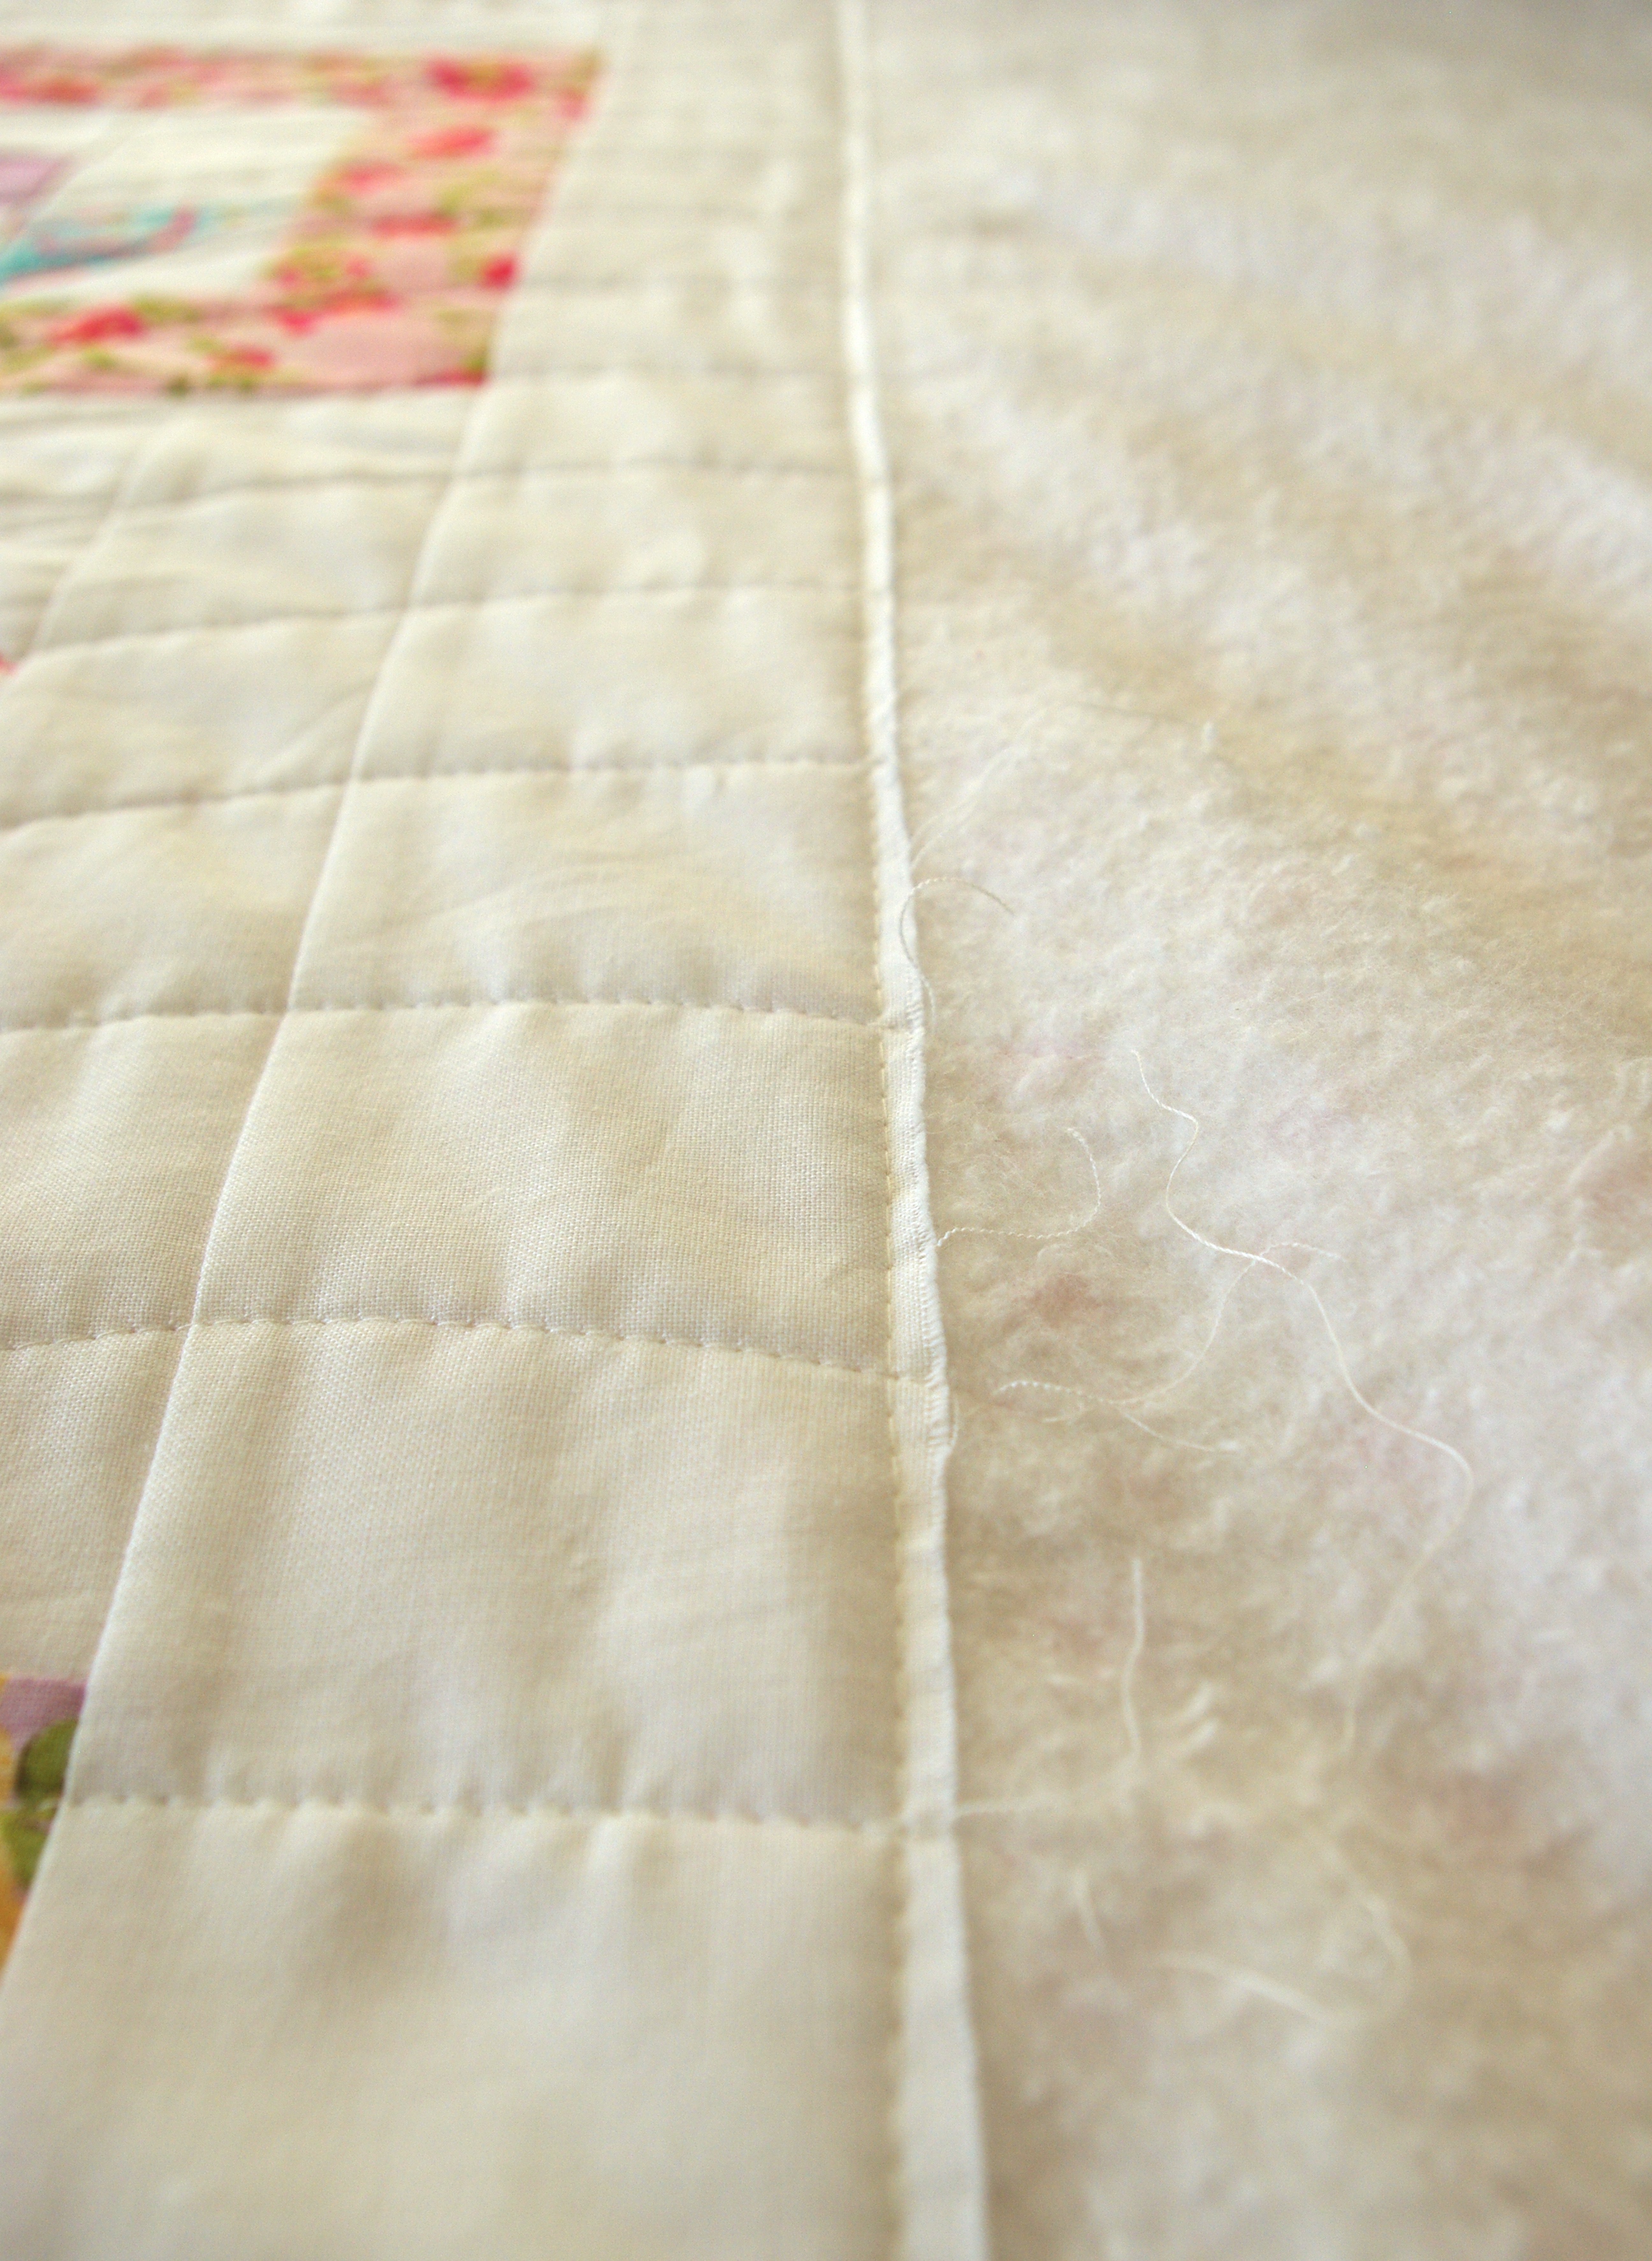
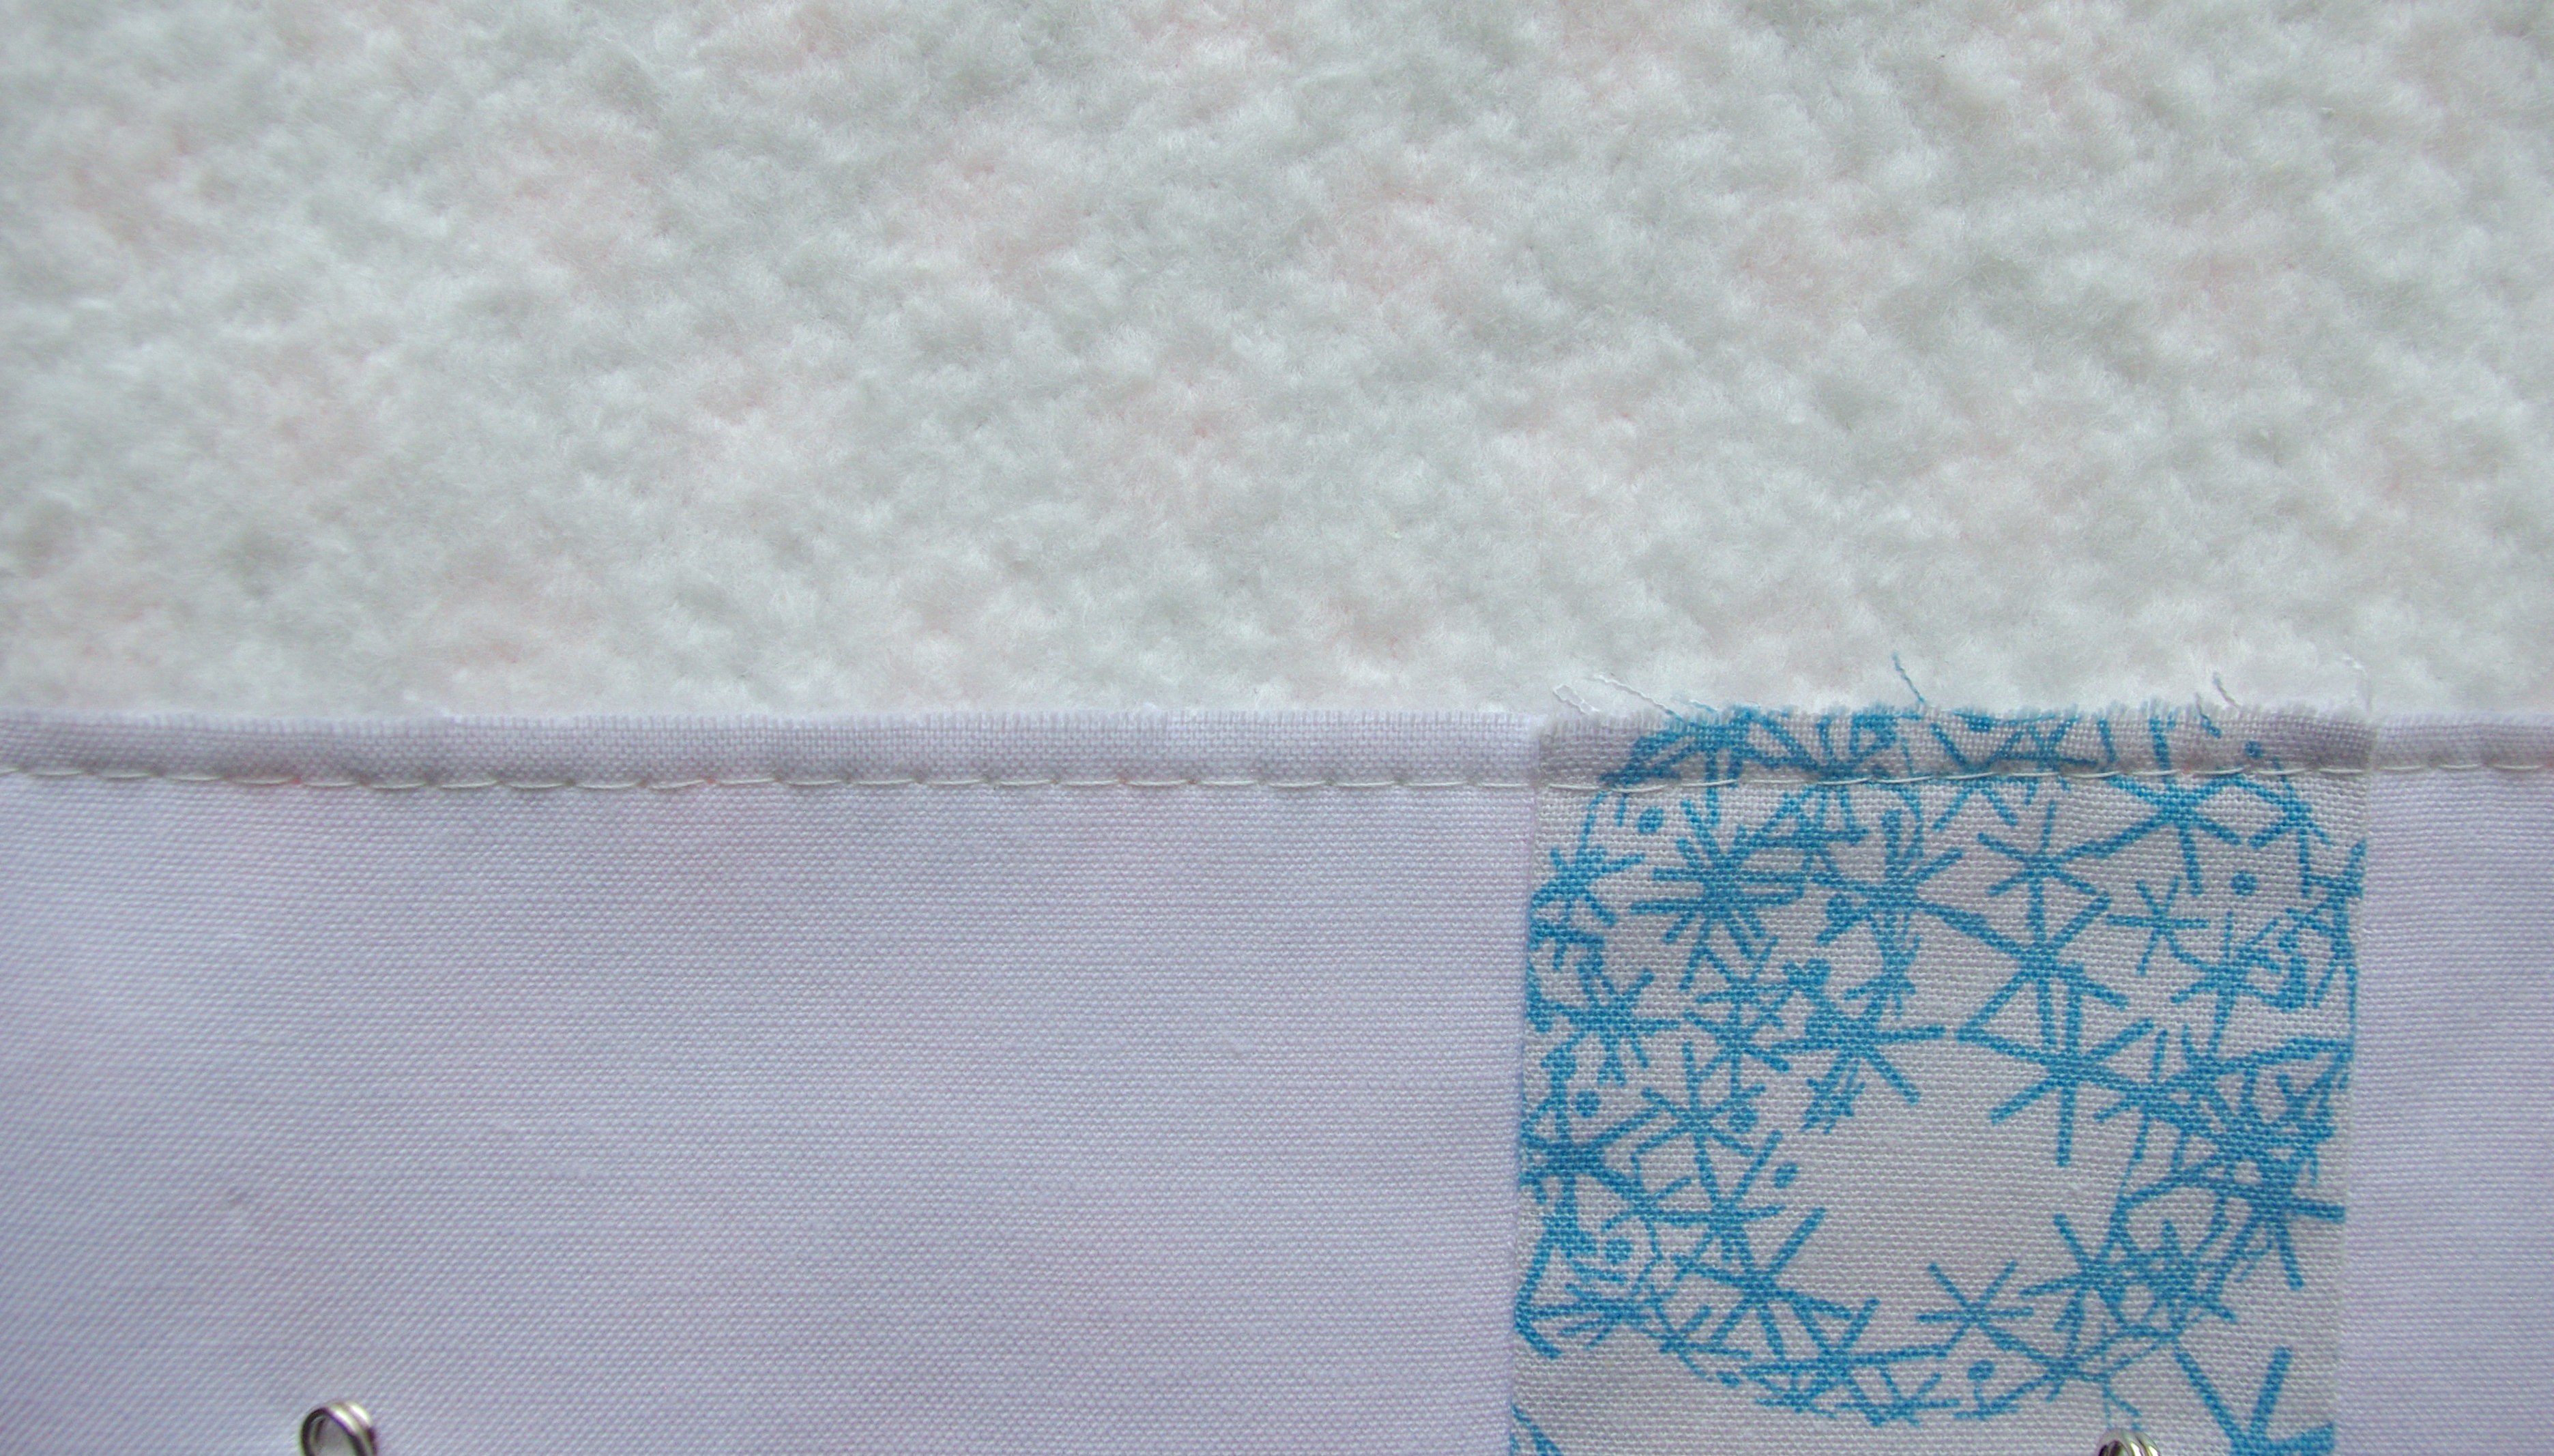
After sandwiching and before quilting, I sewed my basting stitch across the top to reduce pulling and shifting. This works wonders and I definitely recommend taking the time to do this step. Just set your machine on the widest stitch possible and sew within ¼” from the top. There’s no need to remove these stitches before sewing on your binding and it helps keep the sewn edge flat.
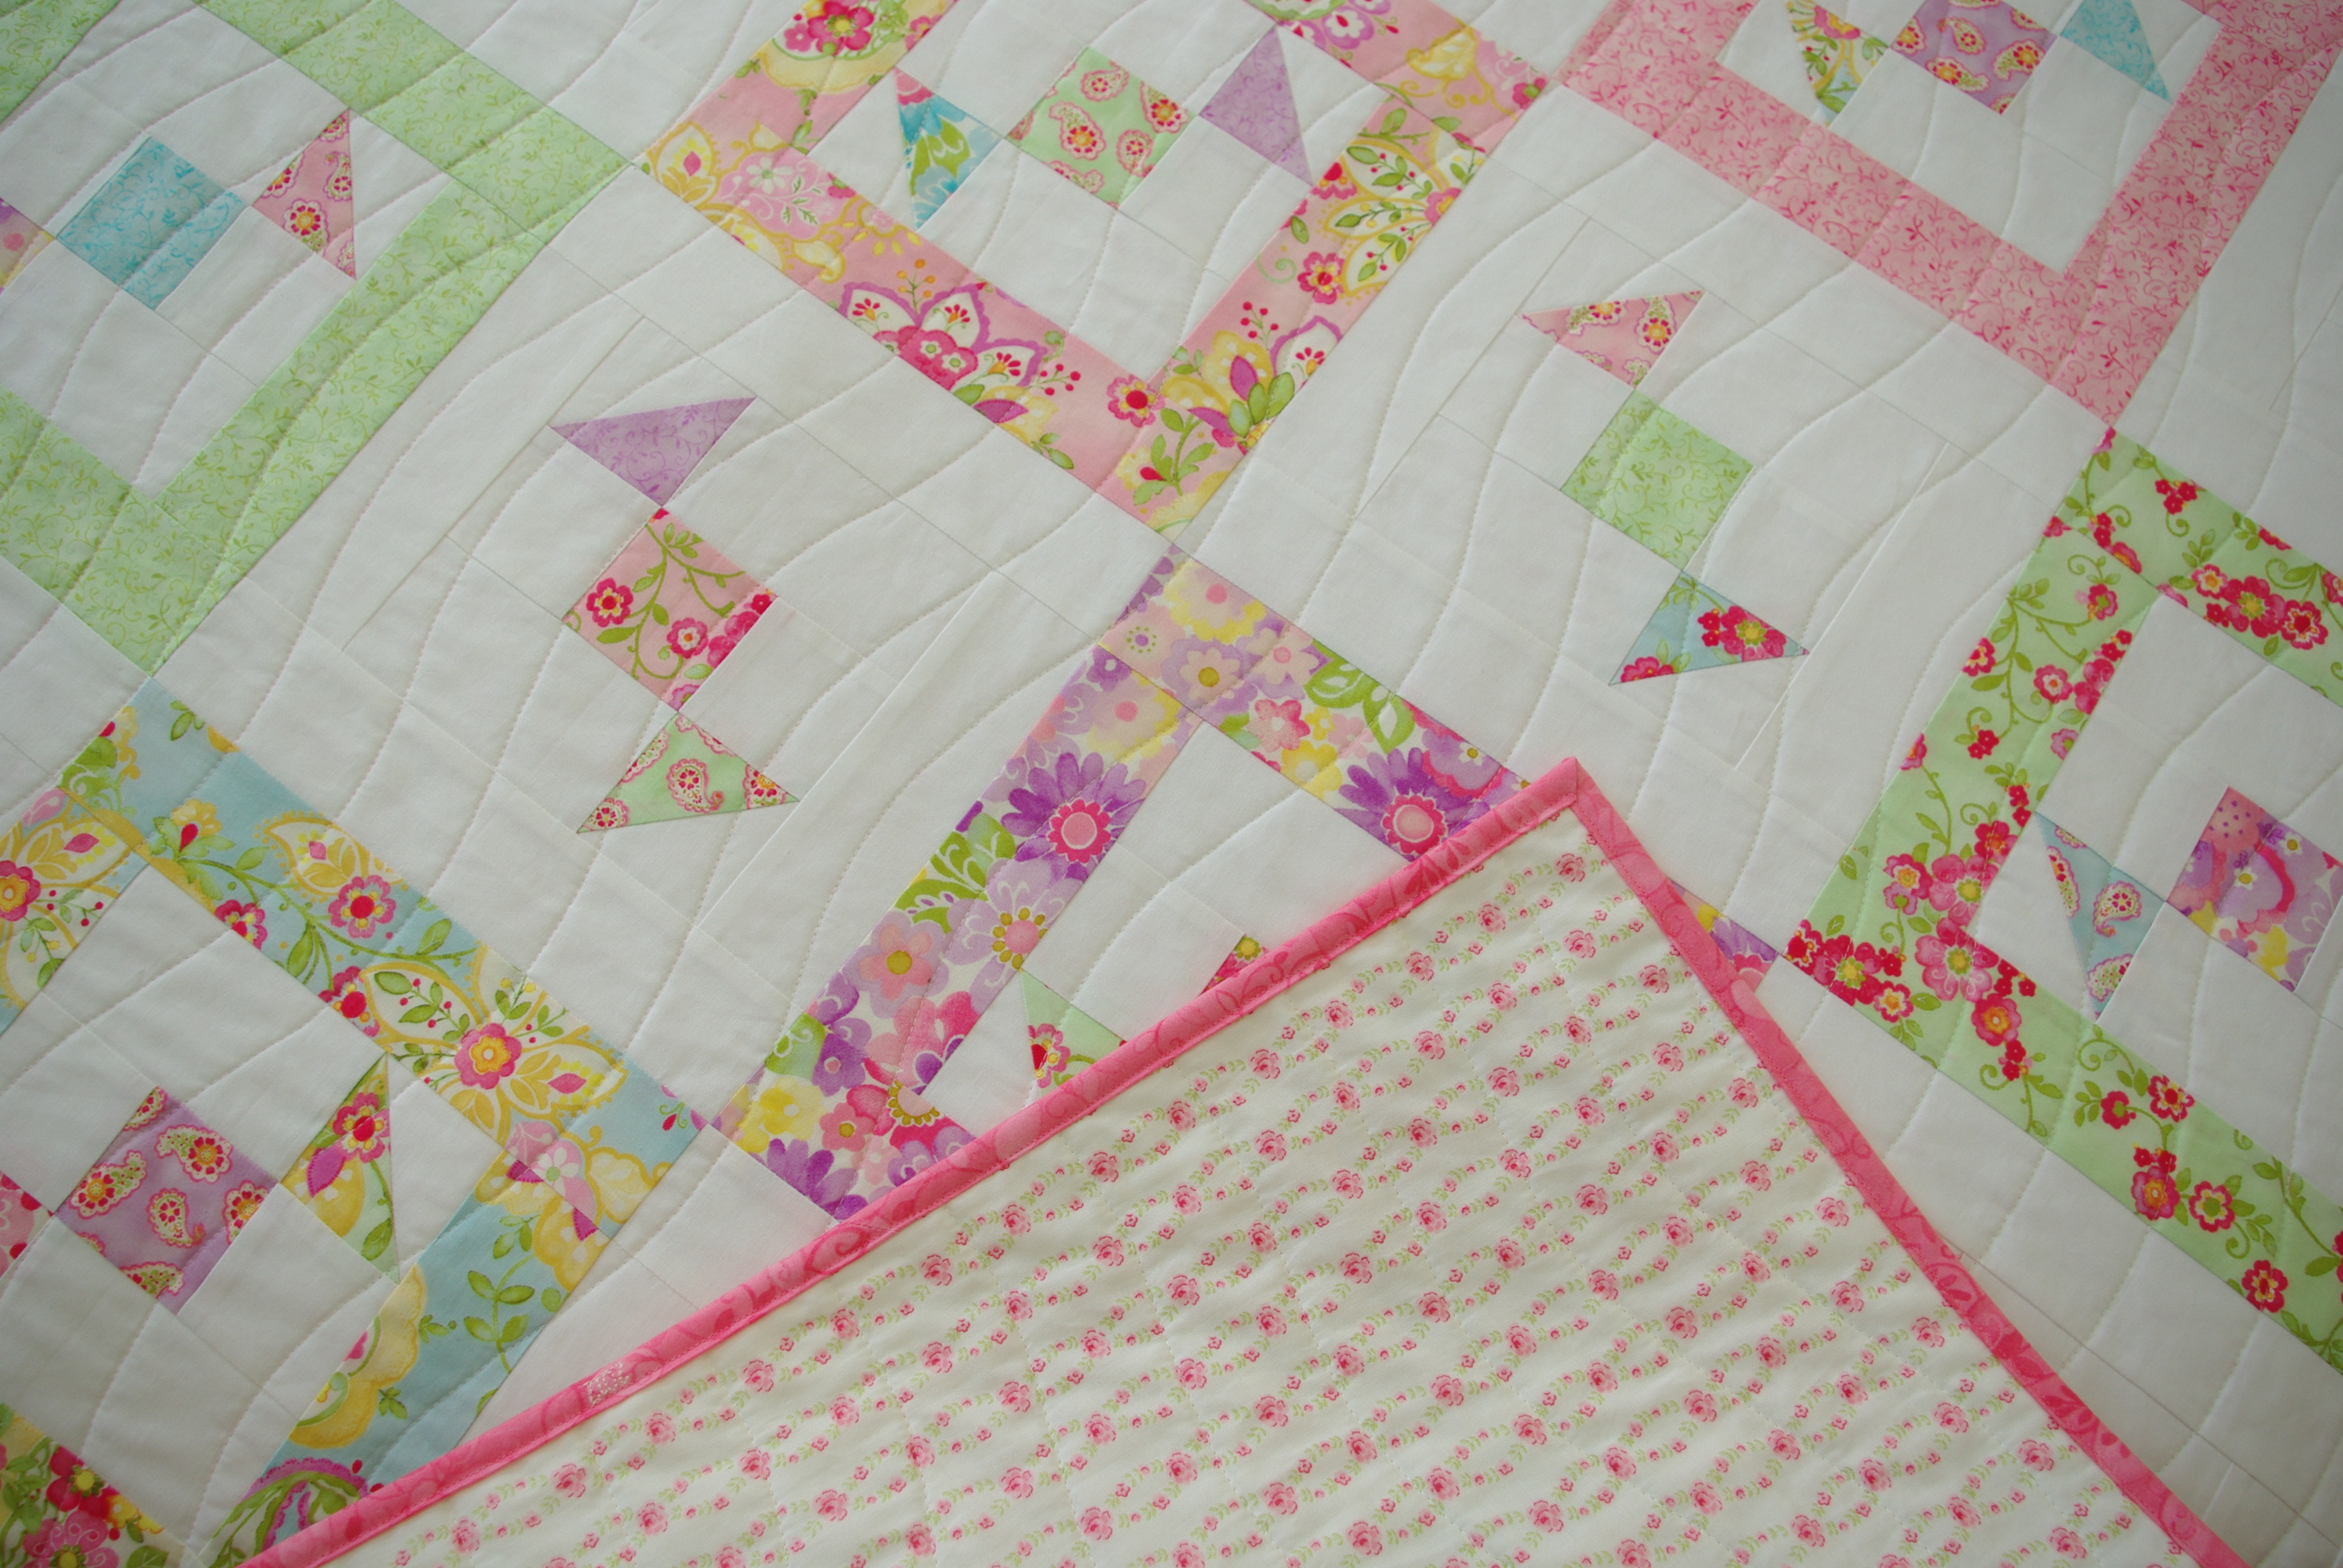
As usual, I used my hera marker to mark every line 1 ¾” apart and then used my guide for the lines in between.
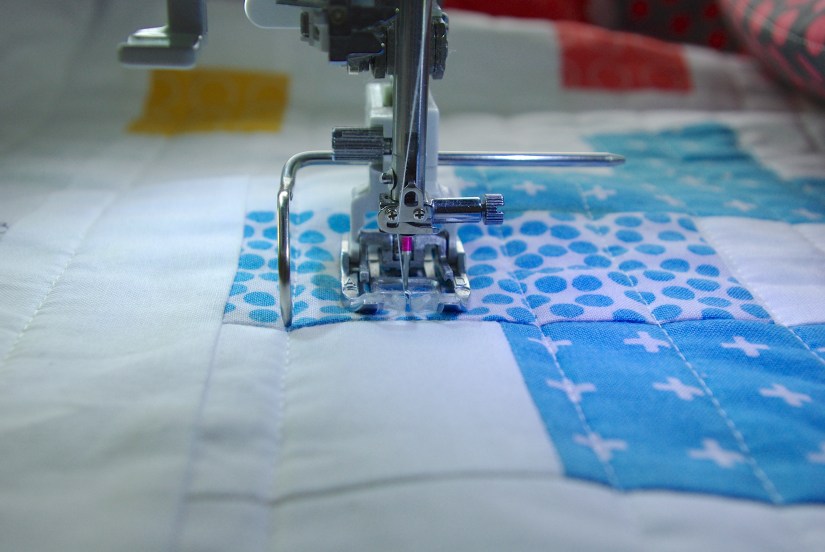
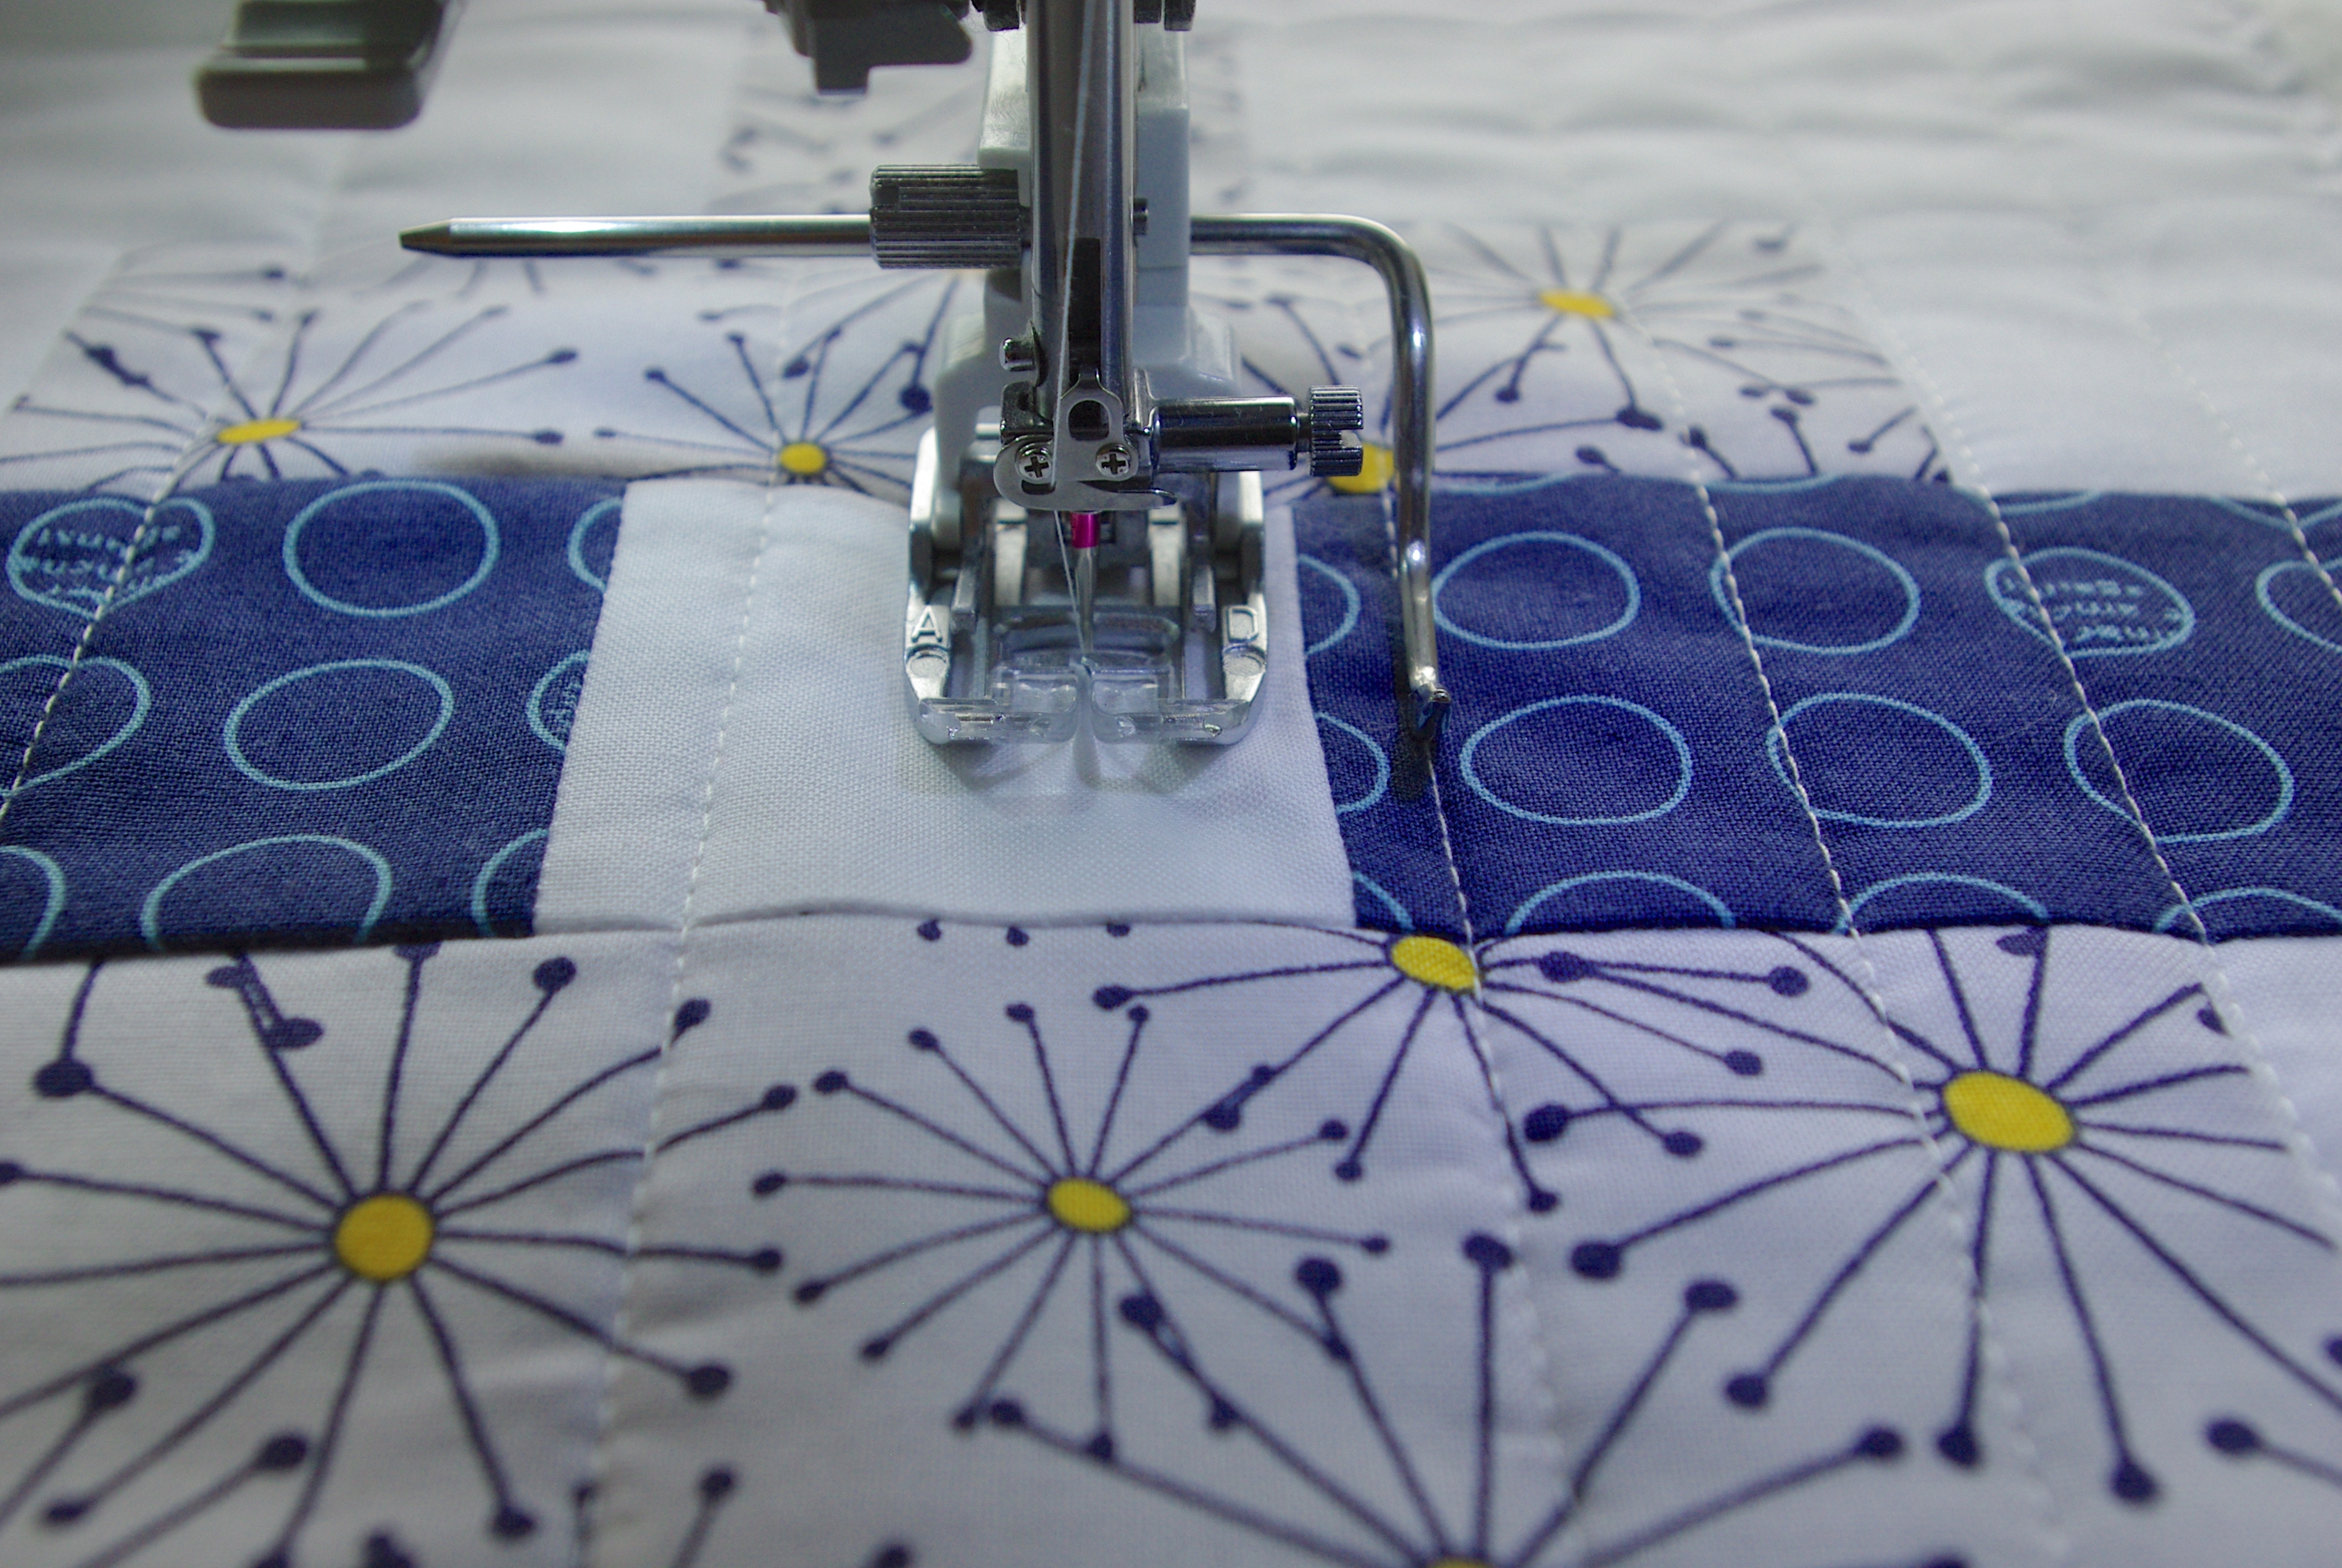
I’ve never straight line quilted before but it came out pretty nice.
I also had this fun polka-dot backing on hand, I’m sure I bought it for something else that I never got around to making… 🙂
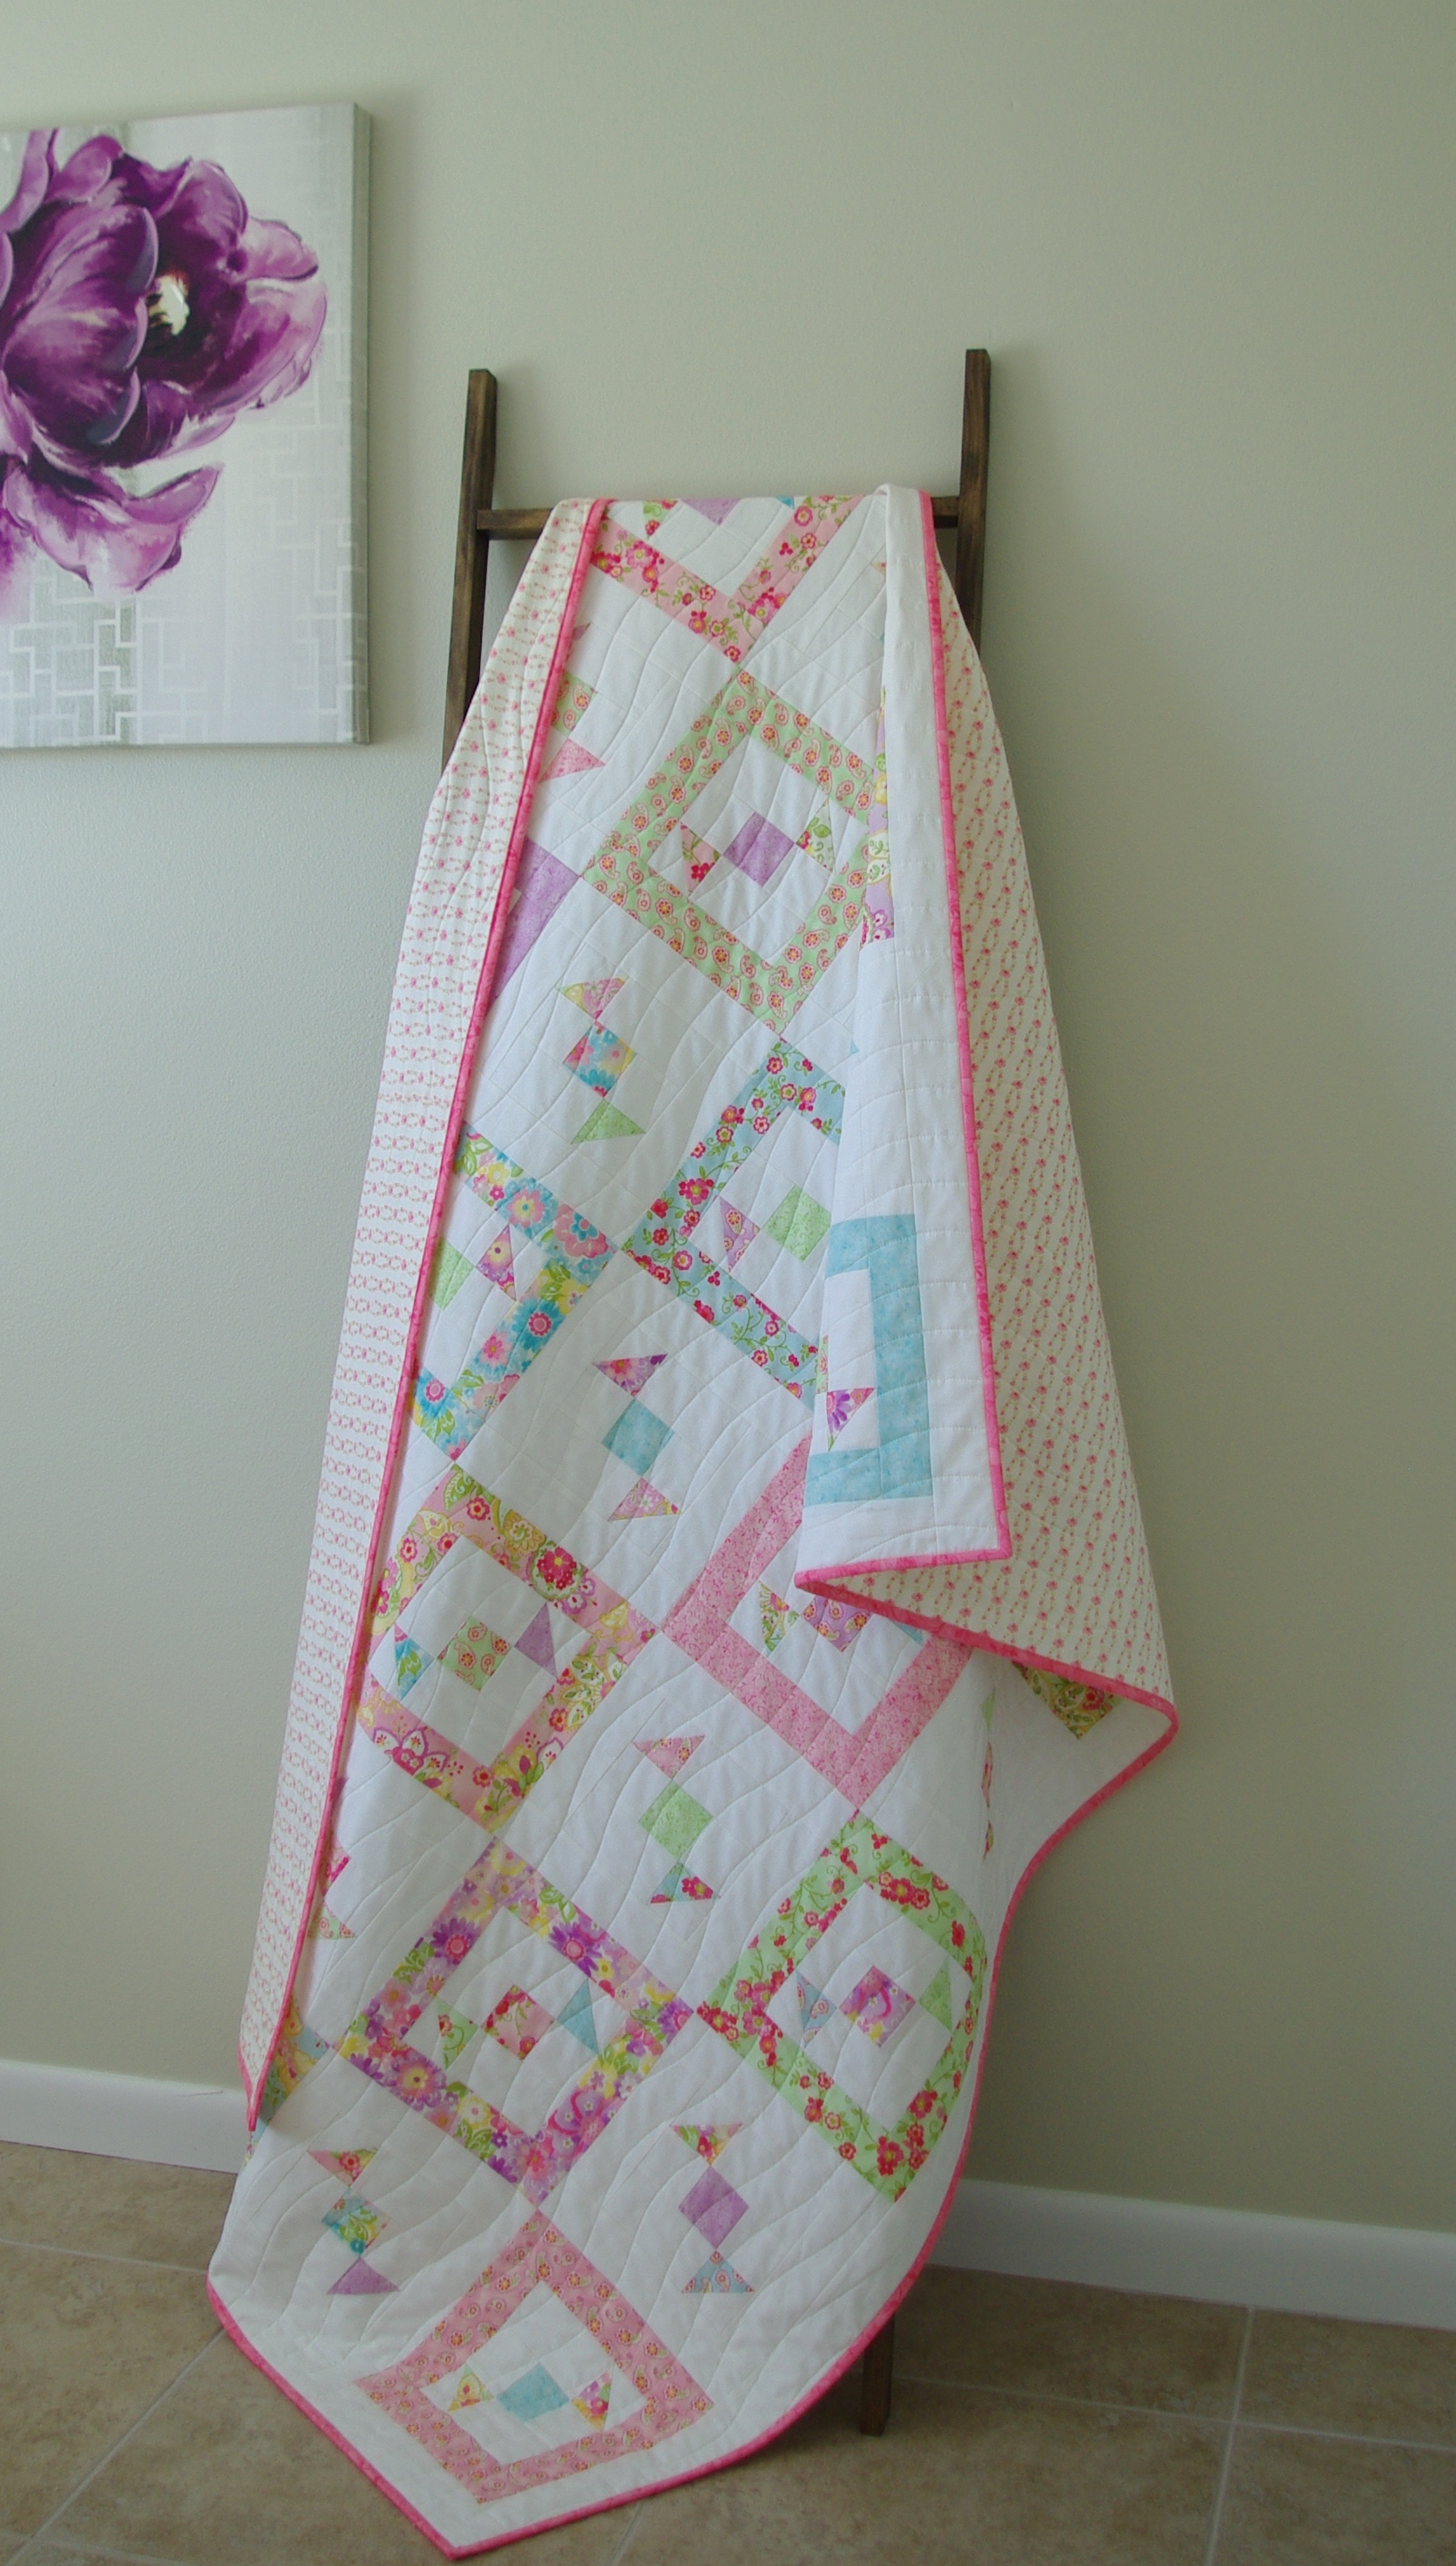
And the finished quilt!
I really enjoyed making this quilt, it was a lot of fun. I’m also very pleased that my niece absolutely loved it. And as always, I’m happy to spread around some quilting cheer. 😉