
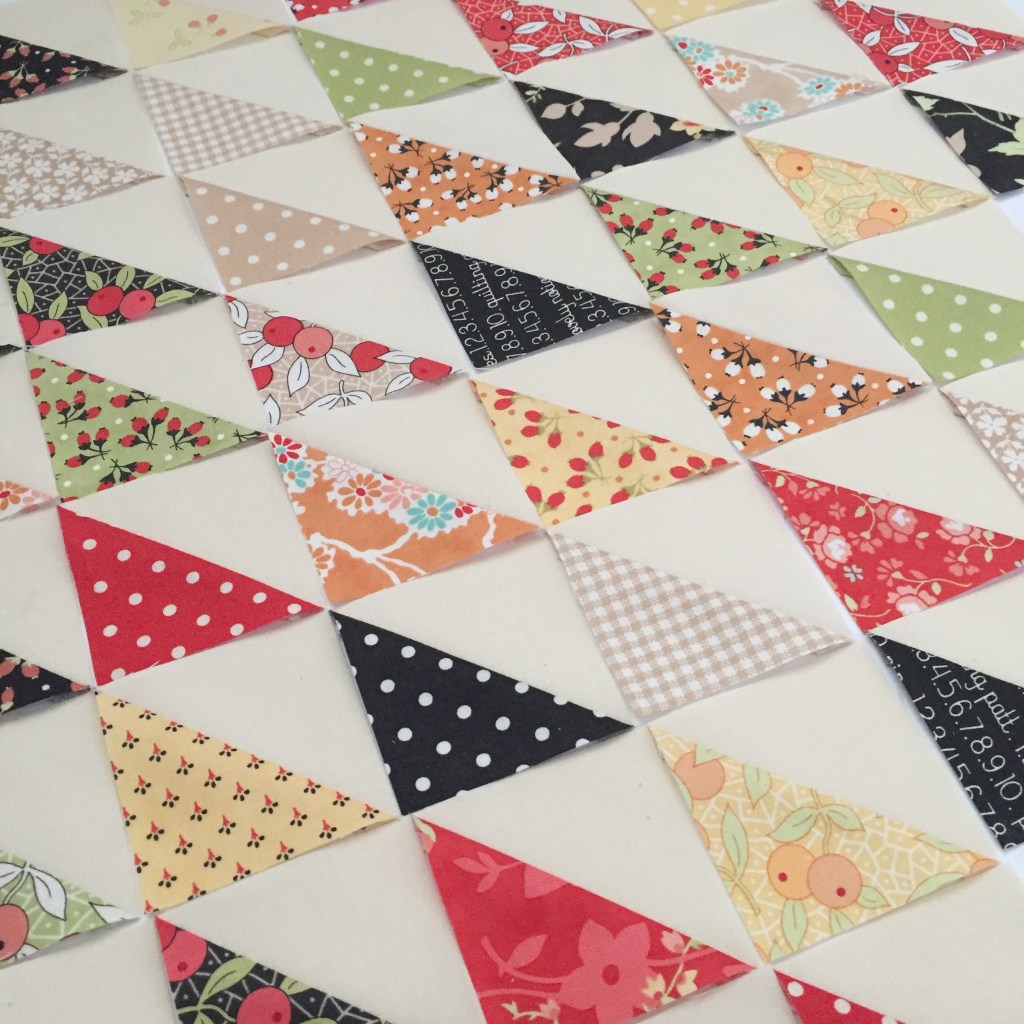
Ahh, half square triangles…I couldn’t imagine the quilting world with out them. I think it would be a safe bet to say that the majority of quilt patterns include half square triangles. And I think most quilters would agree that we love of their versatility.

Learning how to make half square triangles (HSTs) with accurate results can make all the difference in your quilt. I remember my first quilt included HSTs, and I also remember that I had no idea what I was in for when it came time to make them! I didn’t know anything about trimming and the importance of accuracy which made putting the quilt top together a bigger challenge than I expected.
If you’re a new quilter, I have an tutorial on how to make half square triangles with ease. It’s a basic method where you make two at a time and bias edges are avoided. By using this method you’ll find there’s very little waste but it allows enough fabric for trimming, and it’s perfect for chain piecing.
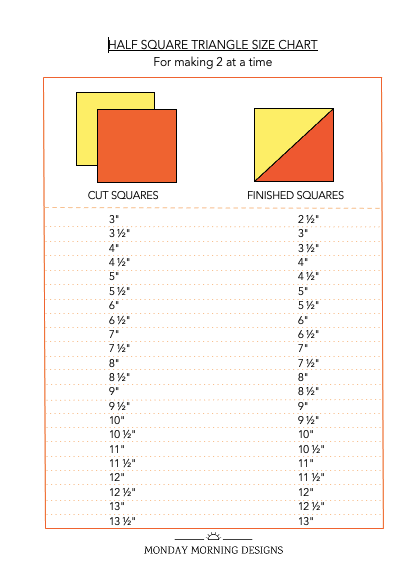
For future reference, I’ve included a sizing chart that provides both the size of the cut of fabric needed and the size of the finished/trimmed HST. It’s really a great resource, I use it all the time. Click to download my Half Square Triangle Chart.
To make Half Square Triangles (HSTs) – 2 at a time
To get started, cut (2) contrasting color fabrics to desired size. The lighter colored fabric will be referred to ‘A square’ and the darker fabric will be referred to as ‘B square.’
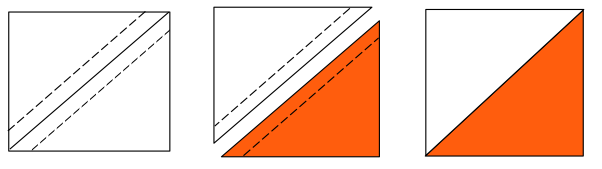
- Draw a diagonal line on the wrong side of A square
- Place A square on B square, right sides together
- Sew ¼” from the drawn line on both sides
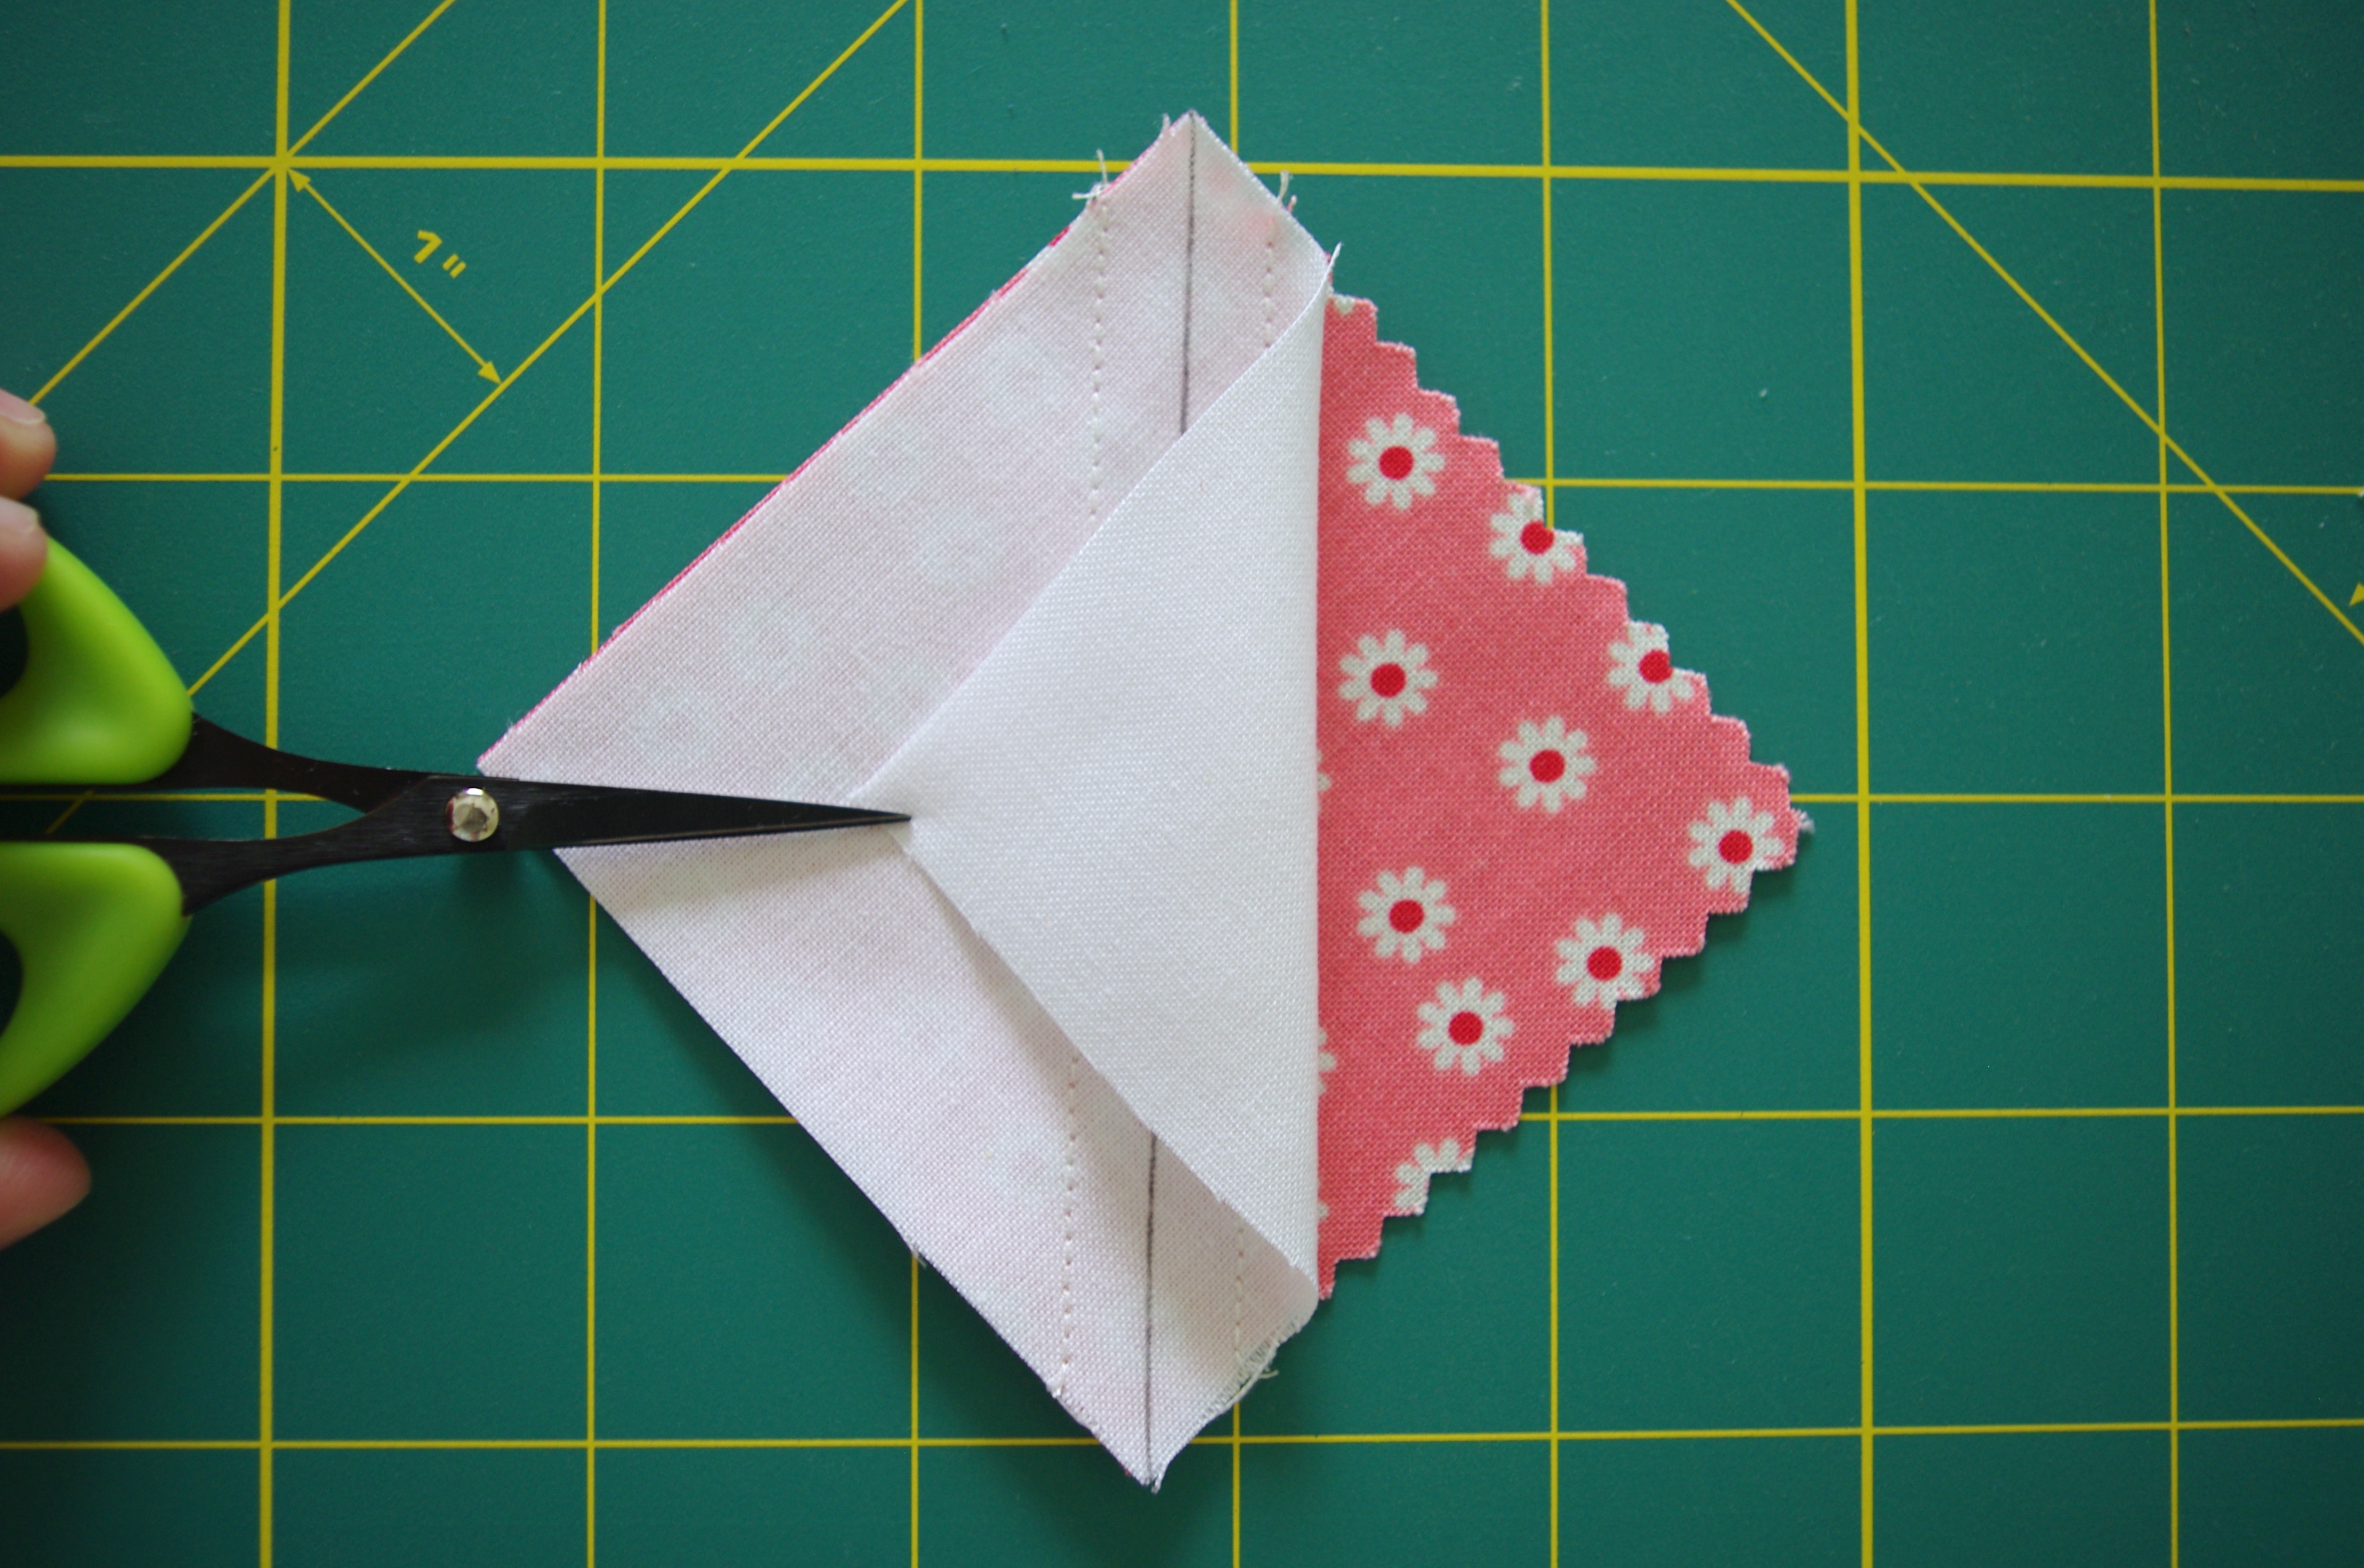
- Cut on the drawn line, press to B square
- Trim HSTs to finished size
- One sewn unit makes 2 HSTs
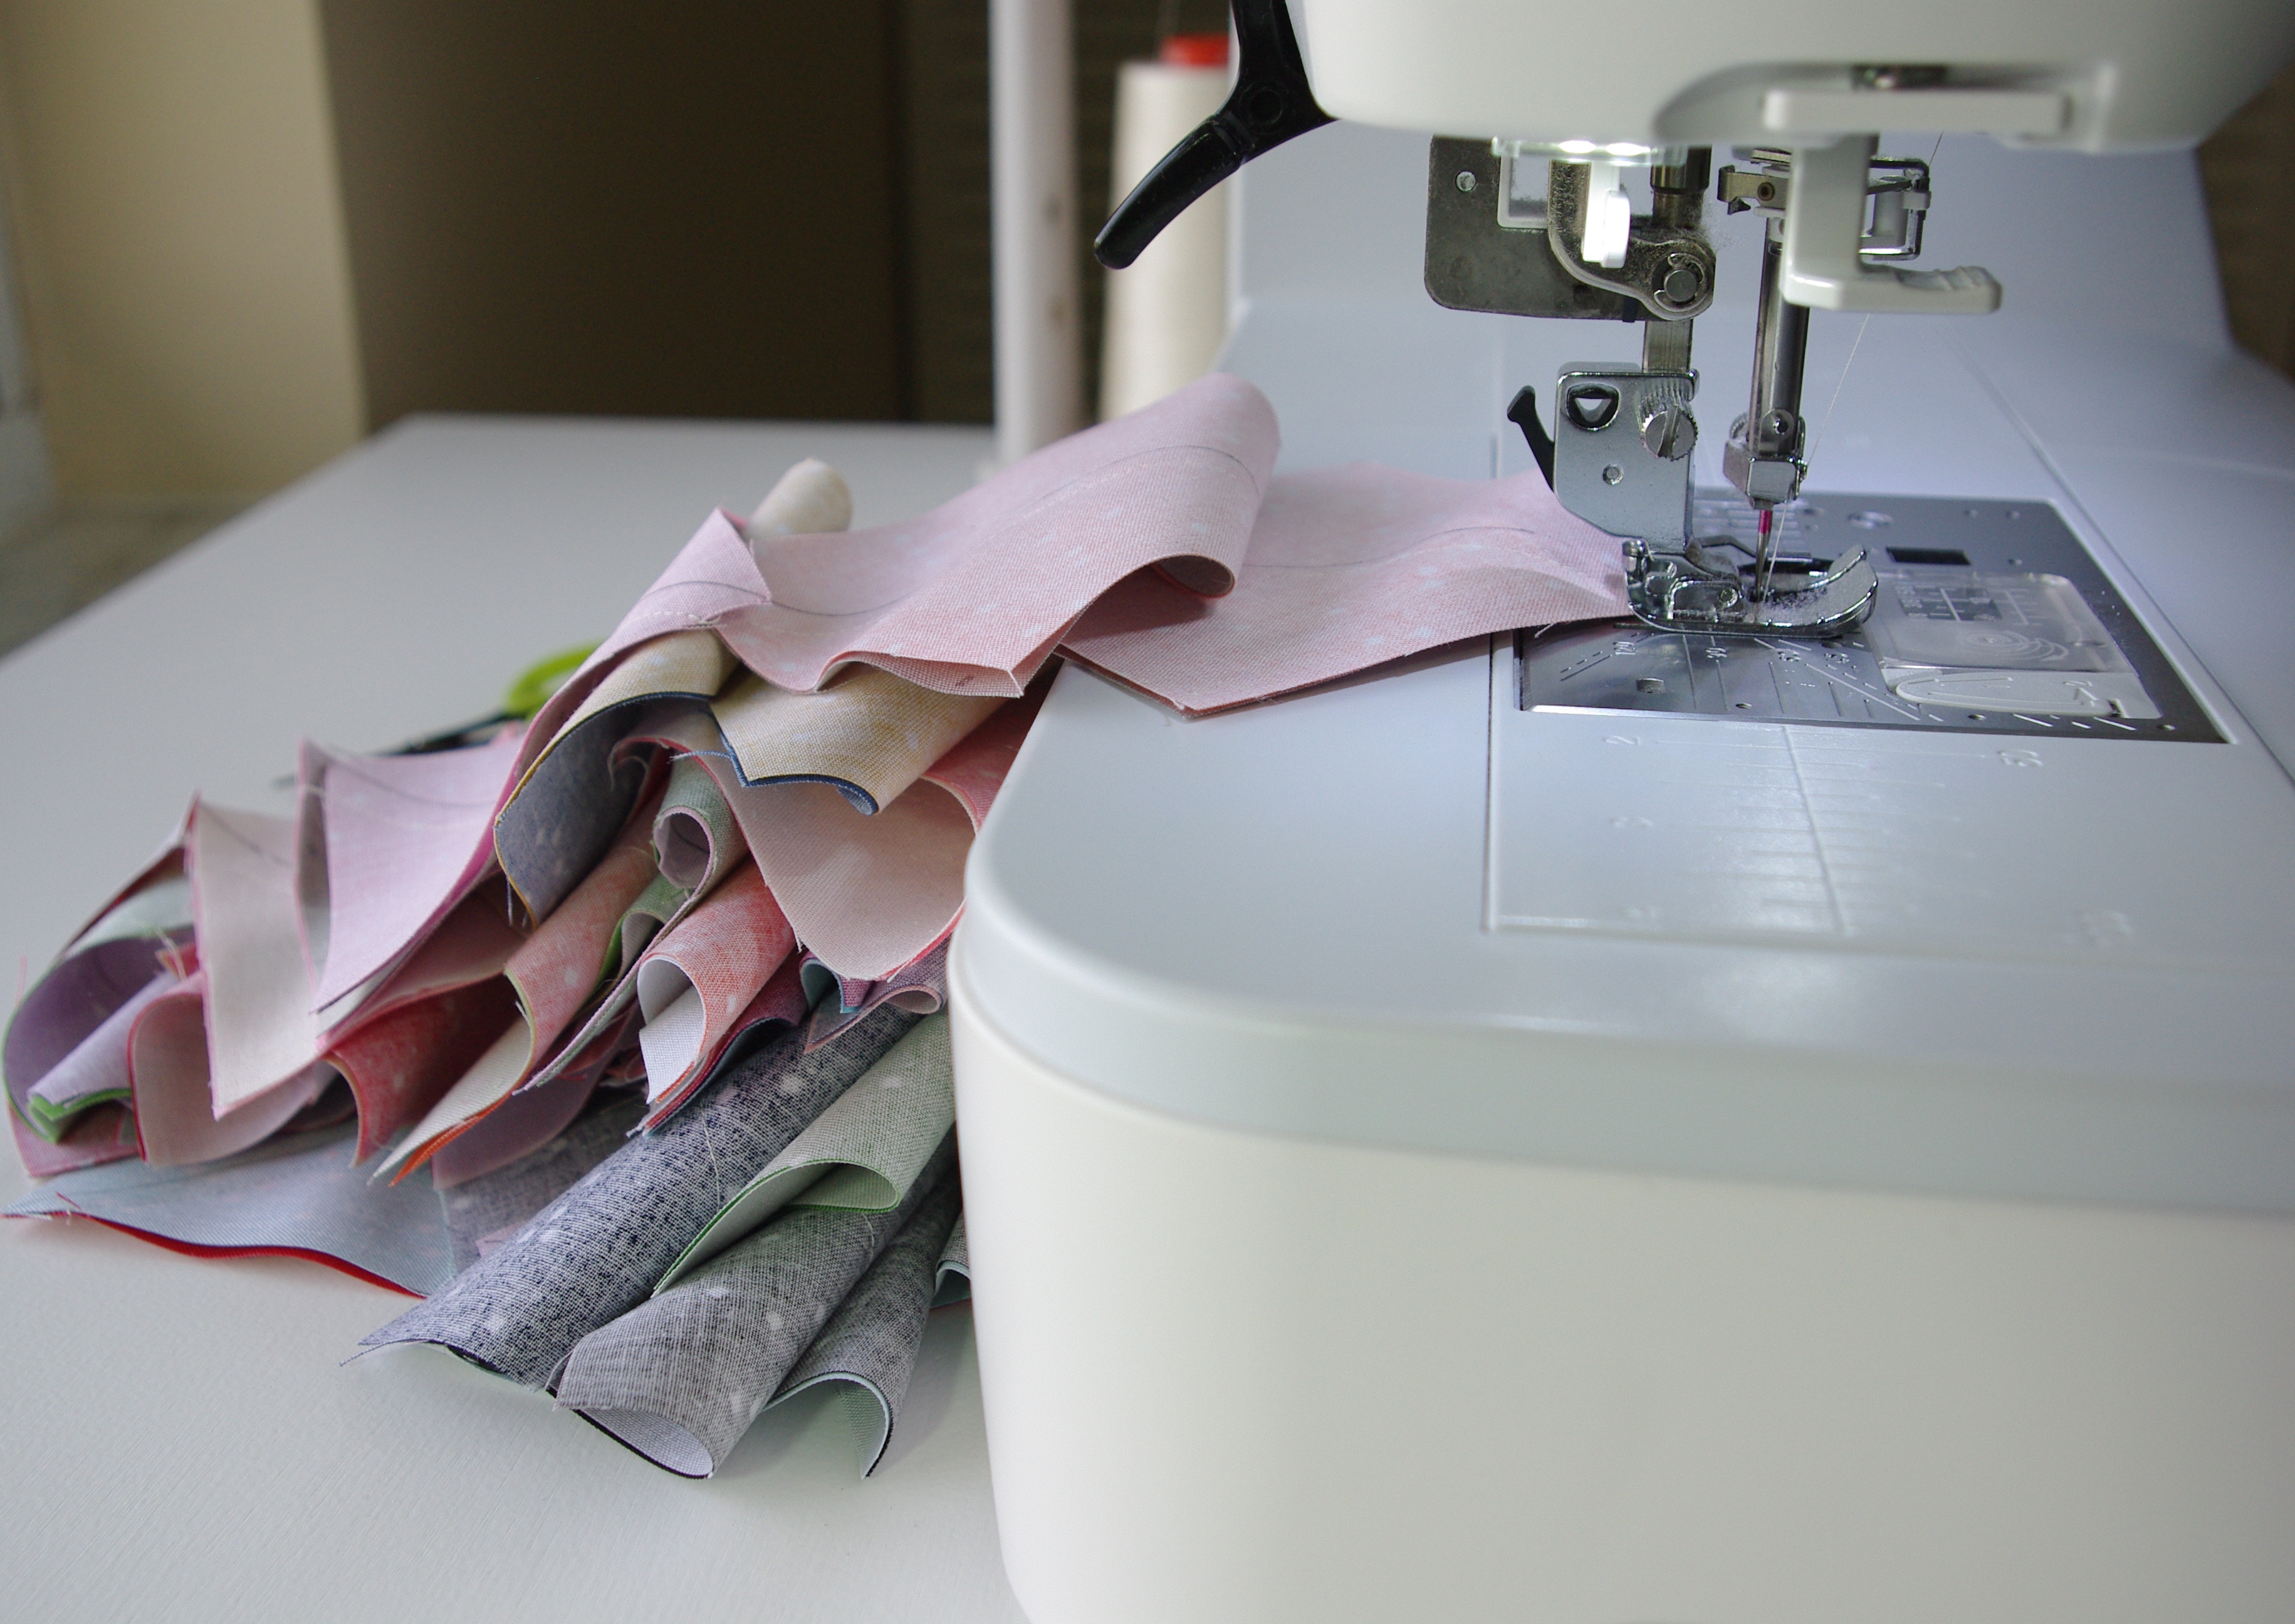
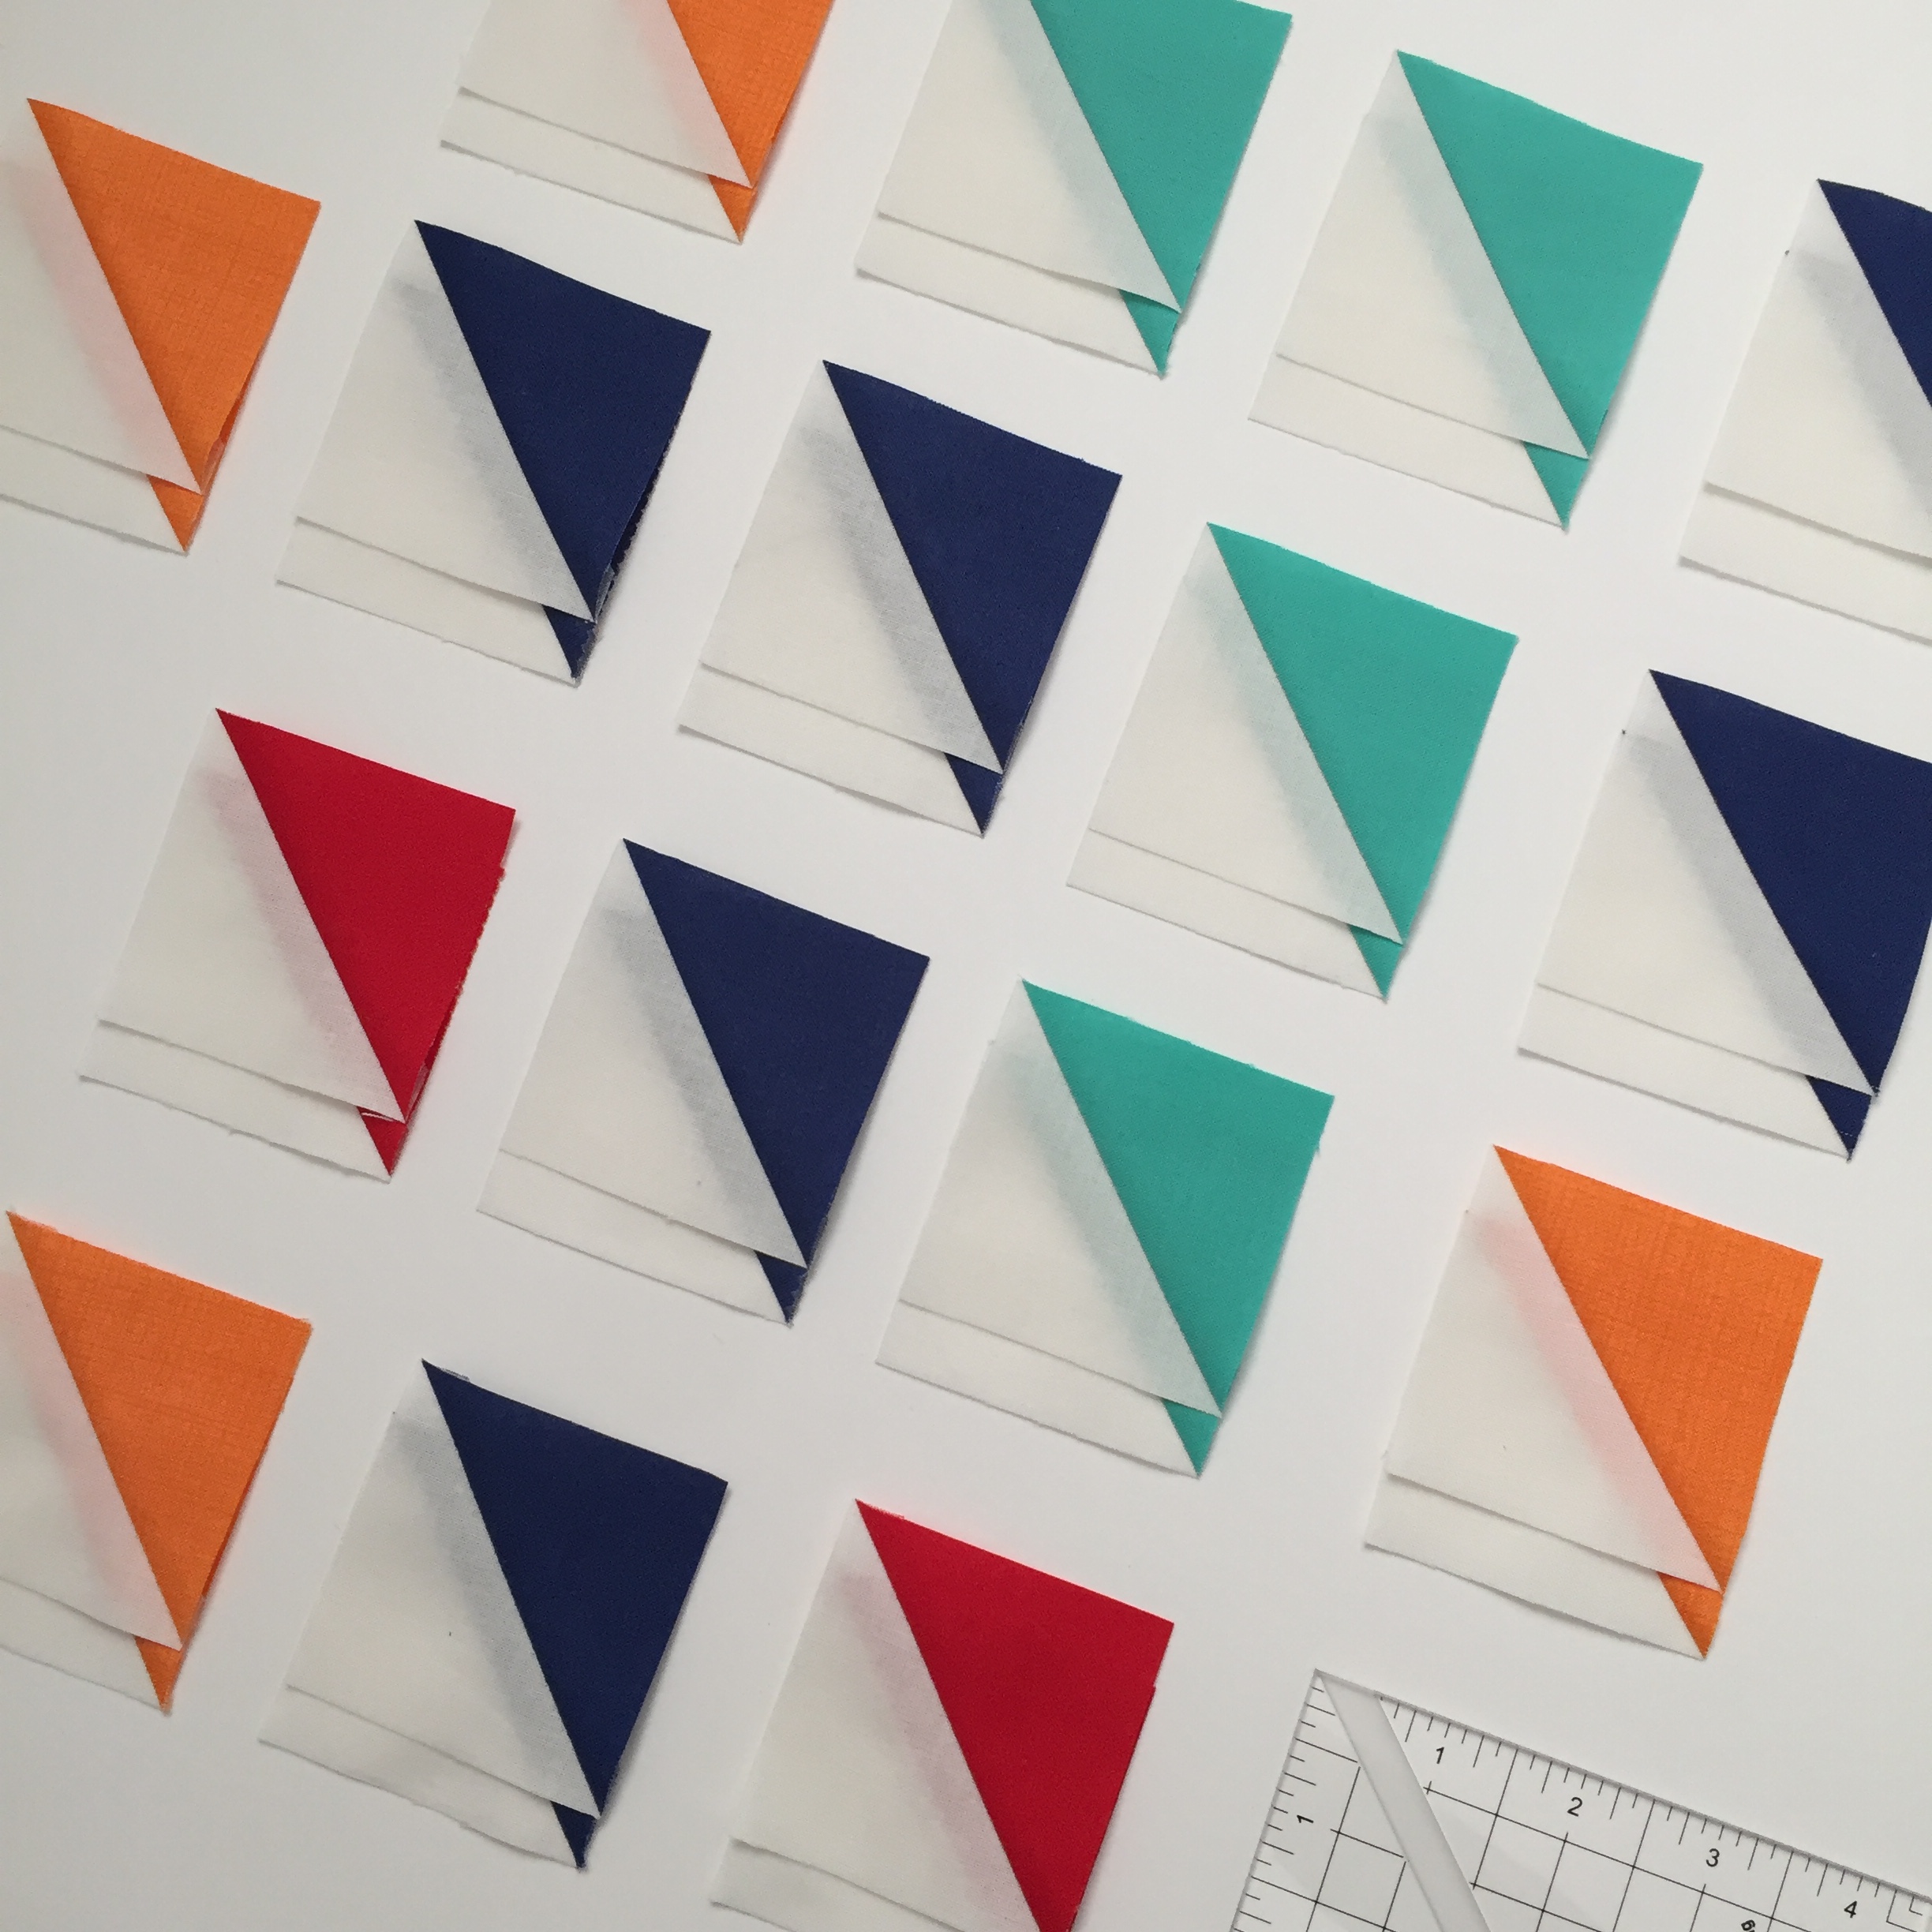
I made these HSTs for a pillow project using this method.
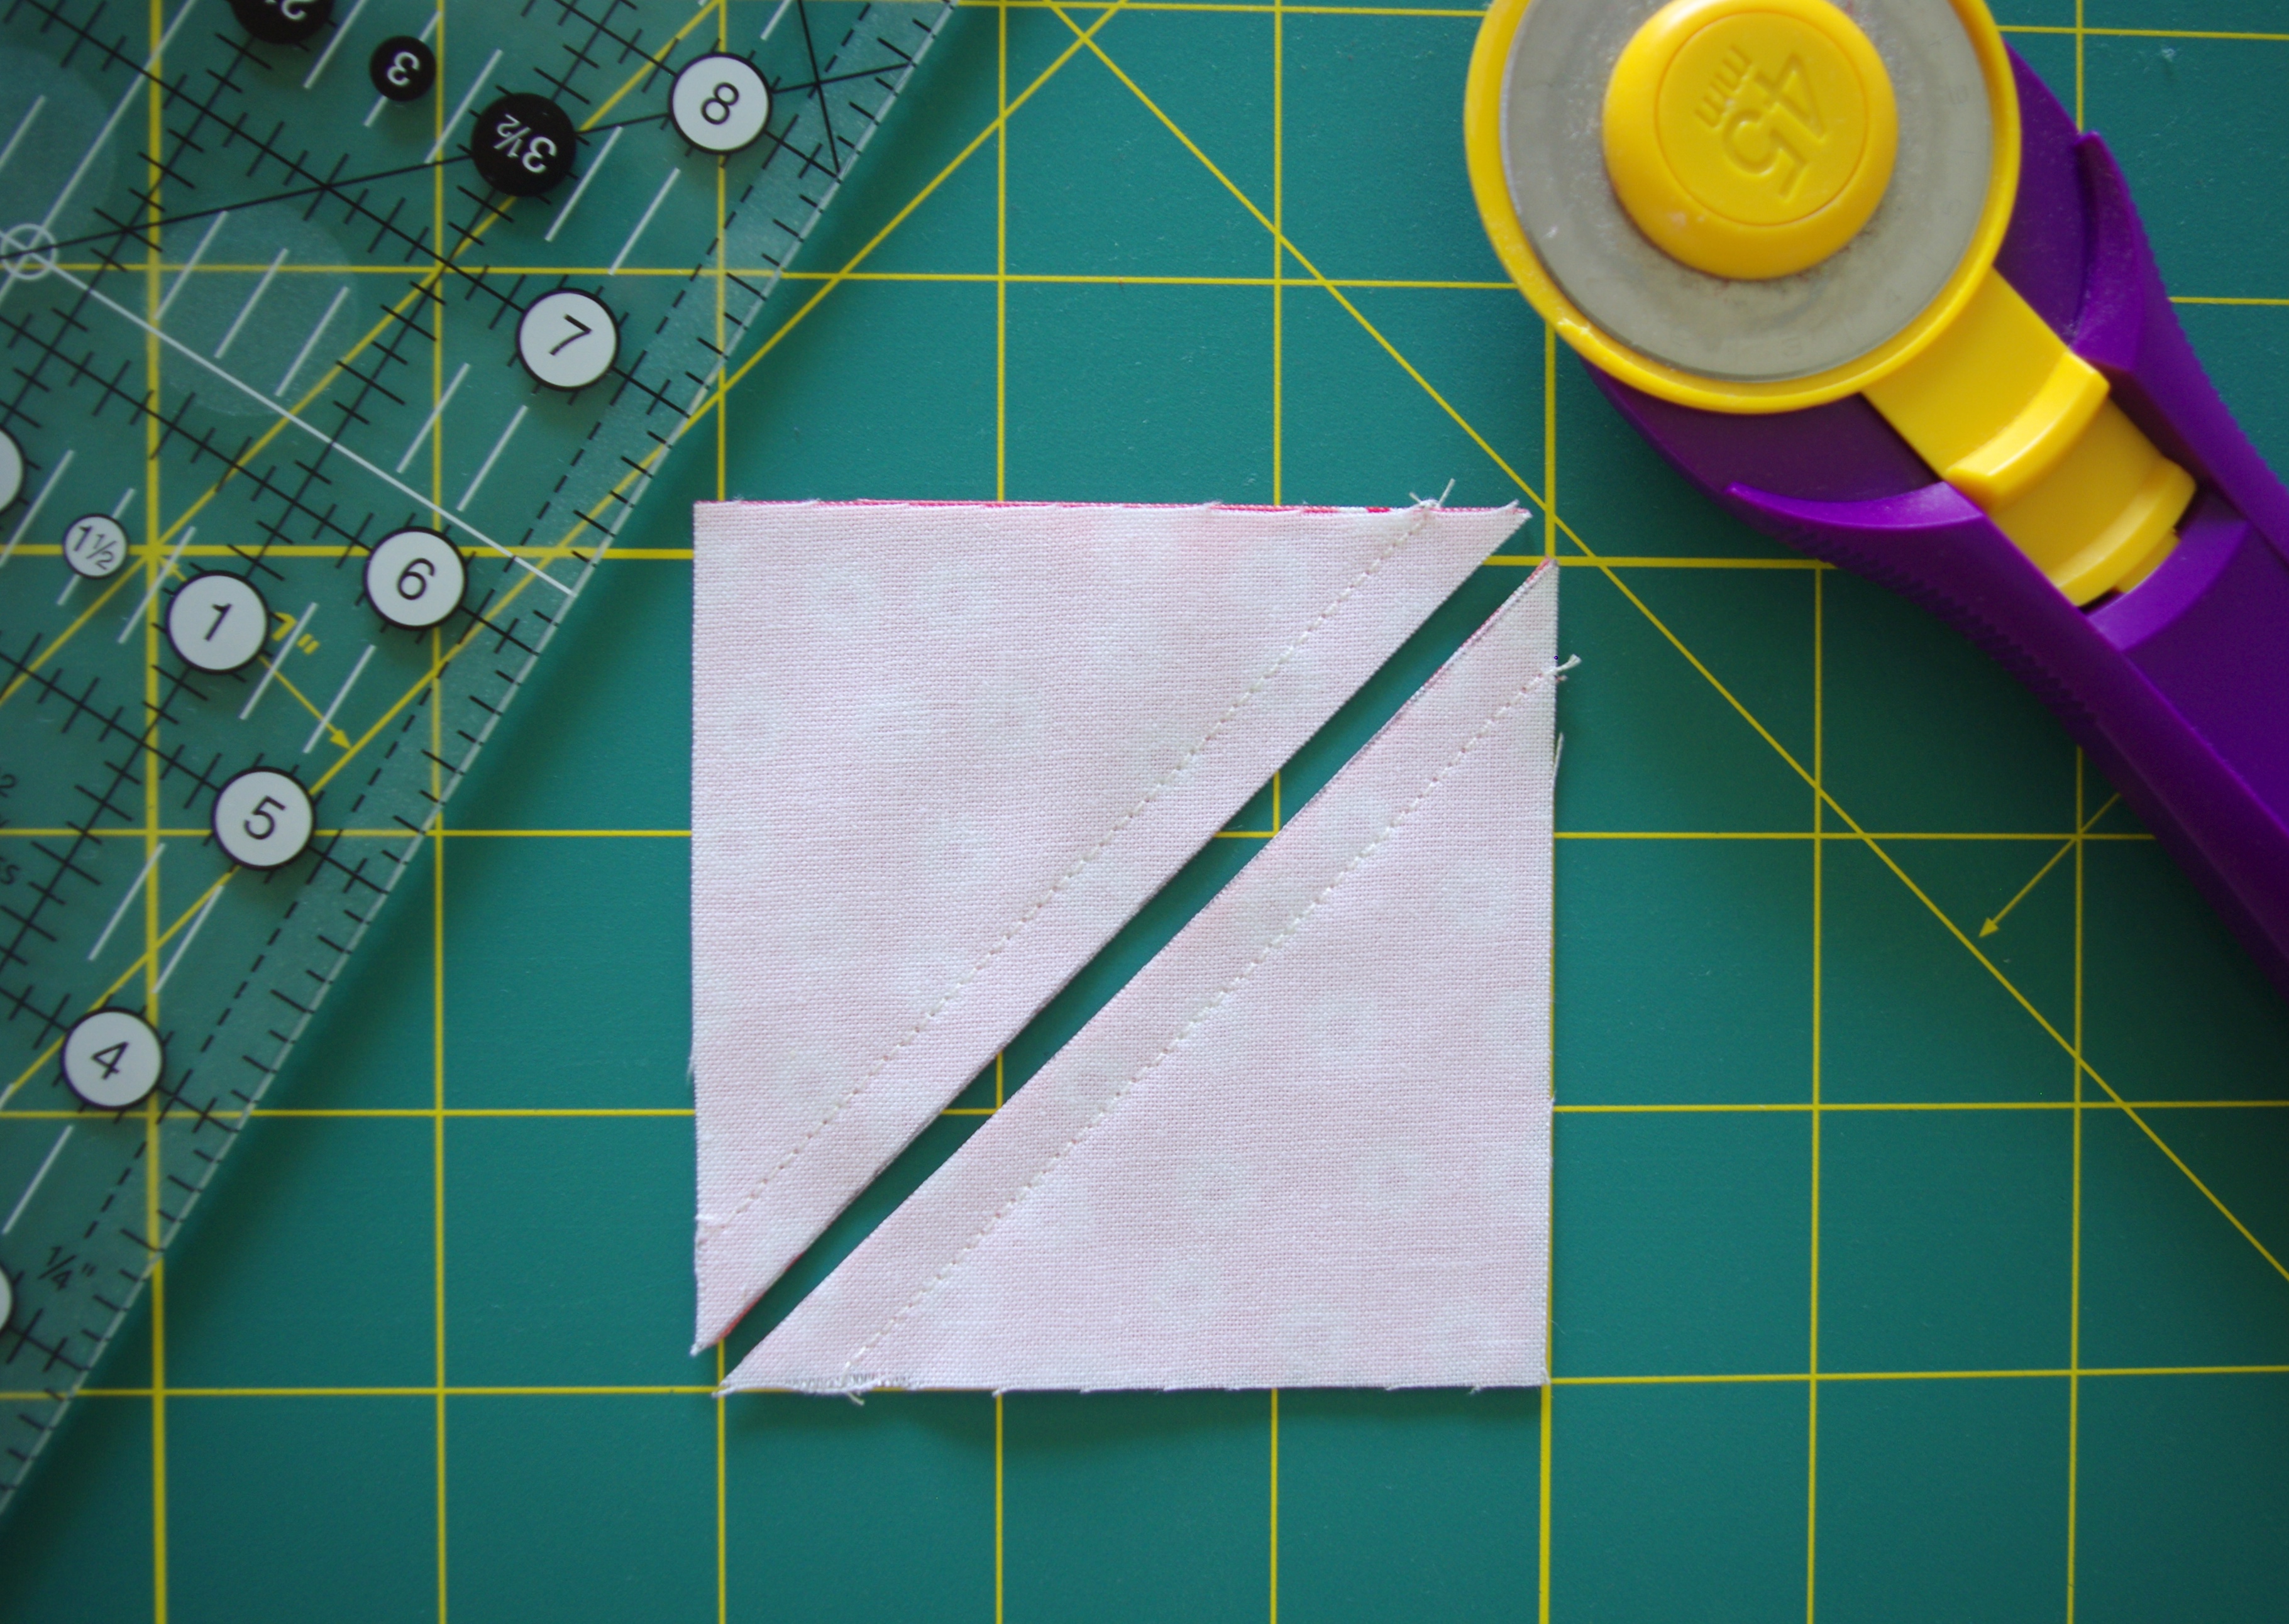

You can see that very little was trimmed away, but it does make a lot of difference when you piece your project together. I like to use a Bloc-Loc ruler for trimming my squares. Not only does it give great accuracy, it makes the trimming process go much faster than using a regular quilter’s ruler.
If you give this tutorial a try, I hope your triangles are stellar. 🙂 Let’s go have some fun creating!
Note: I am not endorsed by any products I have mentioned or photographed in this post; they are just items I like, use and wanted to share information on.
