
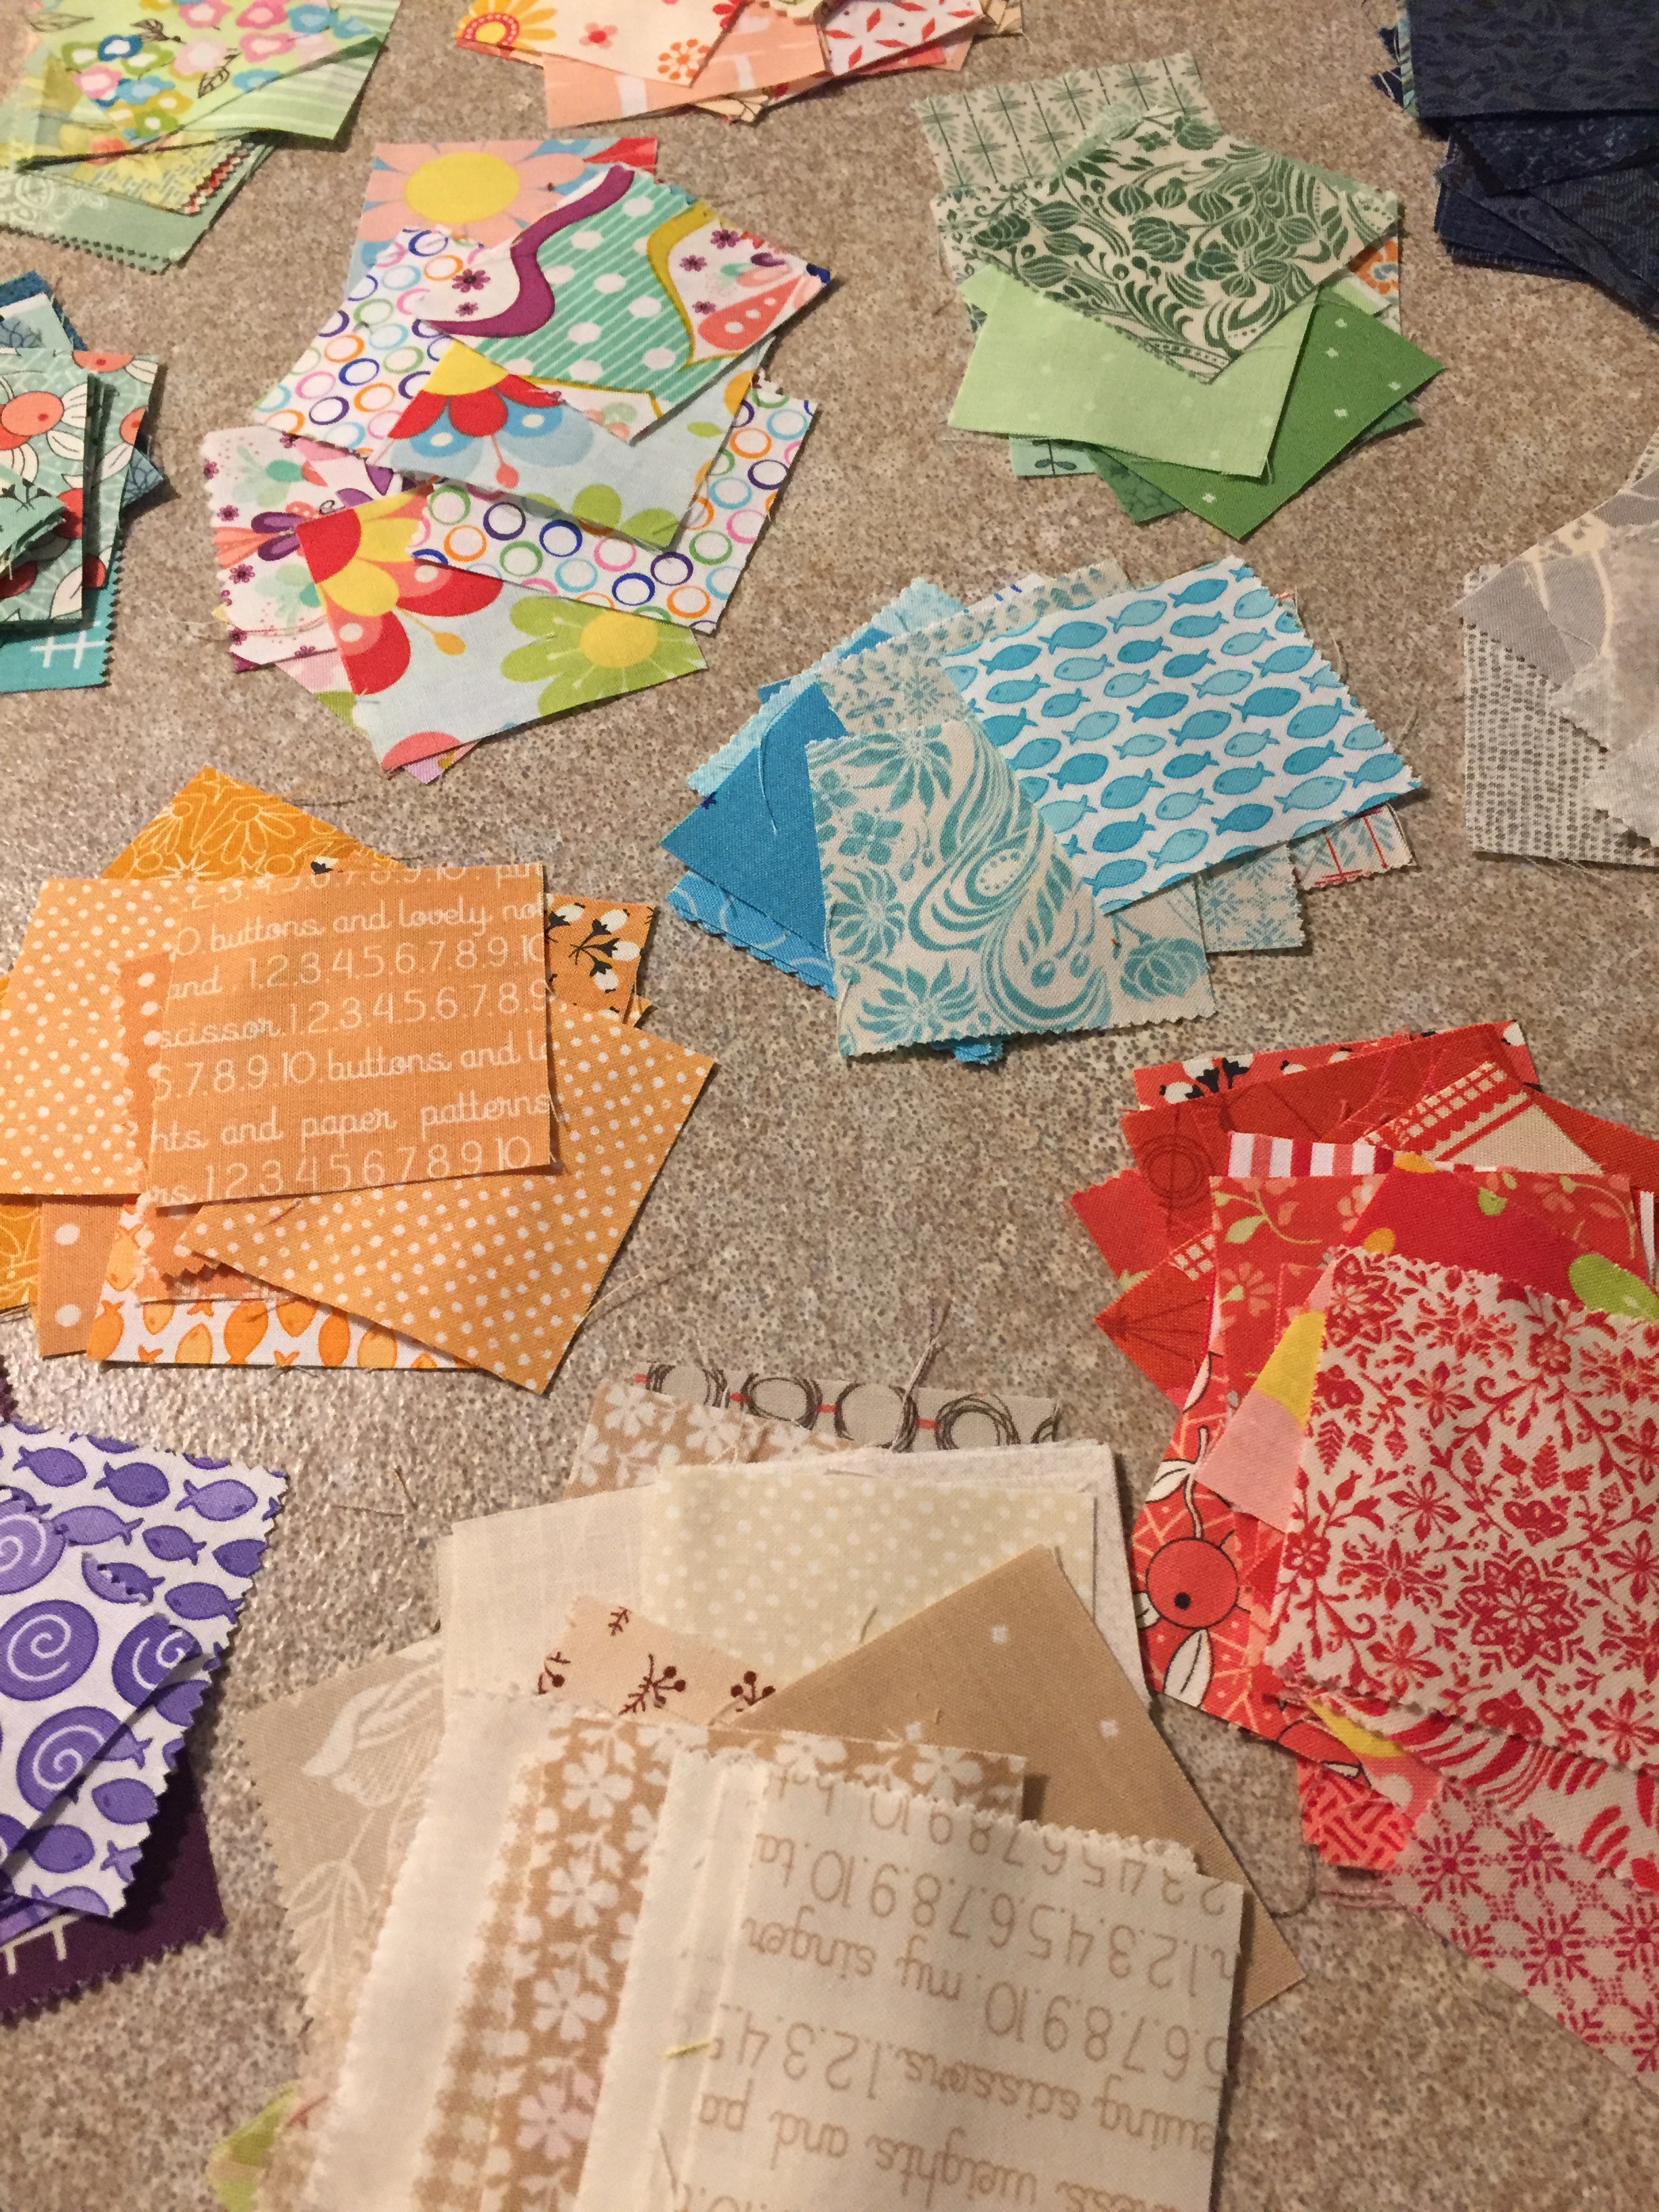
Looking for a colorful quilt that’s easy to make and designed to bust your stash? Give my Five Squared quilt a try! It’s a great way to use your scraps and it’s precut friendly. The PDF pattern is available for purchase at my Etsy shop.
Five Squared is geared for using what you’ve got on hand, and it’s an excellent choice for beginners. I realize a beginner quilter might not have that many scraps, but don’t worry, you can use 5 charm packs instead. And remember, with scrappy quilts, anything goes…
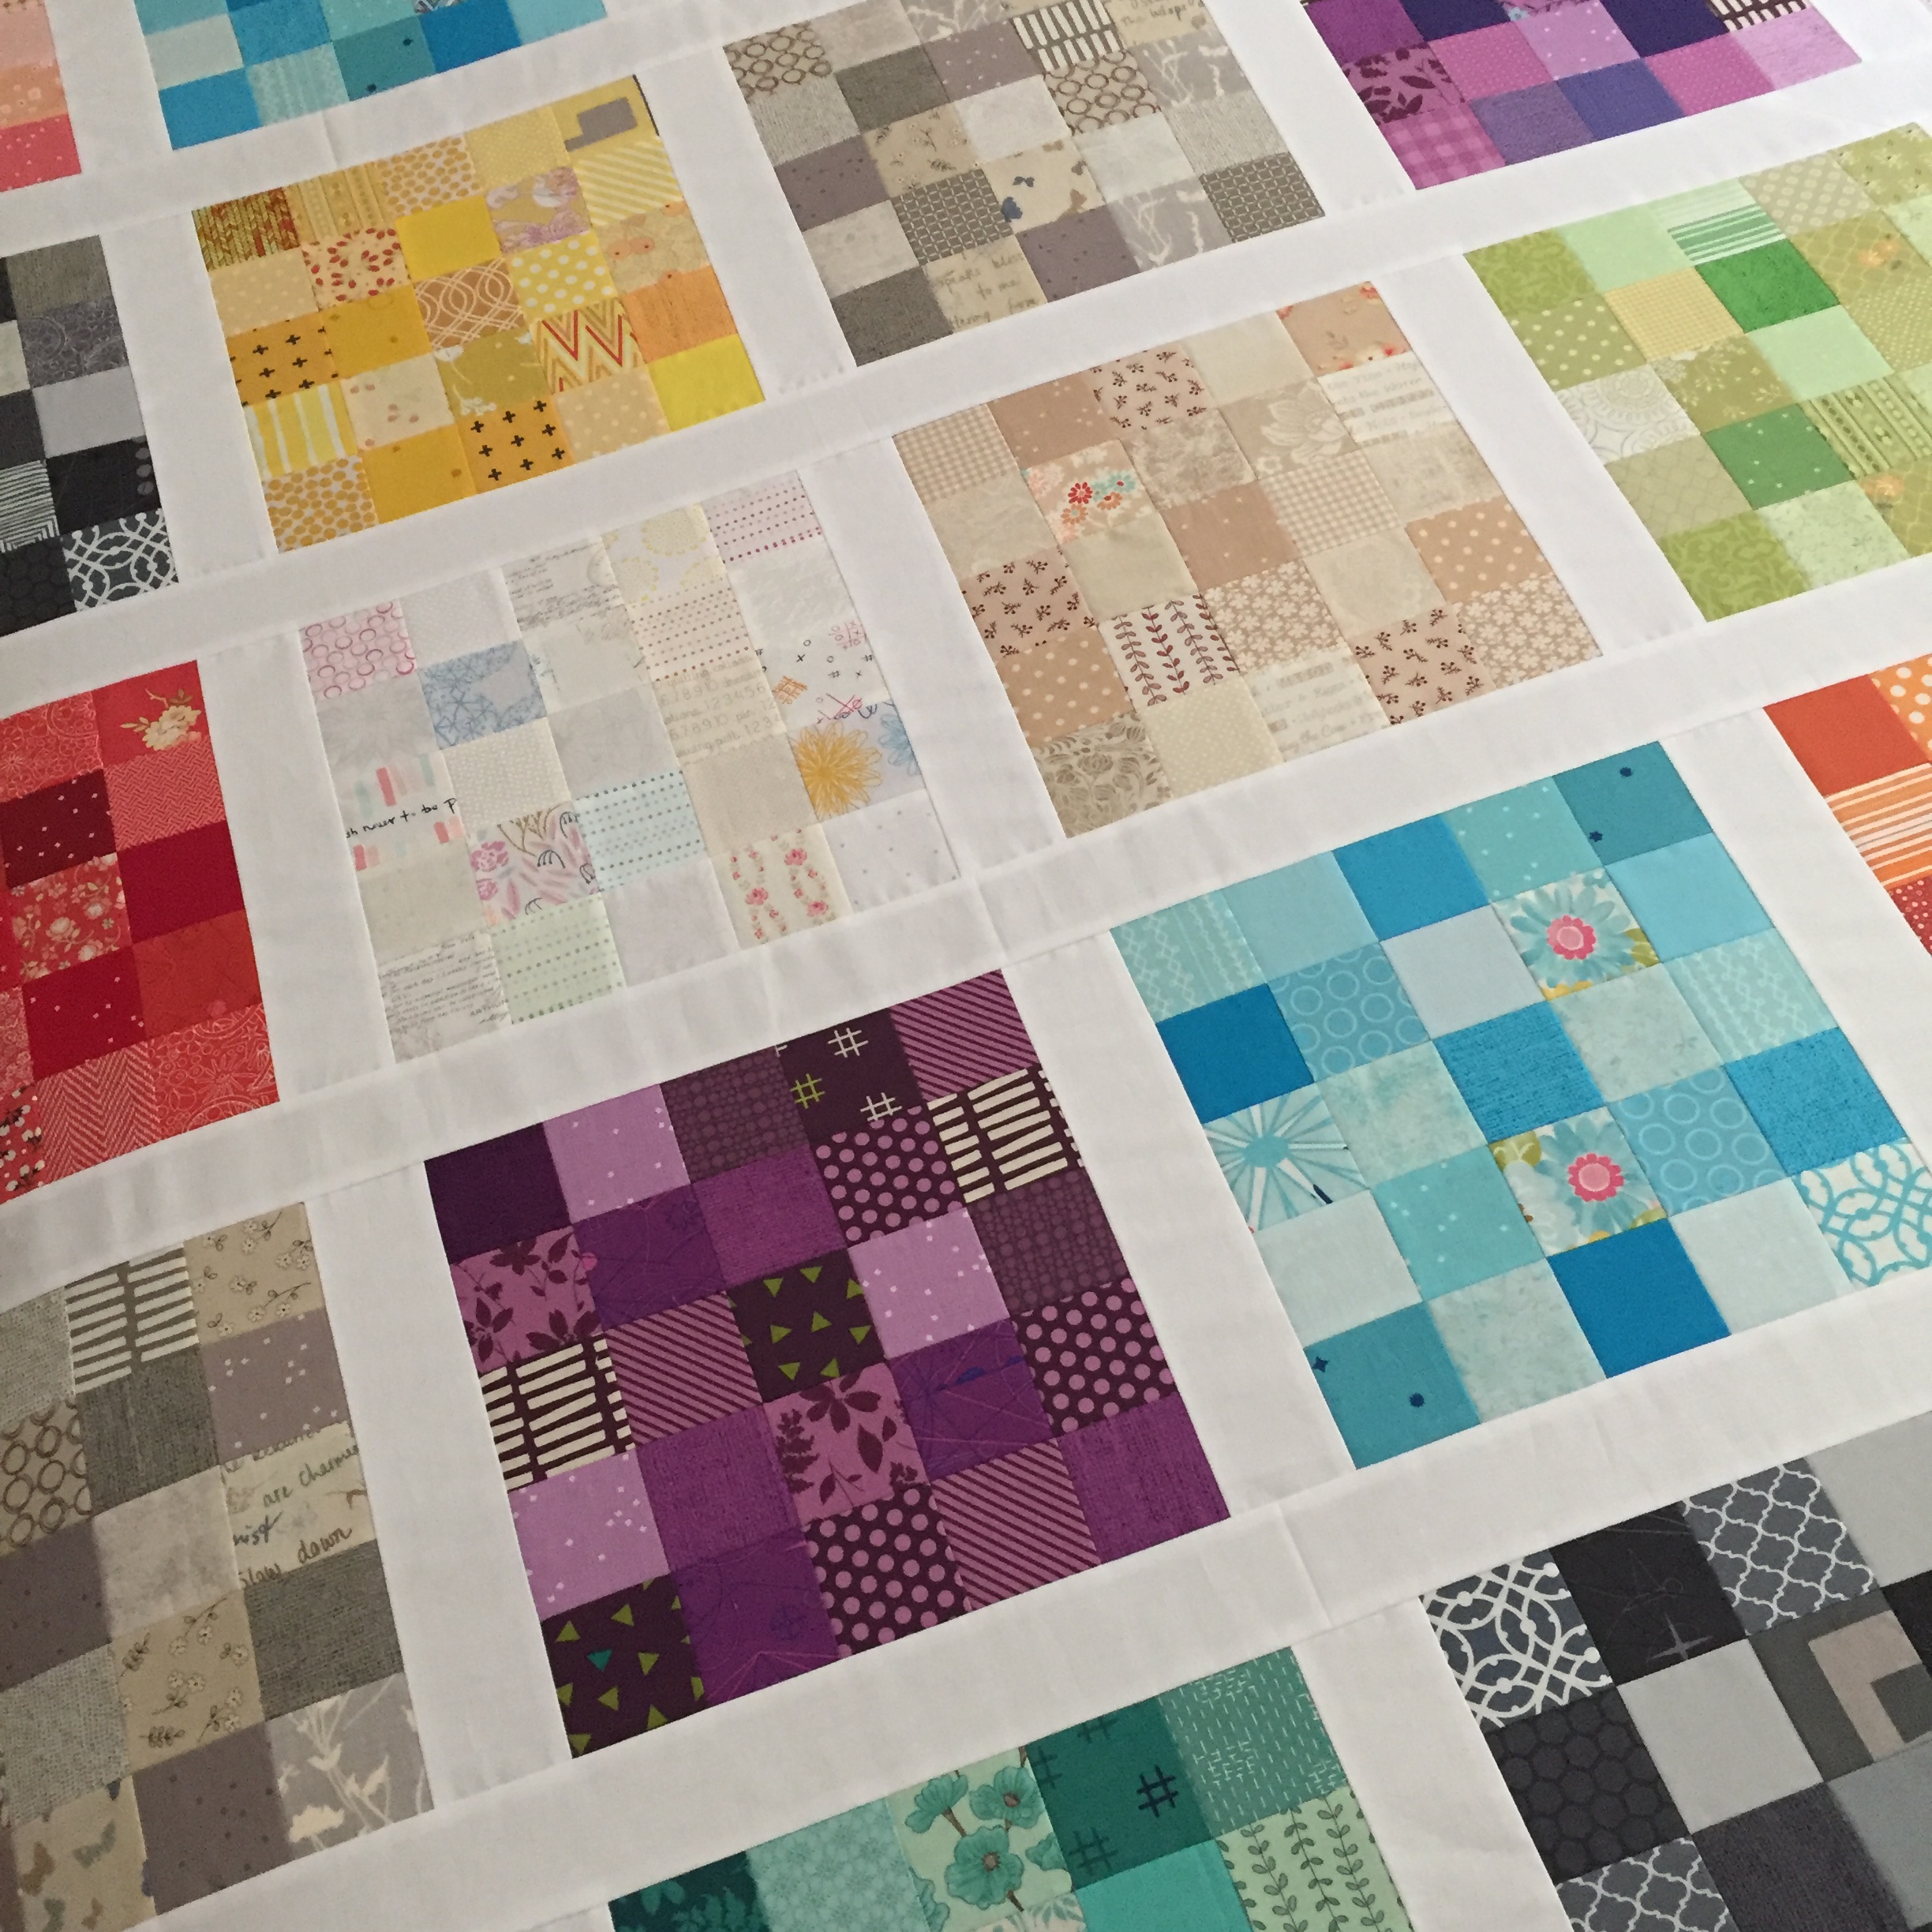
Because I like a controlled scrappy look, I decided to make mine using color-coordinated blocks with as many different colorways as my fabric would allow. I used only what I had, I bought nothing new (with the exception of the backing).
That said, I went through all my fabric and ended up with 14 different colorways: red, pink, coral, taupe, gray, aqua, teal, orange, dark blue, purple, beige, yellow, green and low volume. Ideally, 2 of 15 different colored blocks would balance out the quilt equally, but I improvised and made 4 low volume blocks instead.
I wish I could take all my quilts to be professionally quilted but it’s not in the budget, so most of the time I do the quilting myself. While it’s not my favorite part of the quilting process, once I get going I don’t mind it all that much.
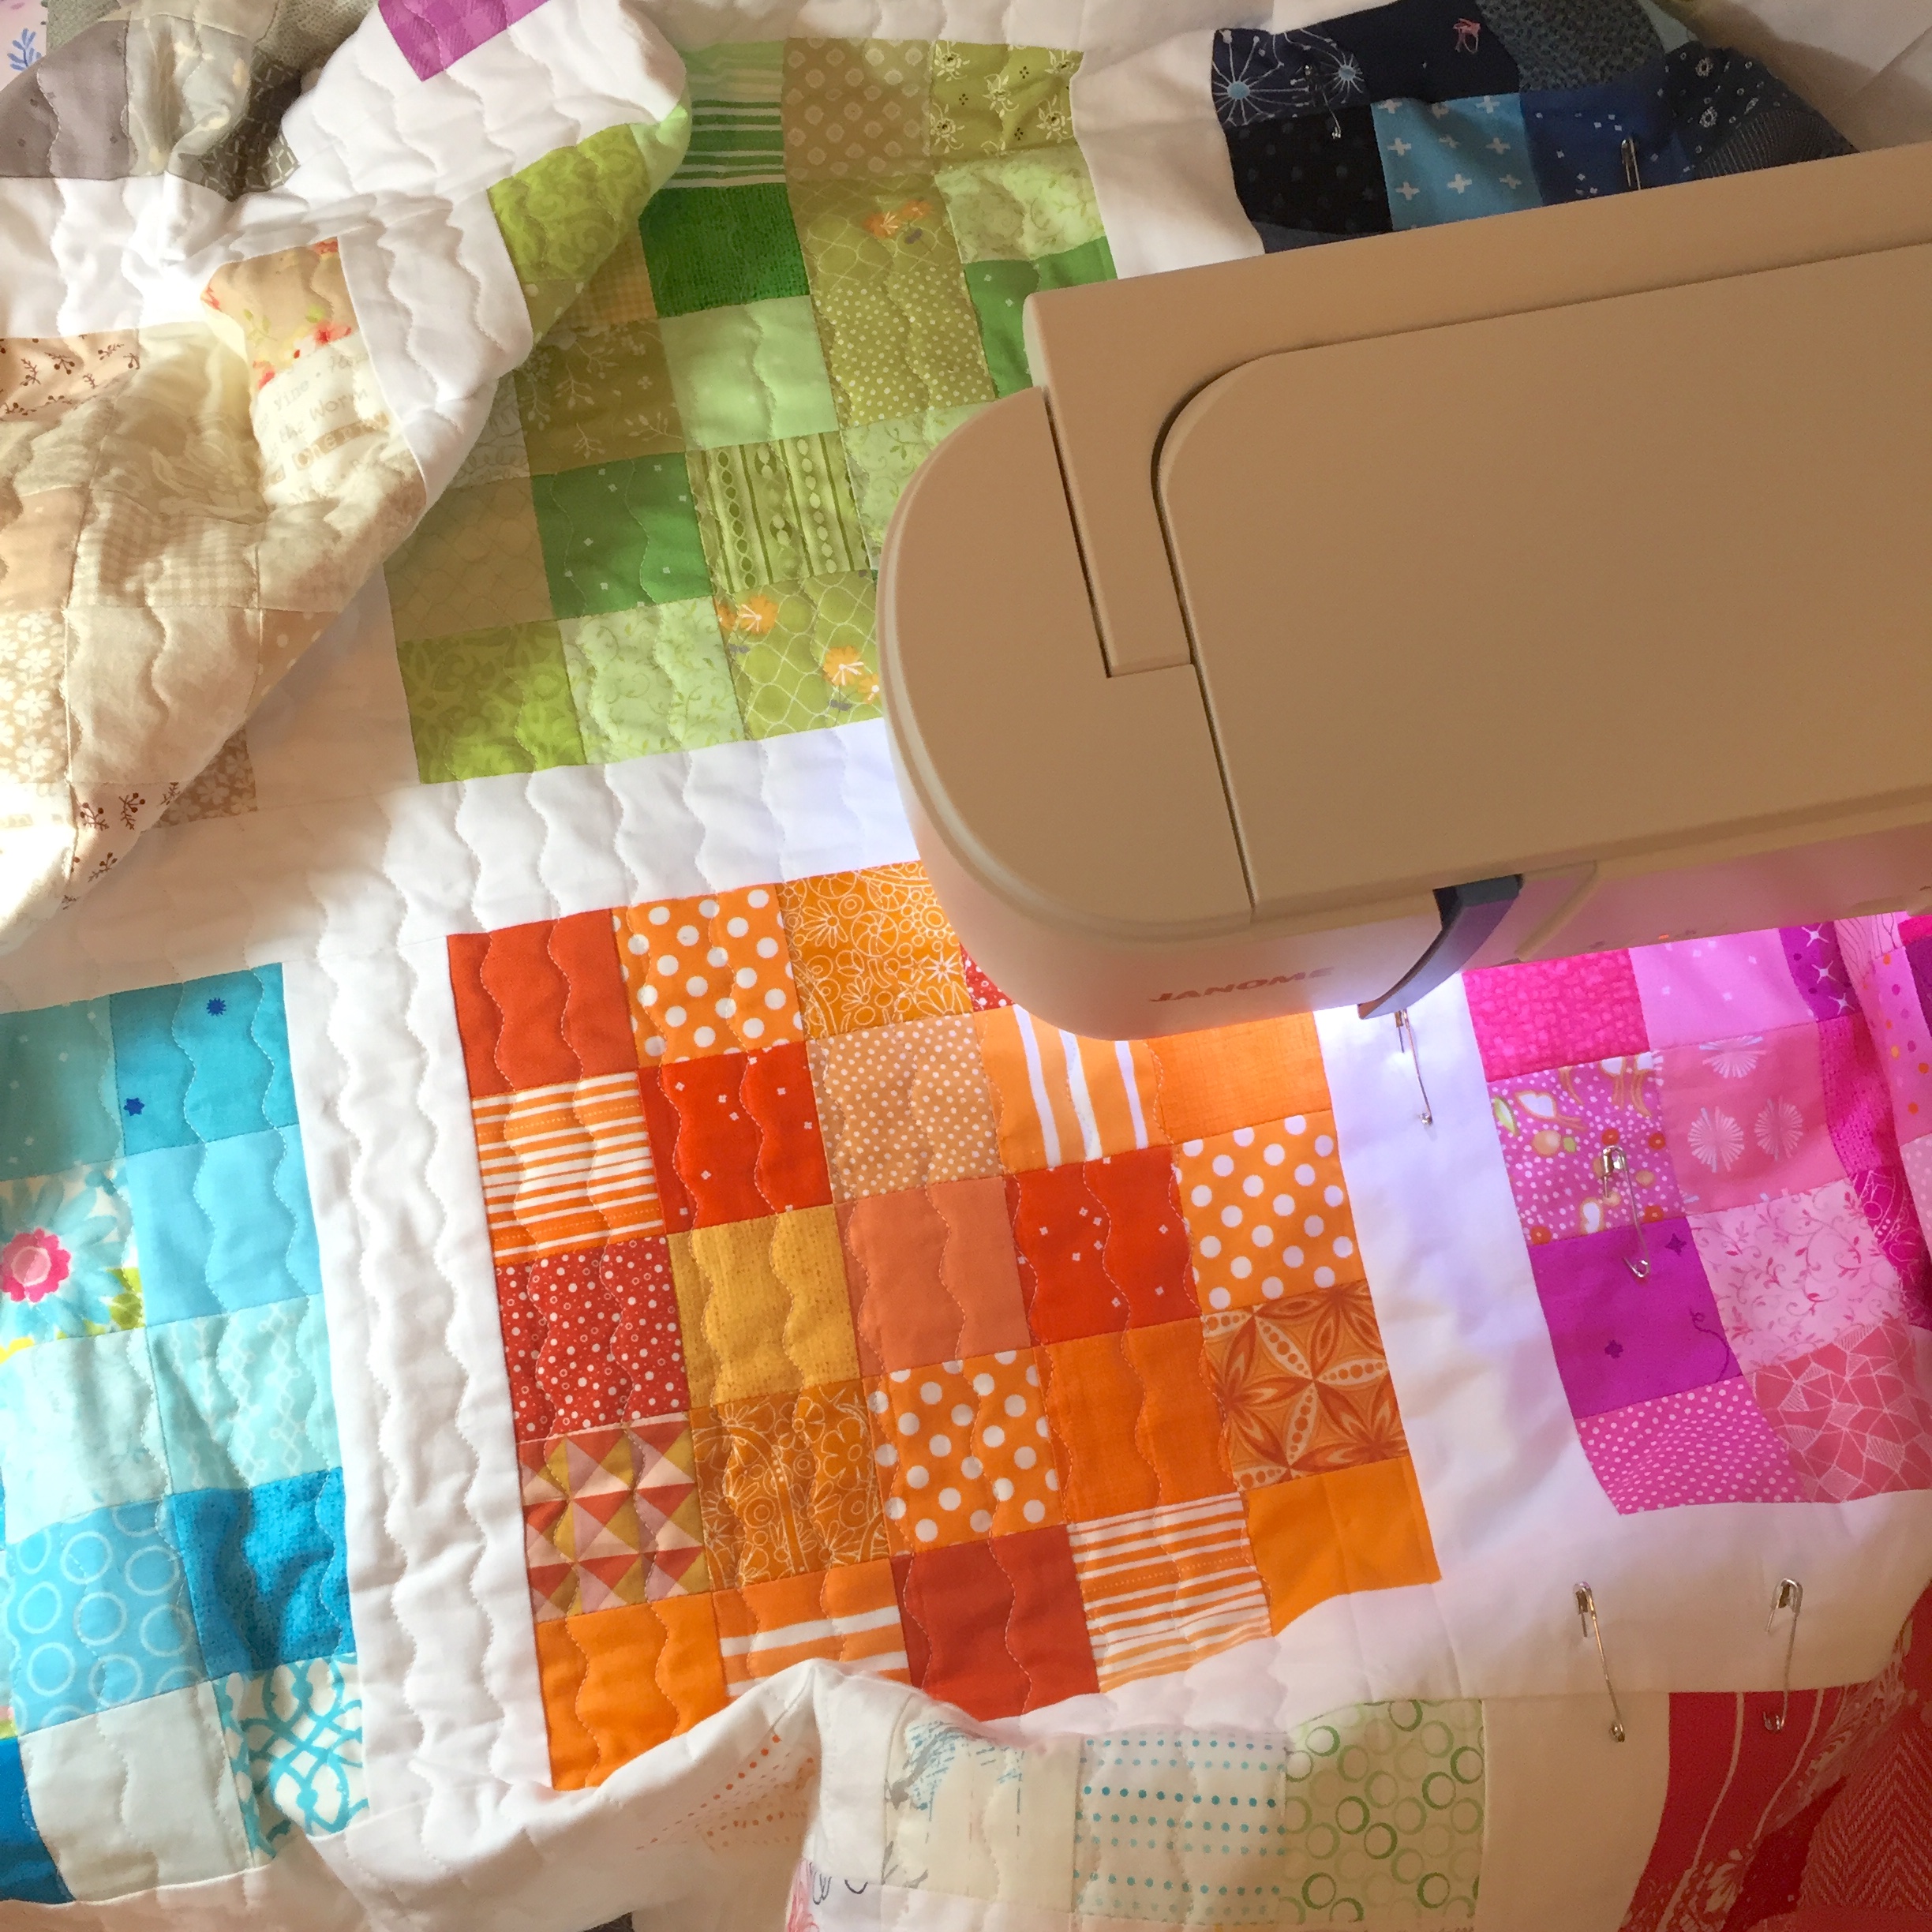
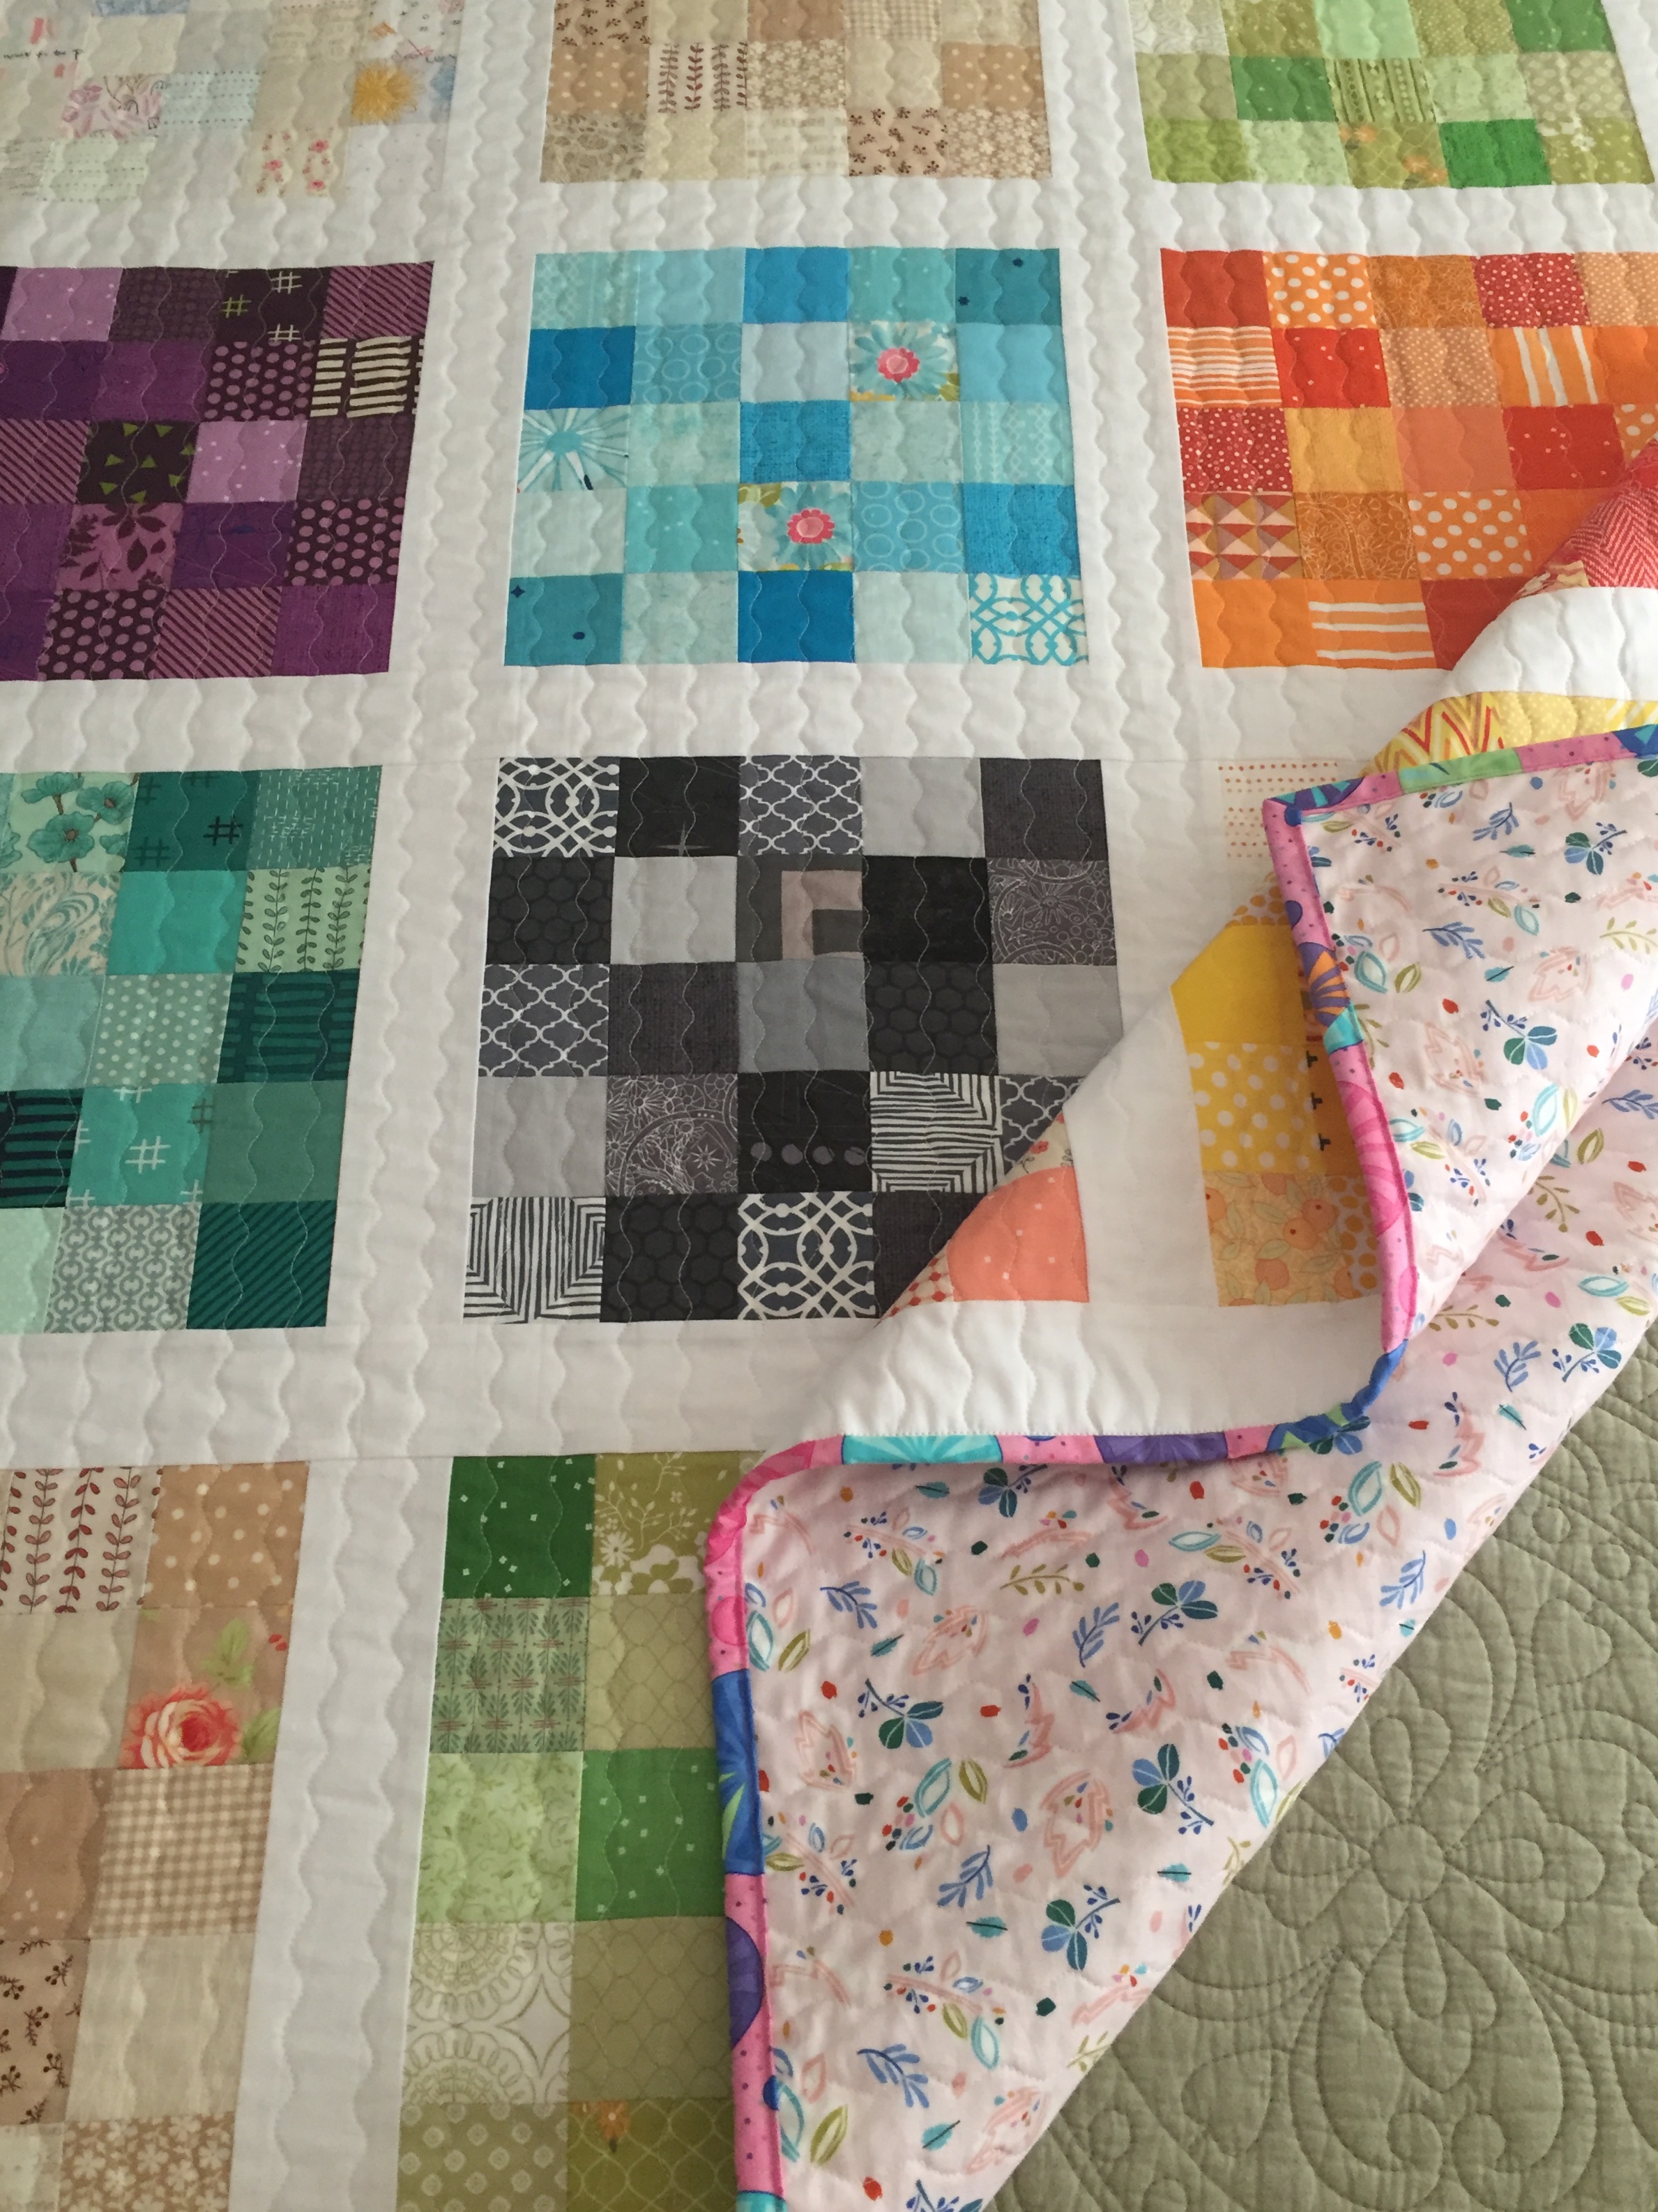
I quilted mine with serpentine stitched lines approximately 7/8″ apart, marked with a hera marker. I used Aurifil 50wt thread 2026, Chalk.
Here’s something interesting…while i was working on my quilt I did a story on Instagram asking quilters if they, at some point while quilting, unpin and repress their quilt. I was curious because I do when I’m nearing the right-hand side edge, and here’s why. At that point I’ve had the quilt rolled up pretty tight to fit through the throat of my machine, and it’s rather wrinkled. When I get to that section, I feel that taking extra time to press and repin gives me a smoother, flatter finish. Do other quilters do this I wondered? Here’s what they said…
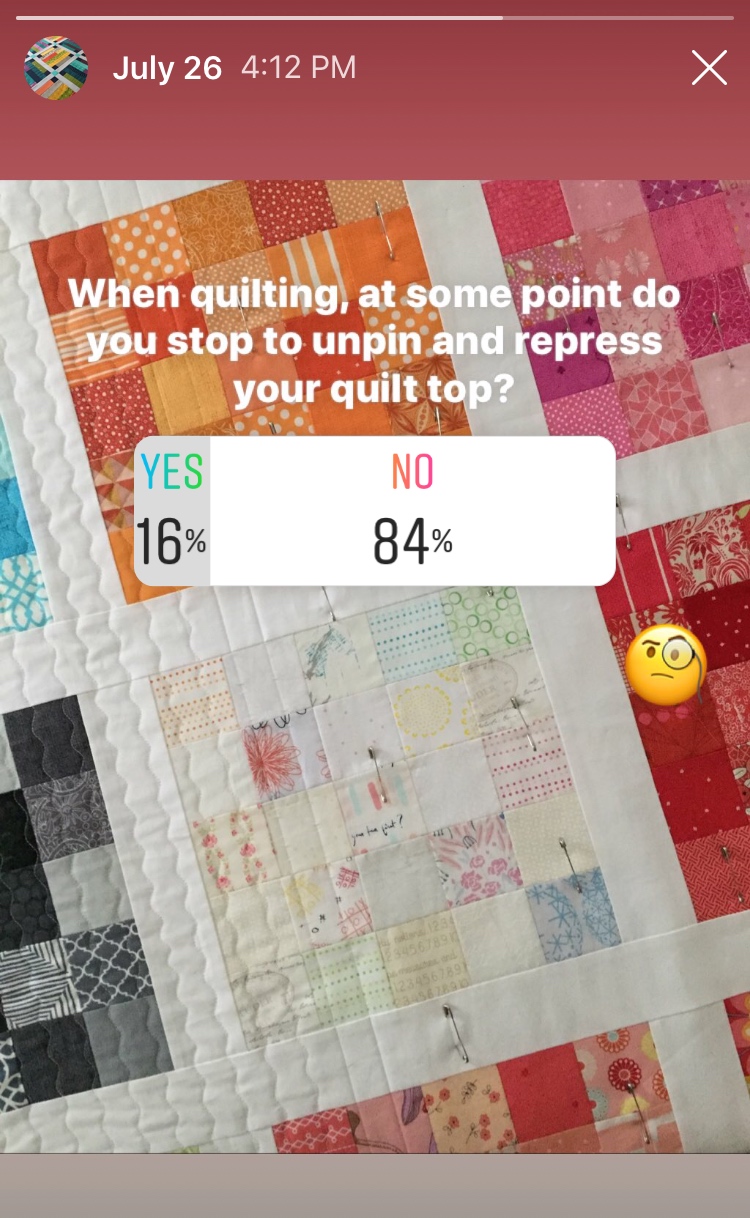
Overwhelmingly no! I was surprised not many people did. Who knew? Guess I’m in the minority on that one.
Anyway…for the backing I purchased Dear Stella Fabrics Flockstar Blush because it had every color in it that I used on the front. I absolutely love this fabric!
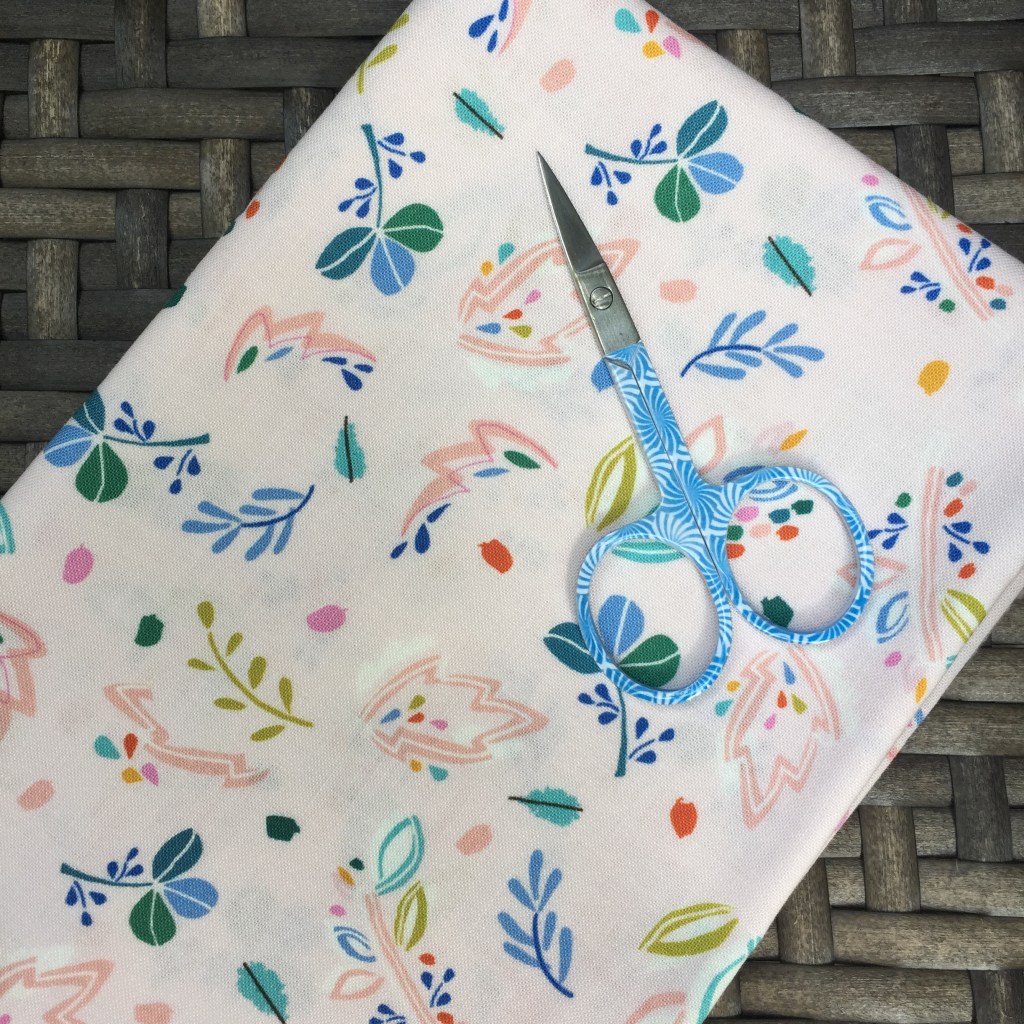
And it blended lovely with Moda’s Rainy Day! Umbrella Pink that I used for the binding, which I also had on hand, left over from when my Boxed Candy Toss Quilt was featured on the Moda Bake Shop.

Here’s my finished Five Squared quilt.
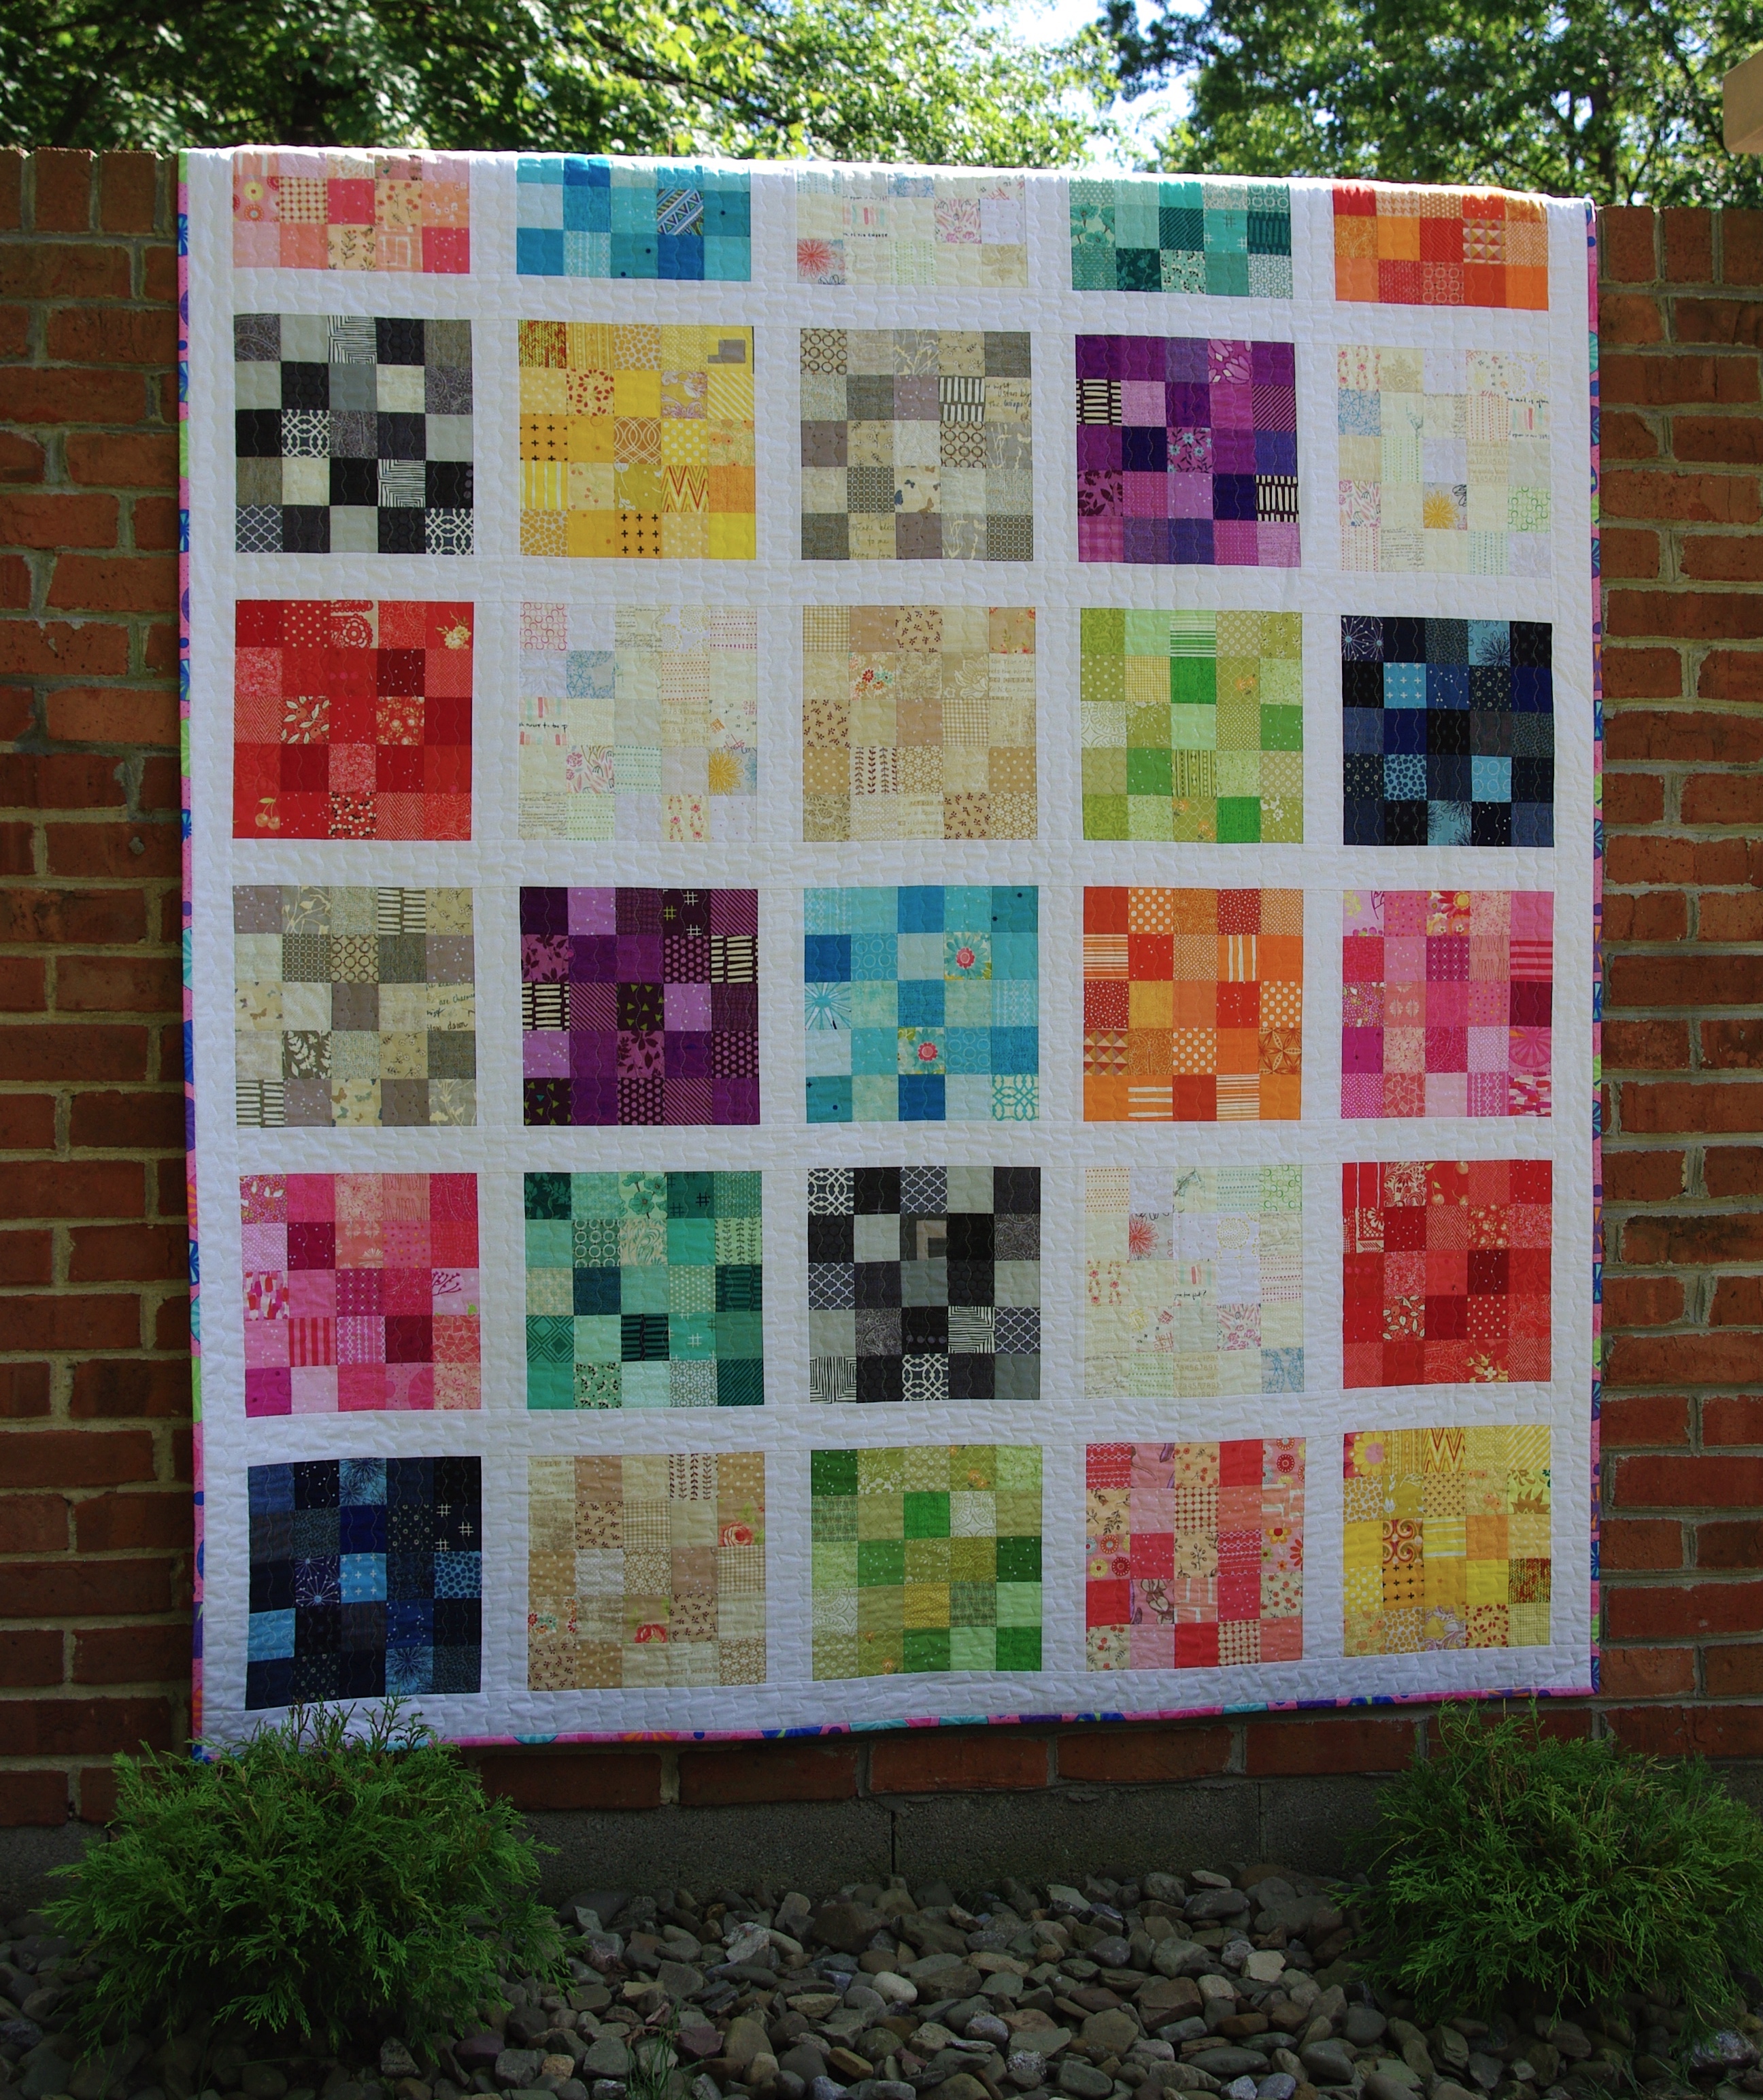
Not that I’m wishing away summer by any stretch but I am looking forward to cooler weather so I can finally use this beauty!
