
Any type of maker knows that starting Christmas gifts early is necessary if you want things done on time. Since I’ve made quilts for everyone in my family, I’m always searching for new sewing projects to make instead. Luckily, sometime during the summer I saw an image of a rope bowl and thought they’d make great gifts, and I’d have plenty of time to make them, too.

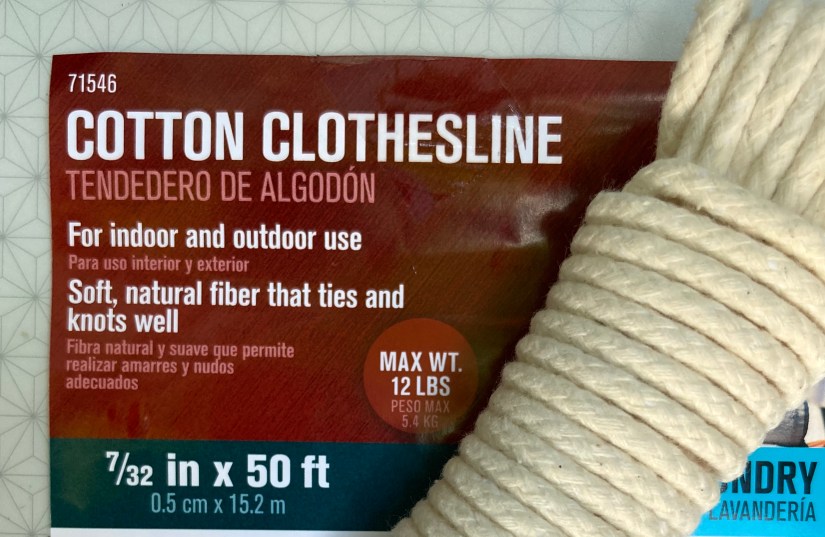
I watched a few video tutorials to see how it’s done and I decided Mr. Domestic’s How to Sew Rope Bowls YouTube video was the most informative and it’s pretty funny. While he used craft rope for his, I wanted something more accessible and sturdy so I opted for braided clothesline. It’s readily available at hardware stores and it’s relatively inexpensive—one package costs around $6. While you won’t have a lot of color choices with clothesline, you should be able to find it in natural and/or white.
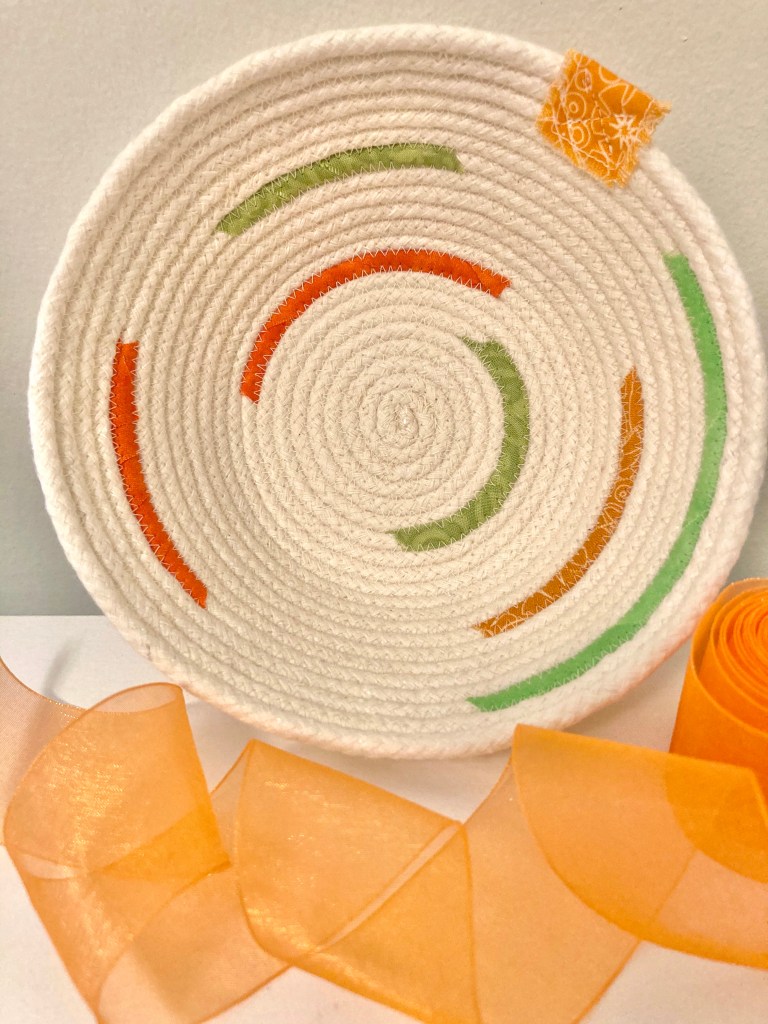
I definitely thought the bowls would make nice gifts, but I also liked the fun aspect of adding color with fabric. 🙂 They require 1″ wide strips in lengths of choice but there are no set rules! It’s all up to you—add as little or as much as you want. For the ones I made, I chose the recipient’s preferred color and went through my scraps.

As you’ll see in the video, starting the spiral can be tricky. Here’s a tip: once you pin your center, sew the X between the pins to completely miss hitting them with your machine’s needle. Then remove the pins and sew another X in the opposite direction. You may have to go back and stitch together missed spots, but this initial step makes it much more manageable.

I was able to get two bowls out of 50′ of clothesline. I made several, and the neat thing is that each bowl is unique. They differed in fabric color, placement, size and the tilt of the side’s angle.


While a lot of makers ended the bowl by sewing down a loop, I wasn’t able to do it very well. Plus, I wanted a bit more color on mine so I made a tab. To do so, I took a piece of the same fabric used in the bowl and cut it 1″ x 1 1/2″ long. I sewed about 1/8″ around the edge of the fabric piece, and using a pin I frayed the edges.

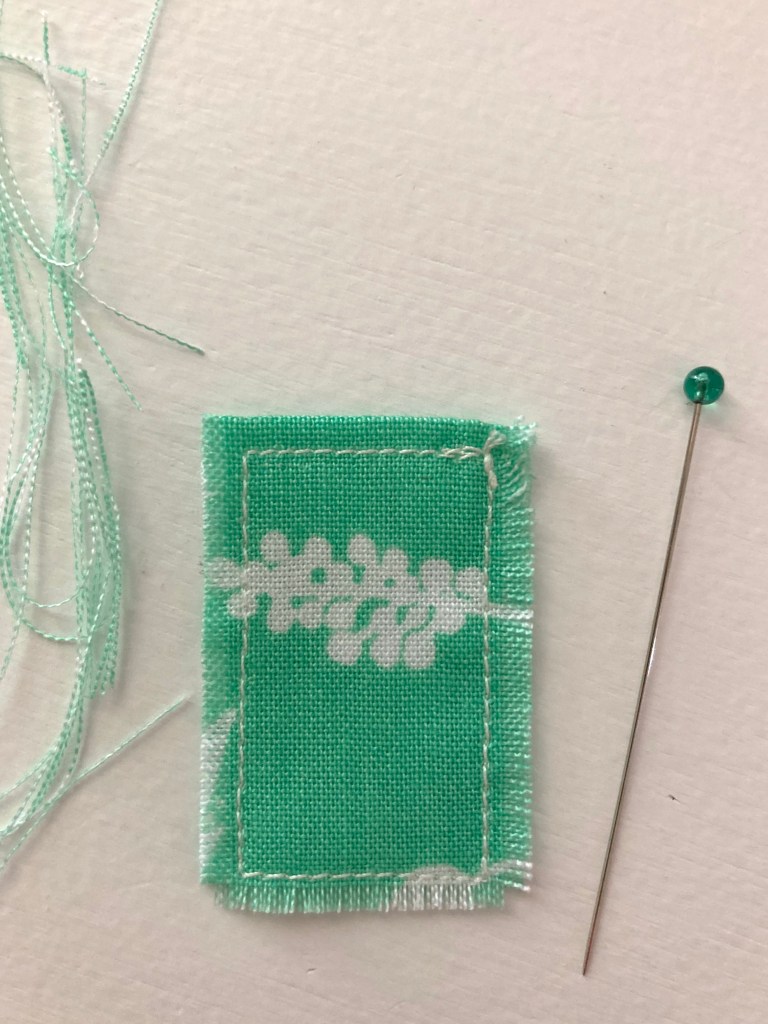
I stitched it on by hand on some, and on others I sewed it on by machine, securing it with an X. While it’s far from perfect, I like results because I think it gives an artisanal look.

I had a lot of fun making these bowls, it was kind of addicting too. 😉 I finally ended up making one for myself and I use it for carrying small quilting necessities…scissors, HST, fabric, pins, rotary cutter, etc. Not only are they pretty, they’re useful.
And with the little bit of rope left over I made a couple of coasters. Such fun and quick projects!

