I’d always loved hanging clothes outside while living in PA, but for the past 12 years I’ve really missed the crispness of line-dried clothes. Since a clothesline isn’t feasible where I’m at now, I purchased a drying rack instead.
Afterwards, I quickly discovered the need for a clothespin bag. I found a few tutorials, blended my favorite parts and made my own version.
Here’s what I did to make mine.
First of all, sizes can vary! Since I can’t dry a lot at once, I needed a smaller bag for fewer pins. Once you decide on bag size, choose your clothes hanger size. For a smaller bag, you’ll need a baby clothes hanger, for larger bag, an adult size hanger.
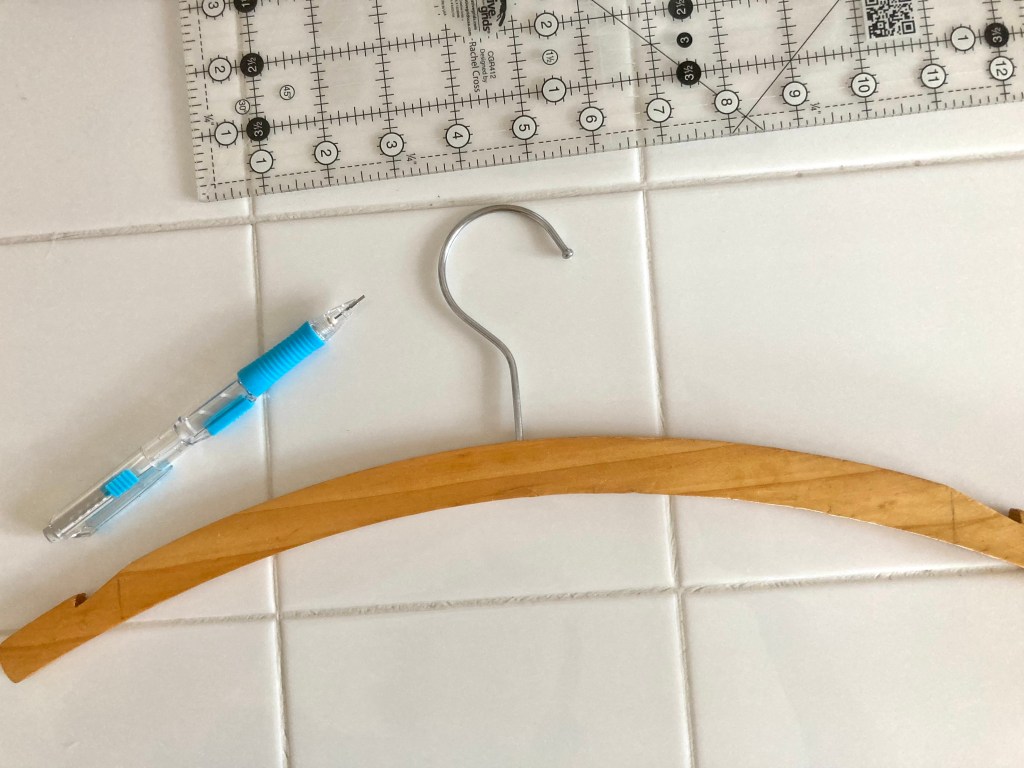
I had a wooden hanger that measured 12″ which was too big, so my husband cut it down to 9″, evenly taking pieces from each side.
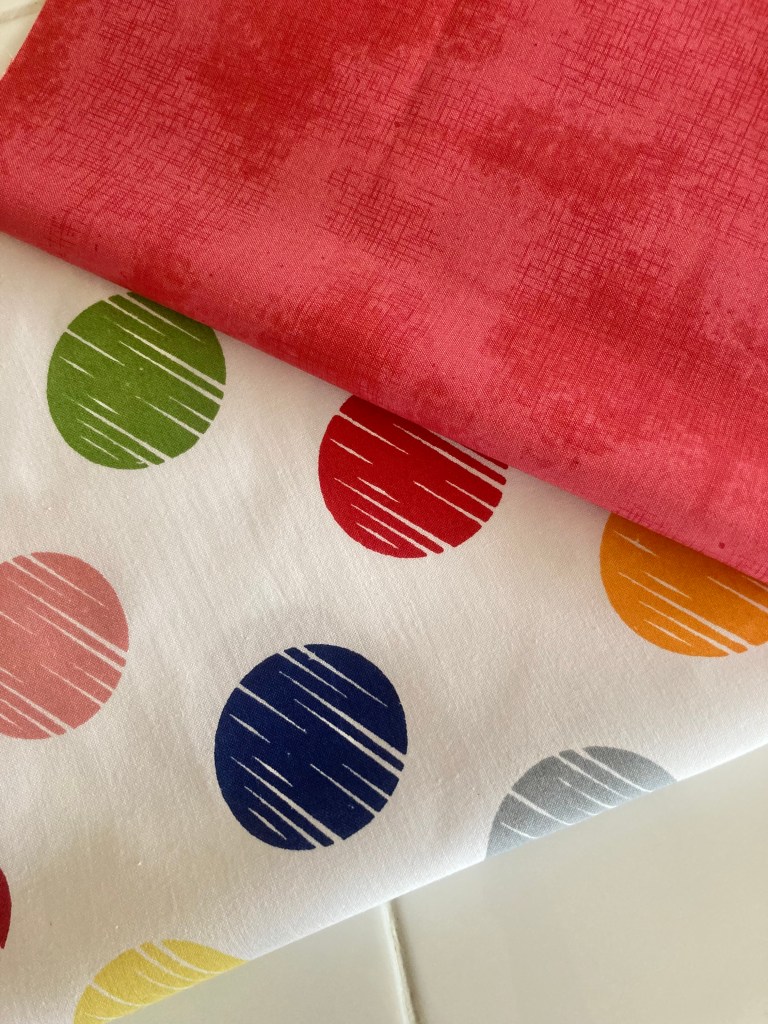
For fabric, I used leftover backing yardage from my On Point Nine Patch quilt for the front and back. For the lining, I used red Shabby yardage by Riley Blake. Fat quarters will also work. Whatever you use, you’ll need 2 each of 2 coordinating fabrics.
To get started, on plain paper, trace your hanger around the top and mark the side, but add a bit more to the sides for some give (approximately 1/4″ per side). This will determine the top shape and width.
Decide your length. I made the length about an inch longer than the width, based on how many clothes pins I would need to fit inside. Add 1/2″ around all sides for seam allowance.
When determining the hole, think about your hand size and allow for pins in your hand to fit easily in and out. Place the hole about 2 1/2″ from the top and centered from side to side.
This is what my pattern looked like before cutting.

Before cutting fabric, cut out the hole on the pattern.
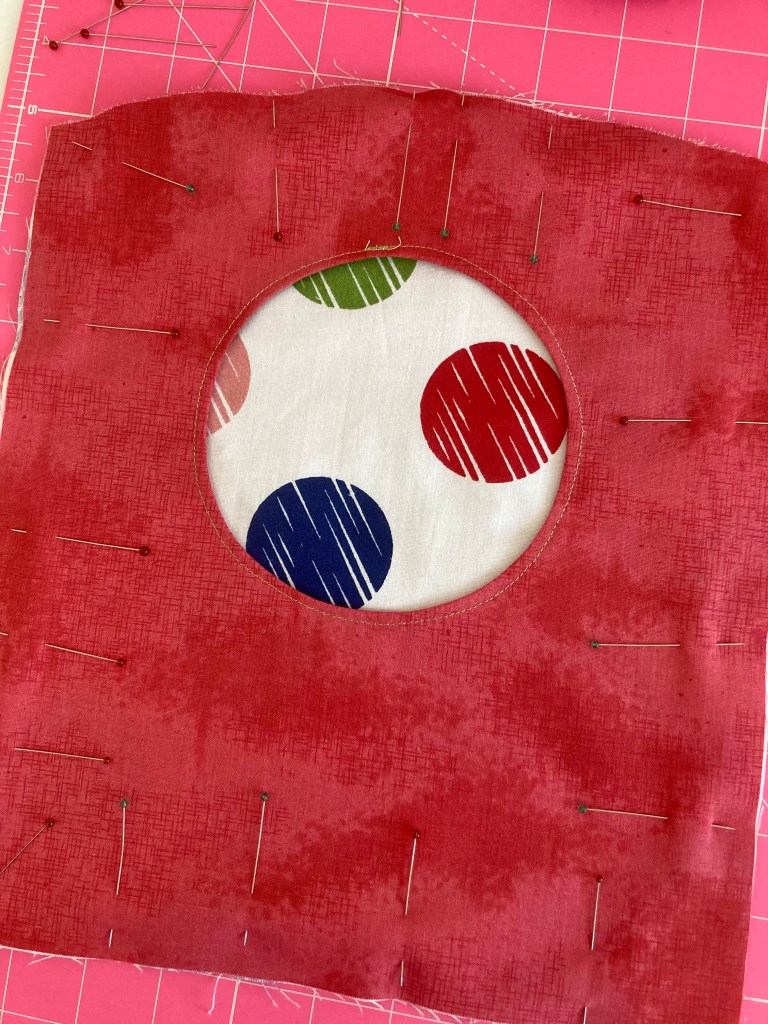
To make the front panel, place the front and lining pieces right sides together. Pin down the pattern using plenty of pins around all edges. Cut outside edges.
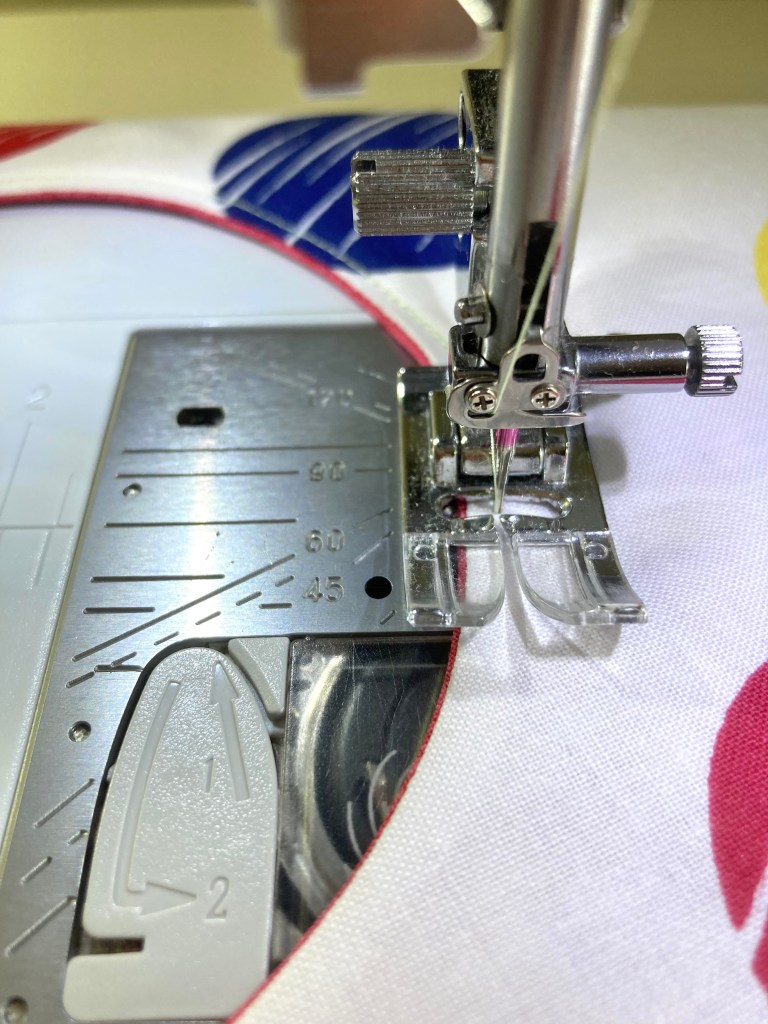
Draw a line on the fabric, tracing the circle (do not cut a hole in the fabric). Next, sew along the drawn circle line.
Once sewn, cut out the hole leaving a narrow seam allowance. Clip several small slits in the seam to help it lie flat.
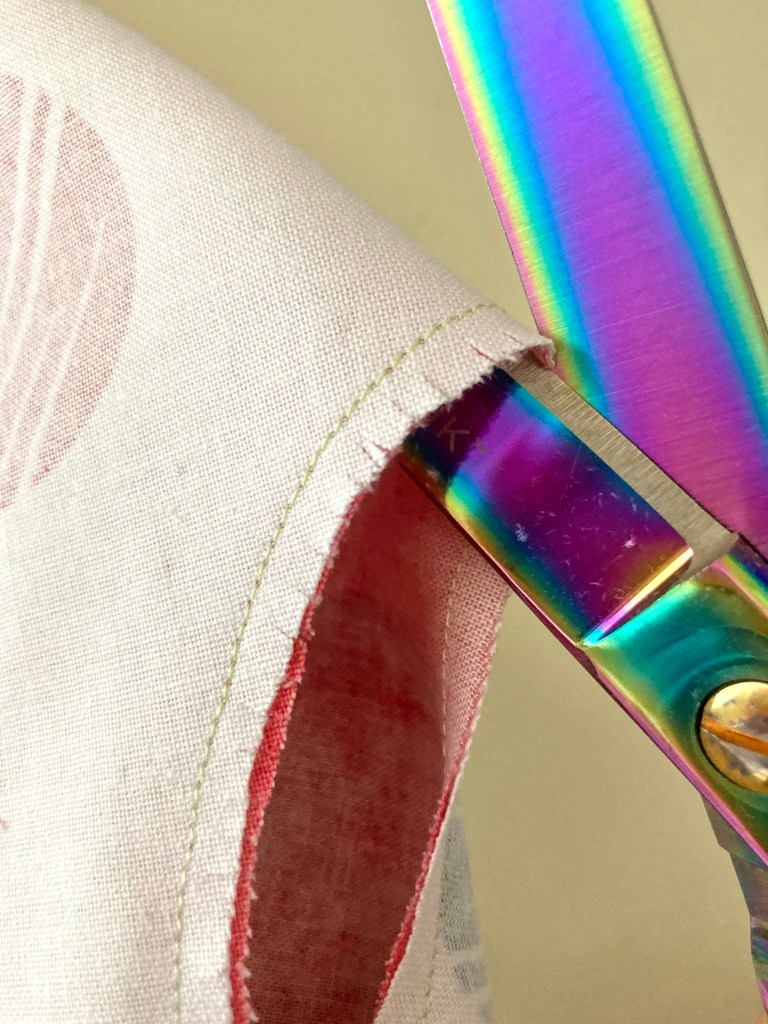
Turn the two pieces right side out and press. Sew a 1/8″ top stitch around the circle.
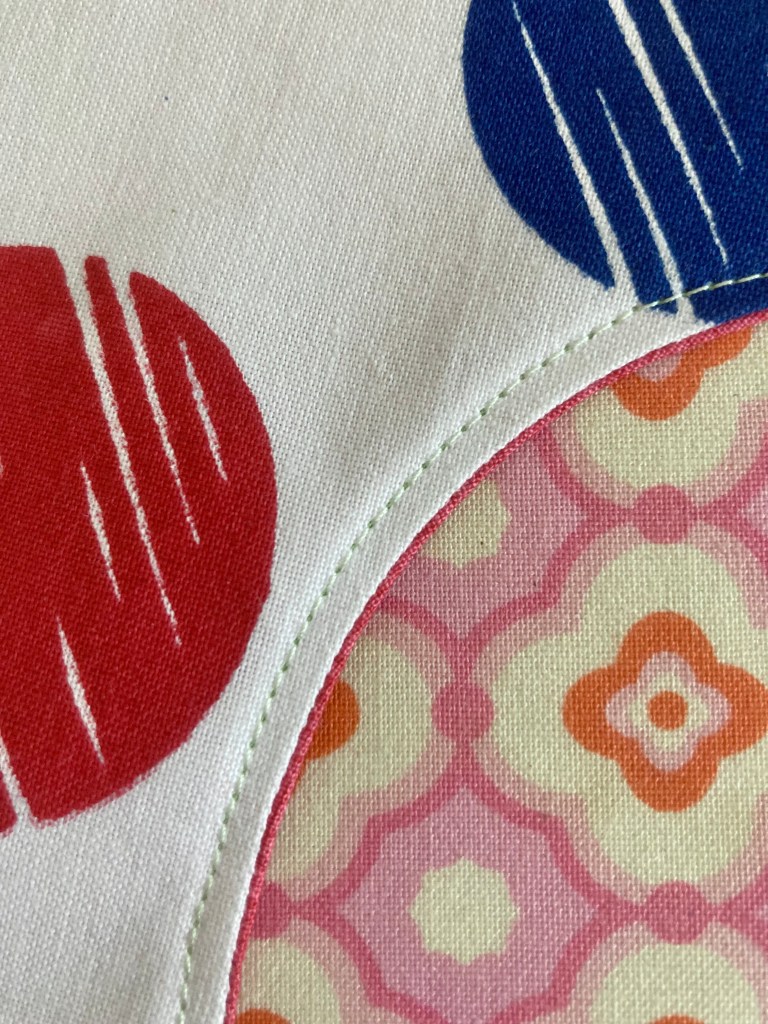
To help keep the layers together, run a zigzag stitch around the entire outside edge. This will also help reduce fraying.
To make the back panel, place the back and lining pieces wrong sides together. Pin the pattern down then cut along the outside edges, ignoring the hole—don’t cut it out!
To complete the bag, place the front panel on the back panel with the outsides facing. Line up all sides, pin and sew a 1/2″ seam allowance.
Make sure to leave a small opening, approximately 1/2″ to 1″, at the top for the clothes hanger hook. The opening size will depend on the type of hanger. My thin metal hook required a smaller opening.
For extra reinforcement, backstitch on both sides of the hook opening and in the bottom corners.
Before turning right side out, cut off all four corners making sure to not cut any stitches. Once you turn the bag out, poke out corners with a blunted object. Press.
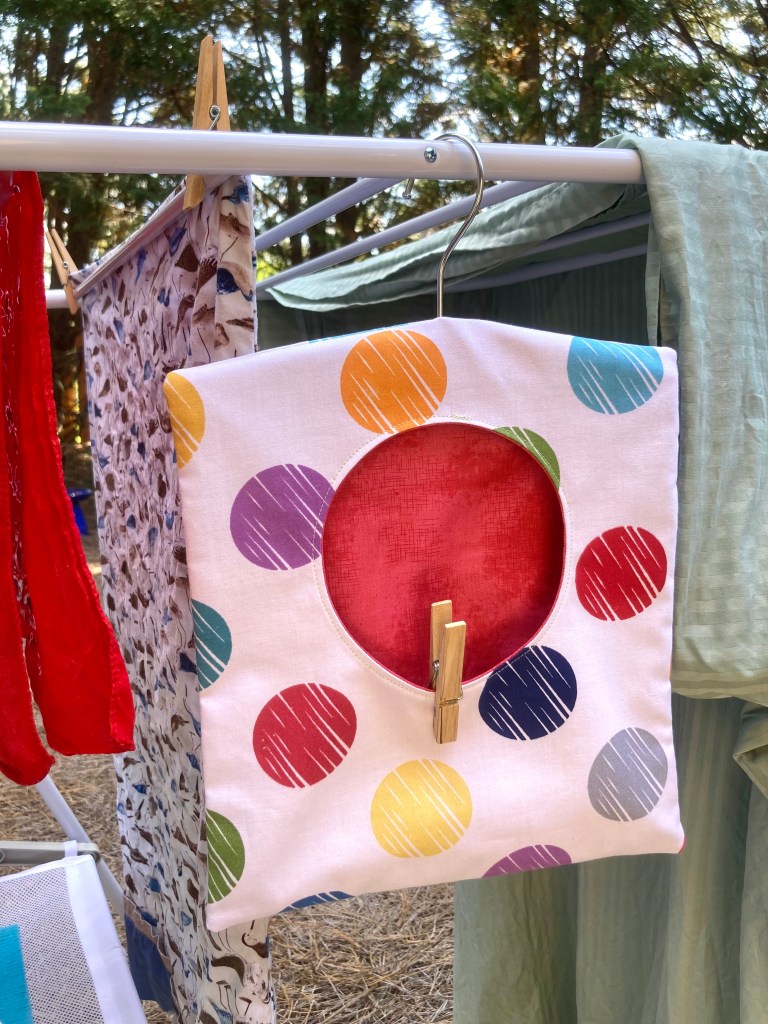
Lastly, insert your hanger.
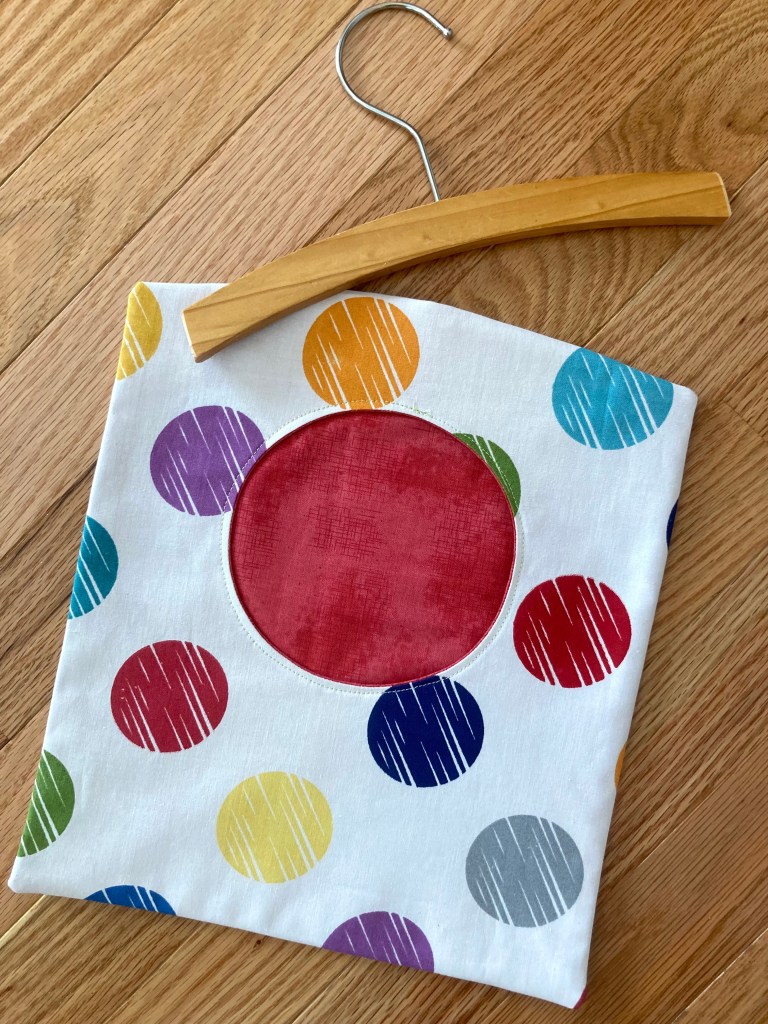
Enjoy your cute clothespin bag and your freshly dried laundry!