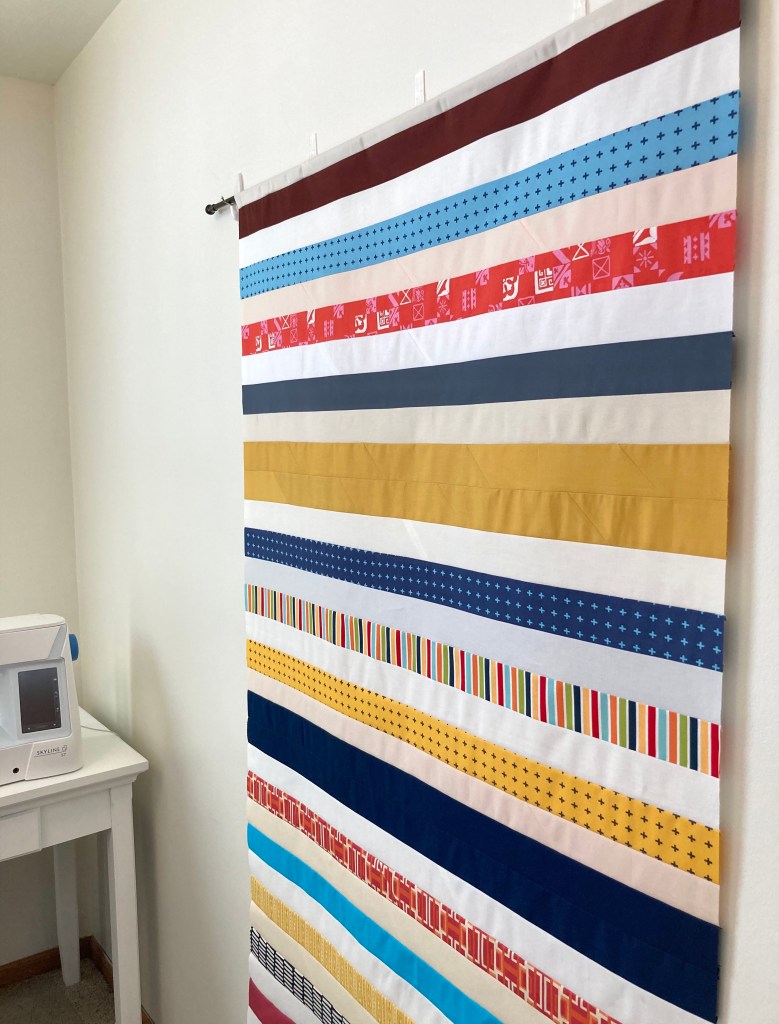
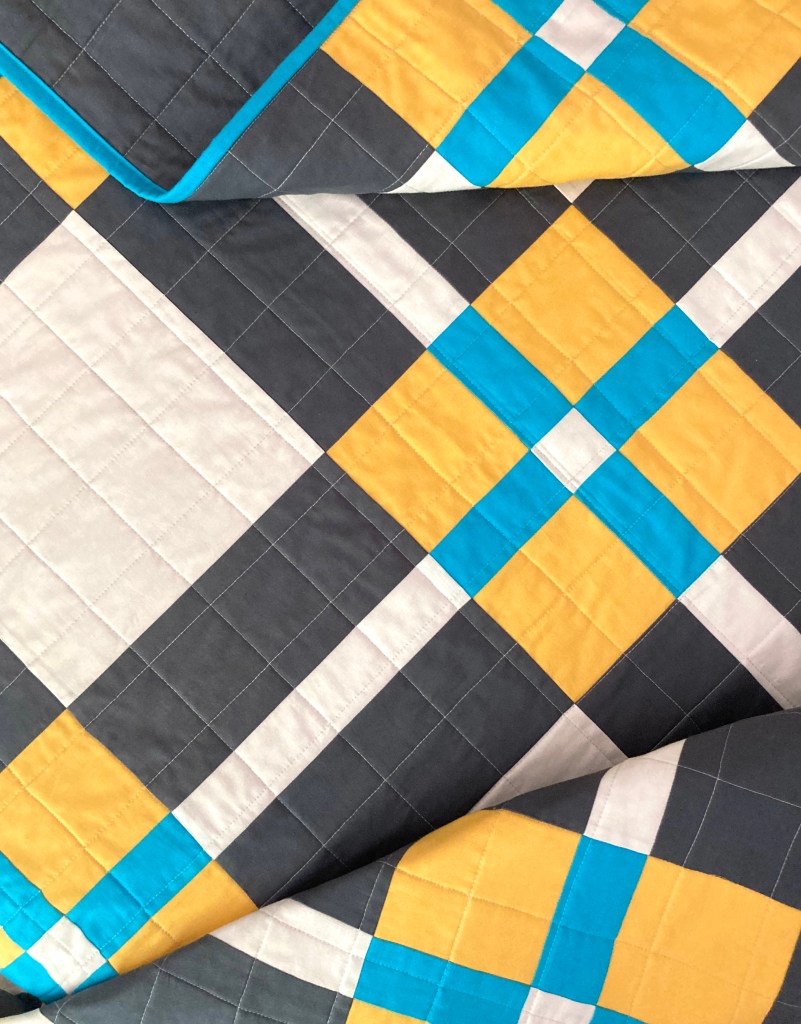
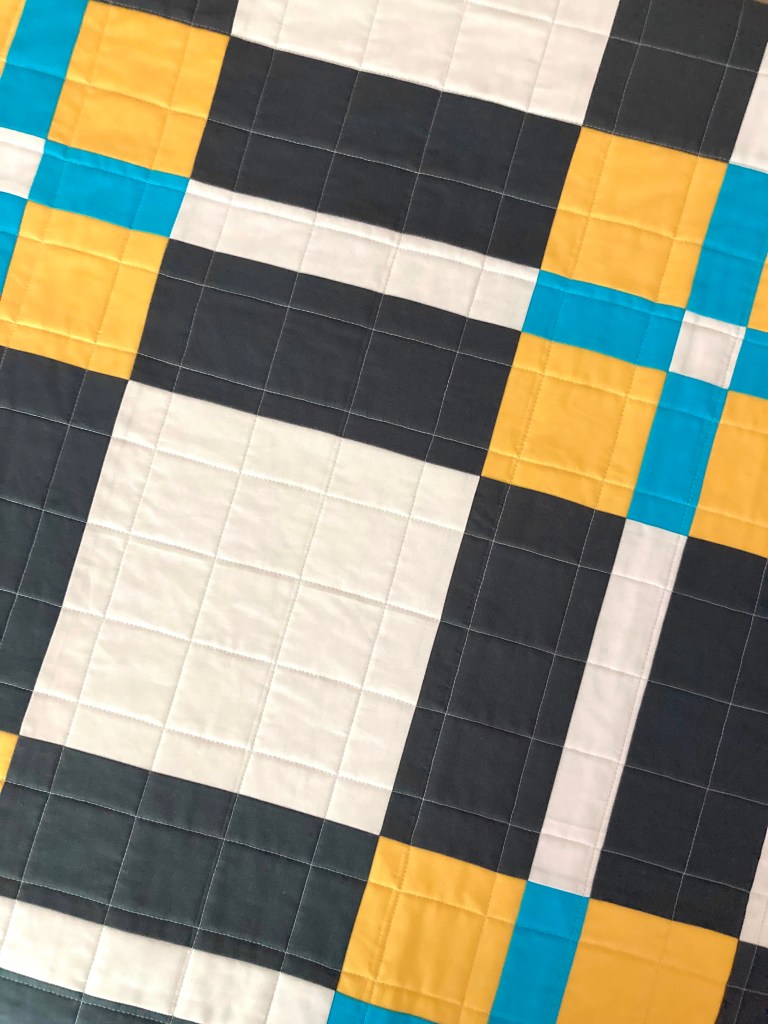
I like to start off every year with a new pattern release and this year it’s Classic Plaid. I finished this pattern (and quilt) nearly 5 years ago but kept pushing it back because I’d get a new idea then start that, etc., etc.
The main reason why I designed this quilt is because I feel we quilters need a quilt pattern geared toward the masculine side. While this one is very versatile, it’s a perfect choice for a man, after all, men need quilts too!
So…here it is!

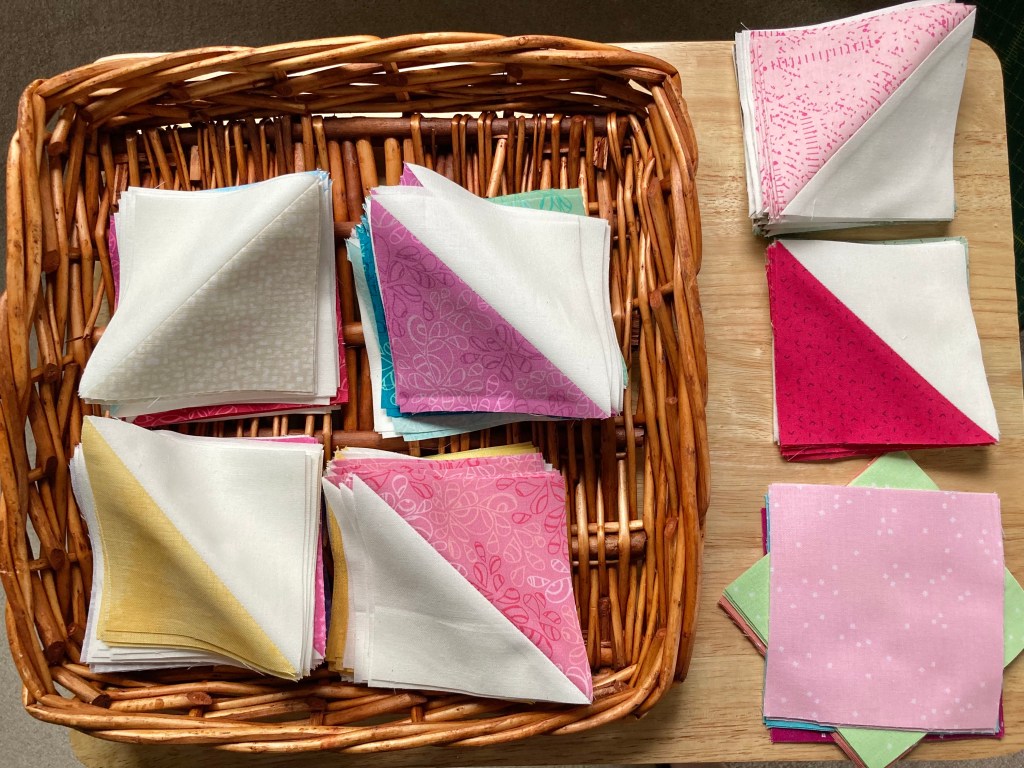
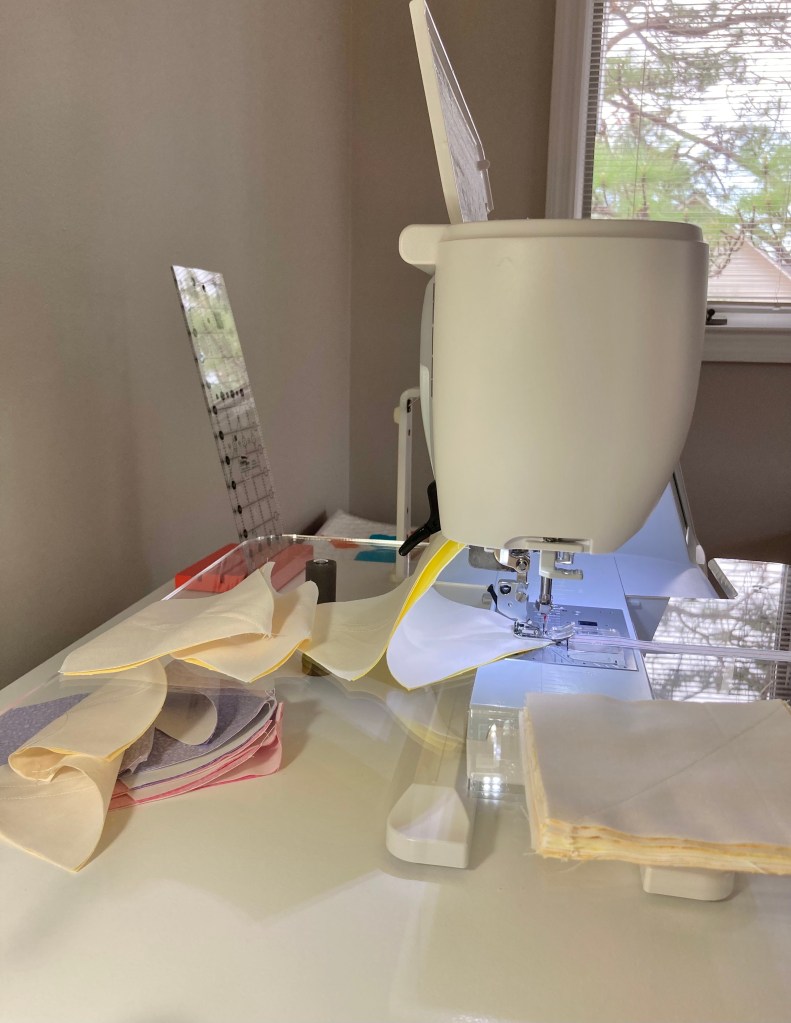
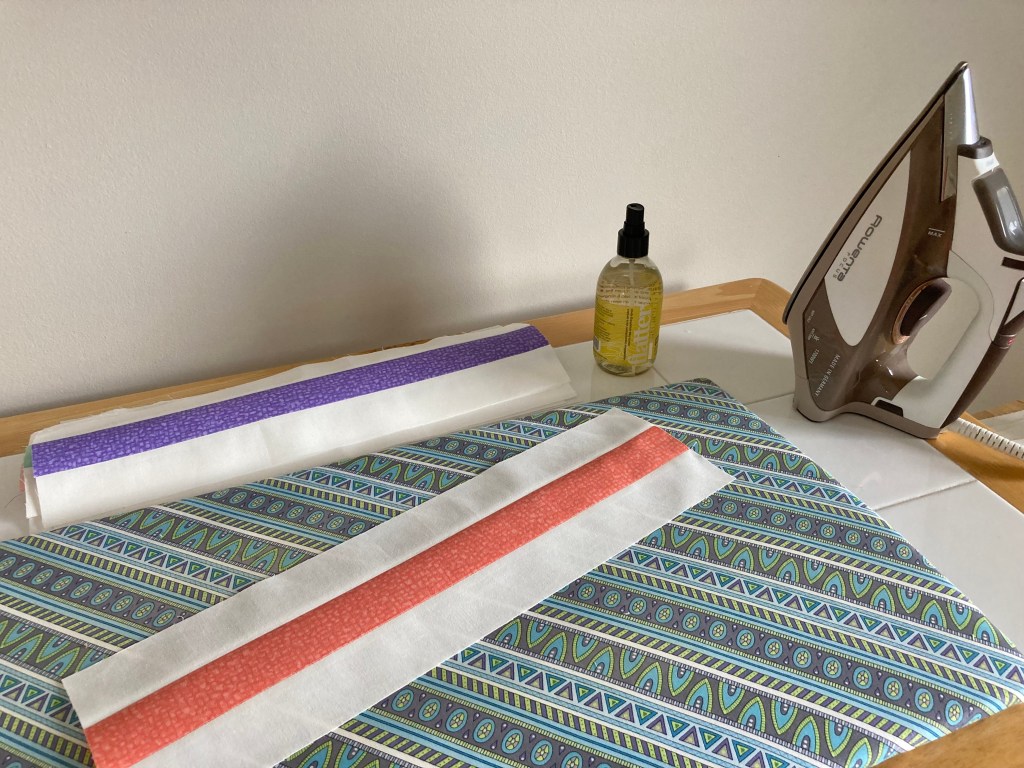
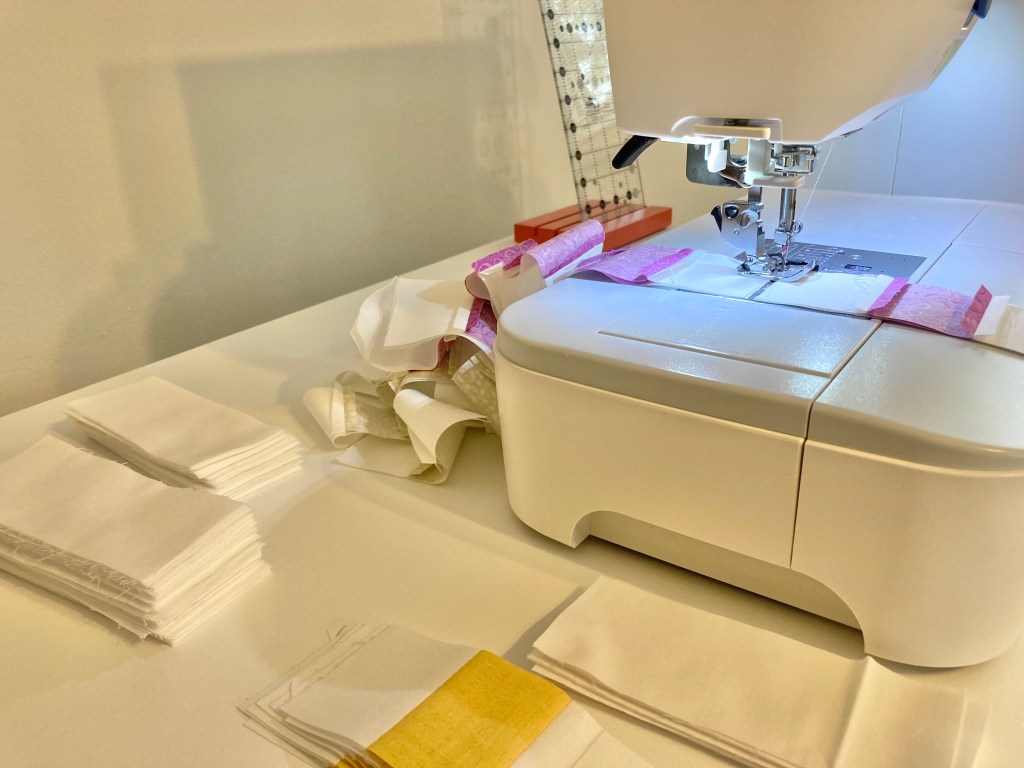
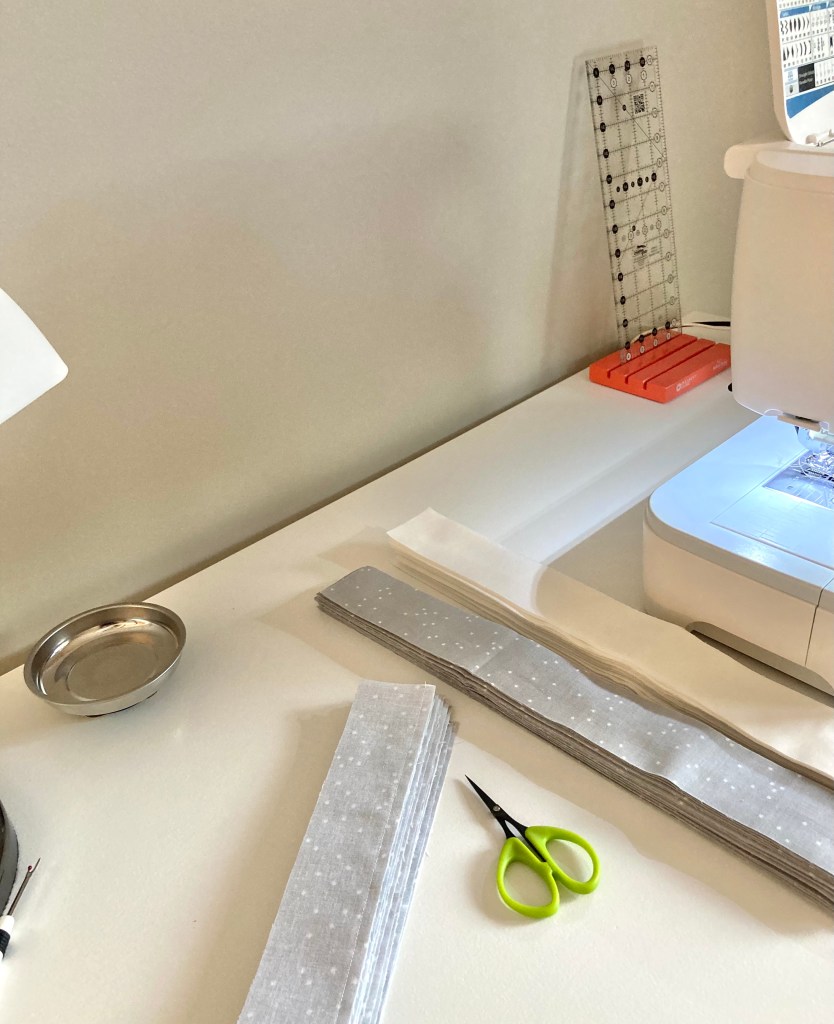
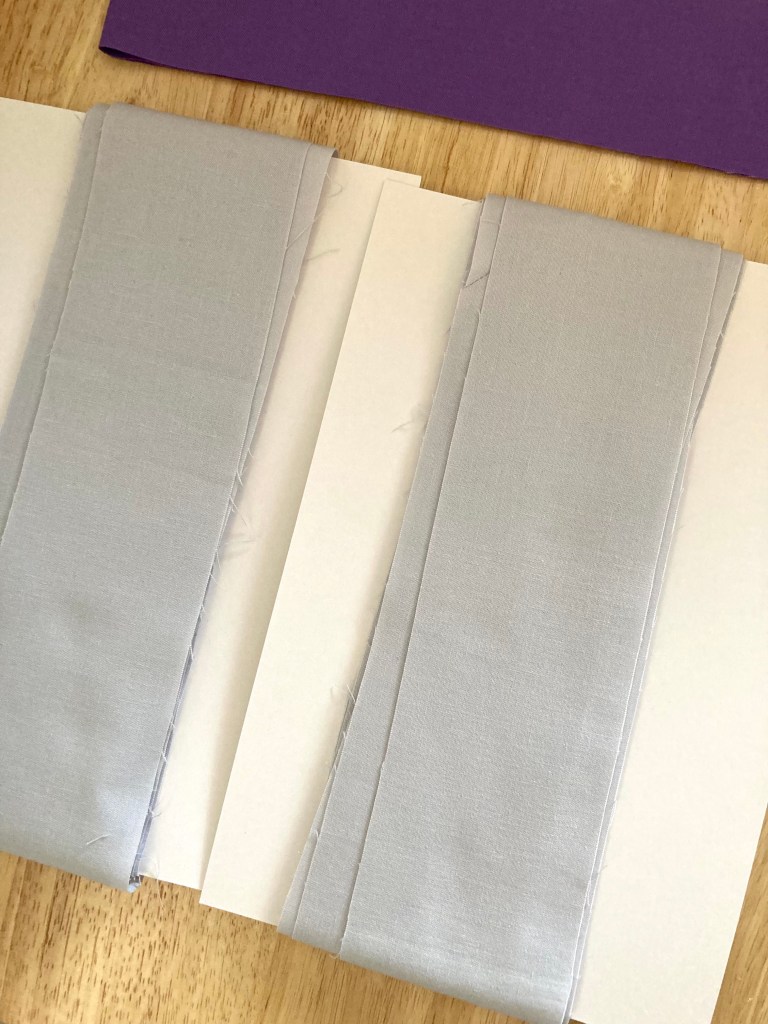
Classic Plaid is designed specifically for the beginner quilter, but you don’t have to be a newbie to make it; it’s suitable for quilters of all levels. It’s oh-so-easy as there are only two blocks to make. Assembly is really fast because you’ll use techniques such as strip piecing and chain piecing, making it go together in a snap.
There are three sizes to choose from: throw, twin and queen. Only four different colored fabrics of yardage are needed. Easy, right?

Often times the most simple designs make the most interesting quilts and this one is definitely a great example.
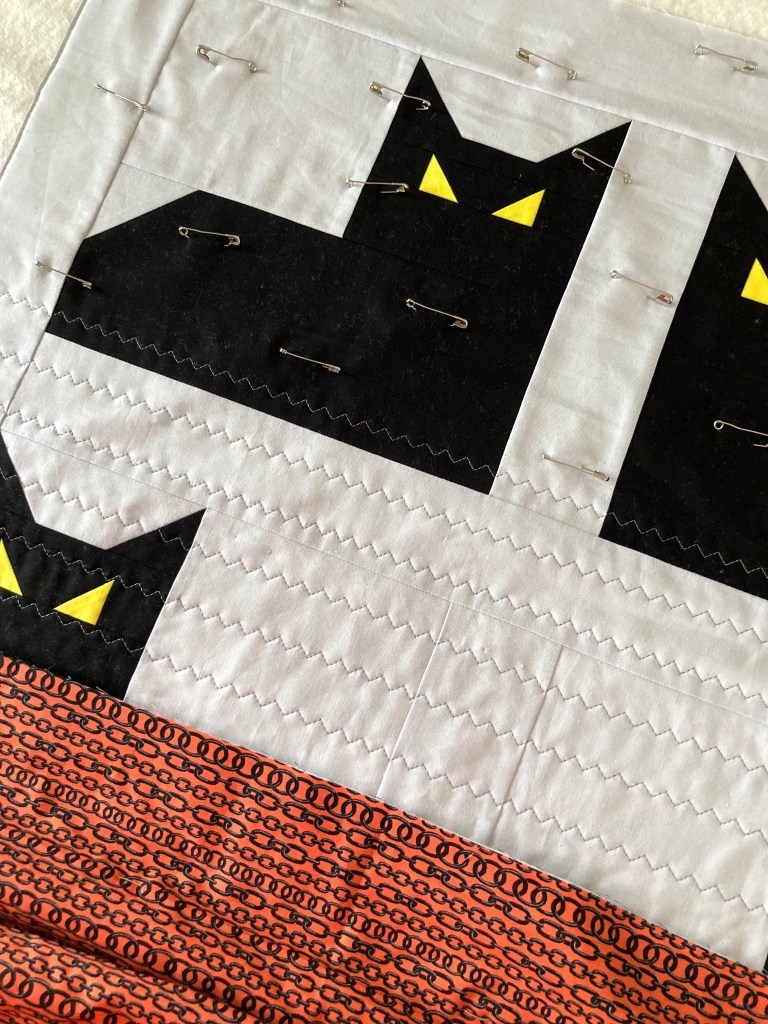
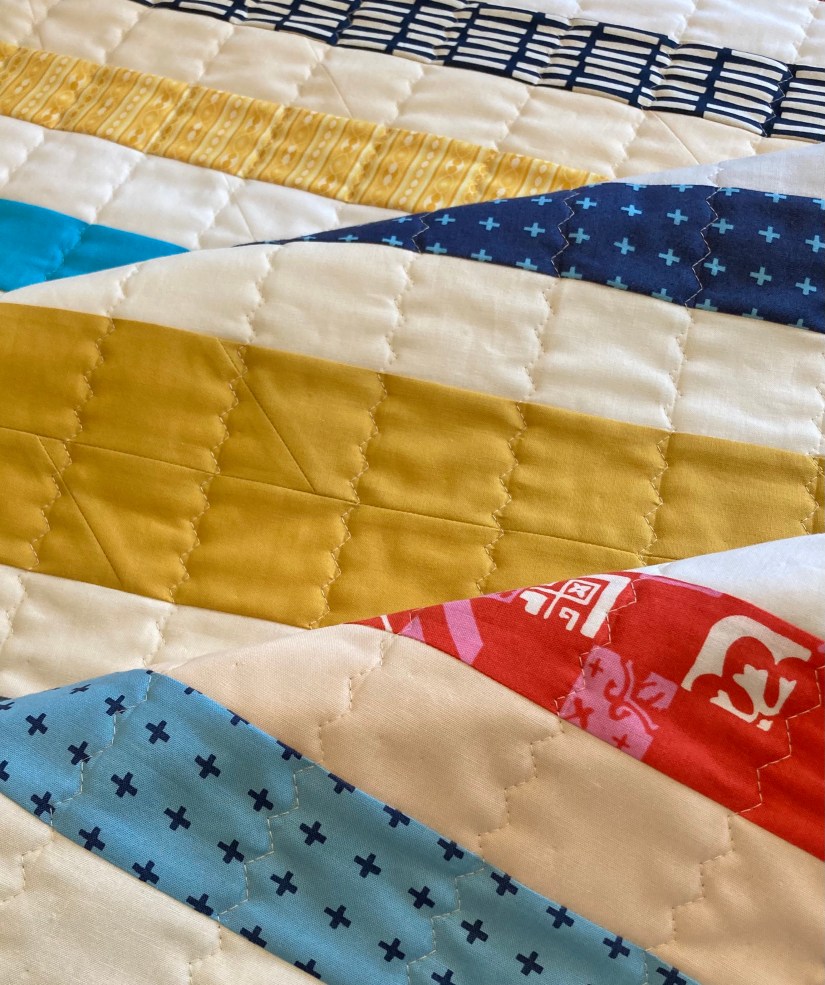
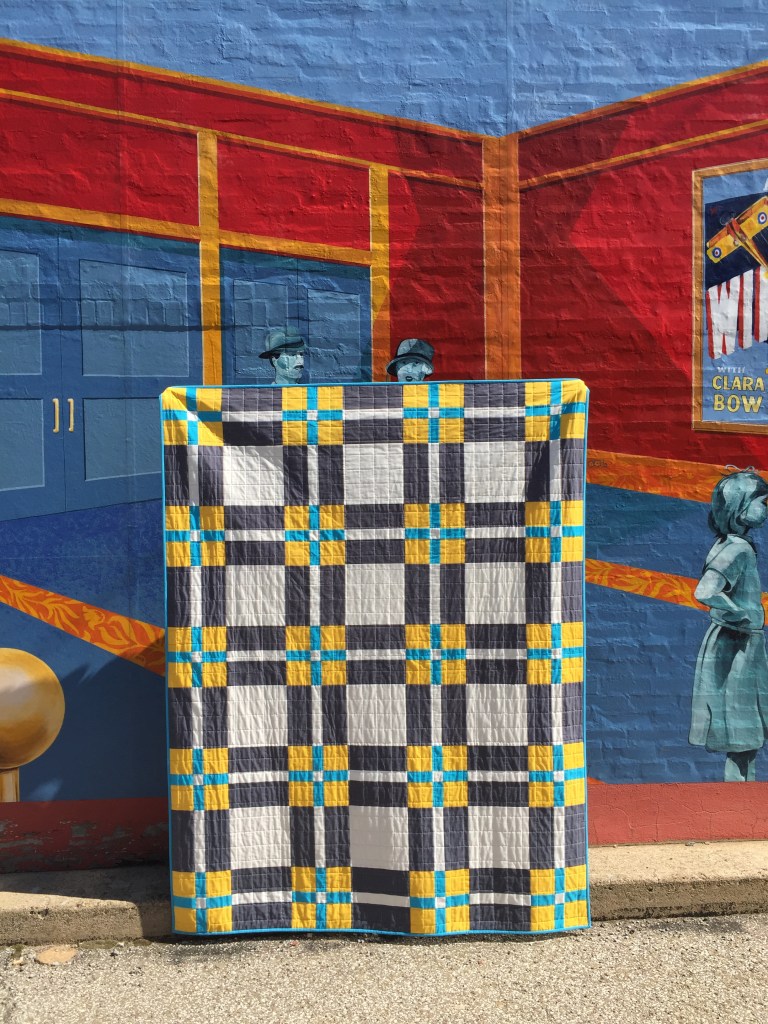
For quilting on mine, I chose a 1 1/2″ grid to coordinate with the quilt’s design. Basic, yet it makes a statement.
Here’s a look at Barbara’s quilt. She made a throw size using blue and red bandana fabrics. They’re an excellent choice, and I’d like to mention that she’s an excellent quilter.
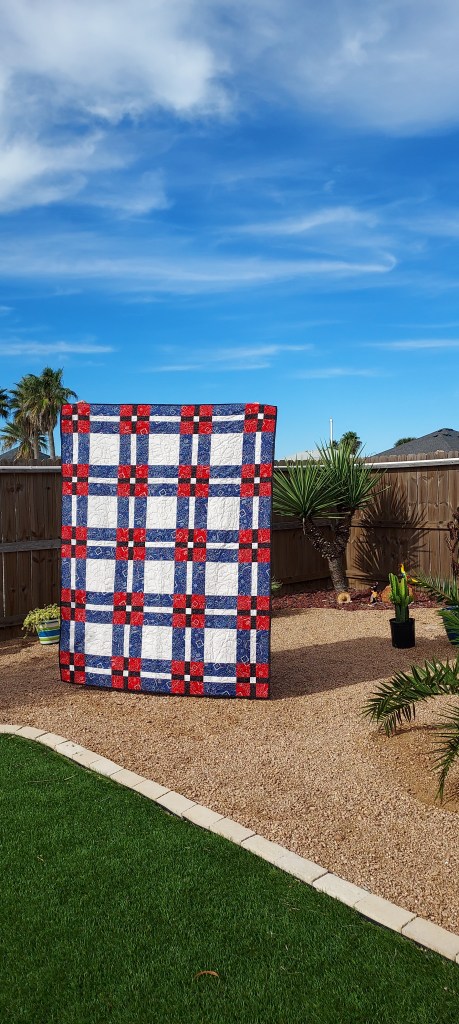
Barbara had her quilt longarmed in a cowboy/western motif of boots, spurs and stars. I love how she also used a darker thread for quilting, it really brings out the details. Great job Barbara, it’s a beautiful finish!

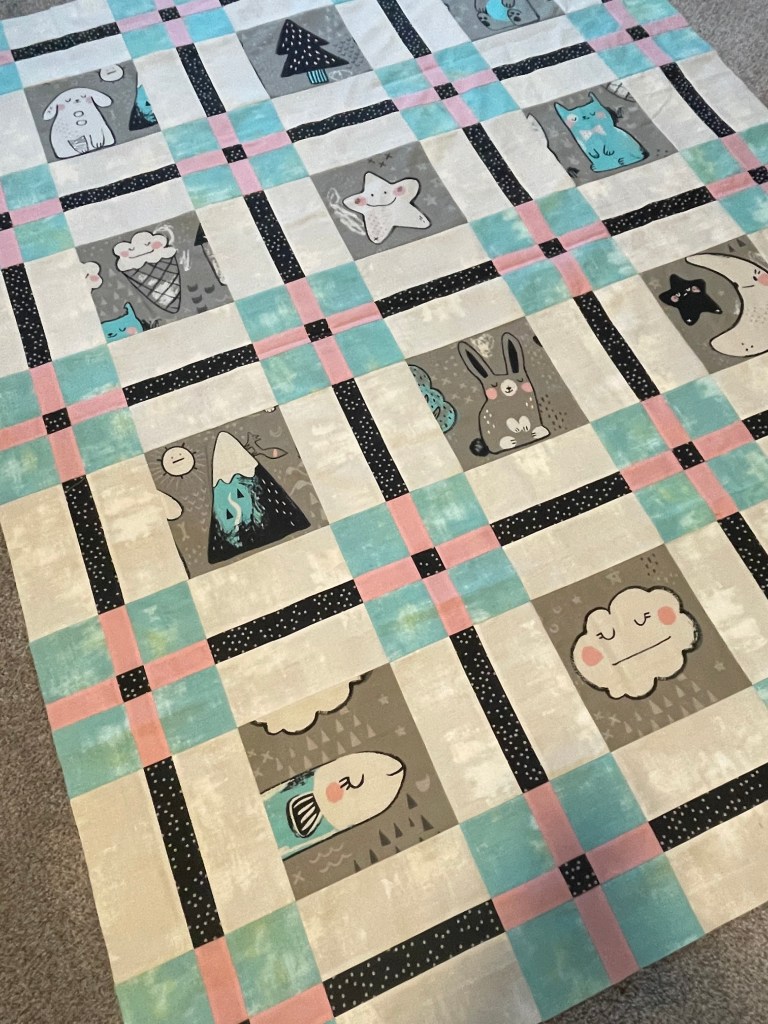
Joanna, another awesome quilter, made a throw size quilt. We all loved her version; she fussy cut the background square. I honestly have to say that I never would have thought of this which is why I love getting testers’ take on patterns. This is such an adorable quilt, excellent job Joanna!

Lastly, I have to share this photo. I had my husband hold my quilt up in front of a beautifully painted mural (in NW PA). Without realizing it, the people’s heads in the mural are poking up from the top and look as if they’re holding up the quilt or hiding behind it, which I thought was pretty funny.
Classic Plaid is available for purchase in my Etsy shop starting today!