fall decor, home decor, mini quilts, quilt blocks, quilting

Maple Leaf Minis

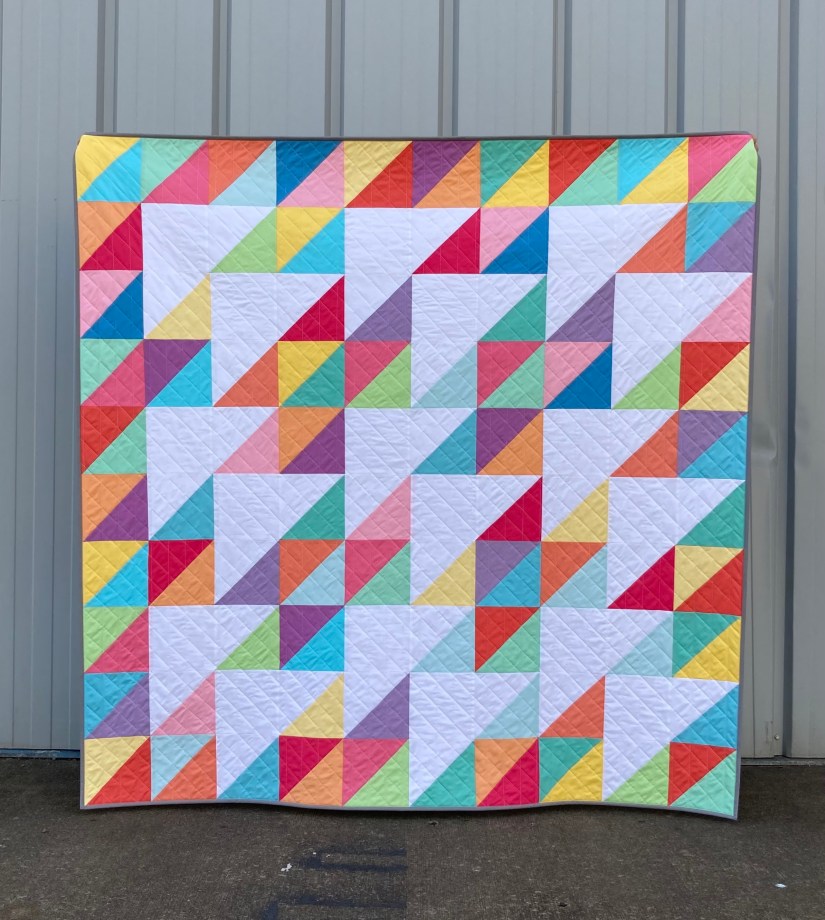
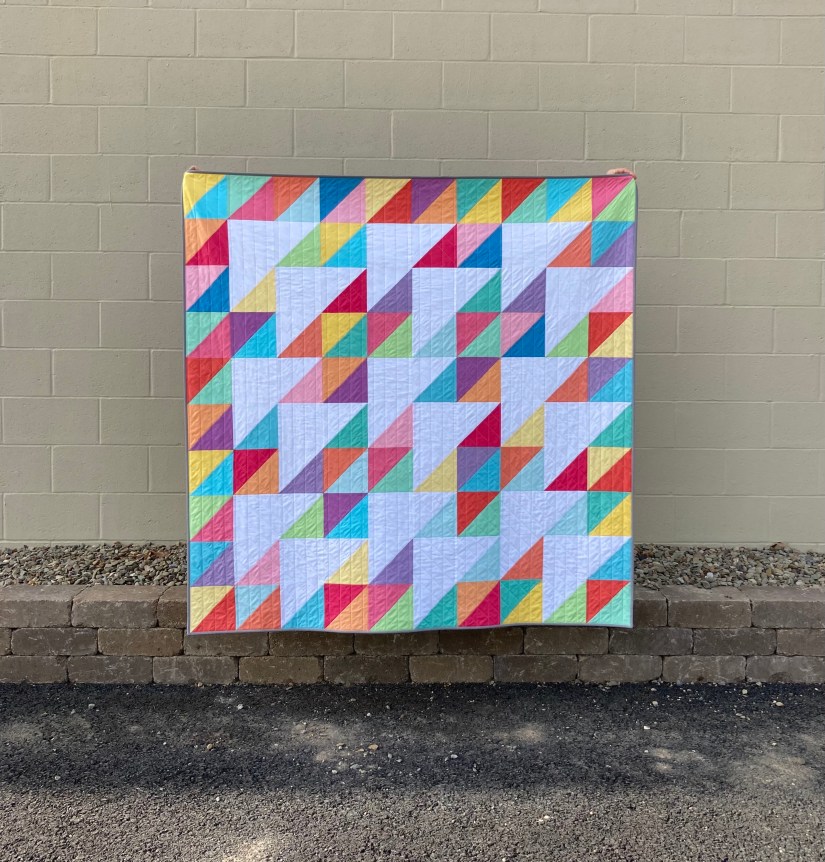
A couple of years ago I made a Maple Charm throw quilt by Coriander Quilts. It’s a definite all-time favorite and I bring it out every autumn (for display only). 🙂

But lately, for some reason, I’ve really slowed down on making larger size quilts and I’ve been focusing on making minis or other small sewing projects instead. Hopefully I’ve just misplaced my quilt-making motivation for a while and it’ll show up soon. 😉

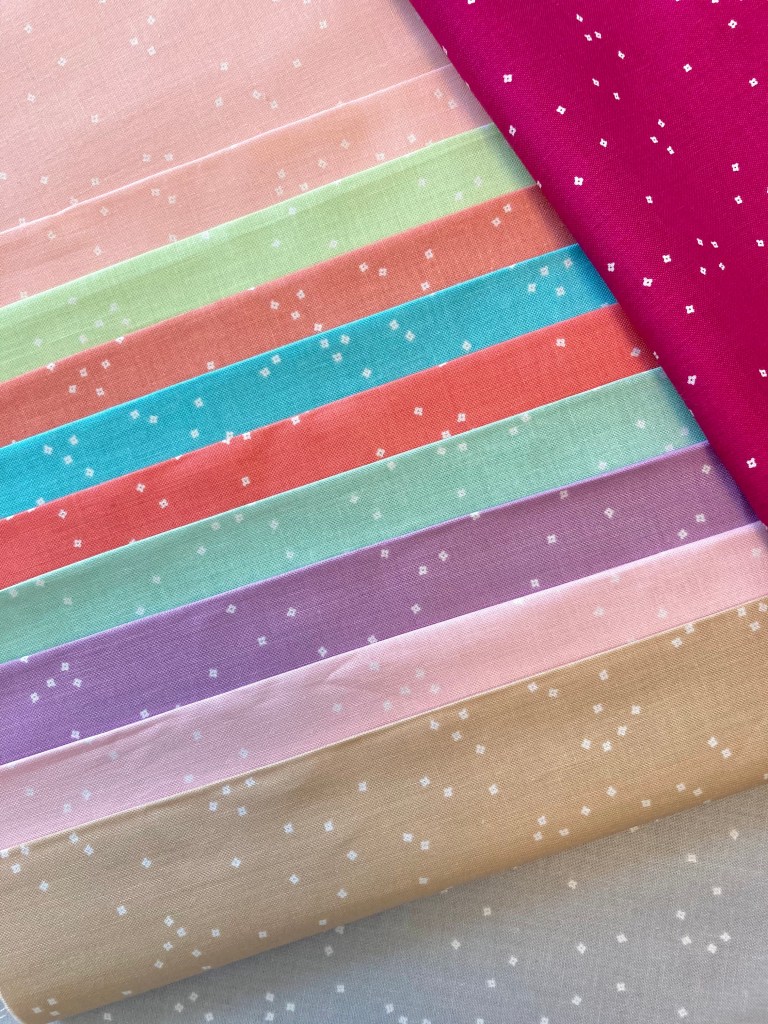
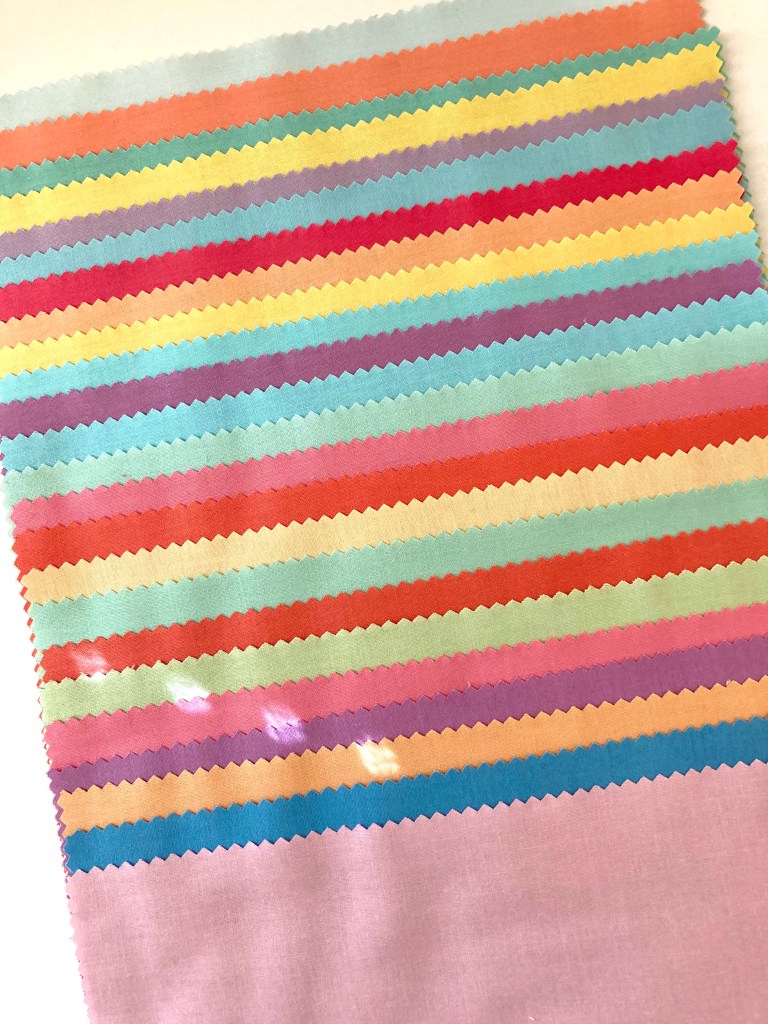
In the meantime, I wanted something more than just the quilt to decorate with so I decided to make minis using just one block. I chose three traditional autumn colors for the leaves: orange, yellow and red. Some fabrics were used in the quilt, others I’ve accumulated recently.

Picking out the fabric is half the fun, isn’t it? So, once my fabric choices were decided, I made one block out of each color. For the background I used Moda’s Cream Solid, the same fabric as in the full size quilt.

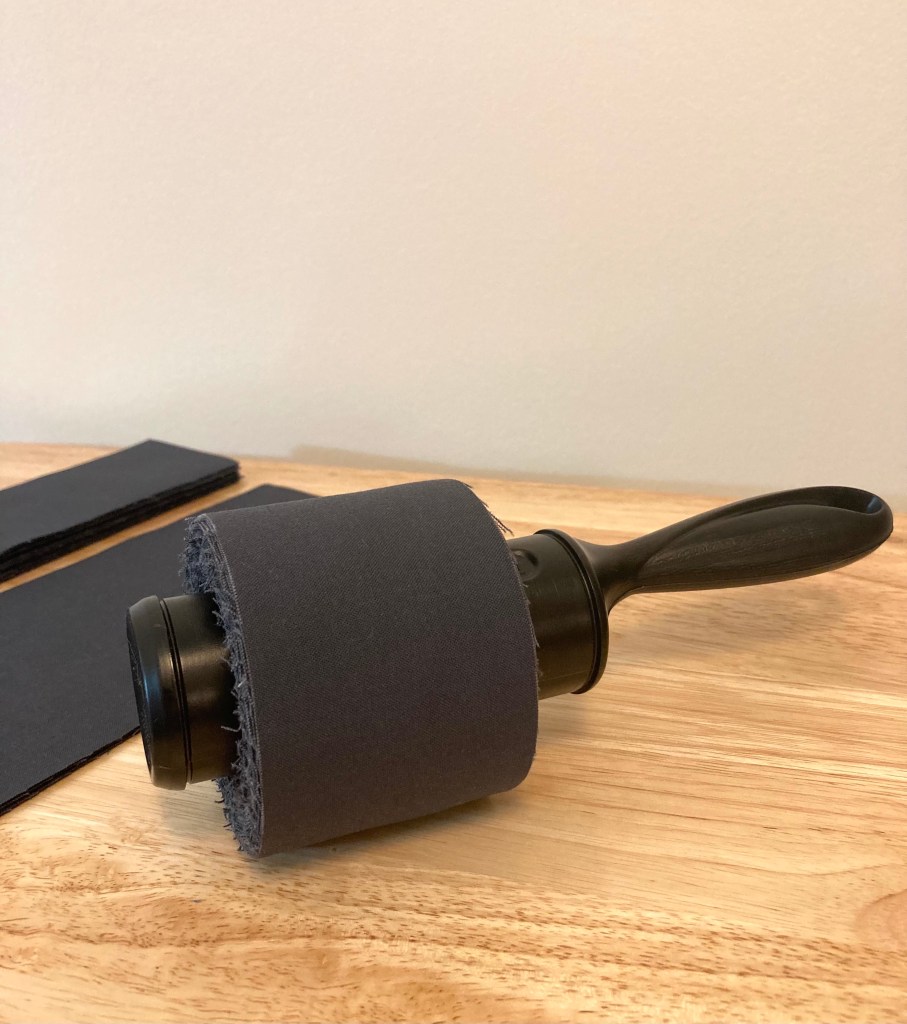
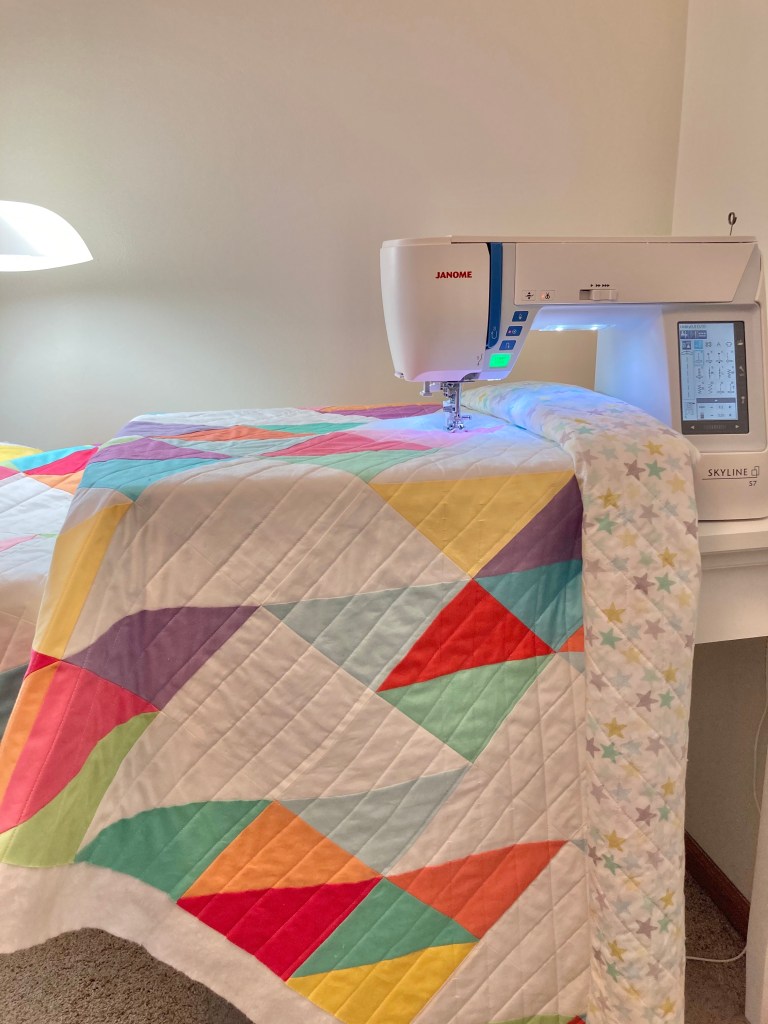
Since I wanted the minis a bit bigger than the block, I added a finished 1/2″ inner border using dark brown fabric to frame the leaf in. I then added a finished 1″ outer background fabric border to make it complete. The minis finish at 15″ x 15″.

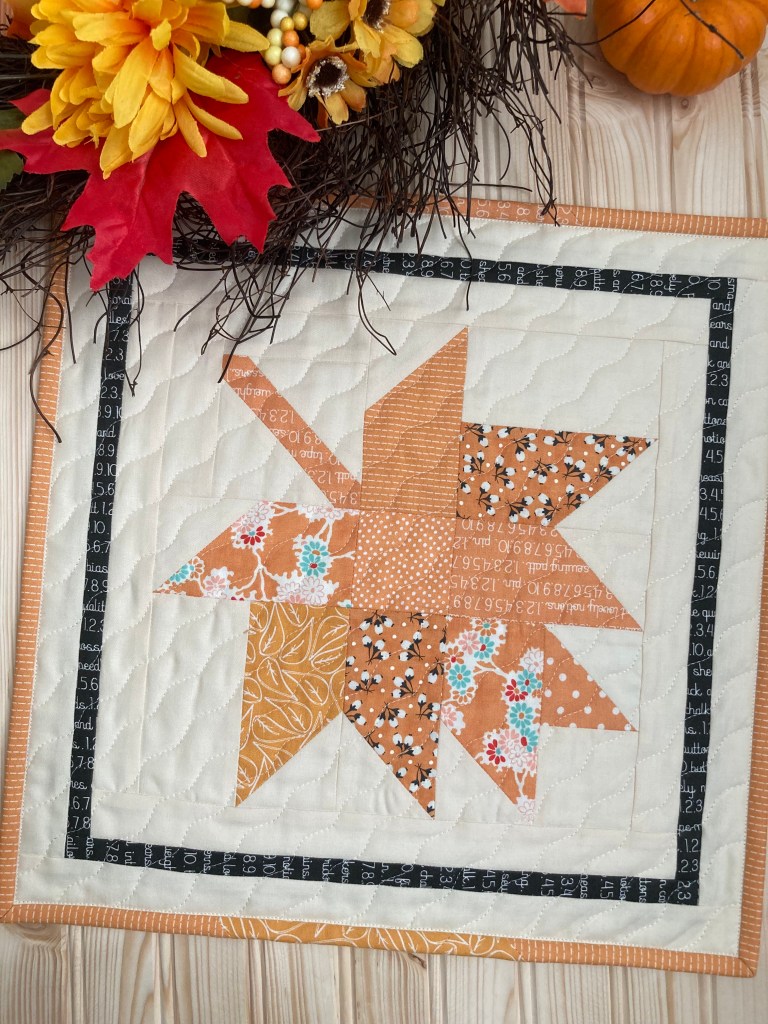
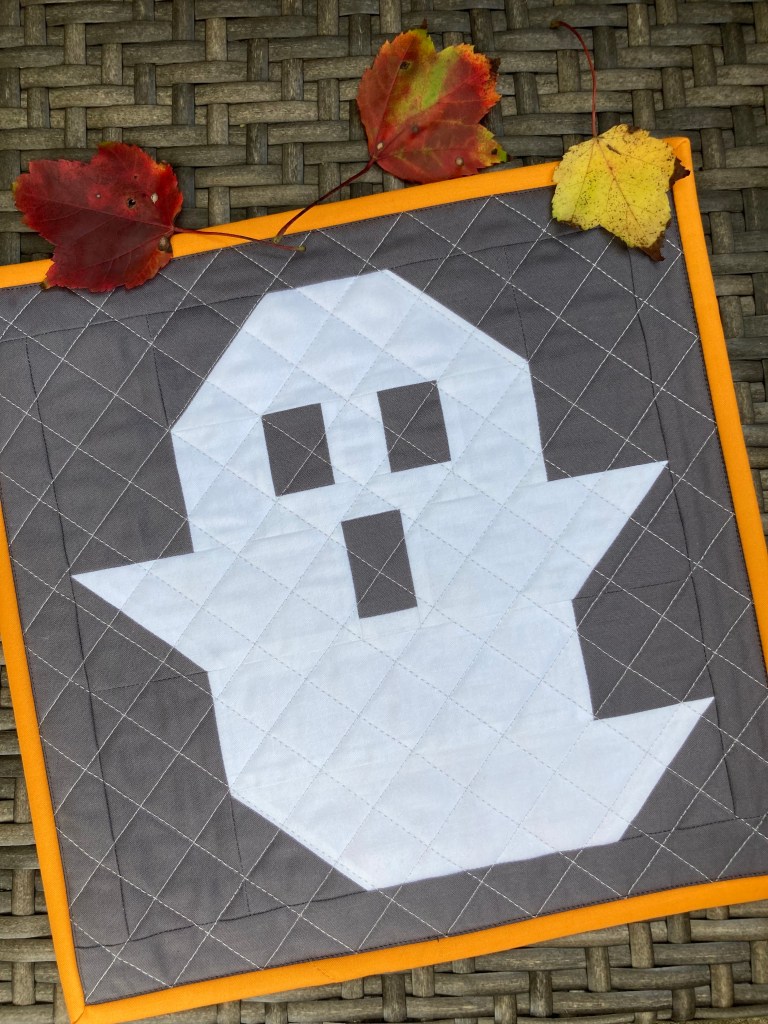
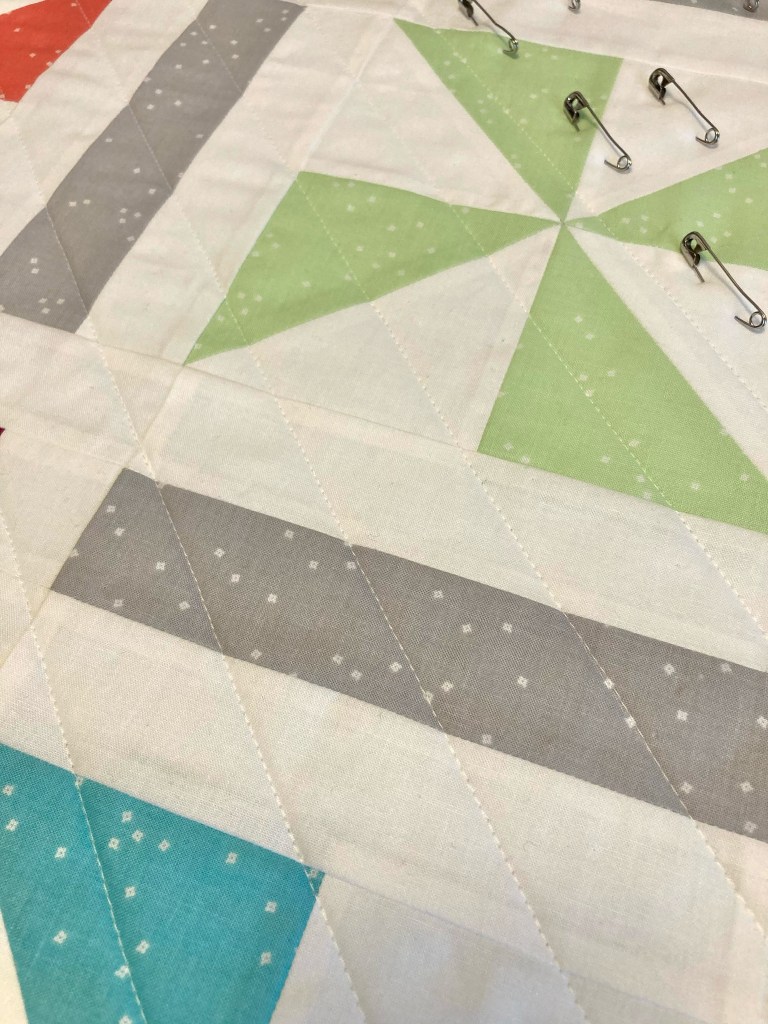
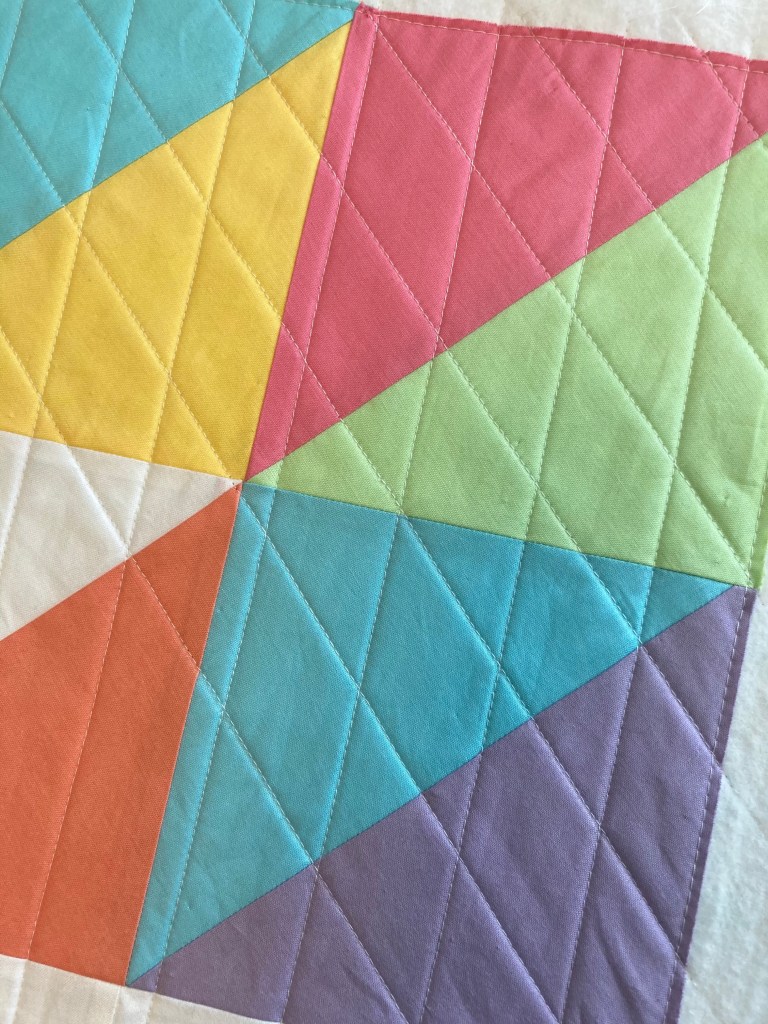
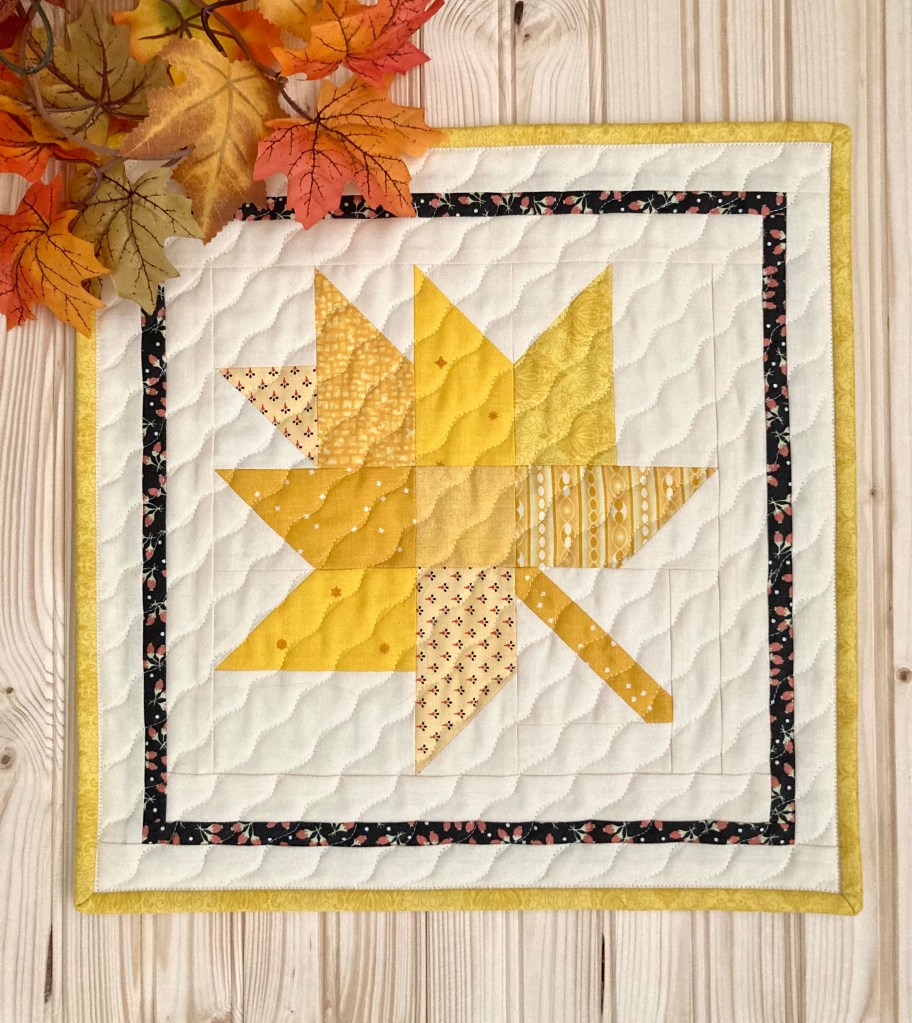
I quilted the orange and yellow minis with a diagonal serpentine stitch to give a falling/windy effect which I thought worked out rather nicely.

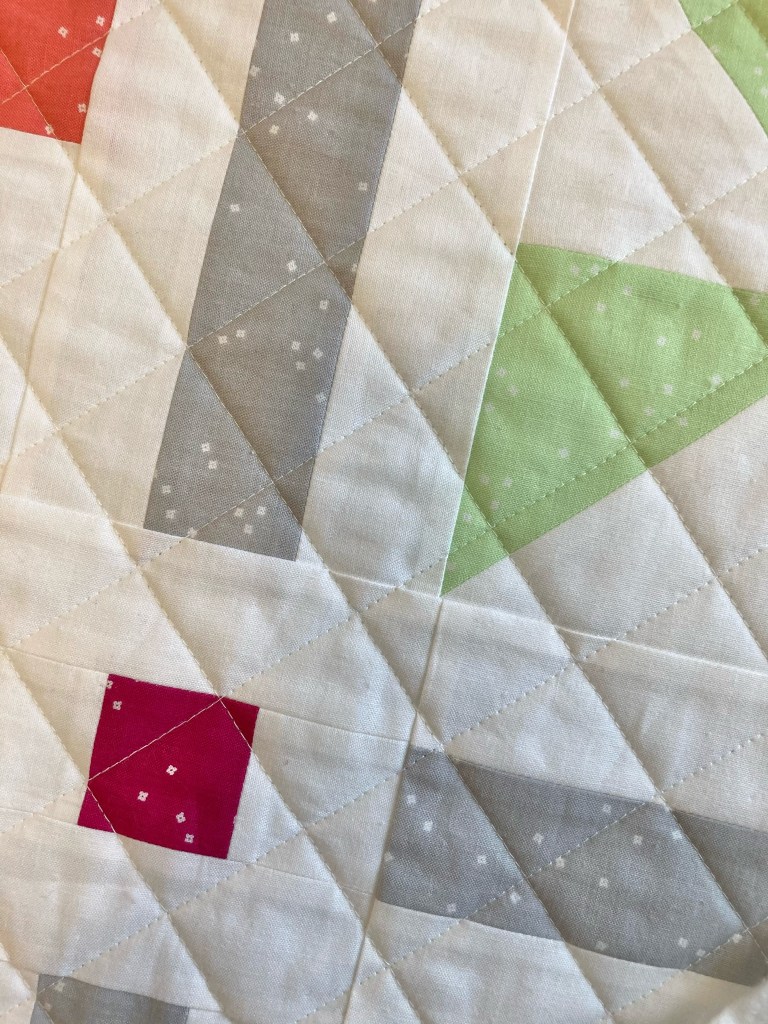
I quilted the red mini in a 1″ square grid, just for something different than the other two.

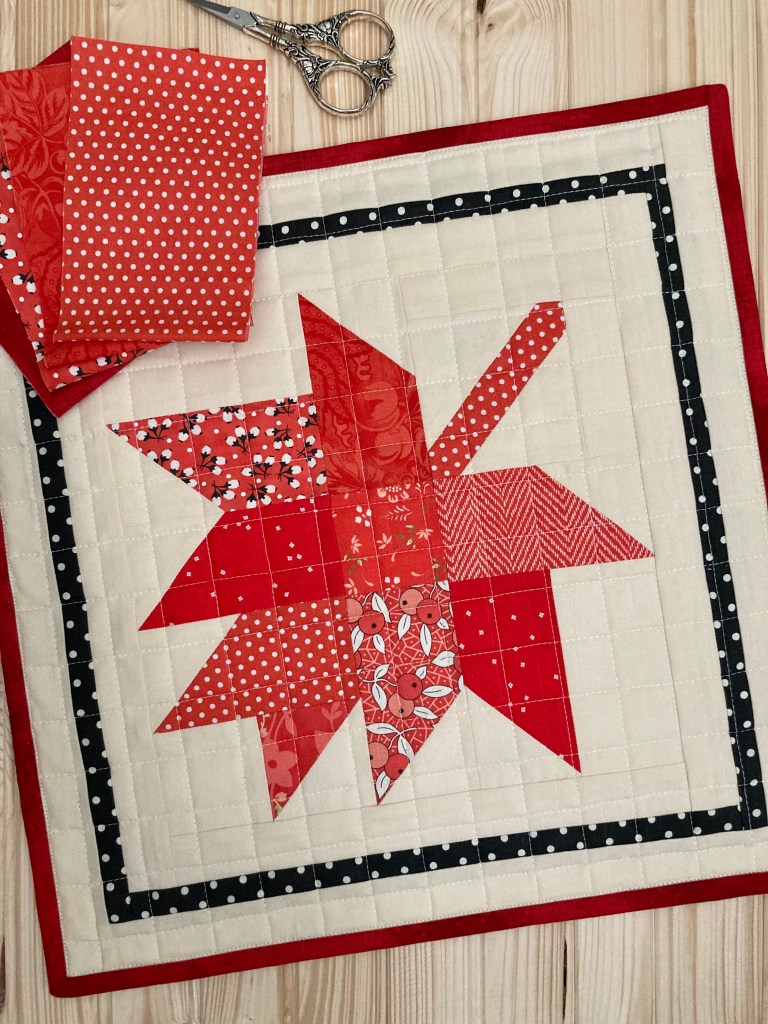
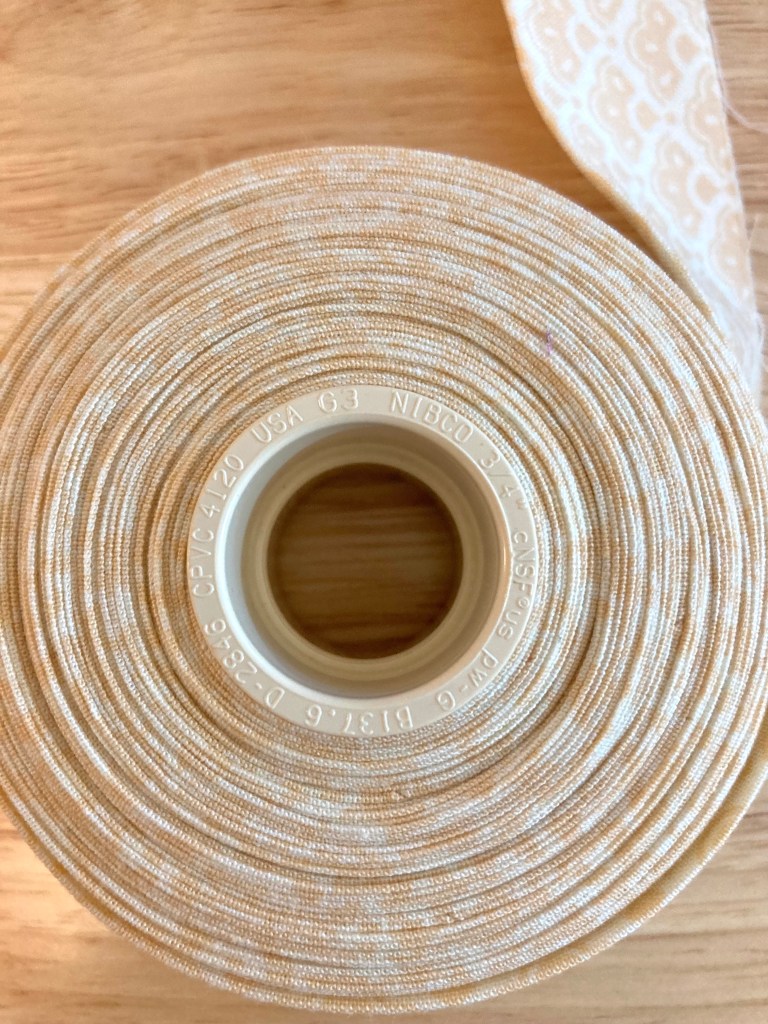
I also added a corner hanging sleeve in all four corners—that way I can orient the mini any way I want. This hanging method is so easy! If you’re not familiar with it, I have a Corner Hanging Sleeve Tutorial on my website if you want to give it a try.

Overall, these were a really fun project and added great color and variety to my autumn décor. They also would make nice table setting minis for your holiday displays…another reason to make a few.

Happy Thanksgiving!

how to, PDF download, sewing, tutorials, Uncategorized

Table Napkin Tutorial

For most quilters, managing stash is an ongoing process—as long you keep sewing, you keep ending up with left over fabric, especially with precuts.

Early this spring I finished a quilt using a layer cake I’d had since 2015. (Wow!) When the quilt was complete, several 10″ squares were left. I knew I’d never use them in a quilt and I didn’t want to store them, but what could I do with a dozen precut squares?

After considering a few options, I decided to make reusable table napkins for everyday use. And because I like all things environmental, it was a fun and practical choice.

These napkins finish around 8 1/2″ square and they’re so easy to make. If you’ve got any 10″ squares lying around, download this detailed Table Napkin PDF tutorial and start stashing down!

fall decor, halloween, modern quilts, quilt blocks, quilting, quilts

A Ghost Quilt

When this quilt pattern came out 4 years ago (The Ghost Quilt by Pen + Paper Patterns) I knew my daughter would ask me to make her one. What I didn’t anticipate was that it’d take that long for me to actually do it. 🙂

Once fabrics were decided upon, ordered and received, from start to finish it took me a couple of months, mainly because I worked on other things in between and those cute little ghosts could be a challenge to line up!

The quilt itself requires 25 ghost blocks, but I decided to go through my gray fabric and having enough, I made 4 extra blocks, added a small border and made them into minis to give as gifts.

…I did keep one for myself though. 😉

For the throw size quilt fabrics, I used Kona Solid Gotham Gray for the background and Kona Solid Crocus for the binding which looks great paired together and they’re definitely in the spirit of Halloween. For the minis, I used Kona’s Gotham Gray, Coal and Metal for the backgrounds and School Bus for bindings.

For quilting, I ran a vertical serpentine stitch about 1 1/2″ apart. You can see how it gives the quilt movement and a bit of a spooky vibe.

The backing is a fun black and white asterisk print that worked perfectly because the asterisks kind of look like mini spider webs.

I think this pattern is one of the cutest ones out there. And it’s a fun make too. I’m glad I finally got around to seeing this project through even if it was on my list for a really, really long time.

Happy Halloween!

Christmas, mini quilts, modern quilts, monday morning designs quilt pattern, patterns, quilting, Uncategorized

Holiday Sewing Projects

Even though summer has just left us, now’s the time to get started on our holiday sewing projects. It’s definitely not too early especially if you plan to make a quilt and would like to have it finished in plenty of time.

I’ve noticed a lot a quilt patterns out there are so close to being the same as one another, and well, it’s getting kind of old. In order to make what change I could, I decided to design something completely different, and what better subject is there than the holidays? So last year I set to work and came up with my Holiday Hemlocks throw quilt in two versions, Scrappy Holiday Hemlocks PDF pattern

and non-scrappy Holiday Hemlocks PDF pattern (both available in my Etsy shop). Additionally, I have a Holiday Hemlocks PAPER pattern available for those of you who prefer paper over digital, and shipping is FREE!

There’s no denying this quilt design is definitely different than any other holiday quilt, right? Well, that’s exactly what I was going for. But different doesn’t mean difficult. 😉

Here are a few things I’d like to note about these quilts…they’re traditionally pieced with no tricky blocks involved, and the patterns are suitable for anyone who has made only a couple of quilts! In fact, one of my testers was an absolute beginner and hers turned out great.

My patterns are always clearly written with step-by-step instructions, there are also plenty of detailed, colorful diagrams throughout.

Don’t have time to make an entire quilt? Try this festive little mini instead—Wee Three Trees.

This pattern is by far the best seller in my Etsy shop. I made the one photographed here for myself, but I’ve made several of them for gifts, too. Wee Three Trees is a relatively quick make, you could easily whip one up in a weekend.

If you like both designs AND want to save some money, I offer Wee Three Trees and Holiday Hemlocks Pattern Bundle for a lesser price than buying them separately. The same goes for the Wee Three Trees and Scrappy Holiday Hemlocks Pattern Bundle. No matter what you choose, I’ve got you covered.

Lastly, if you don’t shop on Etsy and would like an alternative, all my patterns can be found at: https://payhip.com/MondayMorningDesigns.

I hope you find your next holiday project here. 🙂 Happy sewing!

Uncategorized

A Quilt and an Honor Flight

Last week I received an inquiry from a customer regarding the purchase of my Stars and Four Patches quilt listed in my Etsy shop.

A woman from Wisconsin was interested in gifting this quilt to someone before they were scheduled to take an Honor Flight at the end of the month. She needed it in a few days to have it in time; could I send it ASAP?

Ends up, of course I could (and did) but what, after all, is an Honor Flight?

One quick internet search turned up this: The mission of Honor Flight is to transport America’s veterans to Washington, D.C. to visit the memorials dedicated to honoring those who have served and sacrificed for our country. ​

This service shows an unmeasureable expression of respect for veterans, I can only imagine how important taking this trip would be for them.

As for myself, I have to admit I was really touched…I felt it was an honor for me knowing a quilt I made was chosen to be given to someone special to help signify a momentous life event. I never thought a quilt would have that sort of impact.

Even though I’ll never meet the buyer or the recipient, and I’ll probably never know what war this veteran fought in, I do feel like I was a part of this celebration in a quiet way.

As for the gifted quilt, I made it in 2017 with every intention of keeping it but time passed and I had to pare down on my quilts. I thought this one in particular could be enjoyed by someone else so I decided to part with it. I’m glad for those decisions because more than likely this red, white and blue quilt has more of a profound meaning to the new owner. And what an intersting story I now have to tell about a patriotic quilt I once made…

By now the Honor Flight has come and gone; hopefully it went well. This occasion has reminded me of the thanks we owe our veterans for their invaluable service.

For more information on Honor Flights, visit honorflight.org

baby quilts, monday morning designs quilt pattern, quilts

Playful Pastels Quilt Published in Quilts & more

I’m happy to say that my baby quilt Playful Pastels is finally published!

I say ‘finally’ because it was quite a long process. To start, it was early June 2020 when I submitted my project for publication consideration to Better Homes & Gardens’ quilting magazine, Quilts & more. Whenever I do so, I know it’ll take a while to hear back, but when I did it wasn’t until the Fall 2021 issue that there was a spot for it. The timeframe was perfectly fine, but wow, that seems like forever ago!

Used with permission from Quilts & More magazine. ©2021 Meredith Corporation. All rights reserved.

After accepting the terms and working out the details, I had to make the quilt. Since it was a baby quilt, I wanted to use pastel colors so I chose the Blossom collection by Christopher Thompson. I usually lean toward small prints and this line is just background color with a small white design that looks like tiny flowers. As for the timeline, it was early February 2021 when I requested fabric from Riley Blake Designs.

The fabric arrived quickly but because I had a deadline of March 10, 2021, I started on it right away.

Playful Pastels is a really quick make so I was able to finish by the end of February. Here’s what makes it go so fast…there are only 9 main blocks, the pinwheels. The sashing around them is strip-pieced, meaning you sew the pieces together when they’re long, then cut them down to the size you need. That way you’re not sewing small pieces together.

For the quilting, I did a 1 1/4″ crosshatch design. I learned (the hard way) that you need to use a lot of pins when quilting, so I made sure I did when basting. Constantly moving the pins was pretty time consuming, but the results made it worth the effort.

I was able to ship my quilt out early March; then I could finally relax. 😉

Months previously I’d submitted instructions along with diagrams. Once everything was ready to go to print in June, I was given an electronic copy for proofing. It all looked good, so the rest was just waiting until publication in August.

Last week I received the photos I was permitted to use. Here’s a look…

Used with permission from Quilts & More magazine. ©2021 Meredith Corporation. All rights reserved.

Cute, right? I really like this set up! 🙂

The Fall 2021 issue of Quilts & more is available for purchase August 6th. There are a lot of nice projects included so be sure to get a copy!

quilting

A Quilting Hack (or Two)

If you’ve followed my blog for a while, you know I like to be as environmentally friendly as possible. While I do the best I can, there is one thing I do and feel bad about—using a sticky roller brush for quilting. Even though I hate the thought of all those plastic sheets going into a landfill, I haven’t found a more effective way to clean up threads. On the bright side, I never throw away the handles saving on one-time plastic waste and I only buy sheet refills.

Which brings me to my first hack—using the handle for wrapping long strips of fabric. I purchased a twin pack of brushes and kept one for its intended use and kept the other (once empty) for wrapping purposes. It’s a great size; it fits strips up to 4″ wide which is ideal for border strips sewn together. And it’s pretty hard to misplace. 😉

Once wound, I can store it until I’m ready to cut. The handle makes lengthy strips manageable; rolling and unrolling is a breeze, too.

Above shows ten 2 1/2″ sewn together strips totaling about 400″! It’s funny because I’ve done this with white strips too, and I admit I grabbed it a few times thinking it was my sticky brush. 🙂

A couple of years ago I discovered another hack when I needed to store binding. I’d made some before I was ready for it and I needed an object to keep it rolled on. I headed out to the garage to see if there was something I could use. On a peg board I found a 3/4″ x 1 1/2″ PVC pipe for irrigation purposes. It was sturdy and the right size so I thought, why not? I cleaned it up (after making sure my husband didn’t need it) and it worked great!

It’s easy to use as well. When I start to wrap my binding, I use a small piece of washi tape to hold it down, then just wrap to the end.

These little gems are a perfect size for binding at just 1 1/2″ high, and since they’re petite I can conveniently store the PVC pieces in a compartmentalized box when not in use.

Since I thought this was such a great discovery, I purchased a few more at Home Depot for about 45 cents each. It was a while ago, so I’m not sure about the price today but I doubt they’d be too expensive.

I know many quilters use Binding Buddies that are actually made for binding, but quite frankly, those doll heads frighten me so I think I’ll stick to my nonconventional ways. 🙂

Looks like I have a few quilts to bind…

quilting, sewing, Uncategorized

Quilting with a Tailor’s Clapper

It wasn’t until recently that I learned what a tailor’s clapper is, let alone find out it’s a great tool for quilting. Who knew?

If you’re not familiar with this funny little thing, here’s some general information. A tailor’s clapper is an elongated, rounded piece of hardwood (average size: approximately 9″ long x 2″ wide) with a routered groove down each side. Some are straight and some are a bit wider on one end, but no matter the design they can be used in either direction.

What’s the purpose of a tailor’s clapper and how is using one beneficial to quilting? This handy tool helps to achieve wonderfully flat, crisp seams which is exactly what quilters want! And in the end the results will give you a beautifully flat quilt top. 🙂

After reading quilters rave about them and doing a bit of research myself, I thought I’d give one a try. I decided to purchase this one from Amazon. I like that it’s made in the USA and it had a lot of good reviews. This one offers 2 sizes, I chose the standard size.

How does a tailor’s clapper work? Well, they’re pretty basic and very easy to use; here’s how. Once you press your seam with a hot, steamy iron, remove the iron and immediately place the clapper on the seam then hold it down for a few seconds. The clapper will trap the heat and steam leaving an amazingly flat seam.

Here’s a look at fabric I sewed and tested with and without the clapper. It’s easy to tell which one I used the clapper on and which one I didn’t…it really works!

I’m definitely seeing a better outcome in my quilting now that I use a tailor’s clapper when pressing, and I most definitely recommend using one. And what I find so interesting is that this simple garment-making tool that originated in England well over 100 years ago is still useful in today’s complex world!

Note: I am not endorsed by the product mentioned in this post; it is just an item I like, use, and wanted to share information on.

sewing, tutorials, Uncategorized

Making Reusable Canvas Grocery Bags

The winter months are a great time to catch up on projects you’ve been planning but have been putting off for a while. In my case it was making reusable grocery bags out of canvas.

To get started, I didn’t want to spend a lot of money, and high quality canvas wasn’t really necessary so I purchased a durable canvas drop cloth (for around $9) which saved me at least half. The weave was comparable to fabric off the bolt, so it was a win-win.

For instructions, I followed this excellent tutorial https://www.themakeyourownzone.com/how-to-make-a-reusable-grocery-bag/. Since the tutorial was geared for using plastic materials, I made a few changes along the way…

Because I was using cotton, I was able to press seams with an iron and I used my hot ruler for accuracy.

I also had the issue of fraying, so once the seams were sewn and the body portion of the bag was assembled, I ran a zigzag stitch along all the raw edges. A serger would work nicely if you’ve got one.

Notice the nice hem along the top? When cutting, I planned to have the factory sewn edge up top for a professional look. It was also a more substantial edge for attaching the handle and it added extra durability.

Overall, the tutorial allowed me to achieve the same results just with different materials. If you decide to make your own reusable bags, I should point out a few things regarding plastic vs. canvas.

First of all, the canvas bags won’t stand up like plastic! But they’ll definitely last longer and they can be laundered which is a definite plus.

With both types, you’ll want to be sure to add something to the bottom for support. I used fitted cardboard to give the bags a more defining shape and added strength.

My husband does the grocery shopping (he actually likes to) 🙂 and he loves these bags. And of course, if it’s green and eliminates plastic waste I’m all about it!

From start to finish, these bags (I made 3) took just a few hours and they’re a really easy make.

monday morning designs quilt pattern, patterns, PDF pattern, quilting, quilts

Triangle Twizzle Quilt Pattern

My first quilt pattern of the year is here! Triangle Twizzle is available as a PDF download for purchase in my Etsy shop. This quilt is easy, fun and a quick sew for quilters of all skill levels.

In fact, it’s so easy a beginner quilter could make it in no time! The pattern is written for a 10″ square stacker / layer cake with a bit of yardage needed for the large white triangles.

I made mine using Riley Blake’s Pastels for a bright, cheerful look.

But the color choices are endless, making it such a versatile quilt. Can you imagine one in various shades of a single color, Christmas colors, Halloween colors or rich fall hues? Anything goes!

In keeping with the modern vibe, I quilted mine with a vertical straight line every 1 1/2″ then I quilted straight lines on a 45° angle going the opposite direction of the HST seams. I love the parallelograms.

While I had to run the quilt through my machine over and over (and over) which took a huge amount of time, I’m really happy with the results.

With three sizes to choose from and color options galore, I hope there’s a Triangle Twizzle quilt in your future!