baby quilts, fabric project, modern quilts, Uncategorized

Half Square Triangle Quilt

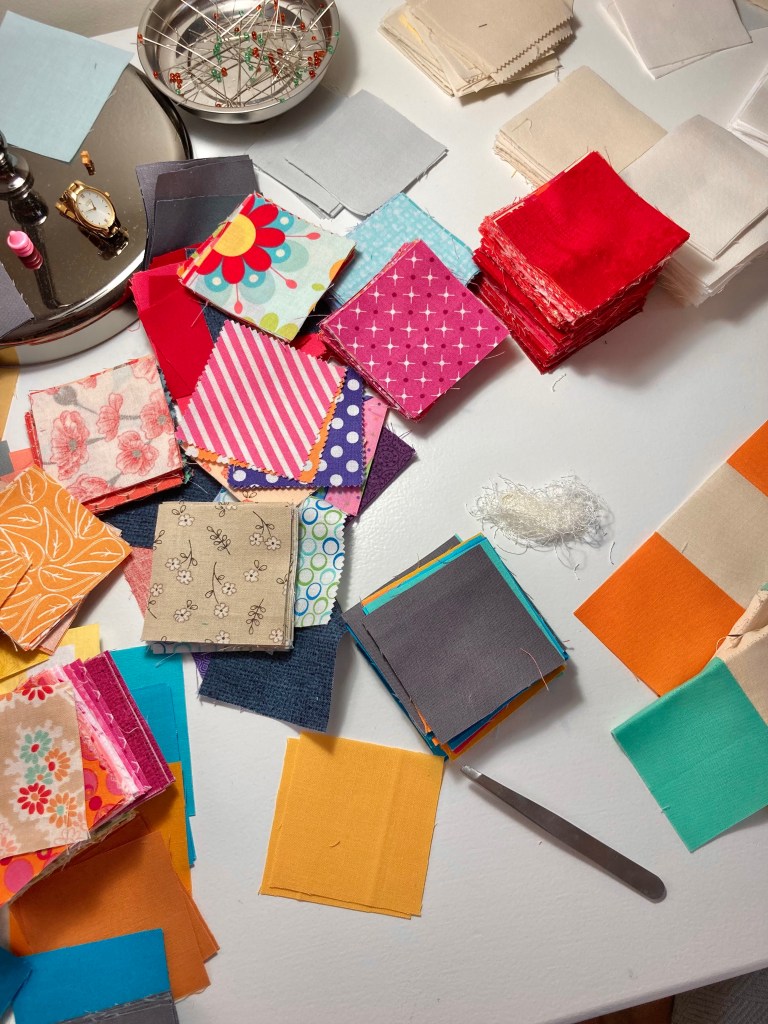
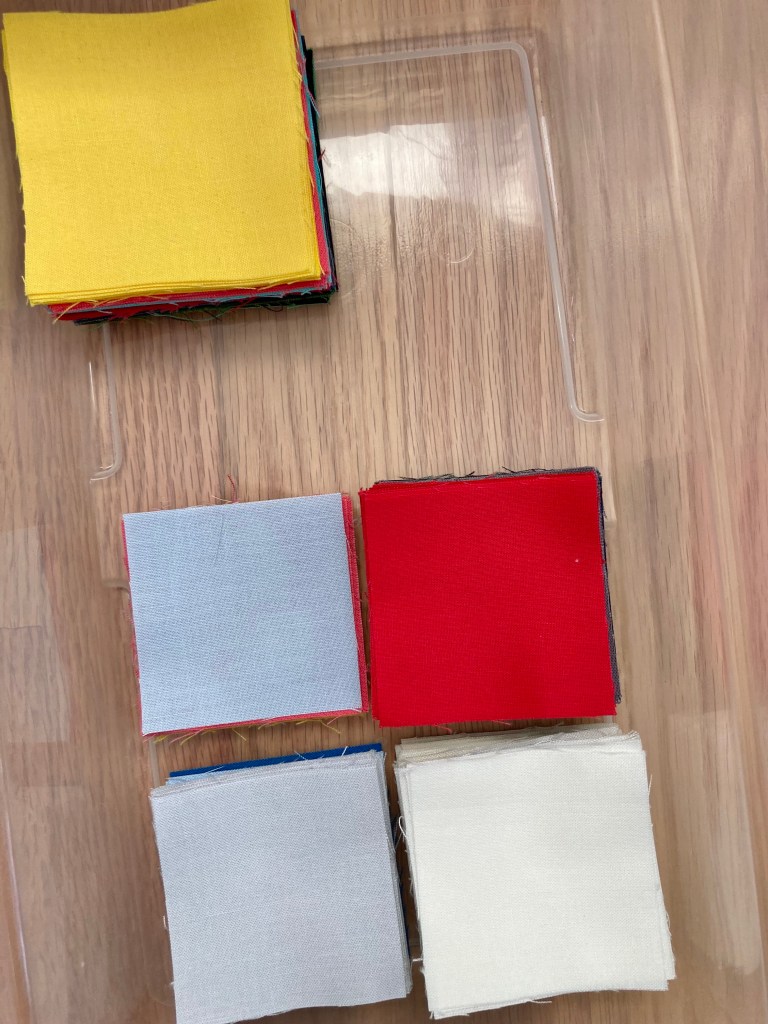
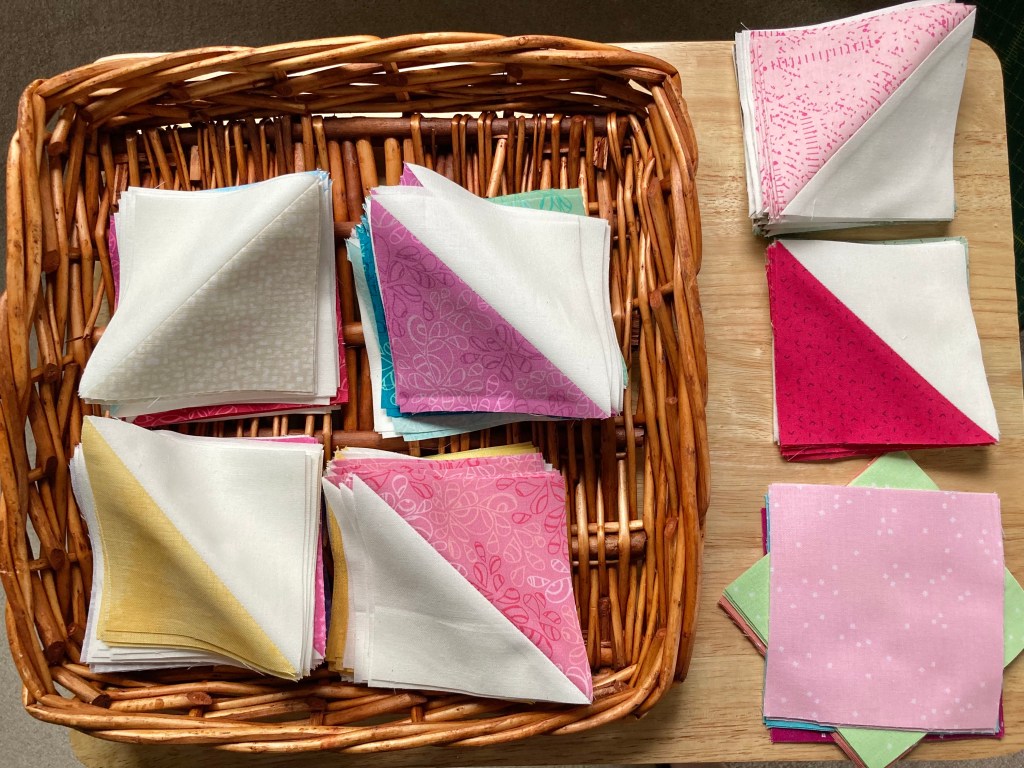
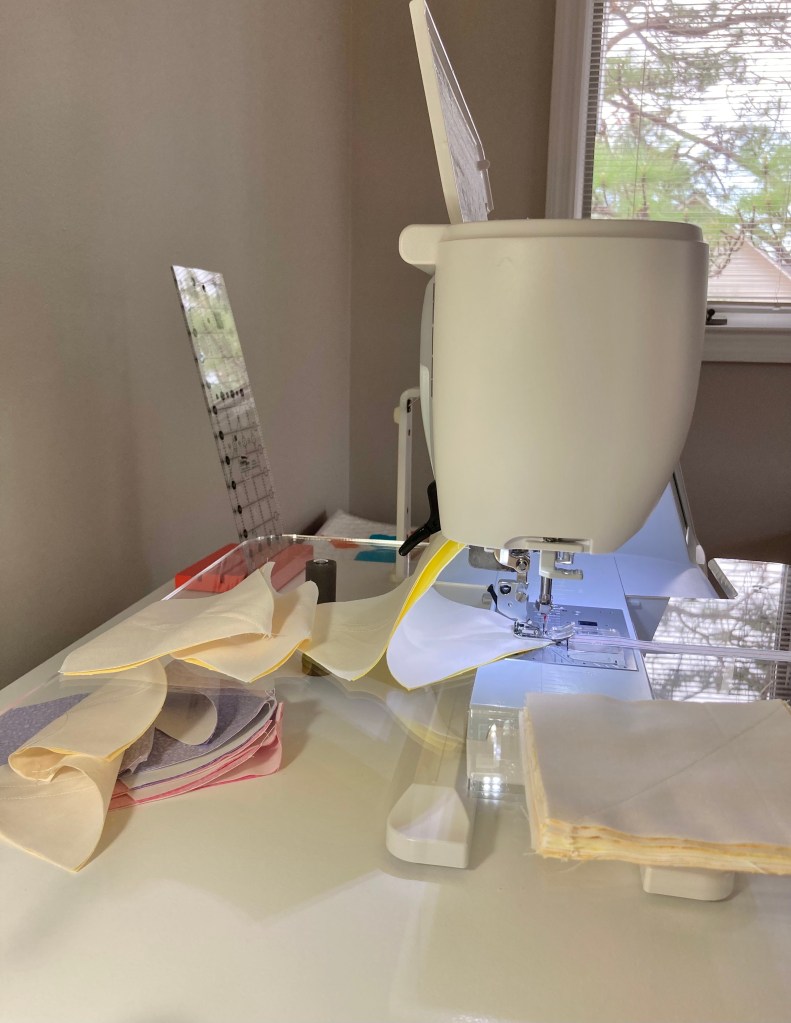
When organizing fabrics a while back, I rediscovered a box of 2 1/2″ half square triangles I’d saved from various projects throughout the years.

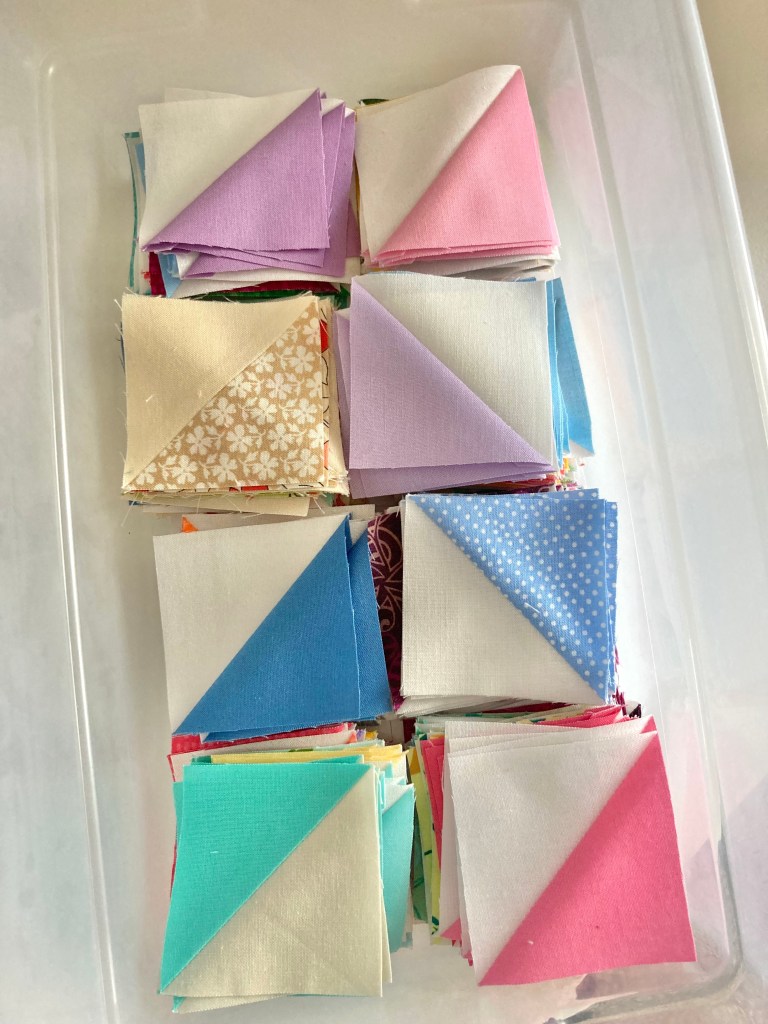
I’m sure my intentions were good when I took the time to square them up and save them, but fast forward some years…I don’t have any projects in mind for their use.

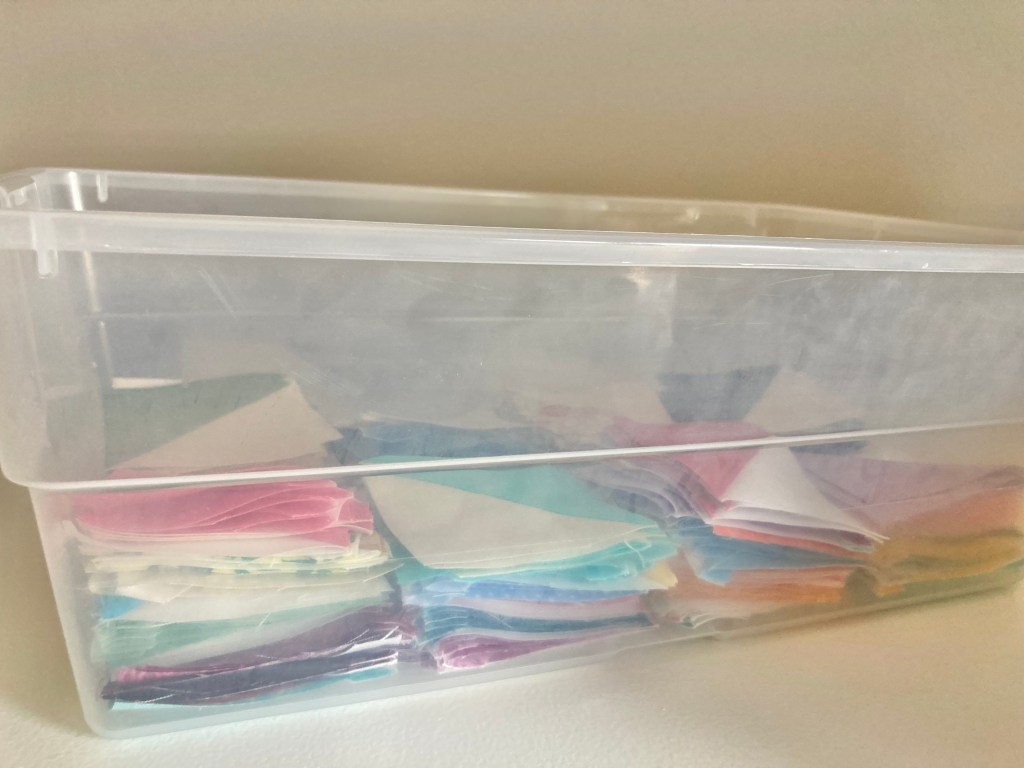
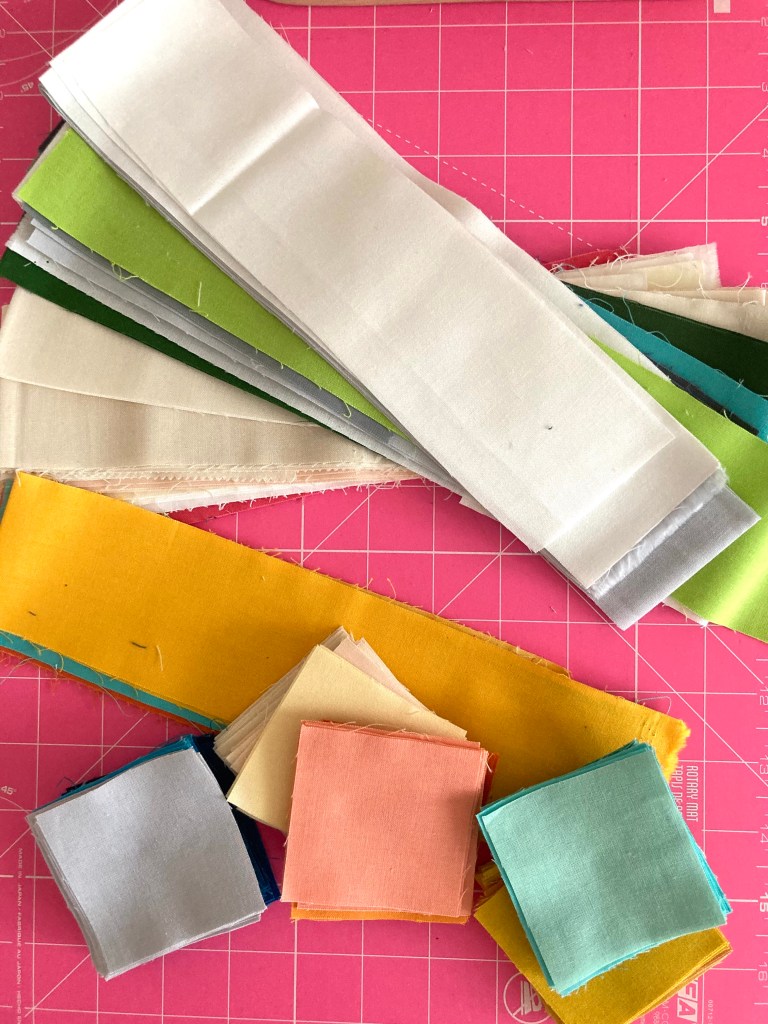
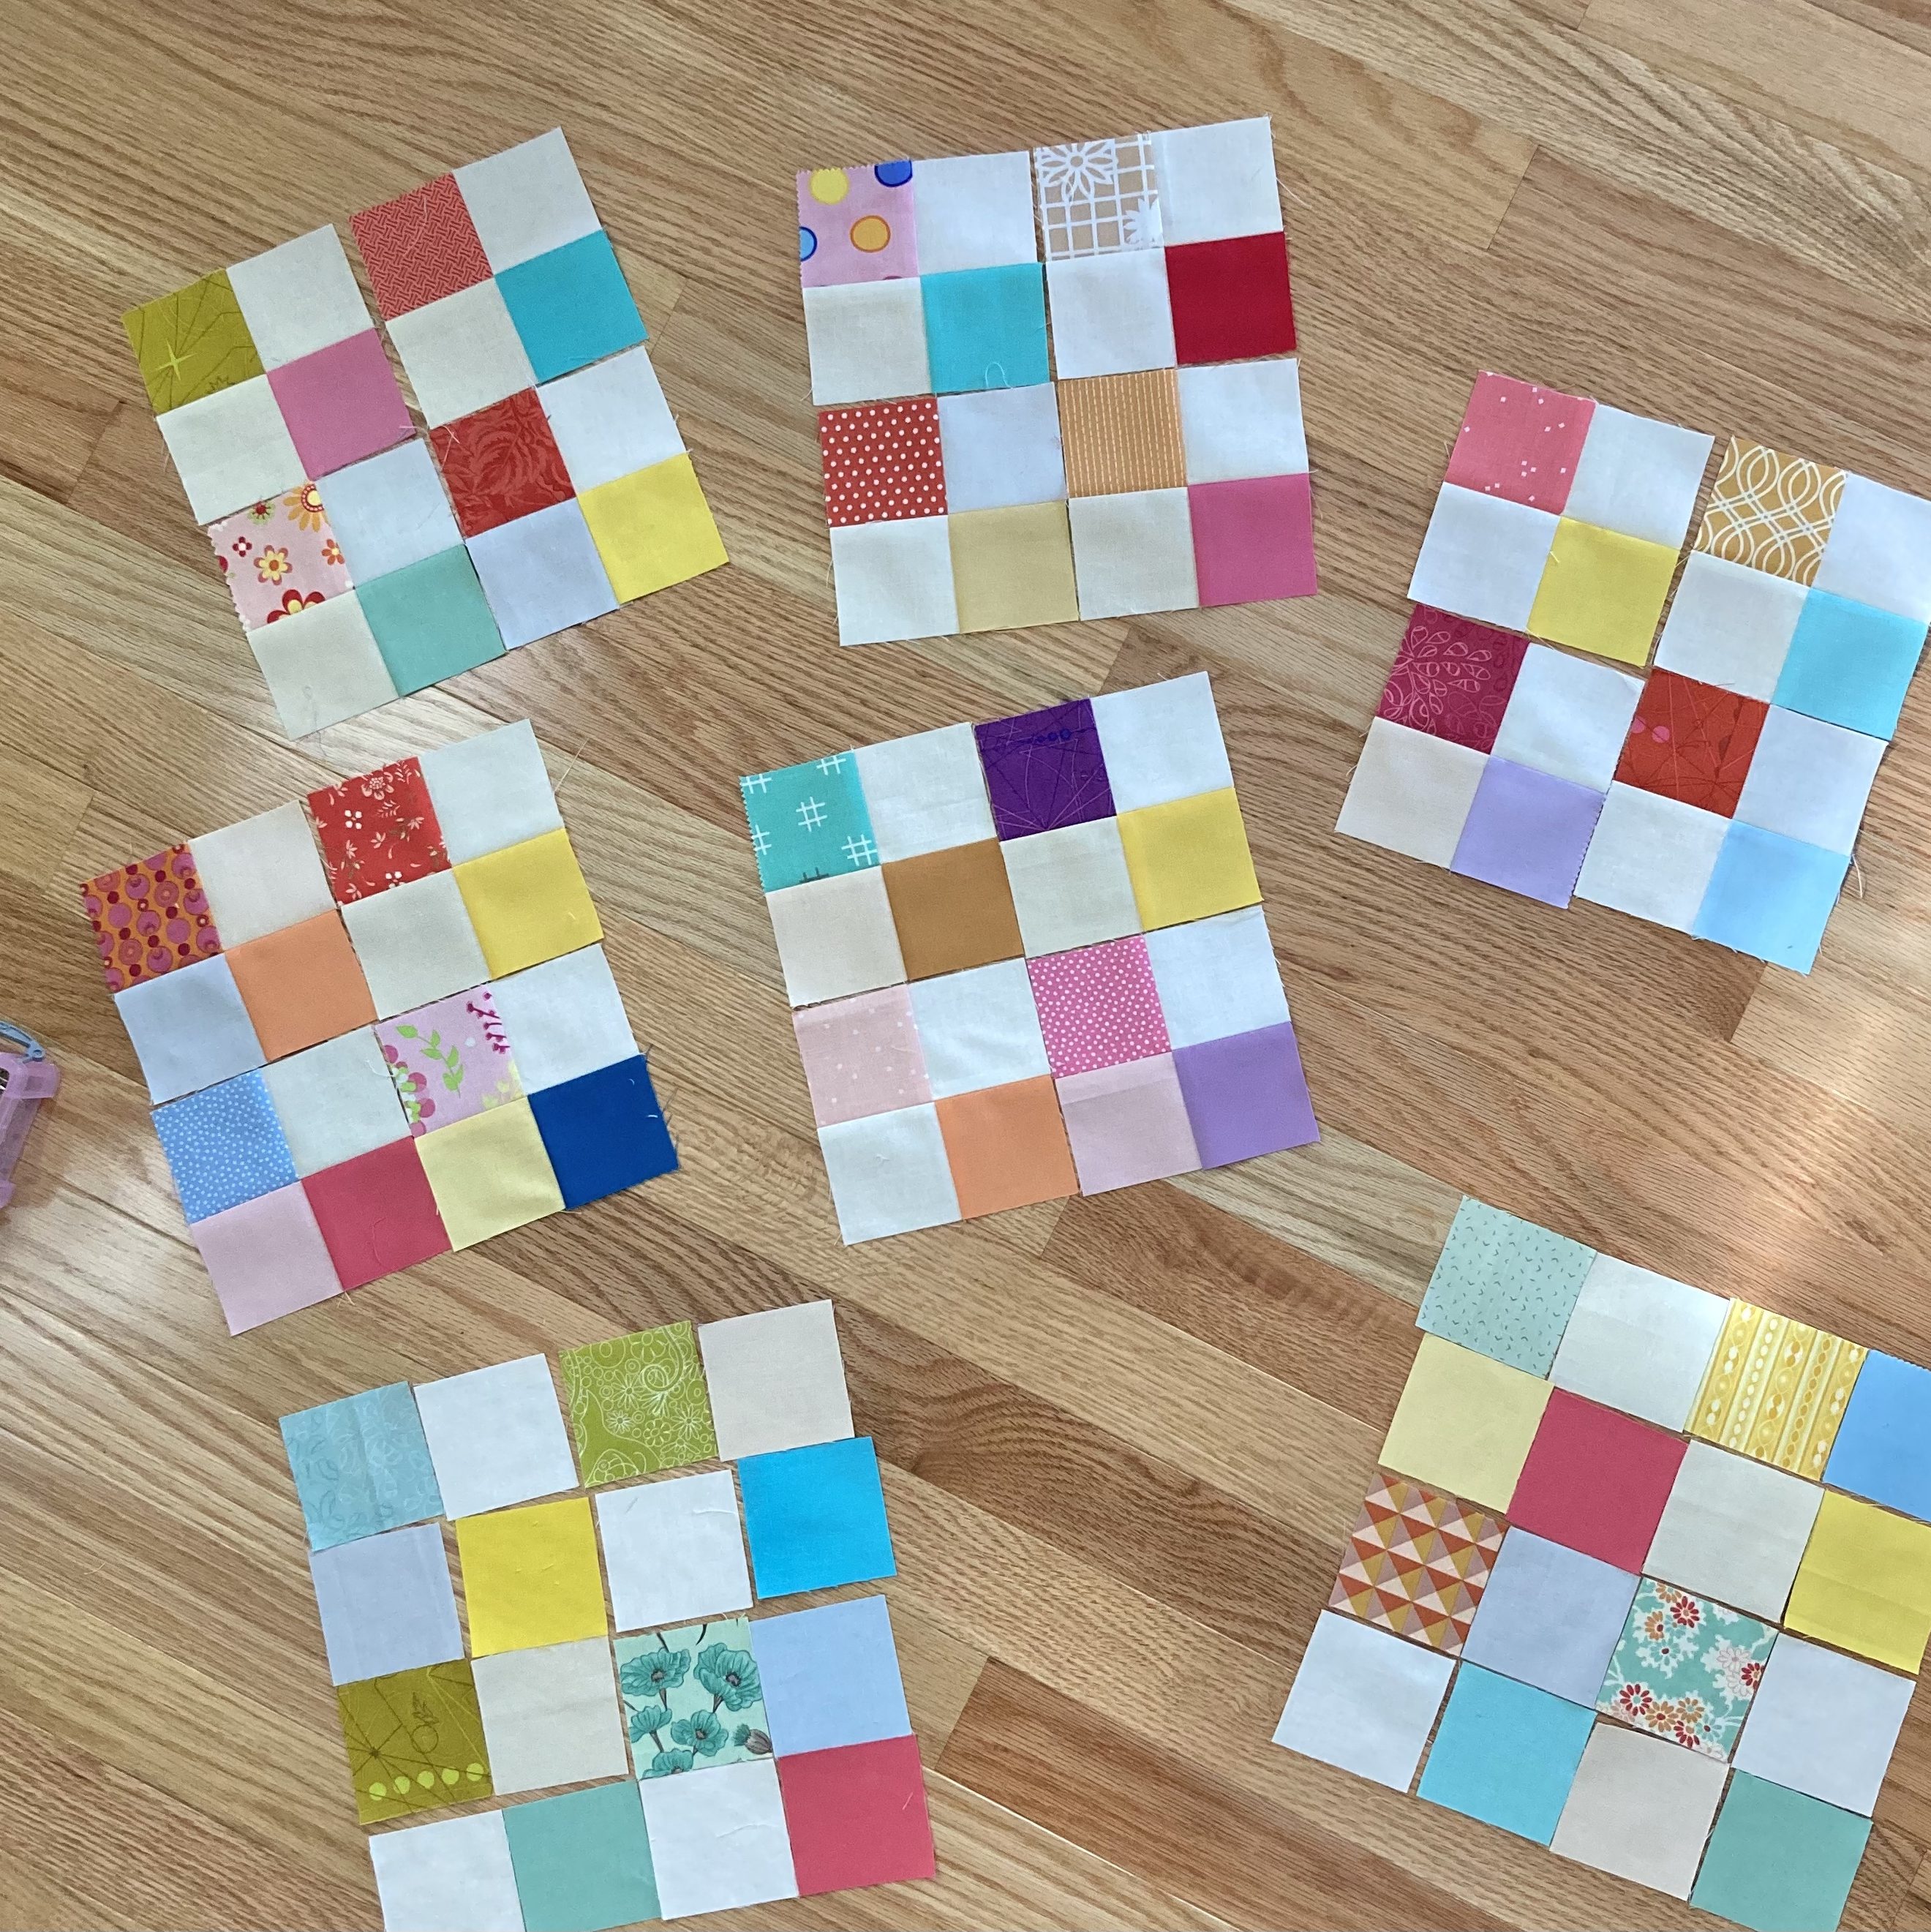
That said, I decided to sew them all together, at random, and make a quilt top. Based on the box contents, it seemed there’d be enough for a nice baby/crib size top but I did have to add a few plain squares to have enough to finish.

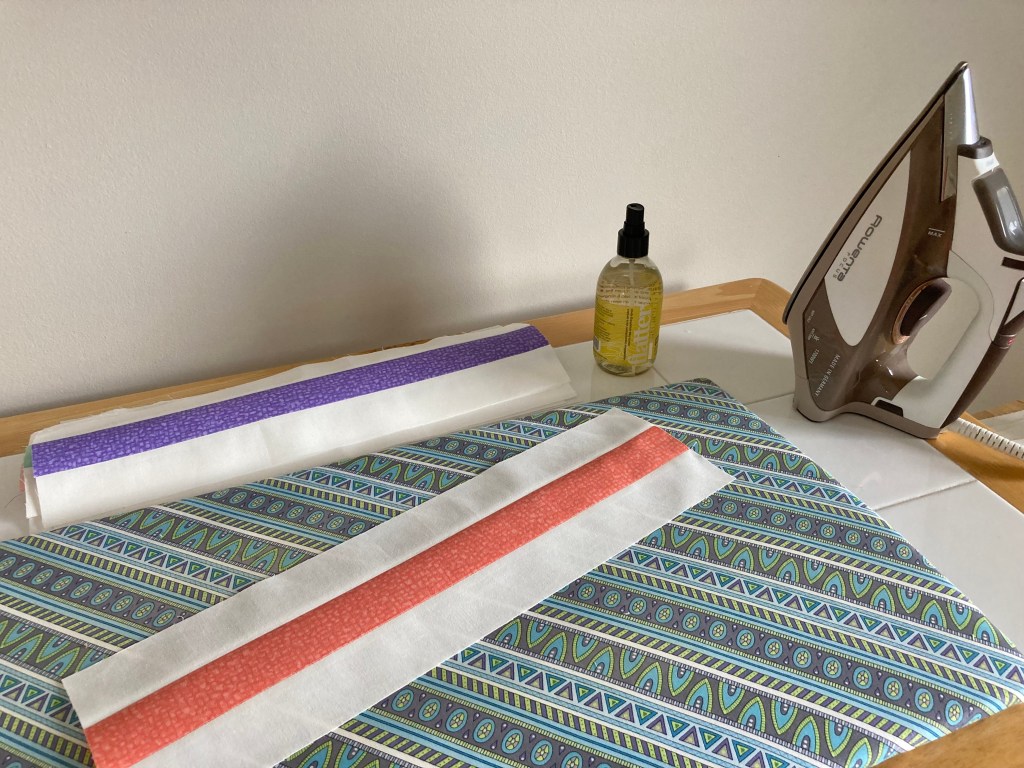
Because all the HST had color on one half and a light solid (white, off white or tone on tone) on the other, no matter the position or color, it was bound to make a pretty, colorful top.

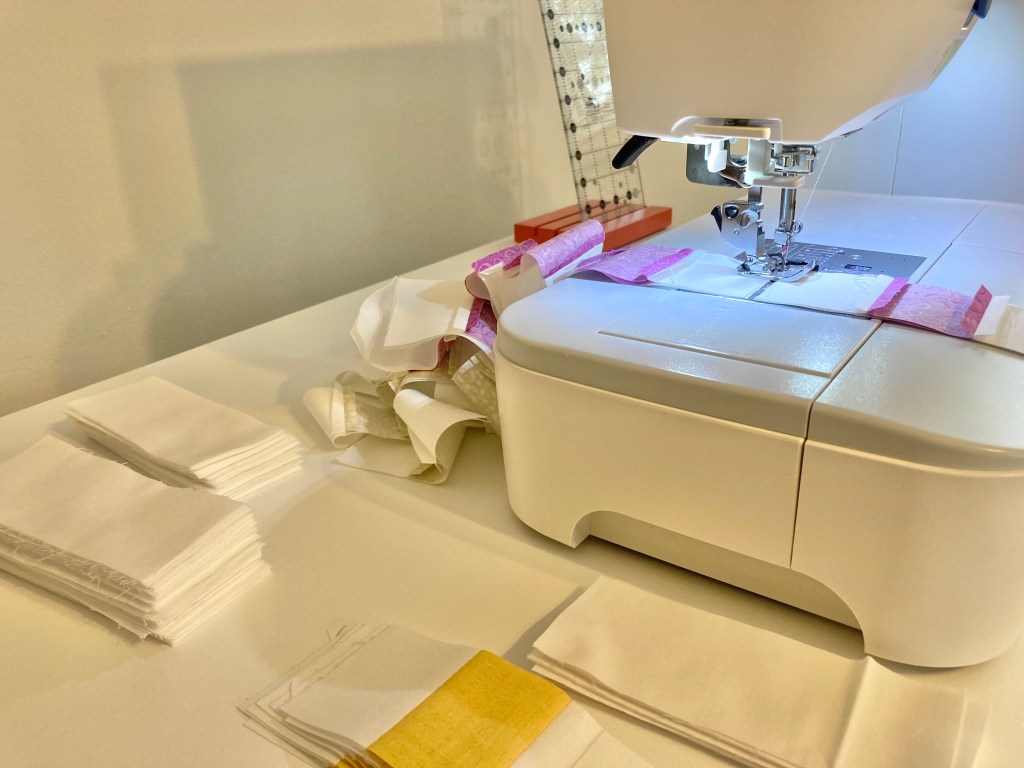
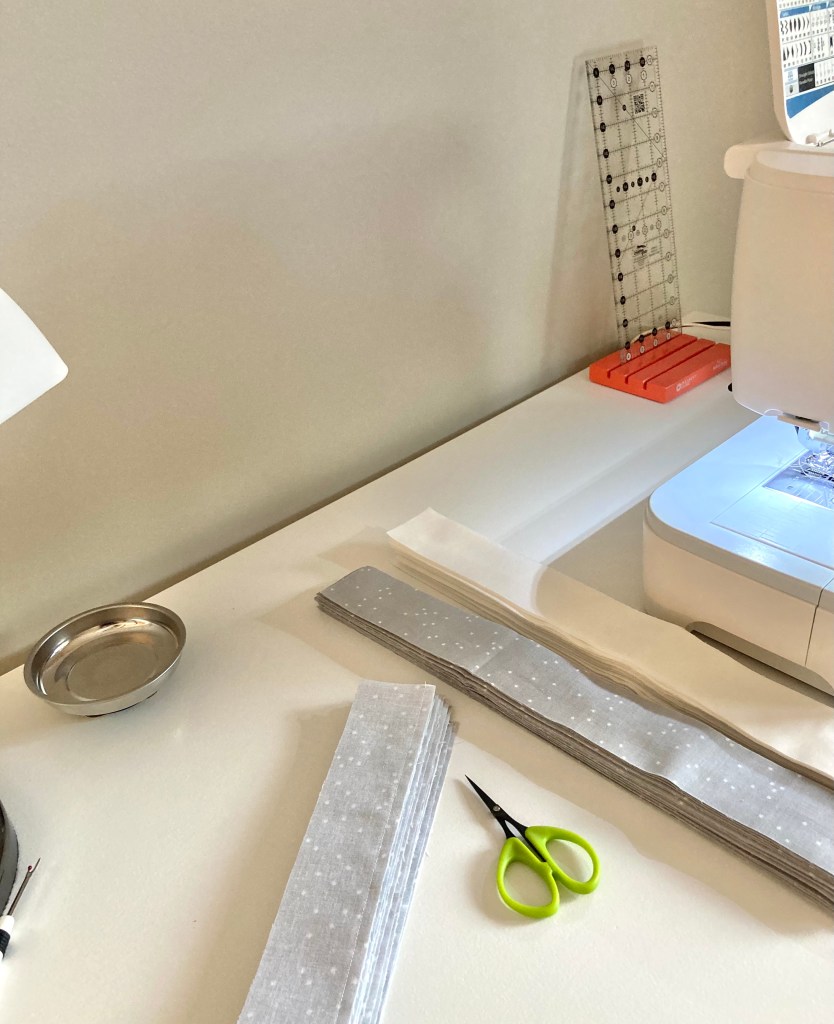
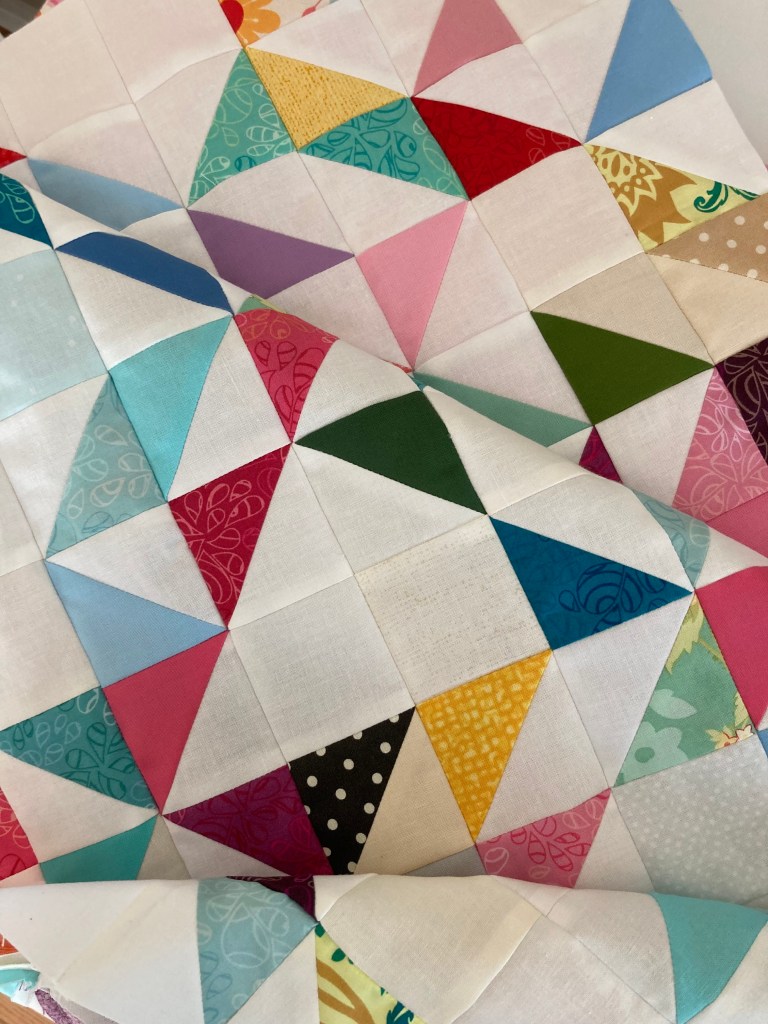
I began by chain piecing pairs together. I really enjoy making projects like this where anything goes! As quilters, we’re used to following patterns (of course) but it is nice to take a break and just let yourself create as you go. 🙂

So to me, random meant color and position. Sometimes I matched colors, sometimes not, altogether trying to make sure colors complimented one another. As far as the unit shaping went, some pairs were flying geese while some triangles were in the same or opposite direction. I tried to keep all varieties equal.

The quilt top has a lovely array of colors and fabrics from Art Gallery, Moda, Andover, Windham, Kona and more. Many of the fabrics are discontinued which makes it kind of neat as a throw-back type quilt top.

So, after a several hours, here’s the completed quilt top!

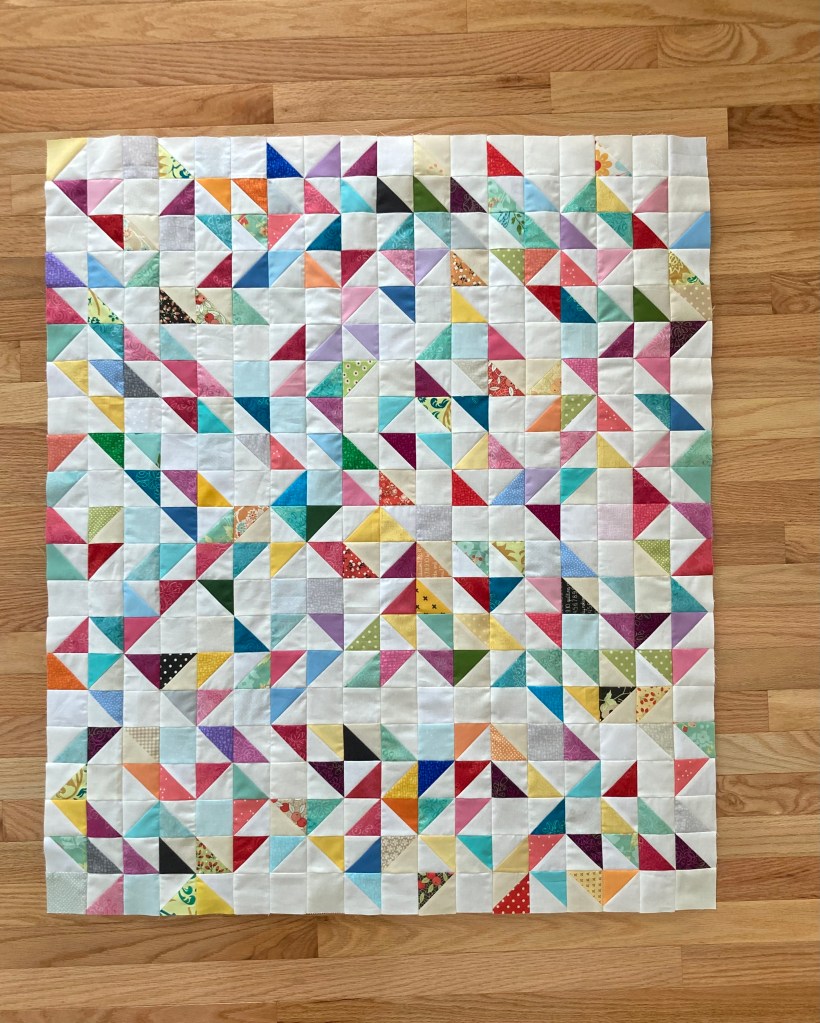
The finished size is 36″ x 41 ¾”, perfect for a baby, toddler or small child—it just needs a quilter! Since I don’t have any little ones, I’m hoping a quilter who does can make a complete quilt out of it. It’s for sale on my Etsy shop.

That’s another project down for the year, again using what I had on hand.

I’ve just finished a new pattern that’s ready to send out for longarming. I’m not sure what’s up next but I’m sure I’ll find something!

PDF download, PDF pattern, sewing, Uncategorized

Love to Sew Cross Stitch Pattern

Well, I really don’t know how I did it, but after creating this pattern 4 years ago (when I returned to cross stitching), I took photos, etc. but somehow managed to *not* post it.

I wonder whether or not I wrote a blog post about it, forgot about it, deleted it, or what…but the pattern is now for sale in my Etsy shop. Better late than never, as it’s said.

So, here it is, my Love to Sew cross stitch pattern…

Back in 2020, I wanted to combine by love of sewing with my revisited hobby (I was big into cross stitch in the 90s). Then, there seemed to be a resurgence of the craft so I thought I’d try my hand at writing a pattern.

Once finished, it measures 2″ W x 2 1/4″ H (stitched on 14 count Aida fabric). It’s a little design that gives a big message!

What’s more– Love to Sew frames nicely into a 3″ x 4″ or 4″ x 4″ photo frame, so no need for custom framing!

I framed mine in a 4″ square frame. I also had shown it off in a 4″ x 4″ shadow box on a corner shelf for a while.

It’s easily stitched by a beginner and is most certainly a quick finish. I think it’d be great also as a pincushion, Christmas ornament or a wall hanging.

Whether you’re new to cross stitch or have been stitching for years, and you love quilting and/or sewing, personalize it and make it your own with your favorite color combo. 🙂

Christmas, fabric project, home decor, mini quilts, monday morning designs quilt pattern, quilting, Uncategorized

Wee Three Trees Revisited

During the 2019 holiday season, I released one of my favorite patterns, Wee Three Trees. It’s been nearly 5 years now so I thought I’d revisit the pattern and make a new one.

I decided to use leftover fabric from my Winter Woodlands quilt. Since both patterns are 2 1/2″ strip friendly, I was able to use strips from my Merry Little Christmas jelly roll by Moda.

For my new version, I made a slight alteration by easily changing the direction of the right-hand border. By doing so, it gives a bit of a different look which shows that you can take this pattern and add your own little touches.

In addition, I chose solid white for the background instead of tone-on-tone.

I crosshatch quilted my original Wee Three Trees mini as I did this time, too. I love how crosshatch quilting on a rectangle creates diamonds. Classy and timeless!

Otherwise, nothing else differed. This cute little mini quilt goes together relatively quick—you can finish it in a day or it makes a great weekend project. The pattern is suitable for a confident quilter yet is fun for quilters of all skill levels.

Wee Three Trees mini quilt pattern is available for purchase in my Etsy shop, as a PDF download or paper copy.

Remember, it’s not too early to start that holiday sewing!

diy, fabric project, home decor, sewing, Uncategorized

Easy Decorative Pillows

After years of the same 2 pillows on my bed, I decided to make new. As usual, using what I already have, I went through my storage drawers and found perfect fabric go-togethers for 3 new pillows.

I planned to make 2 – 16″ x 16″ squares pillows and 1 – 10″ x 18″ lumbar pillow to be placed in front.

For the lumbar pillow, I used a fat quarter from Art Gallery’s Paperie collection. This line is years out of print now, and I’ve had it for a very, very long time.

Also years ago, I was drawn to the Compass print from Andover Fabrics. I’d purchased around a yard so I chose that and a striped polka-dot print from I can’t remember who…

I didn’t sew in zippers, not for any reasons other than 1. they usually show on the bottom unless they’re invisible (don’t have any, don’t know how to sew them). 2. I made pillows recently and hand-sewed the bottom with an intricate blanket stitch which worked well. Additionally, they’re decorative so no need to remove covers for laundering.

For details on how I made the lumbar pillow, reference my Make Your Own Custom-Sized Tossed Pillows post.

For the 16″ pillows, I needed 4 sides which = 12 striped strips and 16 background strips total. I cut all strips 2 7/8″ x 16 1/2″. Using a 1/4″ seam allowance I made 4 panels.

I sewed 2 panels together at the top using the side of my standard foot for the seam allowance. This method allowed me to line up my seams nicely.

To prevent seams from showing through to the front, also to give more loft, I ironed on Pellon Fusible Fleece 987 for a smooth finish.

After attaching the fusible fleece, I sewed the sides and a portion of the bottom, leaving a large enough hole to fit a 16″ square pillow form. I also cut away corners and pushed them out using a blunted stick.

Once the forms were inserted, I pressed a seam at the opening on both panels, pinned them closed, ran a basting stitch then removed pins.

Remember this stuff?

I don’t think it’s made anymore, but one box will last f o r e v e r. I’ve had this for several years and still have plenty left. Since I no longer sew bindings on by hand, I haven’t used it in a long time. But let me tell you, it works like a champ!

Here’s a look at my hand-sewn seams…

I was pretty pleased with the results. And it didn’t take all that long either.

Here’s a look at my finished pillows…

A fresh, crisp look. Love it.

quilting, quilts, Uncategorized

Scrappy Squares Quilt

From the time I started quilting, I’ve cut smaller leftover fabric into squares for future projects. By doing so, I’ve undoubtedly accumulated a lot of squares. And since I’m one for organizing, I have different sized cut squares in four boxes: 3″, 2 1/2″, 2″, 1 1/2″.

Here and there I’ve made scrappy quilts using these squares—Five Squared, my Scrappy On Point Nine Patch Quilt and a couple of baby quilts.

And since I’m also one for frequent paring down, several months ago I decided to go through my boxes to see what I could use and consolidate.

Because I had a nice array of colors in both prints and solids, I decided to make a scrappy nothing-but-2 ½”-squares-quilt (which I’ve always wanted to do).

The appeal of making this quilt was twofold. One, to use only what was already cut, saving time. Two, since I was going scrappy it meant anything would go.

It wasn’t a total free-for-all though, I did have a plan in mind. I wanted every other row to feature prints, then solids, rotating back and forth. Every other square within the row was to contrast.

I chose to do it this way for a few reasons. First, I didn’t have enough 2 ½” solid squares already cut, but my main reason for mixing both is that it would be more visually interesting.

Here’s what my sewing desk looked like while working. I basically took one print square and paired it with a light solid. I sewed one darker solid to a lighter solid.

Because nothing was in strip form, I had to sew pairs, chain piecing as I went. I loved how freeing this method was, just pick up a square and attach it to whatever I wanted.

I was a bit short on cut solids, so I had to cut more from on-hand strips. I gauged cutting as I went along, not wanting to end up with leftovers for the box.

Once I had several pairs sewn, it was time to switch gears and press. I pressed toward dark squares for nesting purposes. After pressing several pair, it was time to start making blocks. I sewed a print/solid pair to a solid/solid pair, dark colors opposite to make a 4 patch.

To make a block, I sewed four 4 patches together. So a 16-patch…?

You can see the pattern of a row of prints then a row of dark solids.

After several blocks were complete and assessing how much fabric was left, it was time to determine the size of the quilt.

I decided on 8 blocks across and 8 down. I needed to make eight additional 3/4 blocks for the bottom row. Why? Because I like the quilt top row to be the same as the bottom row. Meaning, if I hadn’t added the partial blocks, the top row and the bottom row fabrics wouldn’t have matched up. Plus, I prefer a rectangular quilt to a square one.

Here’s a look at how few cut squares I had left. I eliminated an entire box and consolidated prints and solids into one.

Would you like to guess how many 2 ½” squares were used in all? 1,120! Can you believe it? I found that pretty surprising.

So…here’s a look at the finished quilt top!

It measures 62 ½” wide x 68 ½” long.

I love the way it turned out.

But…I’ve had it sitting around for a couple of months now and I’m pretty sure I won’t quilt it, so I’ve decided to sell it as a ‘quilt top.’ If interested, please send me an email, I’d love to see it go to a new home and become a quilt. 🙂

This was a great project with pretty results. Got too many scraps, give this one a go!

modern quilts, monday morning designs quilt pattern, PDF pattern, quilting, quilts, Uncategorized

Classic Plaid Quilt Pattern

I like to start off every year with a new pattern release and this year it’s Classic Plaid. I finished this pattern (and quilt) nearly 5 years ago but kept pushing it back because I’d get a new idea then start that, etc., etc.

The main reason why I designed this quilt is because I feel we quilters need a quilt pattern geared toward the masculine side. While this one is very versatile, it’s a perfect choice for a man, after all, men need quilts too!

So…here it is!

Classic Plaid is designed specifically for the beginner quilter, but you don’t have to be a newbie to make it; it’s suitable for quilters of all levels. It’s oh-so-easy as there are only two blocks to make. Assembly is really fast because you’ll use techniques such as strip piecing and chain piecing, making it go together in a snap.

There are three sizes to choose from: throw, twin and queen. Only four different colored fabrics of yardage are needed. Easy, right?

Often times the most simple designs make the most interesting quilts and this one is definitely a great example.

For quilting on mine, I chose a 1 1/2″ grid to coordinate with the quilt’s design. Basic, yet it makes a statement.

Here’s a look at Barbara’s quilt. She made a throw size using blue and red bandana fabrics. They’re an excellent choice, and I’d like to mention that she’s an excellent quilter.

Barbara had her quilt longarmed in a cowboy/western motif of boots, spurs and stars. I love how she also used a darker thread for quilting, it really brings out the details. Great job Barbara, it’s a beautiful finish!

Joanna, another awesome quilter, made a throw size quilt. We all loved her version; she fussy cut the background square. I honestly have to say that I never would have thought of this which is why I love getting testers’ take on patterns. This is such an adorable quilt, excellent job Joanna!

Lastly, I have to share this photo. I had my husband hold my quilt up in front of a beautifully painted mural (in NW PA). Without realizing it, the people’s heads in the mural are poking up from the top and look as if they’re holding up the quilt or hiding behind it, which I thought was pretty funny.

Classic Plaid is available for purchase in my Etsy shop starting today!

monday morning designs quilt pattern, PDF pattern, quilting, quilts, Uncategorized

Pinwheels Galore Queen Size Quilt

In the fall of 2022, I found myself (once again) making another quilt for my bed to use up leftover fabric. Since I’d already made a queen size on point scrappy quilt, I thought it was time to make one using my own pattern.

I had a variety of beautiful fabrics to use so I decided on Pinwheels Galore because 1. I love to sew pinwheels 2. the pinwheels are on the larger size so I knew they’d showcase all the lovely, vibrant colors.

Pinwheels Galore is an easy, 10″ square friendly pattern. Just make pinwheels, strip piece the bars for sashing and voilà, you’ve got yourself a quilt. The pattern is a PDF download and four sizes are available: baby, throw, twin and queen.

To start, I chose the most colorful fabrics I had enough of and began making HST for the pinwheel blocks. Fabrics included: Art Gallery Elements and Matchmade by Pat Bravo of Art Gallery Fabrics, Moda Rustic Weave and Grunge, Bedrock by Windham Fabrics and Blossom by Riley Blake.

Here’s a look at some HST before creating the pinwheels.

I needed 72 pinwheels which works out to 288 HST. That’s a lot! I made sure of an even balance between lights, darks and colorways.

Because of the sheer number of HST needed, chain piecing came in very handy.

Here’s a look at some pinwheel blocks…

After finishing all the pinwheels, it was time to start the sashing. I’d designed the pattern to include strip piecing, so with that there’s chain piecing, too. I can’t say enough about how easy this pattern is, and fast!

While working on this quilt I completed other projects, took breaks, etc. Start to finish time was several months which was intended as I was in no hurry. I had everything sewn together in April 2023.

Here it is after trimming threads on the back; an annoying task and time consuming, but completely necessary. 😉

In August, I sent it off for longarming. For the quilting pattern, I chose Euphoria by Urban Elementz. I love how it turned out! Here it is on the cutting table for trimming off excess batting and backing.

I had made the binding long before I sent out the quilt. I was glad of that because it was ready to go once I got the quilt back. I used different colors of Blossom by Riley Blake. While it’s one of my favorite collections because of the small print and variety of colors, it frays a lot. That said, it took me quite a while to trim the binding edge before basting it down for machine sewing.

Lastly, here’s my finished quilt…

For backing, I used a wide width due to the amount needed. The fabric here is Lava Lamps by Whistler Studio. I love that every color on the back is seen on the front.

For this photo I added pillows I made but keep elsewhere in my home. I thought they looked cute so I included them. 😉

That ends my major projects for 2023! And I doubt there’ll be any more queen size quilts in my future, but who knows…

Christmas, modern quilts, monday morning designs quilt pattern, PDF download, quilting, Uncategorized

Winter Woodlands Quilt Pattern

To end this year’s quilt pattern releases, I’d like to introduce my Winter Woodlands PDF pattern, now available for purchase in my Etsy shop.

Winter Woodlands is a nod to my best selling pattern, Wee Three Trees mini quilt. For quite a while I’d been thinking about making the mini into a larger version and here it is! Just think of it as Wee Three Trees grown up. 😉

For my quilt, I used Moda’s jelly roll Merry Little Christmas by Bonnie and Camille.

This collection is so festive and is a perfect choice for this quilt. I love the traditional red and green and that teal is also included.

Since the pattern is written for a throw size quilt (finishes 55″ x 60 ½”) you can make it all from a jelly roll, including the binding!

Winter Woodlands block made from Moda’s Evergreen Collection

I know I say it a lot, but my testers all agreed this is a quick make! It’s geared toward confident quilters; yet if you’re a quilter looking to build your quilting skills, give it a whirl.

It’s the perfect time with the holiday season upon us, so I hope you’ll get your copy and add a festive quilt to your home for this coming winter.

halloween, modern quilts, monday morning designs quilt pattern, quilts, Uncategorized

Making My Spooky Kittens Throw Quilt

My last entry was about the release of my latest pattern, Spooky Kittens. Since this quilt has gotten quite a bit of interest, I decided to post a write-up with photos for a more in-depth look at my process.

I’d like to start by mentioning that not only is this pattern beginner friendly, it sews together fast and instructions include 2 fabric choices, either fat quarters or yardage. And also for beginners, there are no half square triangles which can sometimes be a challenge!

To make my quilt, I used yardage since I had most of the solids I wanted to use on hand.

Kona Cottons from L to R – Morning Glory, Black, Citrus, Quicksilver

Once my colors were chosen, it was time to get started. In a nutshell, this pattern consists of making two mirrored kitten blocks, adding sashing then putting it all together. All testers agreed—it’s a quick make.

And here’s why…throughout the pattern there are several places where you can chain piece: when assembling the kitten heads and again when attaching sashing strips. It’s no secret that chain piecing is an excellent time-saver. 😉

You can also chain piece when attaching kitten heads to background pieces, as I did here…

And again when sewing the kittens blocks together making finishing blocks a breeze.

Once the blocks were sewn and my layout was complete, it was time to sew the blocks and vertical sashing strips into rows. At this point, everything was coming together as I envisioned so I was pretty happy about that. 🙂

With rows completed, the last thing to do was attach the sashing. Here’s a tip for handling the sashing strips; once they’re sewn into long strips, wrap them around something sturdy so they will unfold nicely when you’re attaching them to rows.

I used comic book cardboard backing boards for wrapping and it worked great. (I happen to have a whole pack for wrapping and storing my solid fabrics). If you don’t have any on hand, cardboard or anything sturdy will work just fine.

Once my quilt top was complete, I had to pause a while waiting for a fabric order. I wanted something Halloween themed for the backing and I found the perfect fabric. It’s from Free Spirit’s line Spell Bound and it features black chains on a festive orange background. It was the perfect compliment to the quilt front.

With my quilt top complete, my backing fabric cut, sewn and pressed, it was time to sandwich and pin baste my quilt. Not a favorite part of the process but I managed to get through it easily enough. 😉

After basting, I needed to decide on a quilting pattern. Since the kittens are shorter blocks, I thought the quilting would showcase best by running horizontally. And because the kittens are a bit ‘spooky’, I decided the quilting should give that sort of vibe, too. That said, I chose a three-stitch zigzag with the lines spaced 1 1/4″ apart.

I used medium gray Aurifil thread (2605), and was pleased with the results.

Since the binding is the finishing touch—I consider it ‘framing in’ the quilt, kind of like choosing the right frame for a piece of art—I wanted something to set it off.

I also wanted to use a common Halloween color so I went with purple.

So here it is—my version of Spooky Kittens complete!

One last thing…I had my test block leftover so I decided to make it into a mini quilt. For this, I used the serpentine quilting motif sewn with a lighter gray thread. I also used Kiwi Kona cotton for the binding. It’ll make a great wall hanging in a small area.

There you have it, easy and quick! And a great quilt to add to your Halloween decor. I hope you enjoy this fun Halloween quilt and you try one out for yourself.

halloween, modern quilts, PDF pattern, quilts, Uncategorized

Spooky Kittens Quilt Pattern

It’s nearly back to school and that means back to the sewing machine! With Halloween just a mere 78 days away, you’ll have more than enough time to whip up my latest quilt pattern, Spooky Kittens. It’s now available for purchase in my Etsy shop.

To all the Halloween lovers out there, this quilt’s for you. Spooky Kittens has a lot to offer…first of all, it’s beginner friendly. The pattern is written for throw size; it consists of just two mirrored blocks, sashing, and presto, it’s done!

Another bonus is that the pattern comes with two fabric options—yardage or fat quarters.

I made mine using yardage. For the back, I went with a really fun print with black chains on an orange background. With all the seasonal fabrics out there, you’ll surely find something to make yours unique!

I’d love to see your version of this fun and easy quilt! With either fabric option you choose it’s sure to be a Halloween favorite. 🙂