quilt blocks, quilting, Quilting 101, tutorials, Uncategorized

How to Sew Accurate Flying Geese

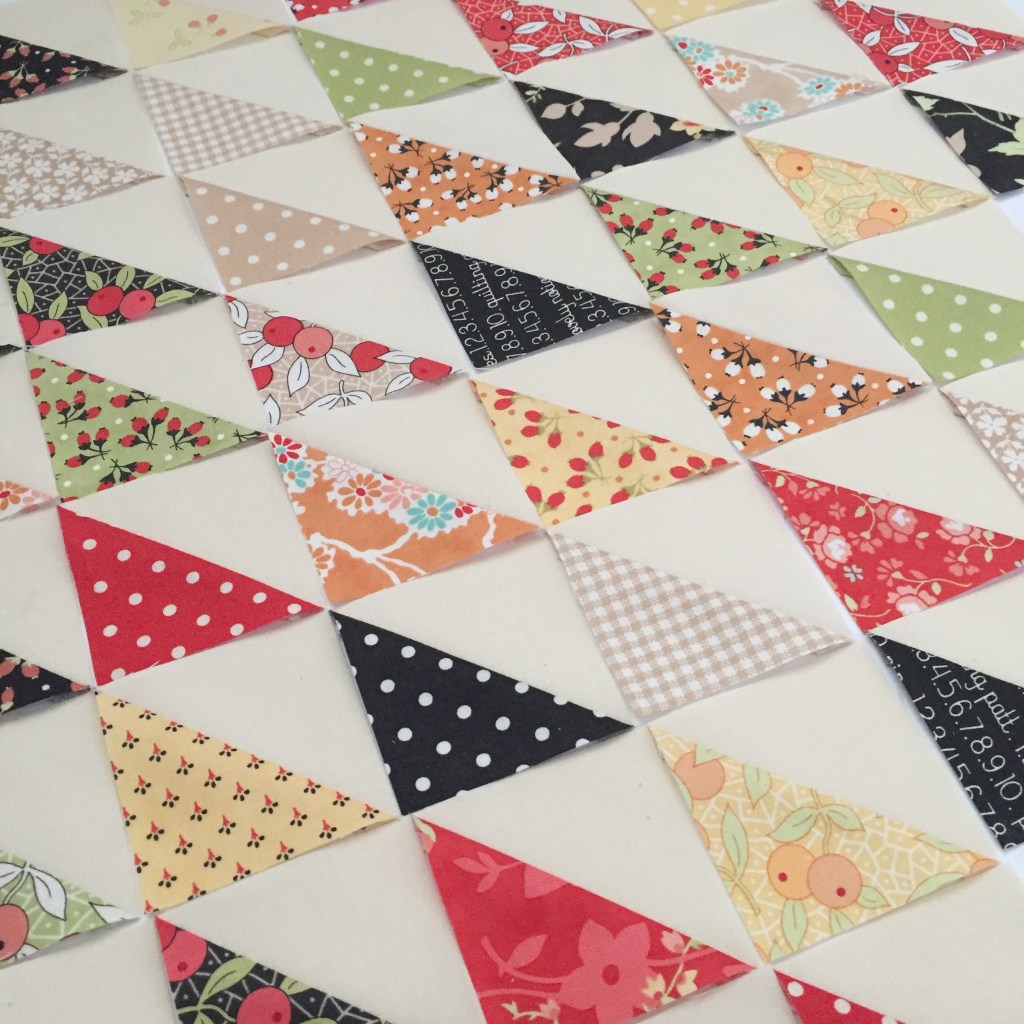
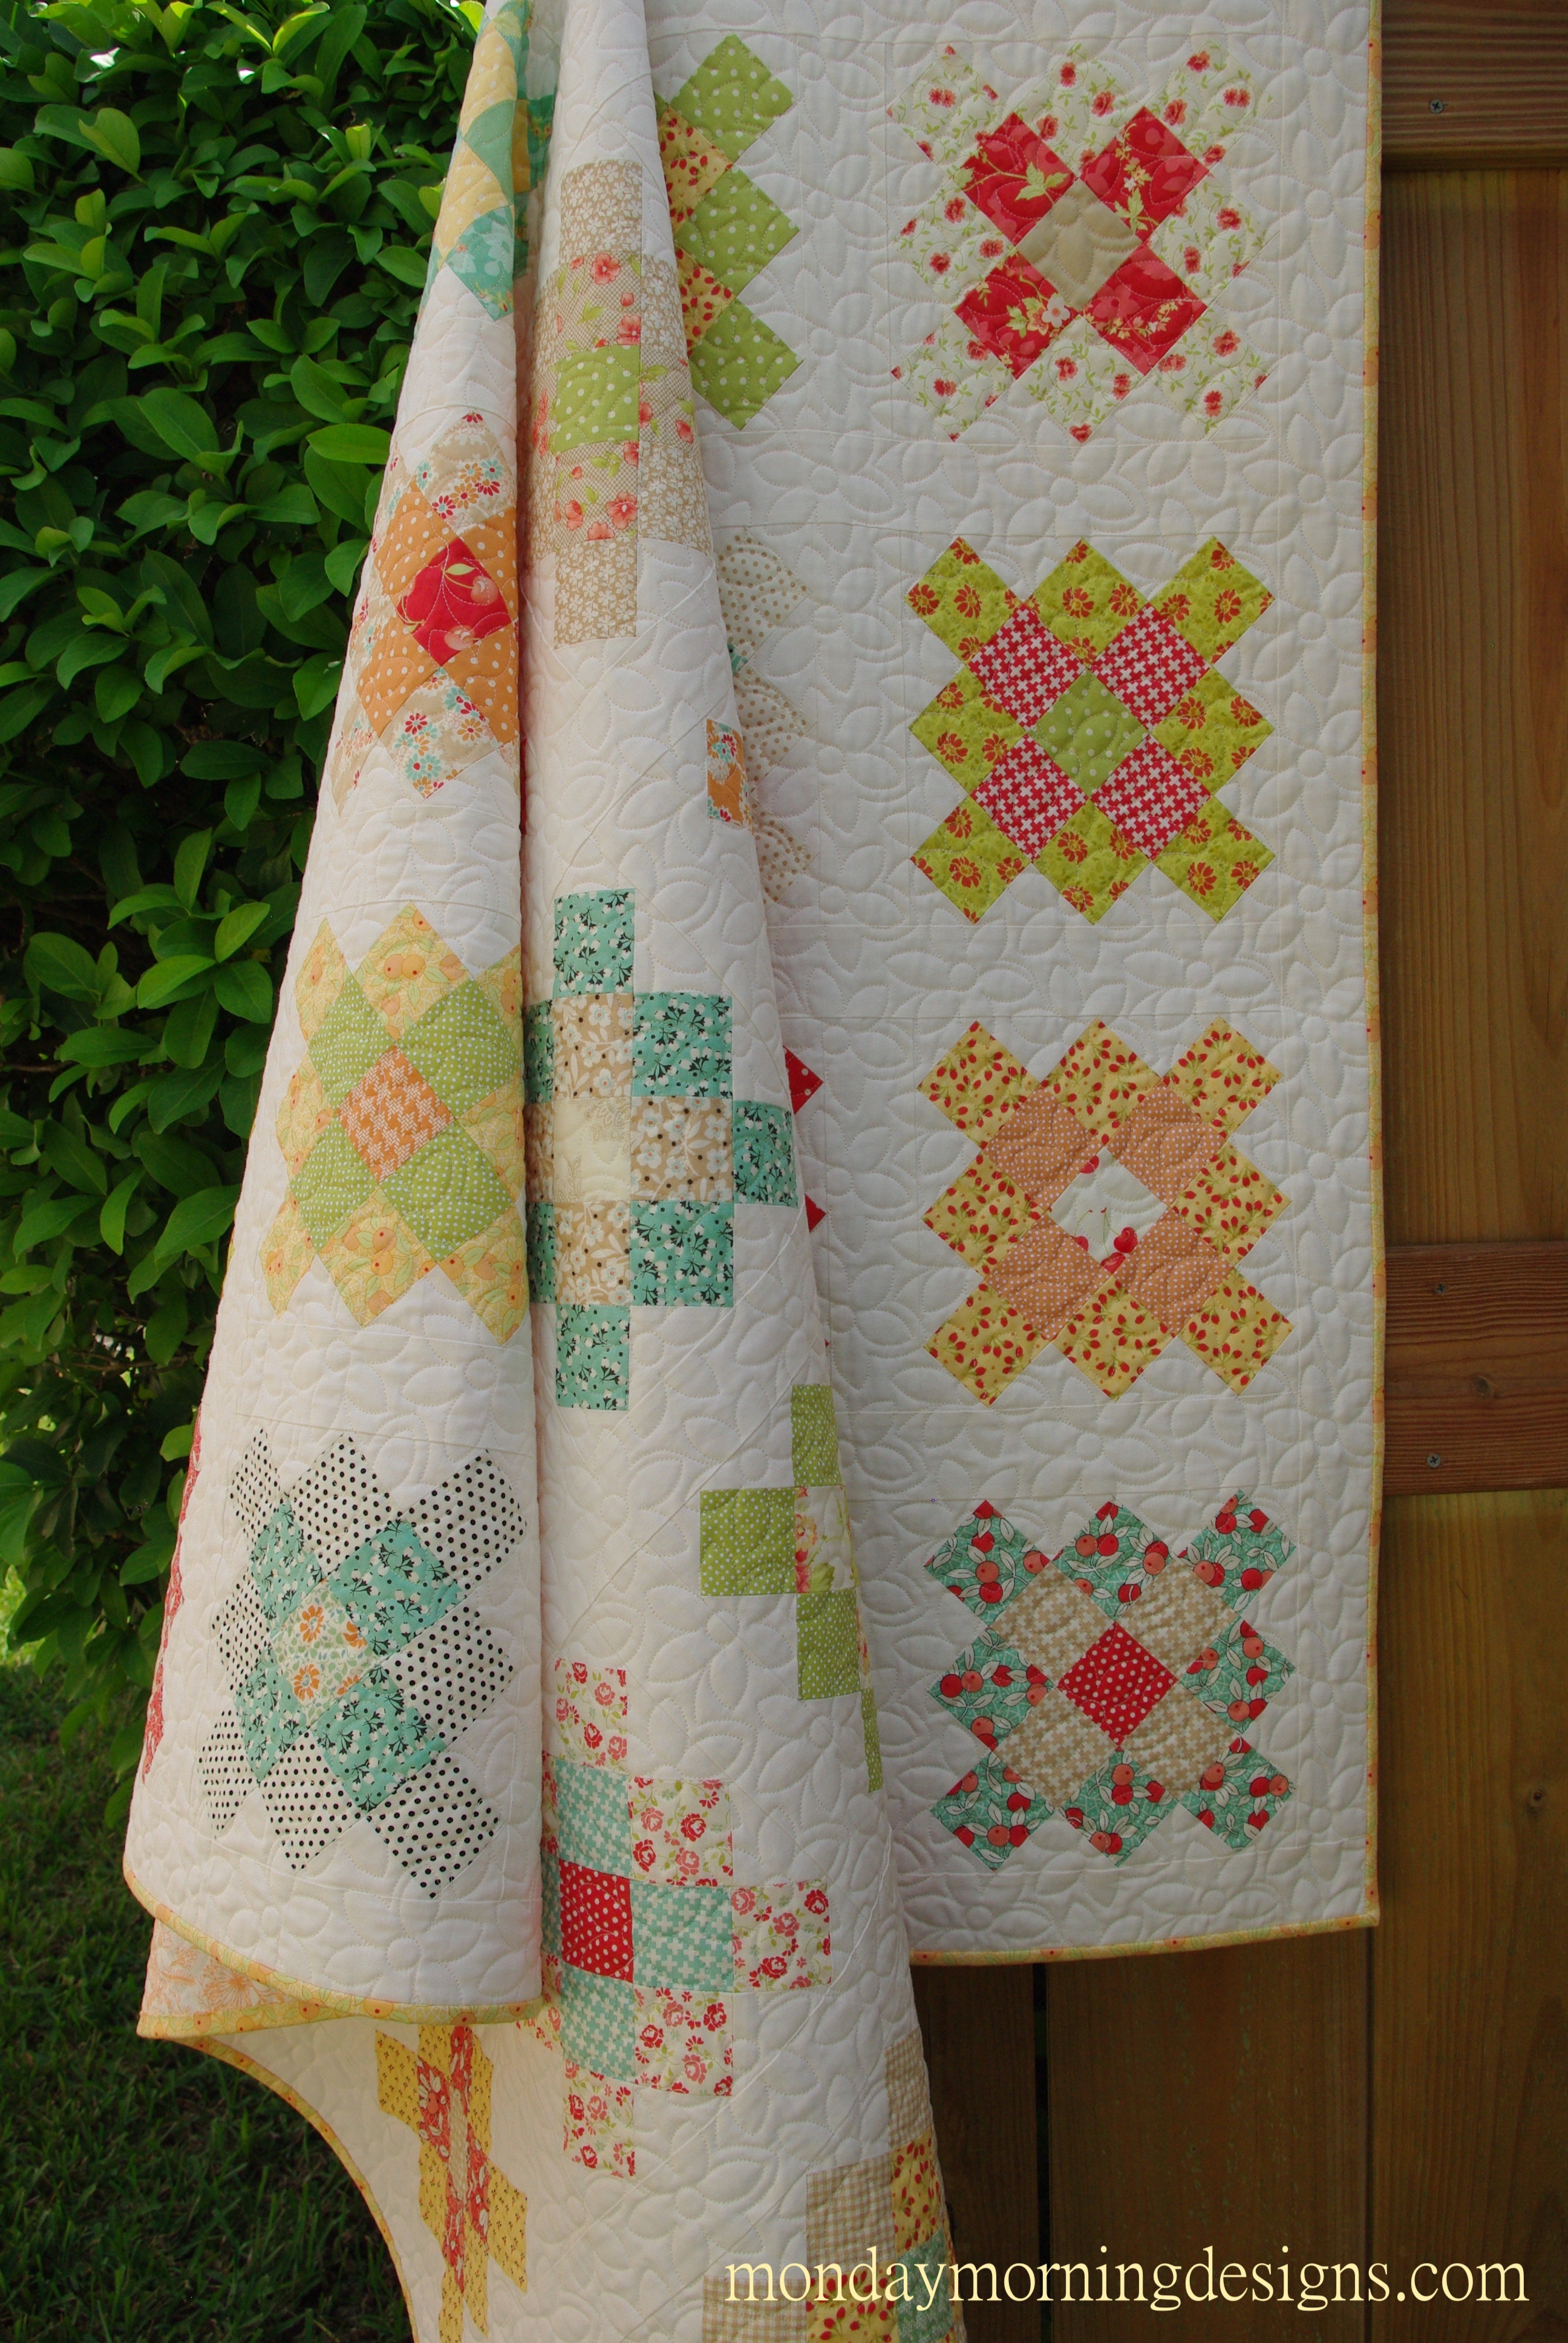
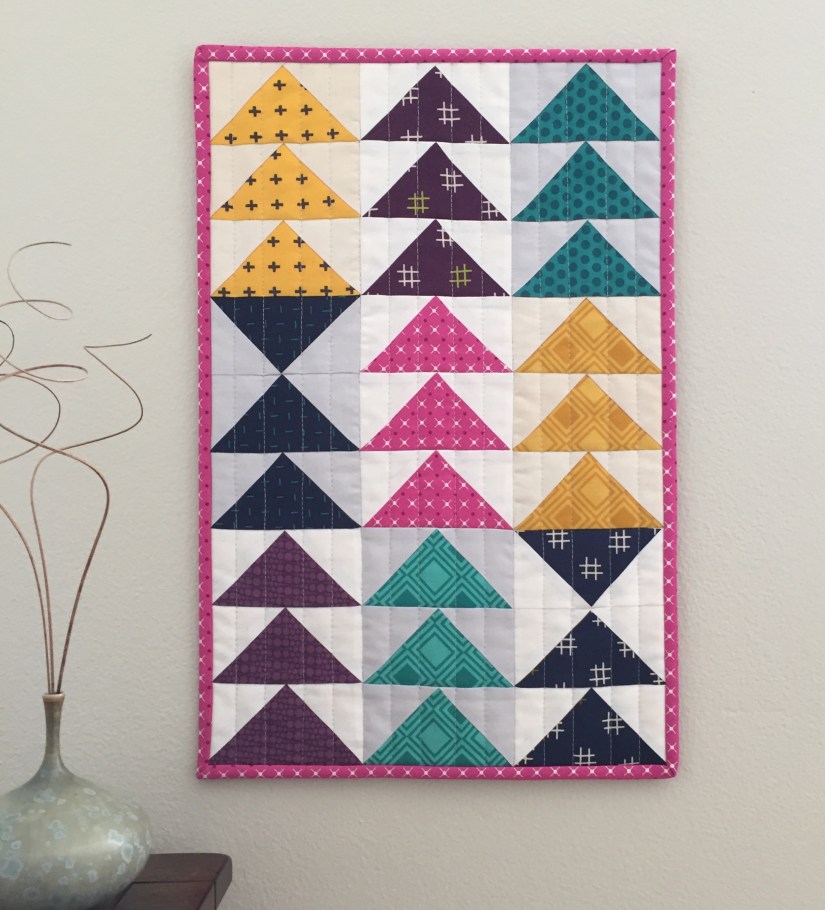
There’s no doubt flying geese are essential to quilting and they’re fun to experiment with. They give quilts an interesting perspective and can be addicting to make once you get started.

If you’re new to quilting or having trouble with your flying geese blocks, here’s an easy tutorial on how to sew an accurate flying geese unit that won’t need squaring up.

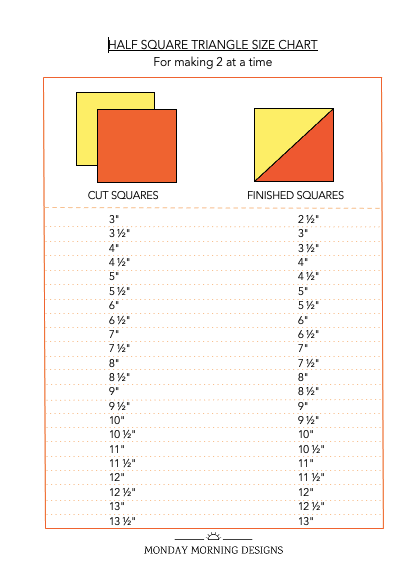
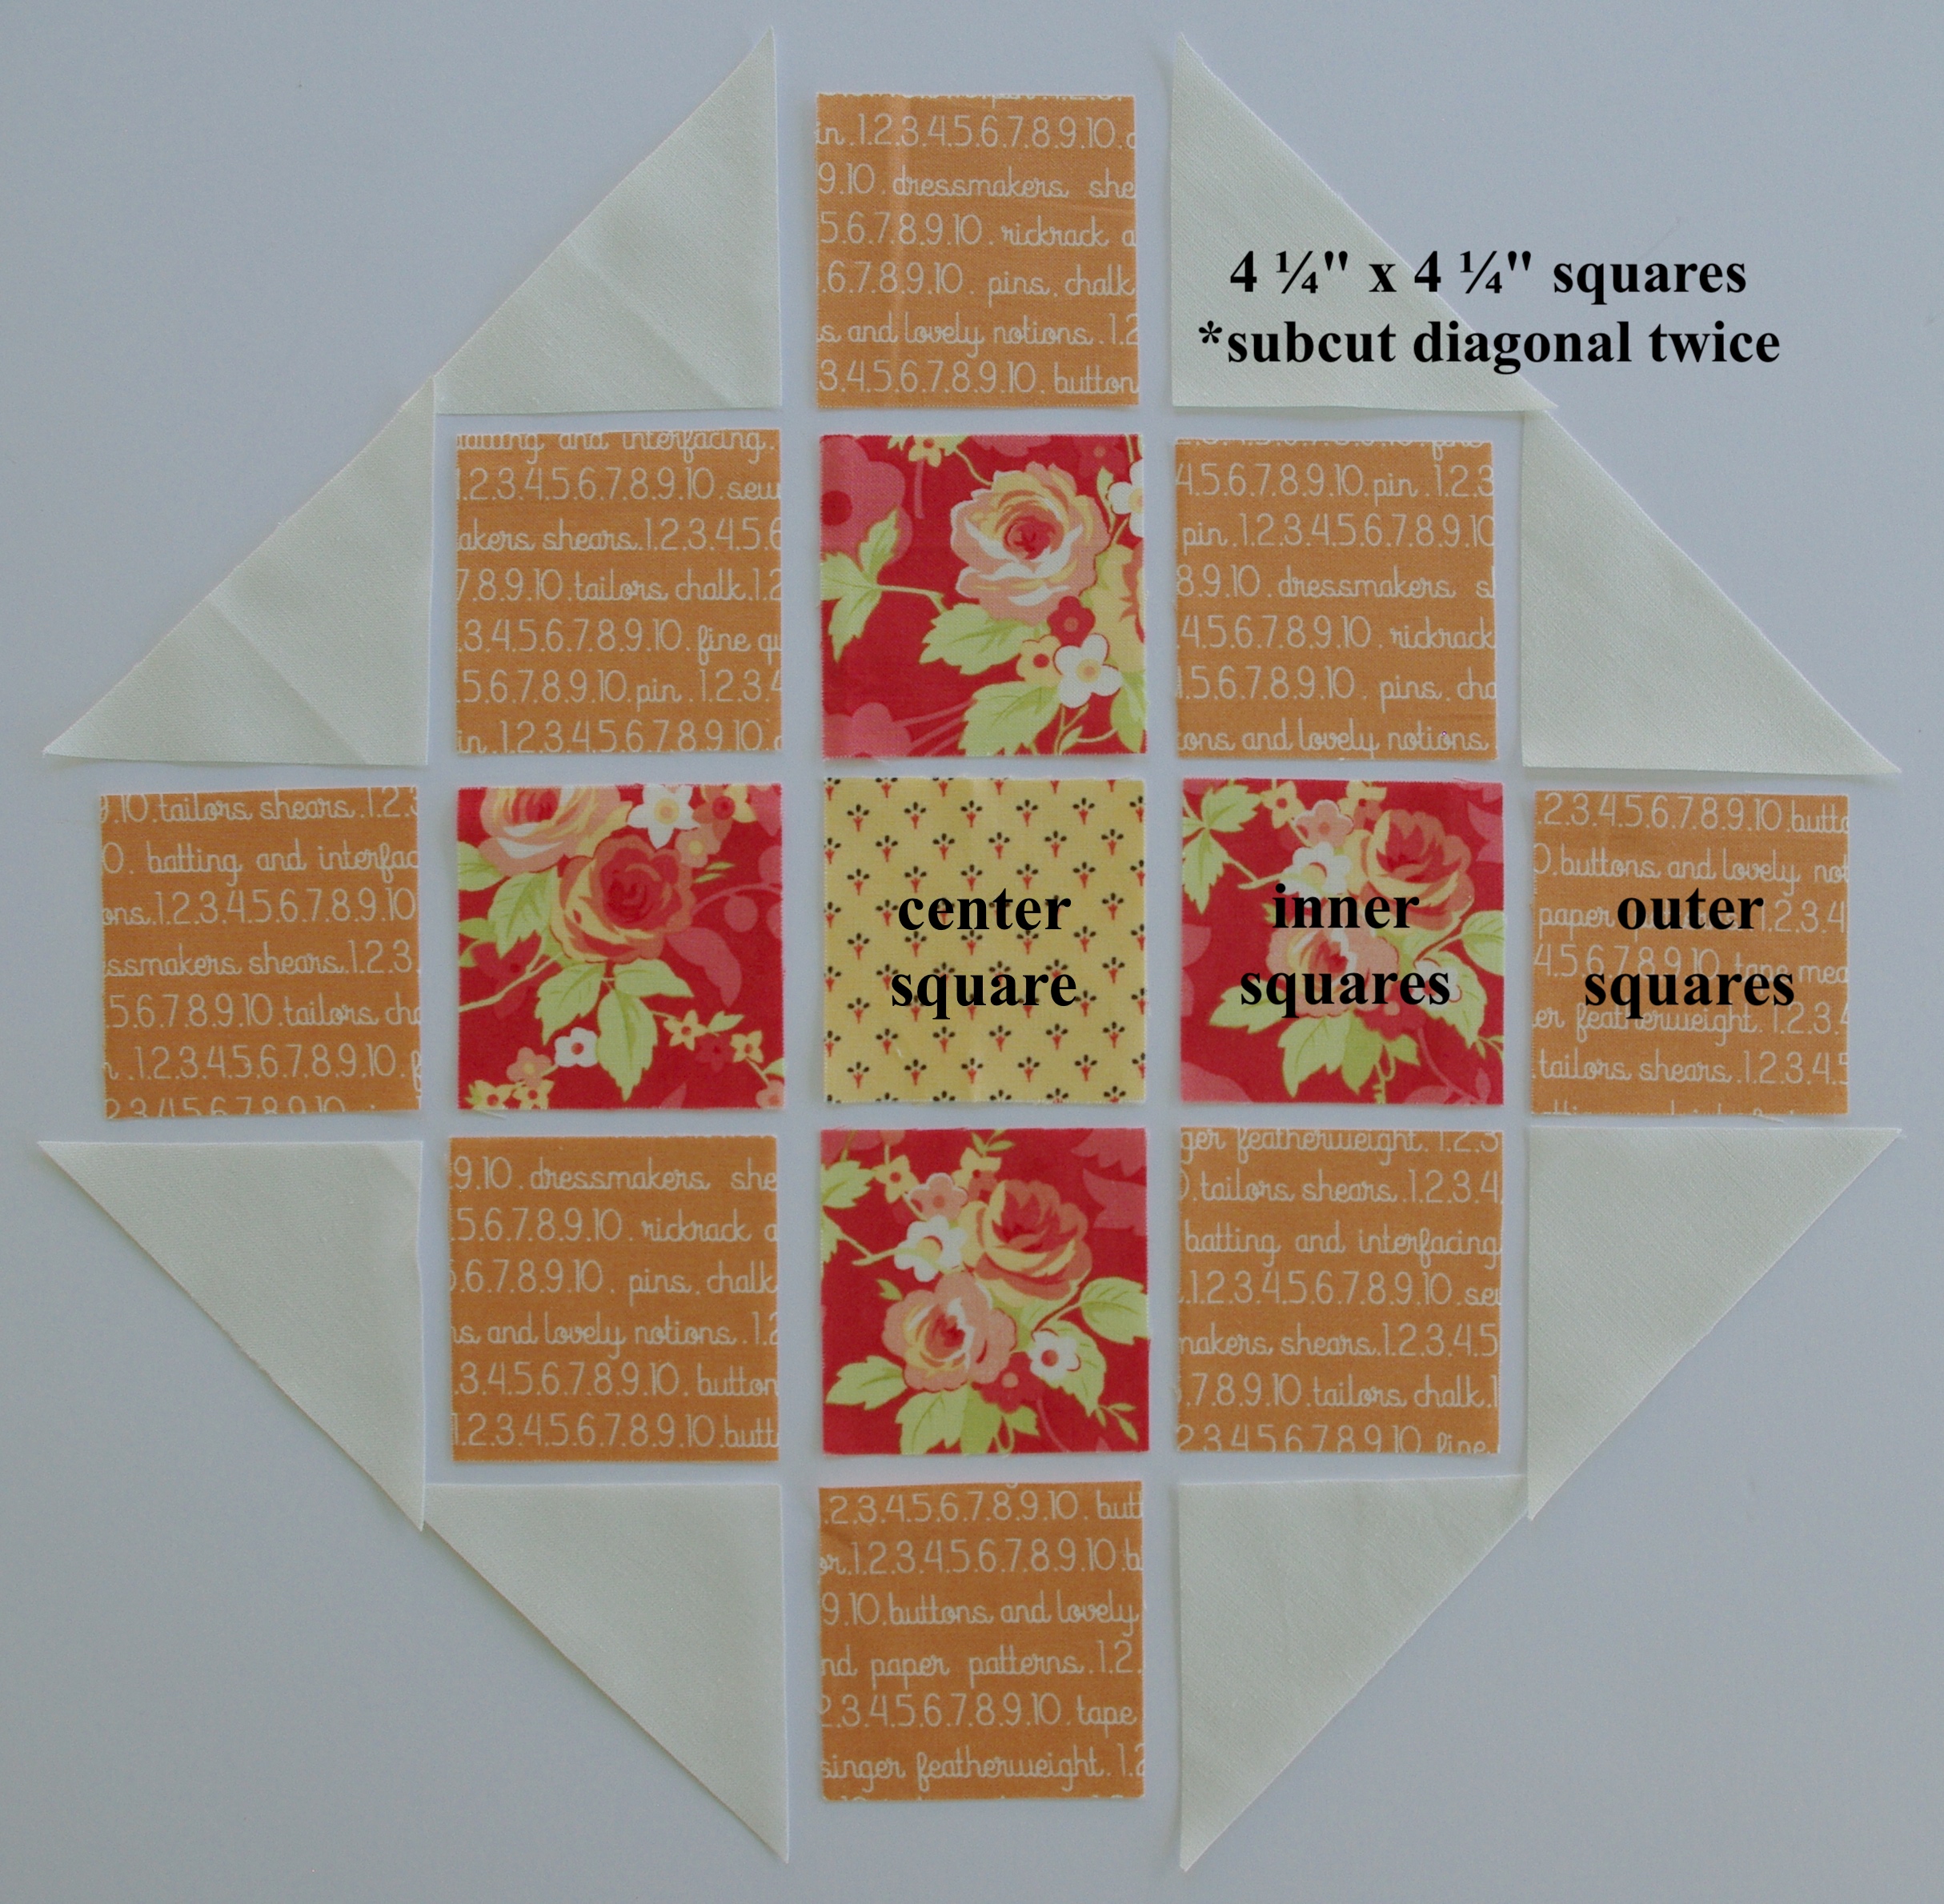
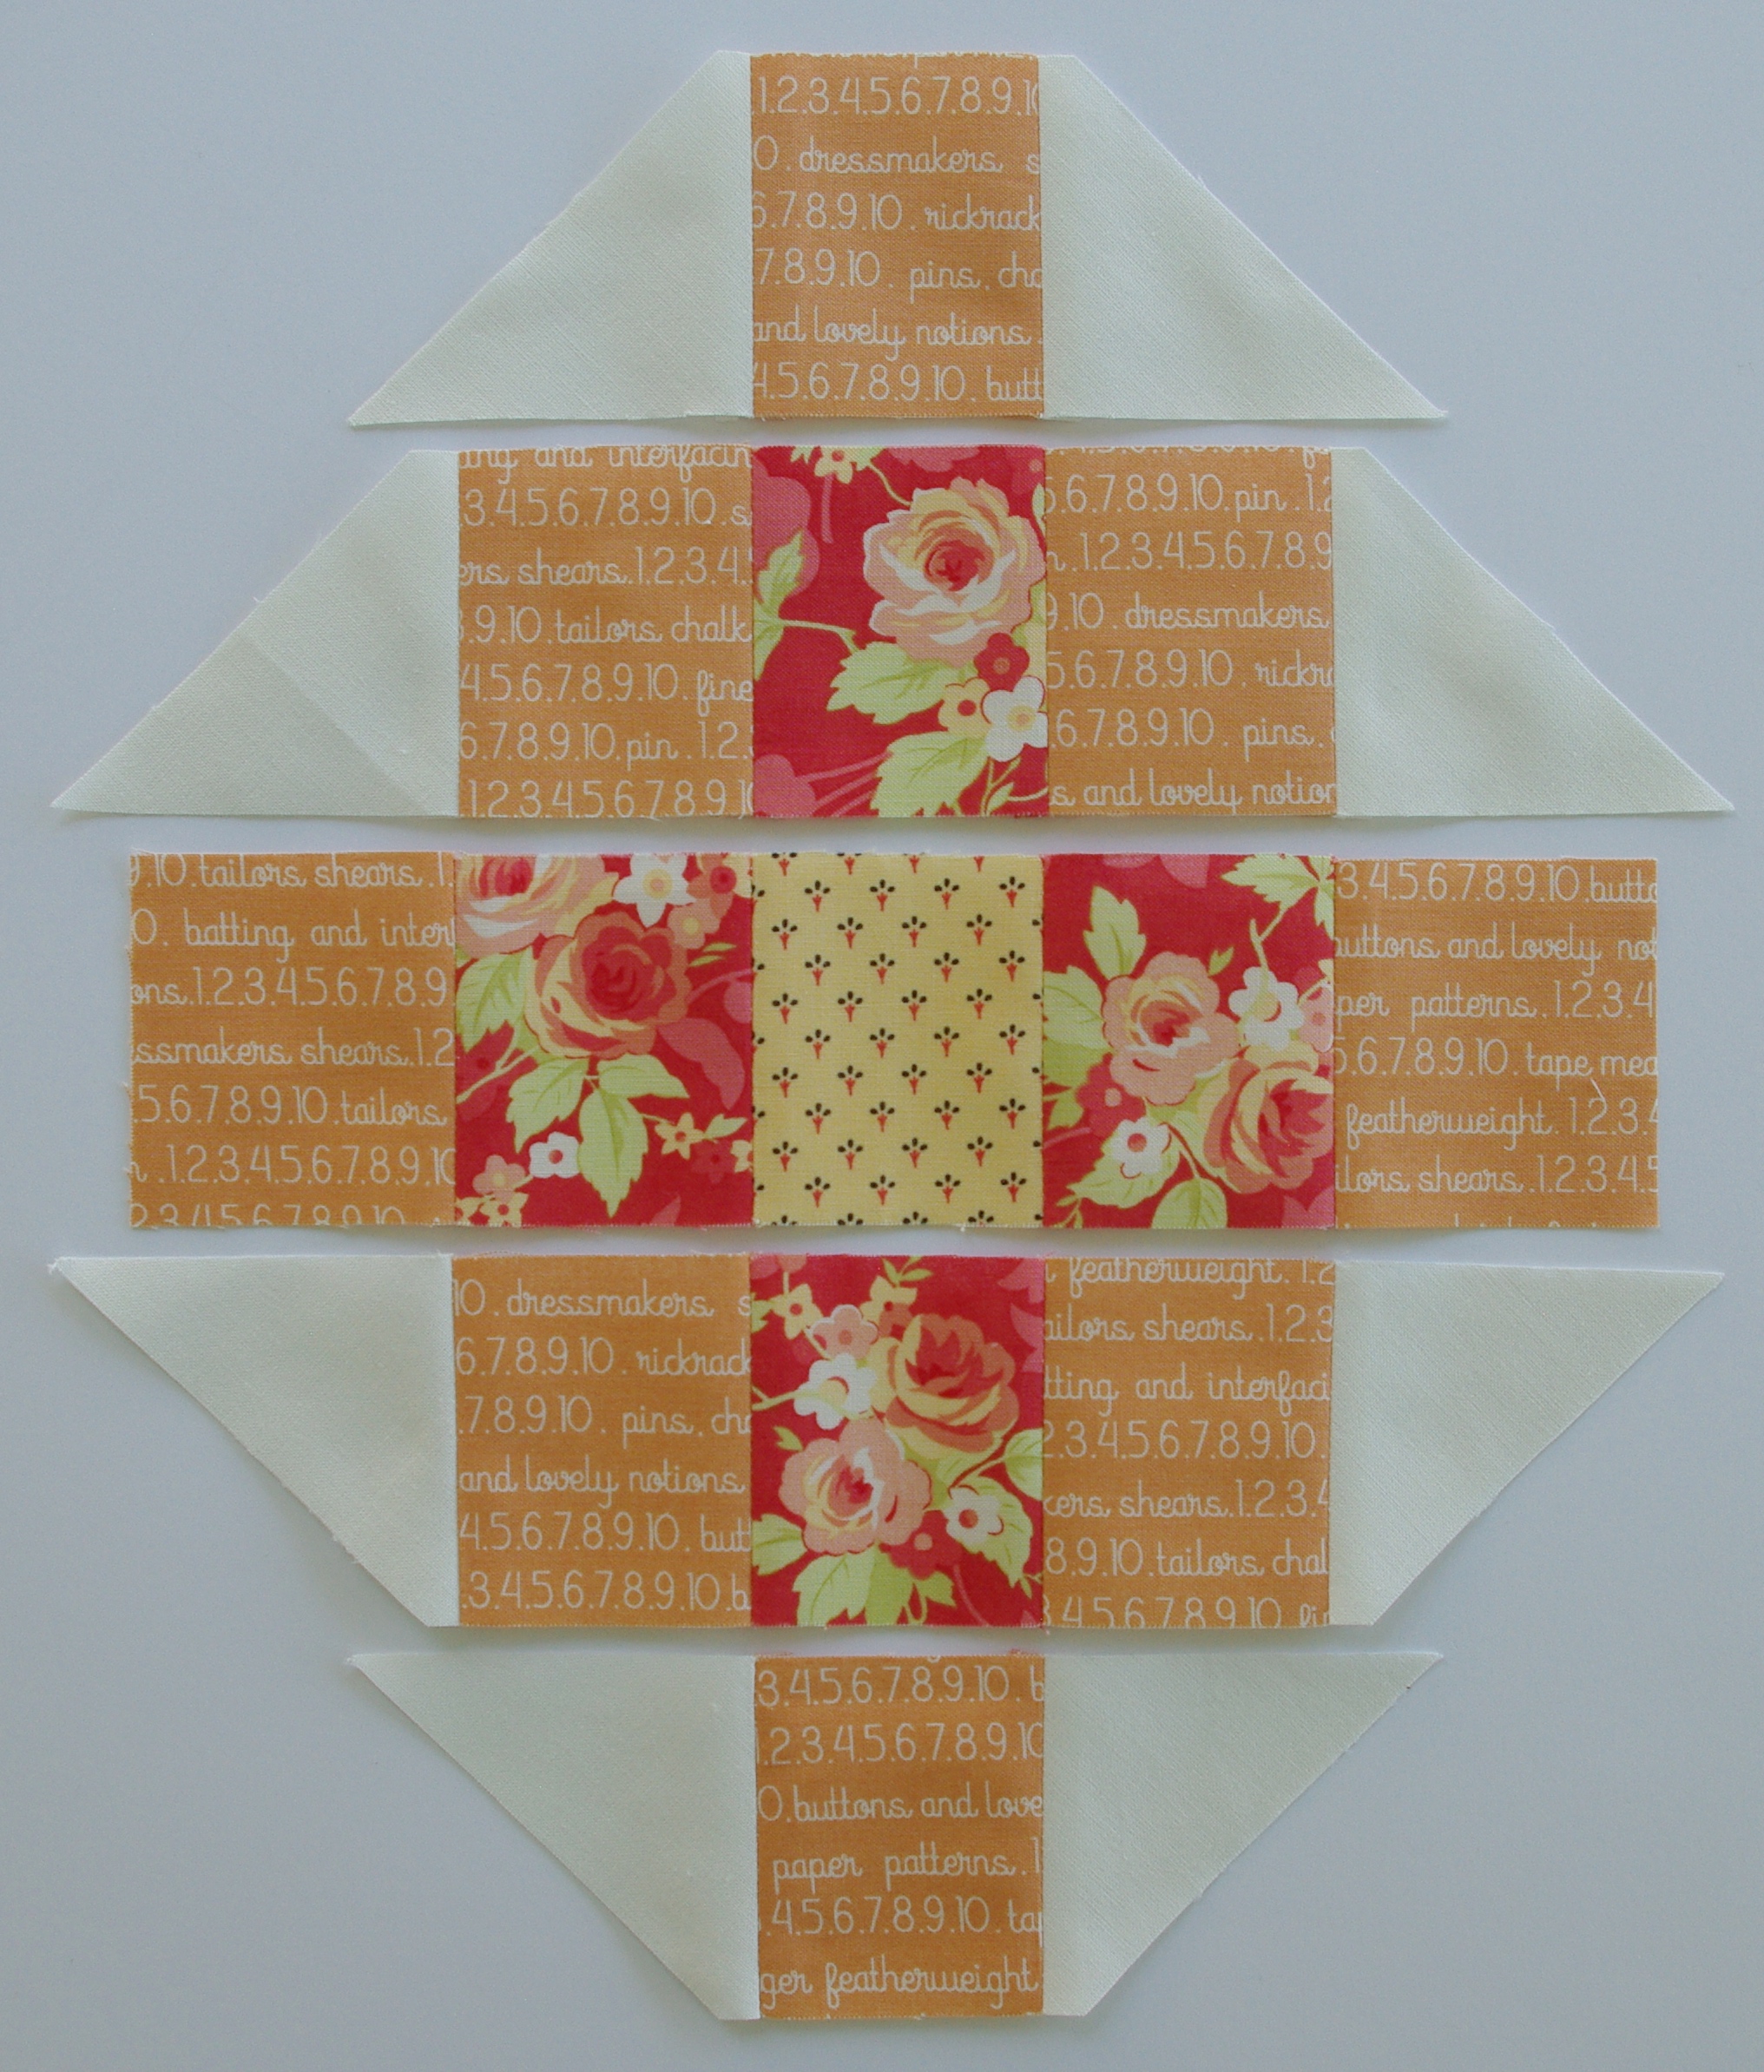
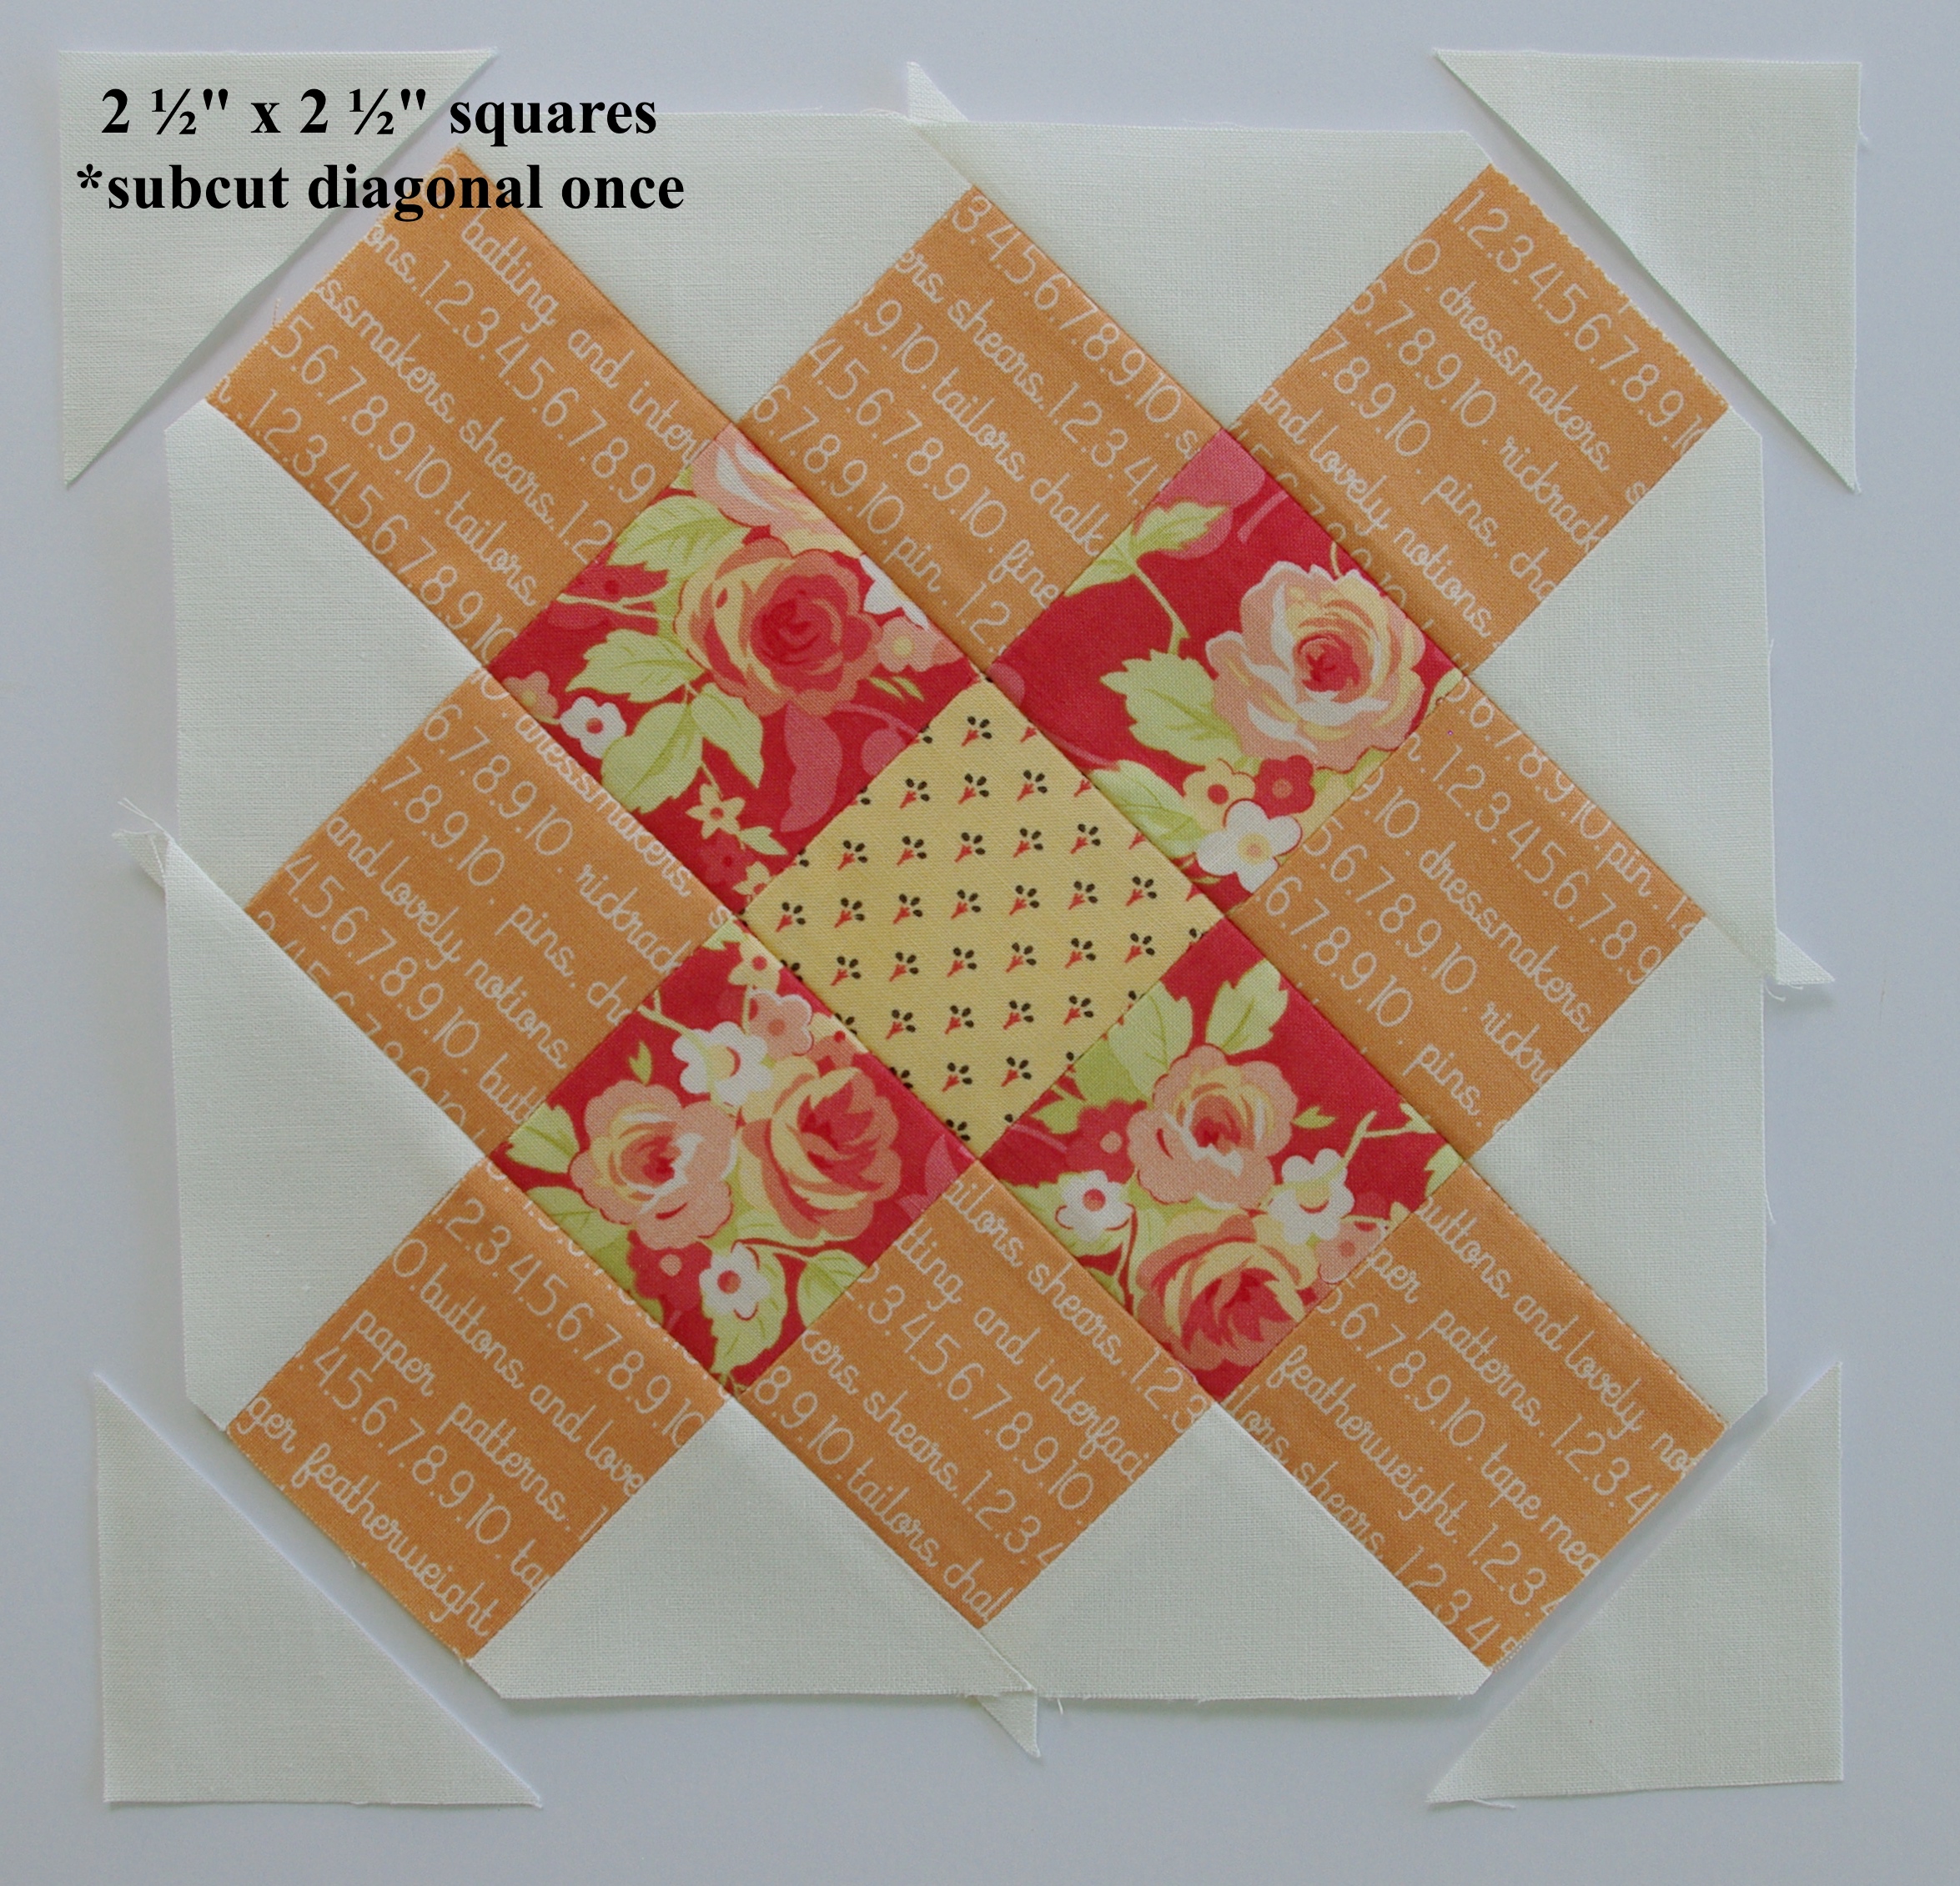
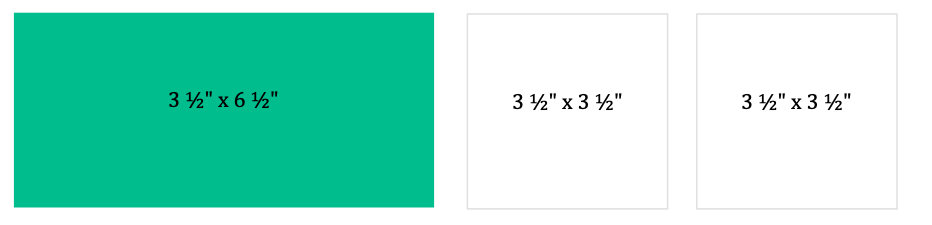
To get started, cut fabric to the required sizes. You’ll need a rectangular piece for the background and two squares for the sides. The flying geese I made in this tutorial are based on the measurements below.

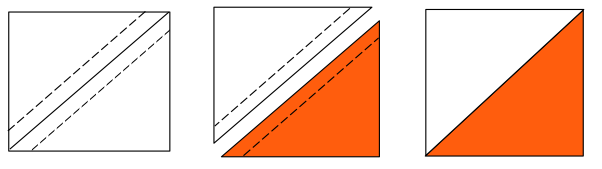
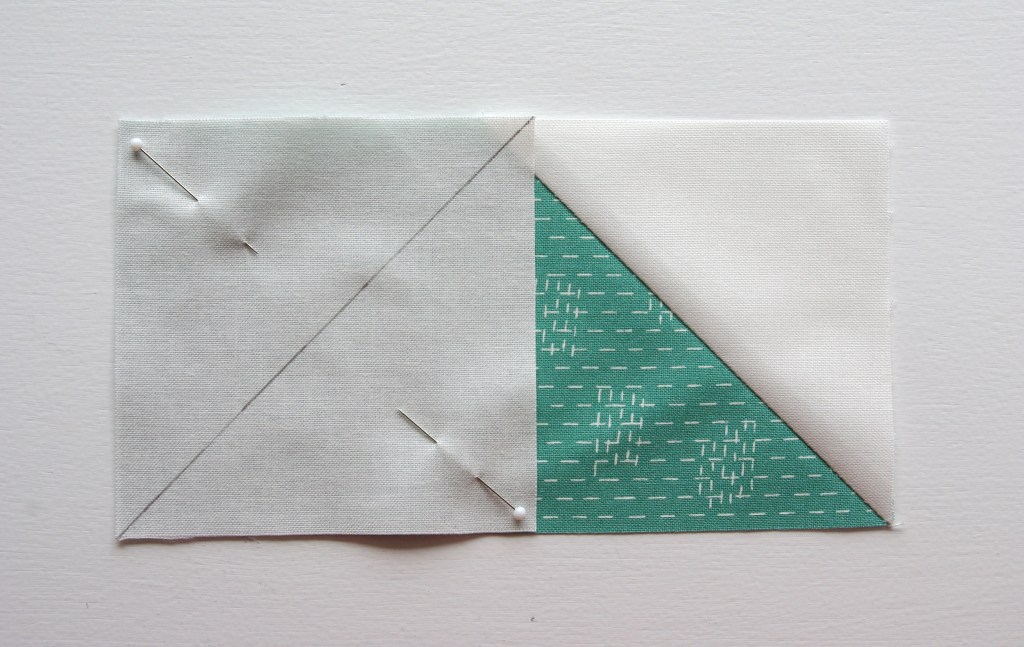
Once your fabric is cut, draw a diagonal line on the wrong side of both side squares. Place a marked square on the right hand side of the rectangle, as illustrated, lining up the outside edges. Pin together.

NOTE: You can choose to sew the first square on either the left or right hand side, there will be no difference in the outcome.

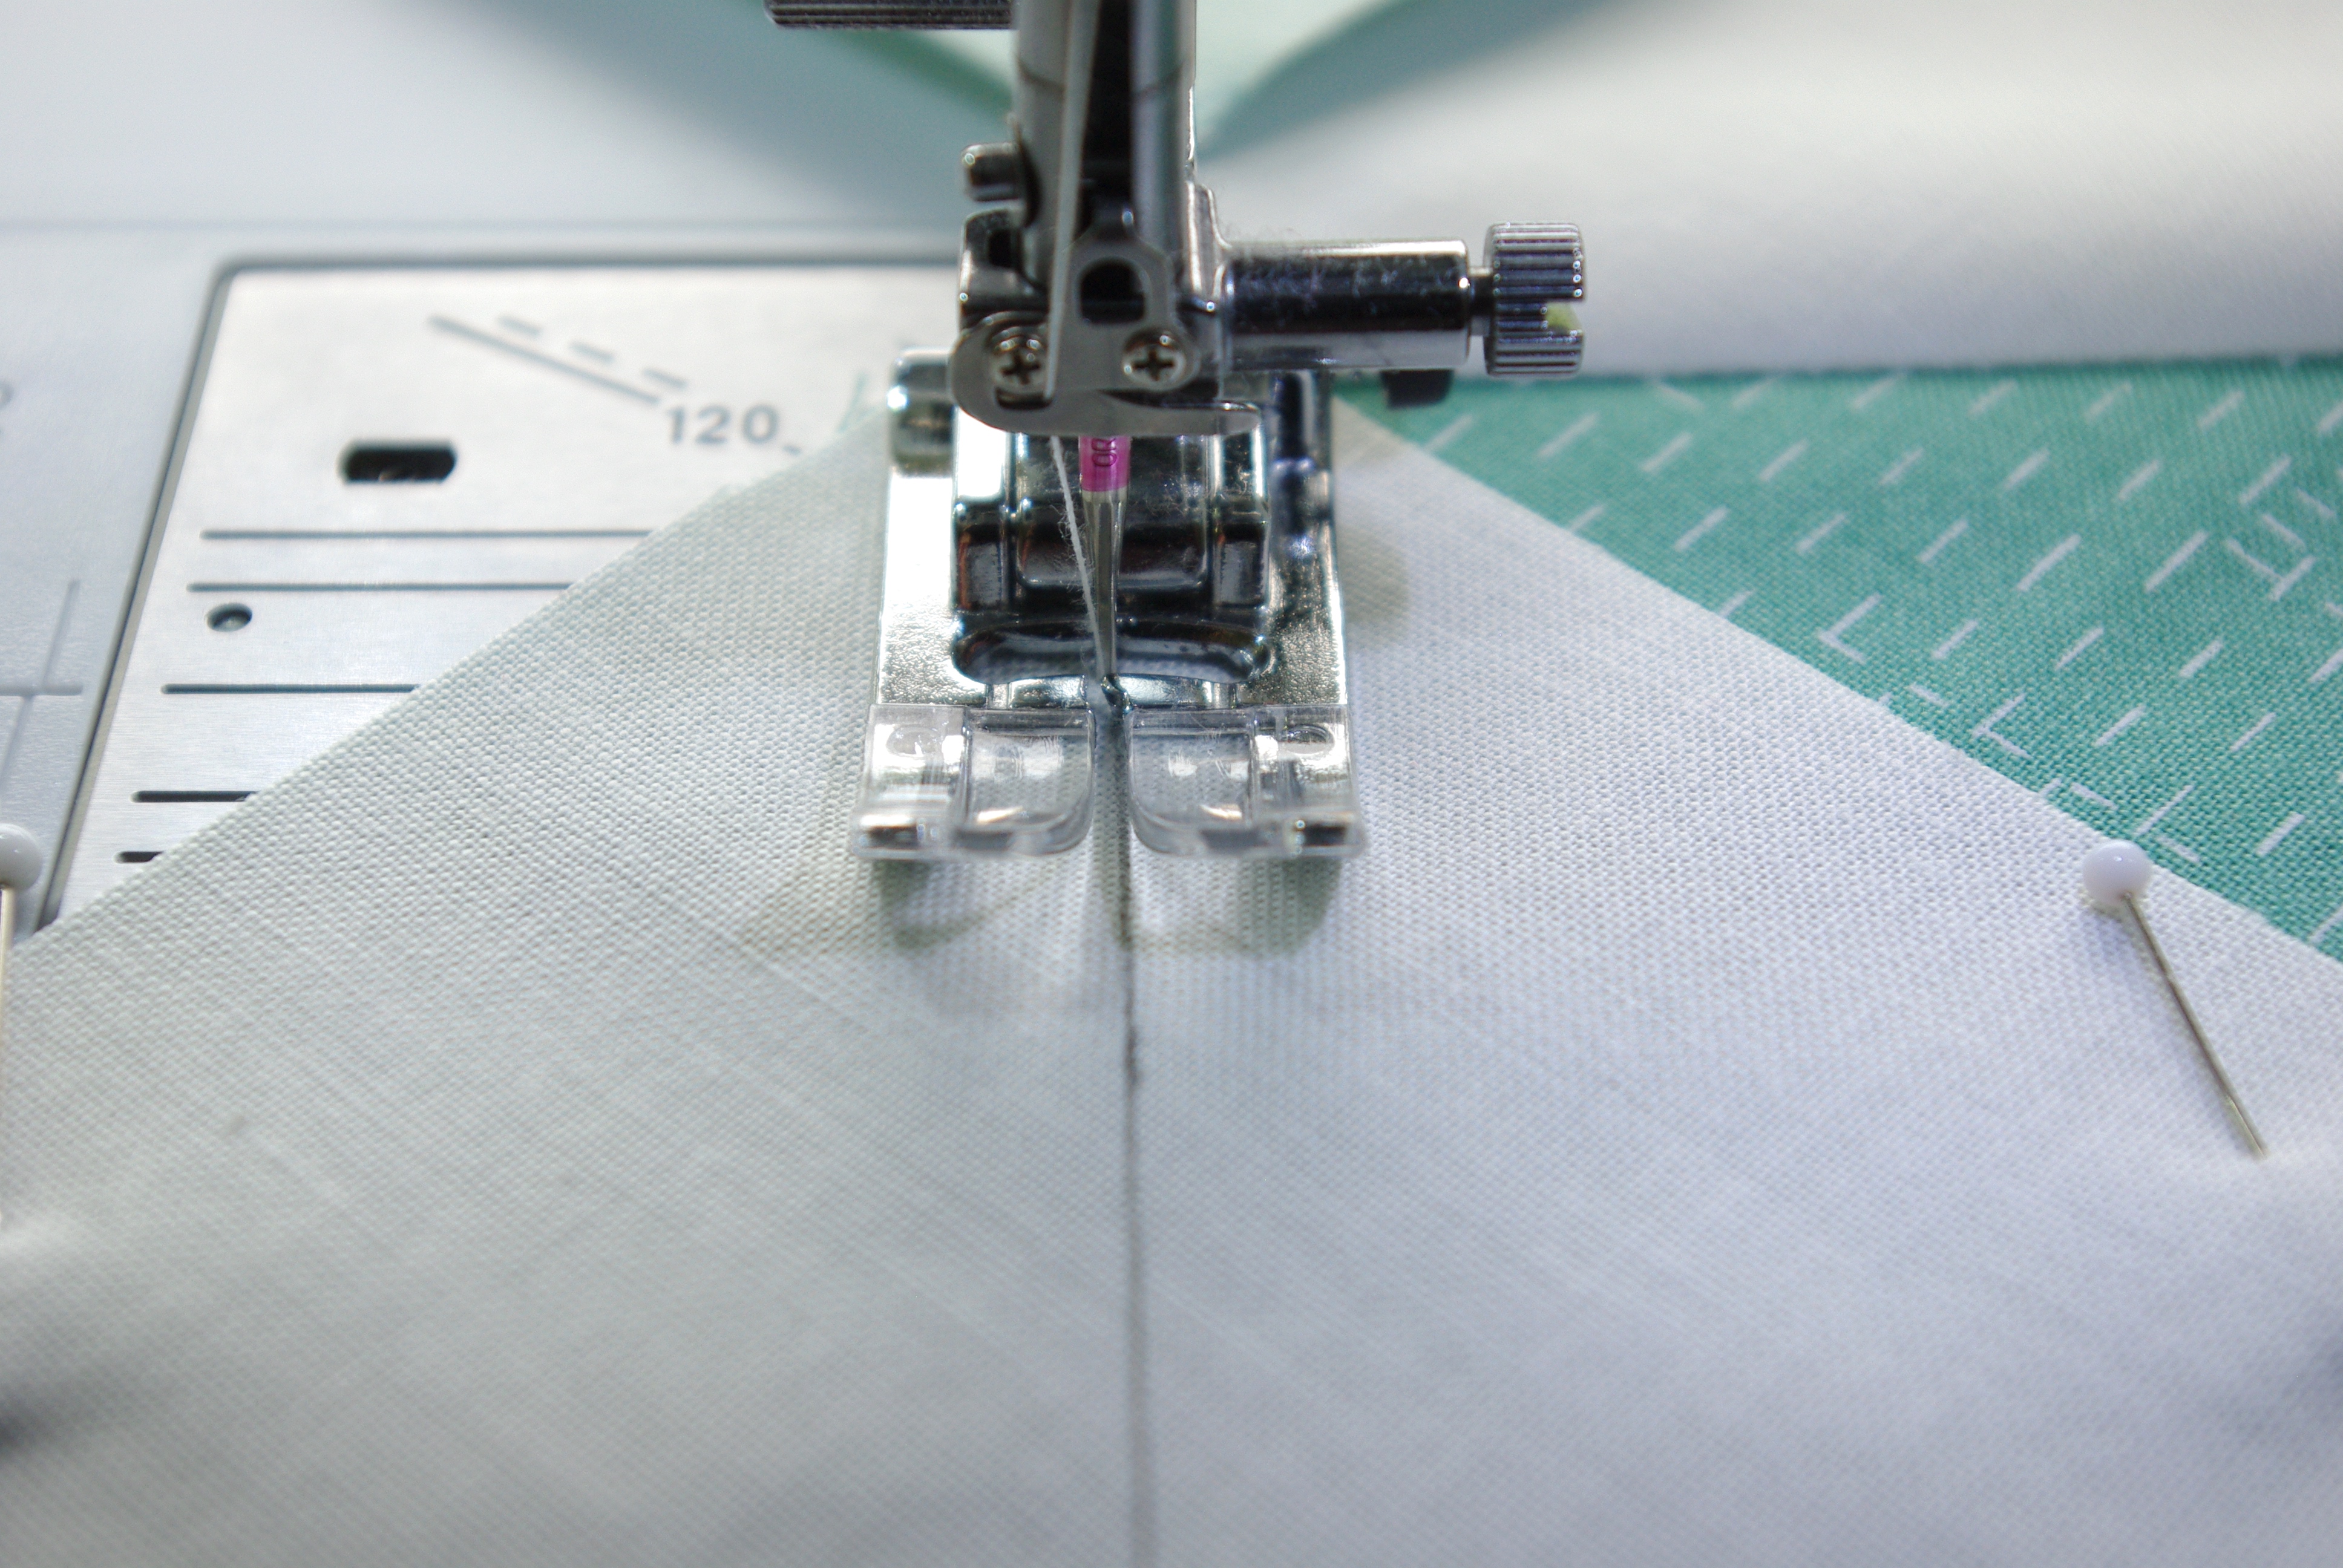
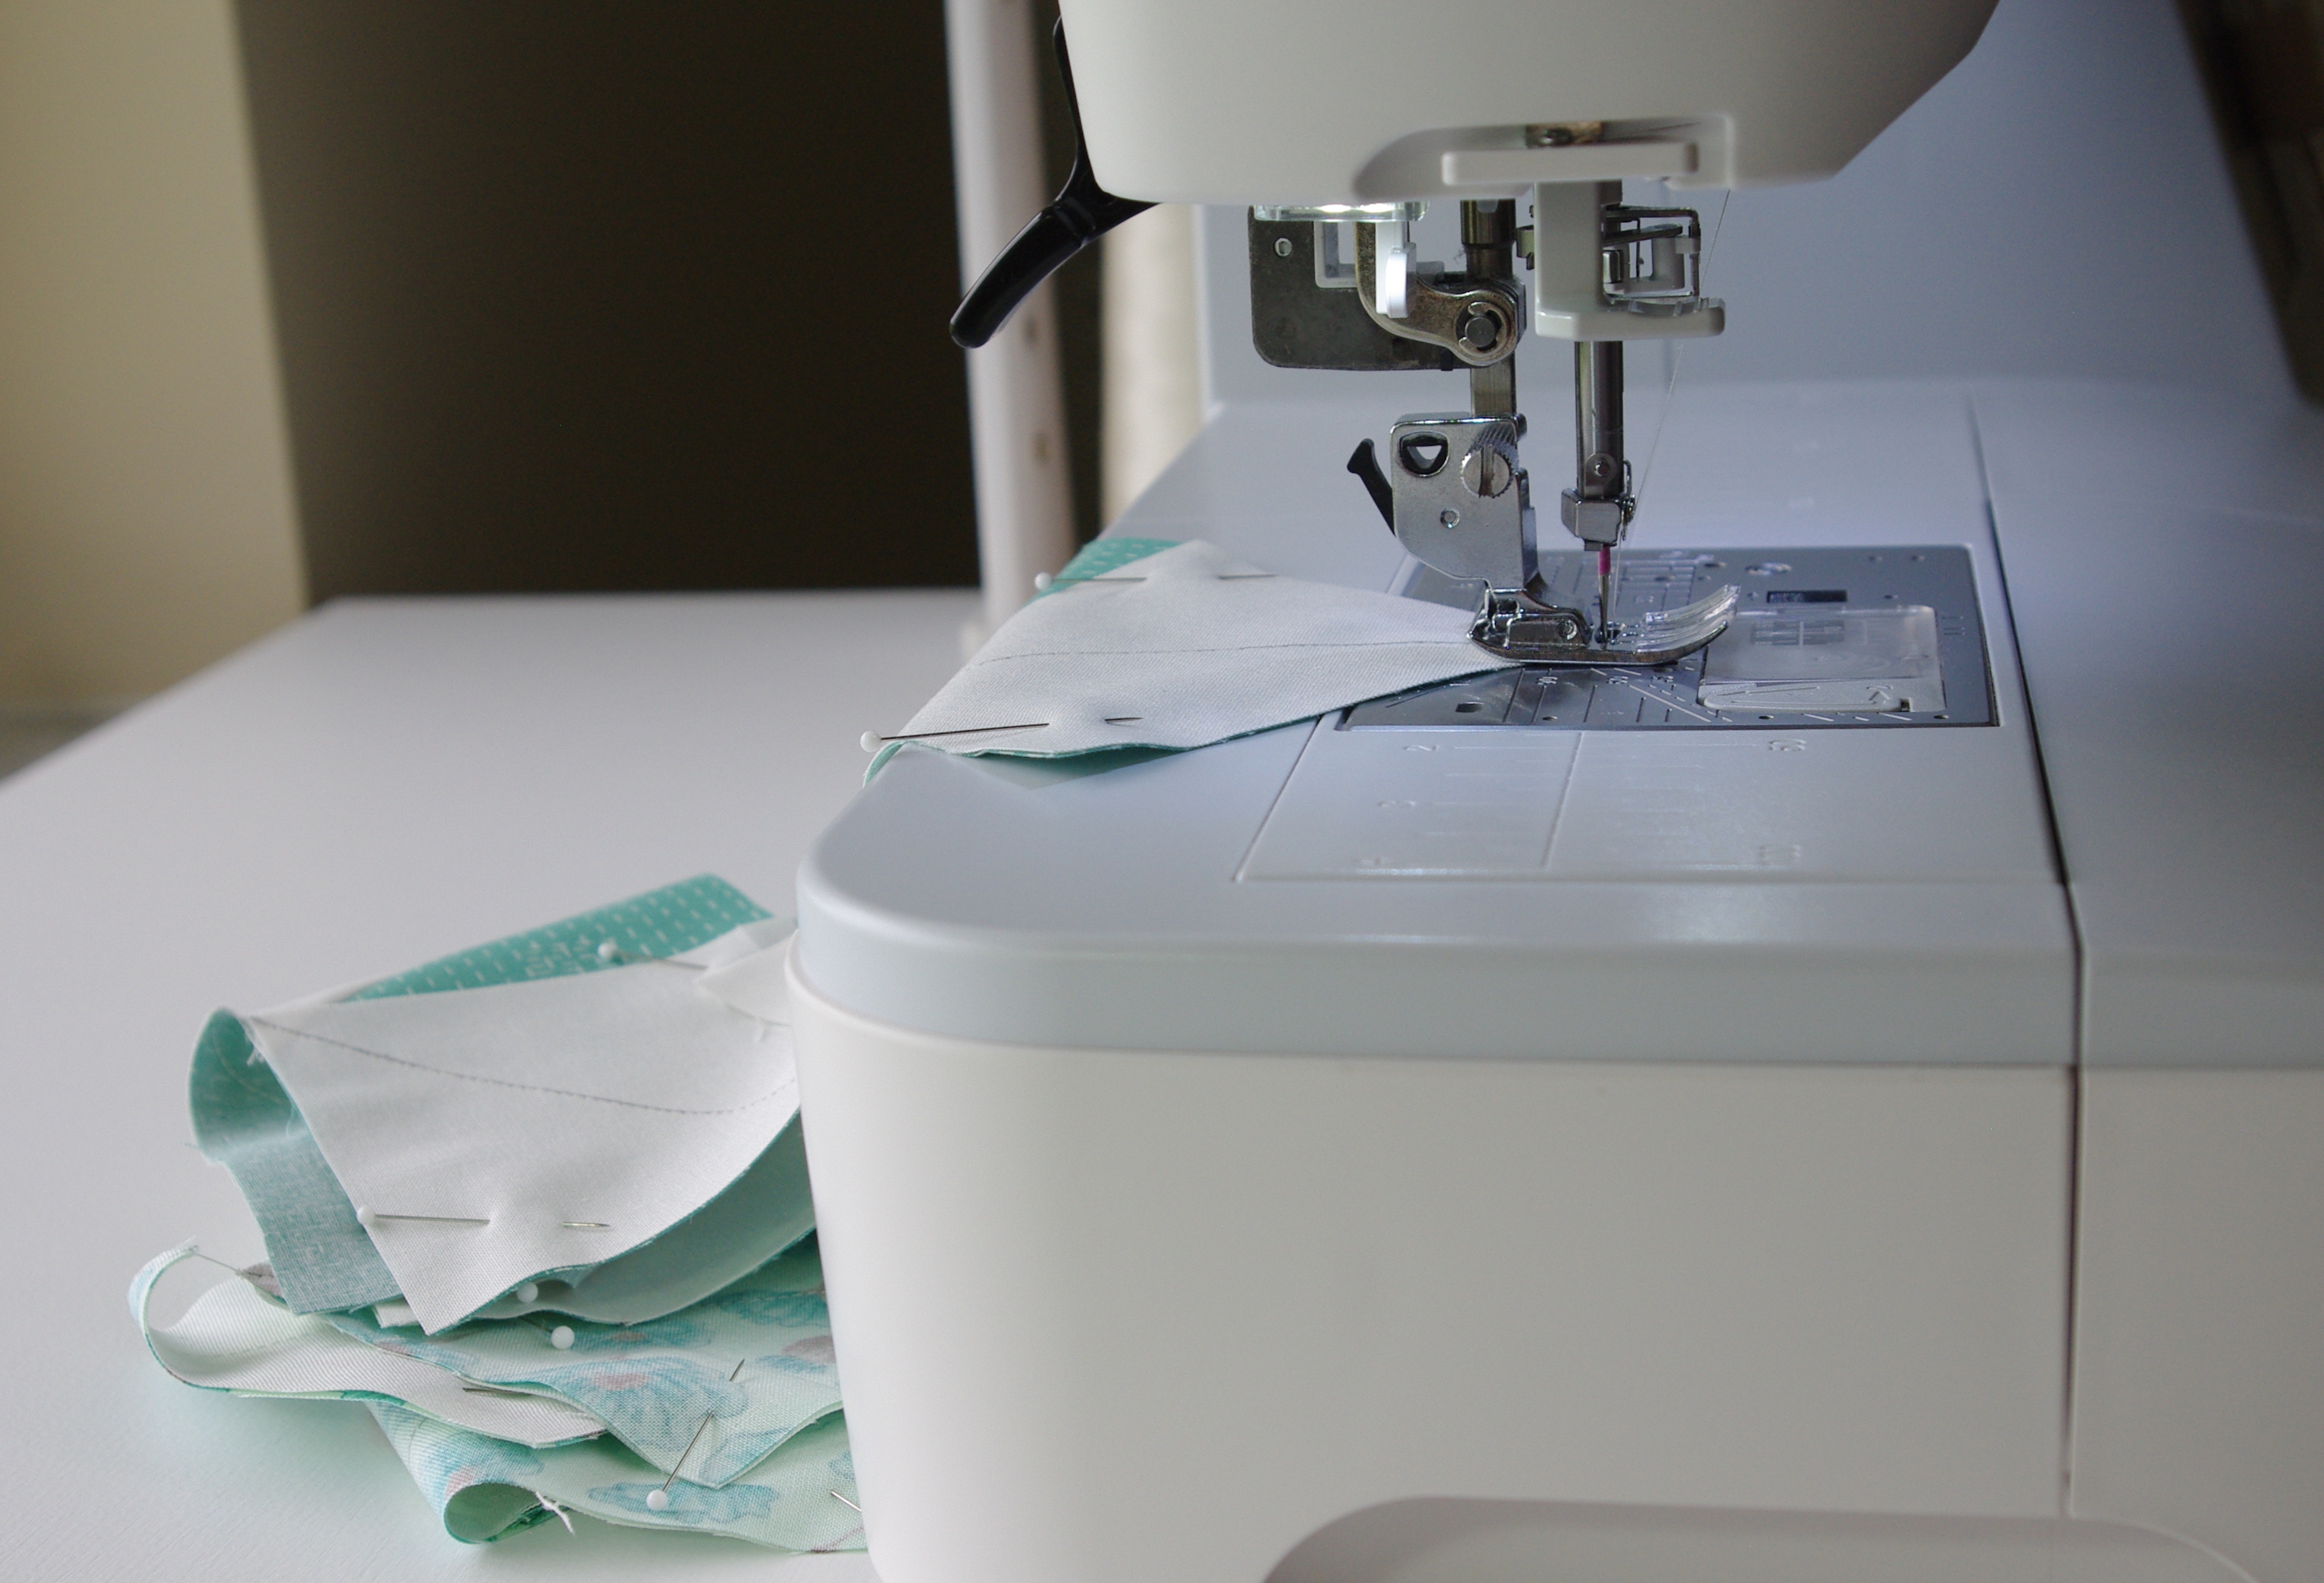
The next step is sewing the pinned pieces together. But before sewing, be sure to follow this important tip…instead of sewing directly on the drawn line, sew just along side of it.

And here’s why. By having sewn along side of the drawn line, it frees up about a thread’s width of space so when you press the fabric to the corner, the new piece will line up accurately. That small width might seem minor, but it can make all the difference in your finished unit.

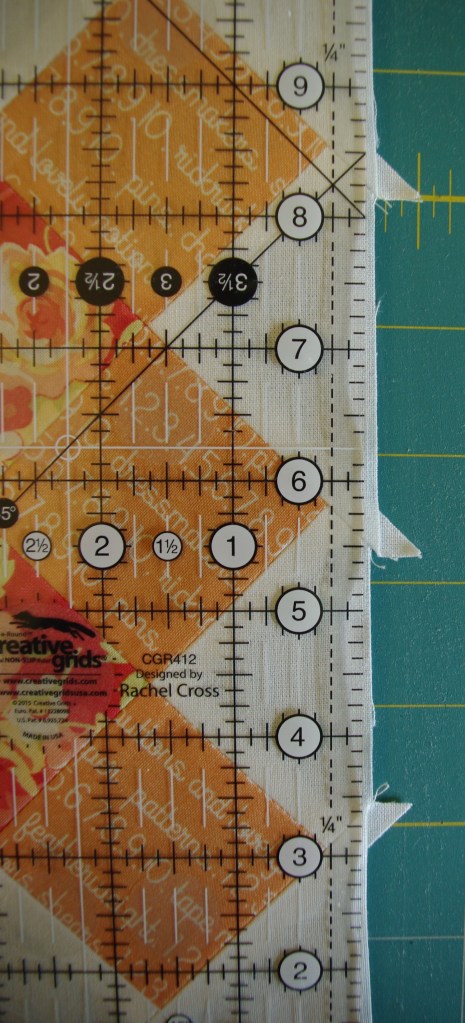
Here’s how to set your foot and needle before sewing…

And this is what it looks like sewn just to the right of the line…

A rule of thumb to follow is to sew to the right of the drawn line for the right hand side of the flying geese unit and sew to the left of the line on the left hand side of the unit.

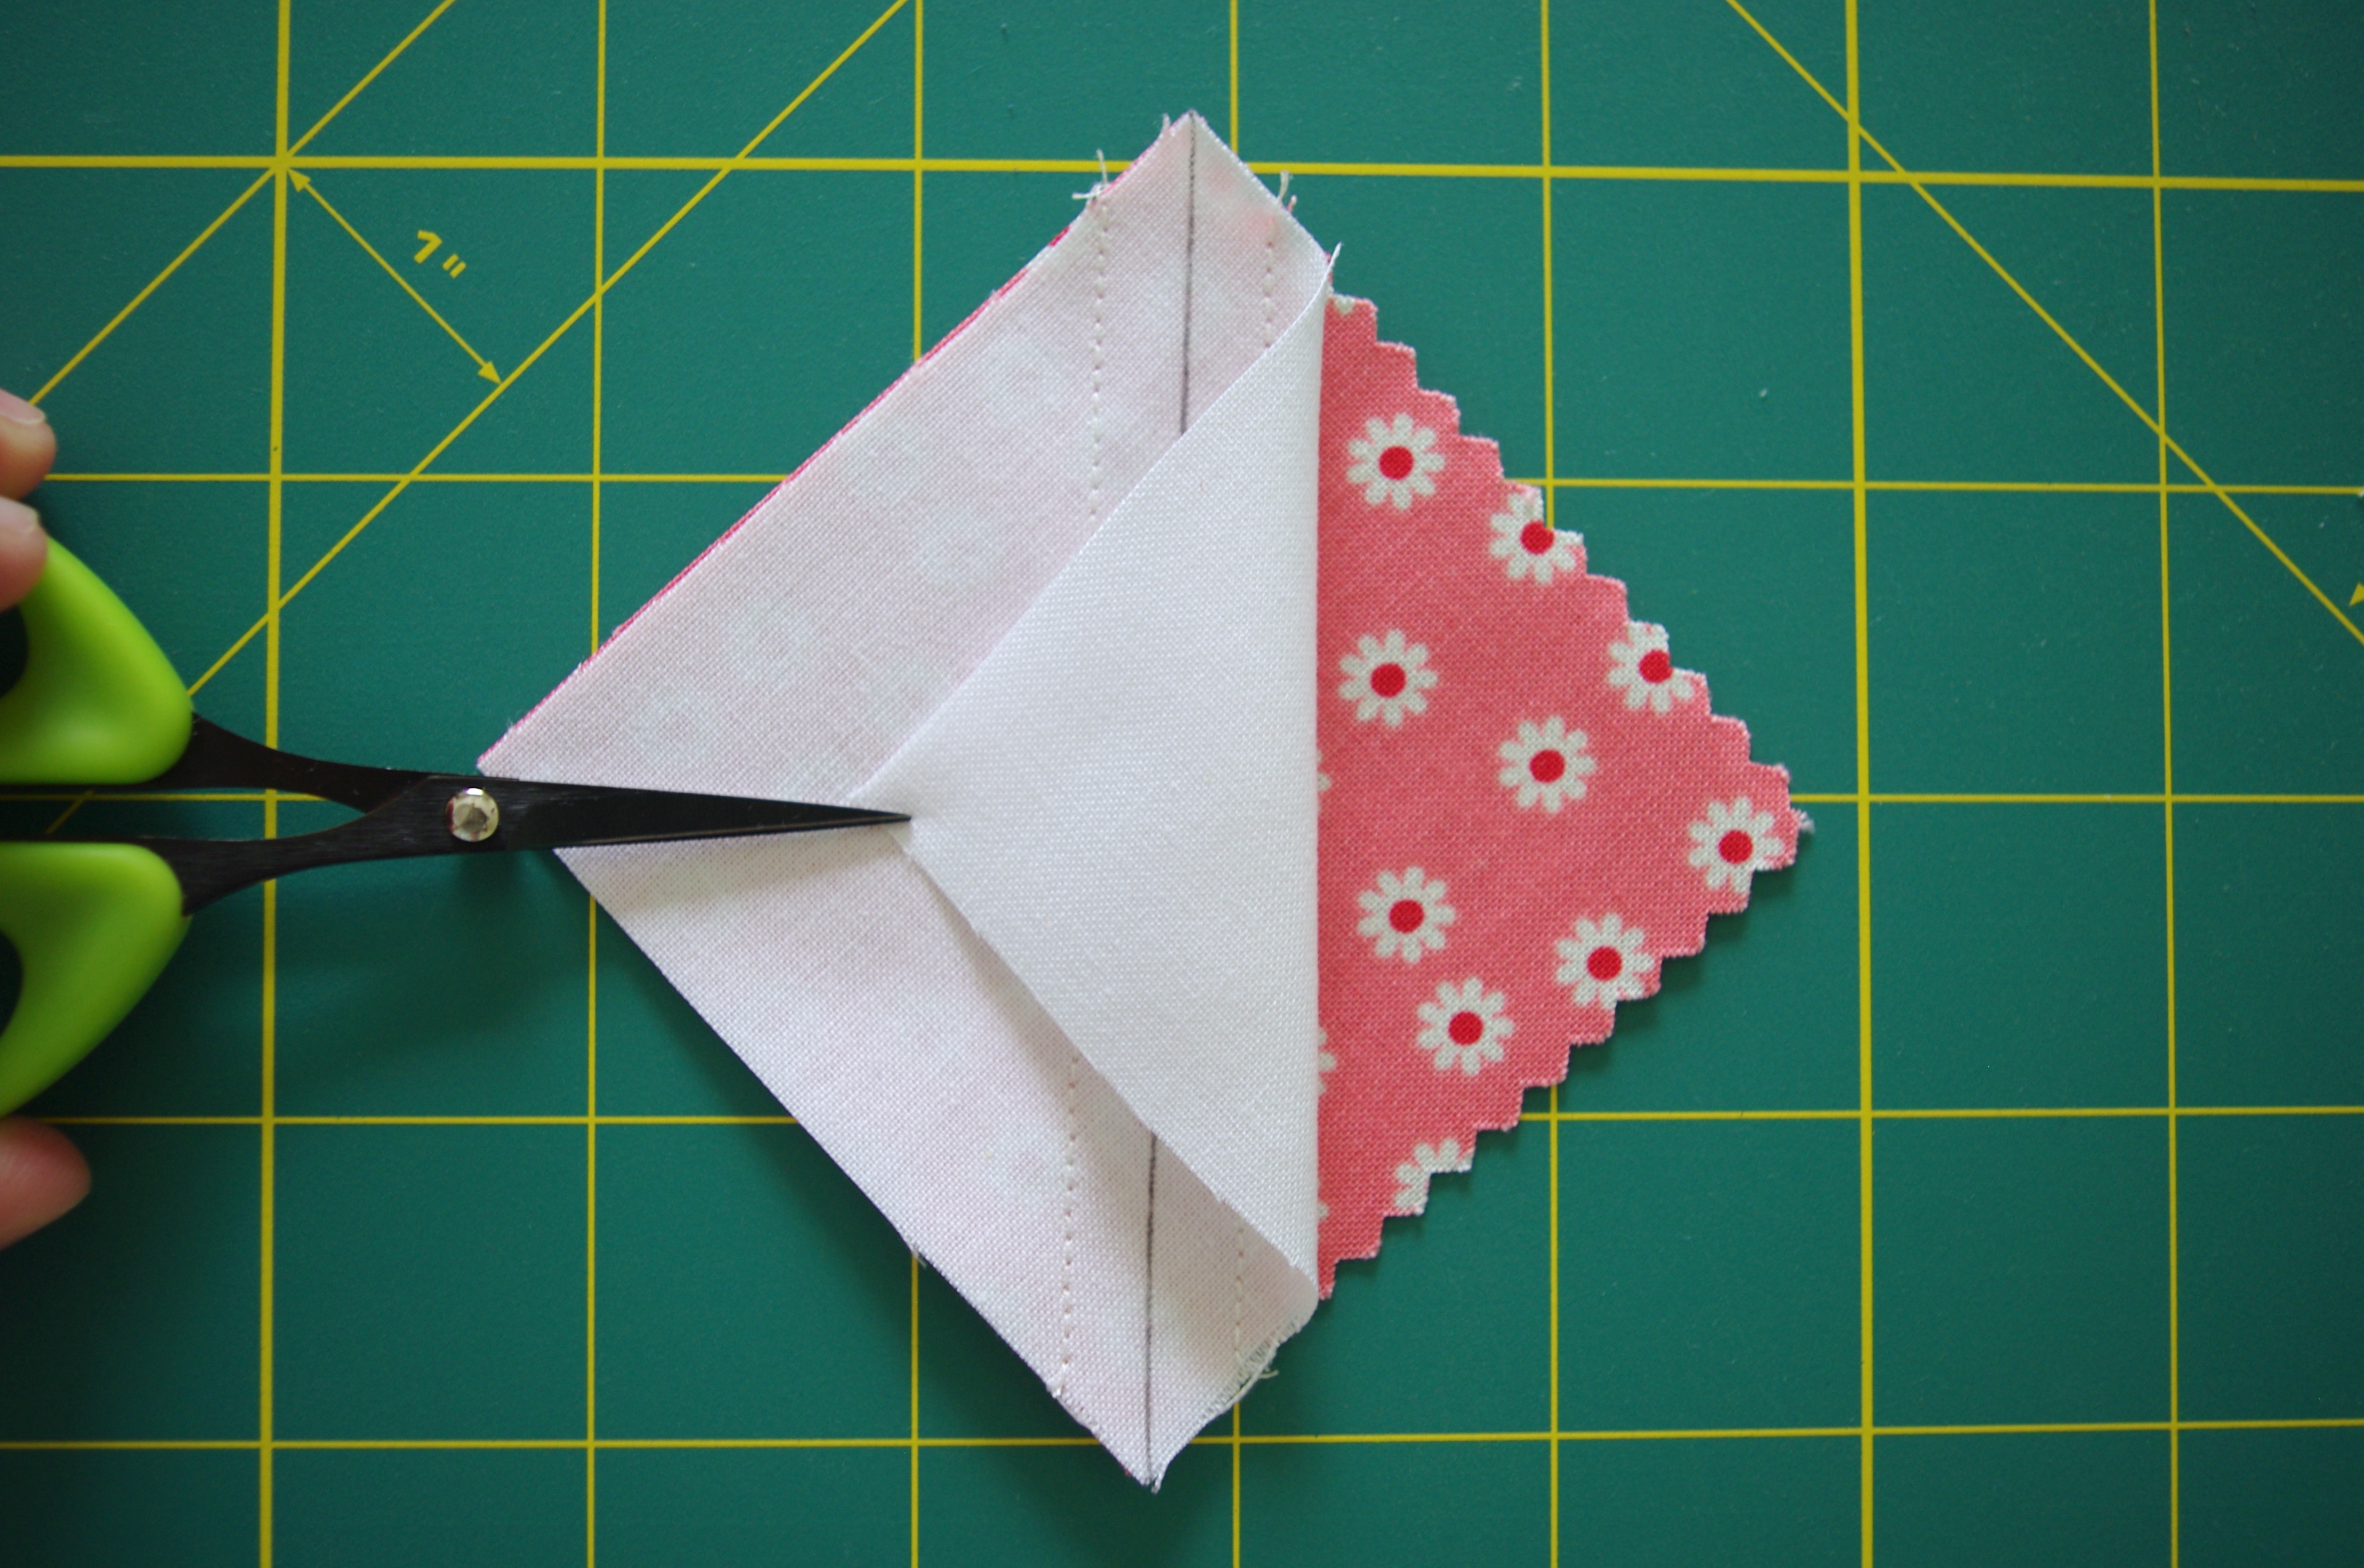
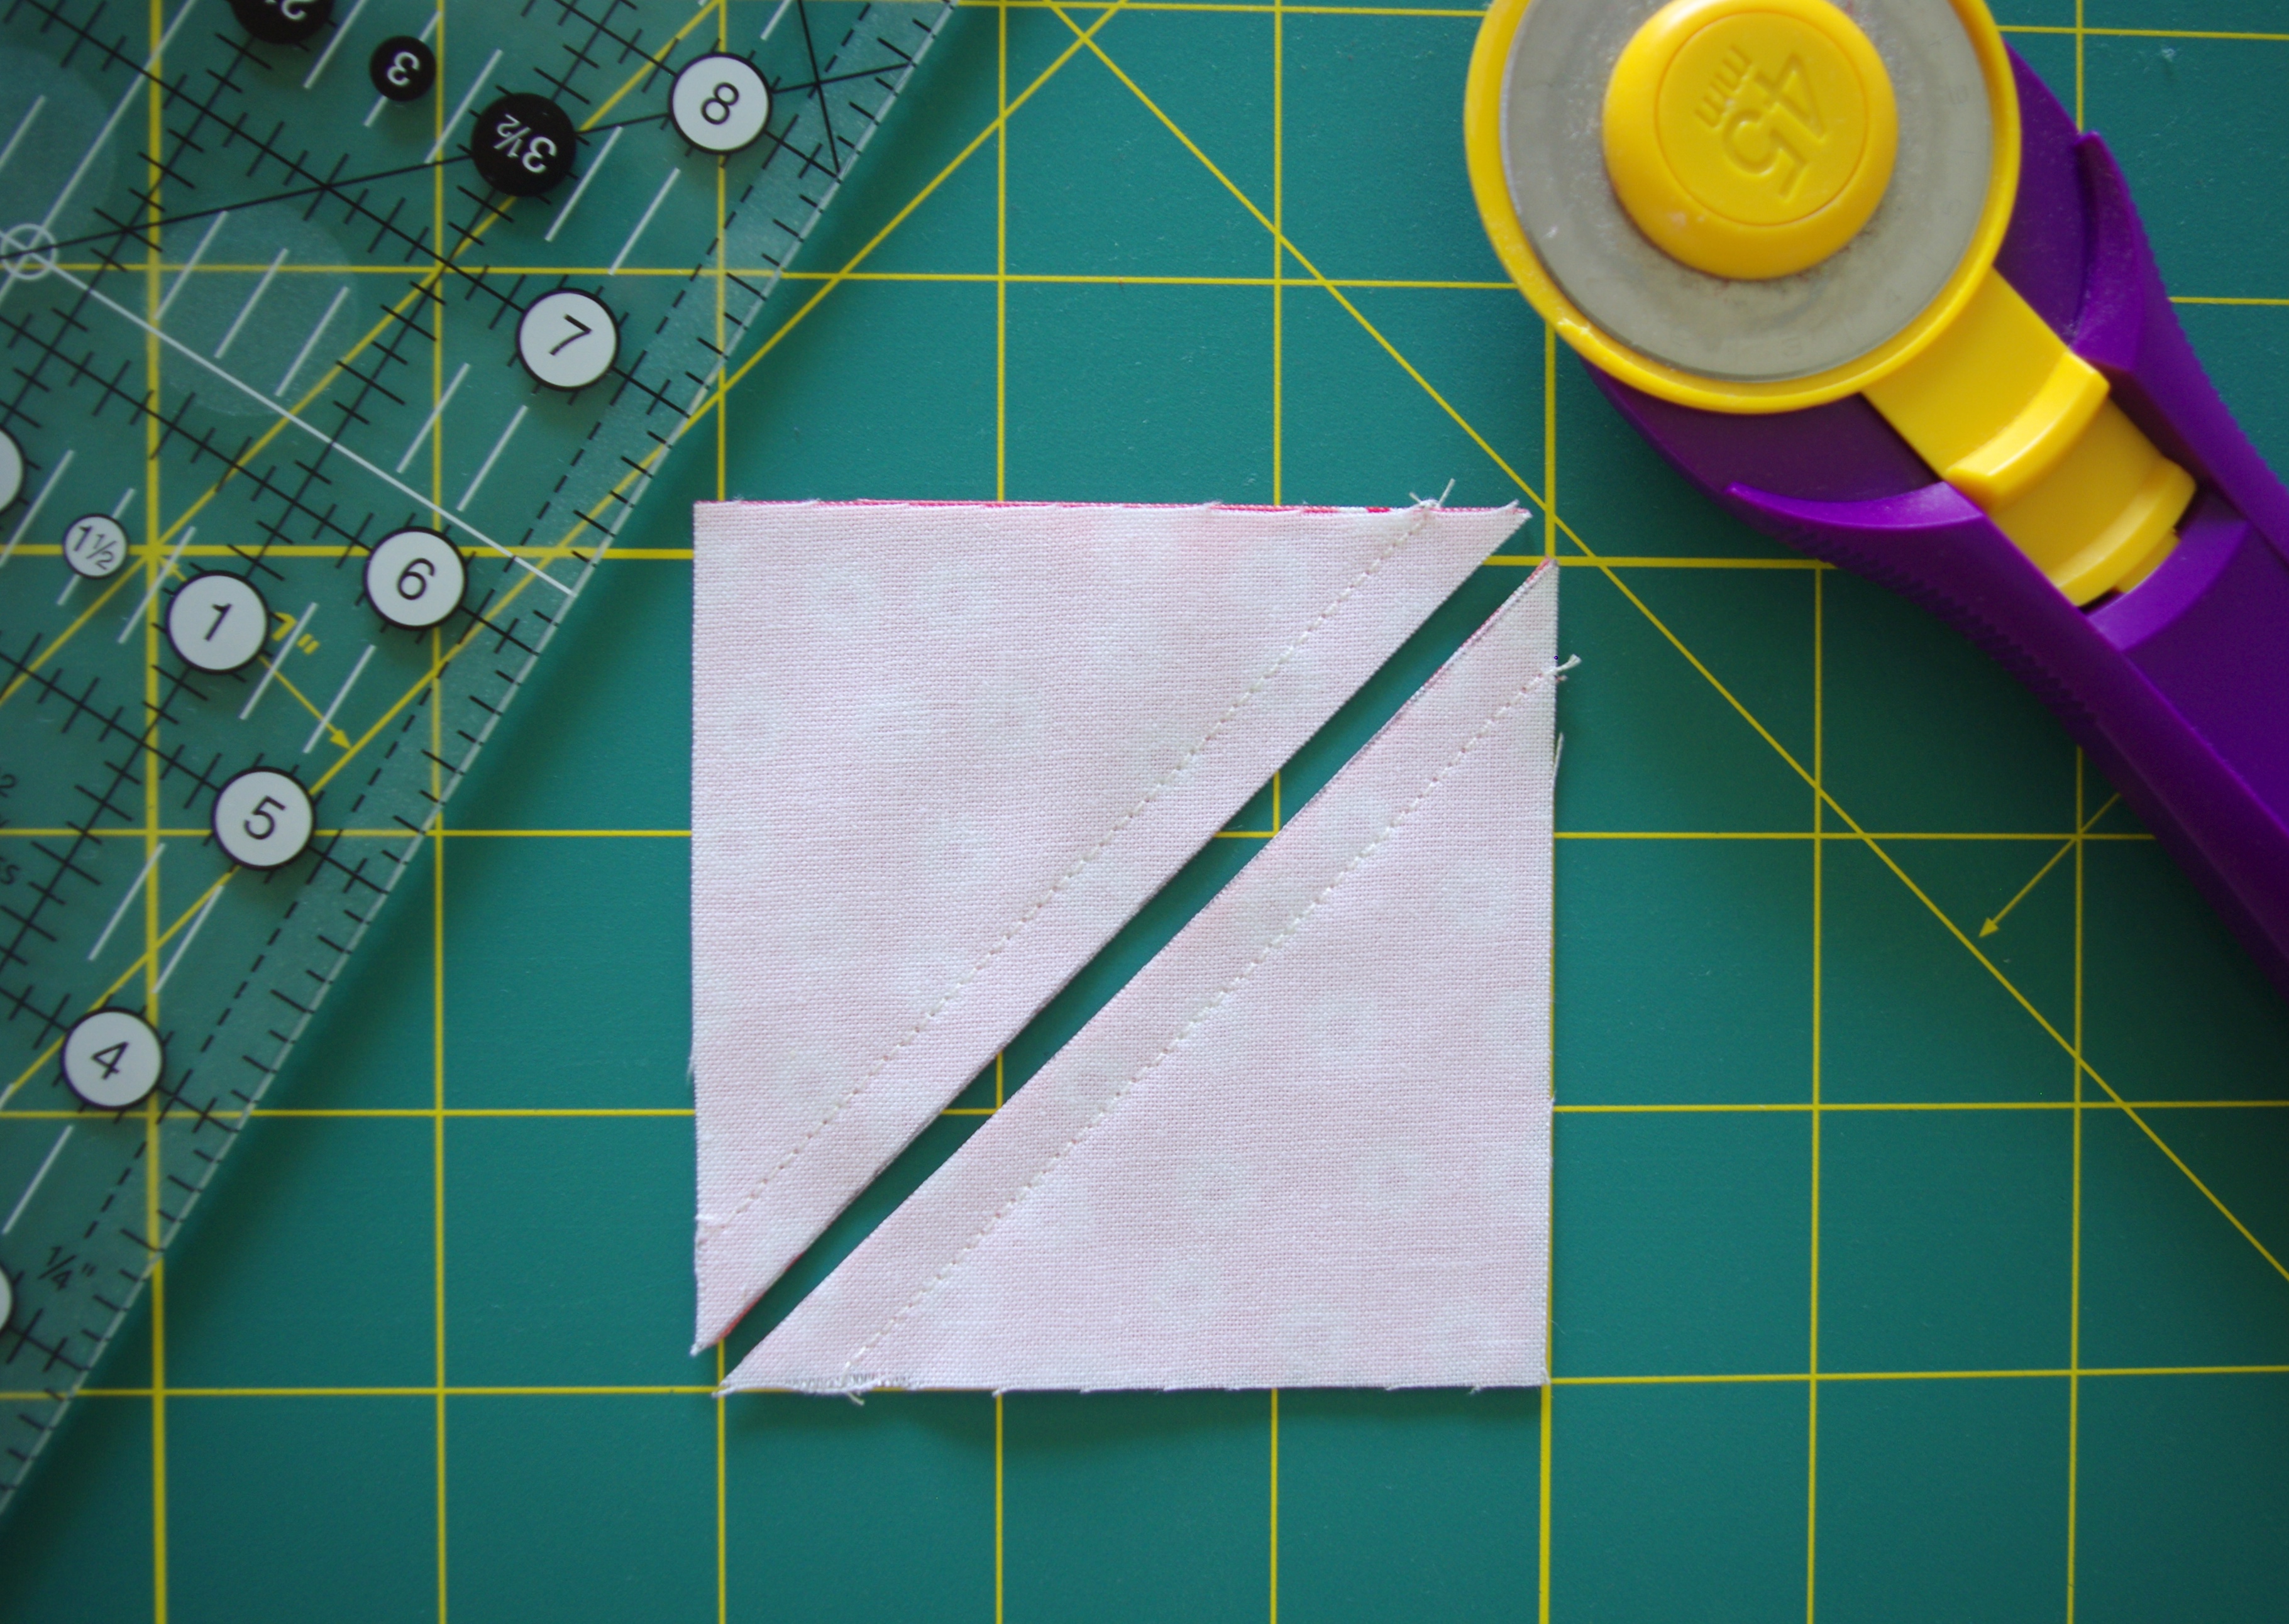
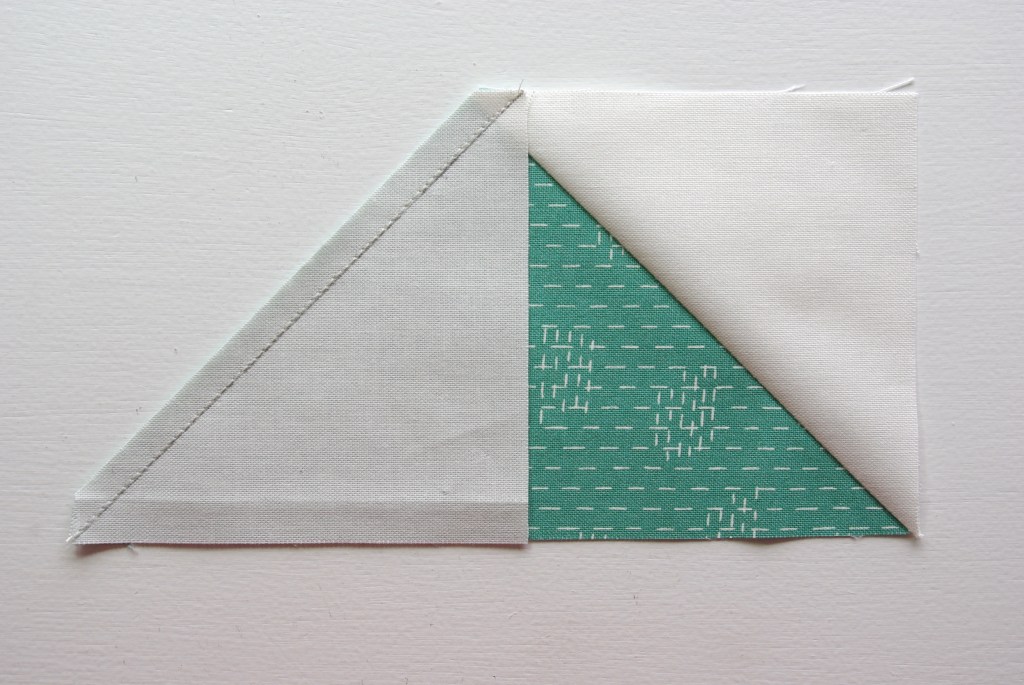
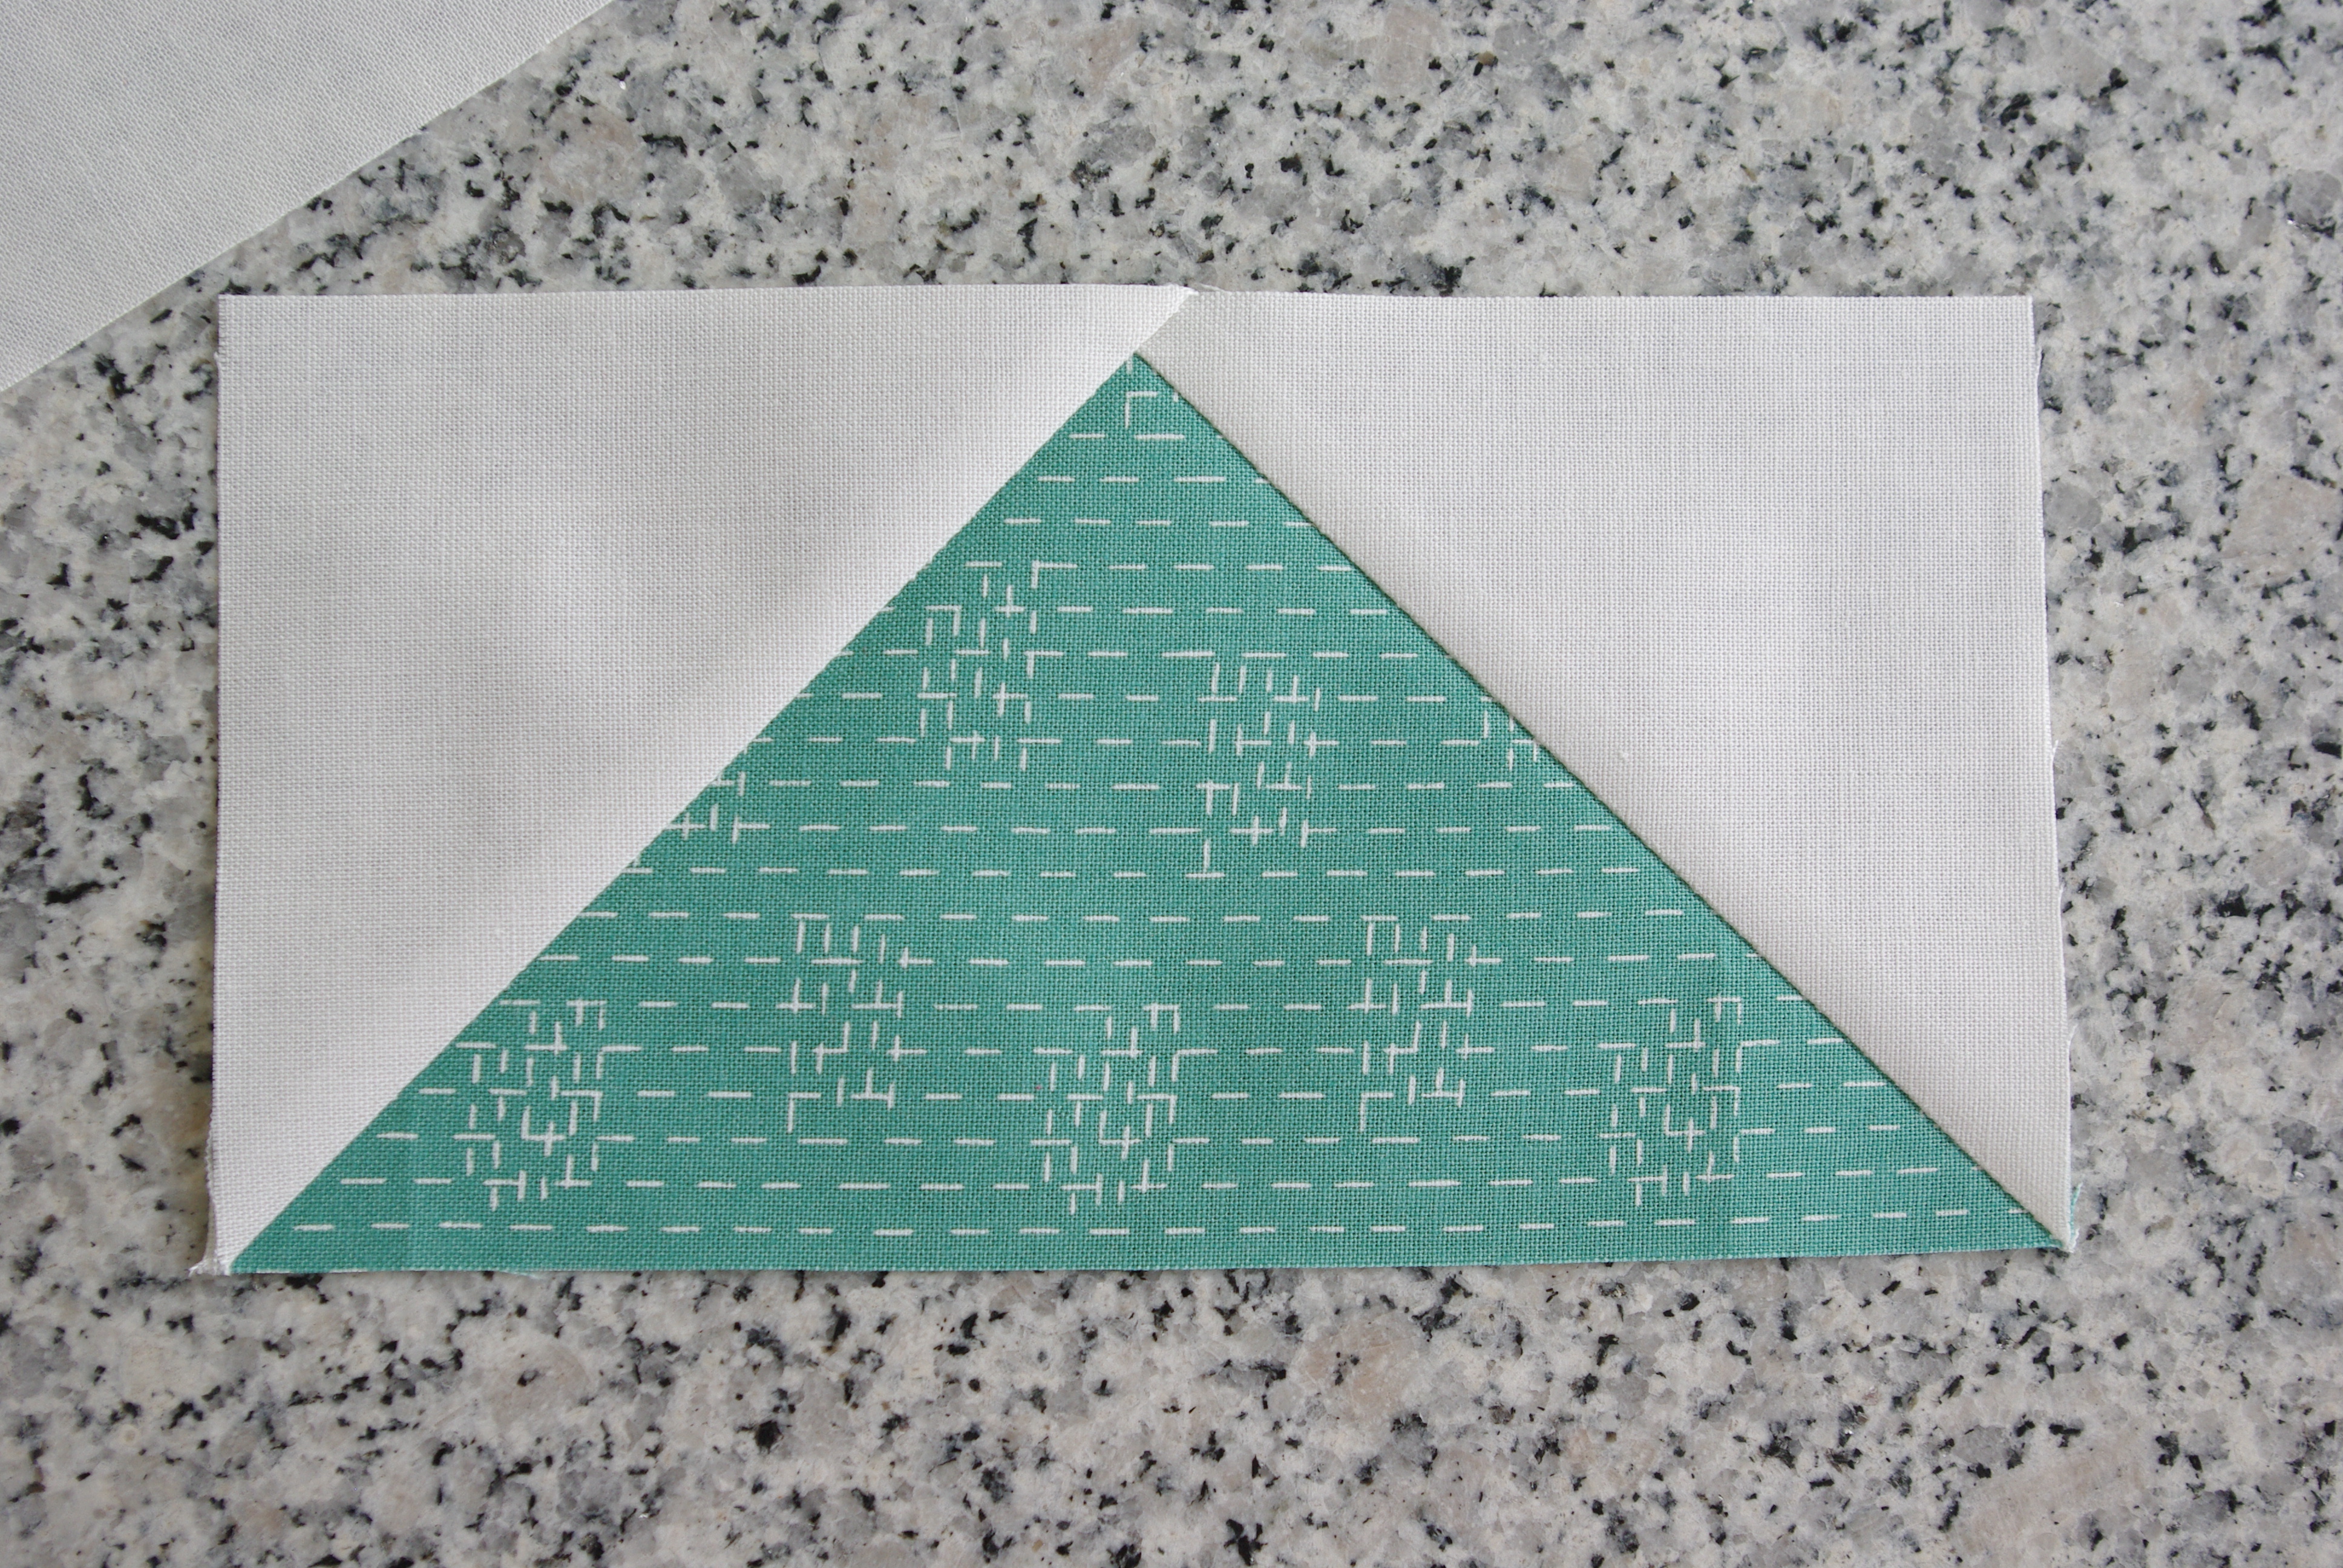
Once you’ve finished sewing, cut ¼” away from the sewn line. Press the square to the corner.

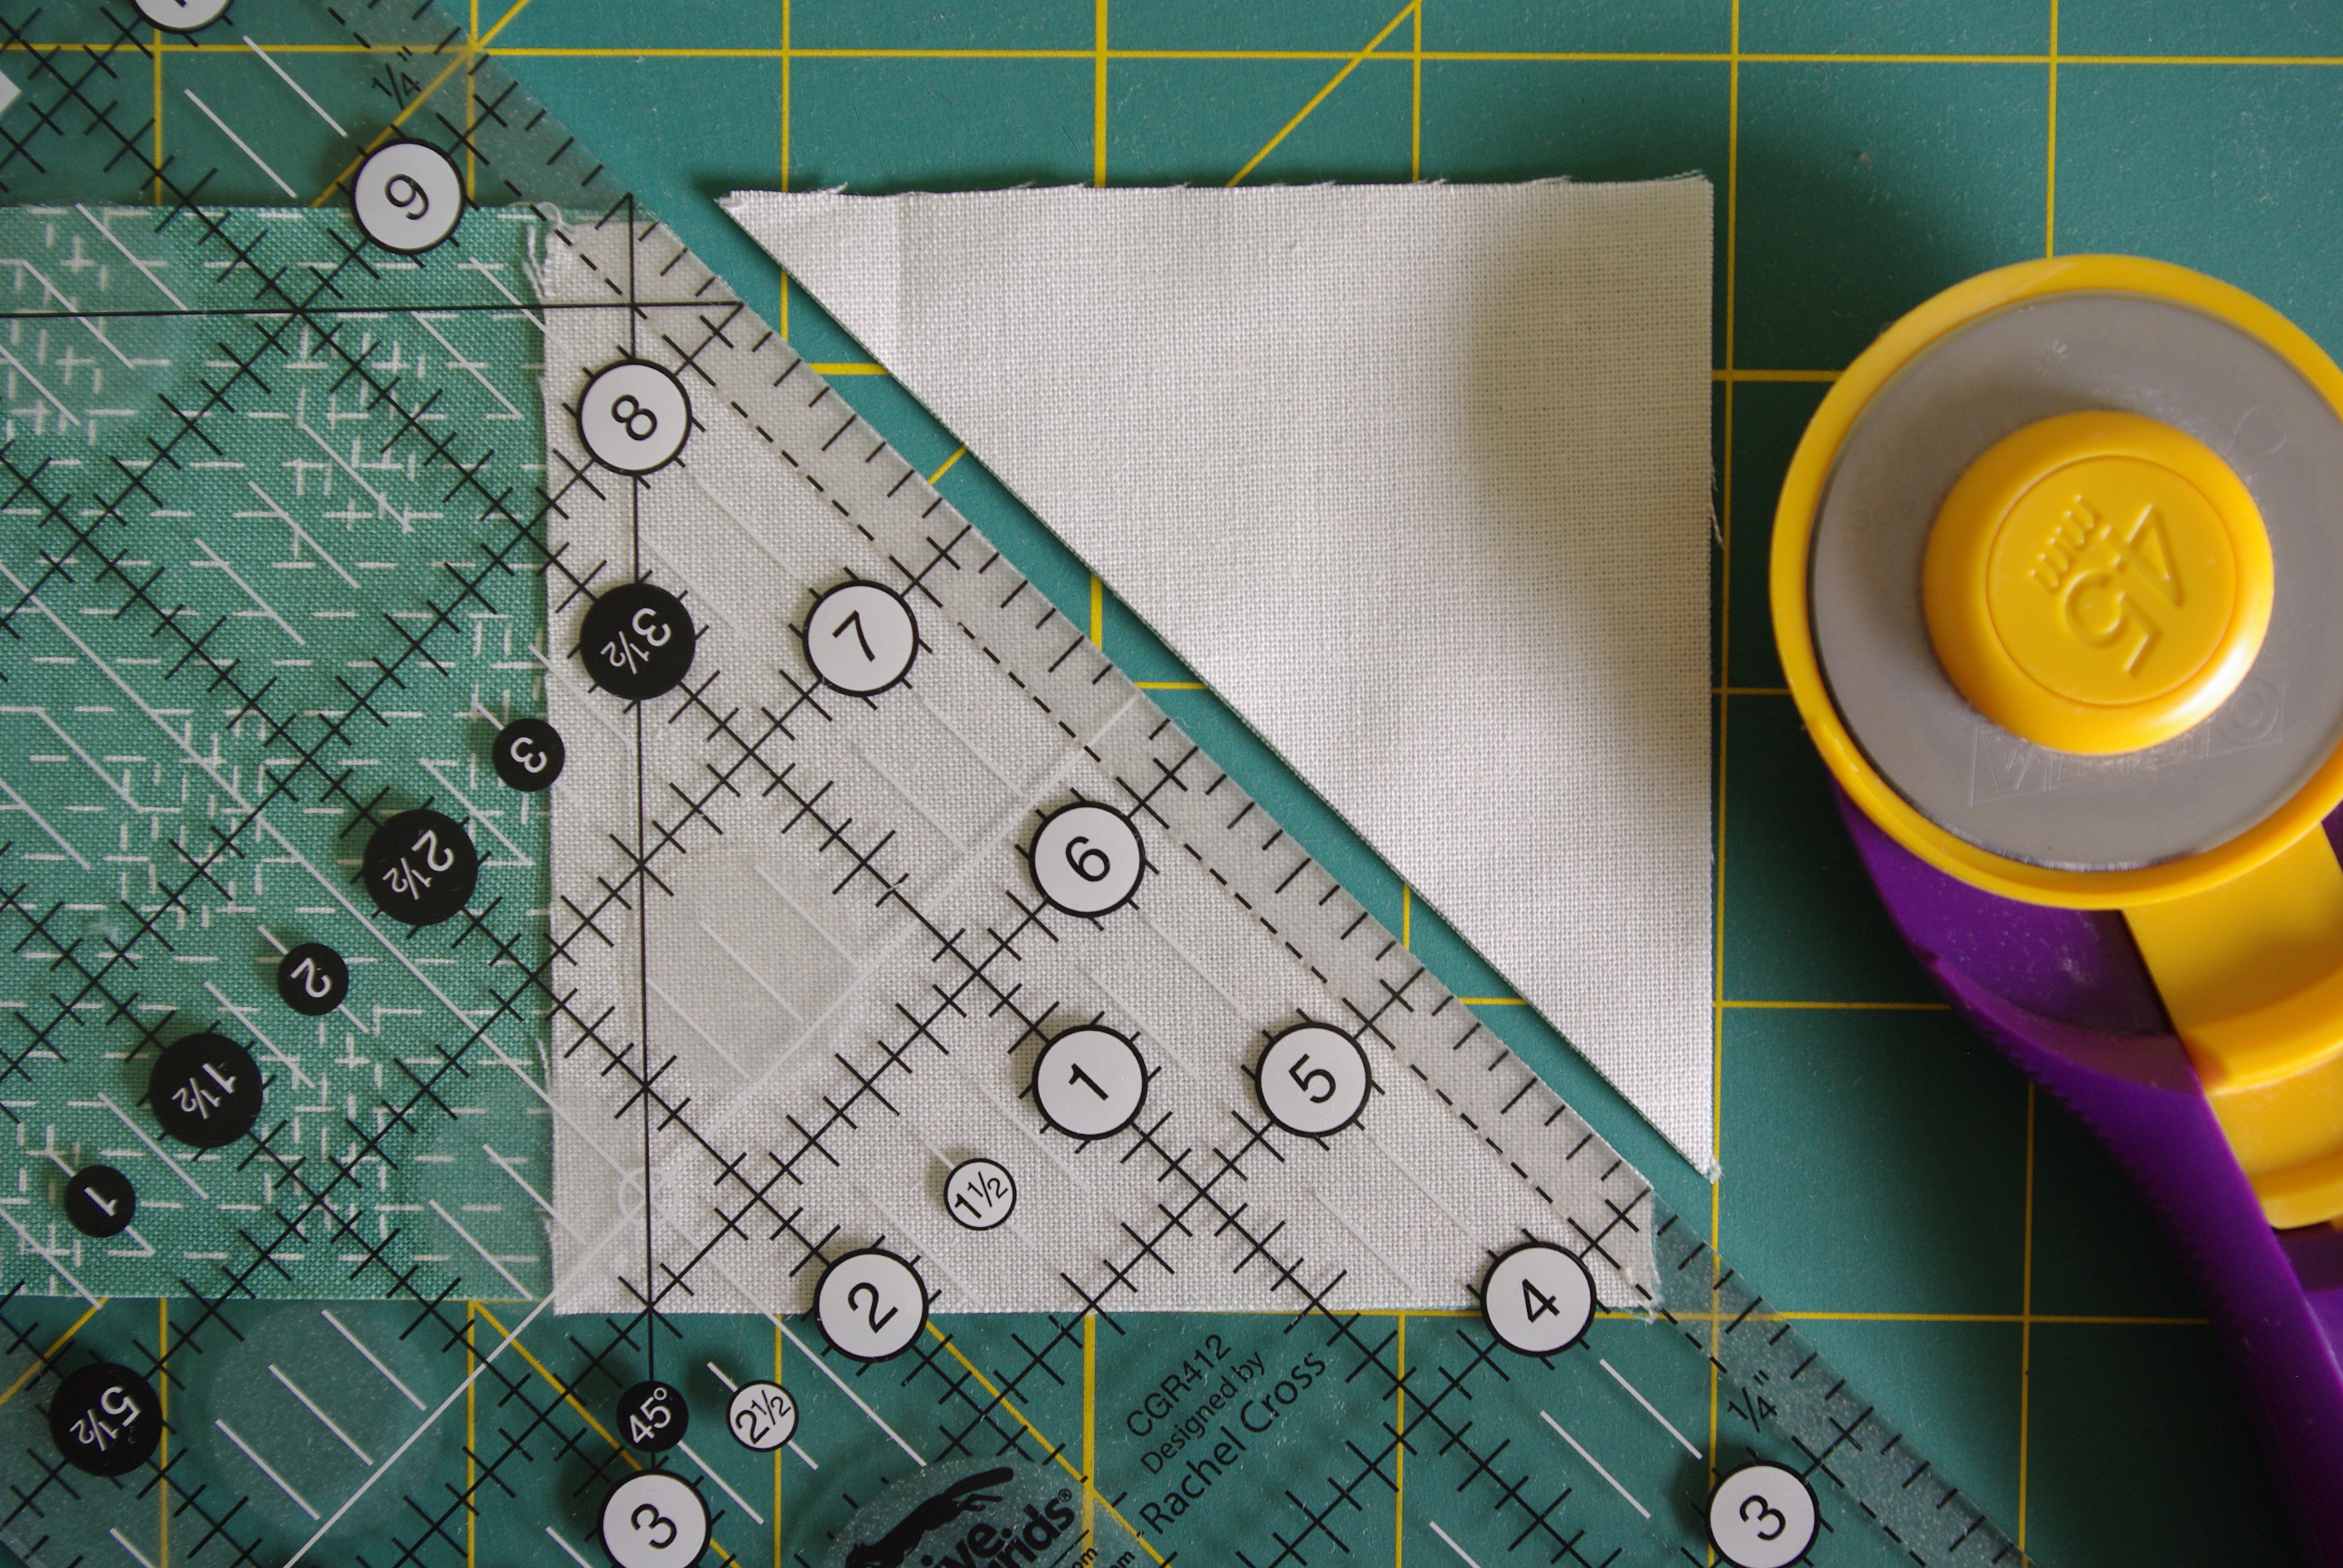
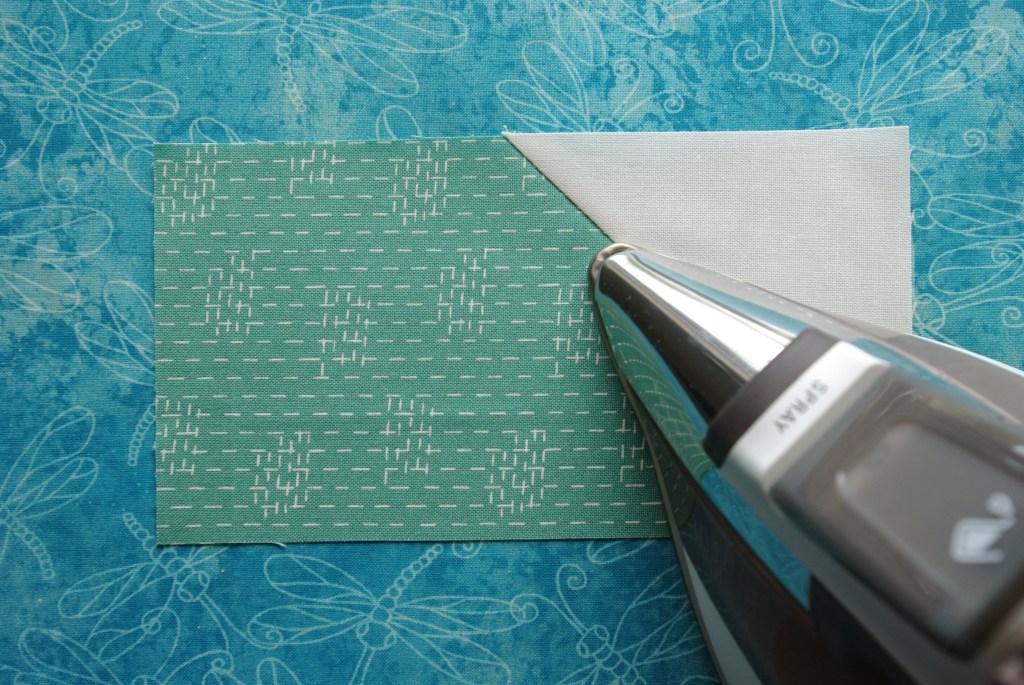
Your results will be a nicely aligned corner. 🙂

To finish your flying geese, repeat the same steps for the opposite side. Place the fabric with the drawn line as shown. Pin.

Sew just along side of the line.

Cut away the corner and press.

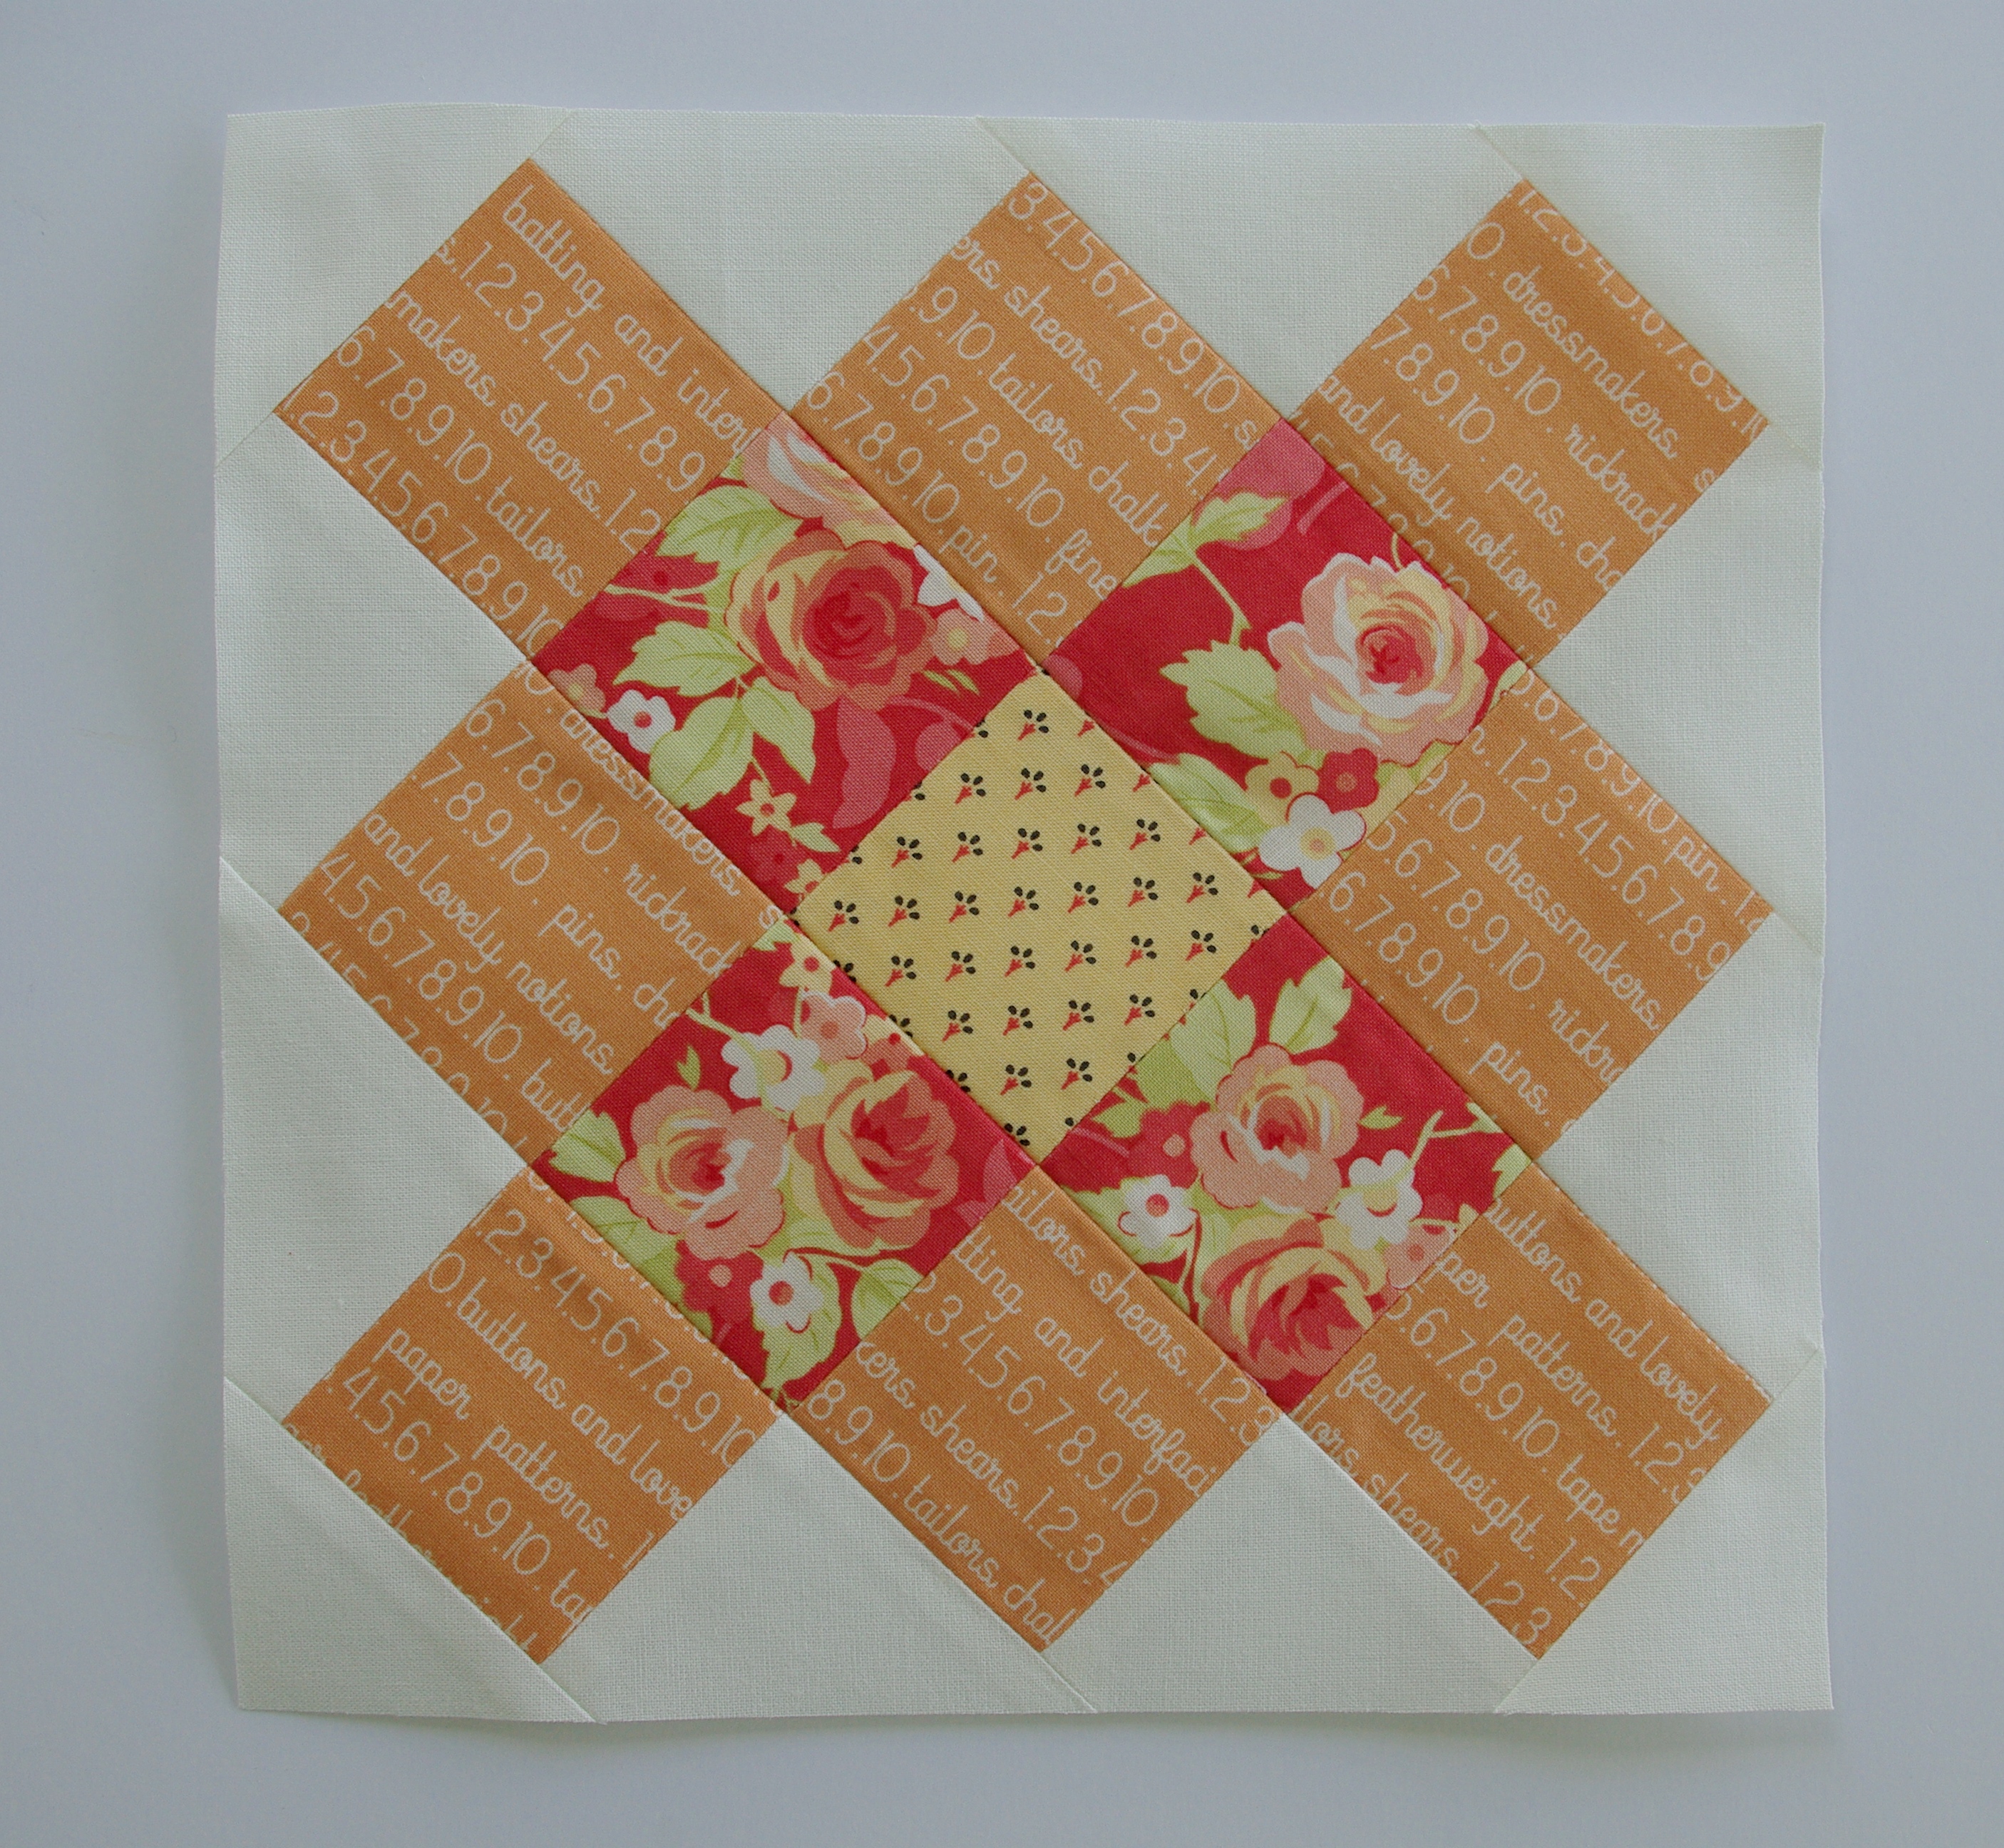
And done! A finished flying geese with no trimming required. 🙂

Simple, right?

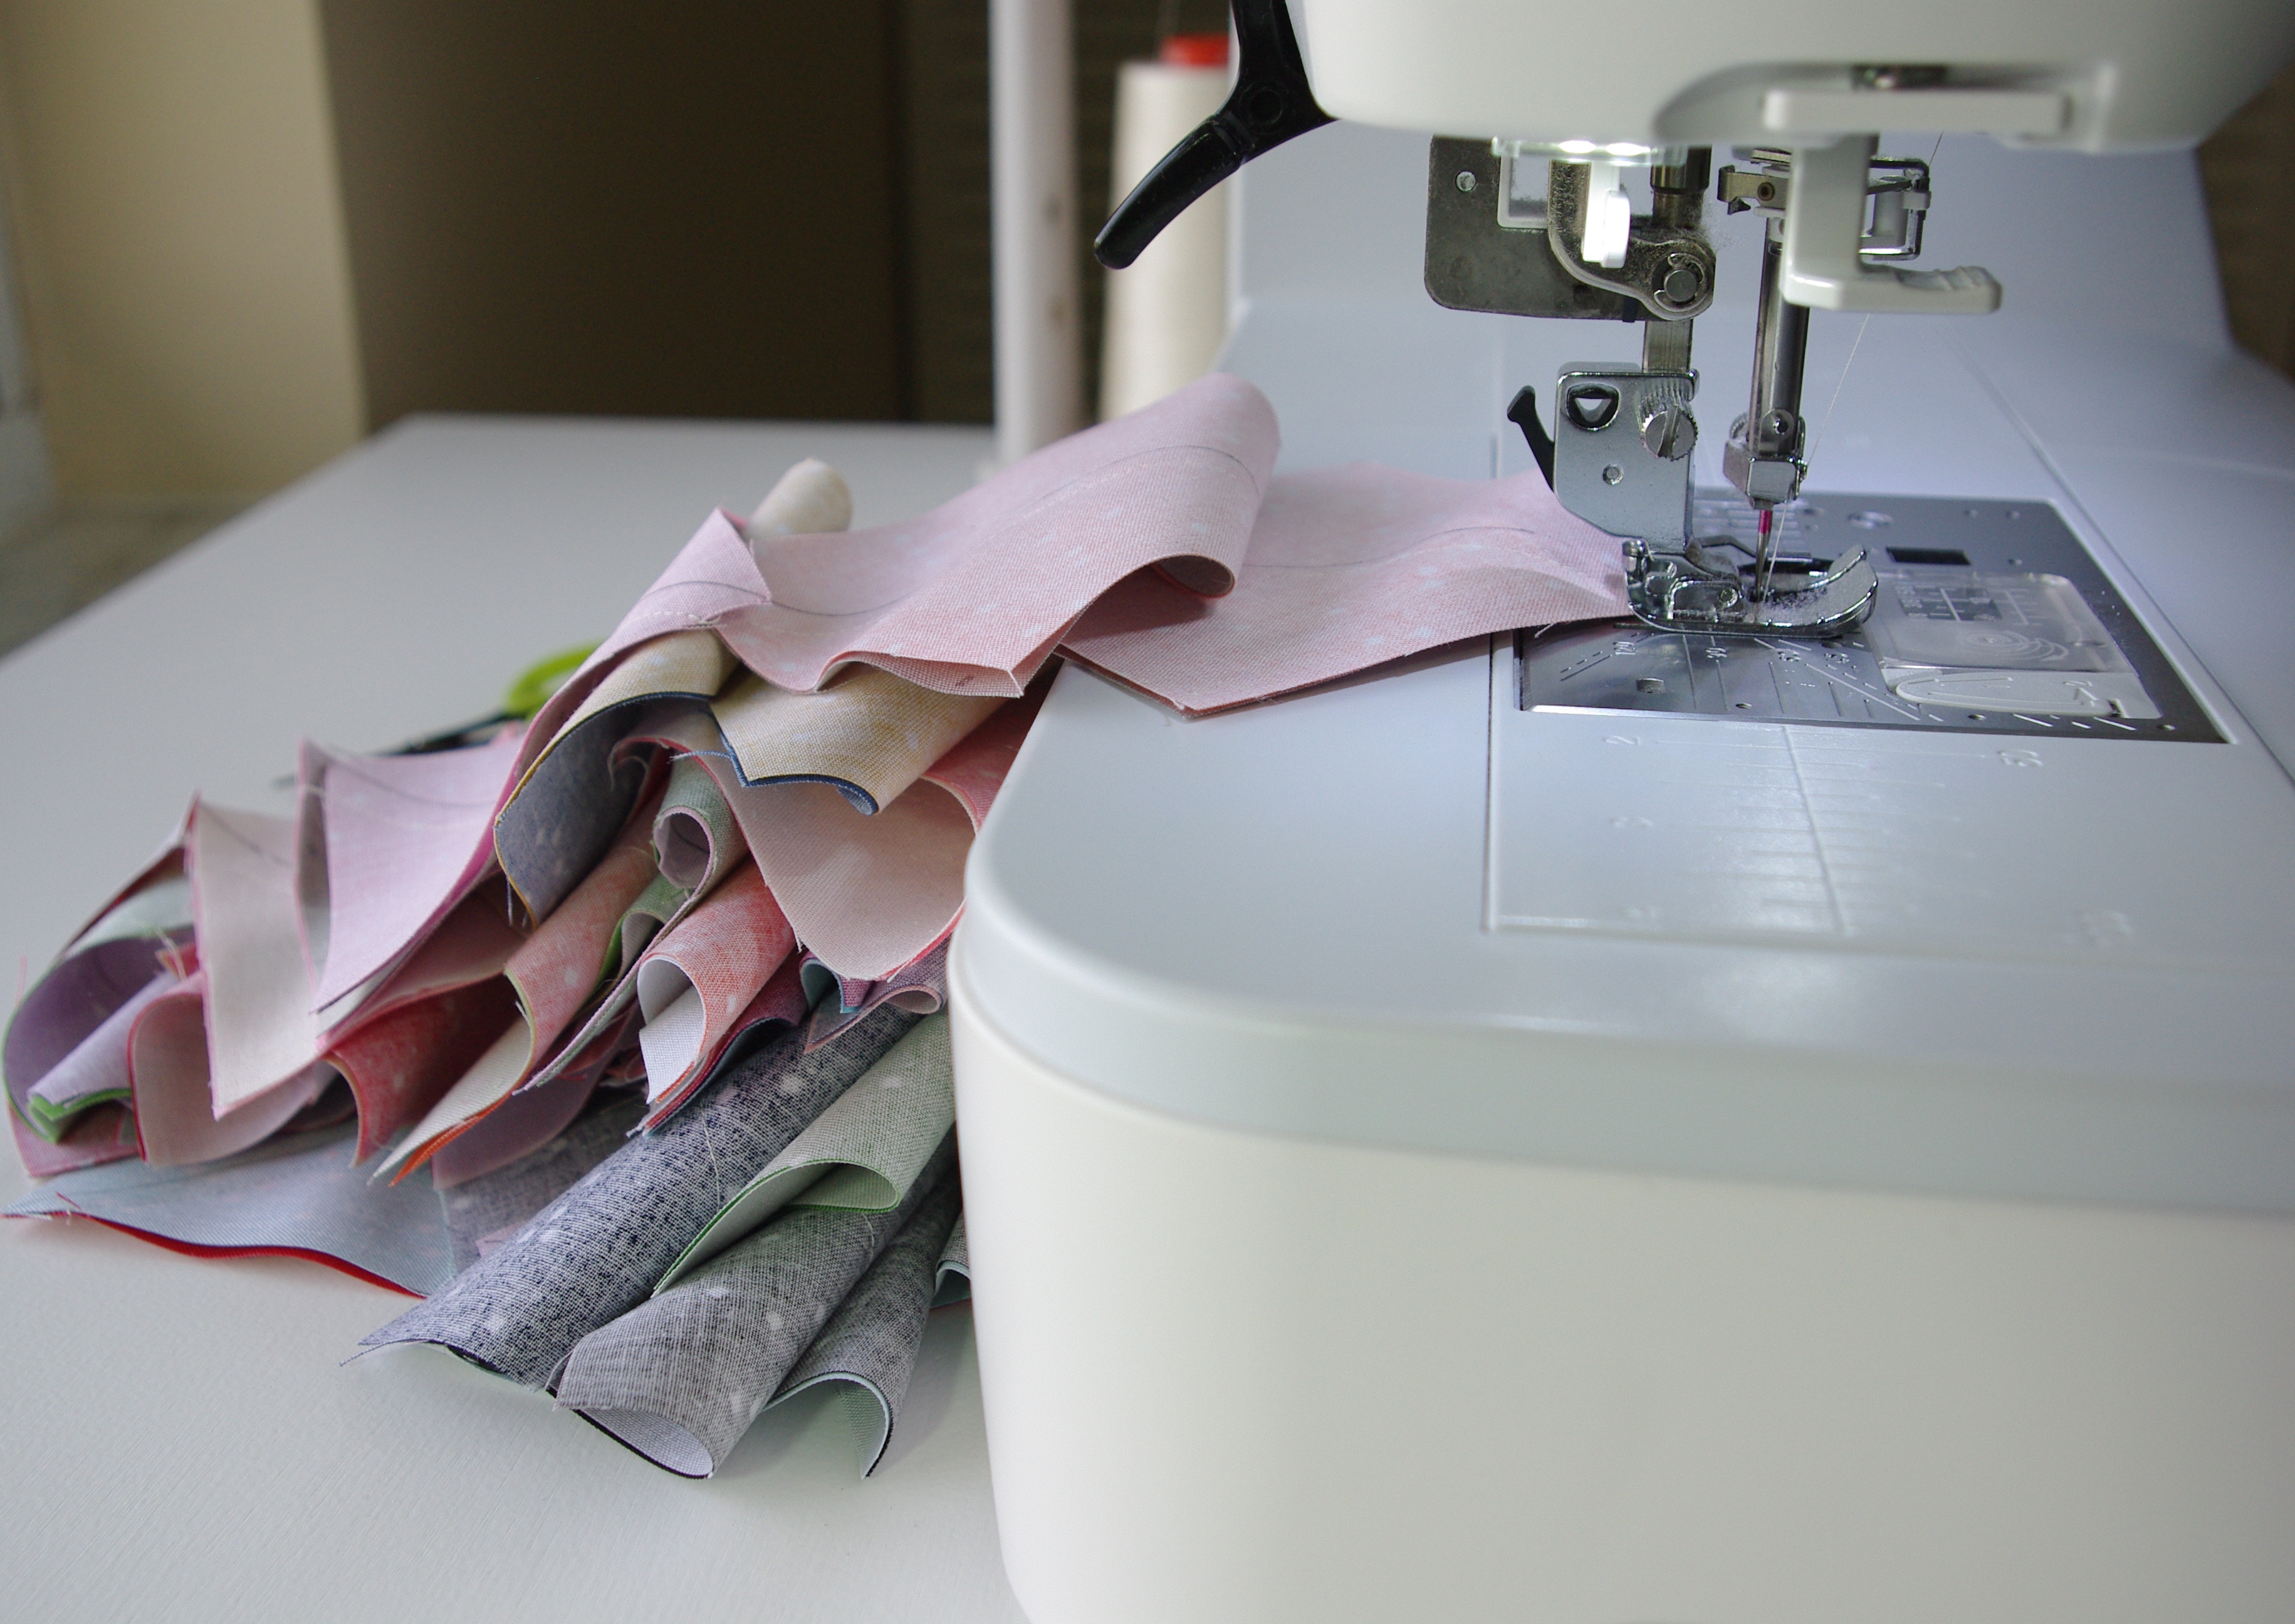
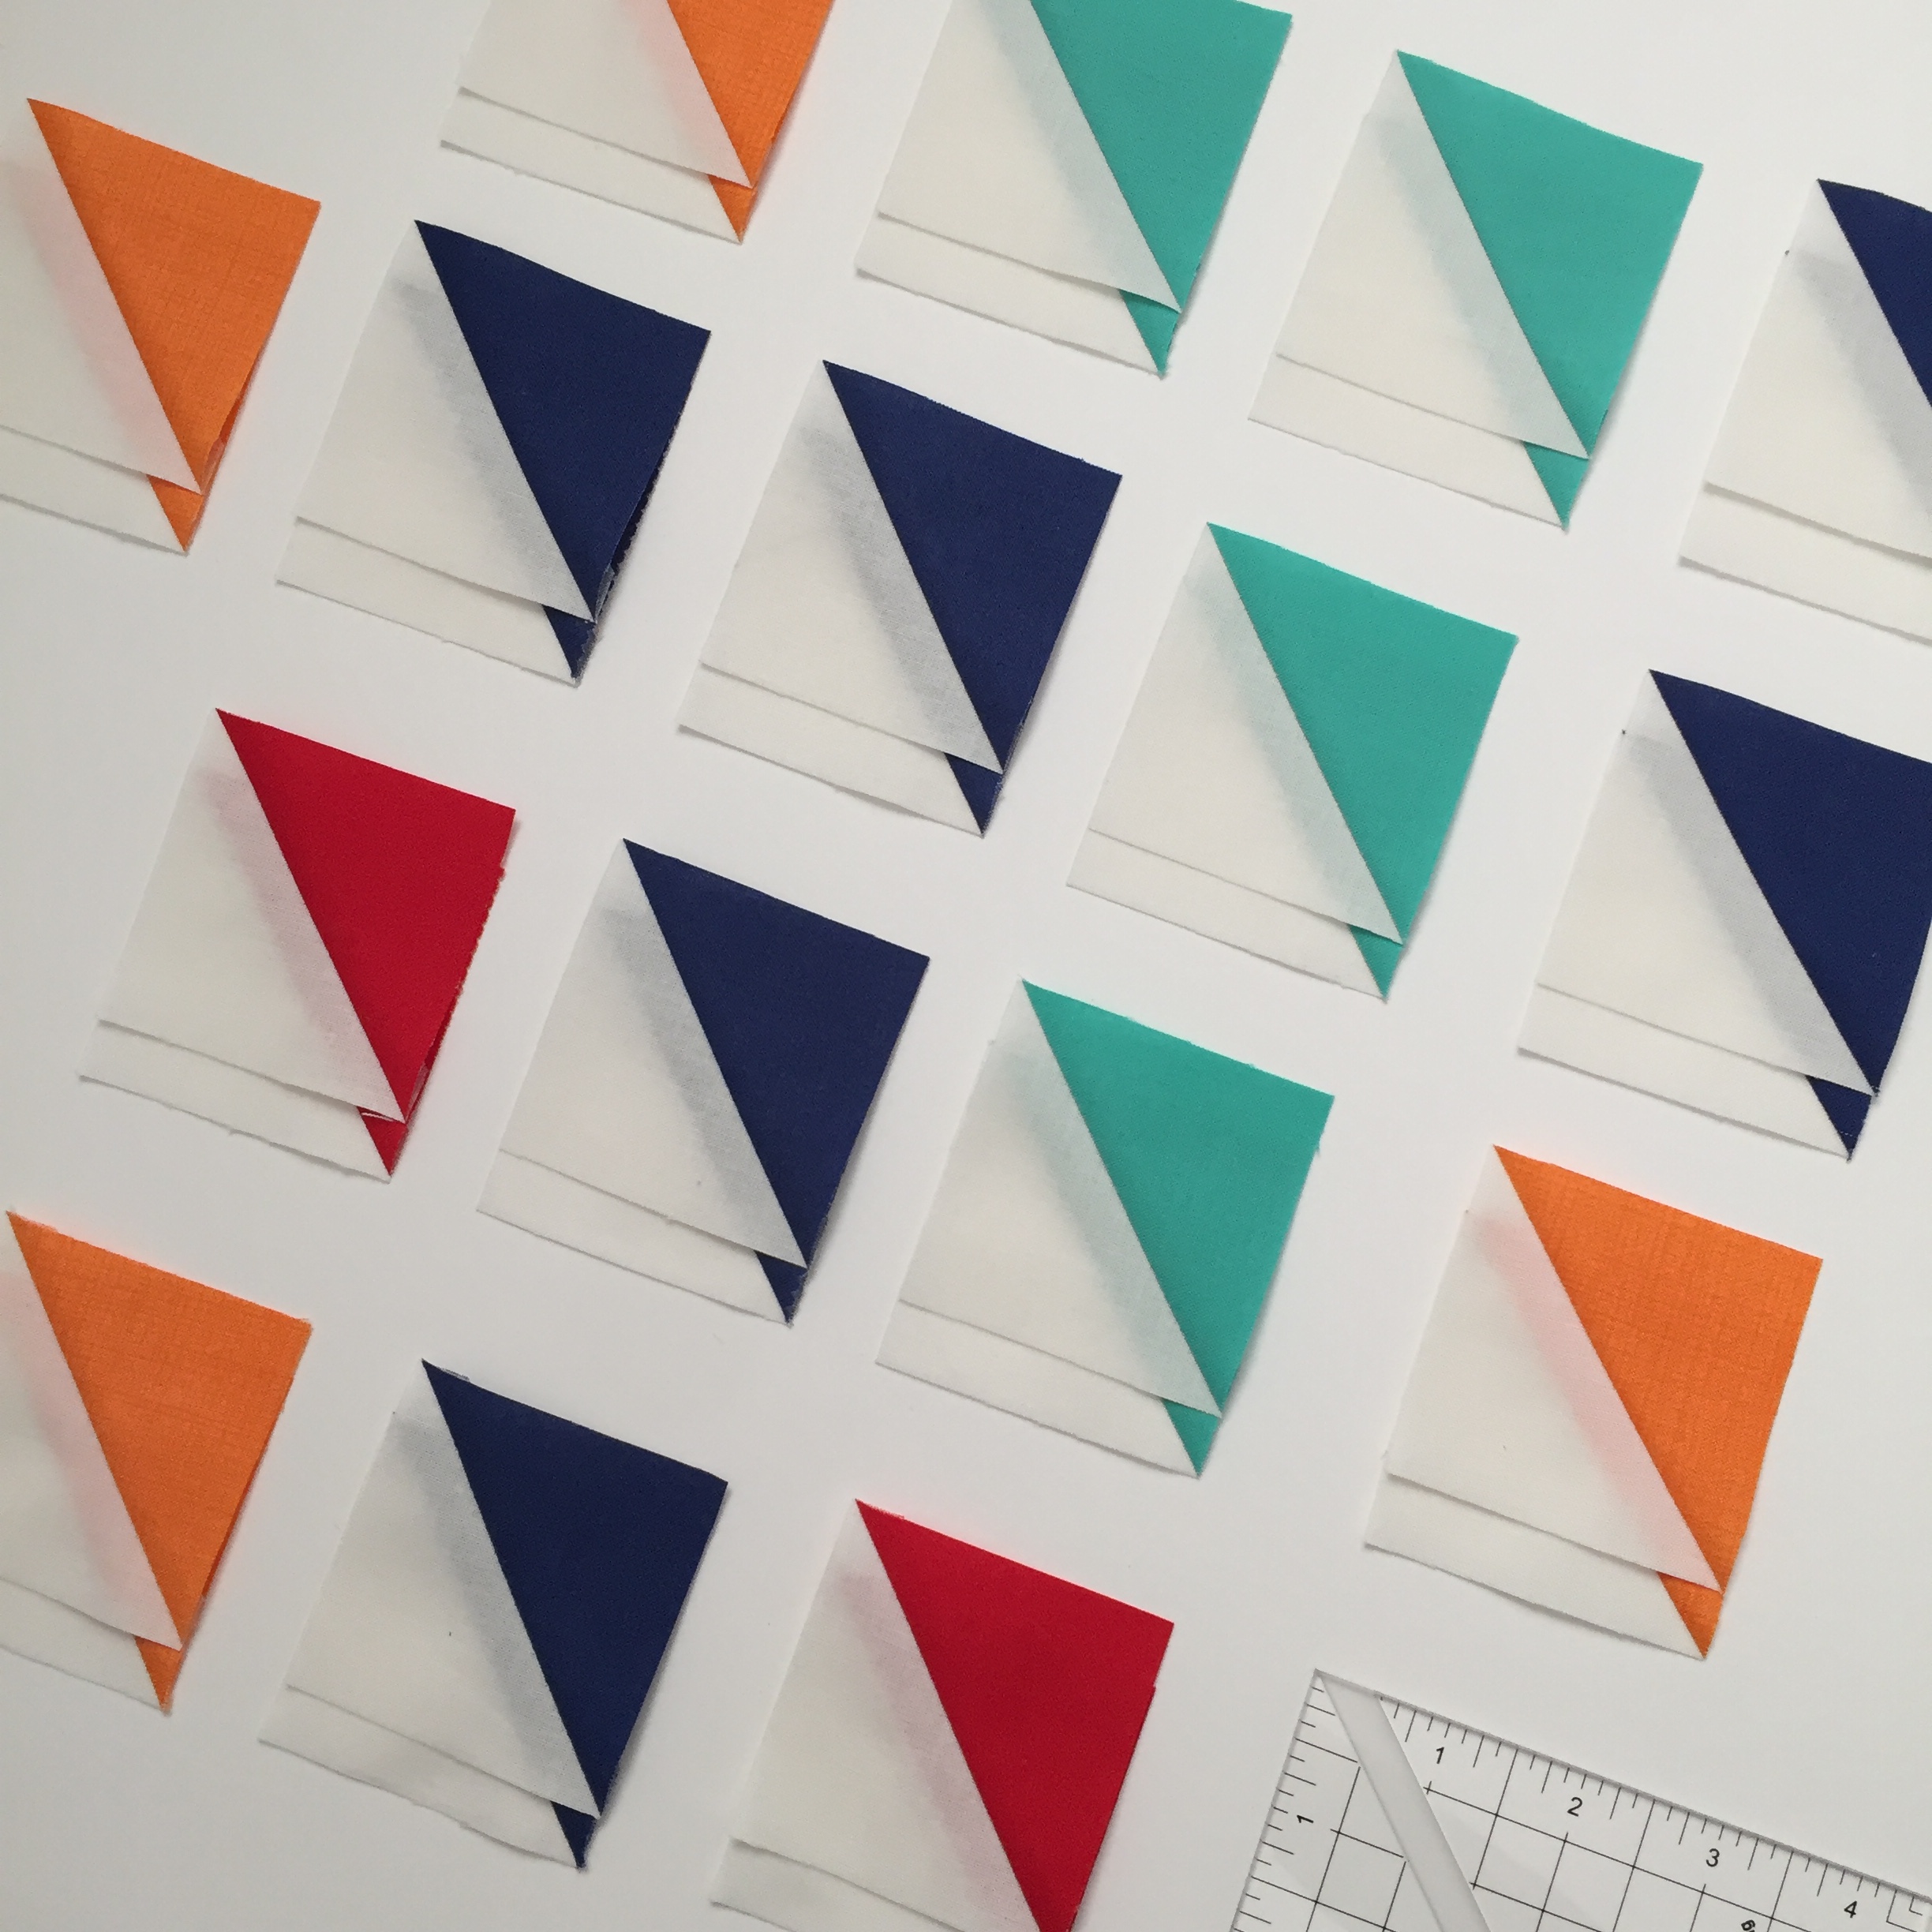
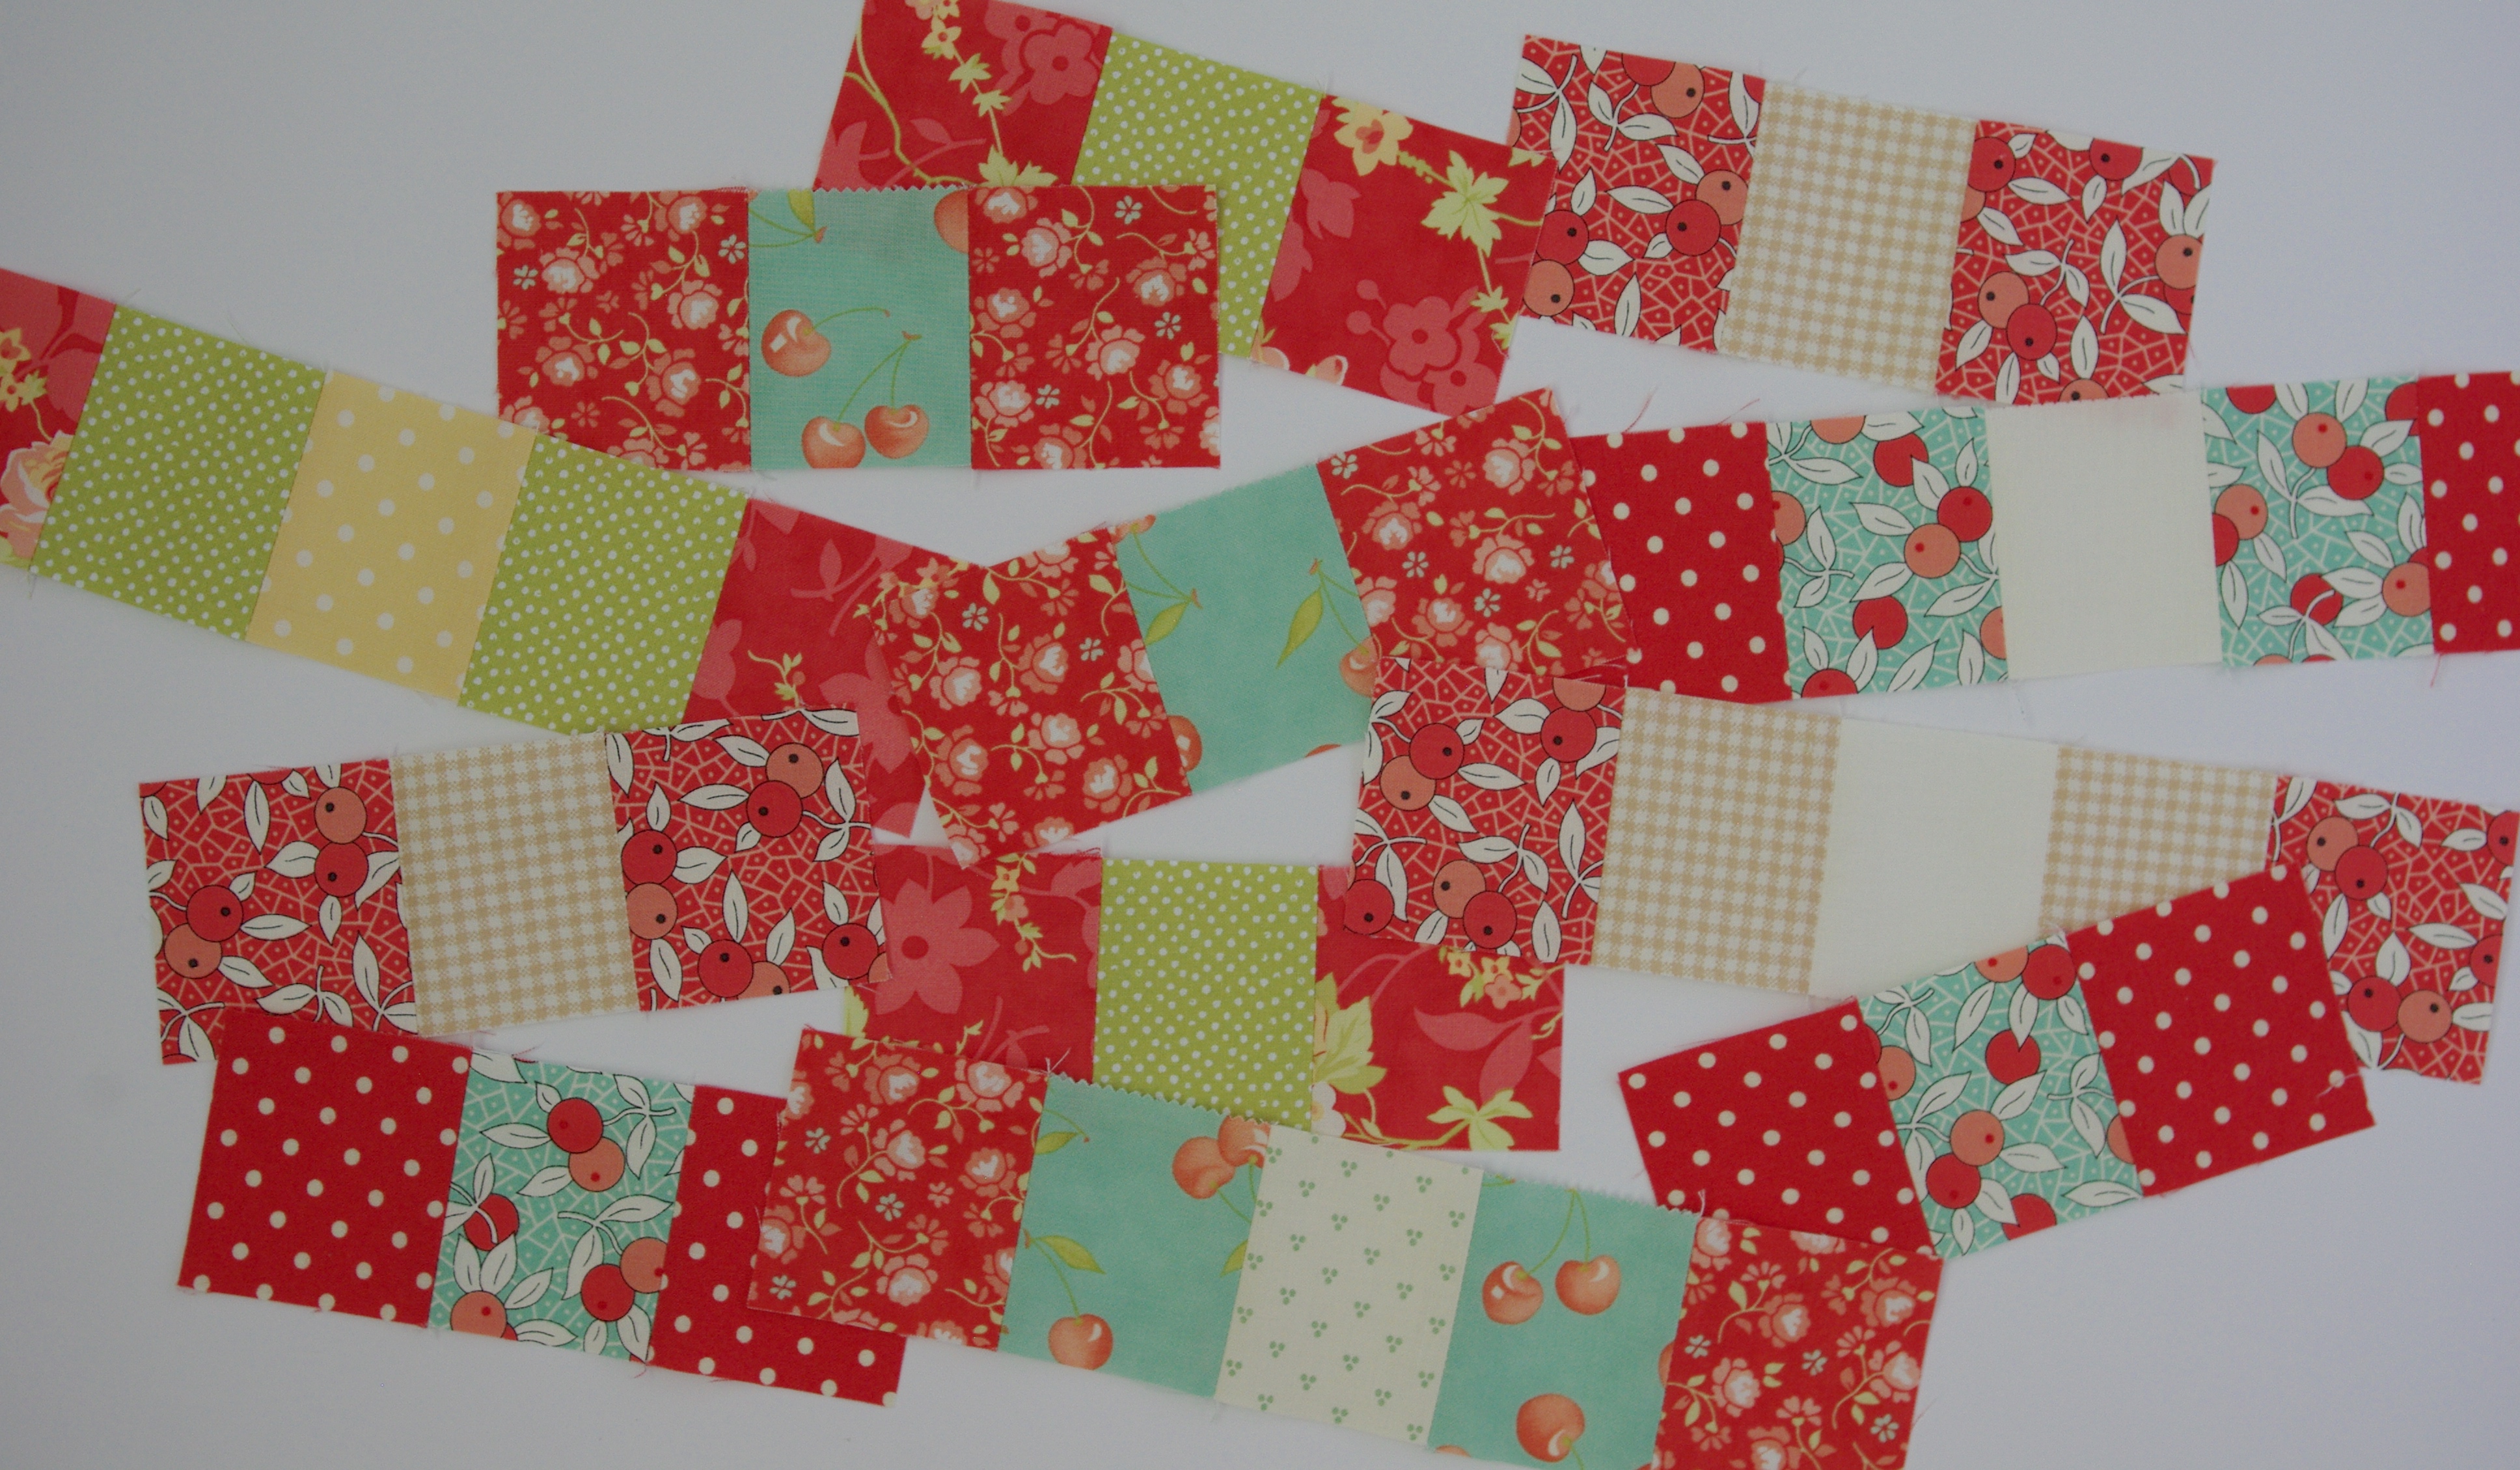
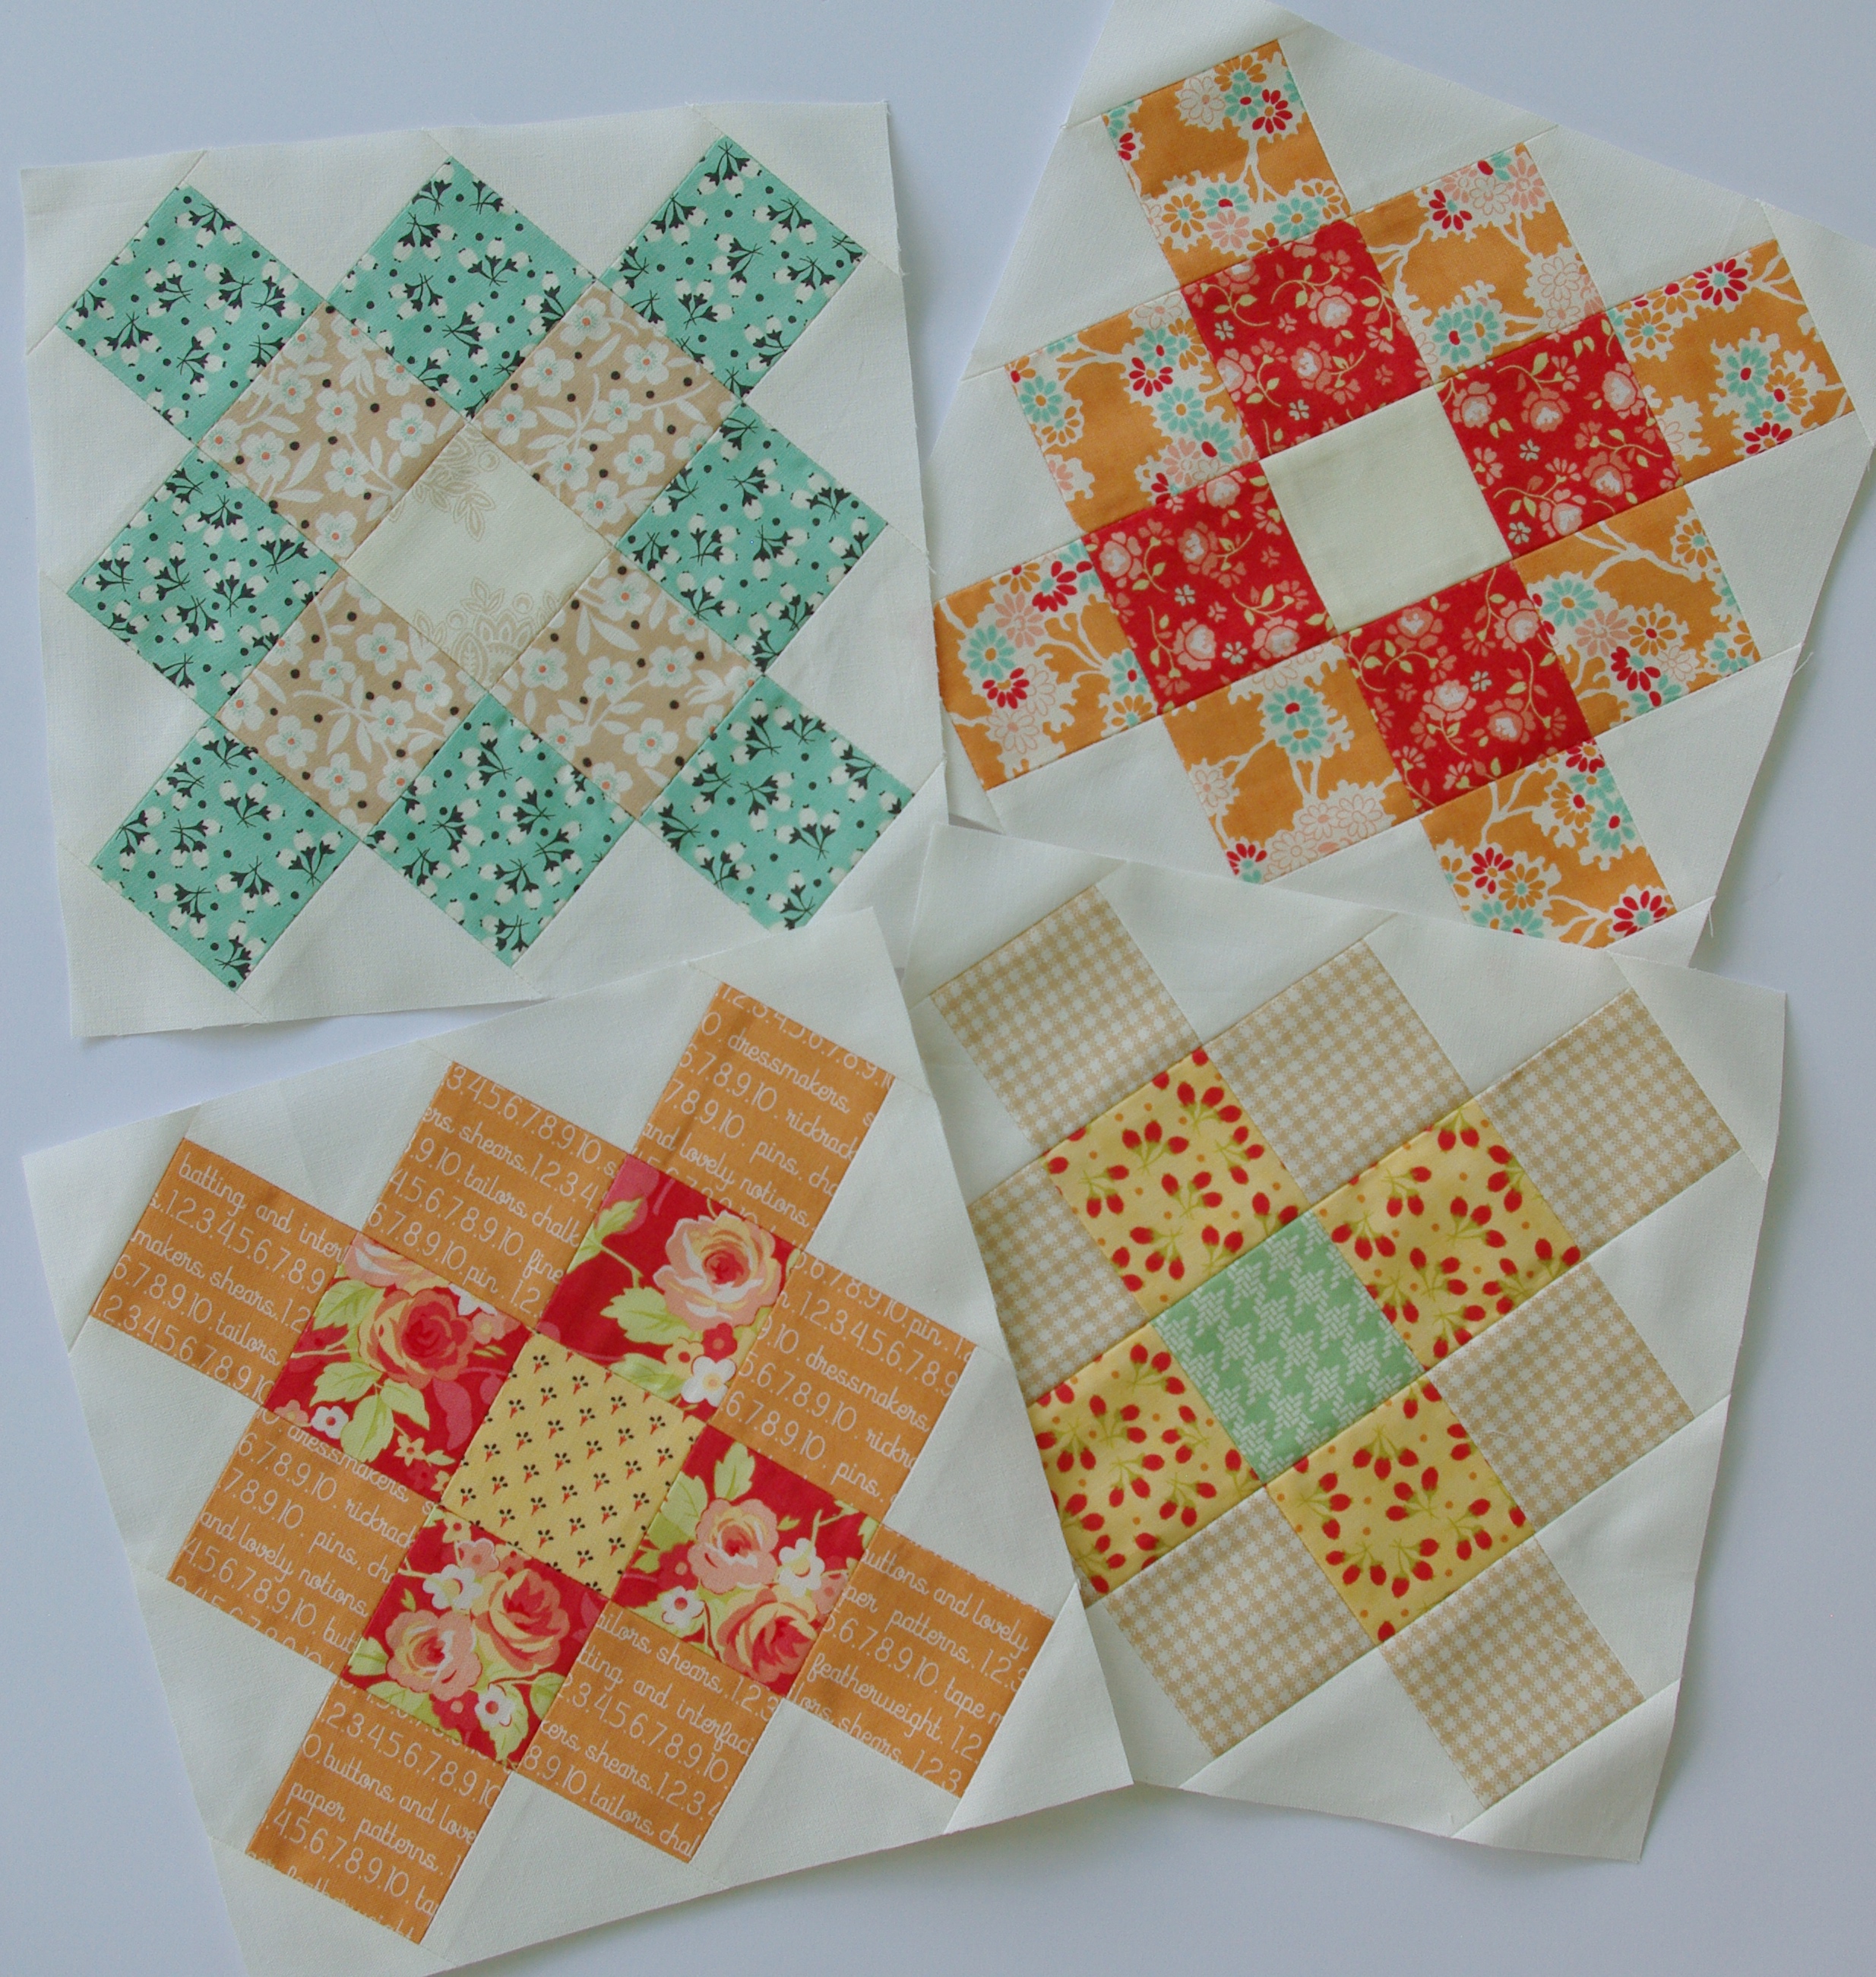
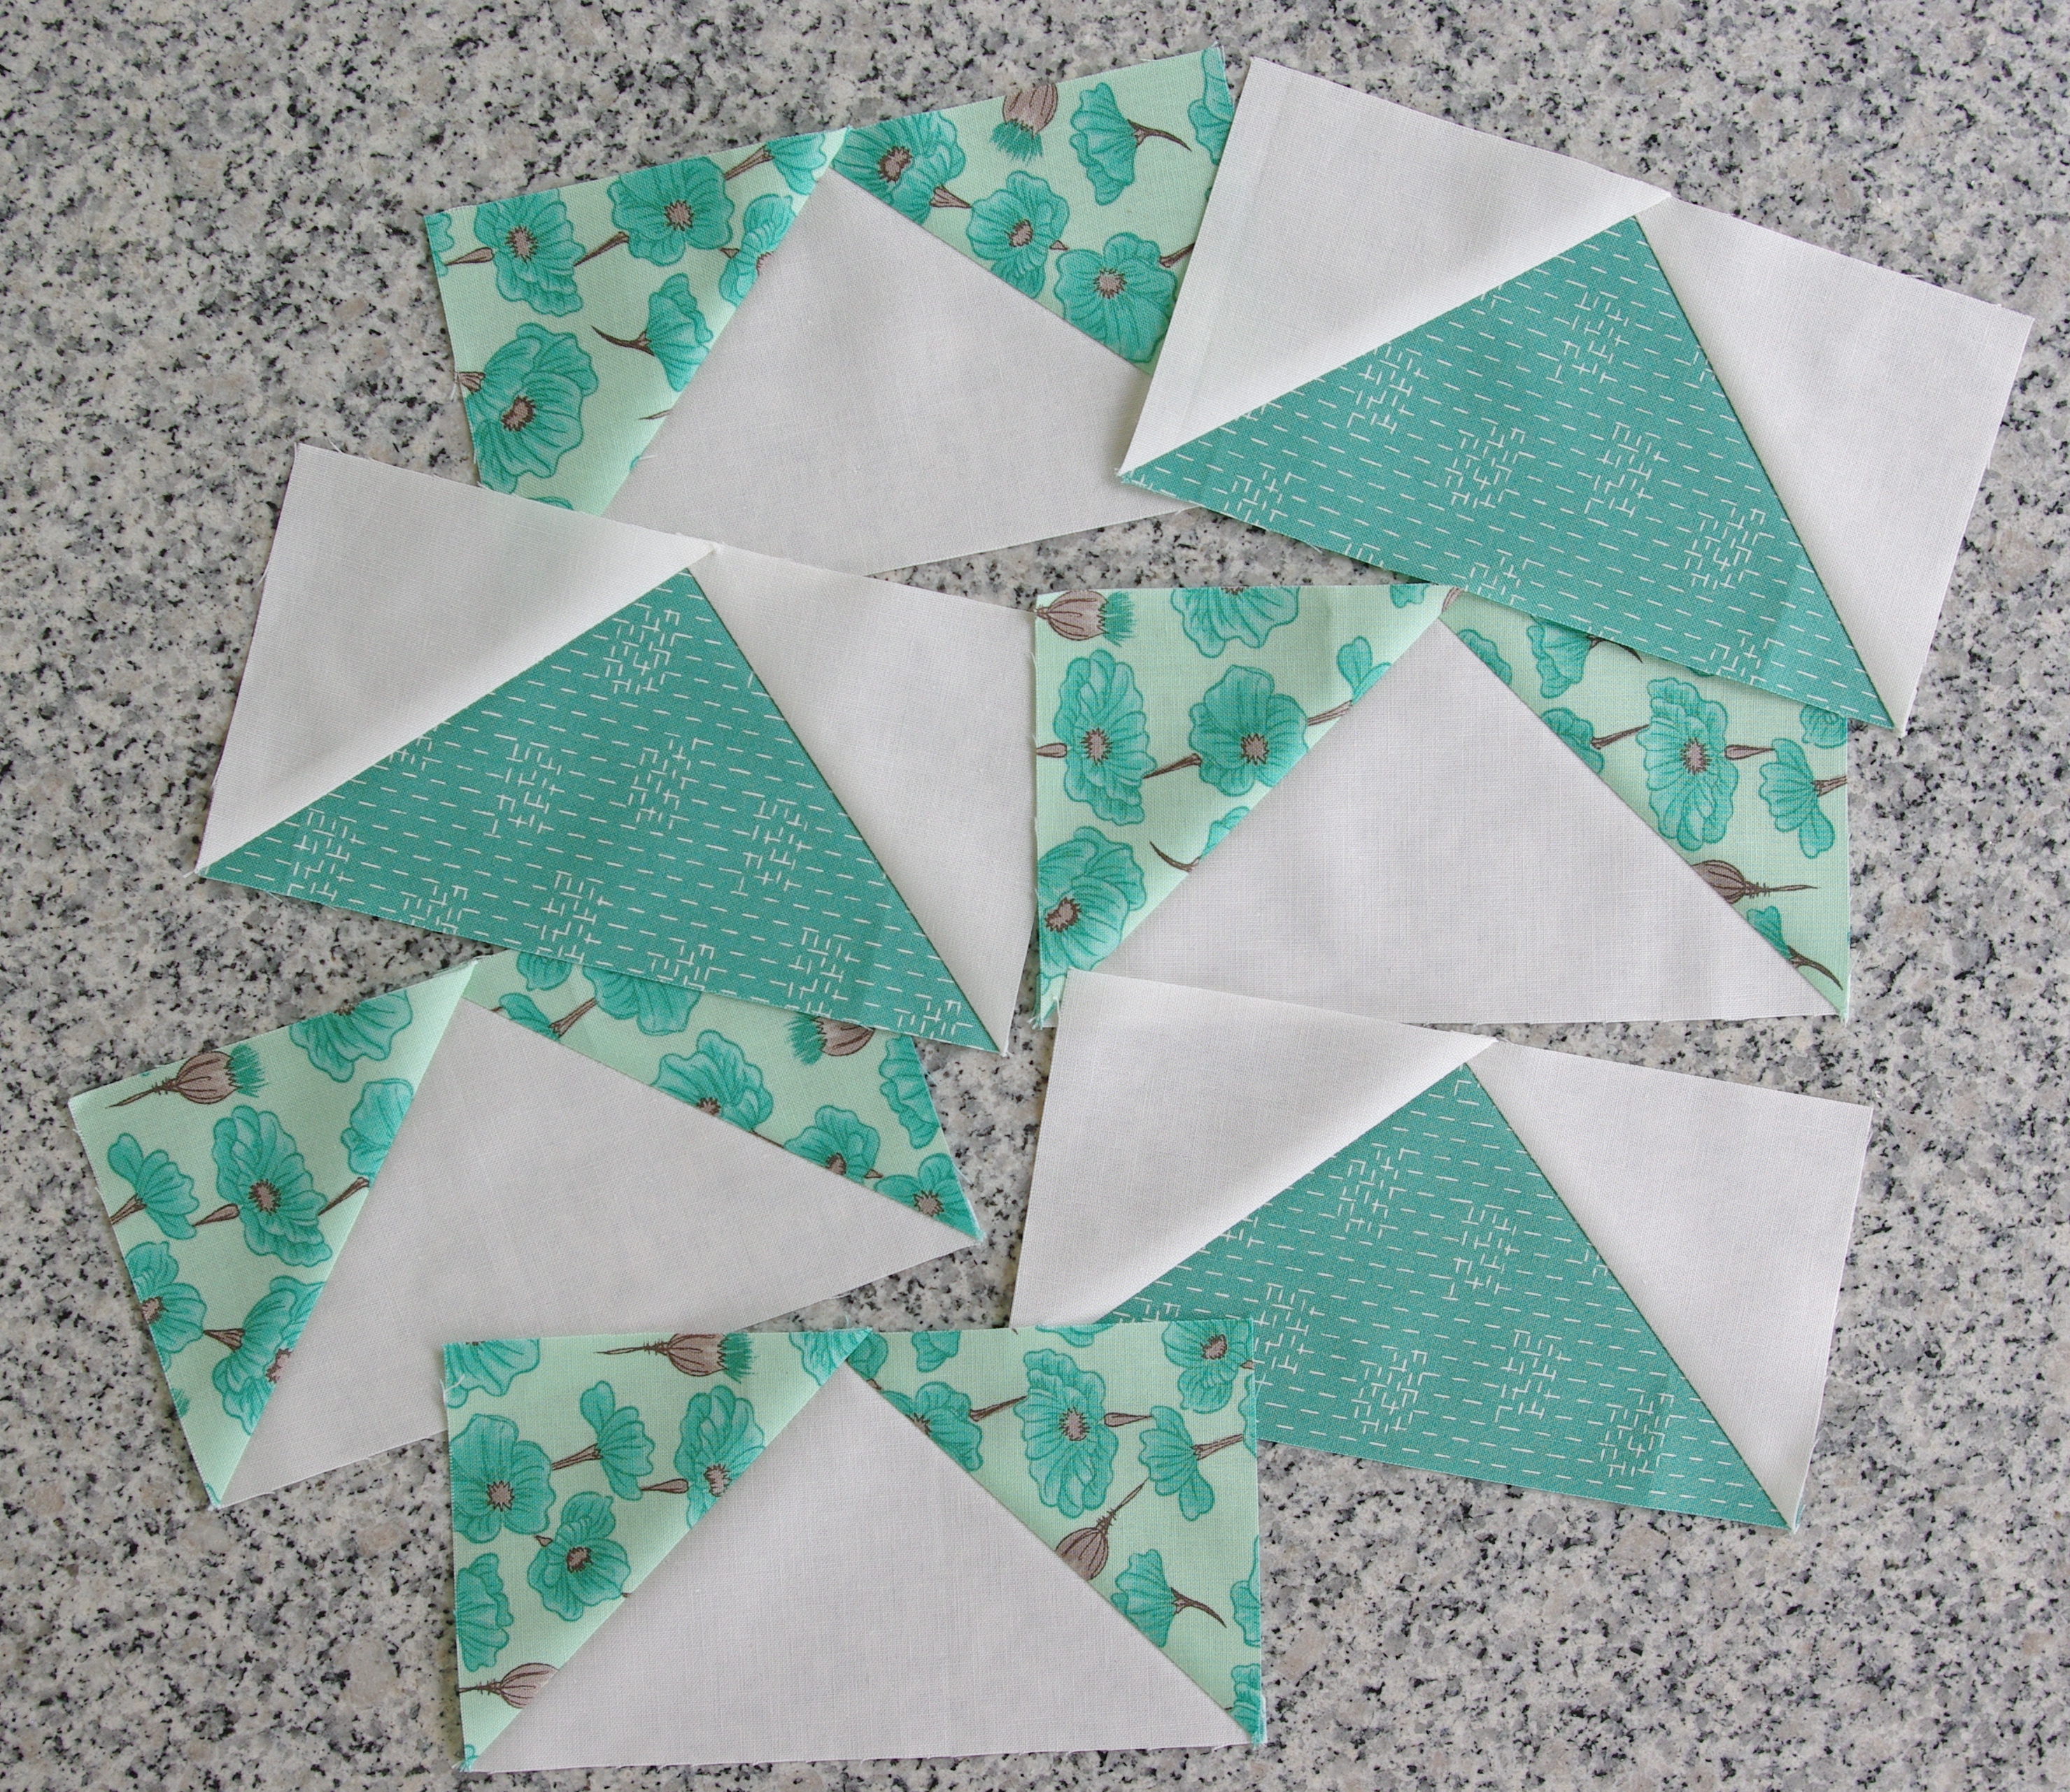
I made my blocks for a Swoon quilt I have in the works. If you’re making several for a project, they can be chain pieced, one side at a time. It’s a great time-saver.

Now that you’ve added the traditional flying geese block to your quilting repertoire it’s time to experiment and have some fun!

quilting, tutorials, Uncategorized

How to Make Half Square Triangles

Ahh, half square triangles…I couldn’t imagine the quilting world with out them. I think it would be a safe bet to say that the majority of quilt patterns include half square triangles. And I think most quilters would agree that we love of their versatility.

Learning how to make half square triangles (HSTs) with accurate results can make all the difference in your quilt. I remember my first quilt included HSTs, and I also remember that I had no idea what I was in for when it came time to make them! I didn’t know anything about trimming and the importance of accuracy which made putting the quilt top together a bigger challenge than I expected.

Half square triangles using Fig Tree & Co. and Kona Cotton fabrics

If you’re a new quilter, I have an tutorial on how to make half square triangles with ease. It’s a basic method where you make two at a time and bias edges are avoided. By using this method you’ll find there’s very little waste but it allows enough fabric for trimming, and it’s perfect for chain piecing.

For future reference, I’ve included a sizing chart that provides both the size of the cut of fabric needed and the size of the finished/trimmed HST. It’s really a great resource, I use it all the time. Click to download my Half Square Triangle Chart.

To make Half Square Triangles (HSTs) – 2 at a time

To get started, cut (2) contrasting color fabrics to desired size. The lighter colored fabric will be referred to ‘A square’ and the darker fabric will be referred to as ‘B square.’

  • Draw a diagonal line on the wrong side of A square
  • Place A square on B square, right sides together
  • Sew ¼” from the drawn line on both sides
  • Cut on the drawn line, press to B square
  • Trim HSTs to finished size
  • One sewn unit makes 2 HSTs

I made these HSTs for a pillow project using this method.

You can see that very little was trimmed away, but it does make a lot of difference when you piece your project together. I like to use a Bloc-Loc ruler for trimming my squares. Not only does it give great accuracy, it makes the trimming process go much faster than using a regular quilter’s ruler.

If you give this tutorial a try, I hope your triangles are stellar. 🙂 Let’s go have some fun creating!

Note: I am not endorsed by any products I have mentioned or photographed in this post; they are just items I like, use and wanted to share information on.

quilting, quilts, tutorials, Uncategorized

Quilting on a Whim (A Granny Square Quilt)

I admit, this is the first time I’ve ever made a quilt on impulse. It happened while scrolling Instagram and granny square posts kept showing up from the Moda Bake Shop. Almost instantly it clicked—I knew I wanted to make a granny square quilt and I had the perfect fabric for it. And since I recently finished a rather challenging and labor intensive queen size quilt, I needed something easy!

A while back I ordered a fat quarter bundle of Moda’s Chestnut Street for a fall quilt. While I cut what was needed for the pattern, I never made the quilt because I couldn’t decide on a background fabric. Since I had plenty of Chestnut Street left over, along with additional fabrics from other Fig Tree collections, I knew I had enough fabric and variety (plus I added two Dear Stella Mini Dots). I’d also been intent on stashing down, so it was definitely a go! I stopped what I was working on and started pulling fabric. And let me tell you, it was FUN. 🙂

Image-1.jpg

IMGP7220

There were so many things about making this quilt that made it fun…for example, I had no plan, it was literally on a whim. I randomly mixed and matched fabric, whatever I felt went together got put together. I was using what I had, and of all cuts – an older charm pack, scraps, fat quarters, yardage…including the background fabric, Kona Cotton Snow. I truly enjoyed the entire process.

IMGP8567.jpg

Once I finished 28 squares, I figured it was time for a plan. I decided on a throw quilt with six blocks per row, seven rows (42 squares total), 2″ sashing and a background border.

IMGP8601

IMGP8636

Because it came out so lovely, I had it professionally quilted with the digital pattern Daisy Delight.

IMG_7815.JPG

I did have to purchase binding fabric, luckily I found what I wanted from the Chestnut Street line. I also had to purchase the backing. Since the quilt has a lot of orange in it, I wanted to incorporate it onto the back as well. I decided on Tule Quietude in Sunset by Leah Duncan for Art Gallery Fabrics. I loved how this print blended nicely with the colors on the front.

IMGP8814.JPG

My Granny Square quilt finished at 64 ½” x 74 ½”. And I just love it!

IMGP8794.JPG

I mentioned that the granny squares popped up on IG from the Moda Bake Shop, so I visited their site for block instructions. Because I wanted to use scraps that I had already cut into 2 ½” squares, I had to do some recalculating for a more petite block. Also, this size block is great because it can be easily made with precuts, including 2 ½” strips, 5″ squares and 10″ squares.

IMGP8409

IMGP8478

Here’s a quick tutorial on how to make a granny square block with the dimensions I used. My blocks finished at roughly 8 3/8″ square.

FROM COLOR/PRINT FABRIC, CUT:

(1) 2 ½” x 2 ½” square (center square)

(4) 2 ½” x 2 ½” squares (inner squares)

(8) 2 ½” x 2 ½” squares (outer squares)

FROM BACKGROUND FABRIC, CUT:

(2) 2 ½” x 2 ½” squares

*subcut diagonal once

(2) 4 ¼” x 4 ¼” squares

*subcut diagonal twice

Lay out fabric as illustrated below:

IMGP8576.jpg

Sew pieces together into rows using ¼” seam allowance. I recommend pinning! Be sure to trim away dog ears. Pressed rows will look like this:

IMGP8577.jpg

Because sewn pieces are relatively small, I pressed all my seams open to reduce bulk. It definitely helps the blocks to lay nice and flat.

Next, turn the block sideways, as shown. Place the remaining triangle pieces in the four corners. Sew and press.

IMGP8585.JPG

The final step, trimming your block (and the remaining dog ears). Line up your ruler with the ¼” mark placed at the corners of the outer squares, as shown. Trim.

IMGP8590

Give your block one last press and you have a beautiful granny square!

IMGP8592.jpg

I know it’s common for quilters to finish a quilt and say it’s their new favorite, but this one really is for me. It’s different from most of the quilts I’ve made, mainly because of the fabrics, many were soft and feminine floral prints.

IMGP8810.jpg

I think every quilter needs to make a granny square quilt, well, just because…don’t you agree?