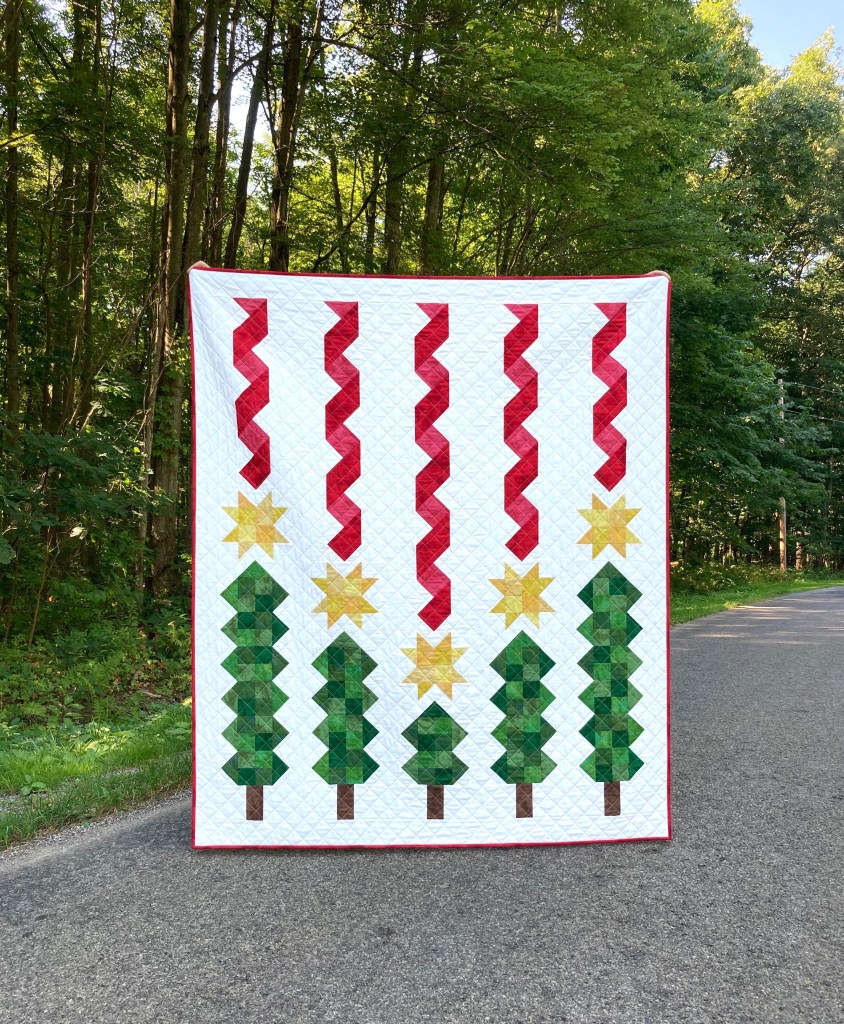
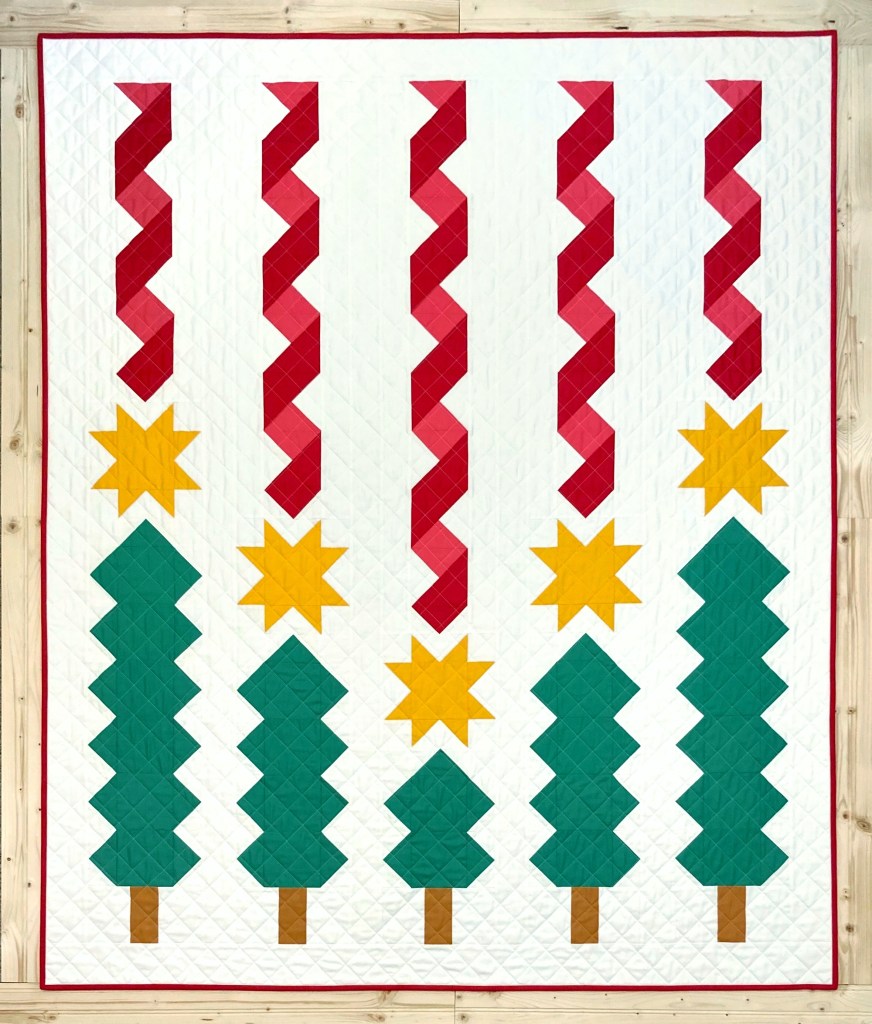
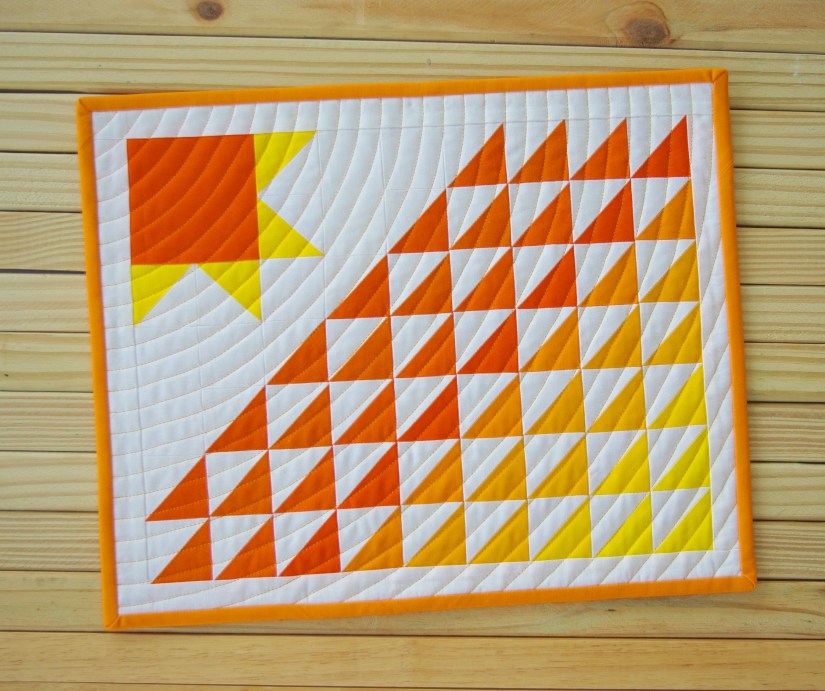
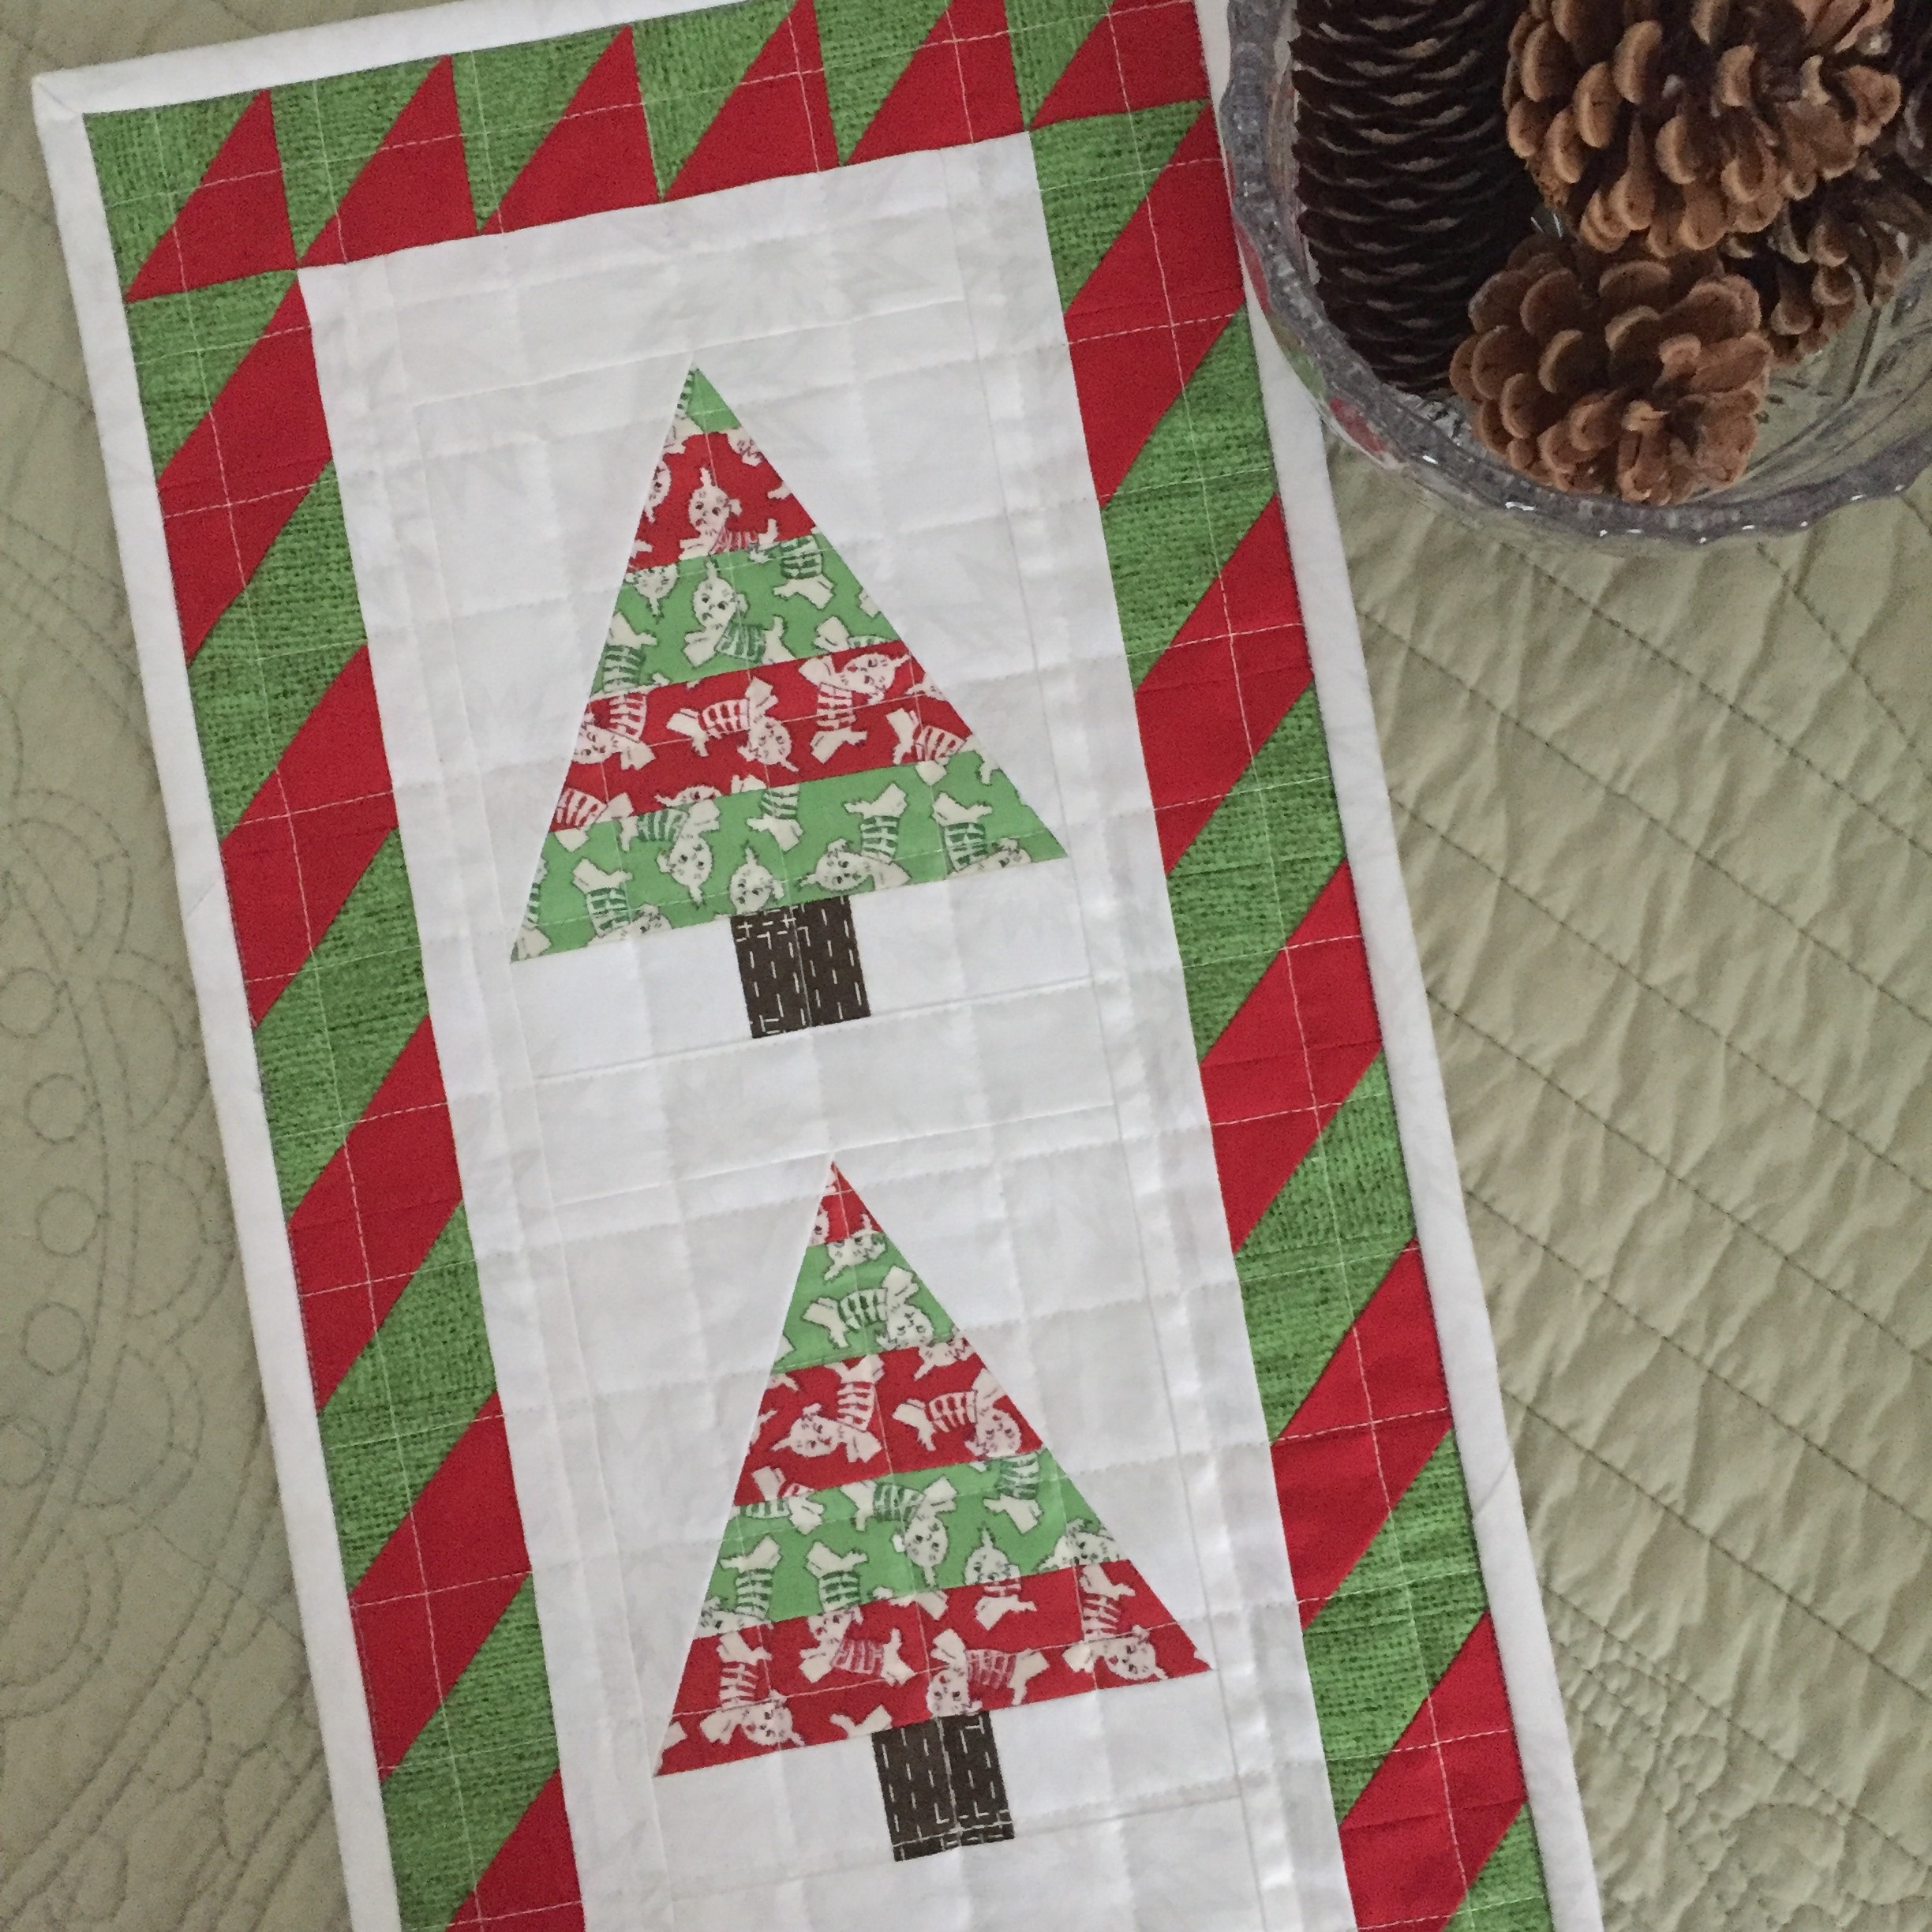
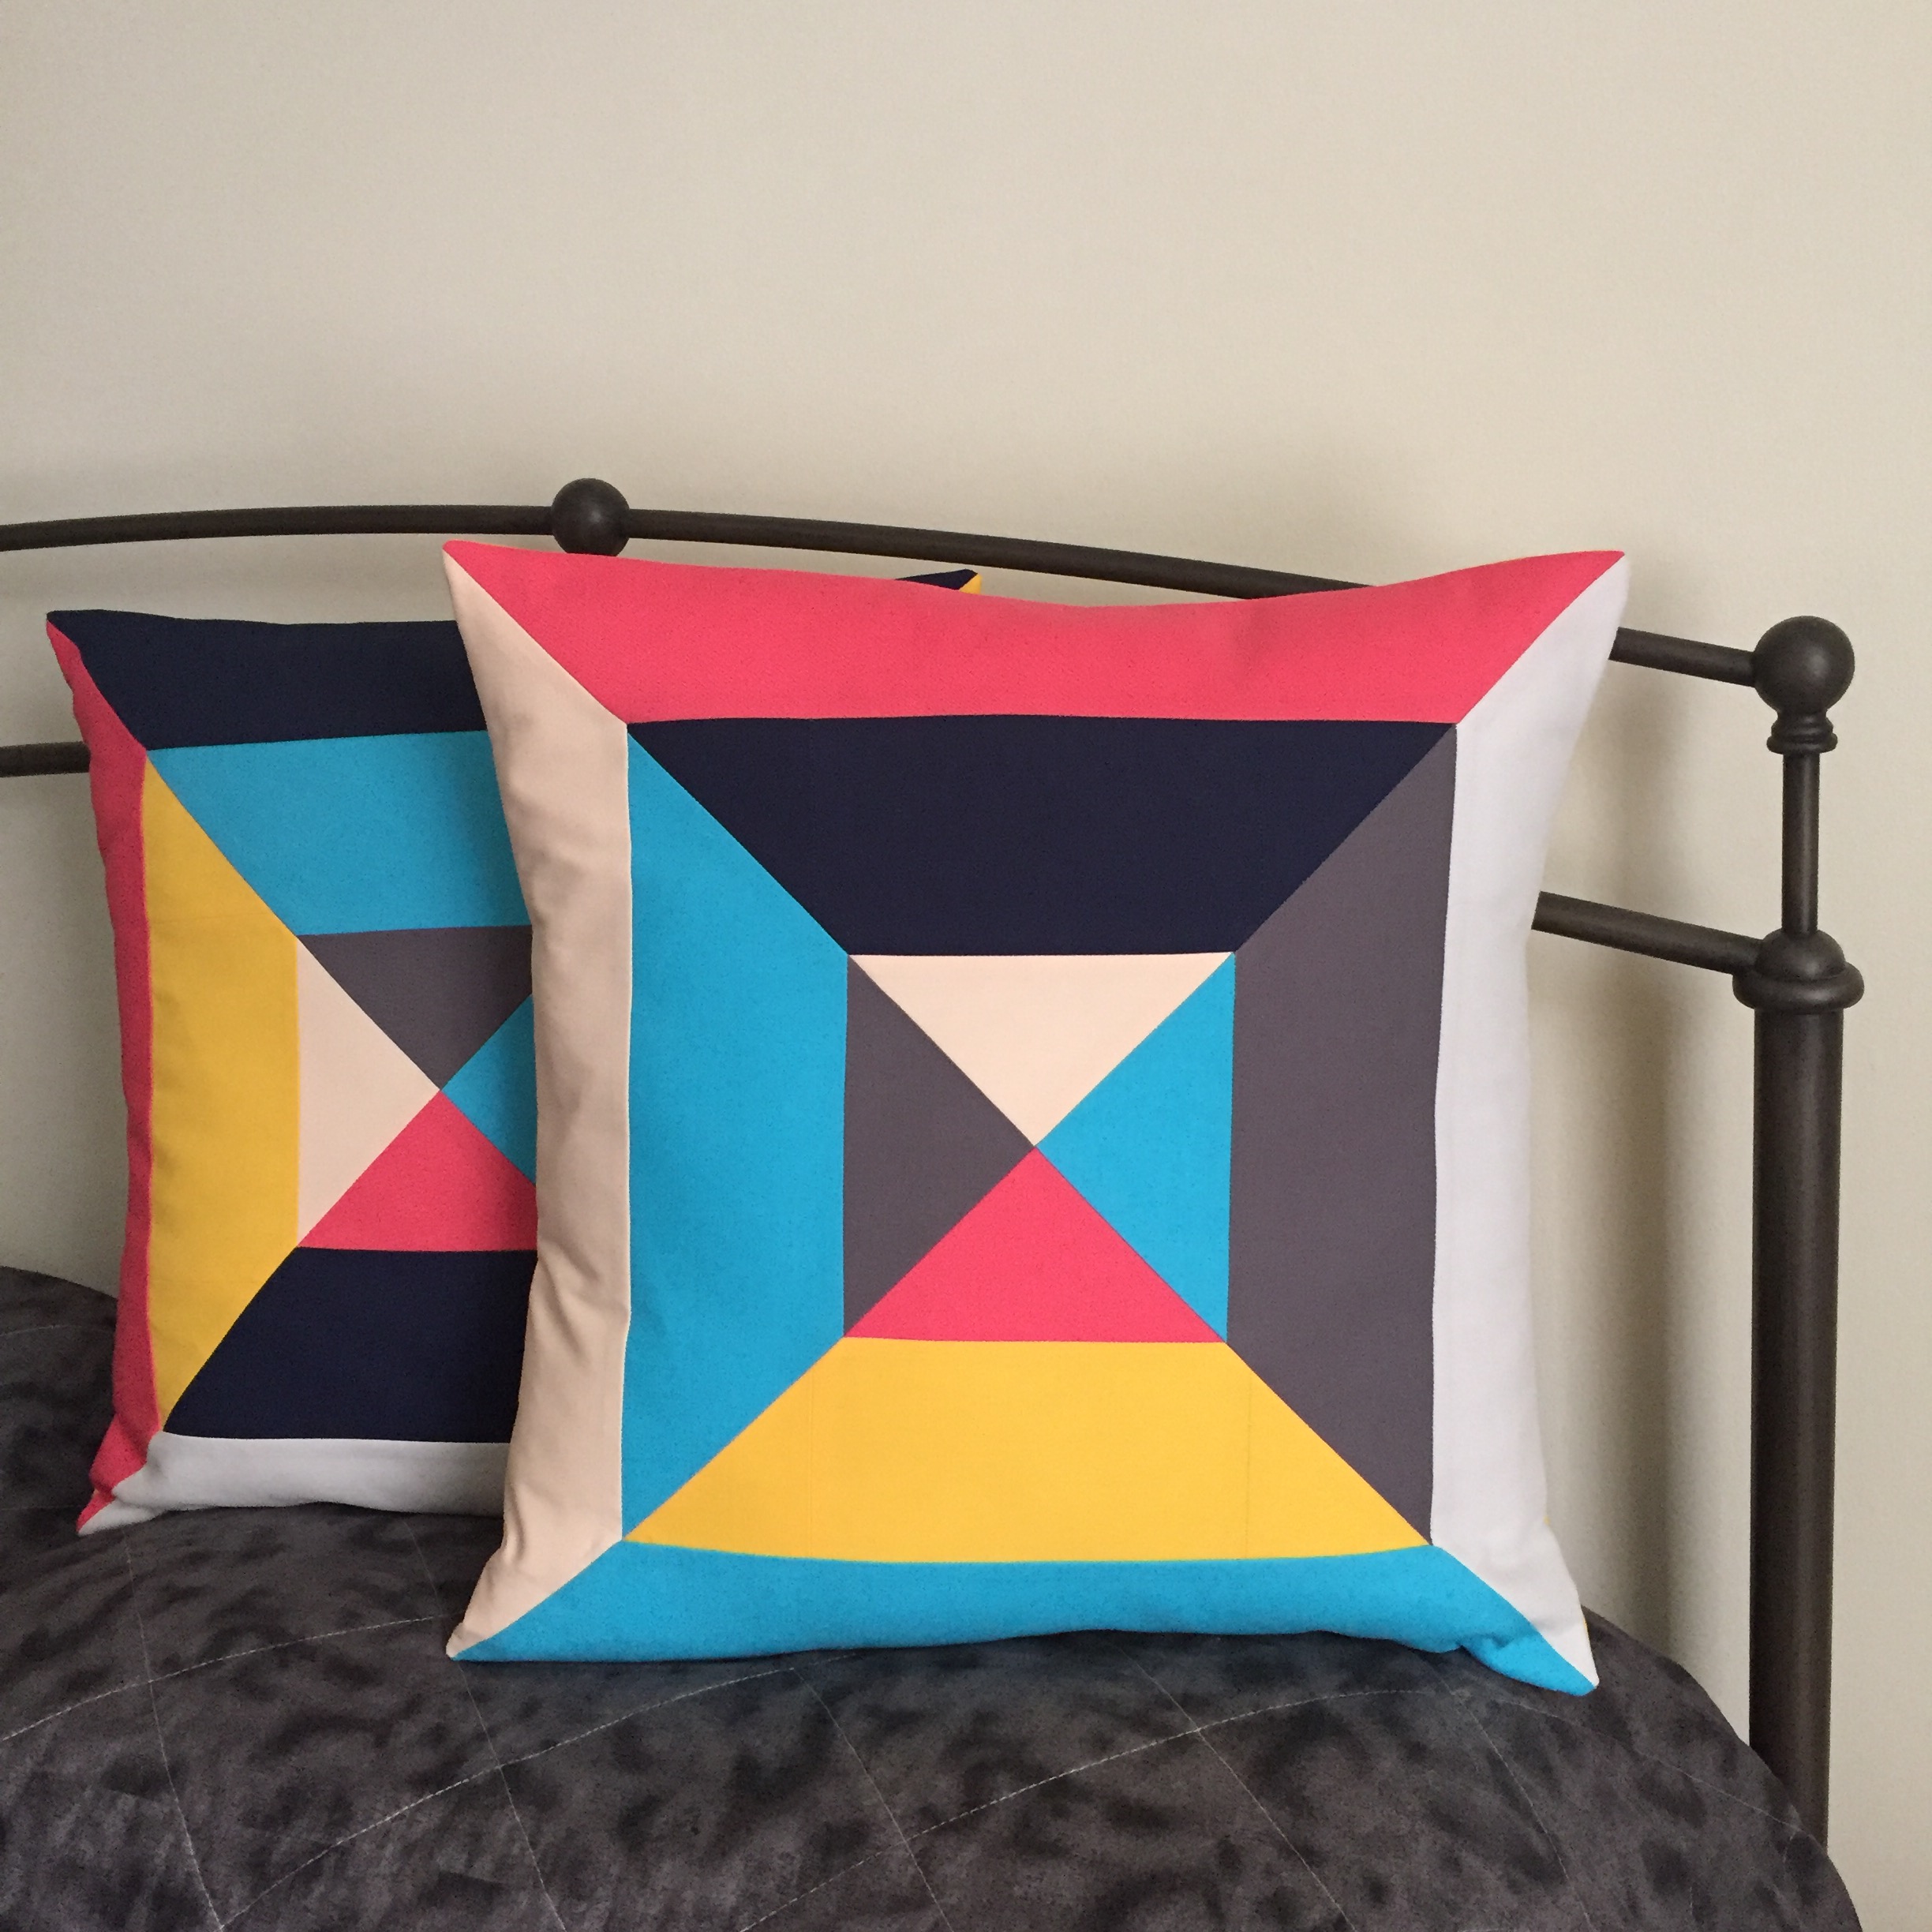
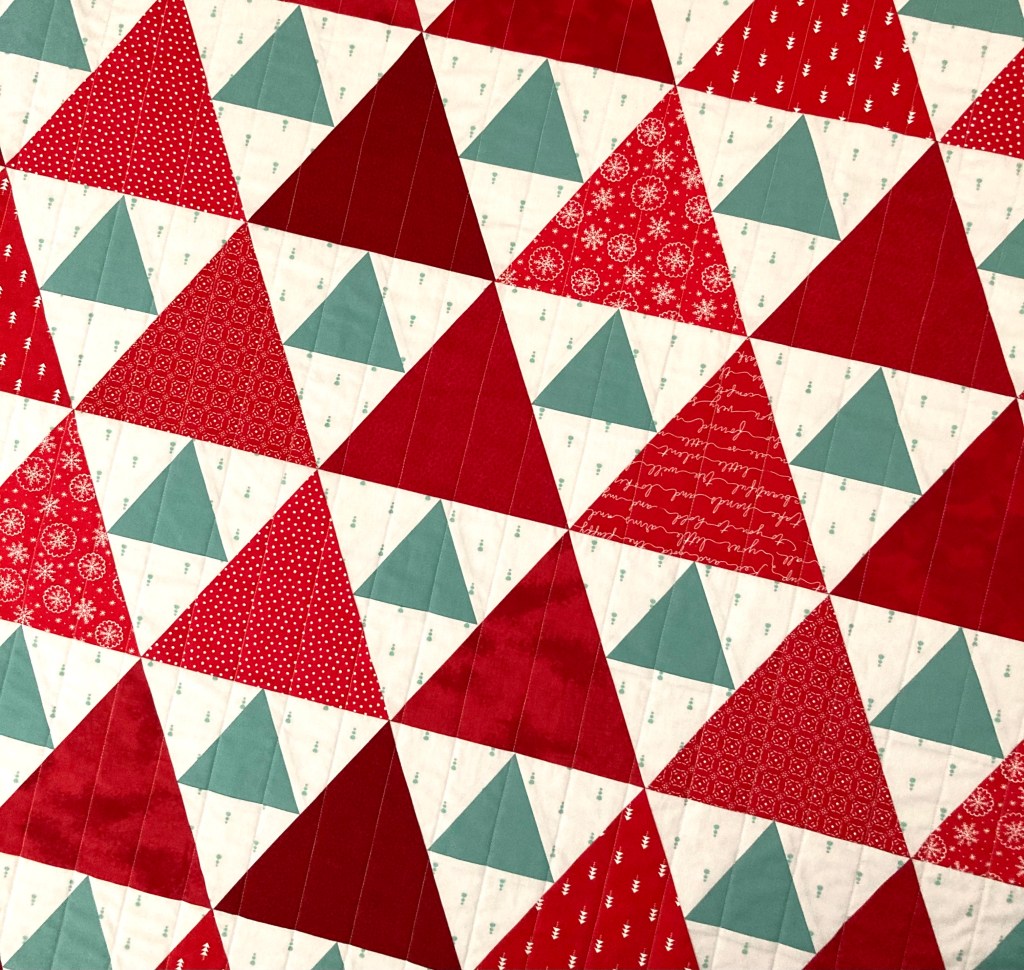
Two years ago I made a blue and orange Triangle Peaks quilt for my daughter and had since planned to make myself one with red and green fabric—I guess all those triangles got me thinking about Christmas trees. So here it is, my last quilt for 2020 (of 14 total).
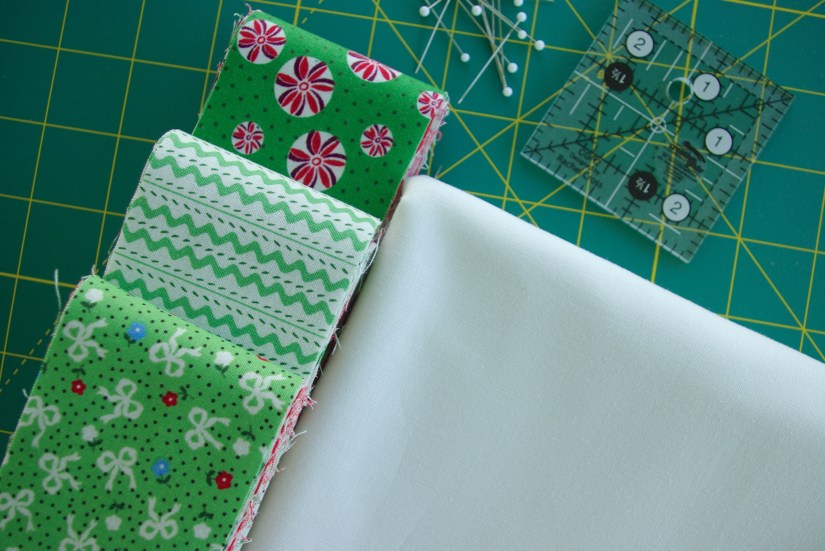
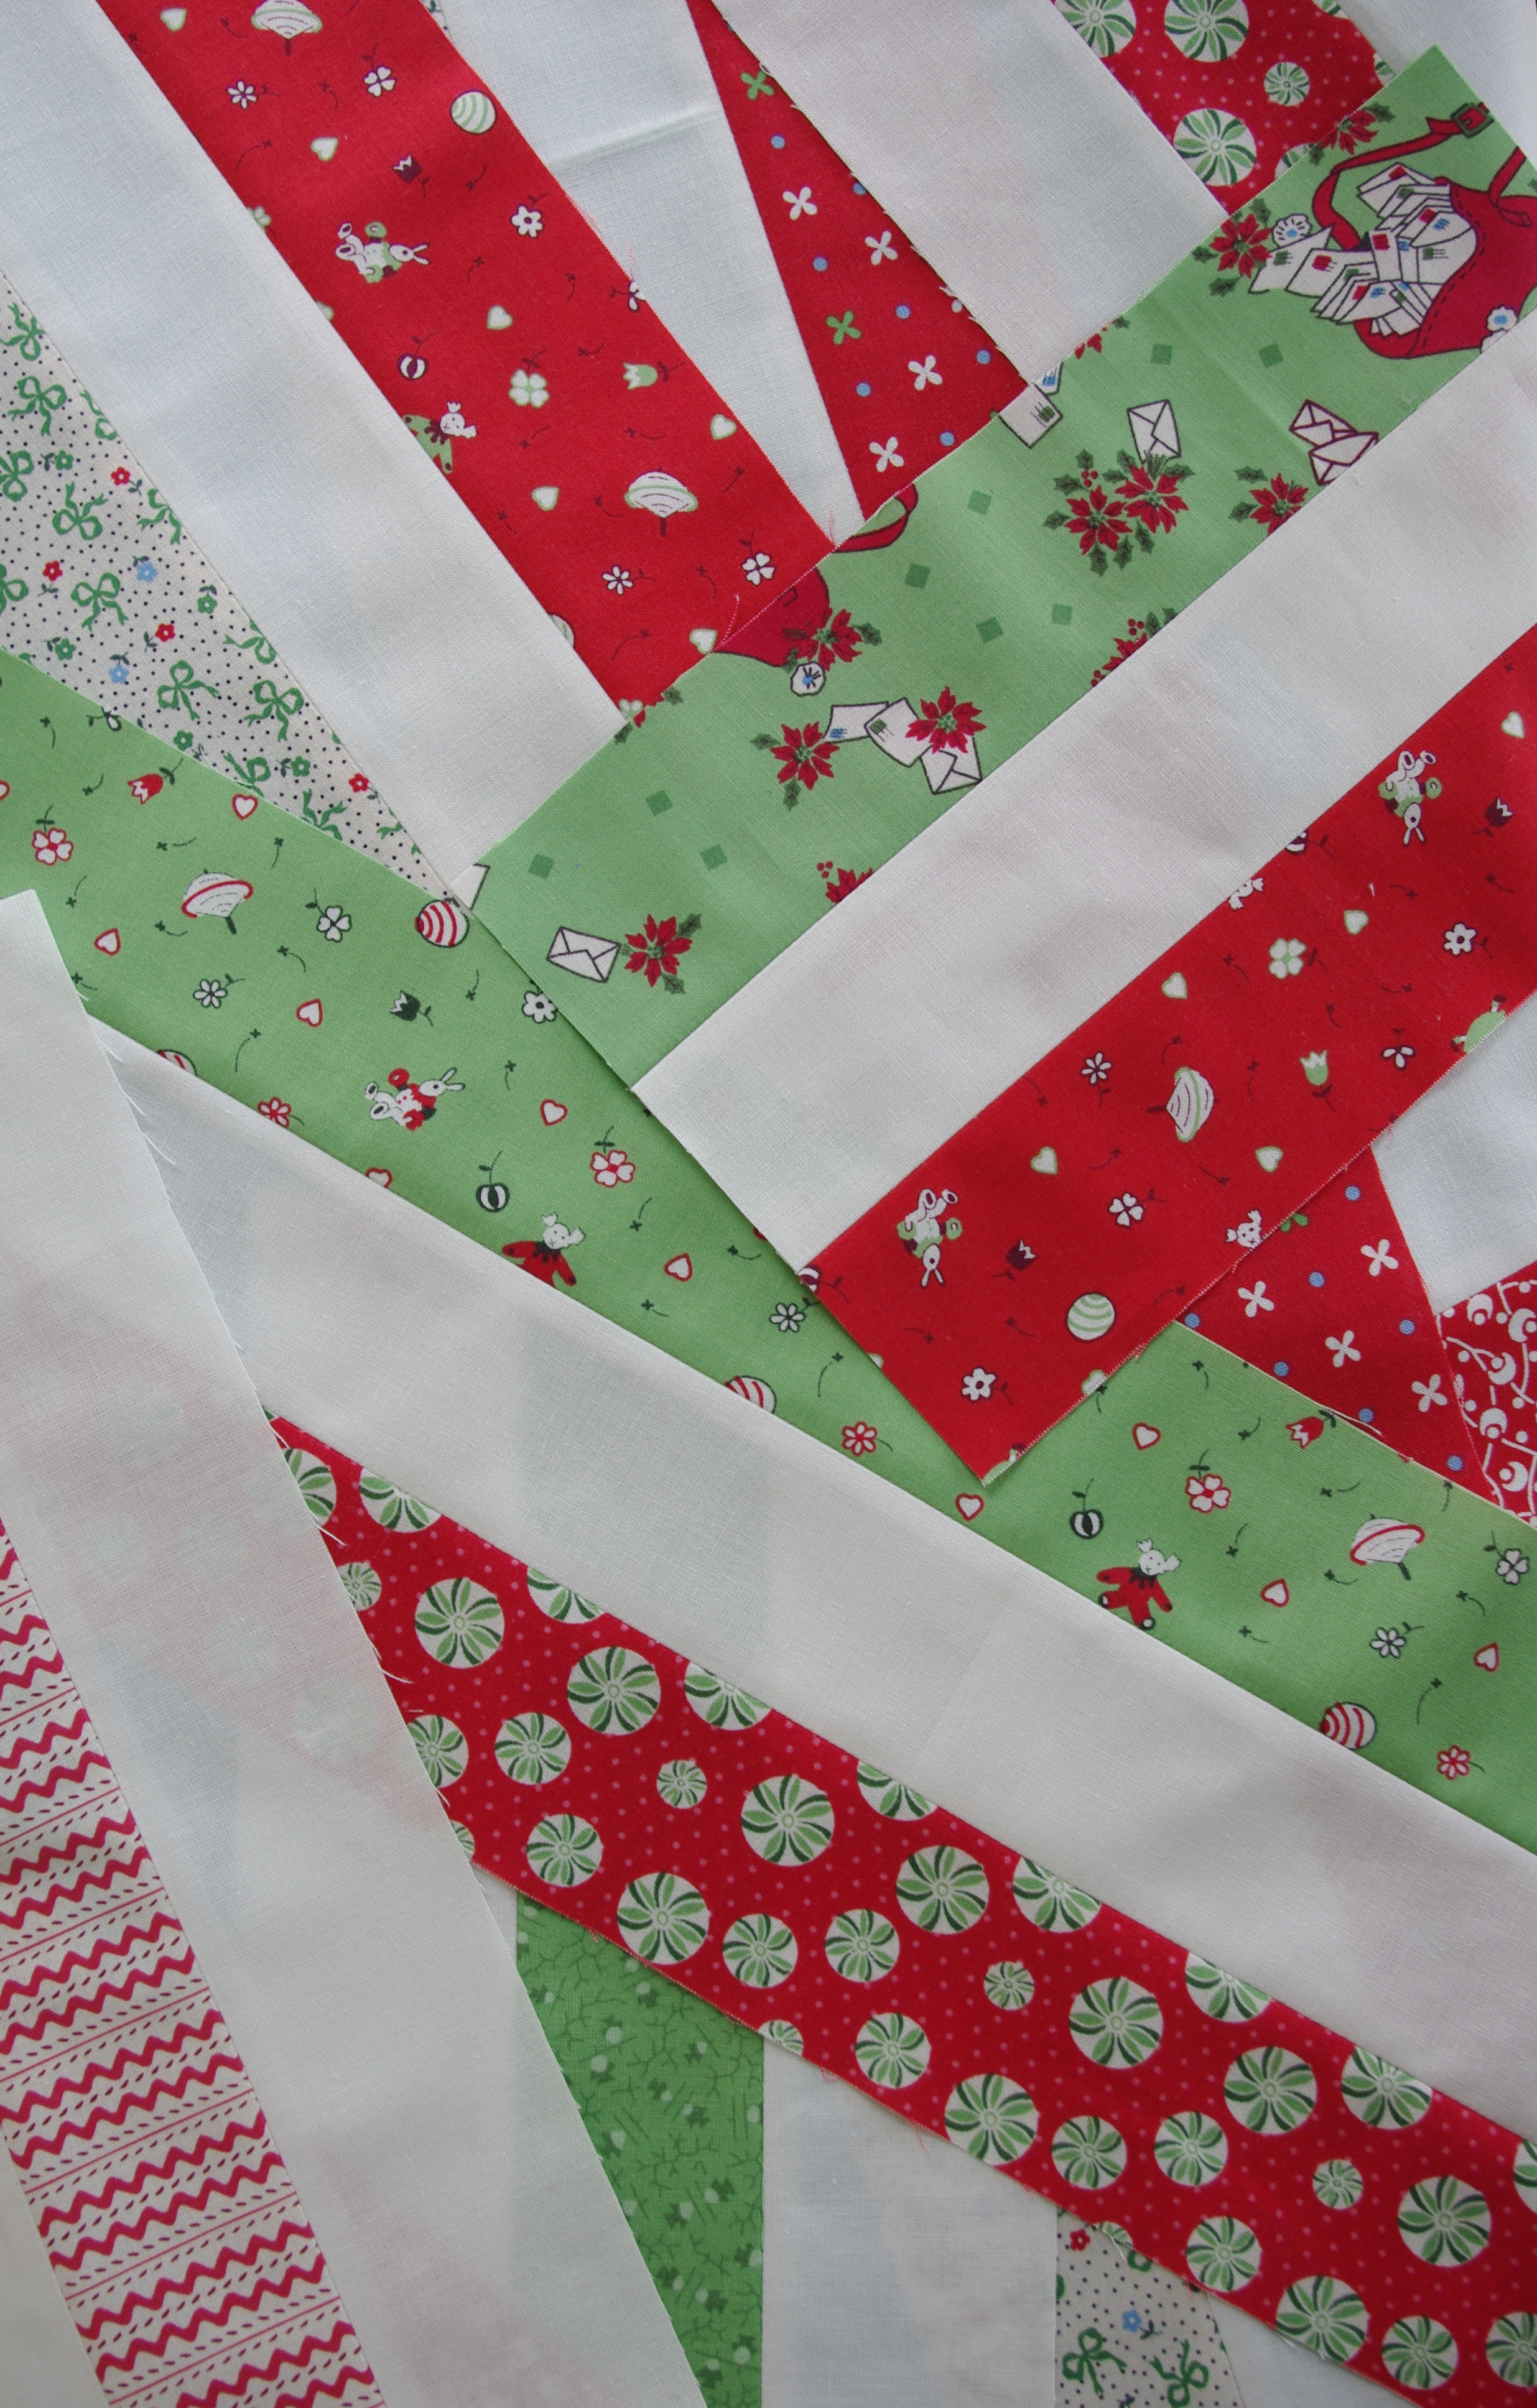
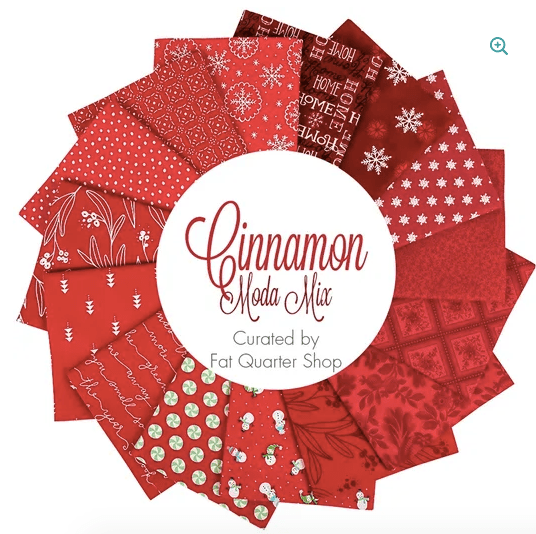
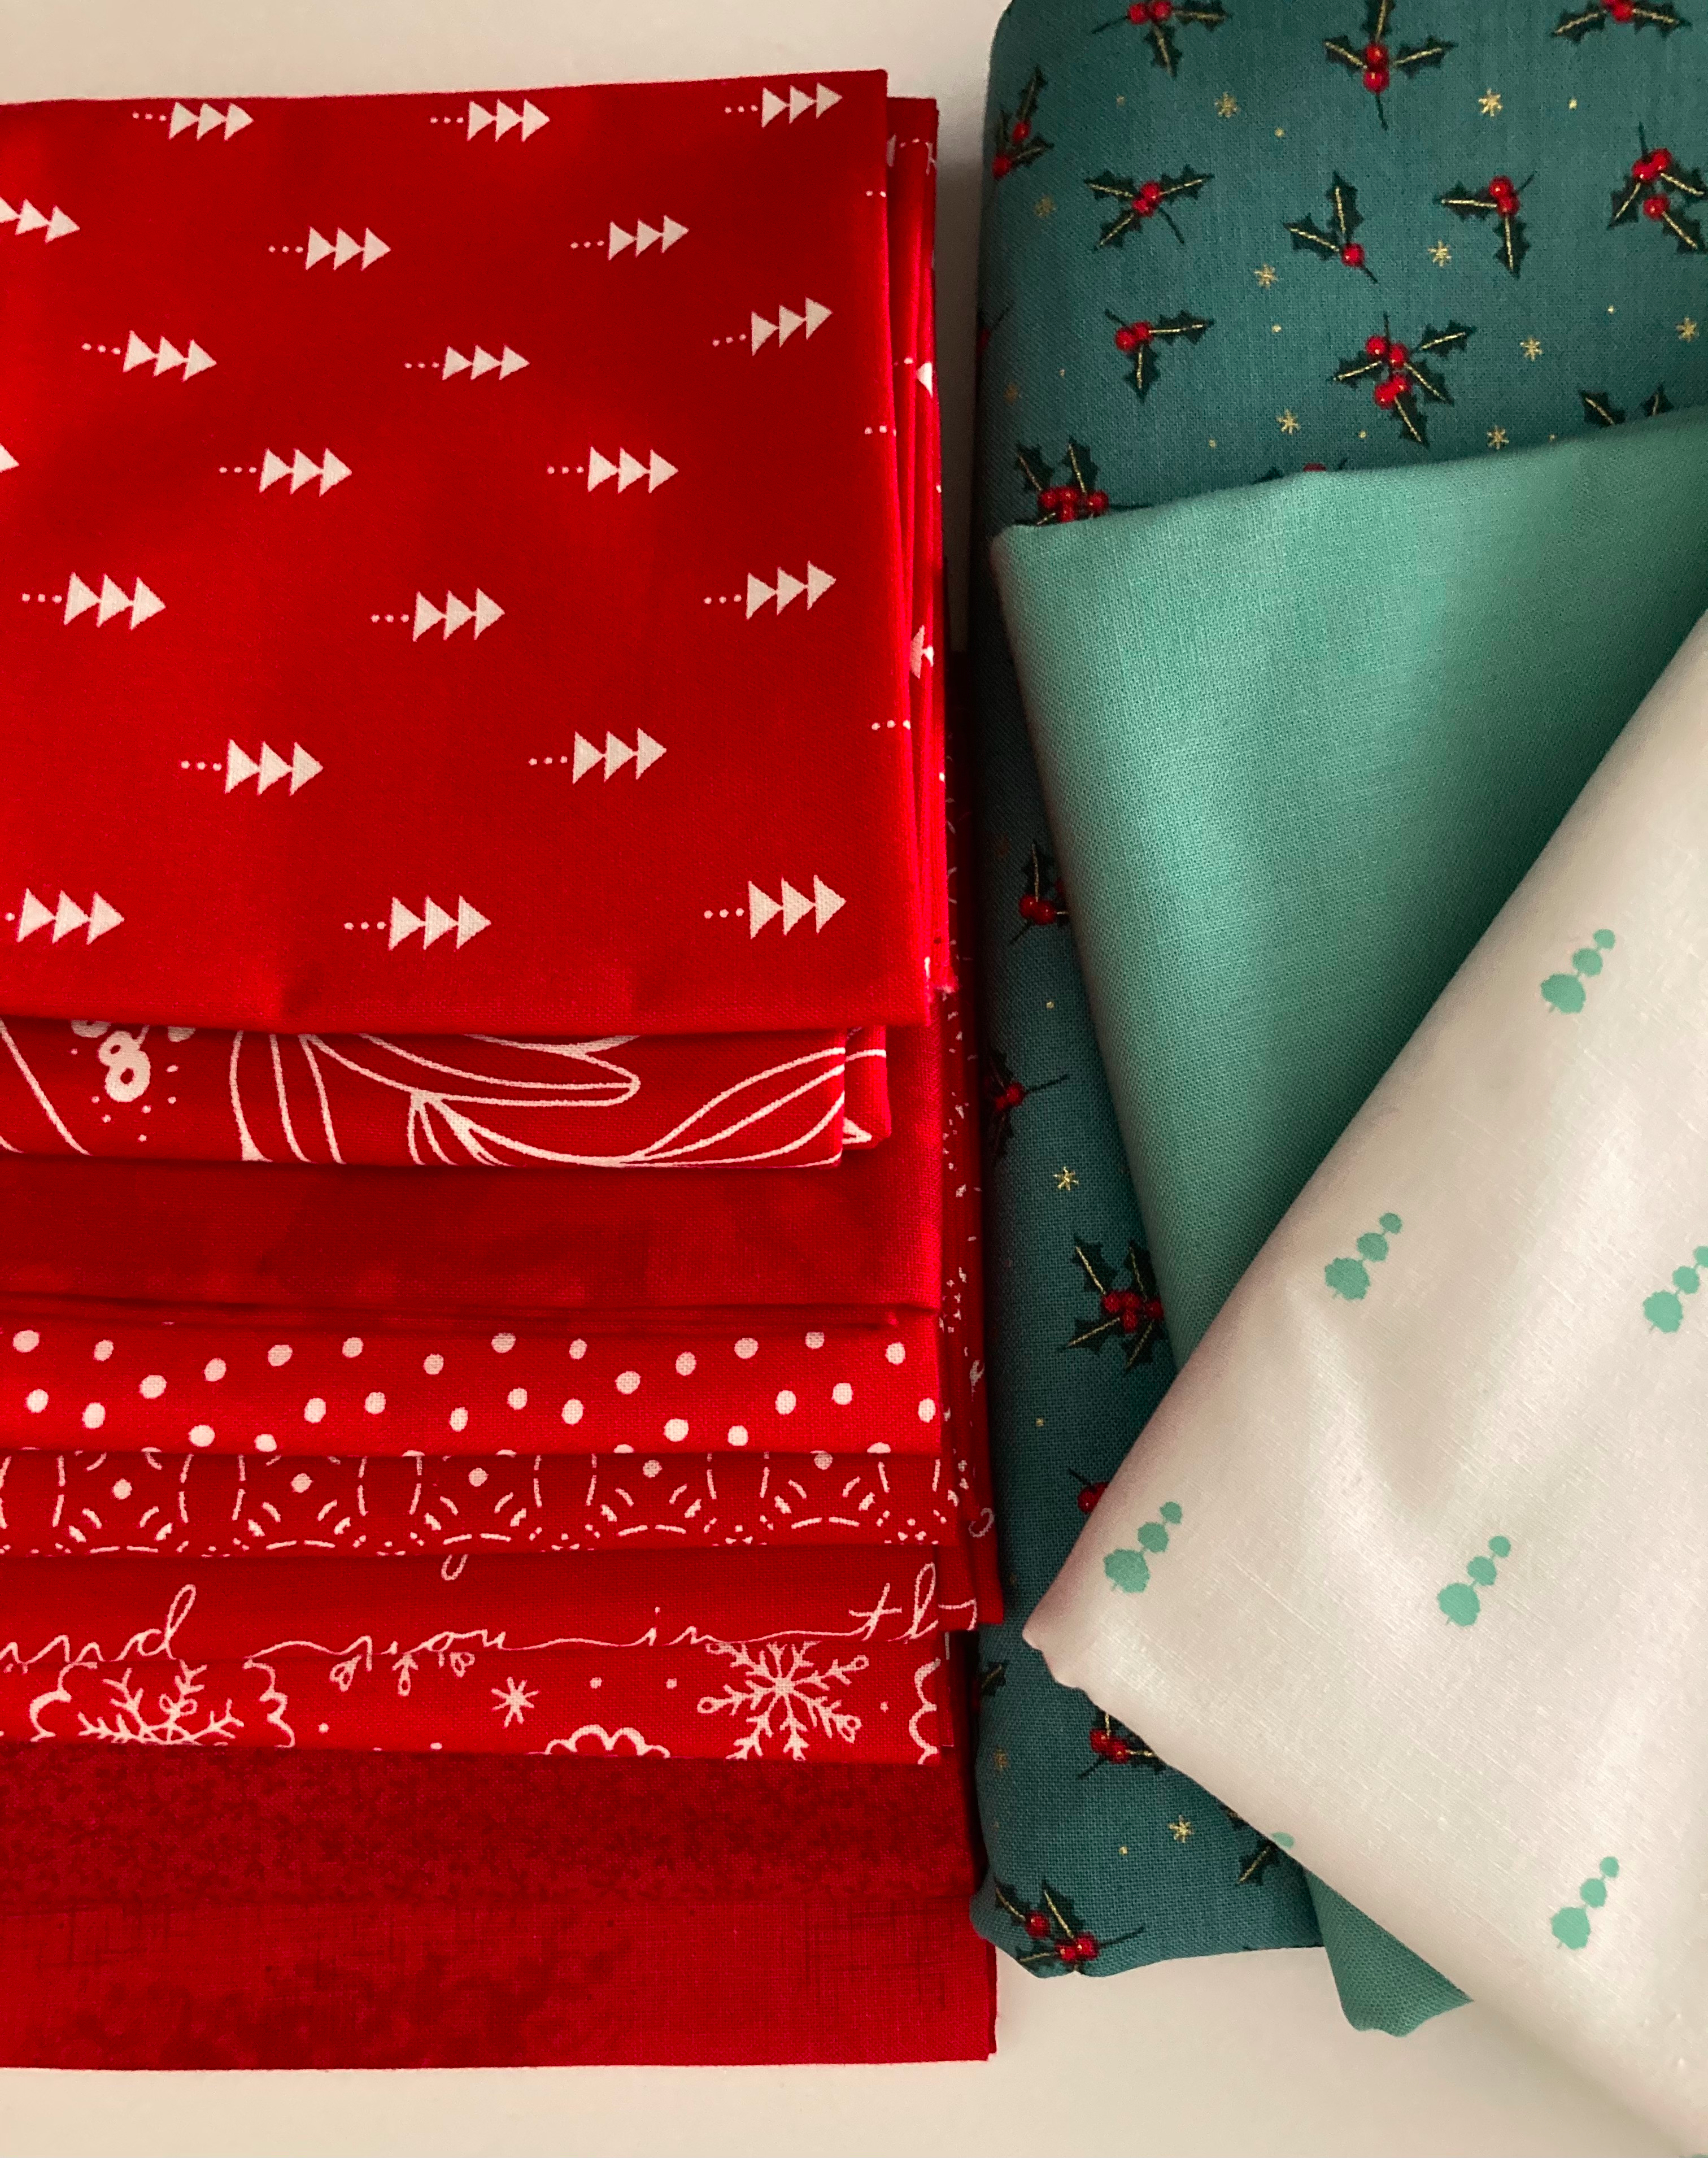
Last year I ordered this lovely bundle of red happiness specifically for this quilt. I used only half of the fat quarters by excluding the richest reds and replacing them with reds that were more in line with the lighter ones in the bundle.
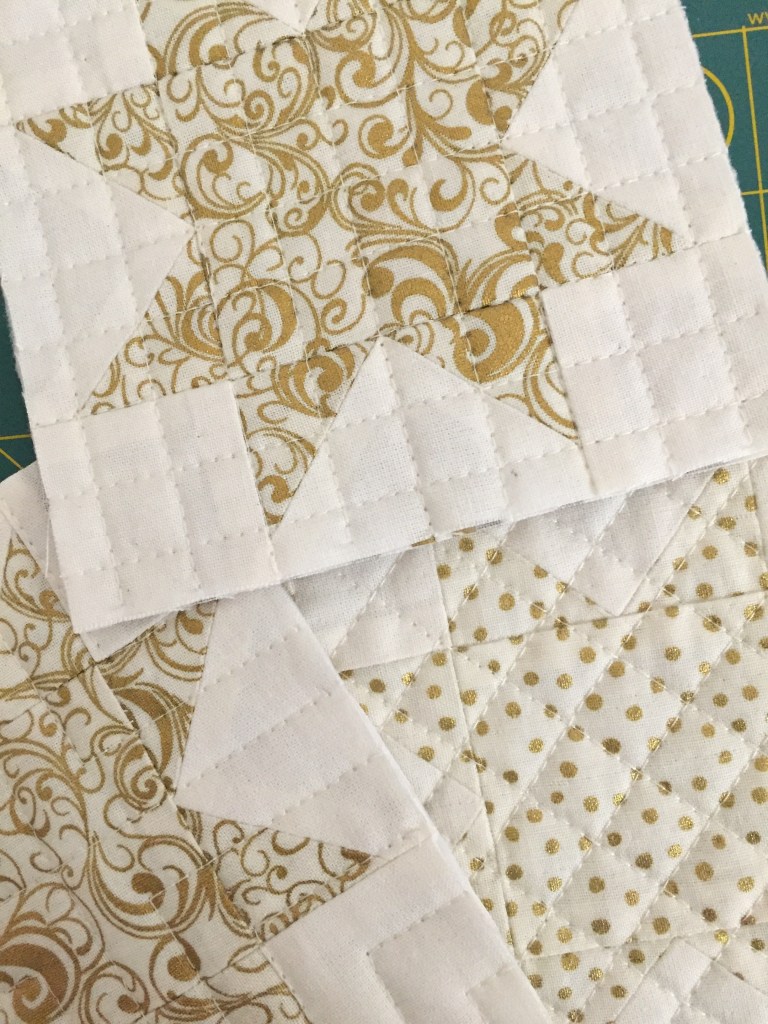
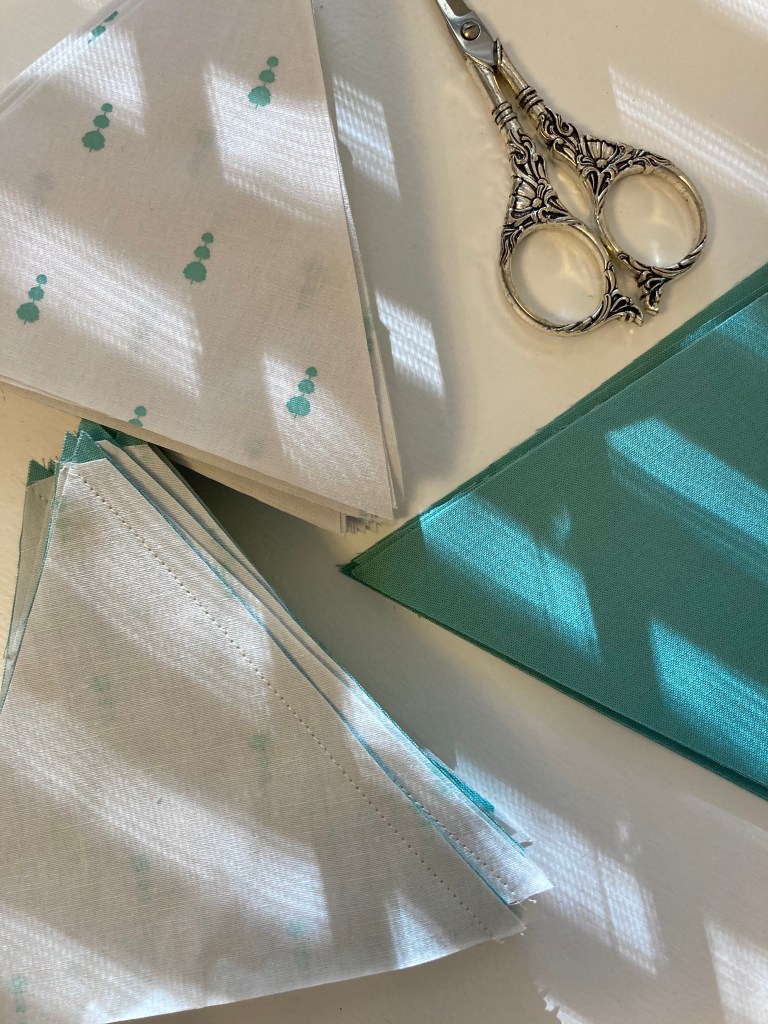
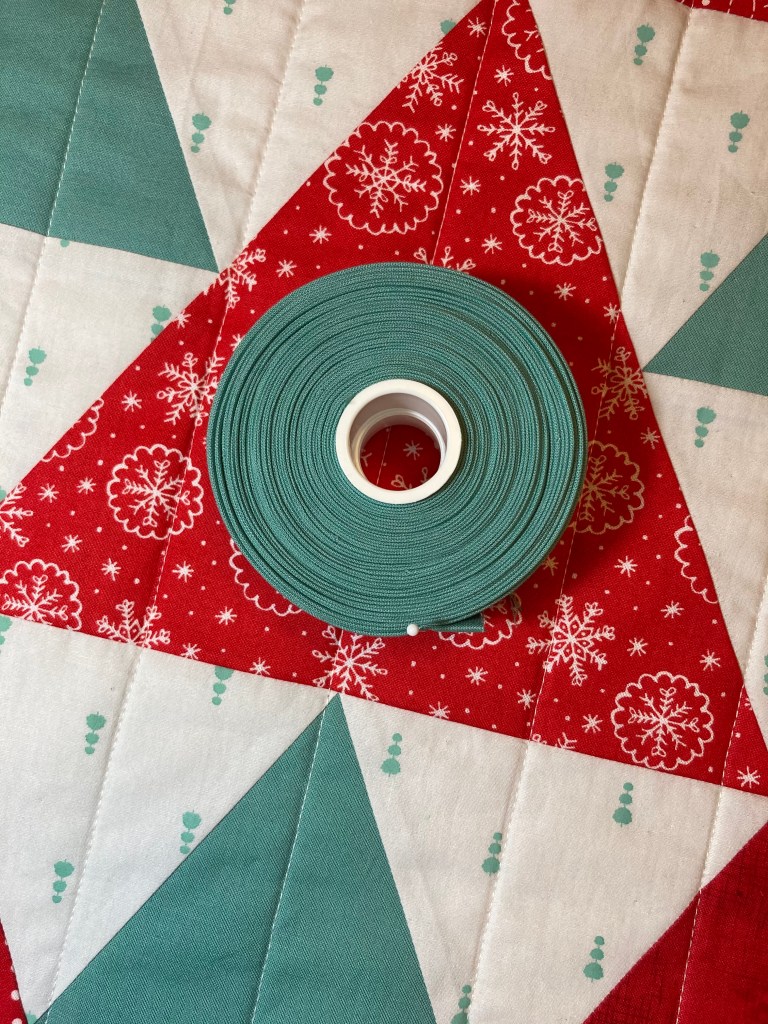
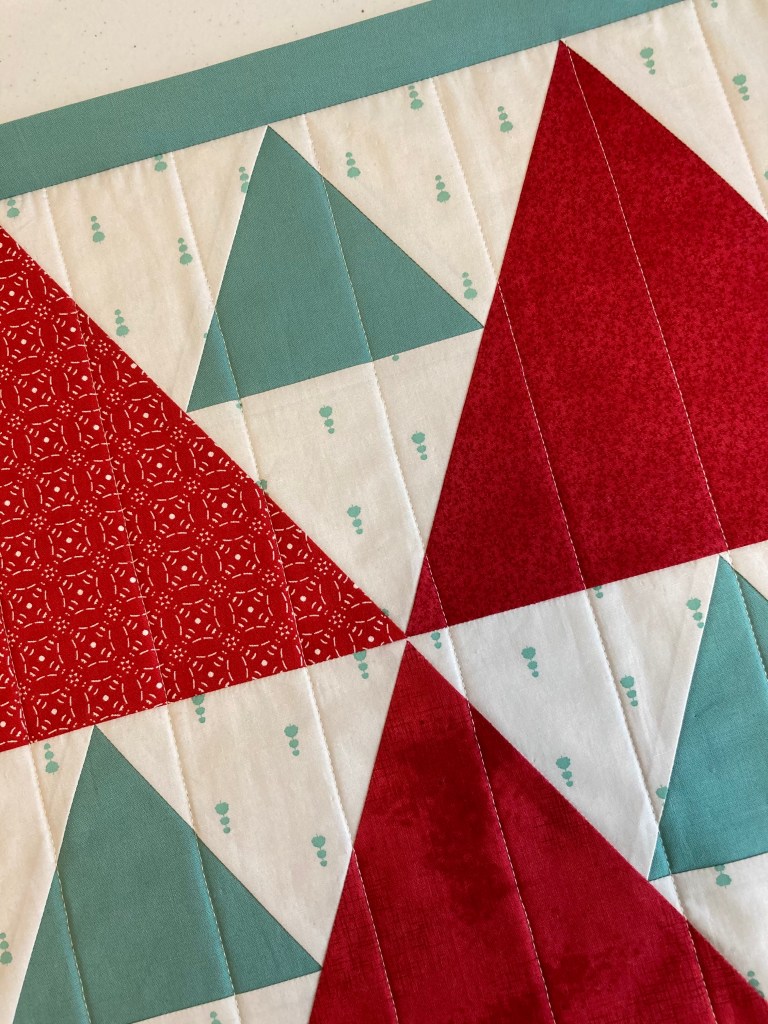
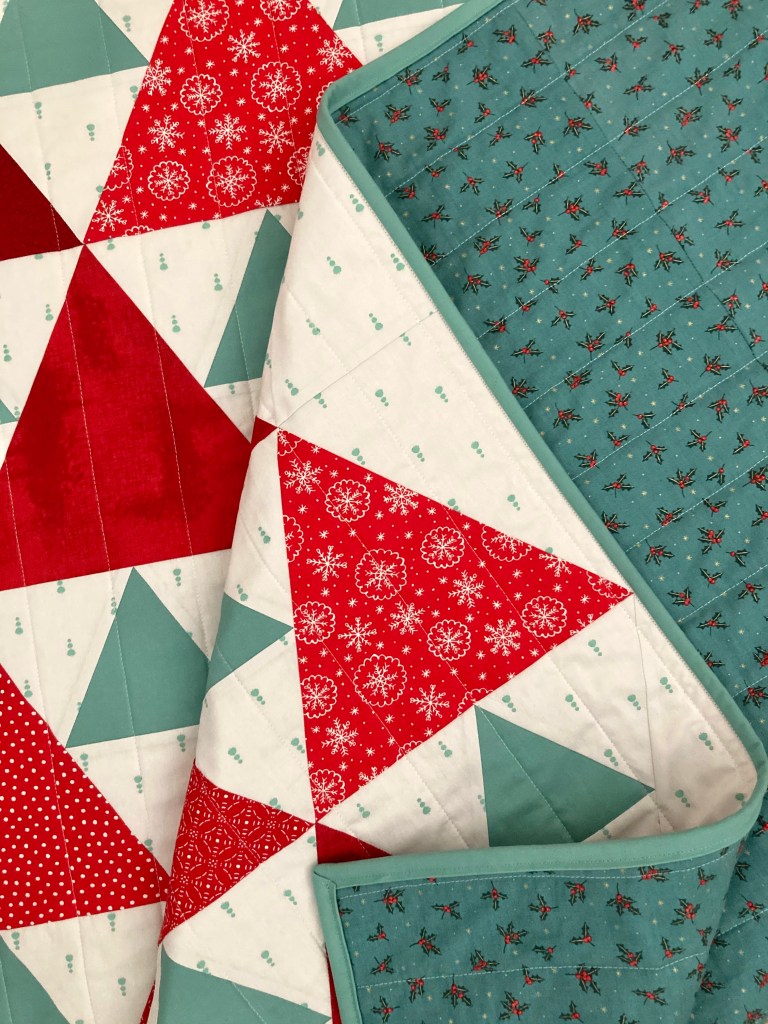
For the background, I used Art Gallery’s Loved to Pieces Frost Topiary. This fabric isn’t completely white, it actually has a frosty hue and the tiny topiary trees are so cute! I thought a different type of tree would give this year’s Christmas quilt a different twist. The accent triangles are Kona Cotton Sage green, which BTW took around nine MONTHS to get! Pandemic online fabric ordering has been quite the experience. Lastly, the backing is Andover Fabric’s Teal Yuletide Holly accented with pretty gold metallic.
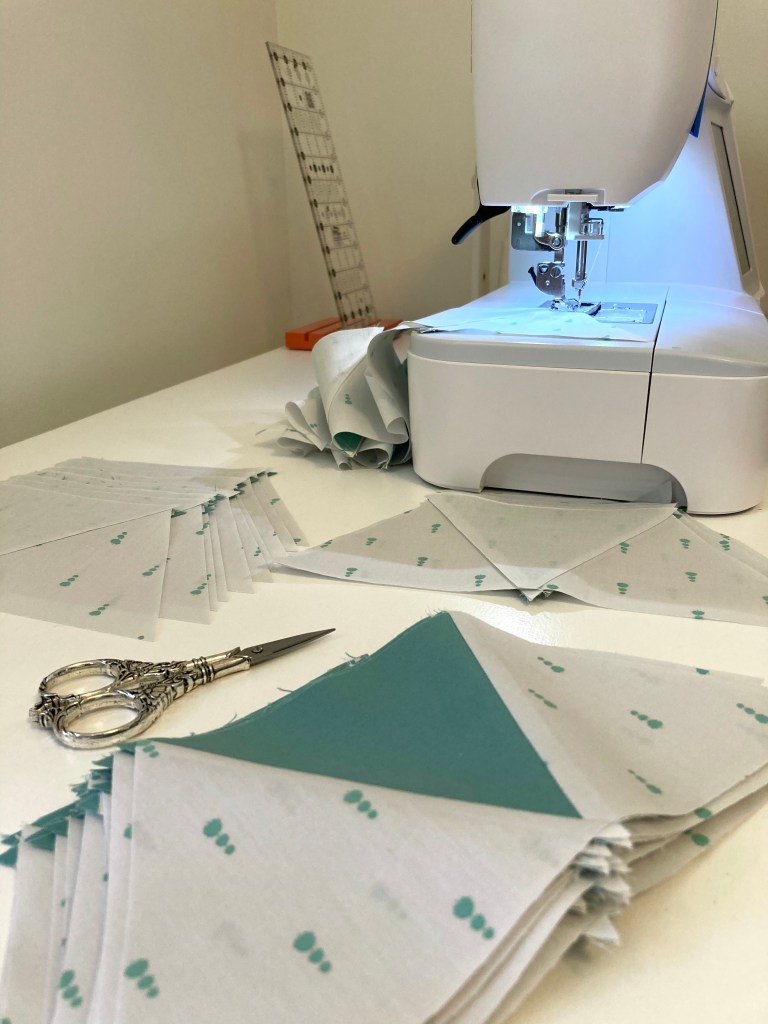
Triangle Peaks, by Emily Dennis, is one of the fastest makes out there. While it takes a while to cut the fabric (doesn’t it always?) there’s very little to do to make blocks. The large cut triangles are the main ‘block’ and the smaller triangles are simply sewn to the background. There are biased edges, but with so little to sew handling them sparsely is a given.
And chain piecing is always fast…
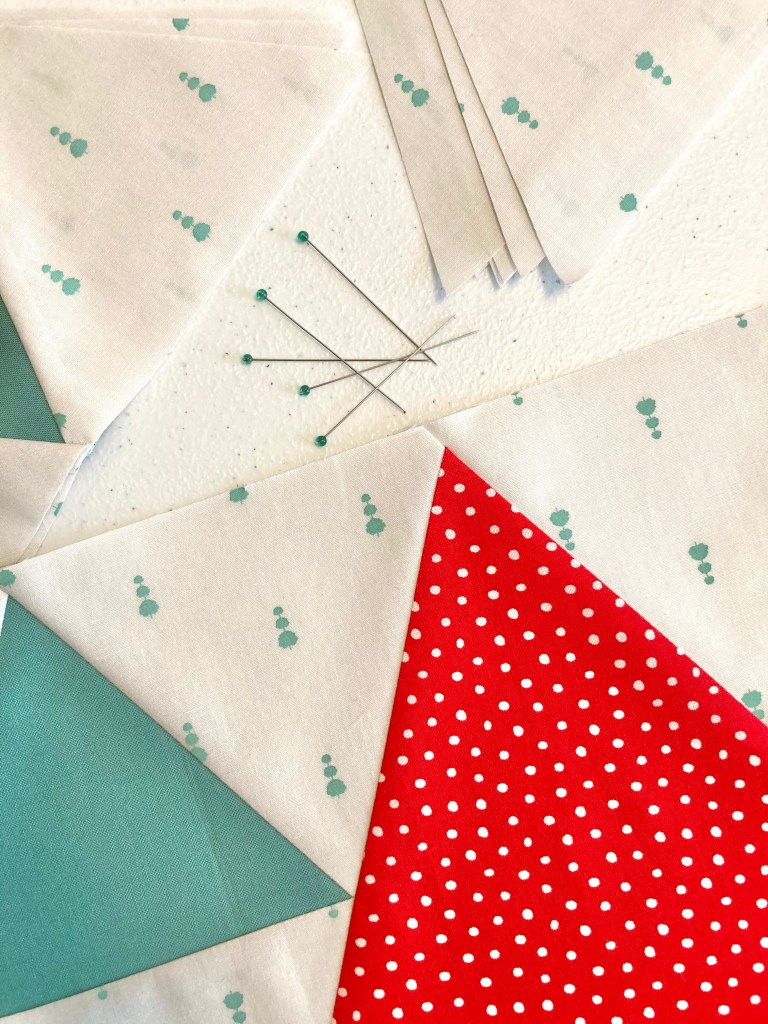
As always, choosing a layout is time consuming for me, I think I might tend to overthink it. Once the layout was determined, sewing the rows went quickly. Sewing the rows together to finish the top took quite some time, mainly due to pinning.
My absolute most dreaded part of quilting is cutting threads off the back. I will find every other non-related chore to do to avoid doing it. But, since this quilt has mostly biased edges that don’t fray, trimming was a cinch.
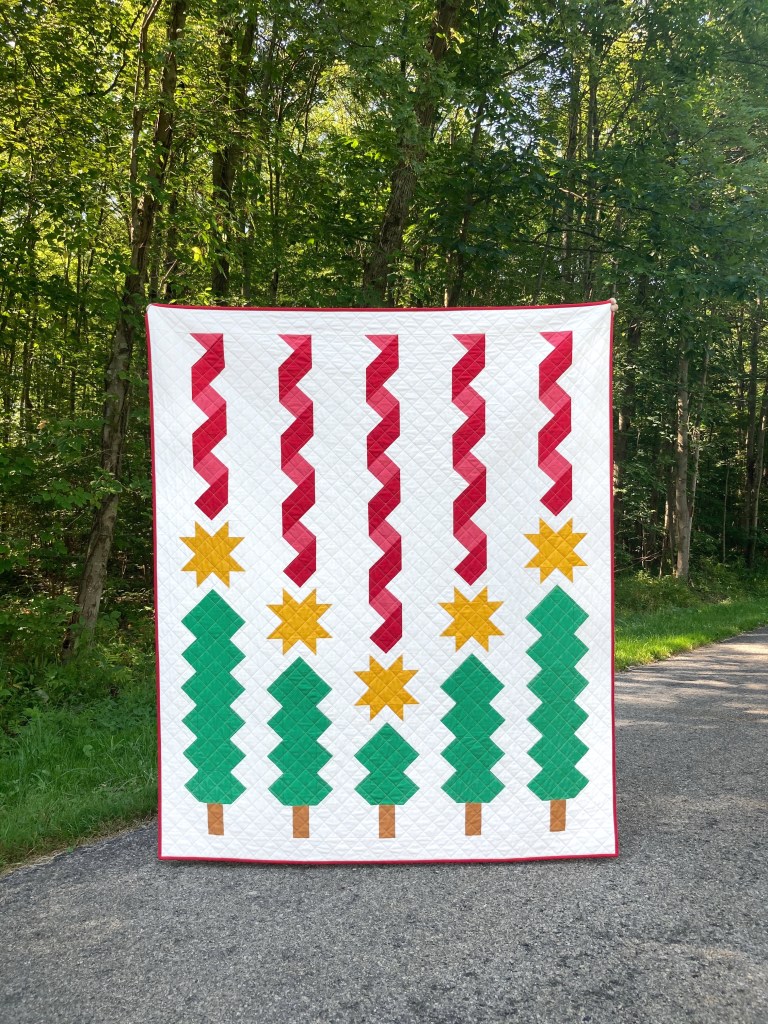
I decided to straight line quilt so pin basting was pretty intense. After my Quilting Disaster! I’m diligent about using plenty of pins. Lines were quilted 2″ apart giving it a clean, simple finish.
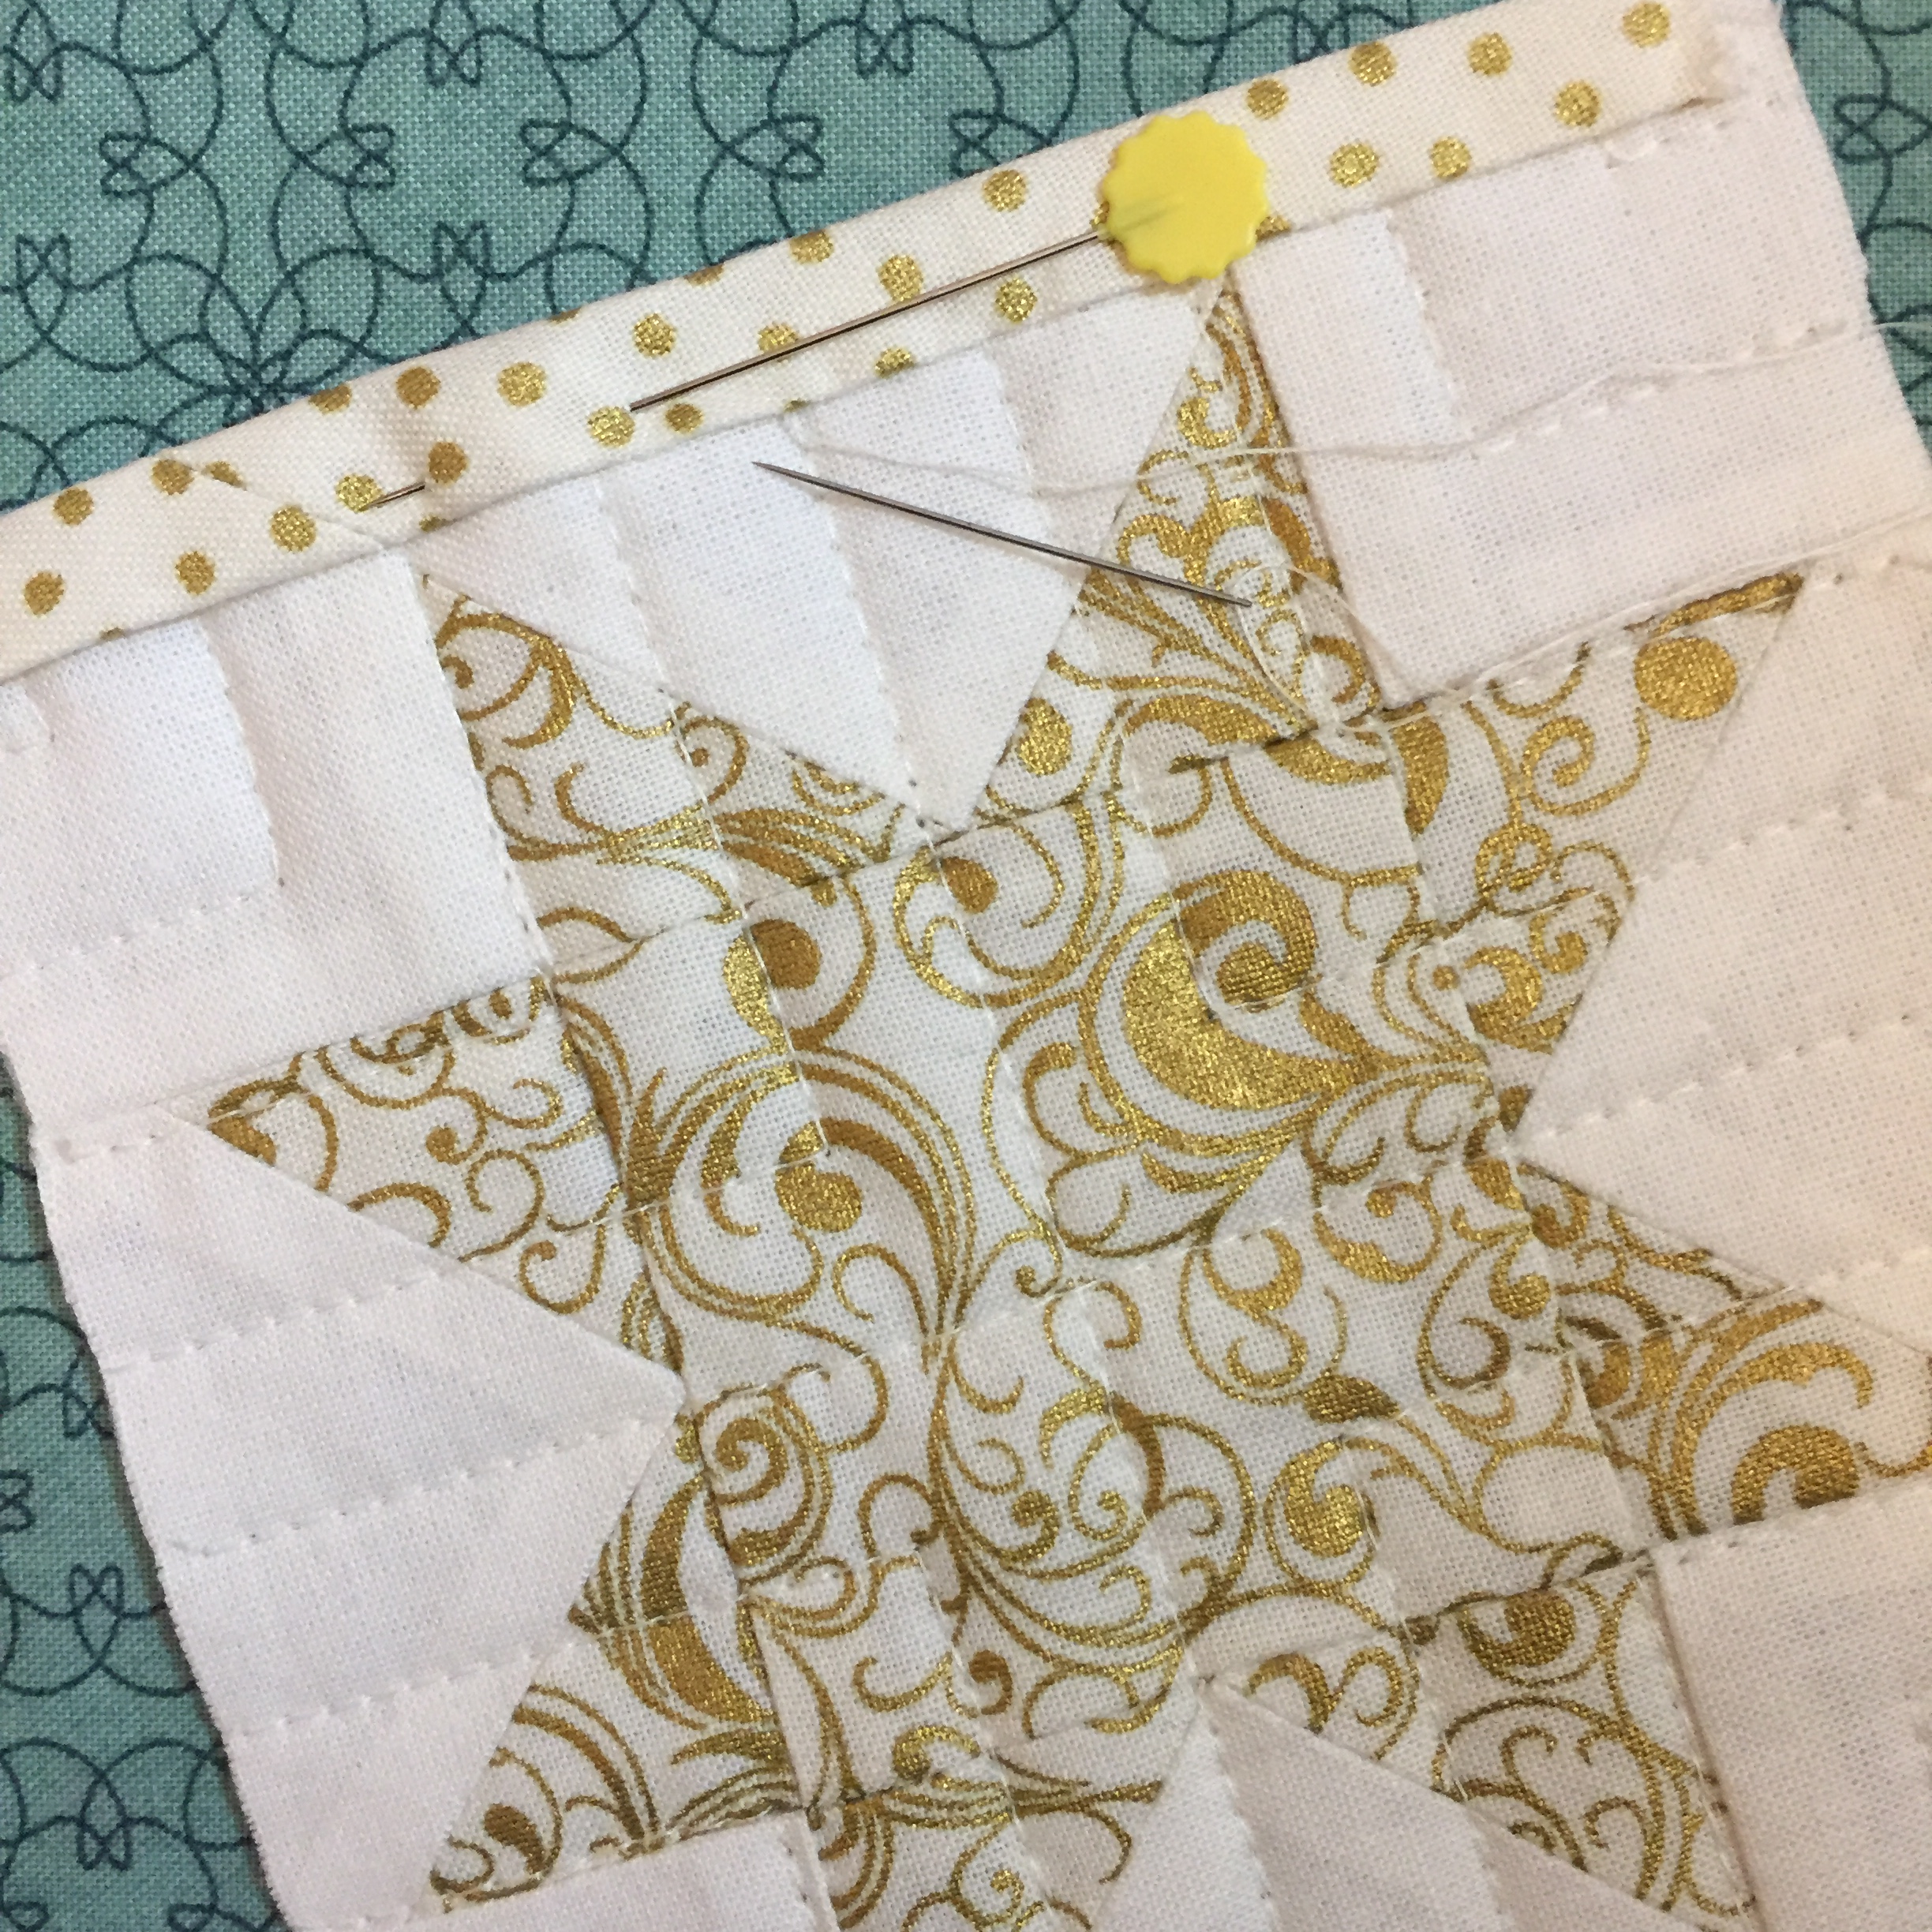
I used the remaining yard of the sage green for the binding to match the accent triangles.
After attaching my binding to the quilt and before sewing it down completely, I always give it a press. I find this helps it lie flat and makes it a bit easier to stitch down. 🙂
The holiday themed backing makes it complete.
And here it is!
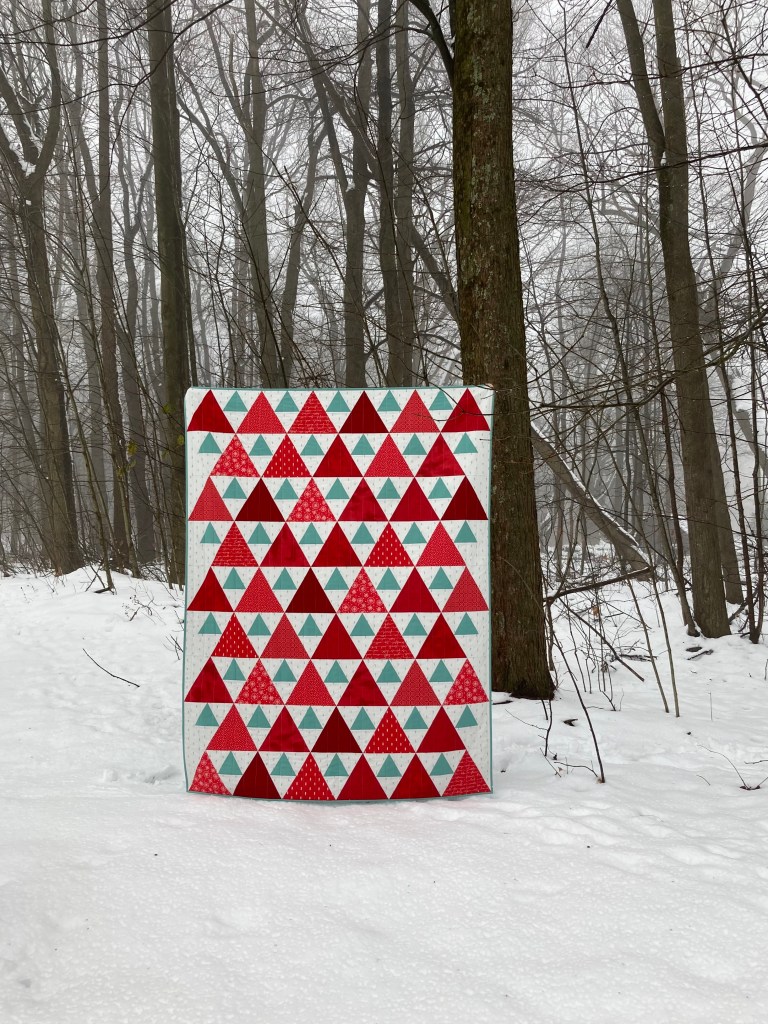
Yet another festive quilt for the holidays. Merry Christmas!