cross stitch, diy, how to, tutorials, Uncategorized

How to Frame Your Cross Stitch Projects

First of all, I’d like to thank everyone for your great support on my Love to Quilt cross stitch pattern! I’m happy to see that so many of you are excited about it.

Because I designed Love to Sew, Love to Quilt and a series of upcoming cross stitch projects to fit standard store-bought frames, I’m sharing this ‘how to’ as to eliminate the need for expensive custom framing. 🙂

This DIY tutorial will have you finishing projects in no time, in addition to showing off your work looking as if you had it professionally done.

On to the tutorial…

Before starting your cross stitch project: 1. Know the finished size of your project. 2. Determine the frame size ahead of time. 3. Make sure your Aida fabric is cut large enough for wrapping around the frame backing. For example, before beginning I knew my project would fit into a 3″ x 4″ frame.

First, I started with a piece of 14 count Aida fabric cut roughly at 5 1/4″ wide by 6″ tall. You’ll notice from the edges that I used a pinking rotary blade to reducing fraying, thus eliminating the need to use tape.

Once my project was stitched and pressed, I placed it over the cardboard backing to determine how much needed trimmed. I cut leaving a 1 ¾” border on each side which left enough to wrap it around the cardboard and stitch it snug.

The frame I purchased came with corrugated cardboard; it’s not strong enough for stretching so I cut a piece of heavier non-corrugated cardboard in its place. An important note here…make sure you cut the cardboard accurately. If not, your project won’t sit straight in the frame. I recommend using a rotary cutter.

Once the cardboard was cut, I noticed the ugly brown color was visible through the holes. Not wanting that, I glued a piece of white stock paper to the front for a more pleasing background.

If you want a lofty look, adhere interfacing according to manufacturer’s directions.

Once your cardboard is ready, lay out your project centered over it. I counted squares from top to bottom and side to side for centering accuracy. If your cross stitch is pretty large, counting may be difficult, measure instead.

Next, double-thread a needle, making sure it’s not too big for the holes in the fabric. Any thread will do; I used Aurifil 100% cotton. Once you have the fabric centered, start at the top inside edge of one folded side. Start stitching down about 4 squares from side to side, evenly working your way down the length of the project.

Avoid sewing through a fabric hole as they tend to pull (see where I did and how it pulled). It’s best to poke the needle through the center of a solid square as it’s tight and will hold firm.

I threaded my needle as long as I could without tangling, but I did run out and had to tie another section on (it can be seen in the photo). Tie the knot tightly to prevent slipping. Also, make sure the knot isn’t where you’ll have to pull it through the fabric (it won’t go). Be sure to pull each stitch fairly tight, as you want it taut.

Once the sides are complete, don’t knot your thread just yet. Put a few stitches in the to-be-folded-over section to help it stay in place, making it neater when folding later. You can see the stitches below.

Using the same method, connect the top and bottom.

It’s nearly done! You’ll see there’s a bit of pull on the center which is OK, it means it’s all tight enough.

The final step is to put a couple of tiny stitches on the sides. This helps to securely close the bottom and top section. Simply pick up a couple of threads from the fabric and tack them to a couple of threads on the side fabric. Do this for all 4 folded ends.

BEFORE STITCHING

AFTER STITCHING

That’s it, a professionally-looking framed project!

I purchased this frame at Michael’s. It measures 3″ x 4″ and is a perfect size and color. Because Love to Quilt is just a bit more tall than wide, a rectangular frame was a better choice than square.

I hope this helps you with your next cross stitch project, and hopefully saves you time and money, too. 😉

diy, fabric project, how to, sewing, tutorials, Uncategorized

Clothespin Bag Tutorial

I’d always loved hanging clothes outside while living in PA, but for the past 12 years I’ve really missed the crispness of line-dried clothes. Since a clothesline isn’t feasible where I’m at now, I purchased a drying rack instead.

Afterwards, I quickly discovered the need for a clothespin bag. I found a few tutorials, blended my favorite parts and made my own version.

Here’s what I did to make mine.

First of all, sizes can vary! Since I can’t dry a lot at once, I needed a smaller bag for fewer pins. Once you decide on bag size, choose your clothes hanger size. For a smaller bag, you’ll need a baby clothes hanger, for larger bag, an adult size hanger.

I had a wooden hanger that measured 12″ which was too big, so my husband cut it down to 9″, evenly taking pieces from each side.

For fabric, I used leftover backing yardage from my On Point Nine Patch quilt for the front and back. For the lining, I used red Shabby yardage by Riley Blake. Fat quarters will also work. Whatever you use, you’ll need 2 each of 2 coordinating fabrics.

To get started, on plain paper, trace your hanger around the top and mark the side, but add a bit more to the sides for some give (approximately 1/4″ per side). This will determine the top shape and width.

Decide your length. I made the length about an inch longer than the width, based on how many clothes pins I would need to fit inside. Add 1/2″ around all sides for seam allowance.

When determining the hole, think about your hand size and allow for pins in your hand to fit easily in and out. Place the hole about 2 1/2″ from the top and centered from side to side.

This is what my pattern looked like before cutting.

Before cutting fabric, cut out the hole on the pattern.

To make the front panel, place the front and lining pieces right sides together. Pin down the pattern using plenty of pins around all edges. Cut outside edges.

Draw a line on the fabric, tracing the circle (do not cut a hole in the fabric). Next, sew along the drawn circle line.

Once sewn, cut out the hole leaving a narrow seam allowance. Clip several small slits in the seam to help it lie flat.

Turn the two pieces right side out and press. Sew a 1/8″ top stitch around the circle.

To help keep the layers together, run a zigzag stitch around the entire outside edge. This will also help reduce fraying.

To make the back panel, place the back and lining pieces wrong sides together. Pin the pattern down then cut along the outside edges, ignoring the hole—don’t cut it out!

To complete the bag, place the front panel on the back panel with the outsides facing. Line up all sides, pin and sew a 1/2″ seam allowance.

Make sure to leave a small opening, approximately 1/2″ to 1″, at the top for the clothes hanger hook. The opening size will depend on the type of hanger. My thin metal hook required a smaller opening.

For extra reinforcement, backstitch on both sides of the hook opening and in the bottom corners.

Before turning right side out, cut off all four corners making sure to not cut any stitches. Once you turn the bag out, poke out corners with a blunted object. Press.

Lastly, insert your hanger.

My finished bag measures 9 1/2″ x 11″

Enjoy your cute clothespin bag and your freshly dried laundry!

fabric project, home decor, how to, sewing

Make Your Own Custom-Sized Toss Pillows

Recently I purchased a small chair and side table for a reading nook in my dining room (that I don’t want to use as a dining room). To add color to the corner, and because every chair needs a pillow, I decided to make my own. As a side note: purchased lumbar pillows cost a ridiculous minimum of around $45 and were too big.

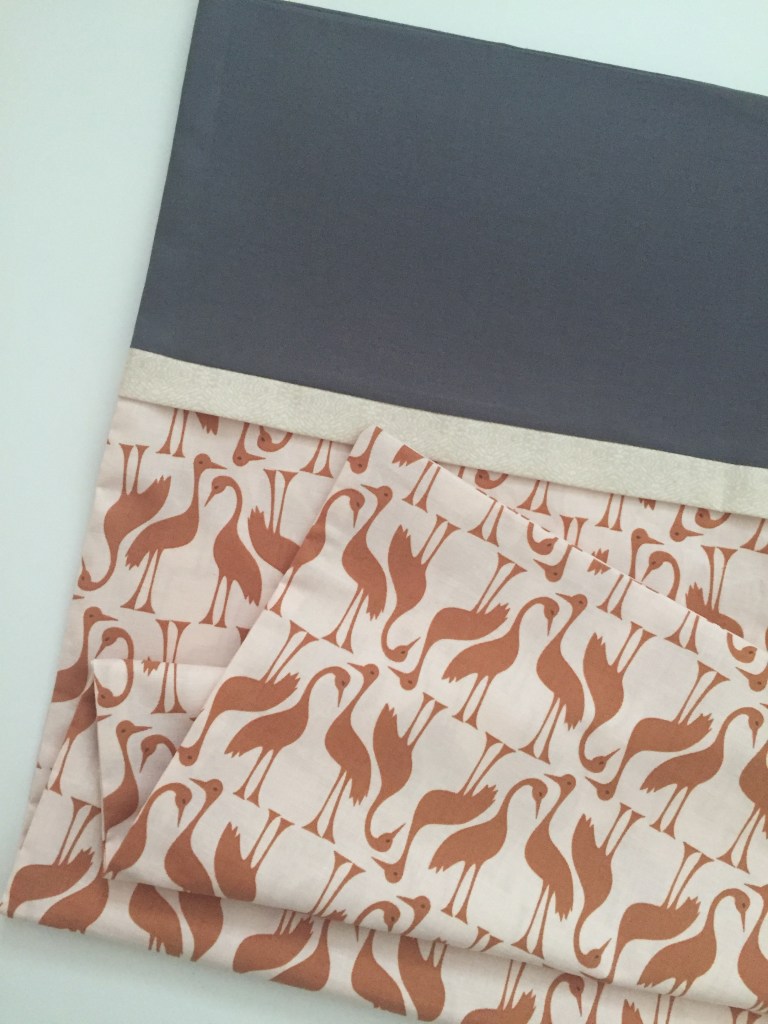
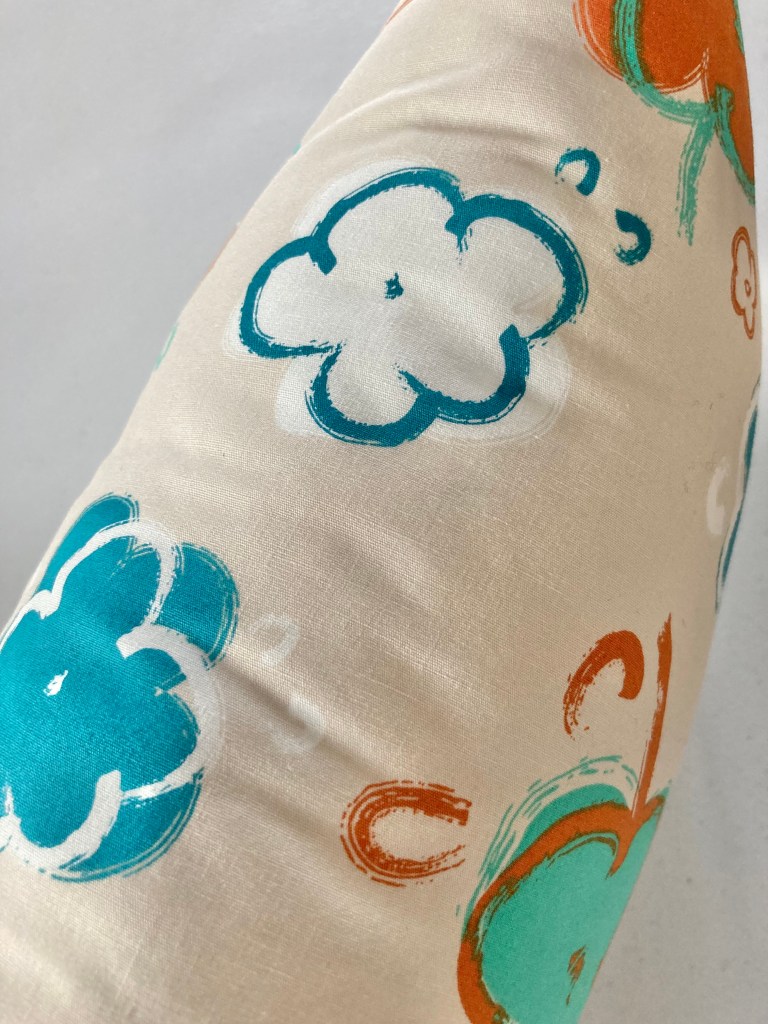
Because my chair is on the small side, the pillow could be made from a fat quarter. Lucky! Right away I knew exactly what FQ I’d use—a whimsical flower print from the Etno collection by Pat Bravo for Art Gallery Fabrics. It’s an older line that I love and was glad to finally use.

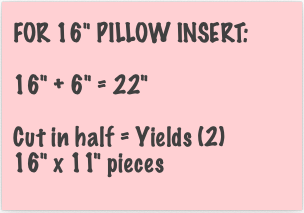
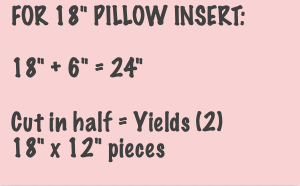
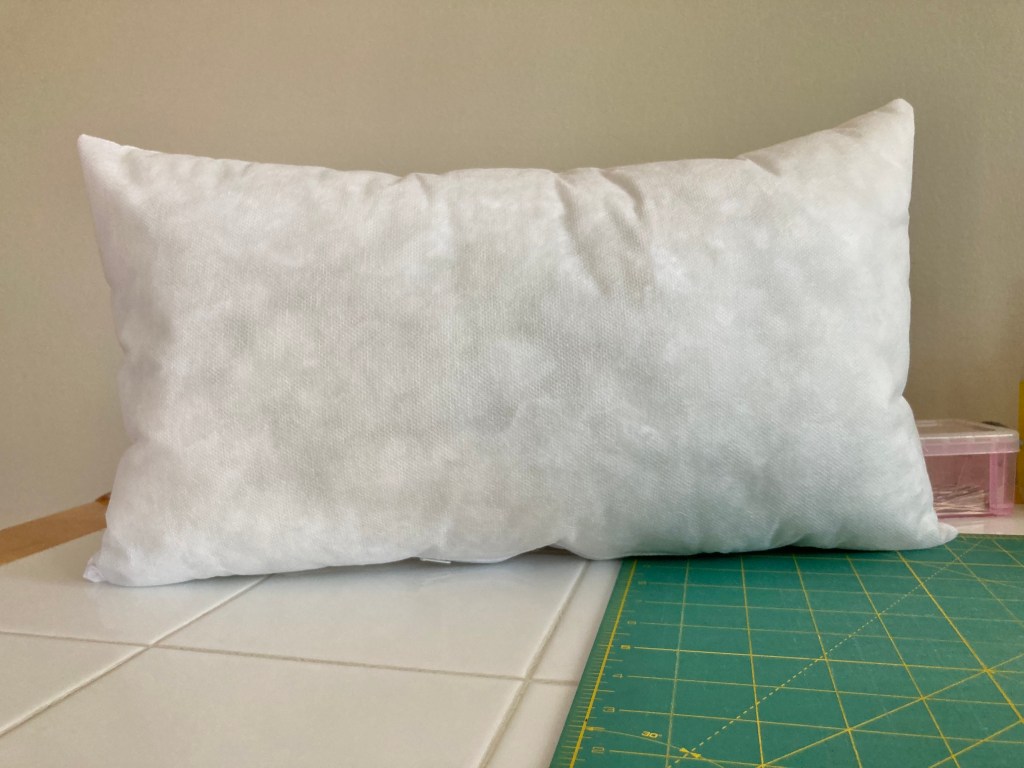
Also, I happened to have 2 new pillow forms on hand. They were 18” x 18” so I removed all the stuffing and resized them to 11” x 18”, then restuffed them.

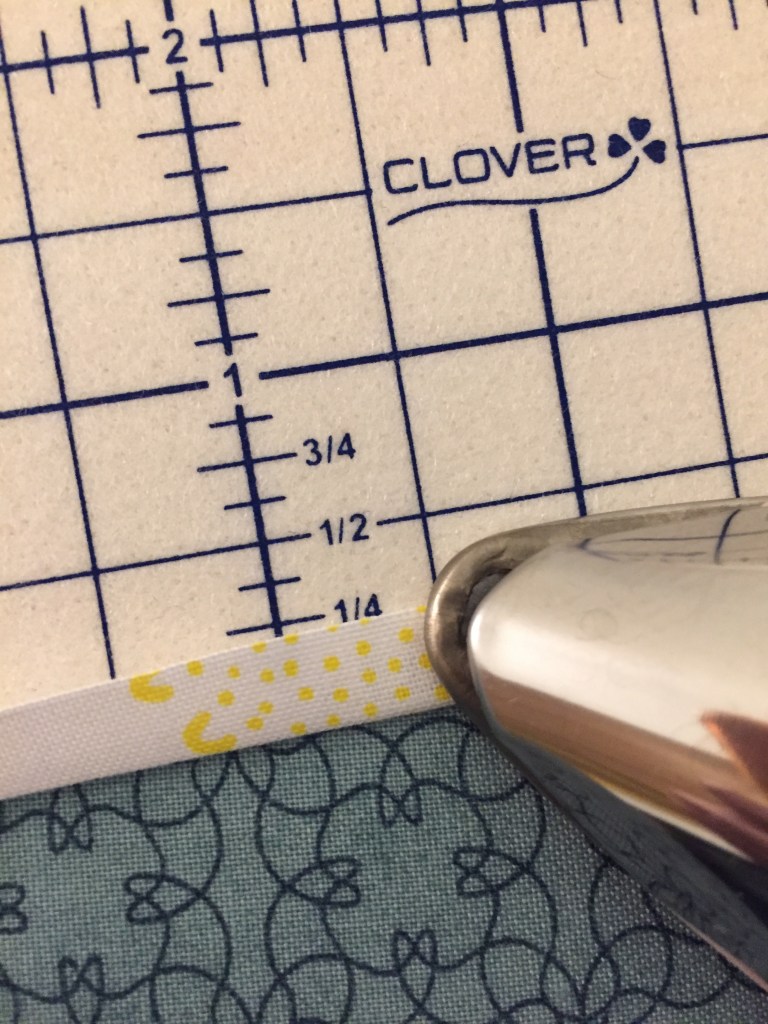
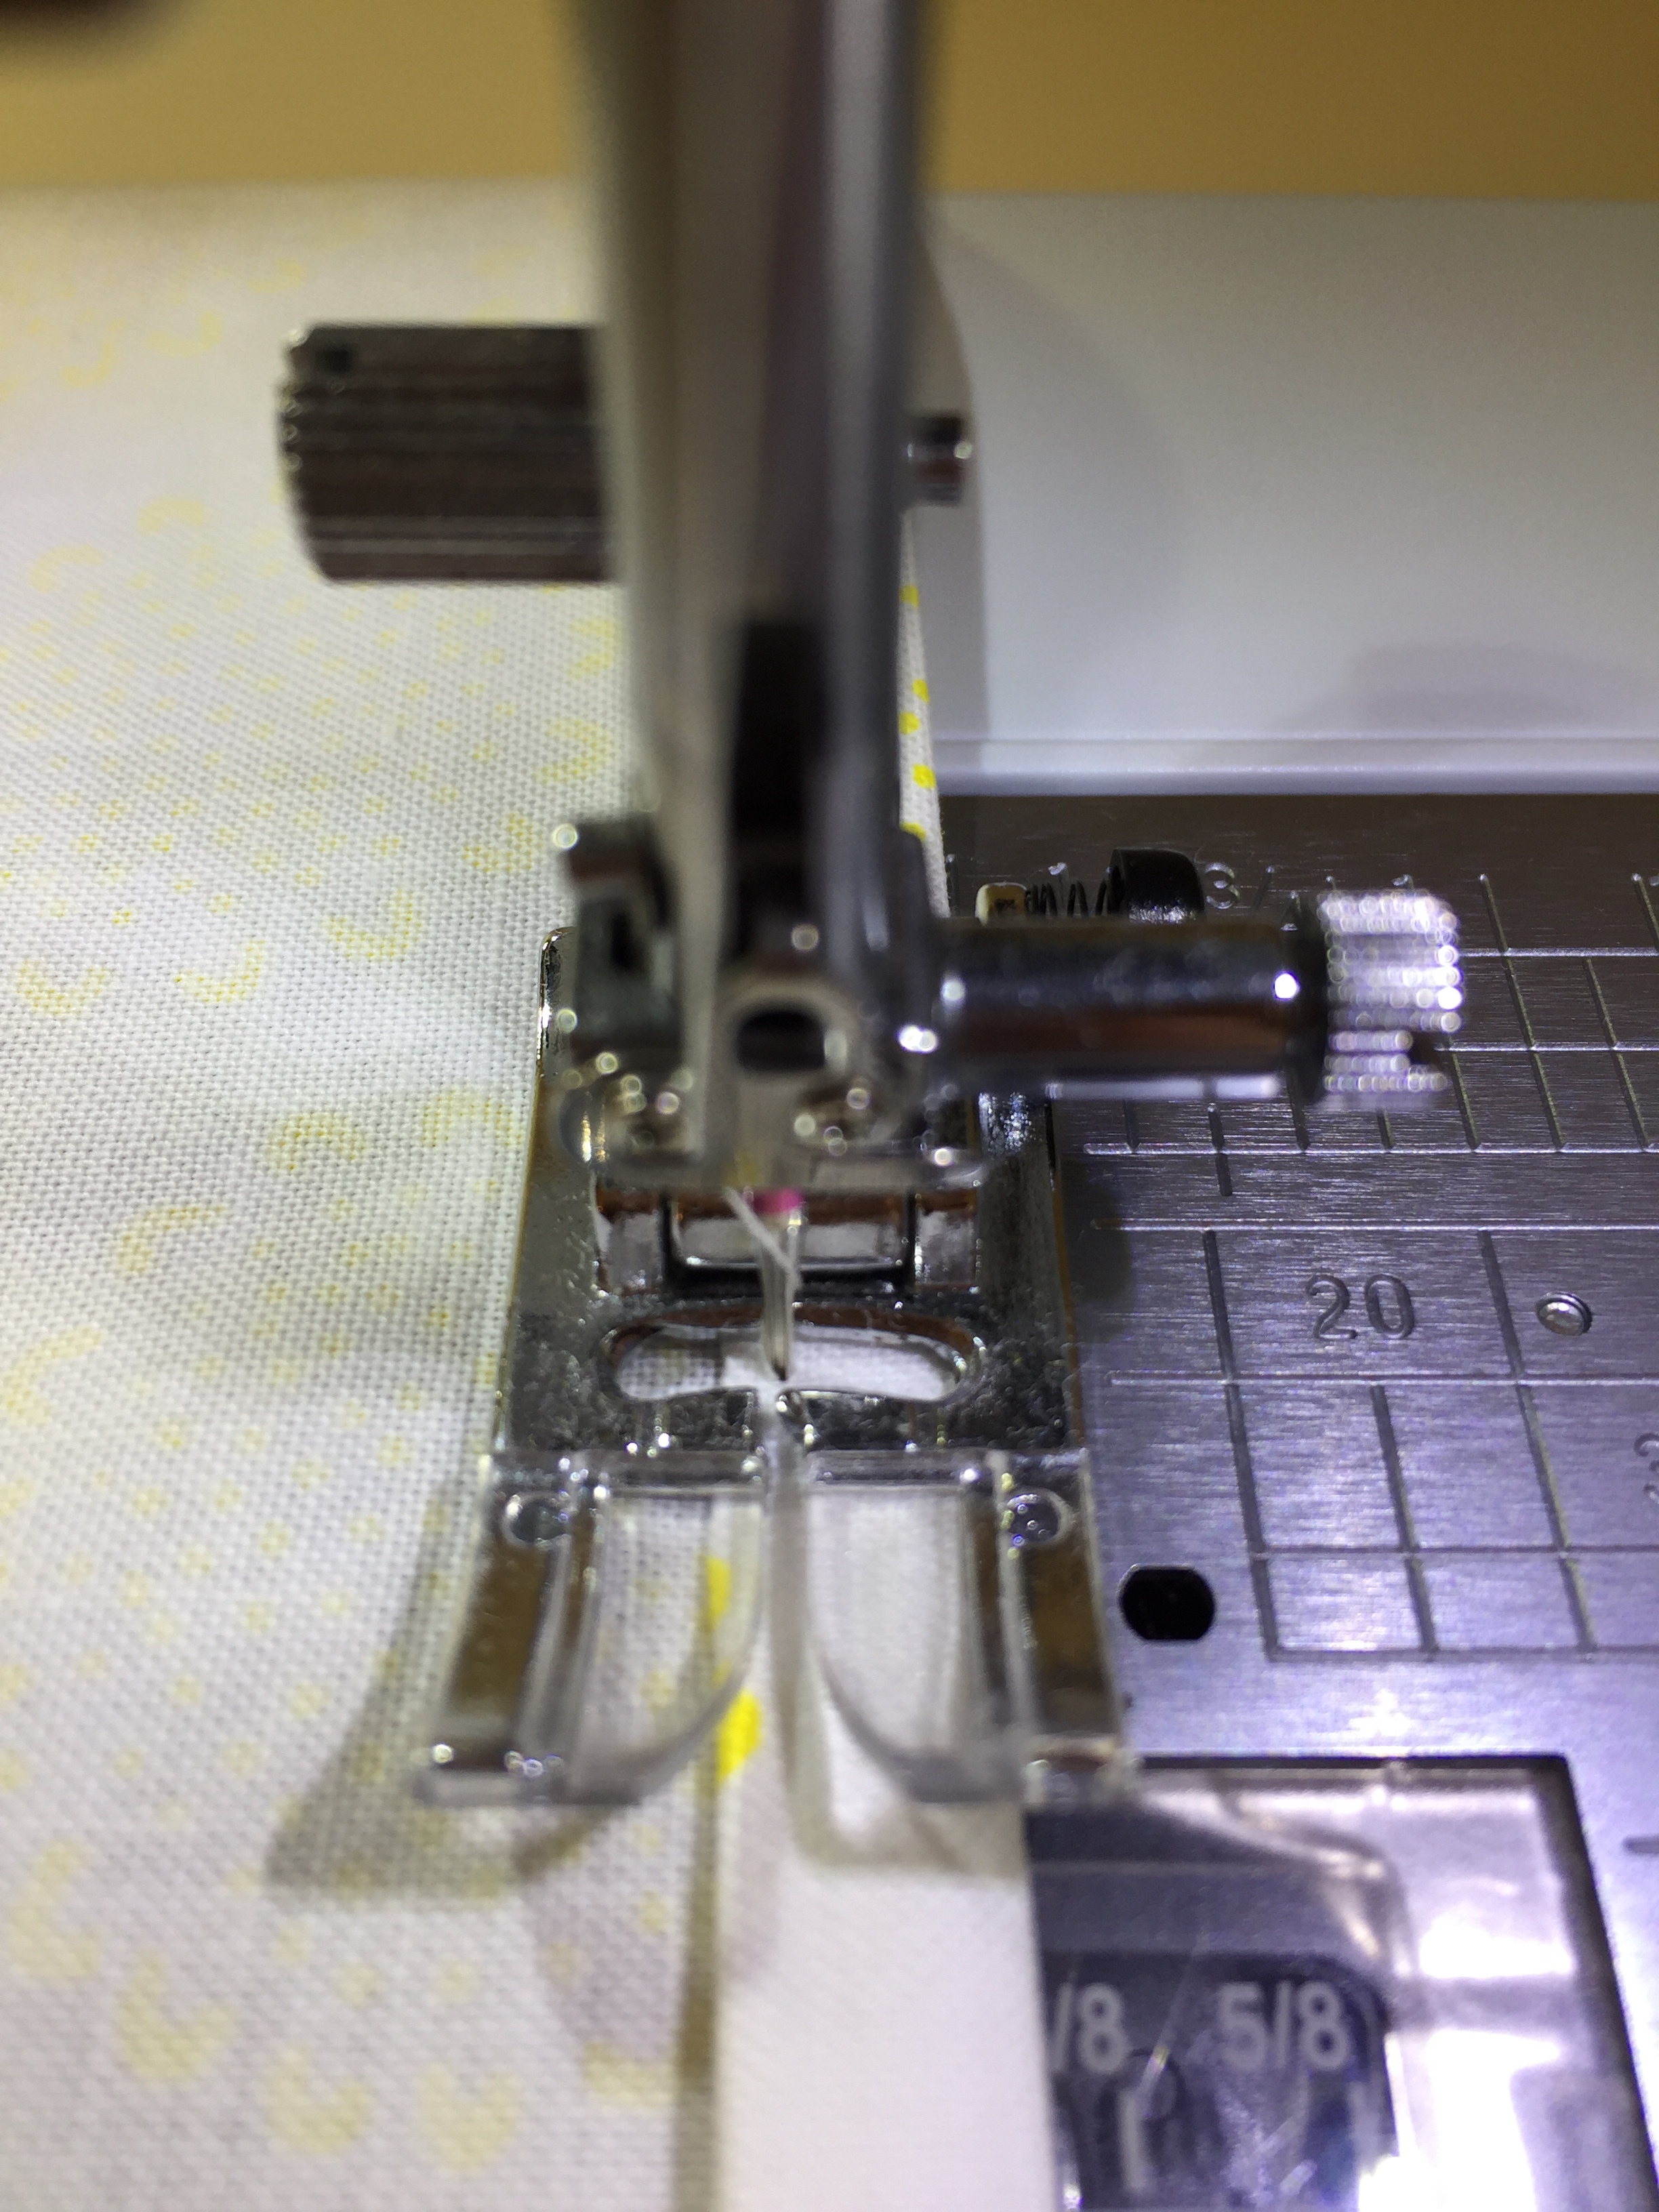
I revisited my Zippered Quilt Pillow Block Cover Tutorial for a refresher on the zipper sewing technique and other necessary steps, and in no time I had a cute little pillow! It really dresses up the space and gives it a personal touch.

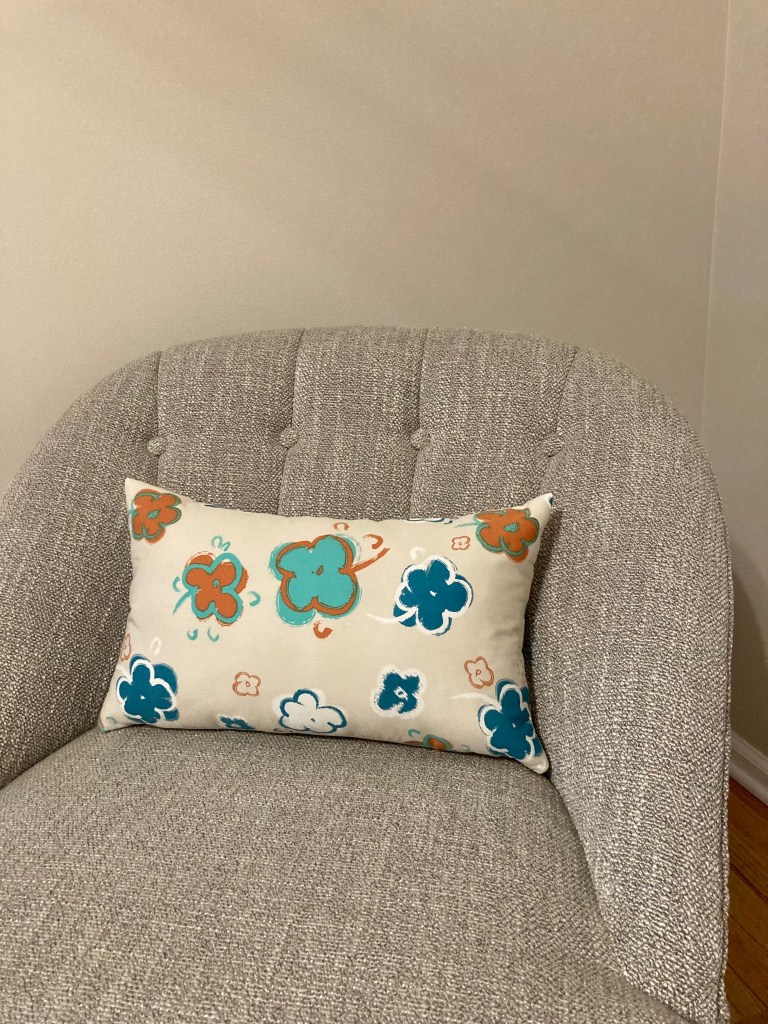
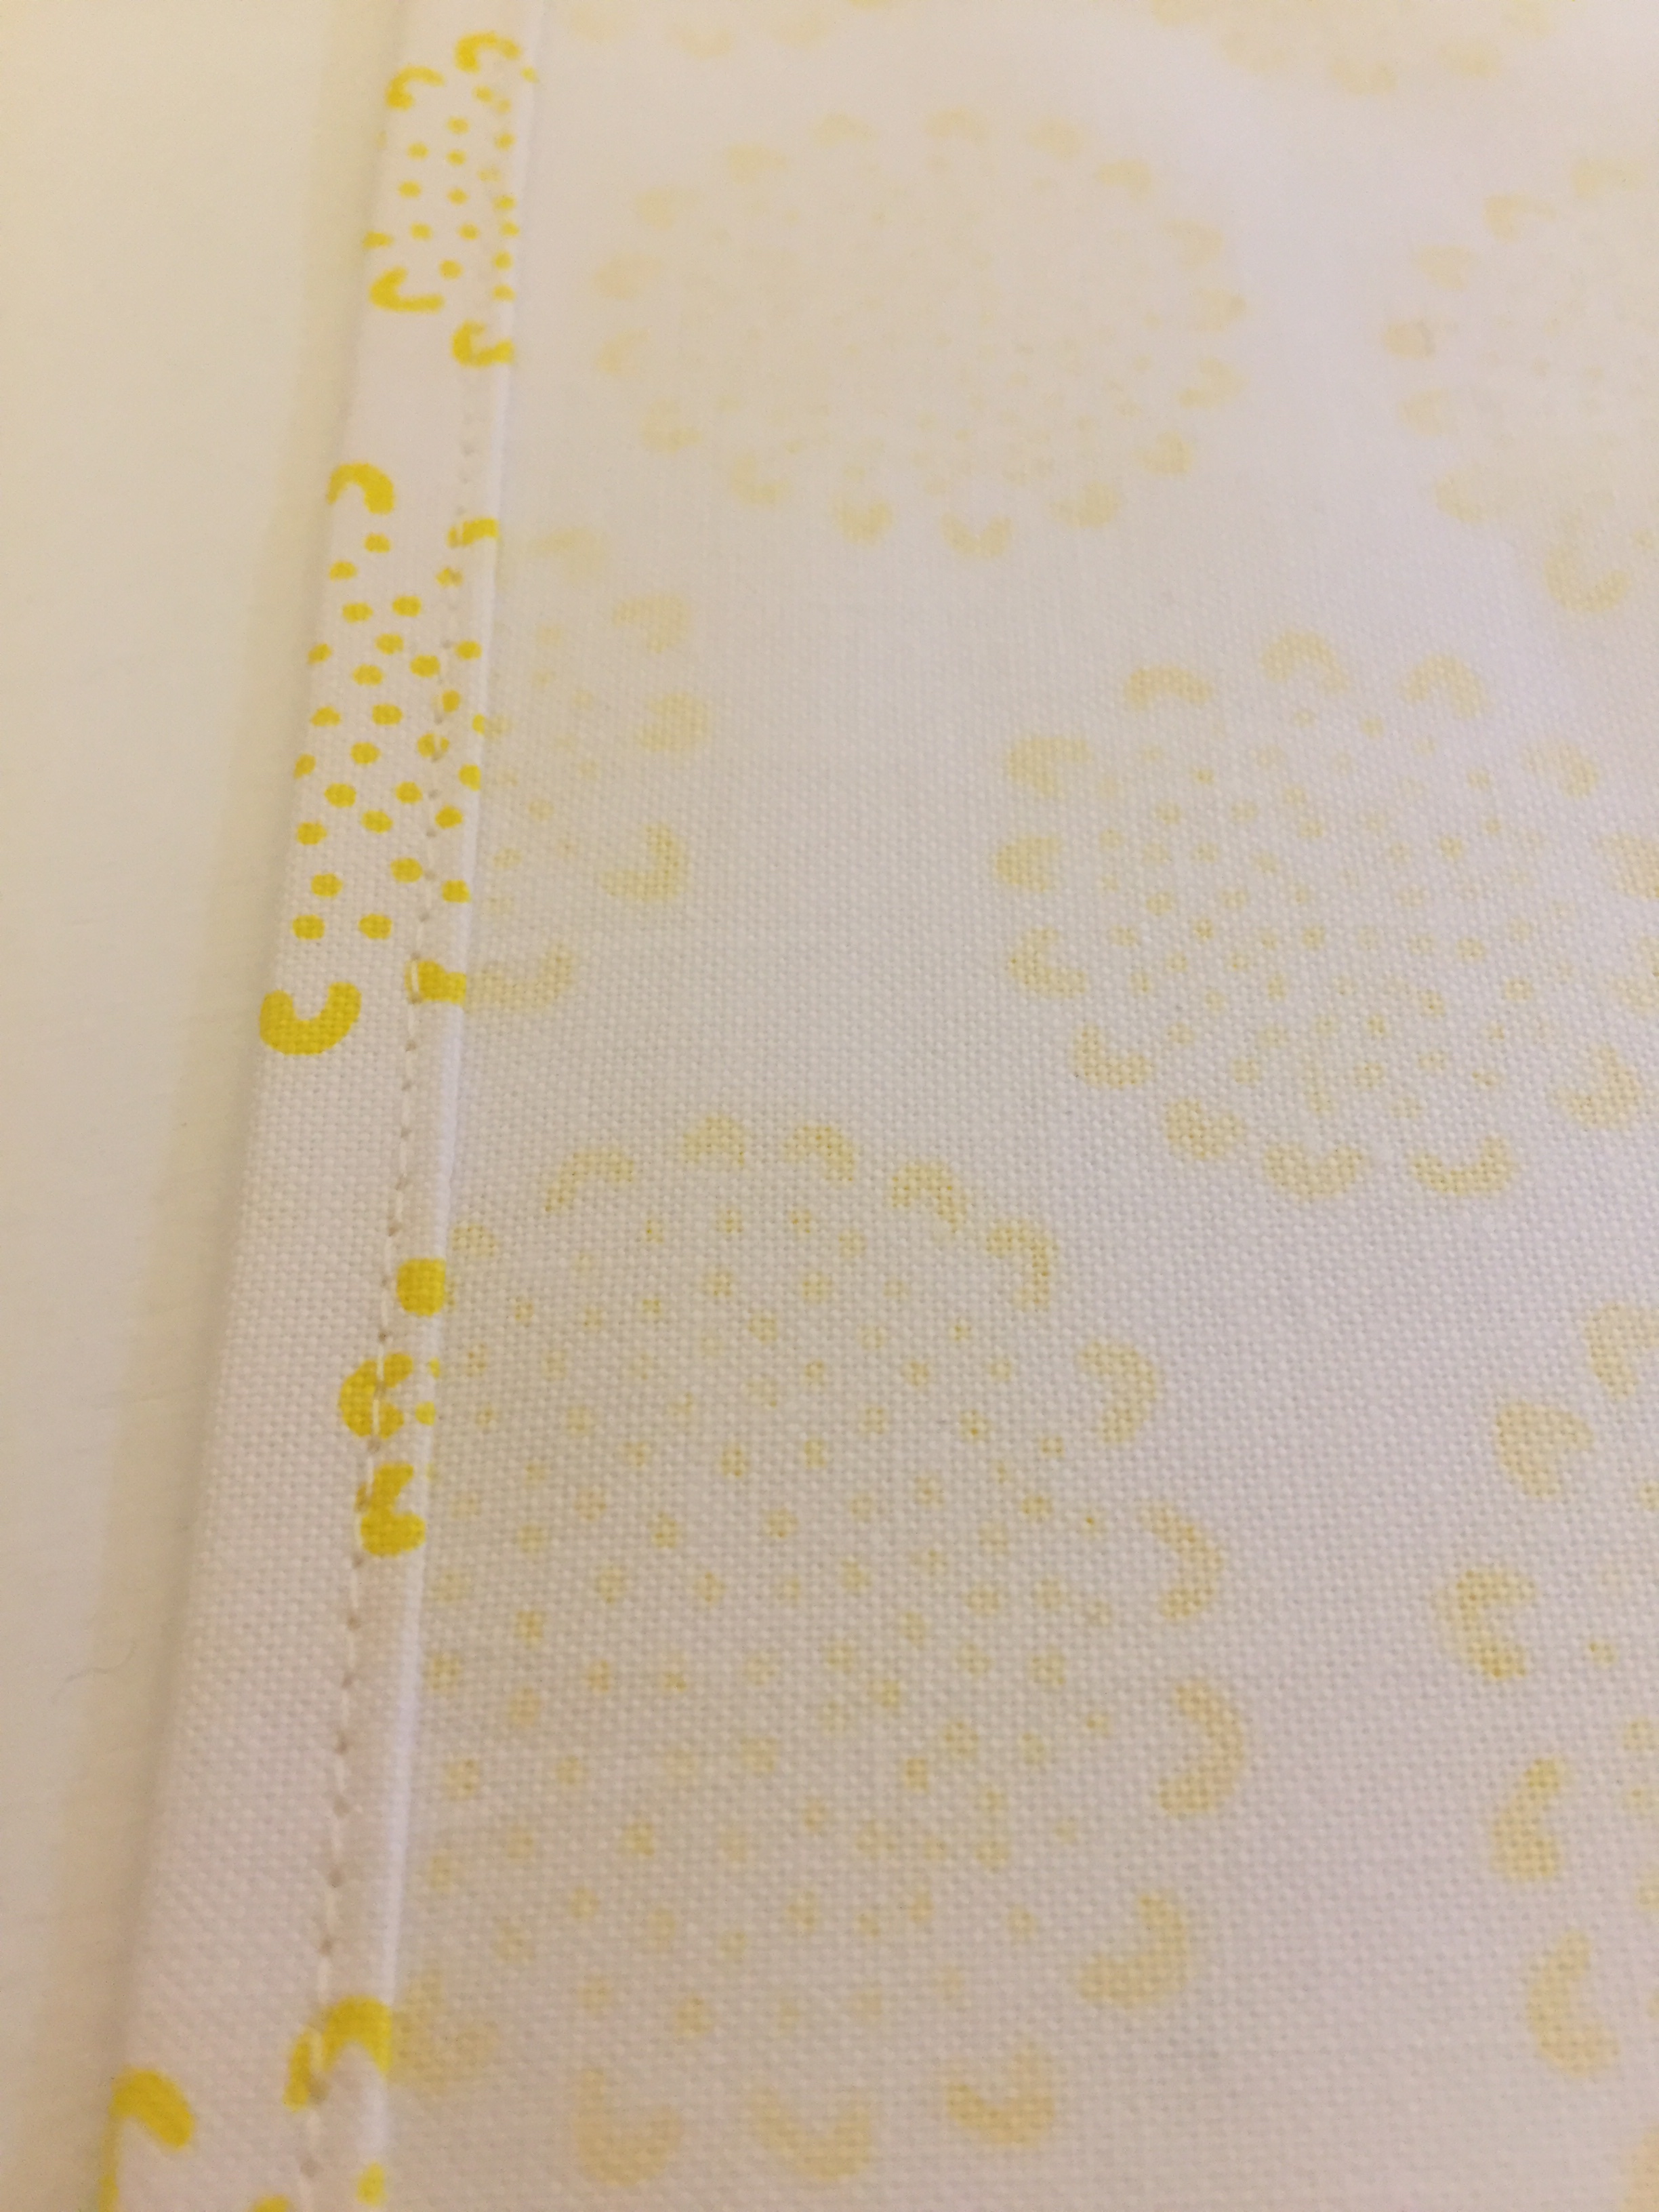
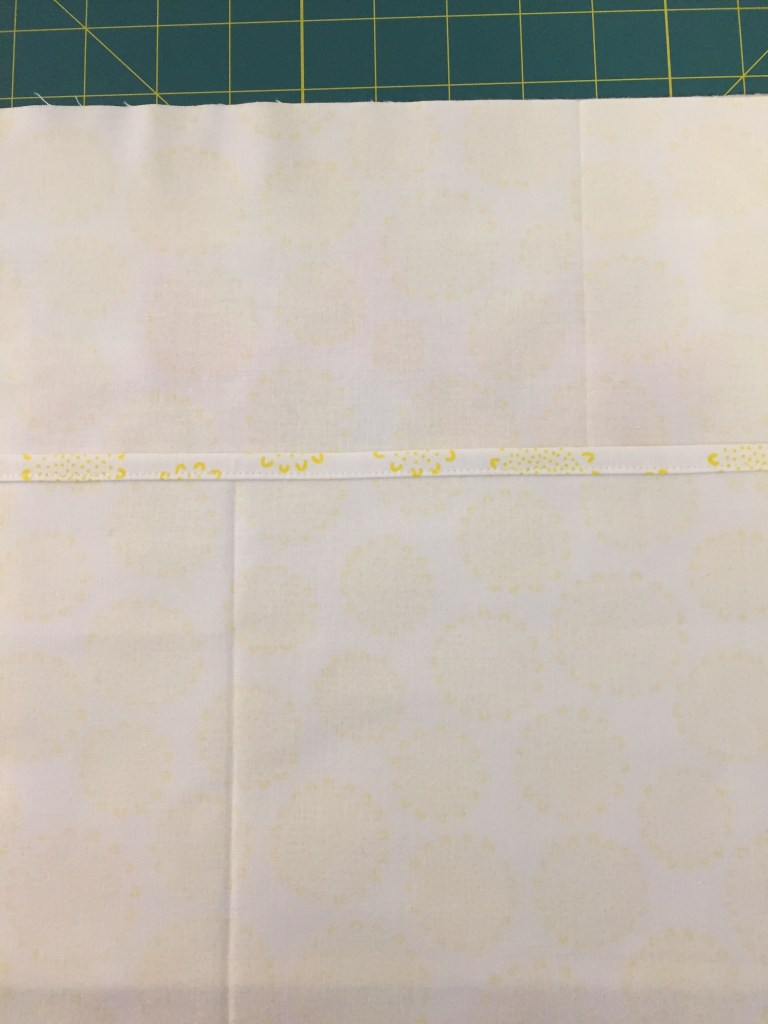
Another nice feature about this pillow size is no seam; the FQ sewed into a tube, giving the pillow a clean finish on top.

Not only is it a custom-made pillow, the total cost to make it is approximately $14 and about 1 hour and ½ of my time. A lot better than $45 AND made exactly how I wanted. 🙂

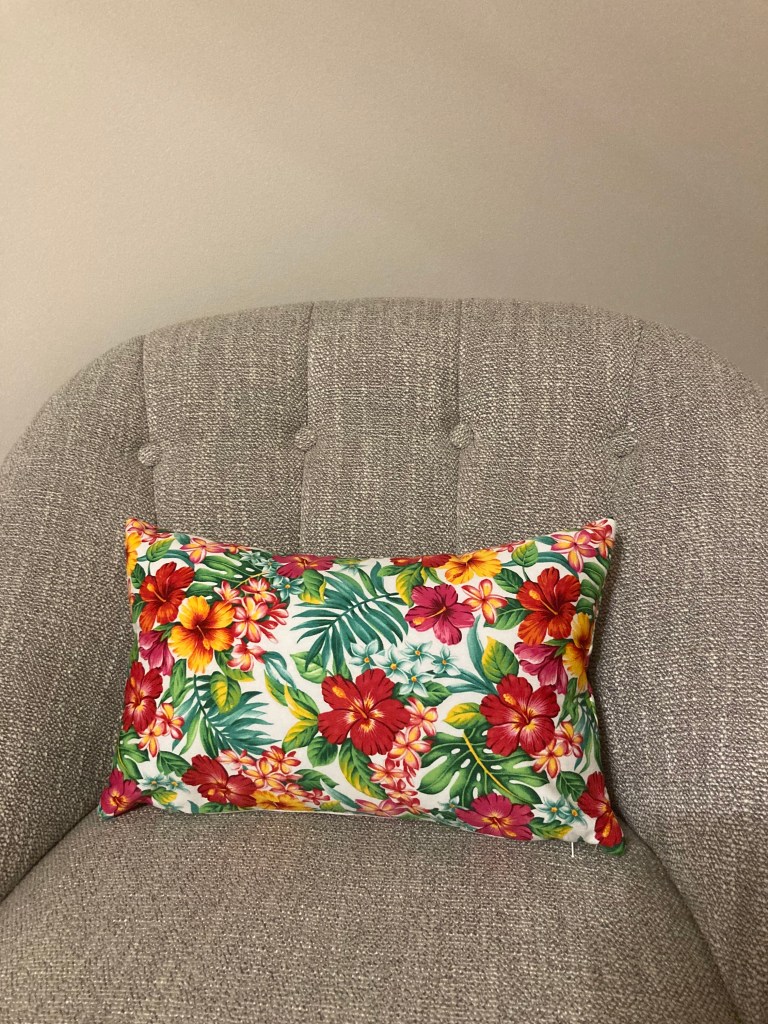
Since I liked that pillow so much and it was fun to make, I made another. I used the other pillow form and repeated the same steps. For this one I used a Hawaiian themed FQ my son gave me from his trip to Maui. It’s so bright and fun! I love it.

I’m really happy with these results, and I can change the pillows out when I want a new look. I’m now thinking about making some seasonal ones, too.


fabric project, how to, Uncategorized

Fun Rag Wreath Projects

When we quilters make a quilt we also create a lot scraps—it’s seems to be a never ending cycle. Other than making scrappy quilts, there’s always the question of what to do with scraps, especially if they’re not very wide. While scrolling Pinterest, I found the answer—a rag wreath.

Not only are they pretty, they’re easy and fun, and they use up a lot of scraps! What I especially like about this project is anything goes…from the wreath size to the color scheme. There are plenty of options, too. You can make it all one color, make one for a particular holiday or season or create a completely scrappy one using what’s on hand.

To get started, choose a wreath frame (one with 4 wires) and gather scraps.

Because I’d never made one before, I needed to know what else was involved so I watched a few YouTube videos. After that, I decided on the 12″ size because making an 18″ wreath would have required more strips than I had and I didn’t want to create even more scraps. 😉 Also, 12″ would be better suited for a 30″ interior door.

I purchased the frame at Michael’s for $3.99 + tax. Through videos I found others went to the dollar store and got theirs for a dollar!

YouTube makers offered different suggestions on strip size. I opted for 1 1/4″ wide by 8″ long.

They also showed various methods of tying on the strips. I decided to go with the most popular way that’ll give the fullest wreath. Here’s how: tie one strip into a knot over two pieces of metal, tying on one side, then the opposite, then tying one in the middle. This process continues within each frame section.

Here’s what the back looks like.

Mine has several different fabrics (from quilts made long ago) giving it plenty of color.

All in all, I’d say it took me the better part of a day to make this from start to finish. And how many strips did it take you ask? 190. That’s a lot of strips!

Since I enjoyed this project, I decided to make a larger one in red, white and blue for the summer holidays. This time I went to the Dollar Tree and purchased a 14″ frame for $1.25. 🙂

I cut my strips from left over fat quarters, 2 1/2″ strips and yardage. Because I was using only two colors that had prints, I opted for at least 6 different kinds from the red and blue fabrics. I used all solids for the white. I think it ended up with a nice variety without too much repeat. This wreath was a bit larger than the other; totaling 232 strips!

I enjoyed watching these wreaths come together, and it was a pretty relaxing project to do. It’d also be a good one to take on the go. If you’re ever in need of a fun, handmade gift, I think a recipient favorite-colored wreath would be an excellent choice.

how to, PDF download, sewing, tutorials, Uncategorized

Table Napkin Tutorial

For most quilters, managing stash is an ongoing process—as long you keep sewing, you keep ending up with left over fabric, especially with precuts.

Early this spring I finished a quilt using a layer cake I’d had since 2015. (Wow!) When the quilt was complete, several 10″ squares were left. I knew I’d never use them in a quilt and I didn’t want to store them, but what could I do with a dozen precut squares?

After considering a few options, I decided to make reusable table napkins for everyday use. And because I like all things environmental, it was a fun and practical choice.

These napkins finish around 8 1/2″ square and they’re so easy to make. If you’ve got any 10″ squares lying around, download this detailed Table Napkin PDF tutorial and start stashing down!

how to, organizing sewing space, sewing, tutorials, Uncategorized

Storing Fabric on Comic Book Boards

In January I spent a few days organizing my fabric. For storage, I have a box for all 10″ squares and a 4-drawer Rubbermaid unit I’ve divided out for specific cuts for my printed fabric only. I’ve designated one drawer for each cut: strips, remnants, fat quarters and WOF yardages. I also have another unit with one small drawer just for solids.

Lately I’d been accumulating solids and my drawer was getting full. Also, when I needed a particular color I’d have to take everything out which was pretty inconvenient. That said, I decided it was time to find another way to store my solid fabrics.

I’d remembered reading about quilters using comic book boards for storing fabric, so I thought I’d take a look into the process. A quick Google search and a brief video showed me how easy and cost effective it is.

I found that many quilters use BCW boards sized 7″ x 10 1/2″ (Amazon). A pack of 100 costs around $17 so if you don’t have a huge stash, this quantity will last quite a while! The boards are definitely sturdy enough for wrapping up to a few yards of fabric, and they’re acid free so they won’t cause any discoloration.

Quilters also use plastic alligator clips for securing the fabric. On Amazon, a pack of 500 costs around $10. Again, this quantity can last a long time! The clips are really sturdy and the ridges grip and hold nicely.

After ordering these two items, I was ready to go.

For my stash, I decided that the smallest amount of fabric to be stored on a board would be a fat quarter; anything smaller stays in the drawer. I also decided to store larger yardage amounts on the boards too, as I don’t usually have more than a yard or two in any given color.

To get started, I ironed everything. I recommend doing so because of course fabric looks nicer pressed and since it will be stored this way indefinitely, flat lying fabric will give the best results possible.

Next, folding and wrapping. For fat quarters, fold selvage to selvage. This will make your piece about 11″ high by 18″ wide. Next, place the board in the center where it will fit just right vertically, then wrap the sides around. For yardage, fold selvage to selvage. Then fold again in half, bringing the fold on the bottom up to the selvage at the top. The fabric will measure about 11″ high, just like the fat quarter. Fold the fabric once again, this time from side to side, bringing the raw edges to the fold. Place the board vertically in the center then wrap the sides around.

Place clips on the ends to secure the fabric and you’re finished!

For mine, I made tags to identify the fabric. I simply cut strips of paper about 3/4″ x 2″, and using a Frixion pen I noted the fabric brand and color. It took some extra time to figure out what was what, but when I need to know later the info will be there.

I also have plastic bins for storing the fabric. Not only does it look pretty, it’s a great way to see what’s on hand and it allows for quick access.

If you have a lot of fabric that you want to store on comic book boards, you may want to do a few pieces at a time. I had 26 cuts and it took me several hours! I’m happy to have spent the time for the great results, and I plan to do this as I acquire fabric so my stash is always stored up-to-date.

baby quilts, how to, PDF download, quilting, quilts, tutorials, Uncategorized

An Easy Beginners Quilt

If you’re thinking about taking up quilting as a new hobby but aren’t sure where to begin, I’ve got an easy, basic pattern that’s excellent for the complete beginner, the Checkered Baby Quilt. This quilt is a perfect starter for several reasons—it’s sewing simple squares together, there are no bias edges (when edges can stretch easily), seams nest (fit into one another stress-free) and it can be made with 5″ precuts. For the quilt top you need only two charm packs. And best of all, there’s no pattern to buy, just download my Checkered Baby Quilt tutorial. Easy, right?

I’ve made a few Checkered Baby Quilts and have given them as gifts and I’ve even made a couple for commission, so it’s definitely a classic that stays in style.

Checkered Baby Quilt made with stackers from Riley Blake’s Little Prince collection
Checkered Baby Quilt made with Moda’s Pepper and Flax and various other prints

The last one I made with Lily and Loom fabric from Craftsy (remember Craftsy?) and Kona Cotton Solid Snow. I chose crosshatch quilting at 2″ apart and a solid binding.

Other reasons why this is great for a new quilter is that it’s a nice sized project suitable for experimenting with color, fabric, thread, quilting designs, etc. All of those quilting elements are part of the learning process plus it’s a lot of fun. So if it’s time to get started, why not grab a couple of charm packs and try this one out?!?

how to, quilting, Quilting 101, sewing, tutorials, Uncategorized

How to Piece Quilt Batting

If you’ve been quilting for a while I bet you’ve accumulated quite a bit of cutaway batting—I have a fair amount myself. For me, I needed to stash down and use what I had plus I’ve found it difficult to purchase any batting because it’s either sold out or on backorder.

Since I had a couple patterns in the works, it was a good time to do some quilt batting piecing so I could finish my projects. First up was a throw quilt that will finish 56″ x 72″.

To get started, I gathered cutaway strips from other quilts I’d made. I had three strips that were long enough and once sewn together, the whole piece would be wide enough. Because the strips were uneven in length, I cut them all to an even and approximate length of what I’d need. I then was ready to get sewing.

Here’s what I did, and if you decide to piece batting too, this is what you’ll need to know. I’ve compiled a list of tips to help you as you go along.

Before you start sewing:

  1. Set up good lighting.
  2. Match the thread to the batting as close as possible.
  3. Cut fresh, straight edges using a ruler and rotary cutter OR if the factory cut edges are straight, they are fine to use.
  4. Make sure the same sides of the batting are up.
  5. To insure seams stay secure, use a zigzag stitch. I sew on a Janome Skyline S7 and this is the setting I used. Whatever you can set close to this should work fine.
  6. Choose the proper foot for your machine.
  7. Try a sample first to ensure your stitch length is set appropriately.

Once you get started:

  1. Sew slowly making sure both sides of the batting pieces are caught by the zigzag stitch. Going fast will make batting bunch.
  2. Use quilting gloves for a better grip (batting can be slippery).
Finished pieced quilt batting

Once finished and before use:

  1. If necessary, you can press the seams to help them lie flat, but make sure the entire area of batting where you intend to iron is covered by fabric or you’ll get residue on your iron that’s difficult to remove, trust me. 😉
  2. I spritzed water over my stitching to help relax the seams which worked really well. If you do use water, check that everything is dry before sandwiching and quilting.

Here’s a photo of an area beneath the quilt top where there’s a pieced batting seam…you’d never know!

Christmas, fall decor, home decor, how to, mini quilts, patterns, PDF pattern, quilt blocks, quilting, sewing, tutorials, Uncategorized

2019 Project Recap

Every year I like to write a blog post recapping all the projects I’ve made. I mainly do this to have a quick reference should I ever need to know when something in particular was made. And it’s fun to see how I’ve spent my time sewing. So here goes…

First up is my Petite Hearts quilt that I made on a whim. Definitely a top favorite.

I started making a Swoon quilt by Thimble Blossoms in the spring and got it back from longarming late September. I haven’t written a blog post on it yet because I haven’t gotten any good photos, so these two blocks will have to do for now. 🙂

I started my Maple Charm quilt before we moved in April and had it finished just in time for fall. I enjoyed it the entire season.

This Five Squared throw quilt is a Monday Morning Designs pattern (available for purchase in my Etsy shop; see sidebar). I made it out of fabrics I had on hand and I love that all the colors of the rainbow are included.

Also while trying to use what I had on hand, I made a Four Patch Charm quilt. I’m hoping somebody has a special event this year so I can gift it.

Lastly, I made my son a Picnic Play quilt designed by Michelle Bartholomew. While this quilt looks innocent, it was a tough one! It was a huge project, too. My son enjoys finally having a quilt large enough to use on his queen size bed.

I made quite a few mini quilts, too. This one was completed early 2019. I’ve also written a tutorial on how to make a Scrappy Heart mini. It’s a fun and quick one to make.

What can I say about this cute crab pattern by Ellis and Higgs? The big crab was a gift for my daughter, the other one is mine.

This Radiant mini is also a Monday Morning Designs. I was fortunate to have it featured in the July/August edition of Quiltmaker. It surely brightens up my space! I plan to release the pattern this summer.

I made quite a few Little Quilted Star ornaments for gifts for Christmas. Very festive.

My pattern Wee Three Trees became available for purchase in time for the holiday sewing rush. I made two, one for myself and one as a gift for my niece.

Here’s the last of my projects. I made the microwave bowl cozy for myself as a holiday bowl for pine cones. The little holders are for gift cards; gifted as party favors, and the bottom photo shows my process on a mini Christmas tree skirt.

These pillows were also gifts…

And a pillow case for my bird-loving husband.

Lastly, towels with cute toppers made for my mom. You can download my free PDF tutorial How to Make a Hanging Kitchen Towel. It’s easy-to-follow, complete with photos, a template and lots of tips!

Well, that sums up last year, and I’m well into making for 2020!

home decor, how to, PDF dowload, sewing, tutorials, Uncategorized

How to Make a Hanging Kitchen Towel

I’m always looking for a new sewing project to make—something easy and fun with a fairly quick finish. I thought I’d enjoy making hanging kitchen towels since they’re decorative and useful. While scrolling through Pinterest I found several examples with a variety of toppers, but I couldn’t find any tutorials I liked so I designed my own.

I also wrote a tutorial while making mine, and for an easy way to share it’s available as a PDF download. That way it’s convenient for you to keep it on your device while working on your project. Here’s the link to download my How to Make a Hanging Kitchen Towel tutorial.

I’d rate this project as ‘easy’ and it’s great for both new and experienced sewing enthusiasts. The tutorial is chock-full of colorful photos, helpful tips and a printable template—all there to guide you while making your own!