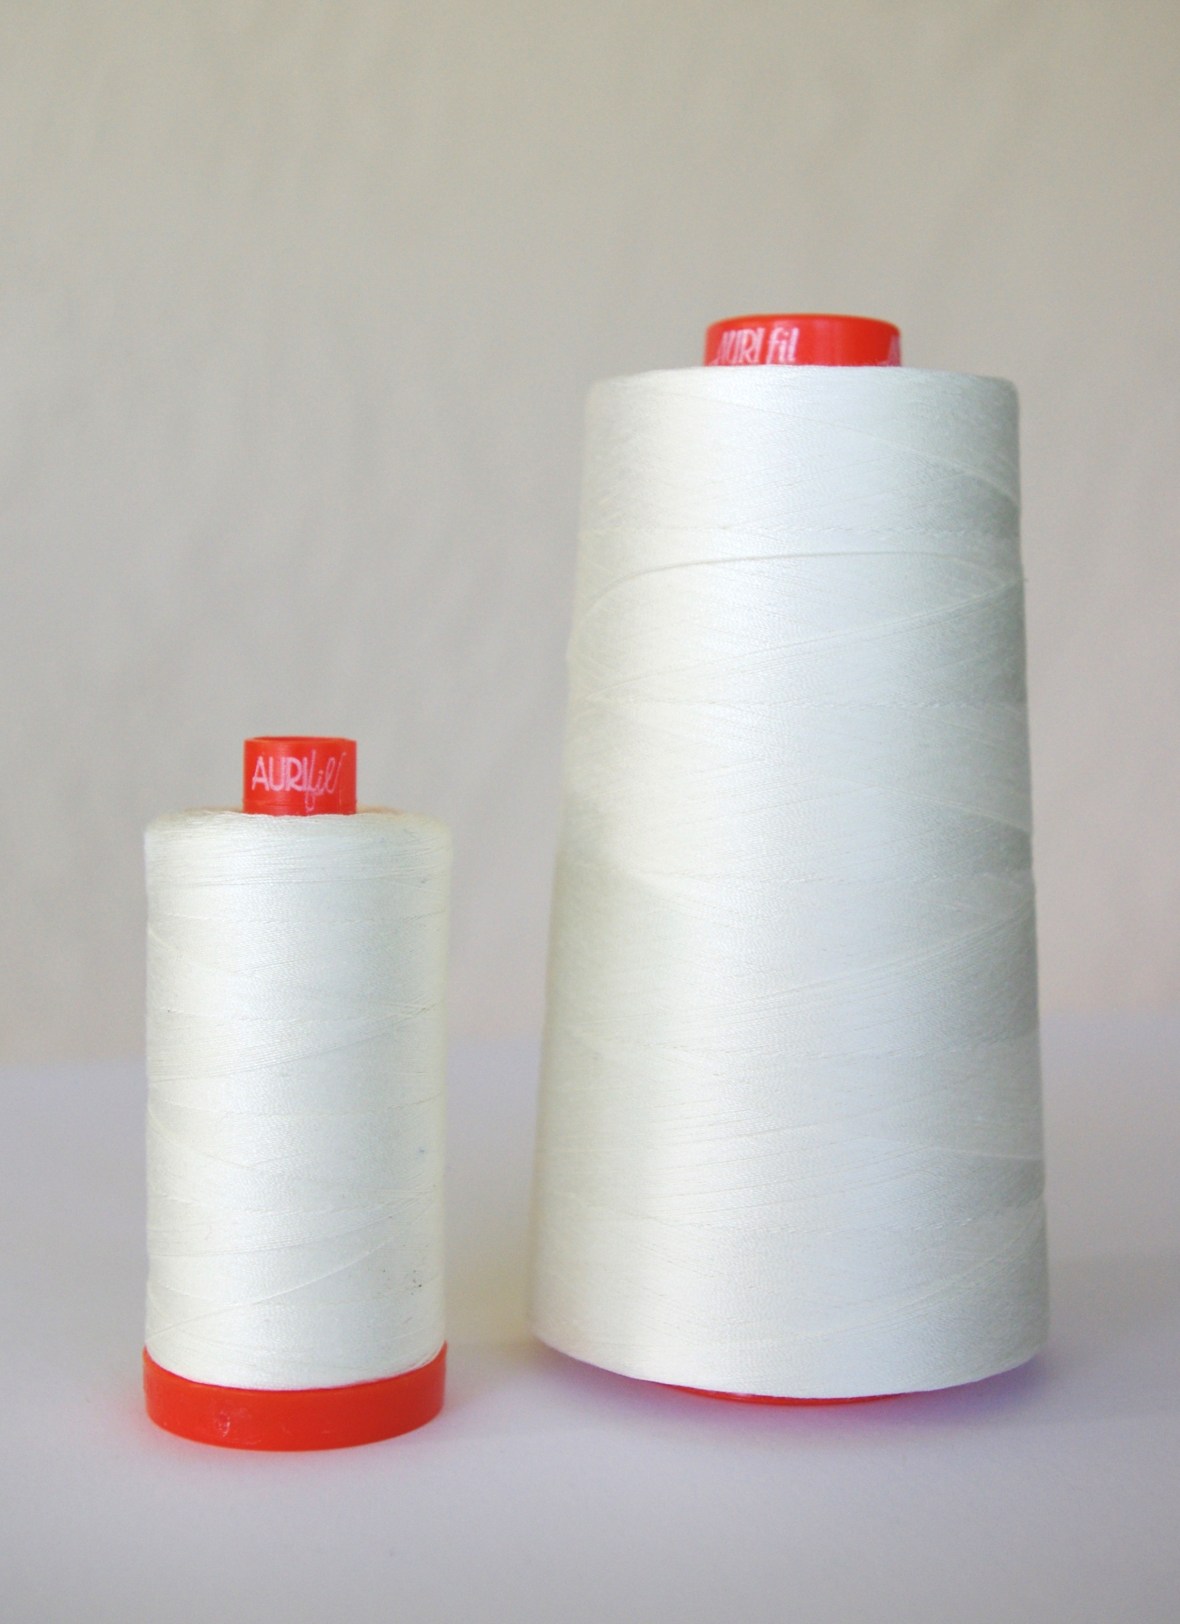
When I first started quilting, I didn’t realize what a difference thread could make. About a year into my new hobby I started reading great things about Aurifil thread (50wt) so I decided to try it and wow, it does make a difference. Not only does it leave virtually no lint in the bobbin case (unlike less expensive threads), it’s great to work with, it comes in so many colors and three different sizes.
Once I switched over, I used the mid-size spools for a couple of years but found I went through them rather quickly. And since most of us quilters use our ‘go-to’ thread color for piecing, I wondered if it might be cost effective to use cones instead, and the answer is yes.
I did some price searching and found that craftsy.com has the lowest price on both mid-size spools and cones (I didn’t factor in the smallest size spool because I wouldn’t use that size when piecing).
Here’s how it works out mathematically:
One Aurifil 50wt cotton mako mid-size spool costs $9.80 and has 1,422 yards which works out to approximately .007 cents/yard. The Aurifil 50wt cone cost $35 and has 6,462 yards which works out to a bit over .005 cents/yard.
There is a savings even though the difference might seem minimal, but you have to consider that you pay for shipping every time you place an order (unless you’ve spent enough to get it free) so to me, not constantly having to order is a savings. Also, Aurifil thread isn’t readily available in quilting stores. And honestly, I’m very environmentally-conscious so I don’t like throwing away the spools, plus I like the idea of my thread lasting a long time.
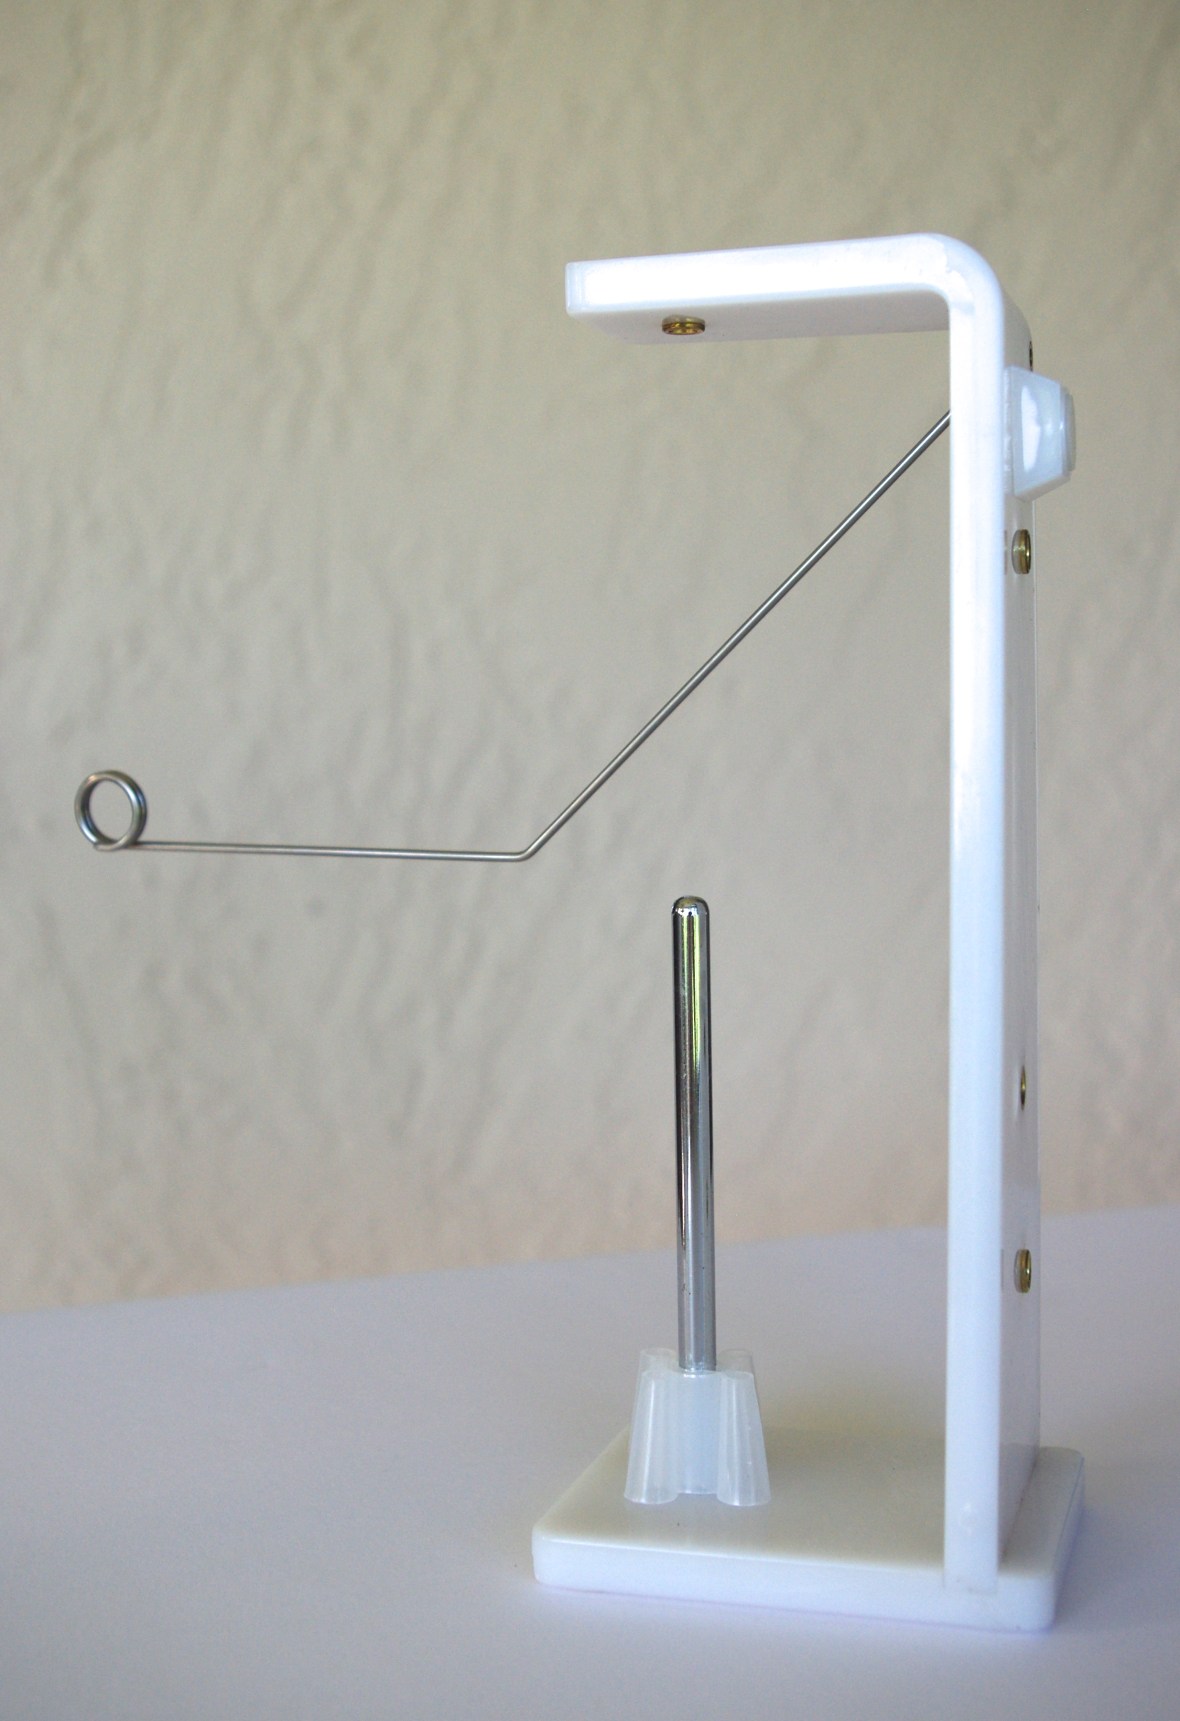
If you do decide to switch over to cones, another thing to consider is a cone stand. It’s an upfront investment but I feel it’s worth it. I found this Superior Thread Holder Handy Stand on craftsy.com. I paid $15 (now it’s $16+). It’s a great product and I can’t see any reason why I would need to replace it (and I highly recommended it). Another option is to make your own thread stand to save on purchasing one.
So, that’s my thoughts on thread and economics! If you were wondering, my Aurifil thread of choice is #2026 (Chalk).
Note: I am not endorsed by Aurifil or any other product I have mentioned in this post; they are just items I like, use, and I wanted to share information on.