Christmas, home decor, mini quilts, quilt blocks, quilting, tutorials, Uncategorized

Little Quilted Star Ornament Tutorial

Lately I’ve been going through my fabric trying to find a good use for leftovers. So far I’ve made my colorful, controlled scrappy Five Squared Quilt and my Four Patch Charm quilt, made with a ray of lovely golden yellows.

Even with those two completed, I still have fabric left from other projects. Three years ago I made my son a tree skirt for Christmas using a mix of beautiful metallic fabrics by Marcus Brothers, RJR and Andover Fabrics. And…

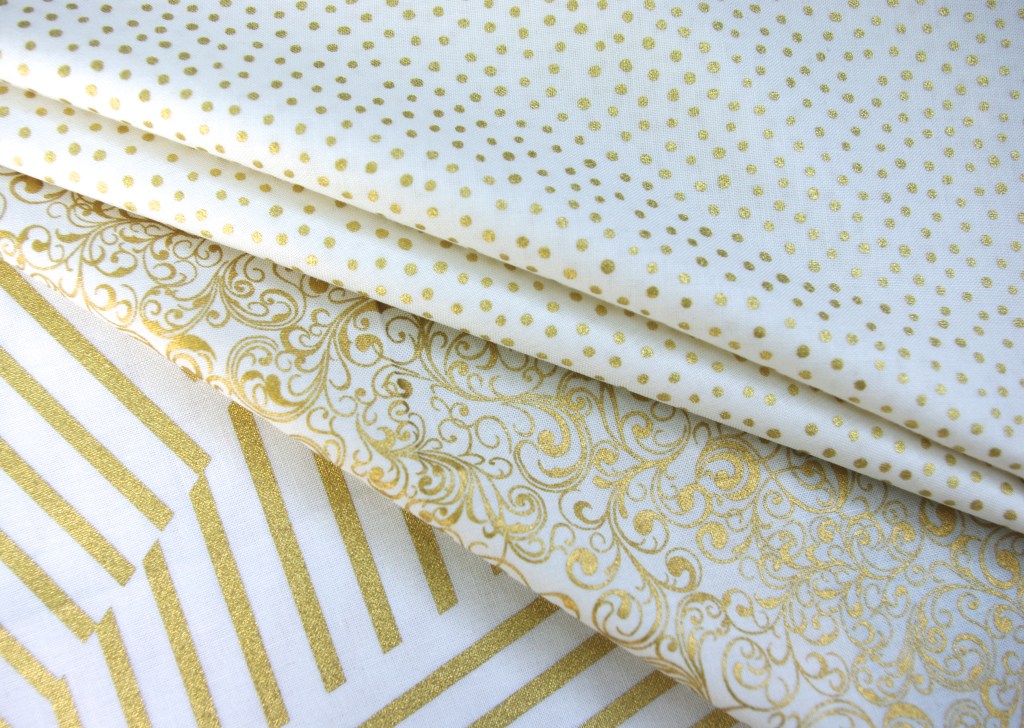
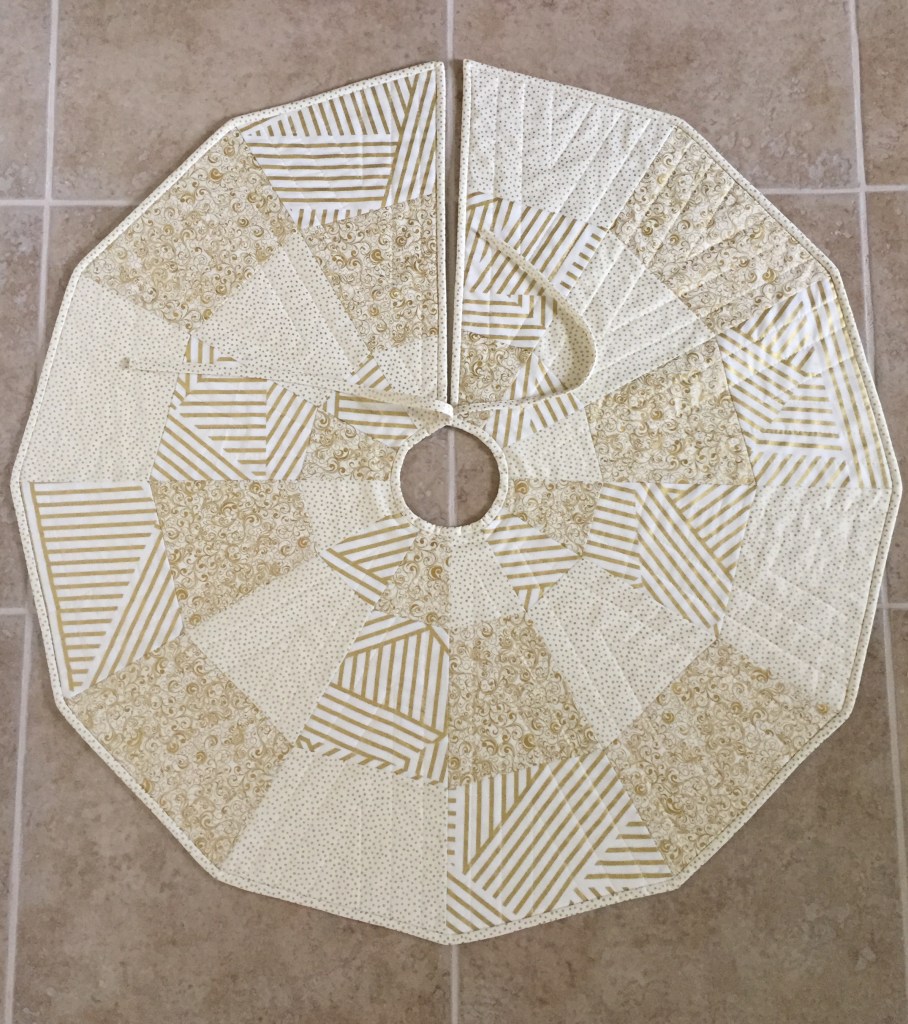
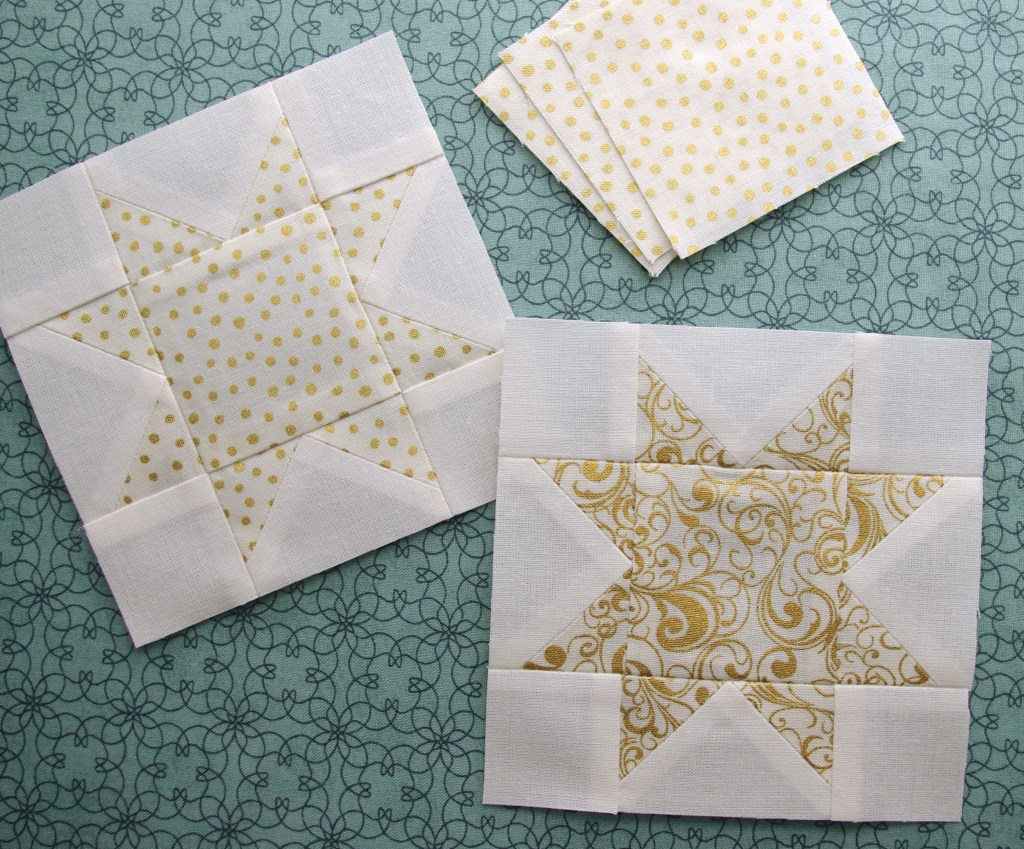
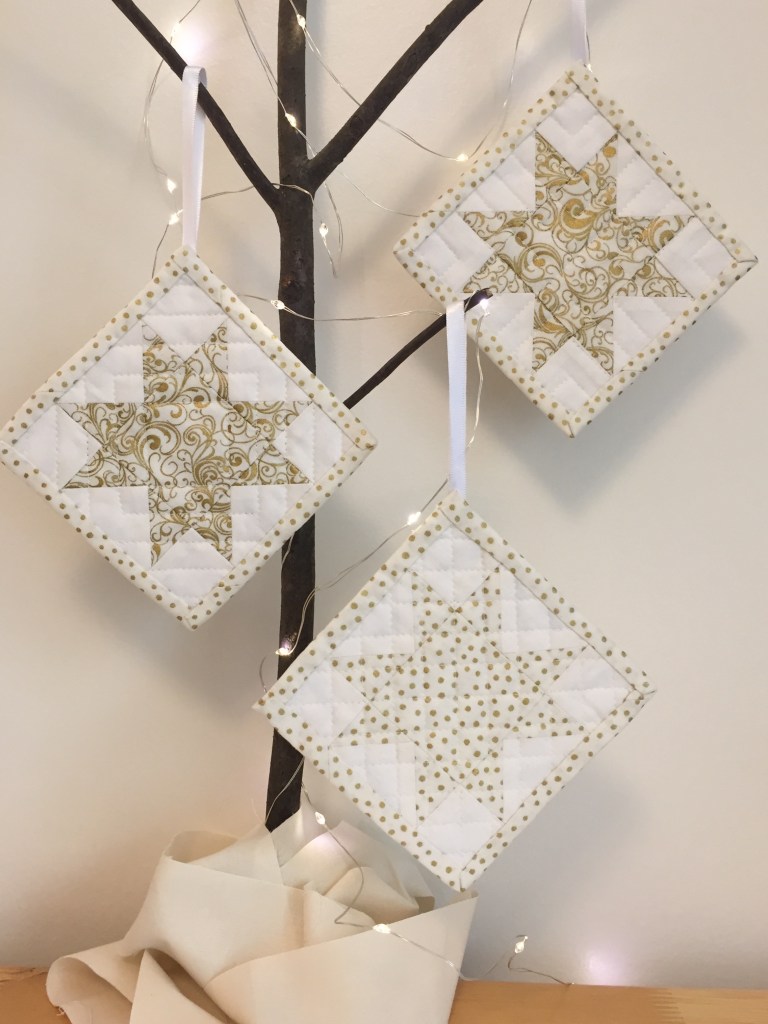
while scrolling through Pinterest I found a great idea for using smaller scraps, little quilted star ornaments. Right away I knew these metallics would be a perfect choice for this project.

Since I only saw a photo and the dimensions weren’t given, I experimented until I had made one small enough without using exceptionally tiny pieces. I also decided to make a tutorial because other quilters may be looking for a fun way to use up little scraps, and just in time for the holidays. So here it is…

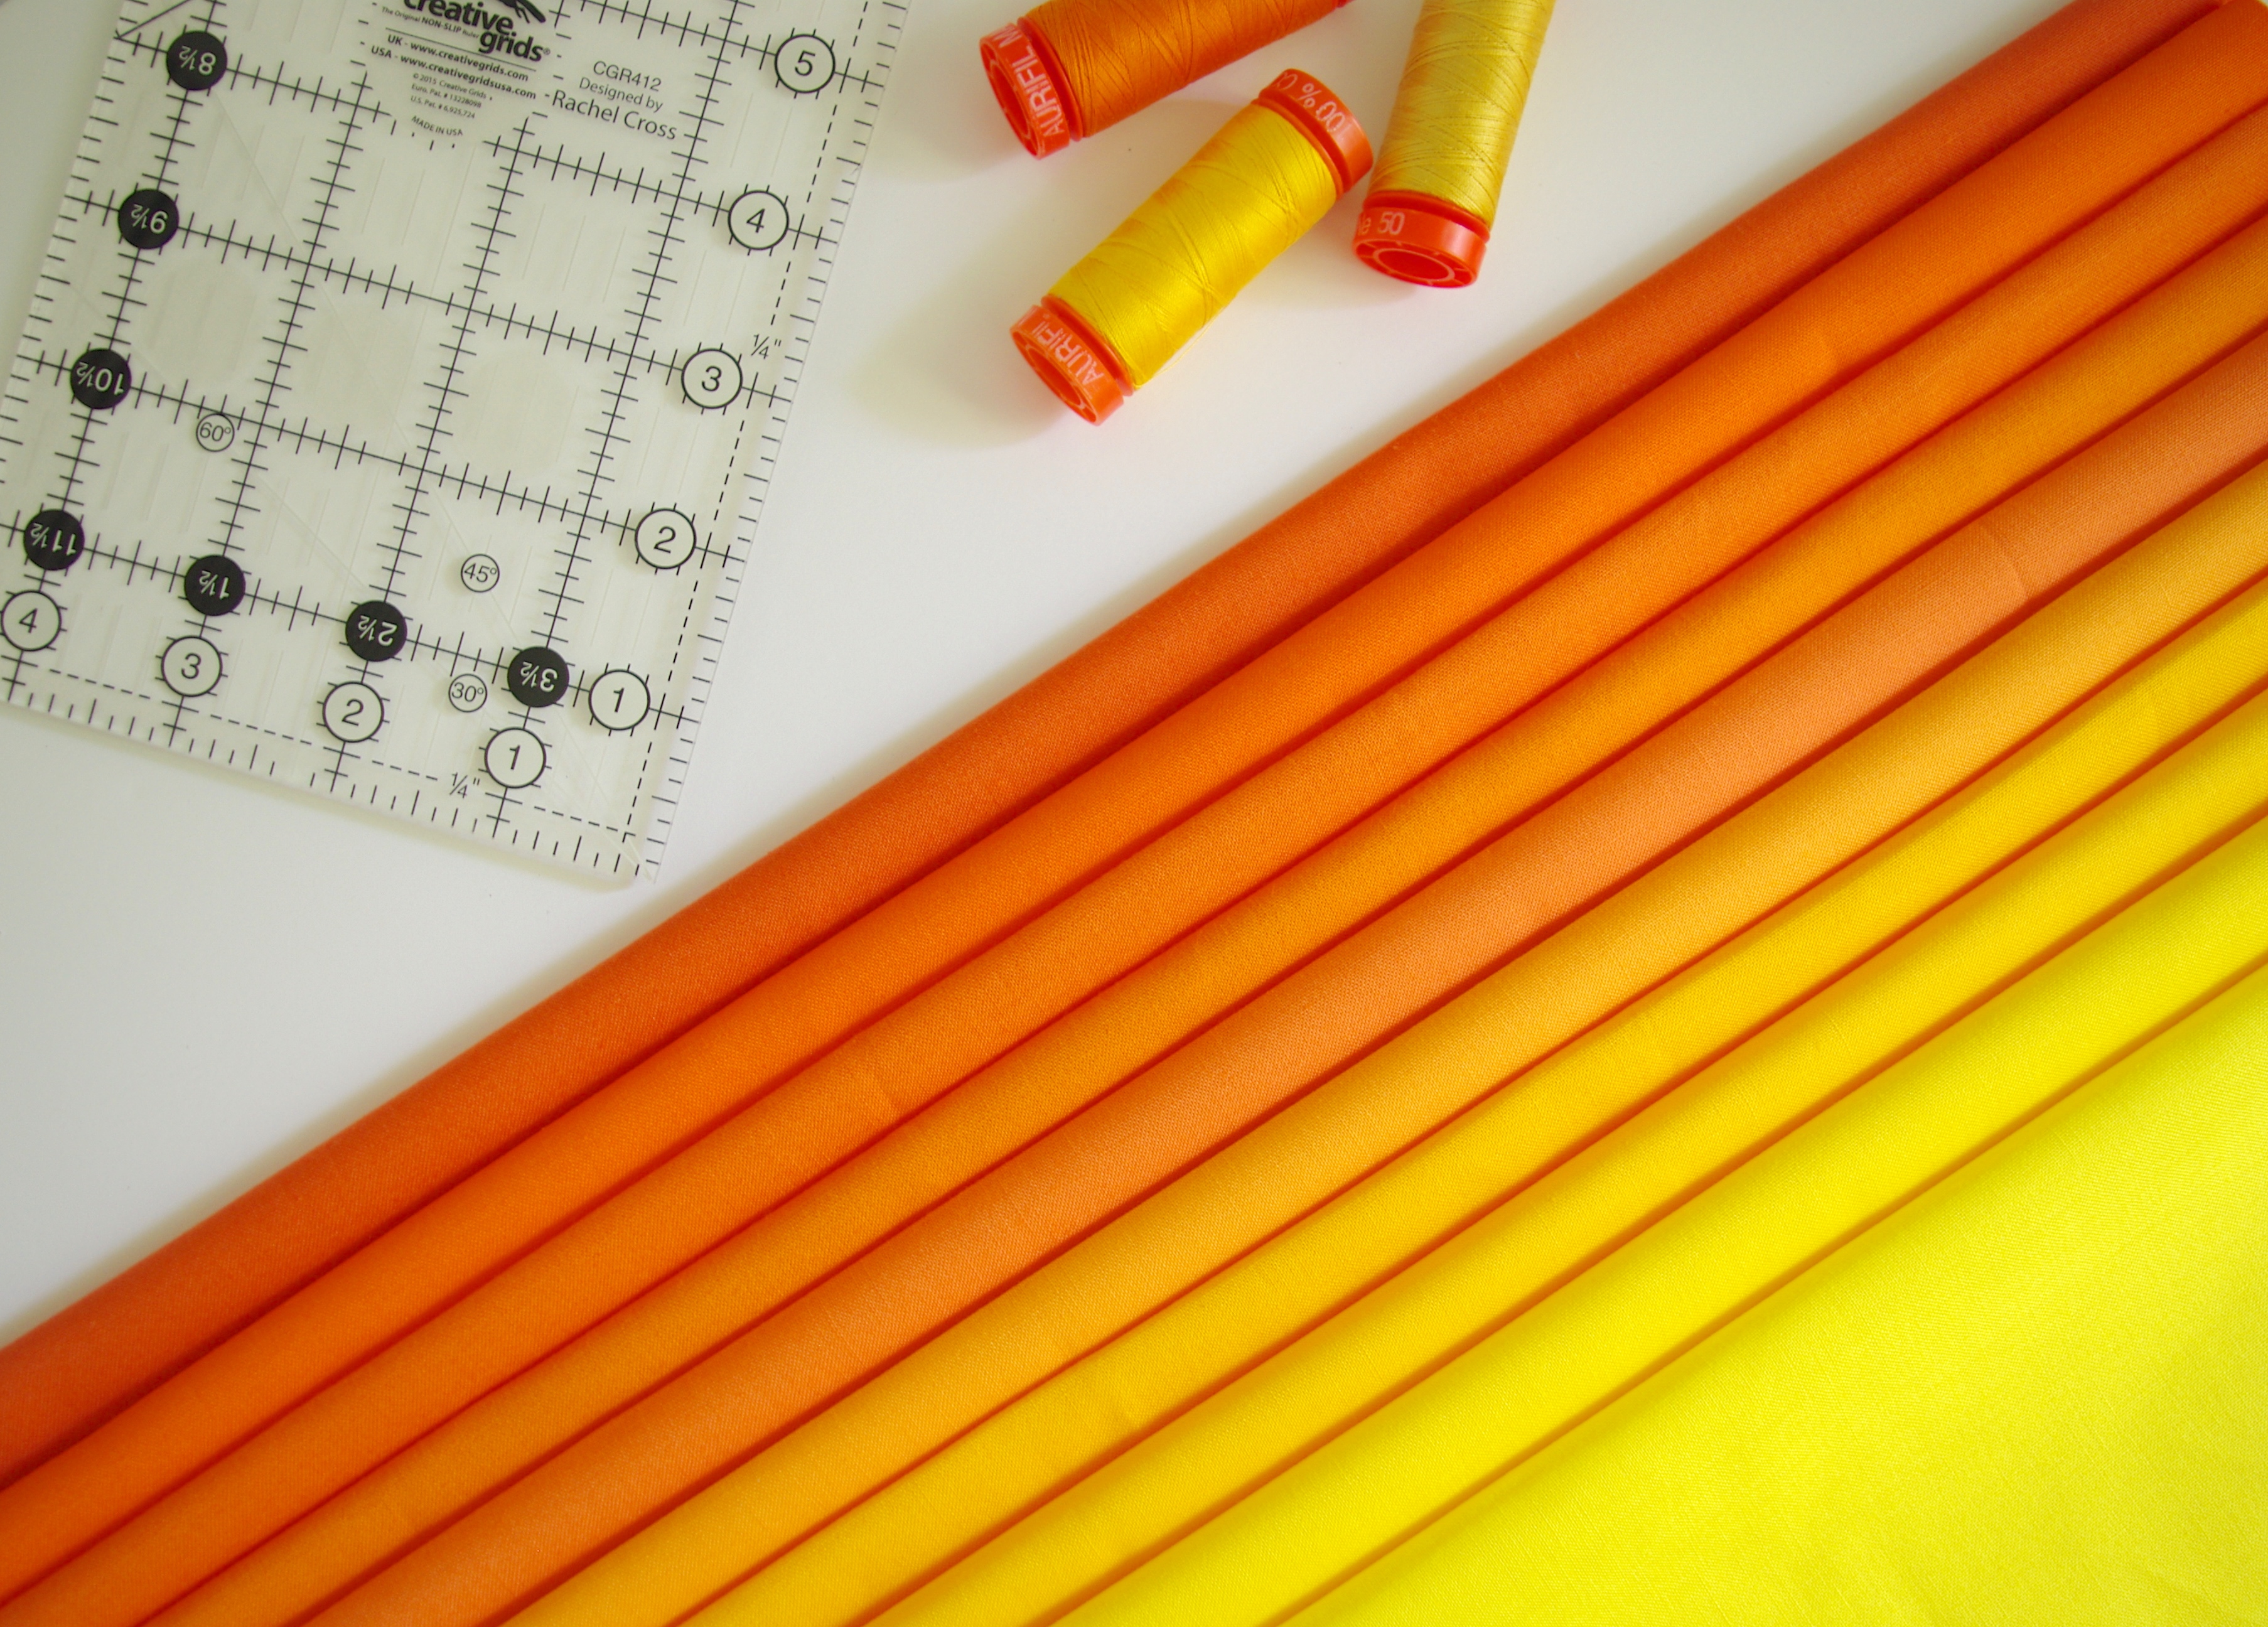
Materials needed to make one 4 ½” x 4 ½” star ornament:

For Star: Gold fabric – (1) 2 ½” x 14 ½” strip
Subcut (1) 2 ½” x 2 ½” square and (8) 1 ½” x 1 ½” squares


For Star: White fabric – (1) 2 ½” x 14″ strip
Subcut (4) 1 ¾” x 2 ½” rectangles and (4) 1 ¾” x 1 ¾” squares


For Backing: Gold fabric – (1) 5 ½” x 5 ½” square


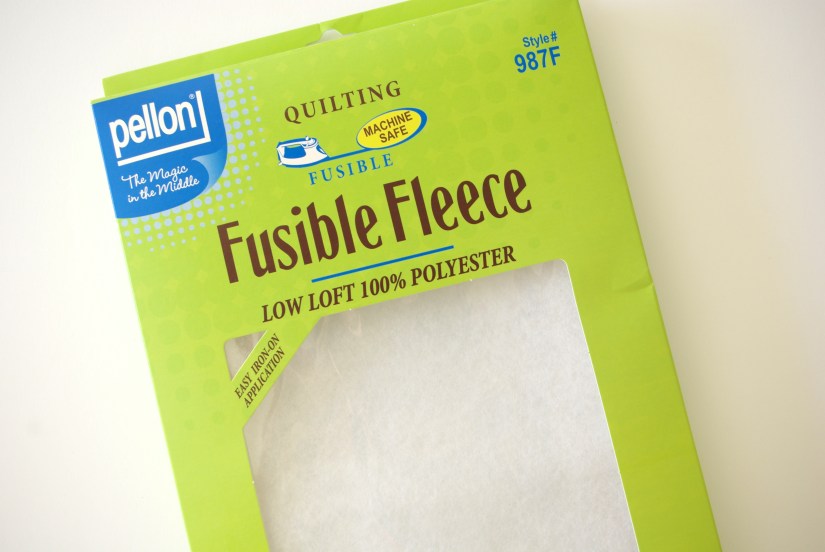
For Interfacing: Pellon Fusible Fleece – (1) 4 ½” x 4 ½” square


For ¾” Bias tape binding: Gold fabric – (1) 1 ¼” x 20″ strip (approximate)


For Hanger: White ribbon – (1) 7″ piece (or material of your choice)


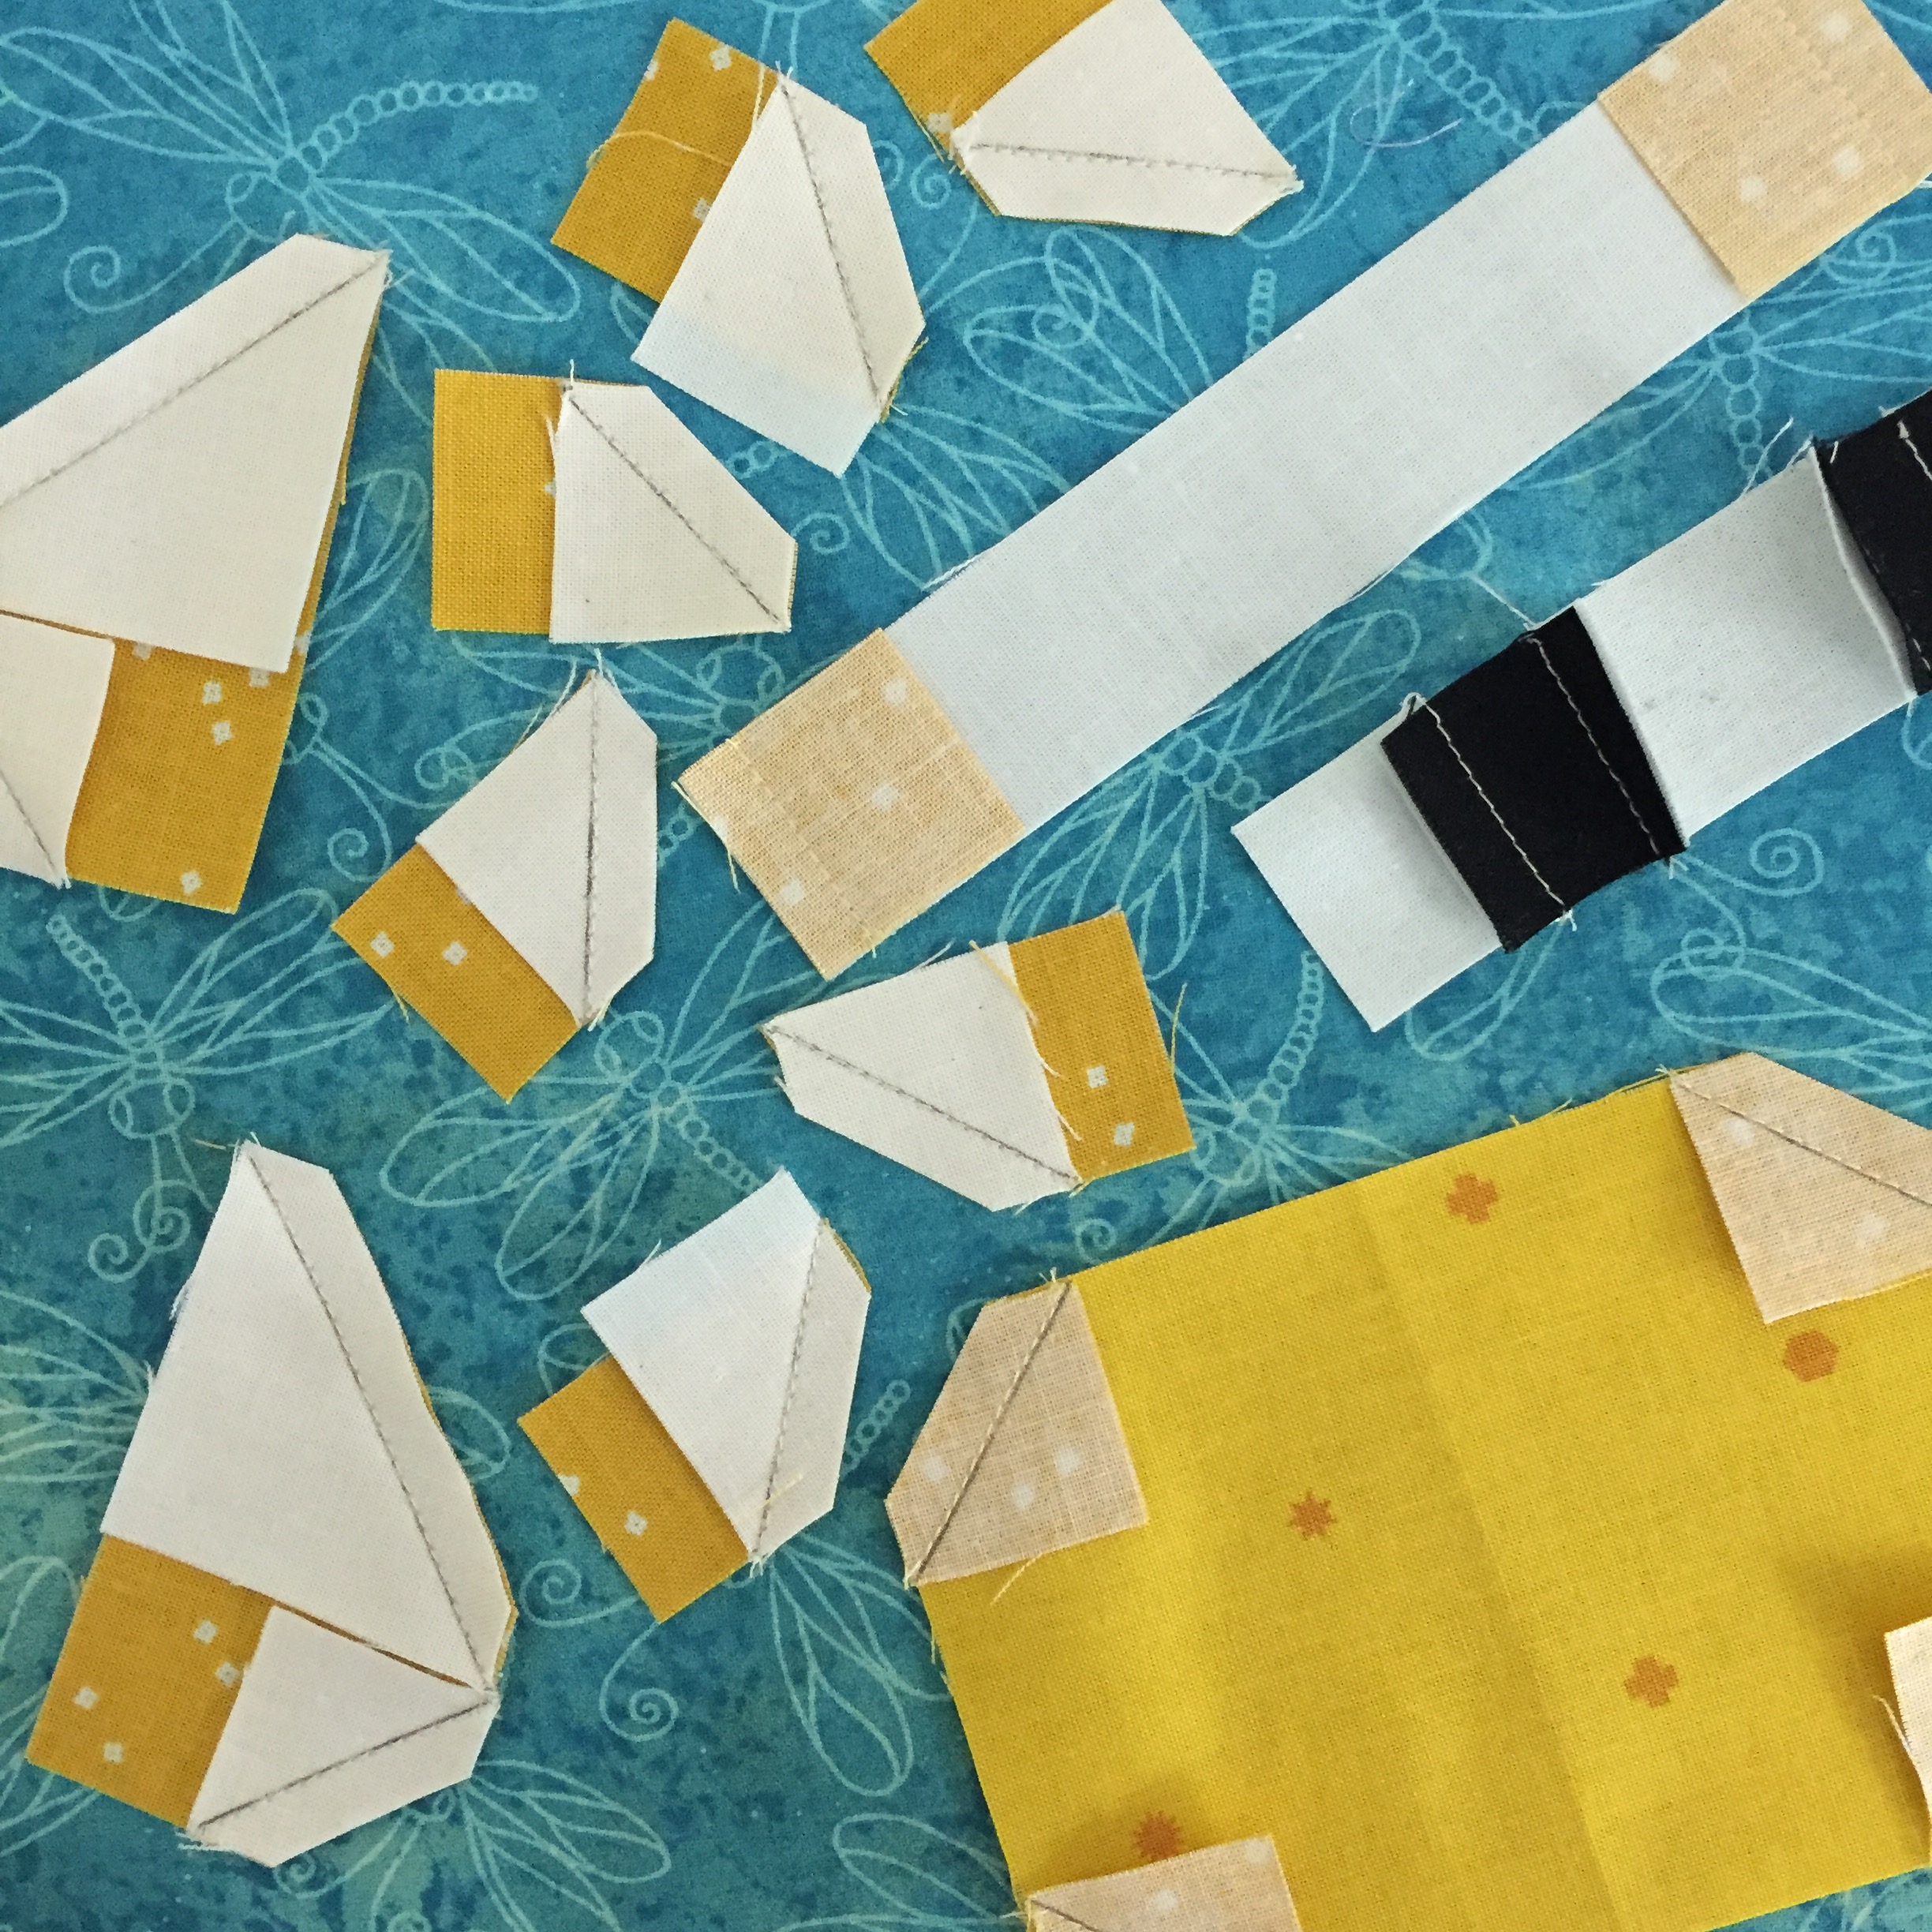
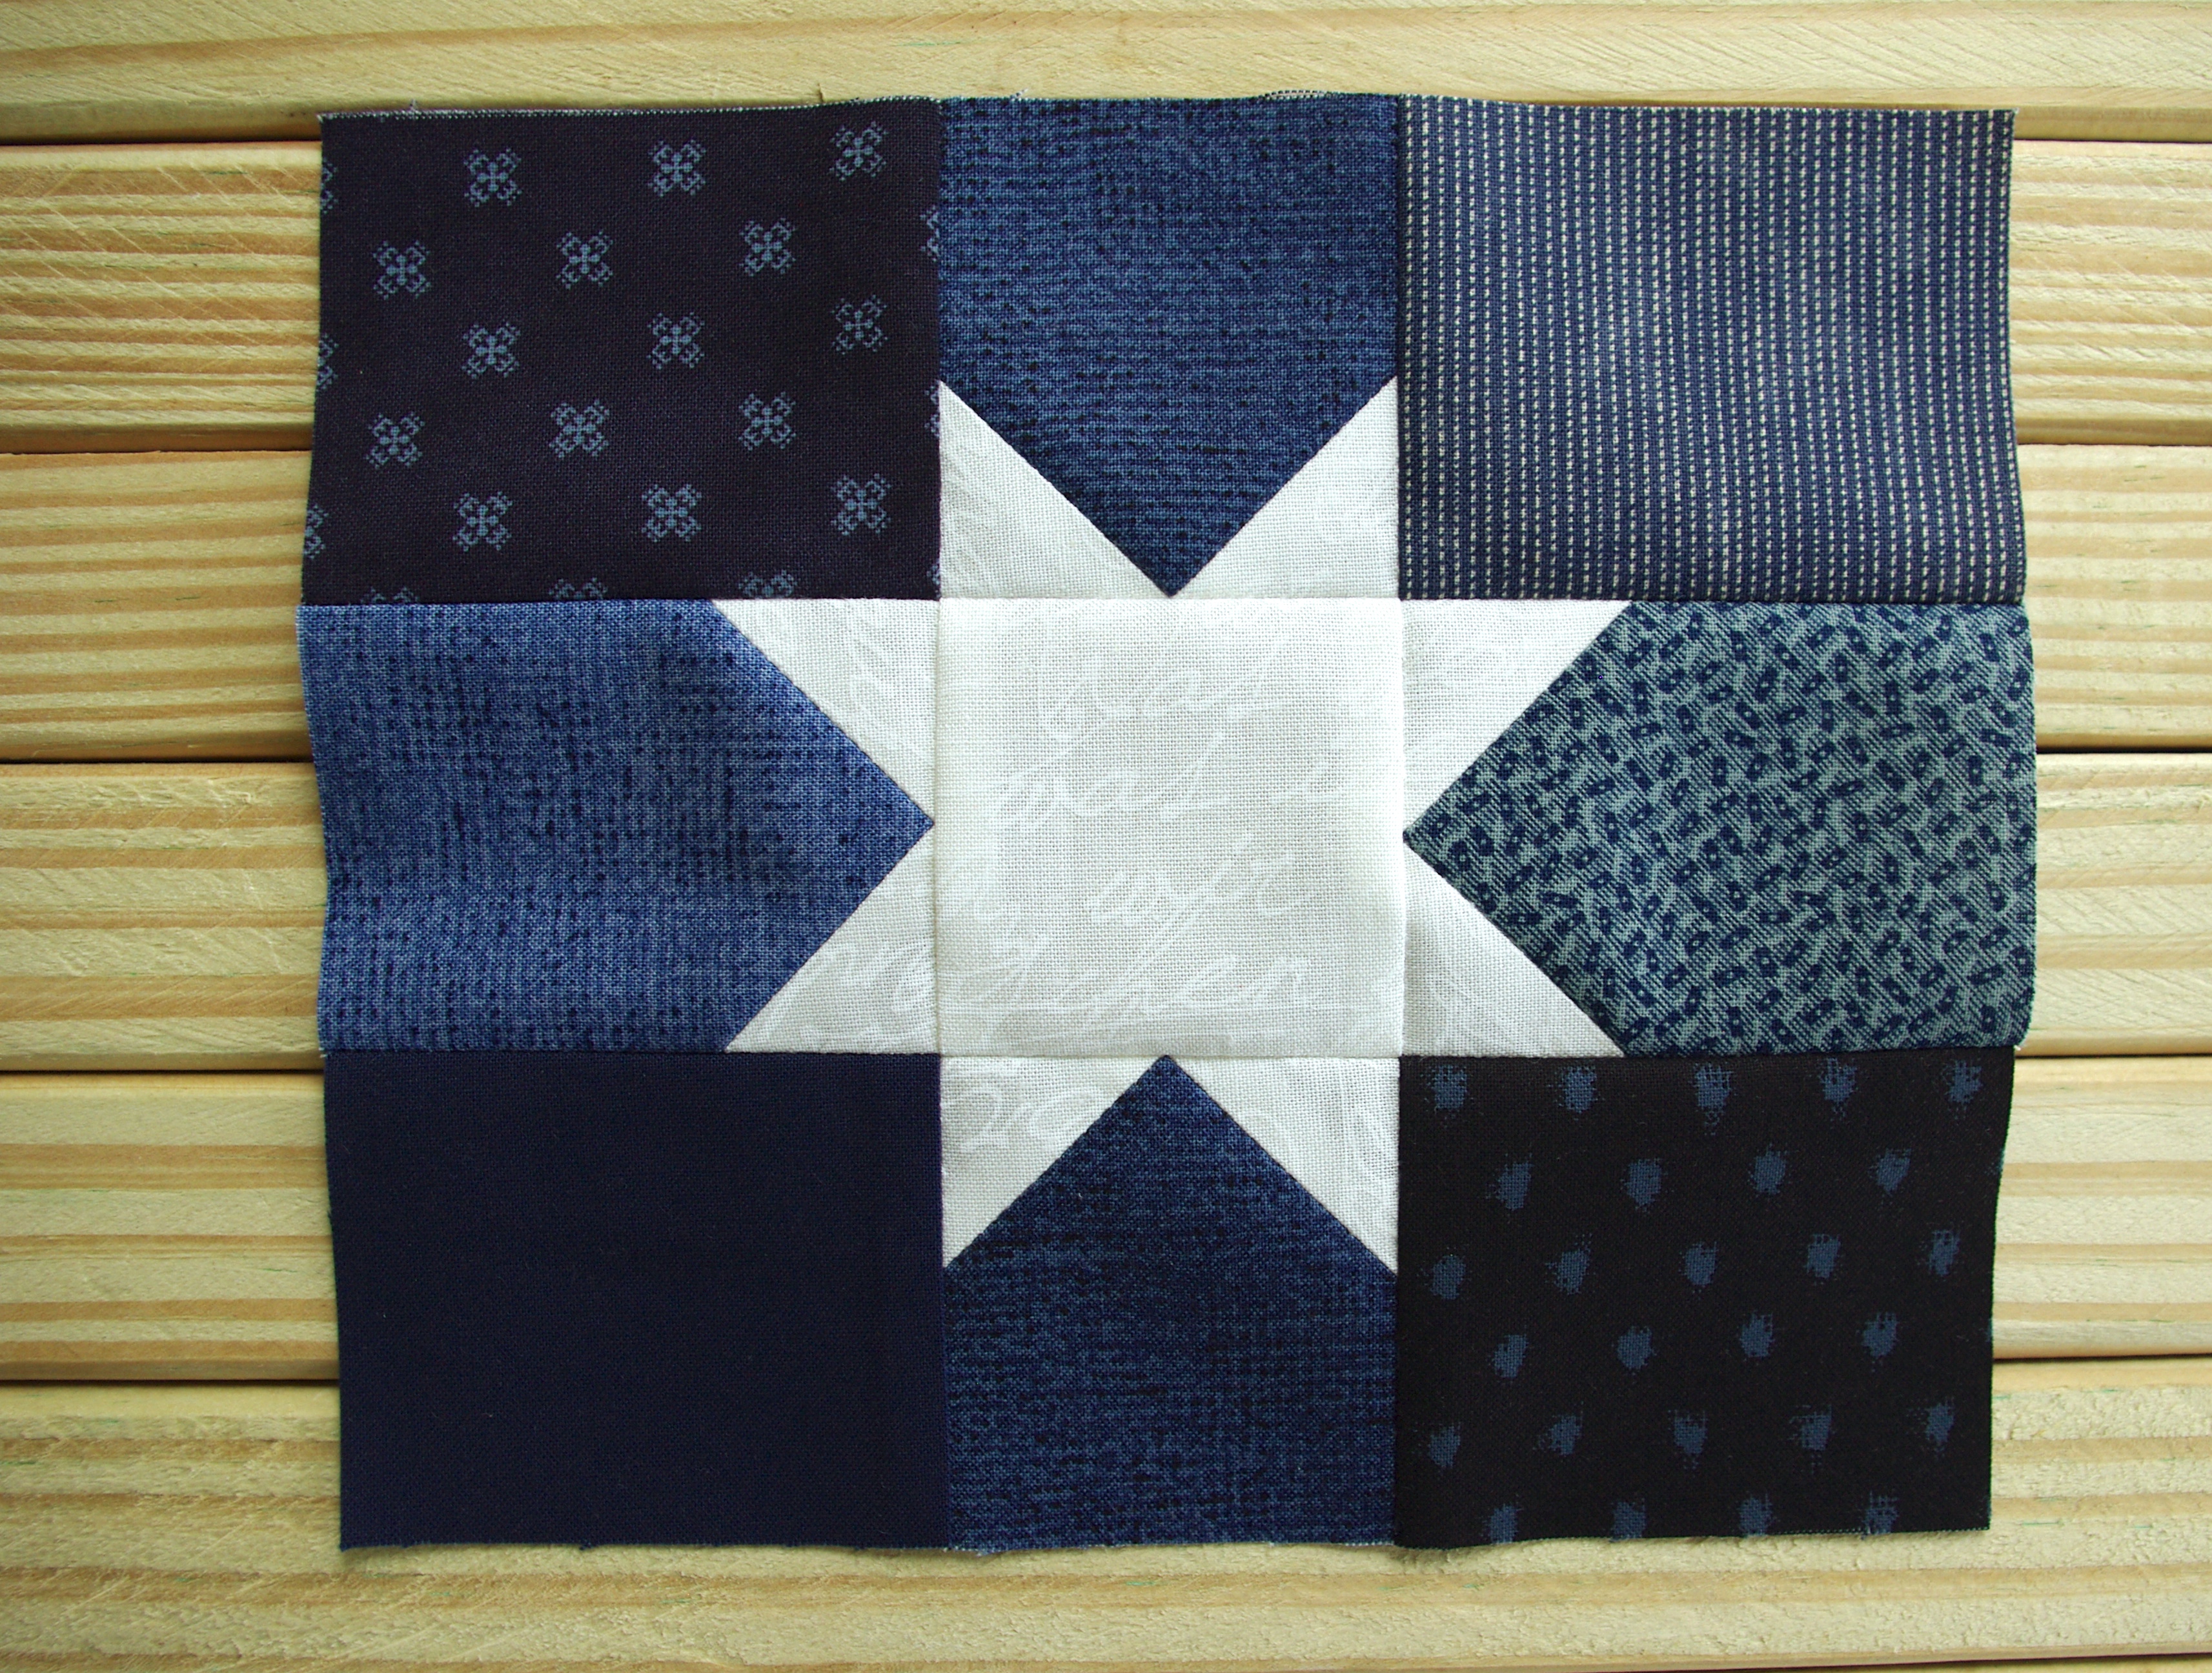
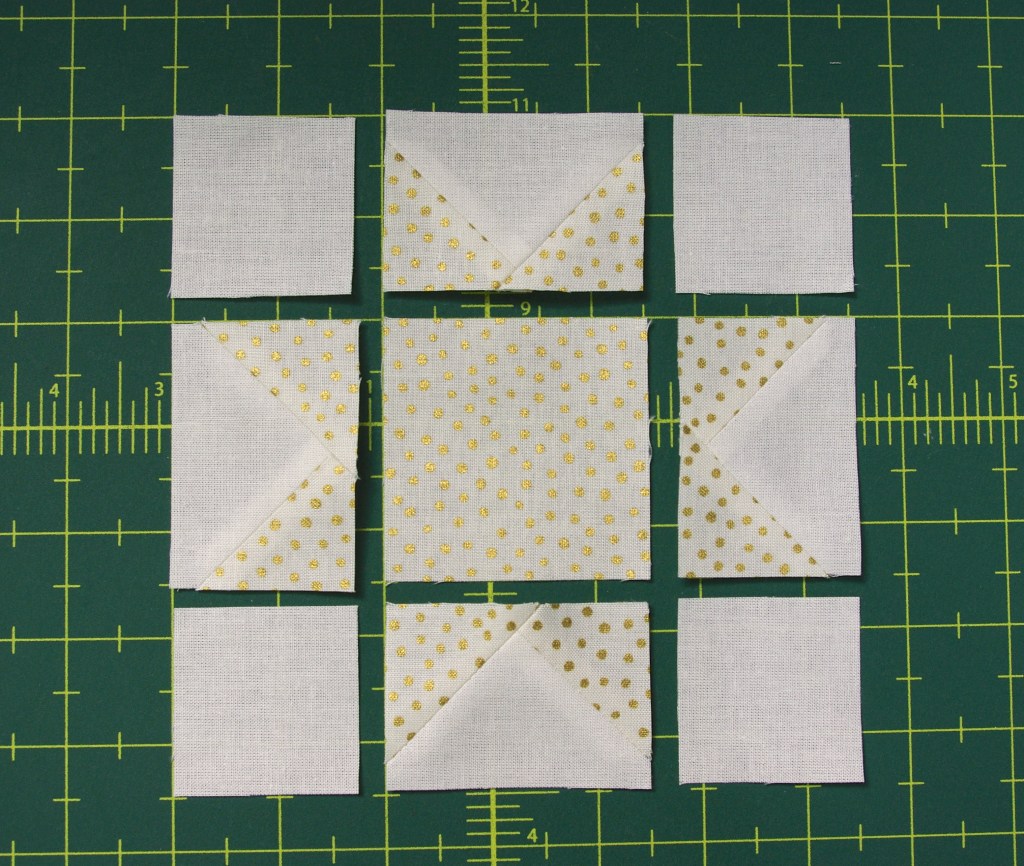
Once the fabric is cut, draw a diagonal line on the back of all the gold 1 ½” squares. As though making a flying geese unit, sew two 1 ½” x 1 ½” gold squares to the top corners of a 1 ¾” x 2 ½” white rectangle, attaching them to the 2 ½” side. Make 4.

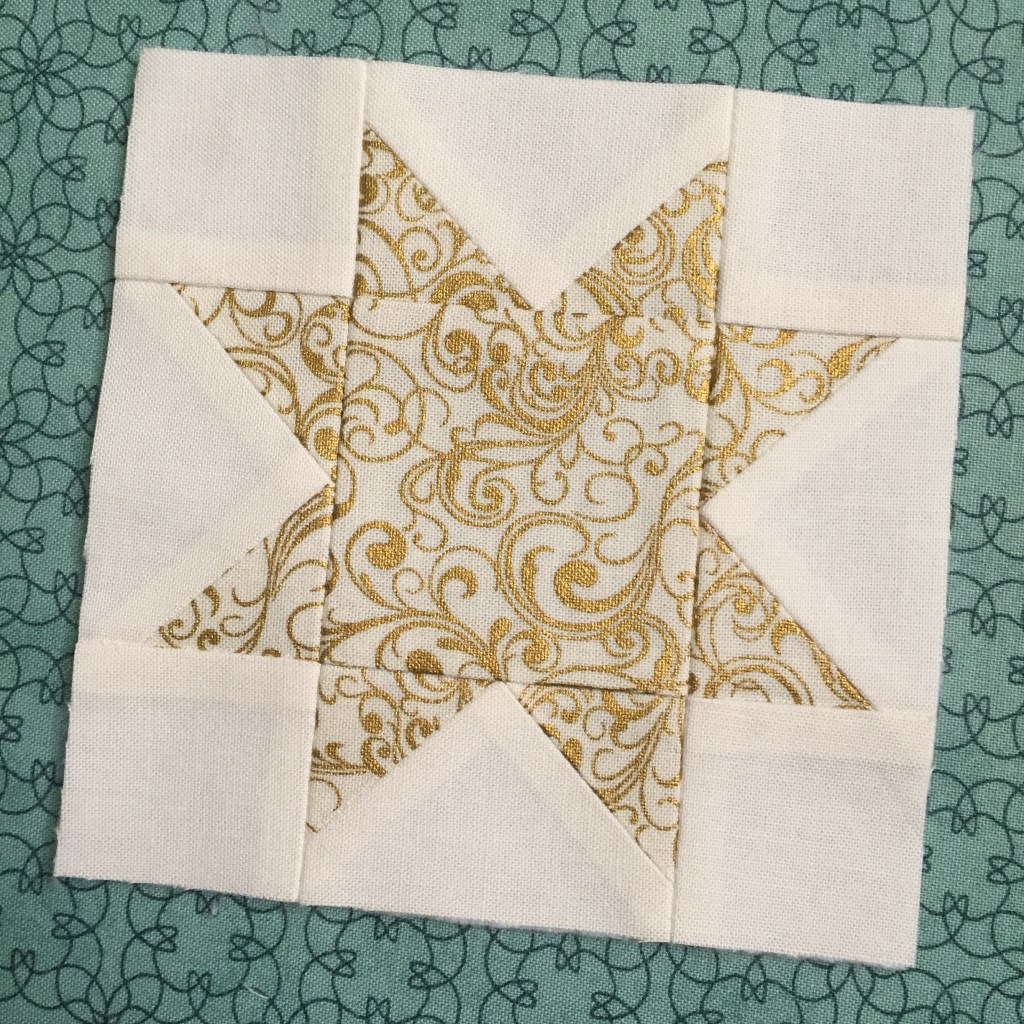
Next, lay out squares and sewn units with the 2 ½” sides facing toward the center, as shown below. Sew together to make rows. Press the top and bottom row seams toward the outer squares. Press the middle row seam toward the center square.

Sew the rows together to complete the star; seams will nest. Press seams open. Trim block to 4 ½” x 4 ½” square making sure to leave a ¼” all the way around.

Trim any threads off the back to prevent them from showing through to the front. This is always a good rule to follow. 🙂 Next, adhering the interfacing. I used 987F Pellon fusible fleece because of the low loft, yet there’s enough to give some depth when quilted.

I always put a scrap piece of fabric over my projects to prevent any adhesive from getting on my iron.

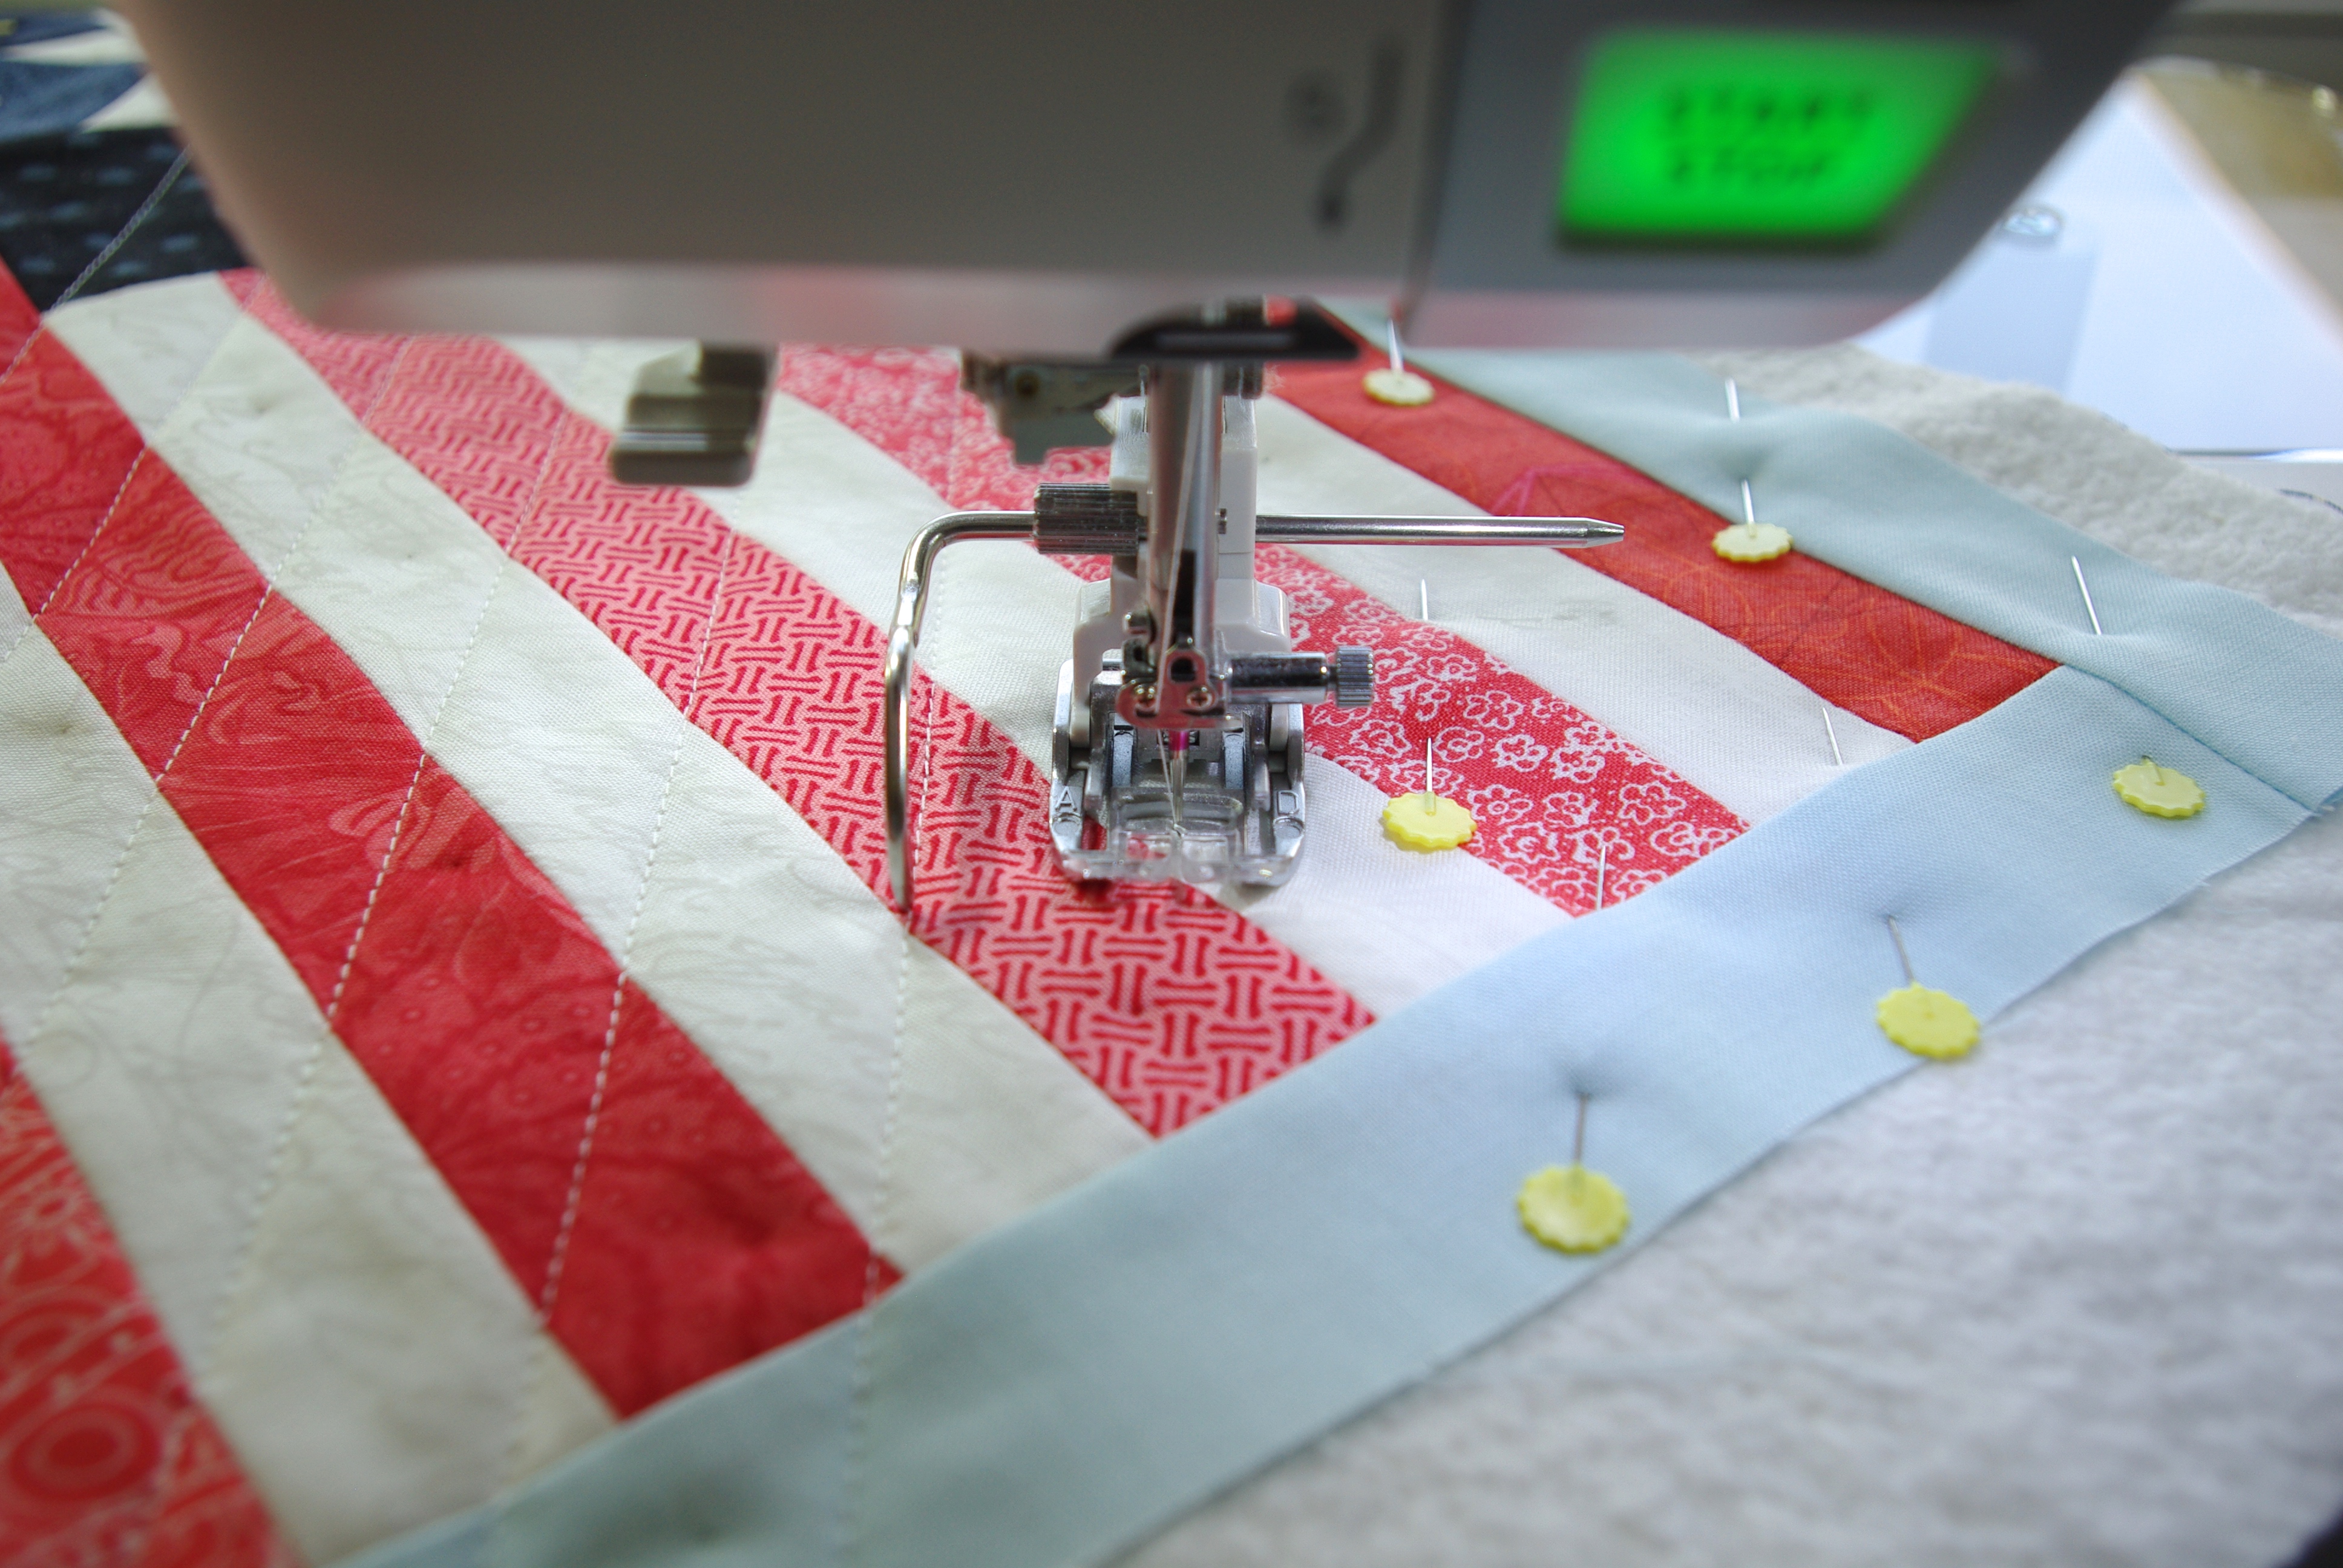
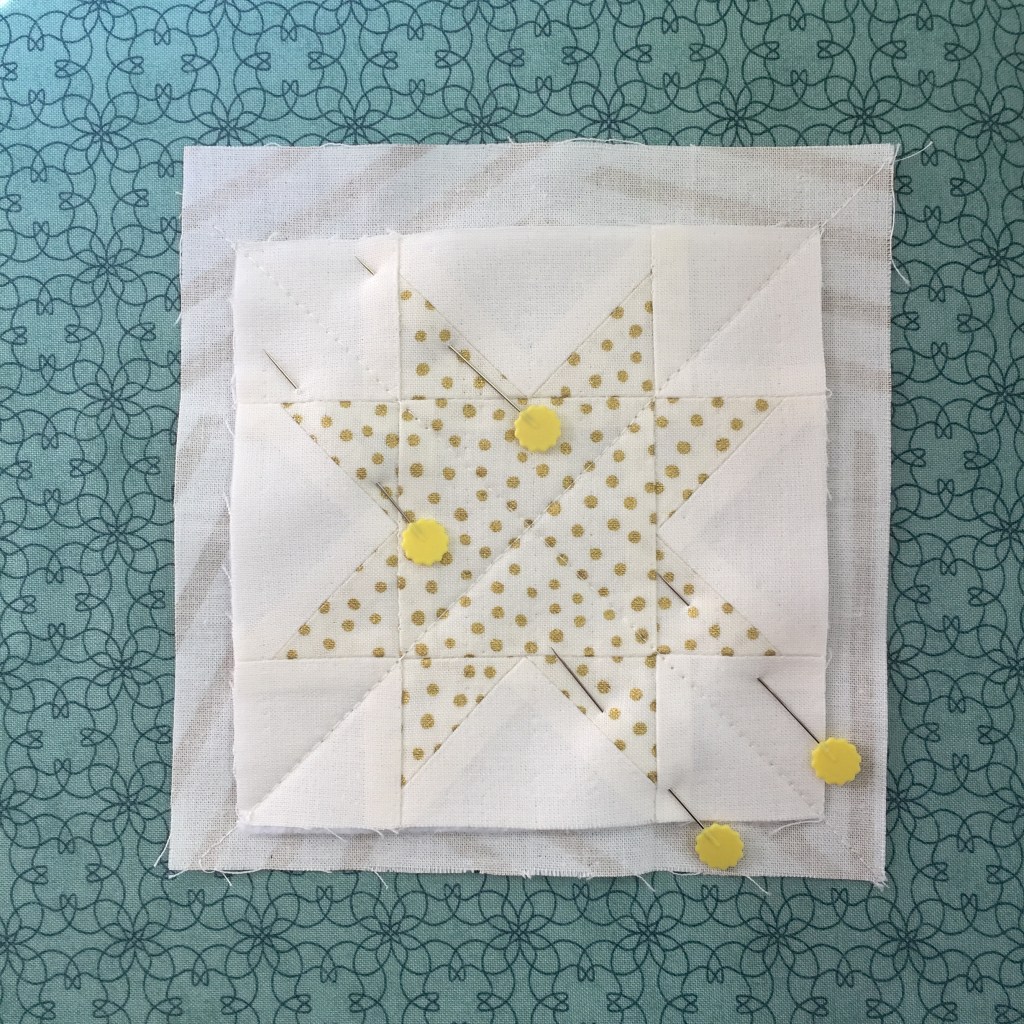
Once the fusible fleece is adhered, sandwich the star unit to the backing. The backing square will be a bit bigger to allow for shifting when quilting.

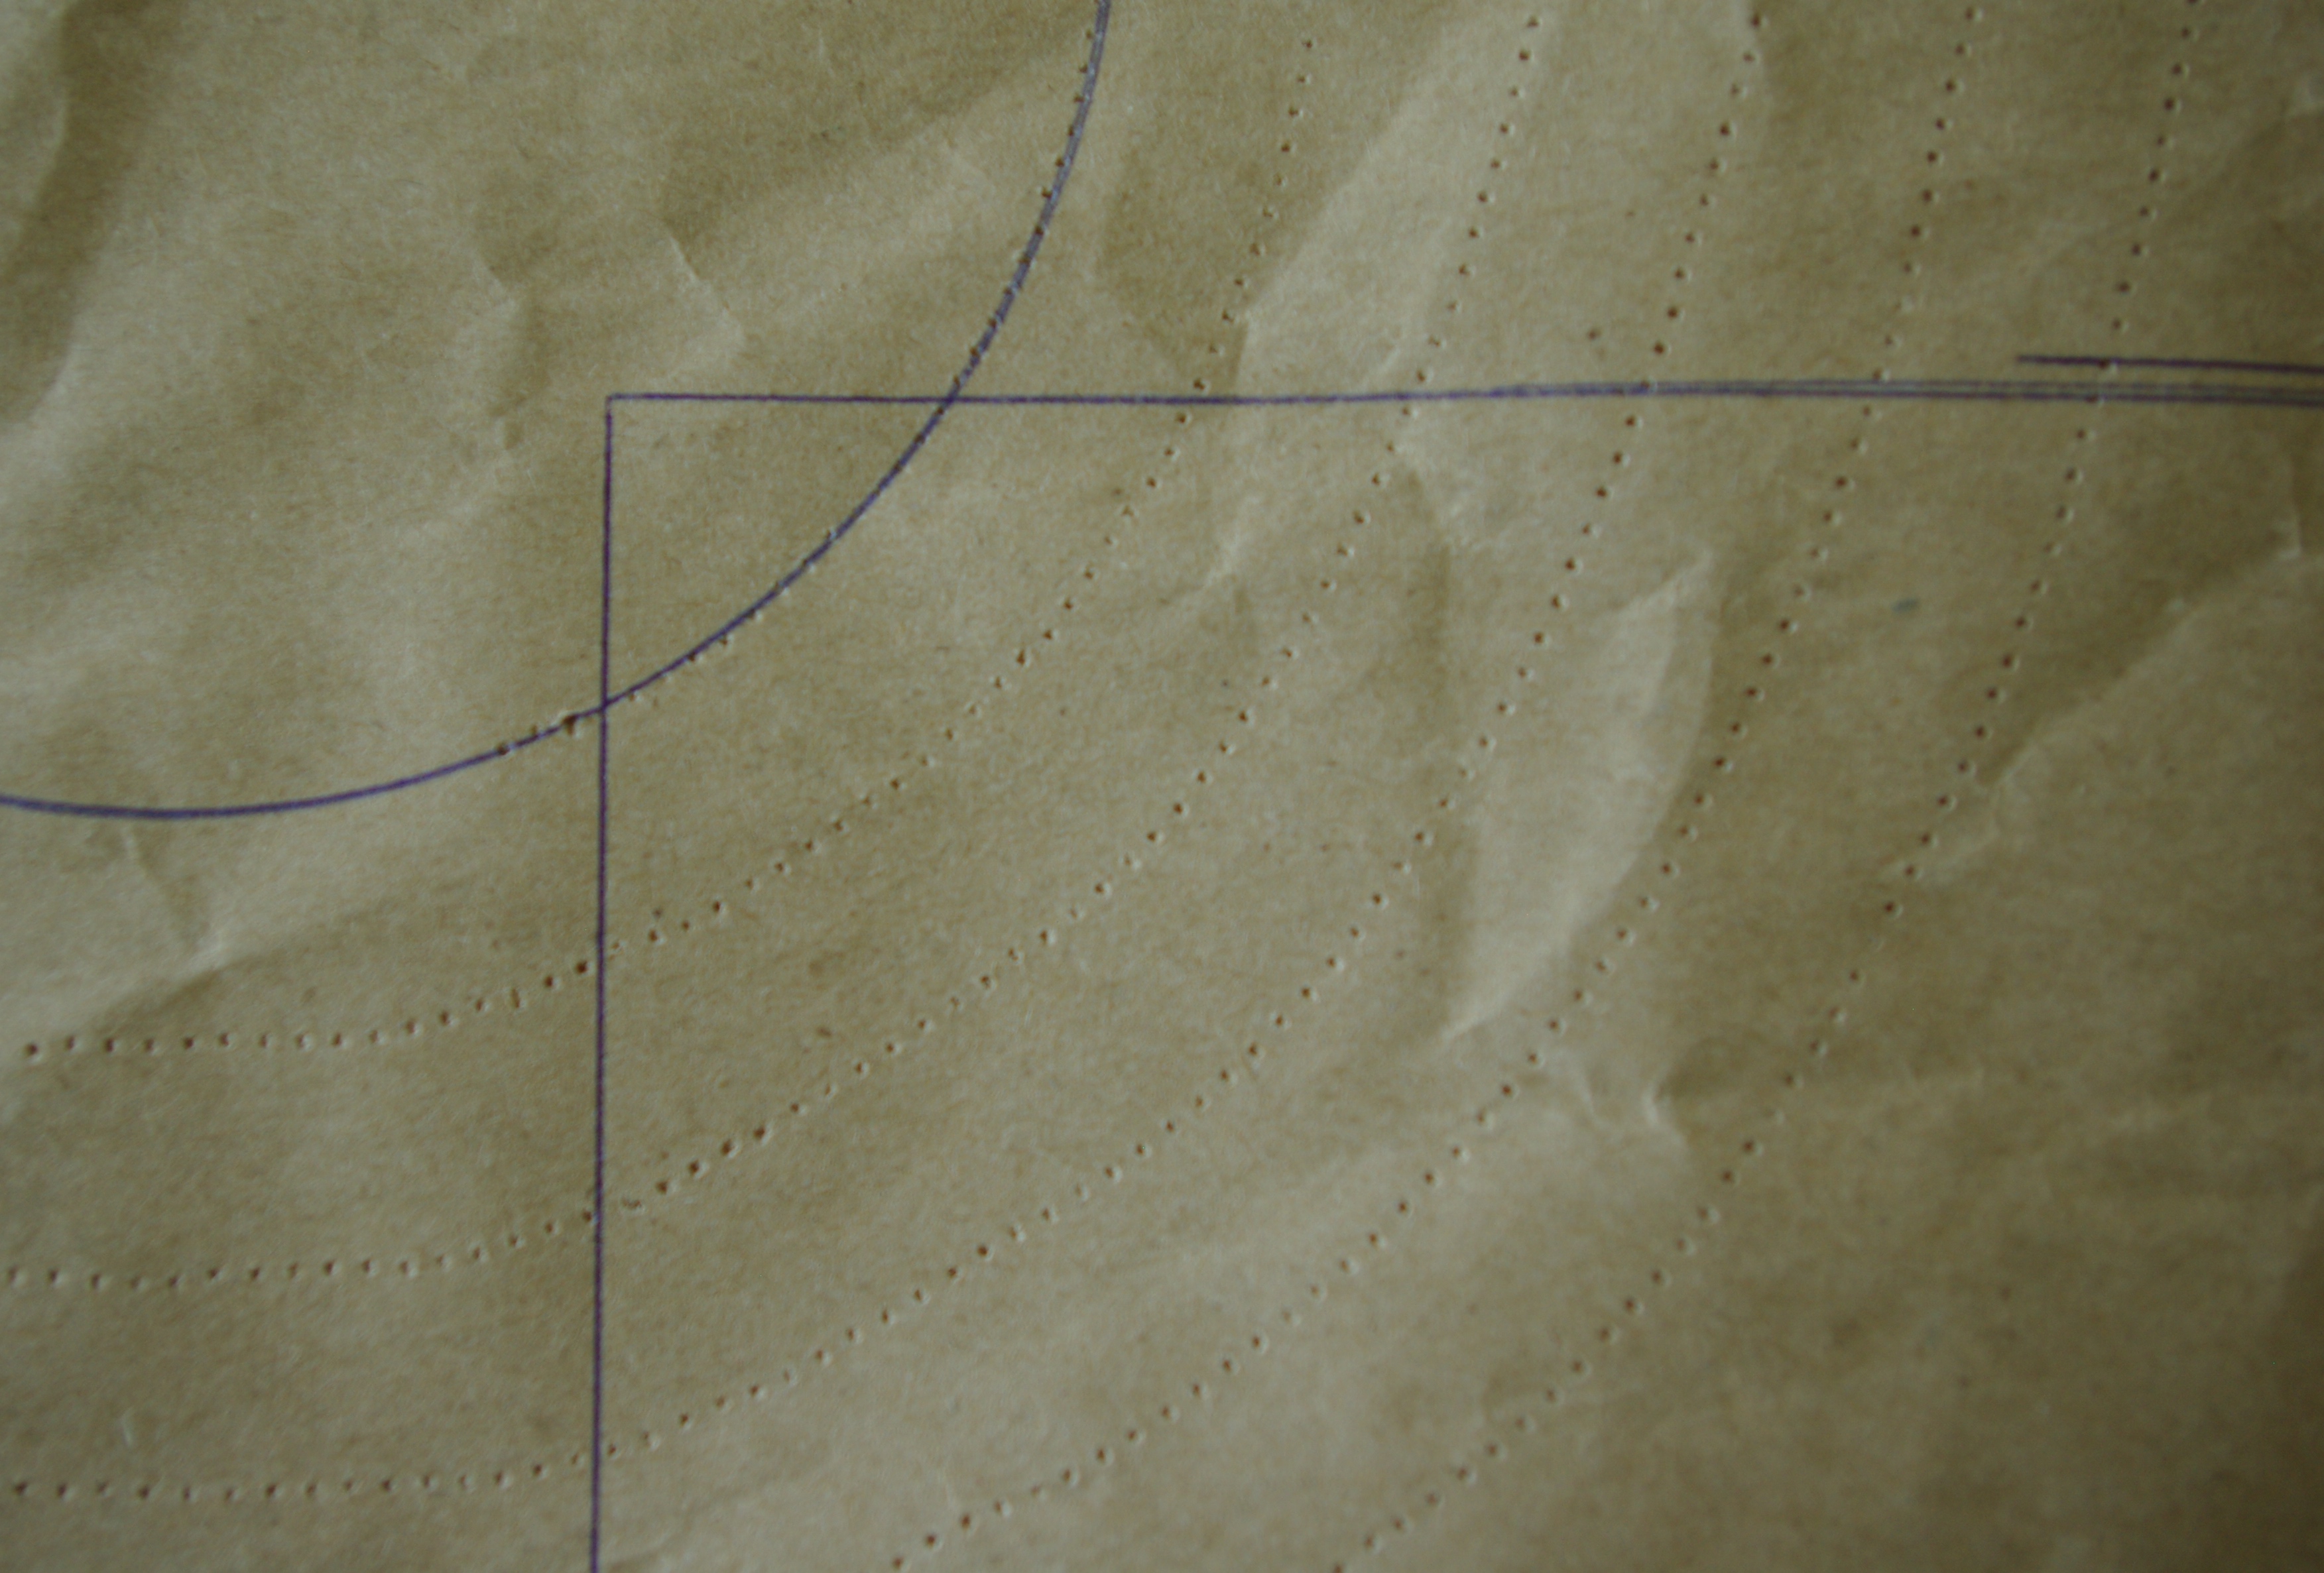
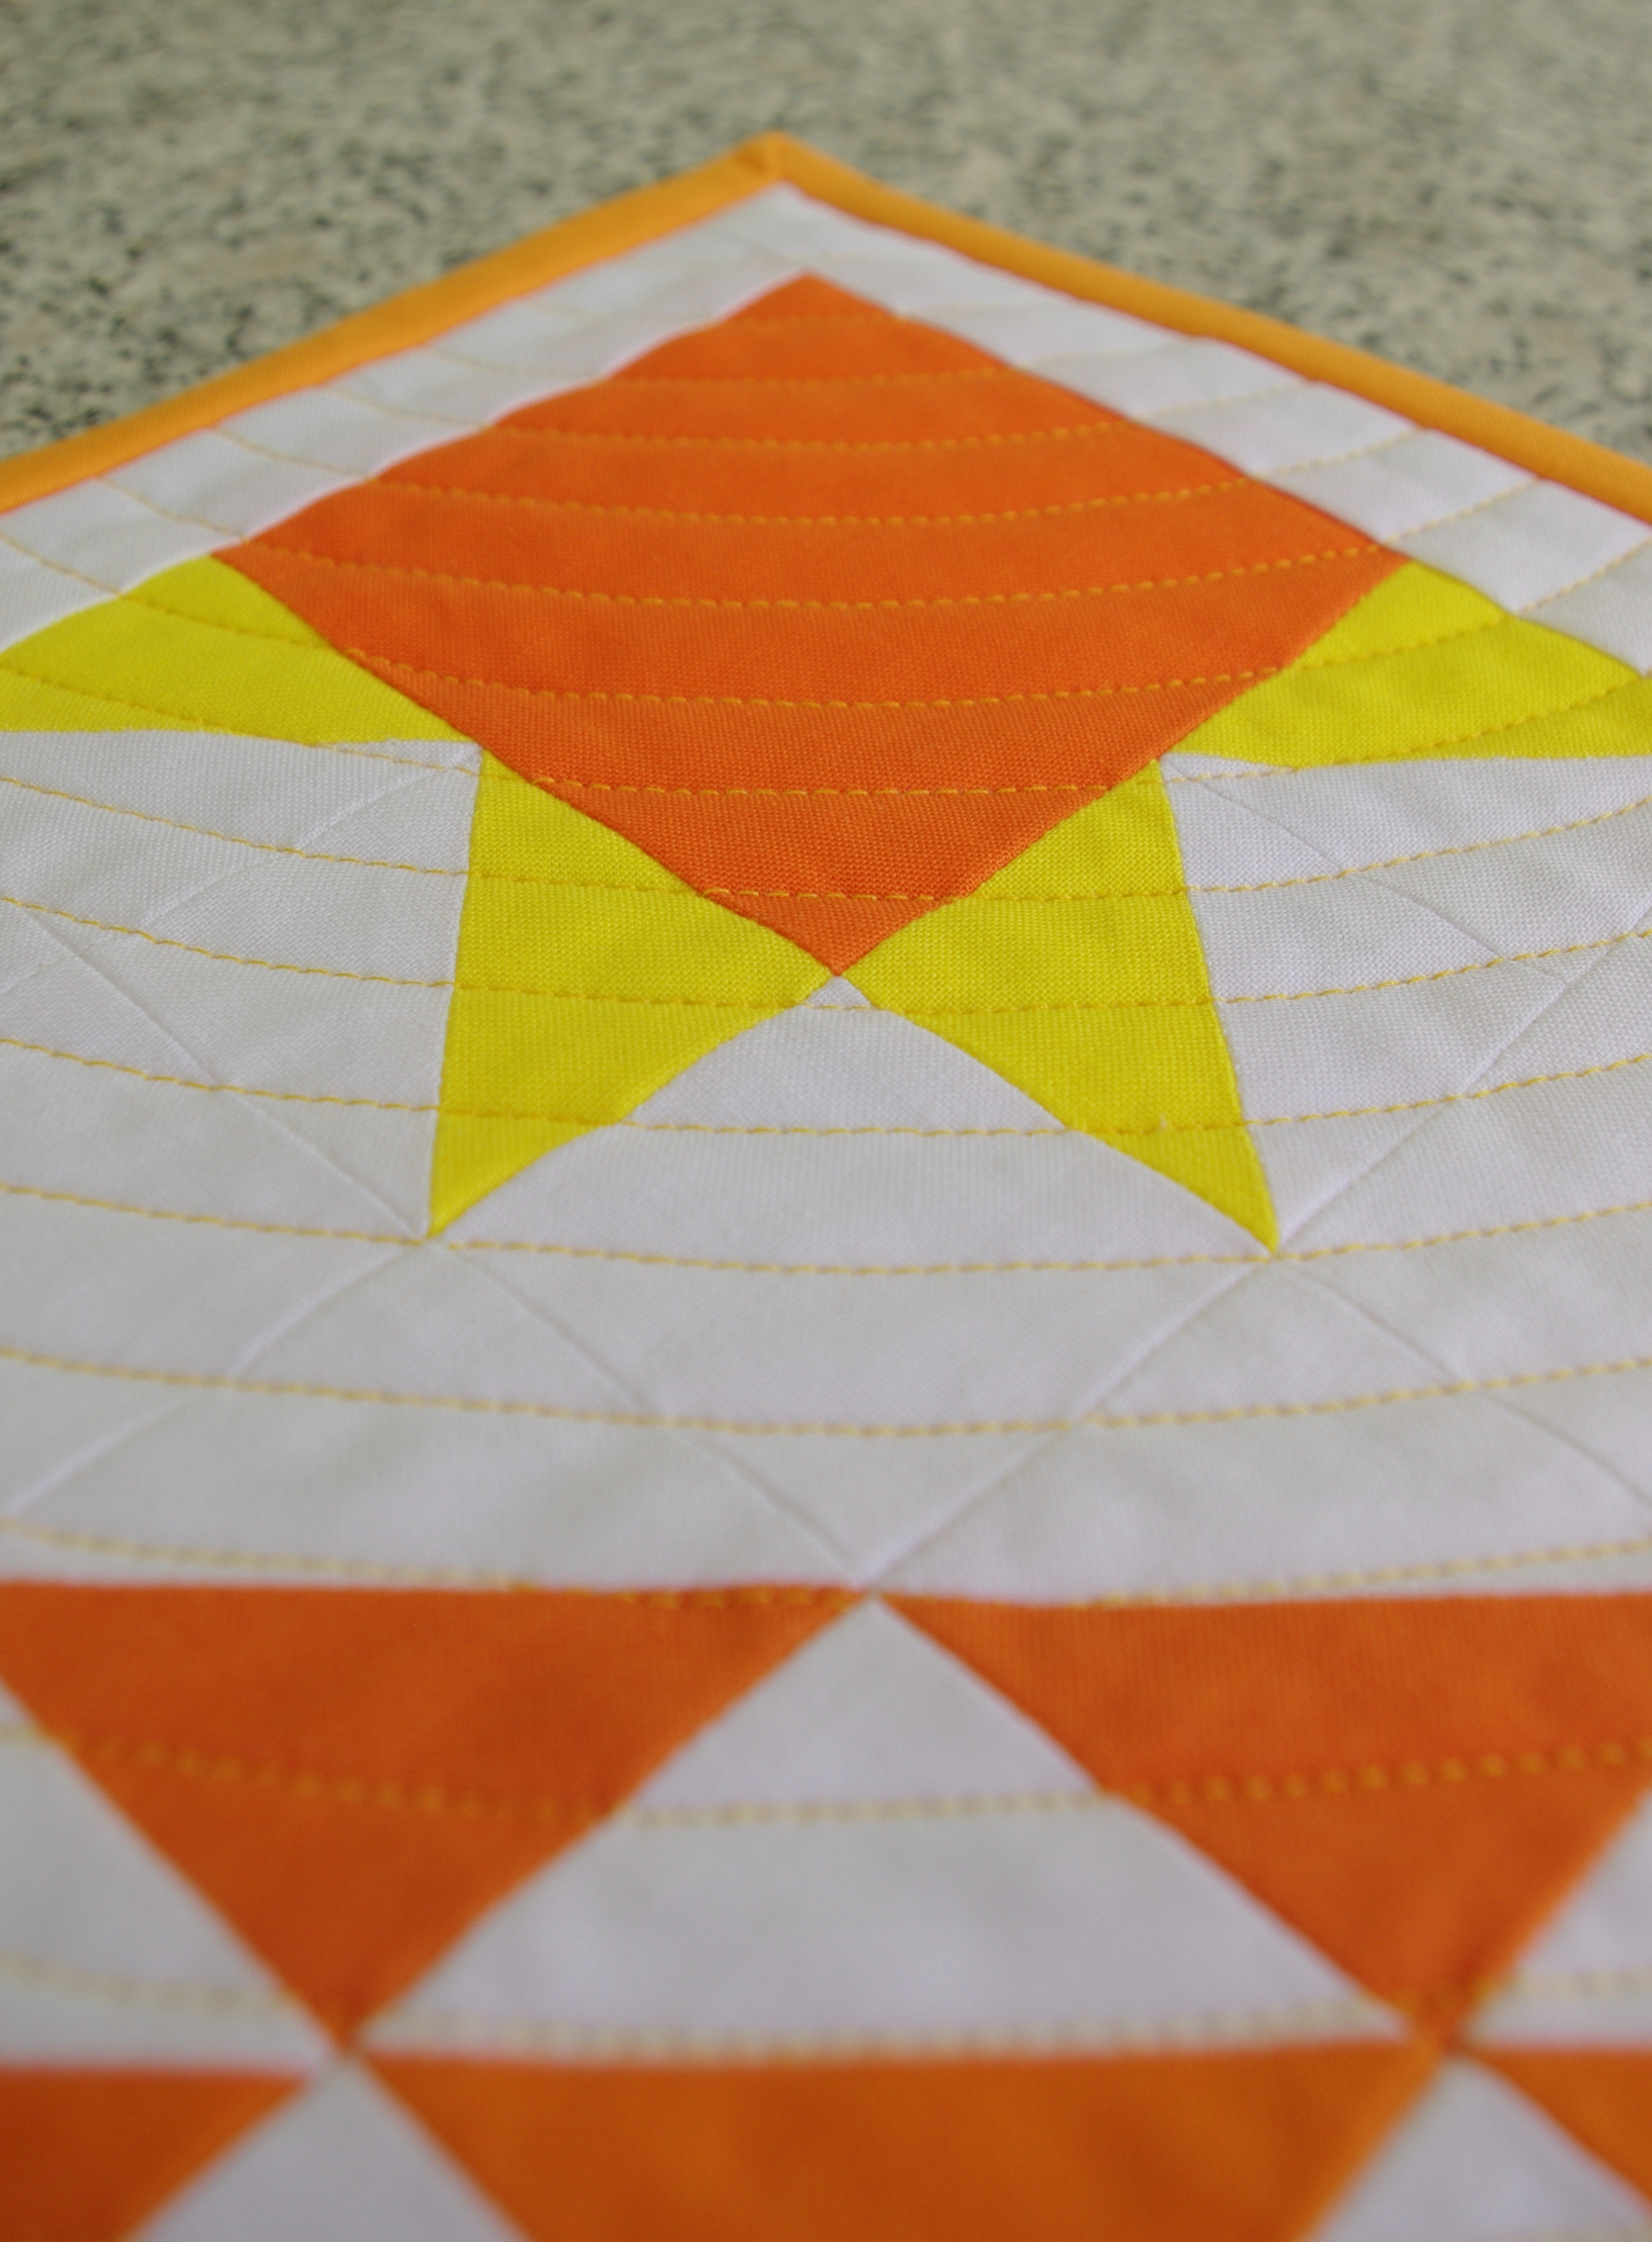
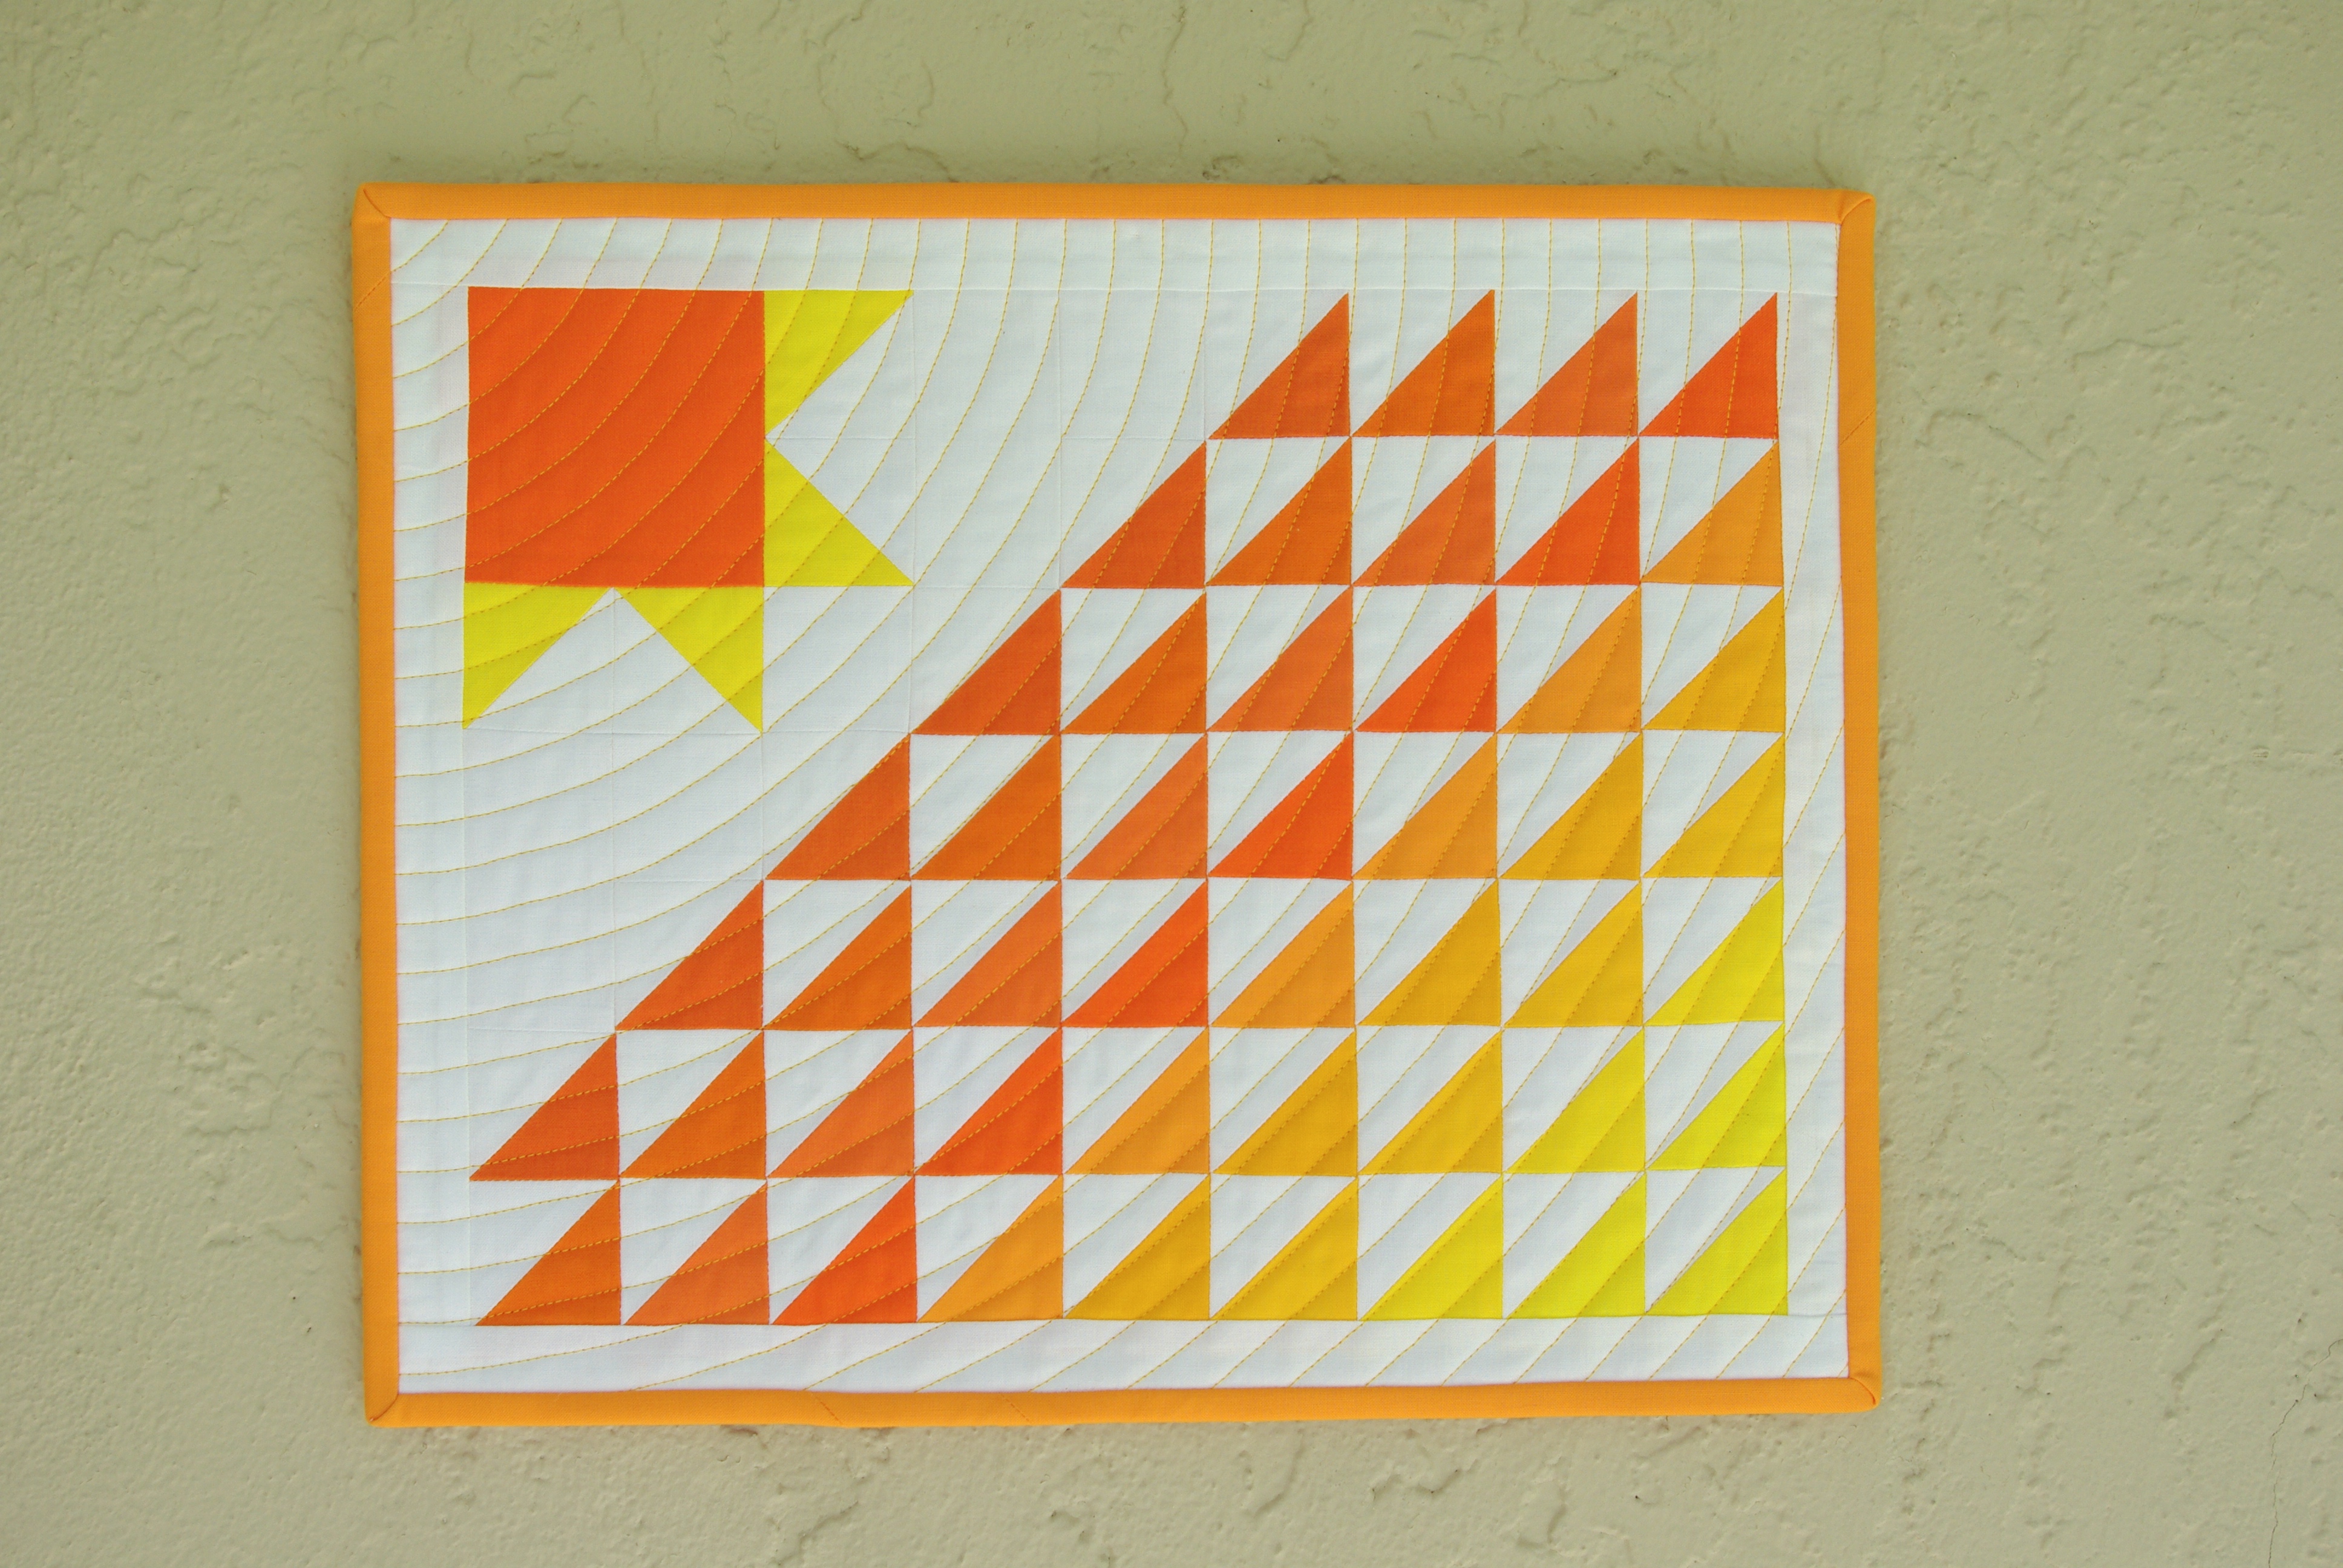
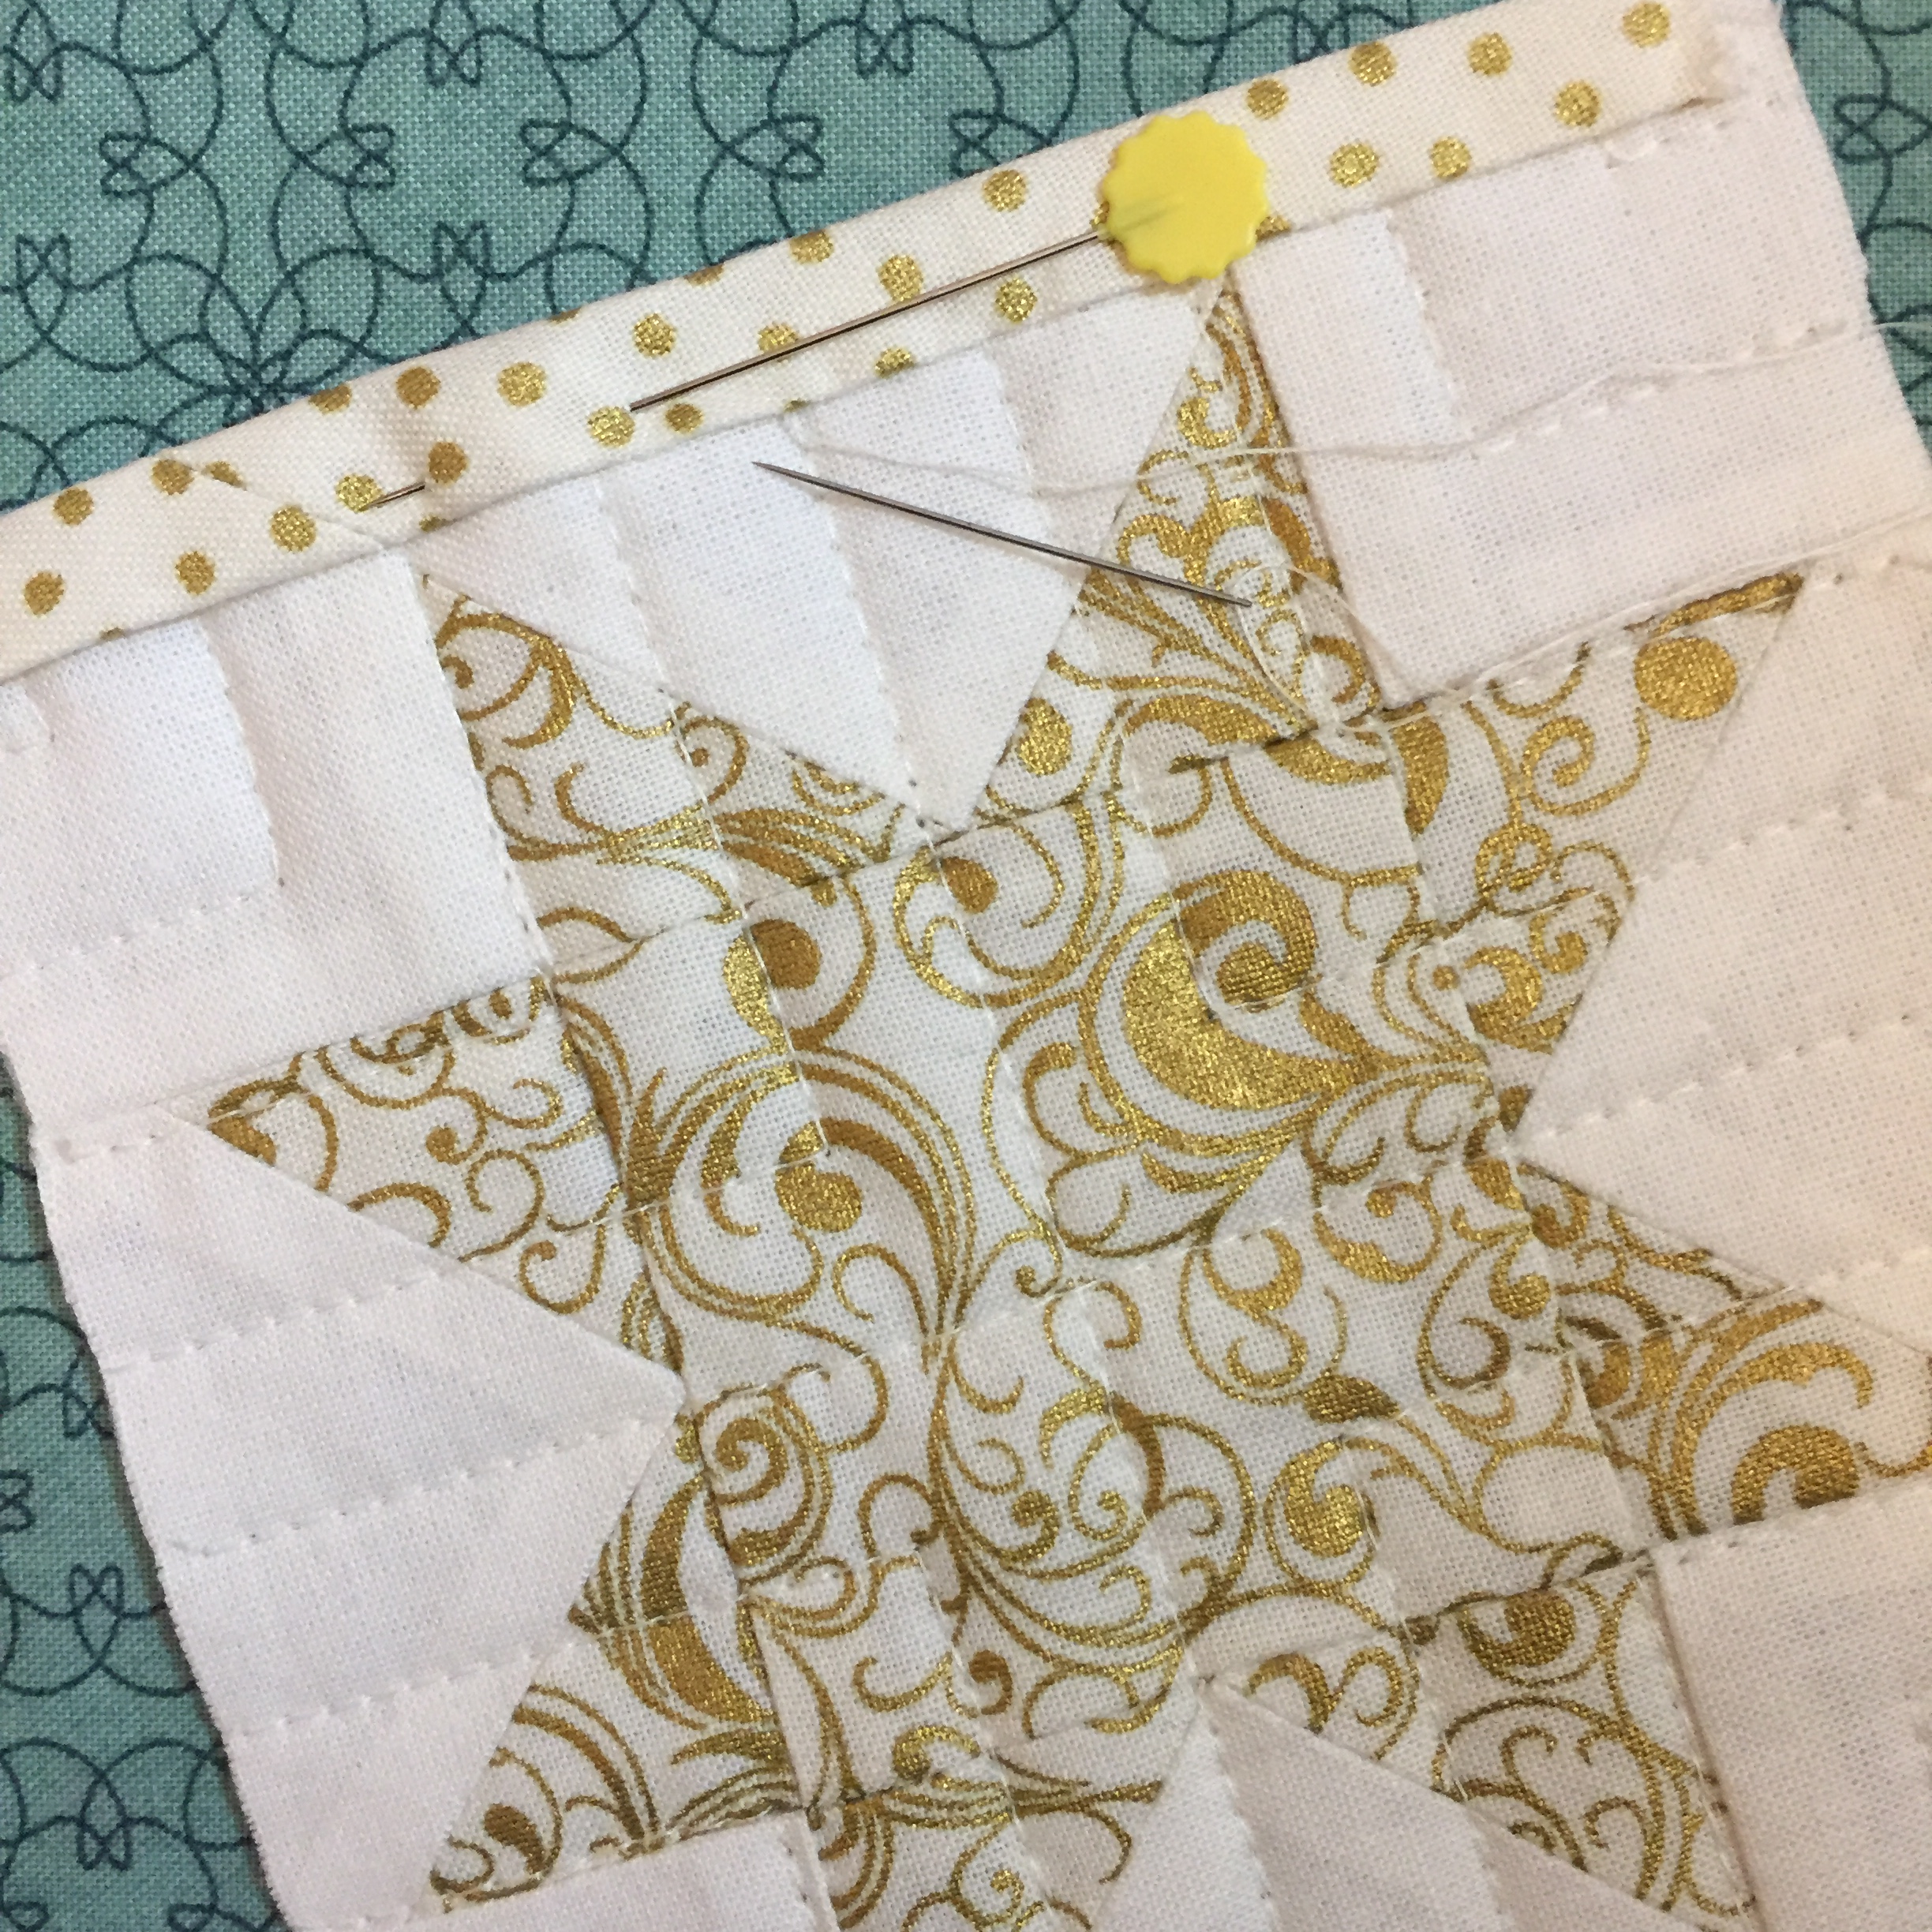
With a hera marker, I marked the first two lines to be quilted then I used straight pins to hold the pieces together. After the first lines were finished, I removed the pins.

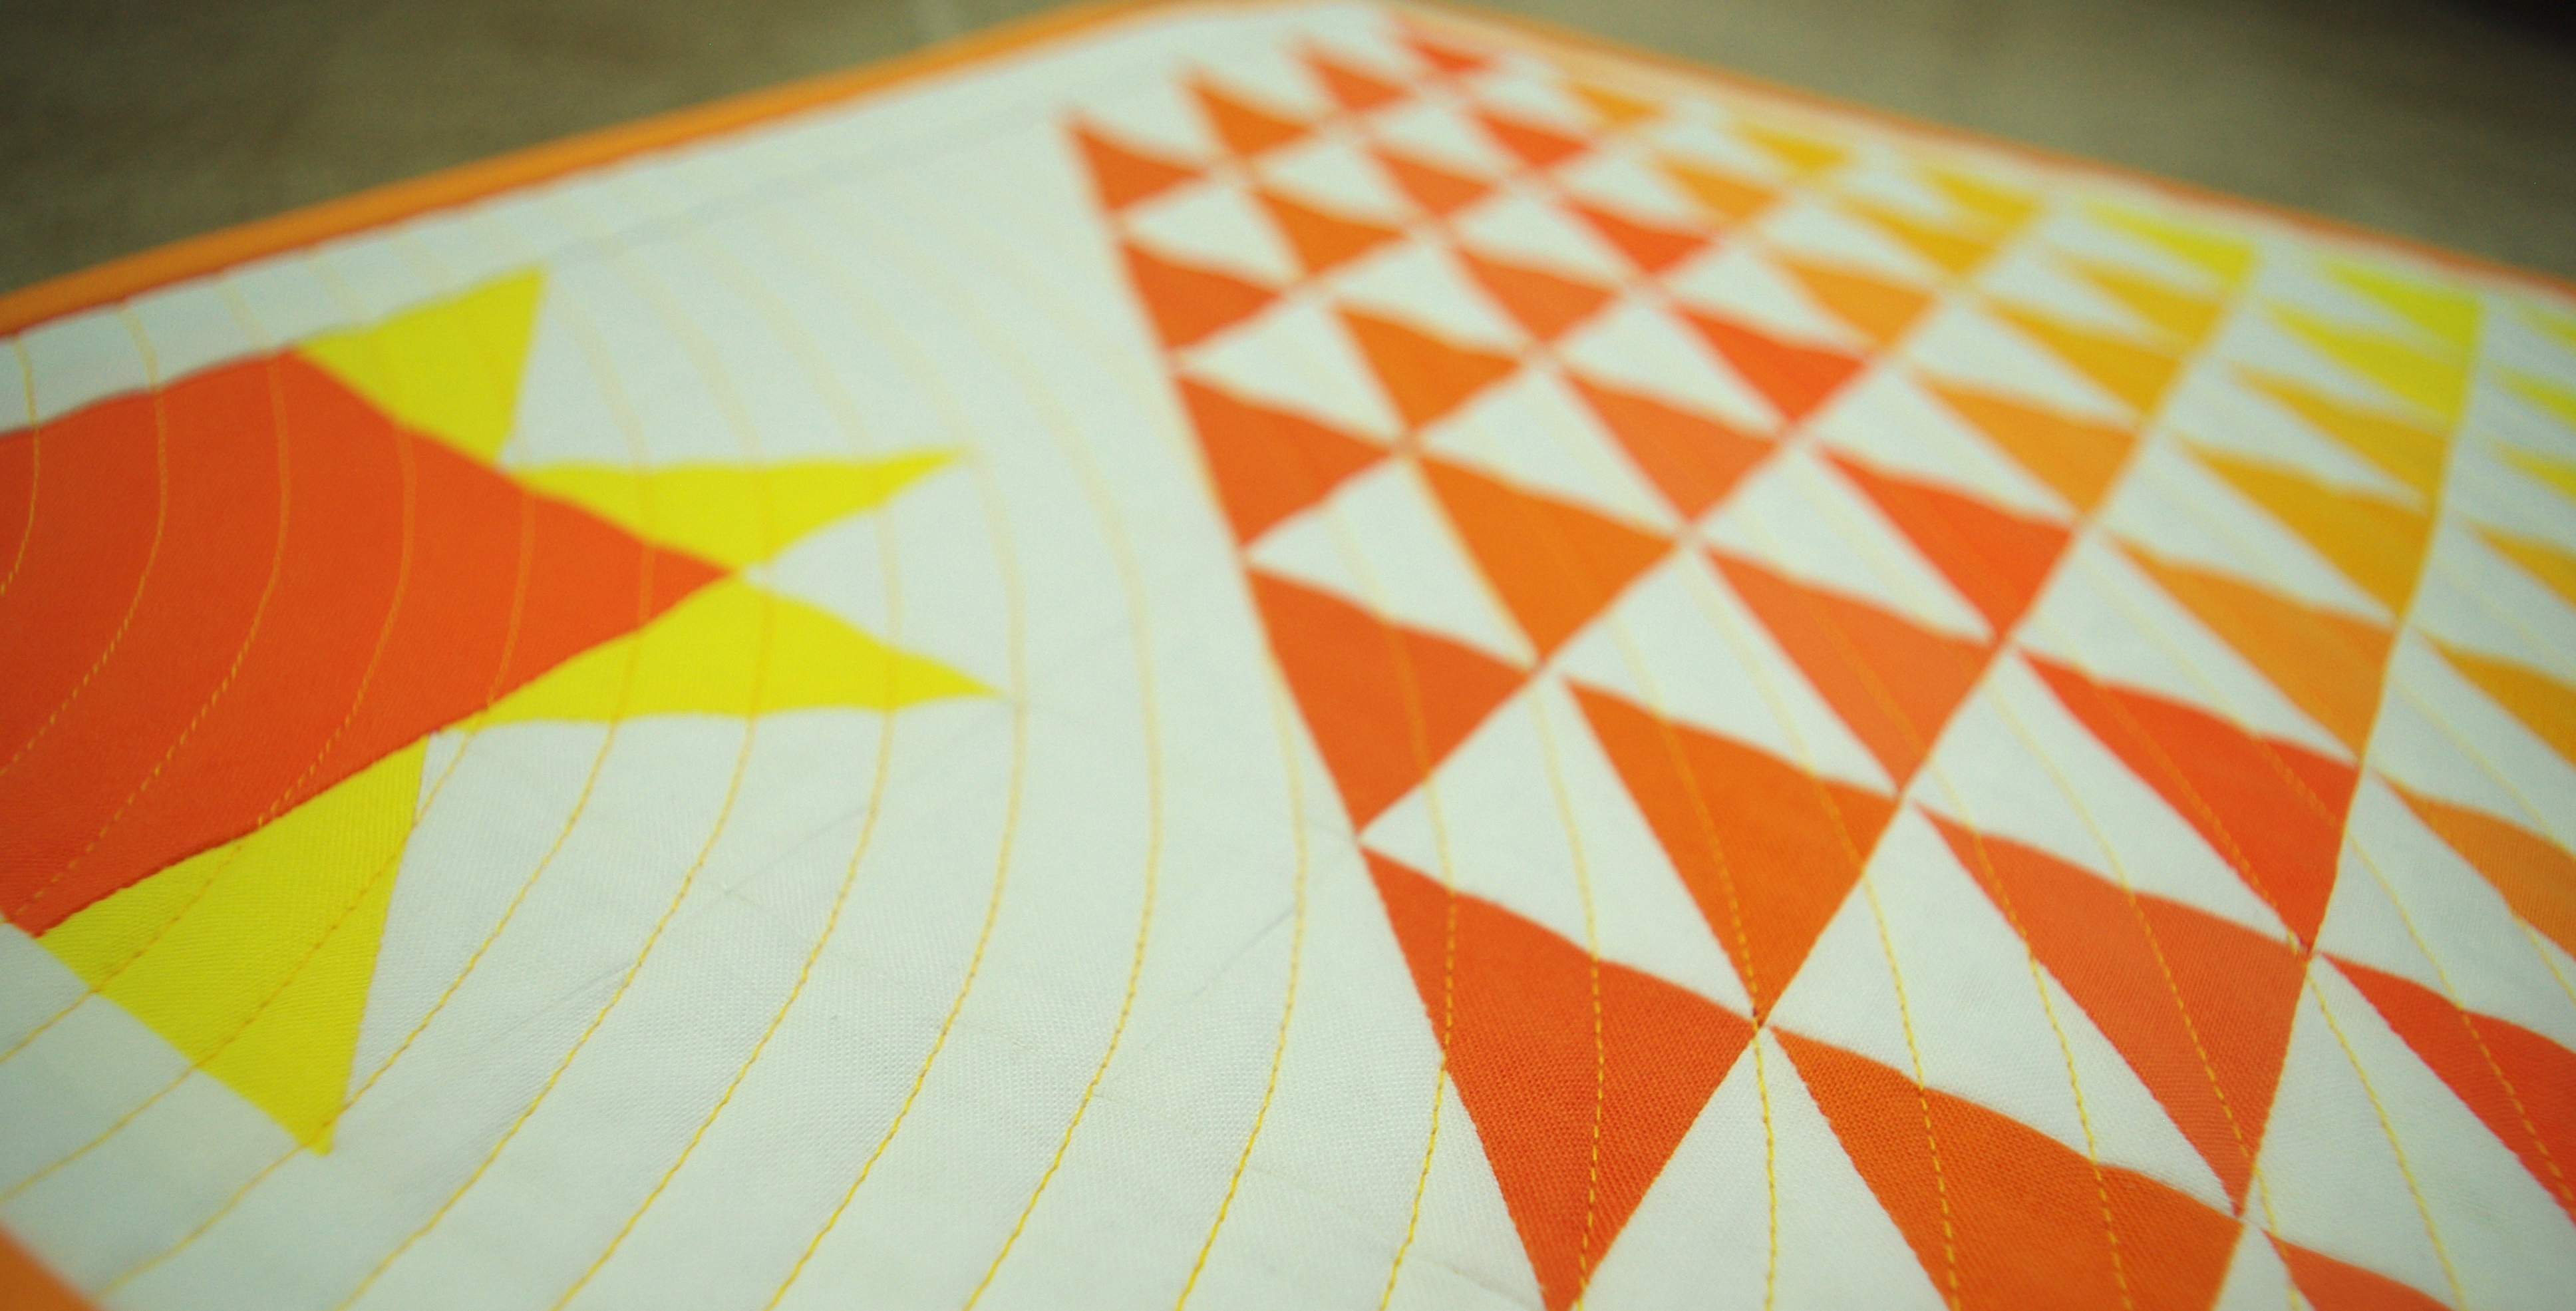
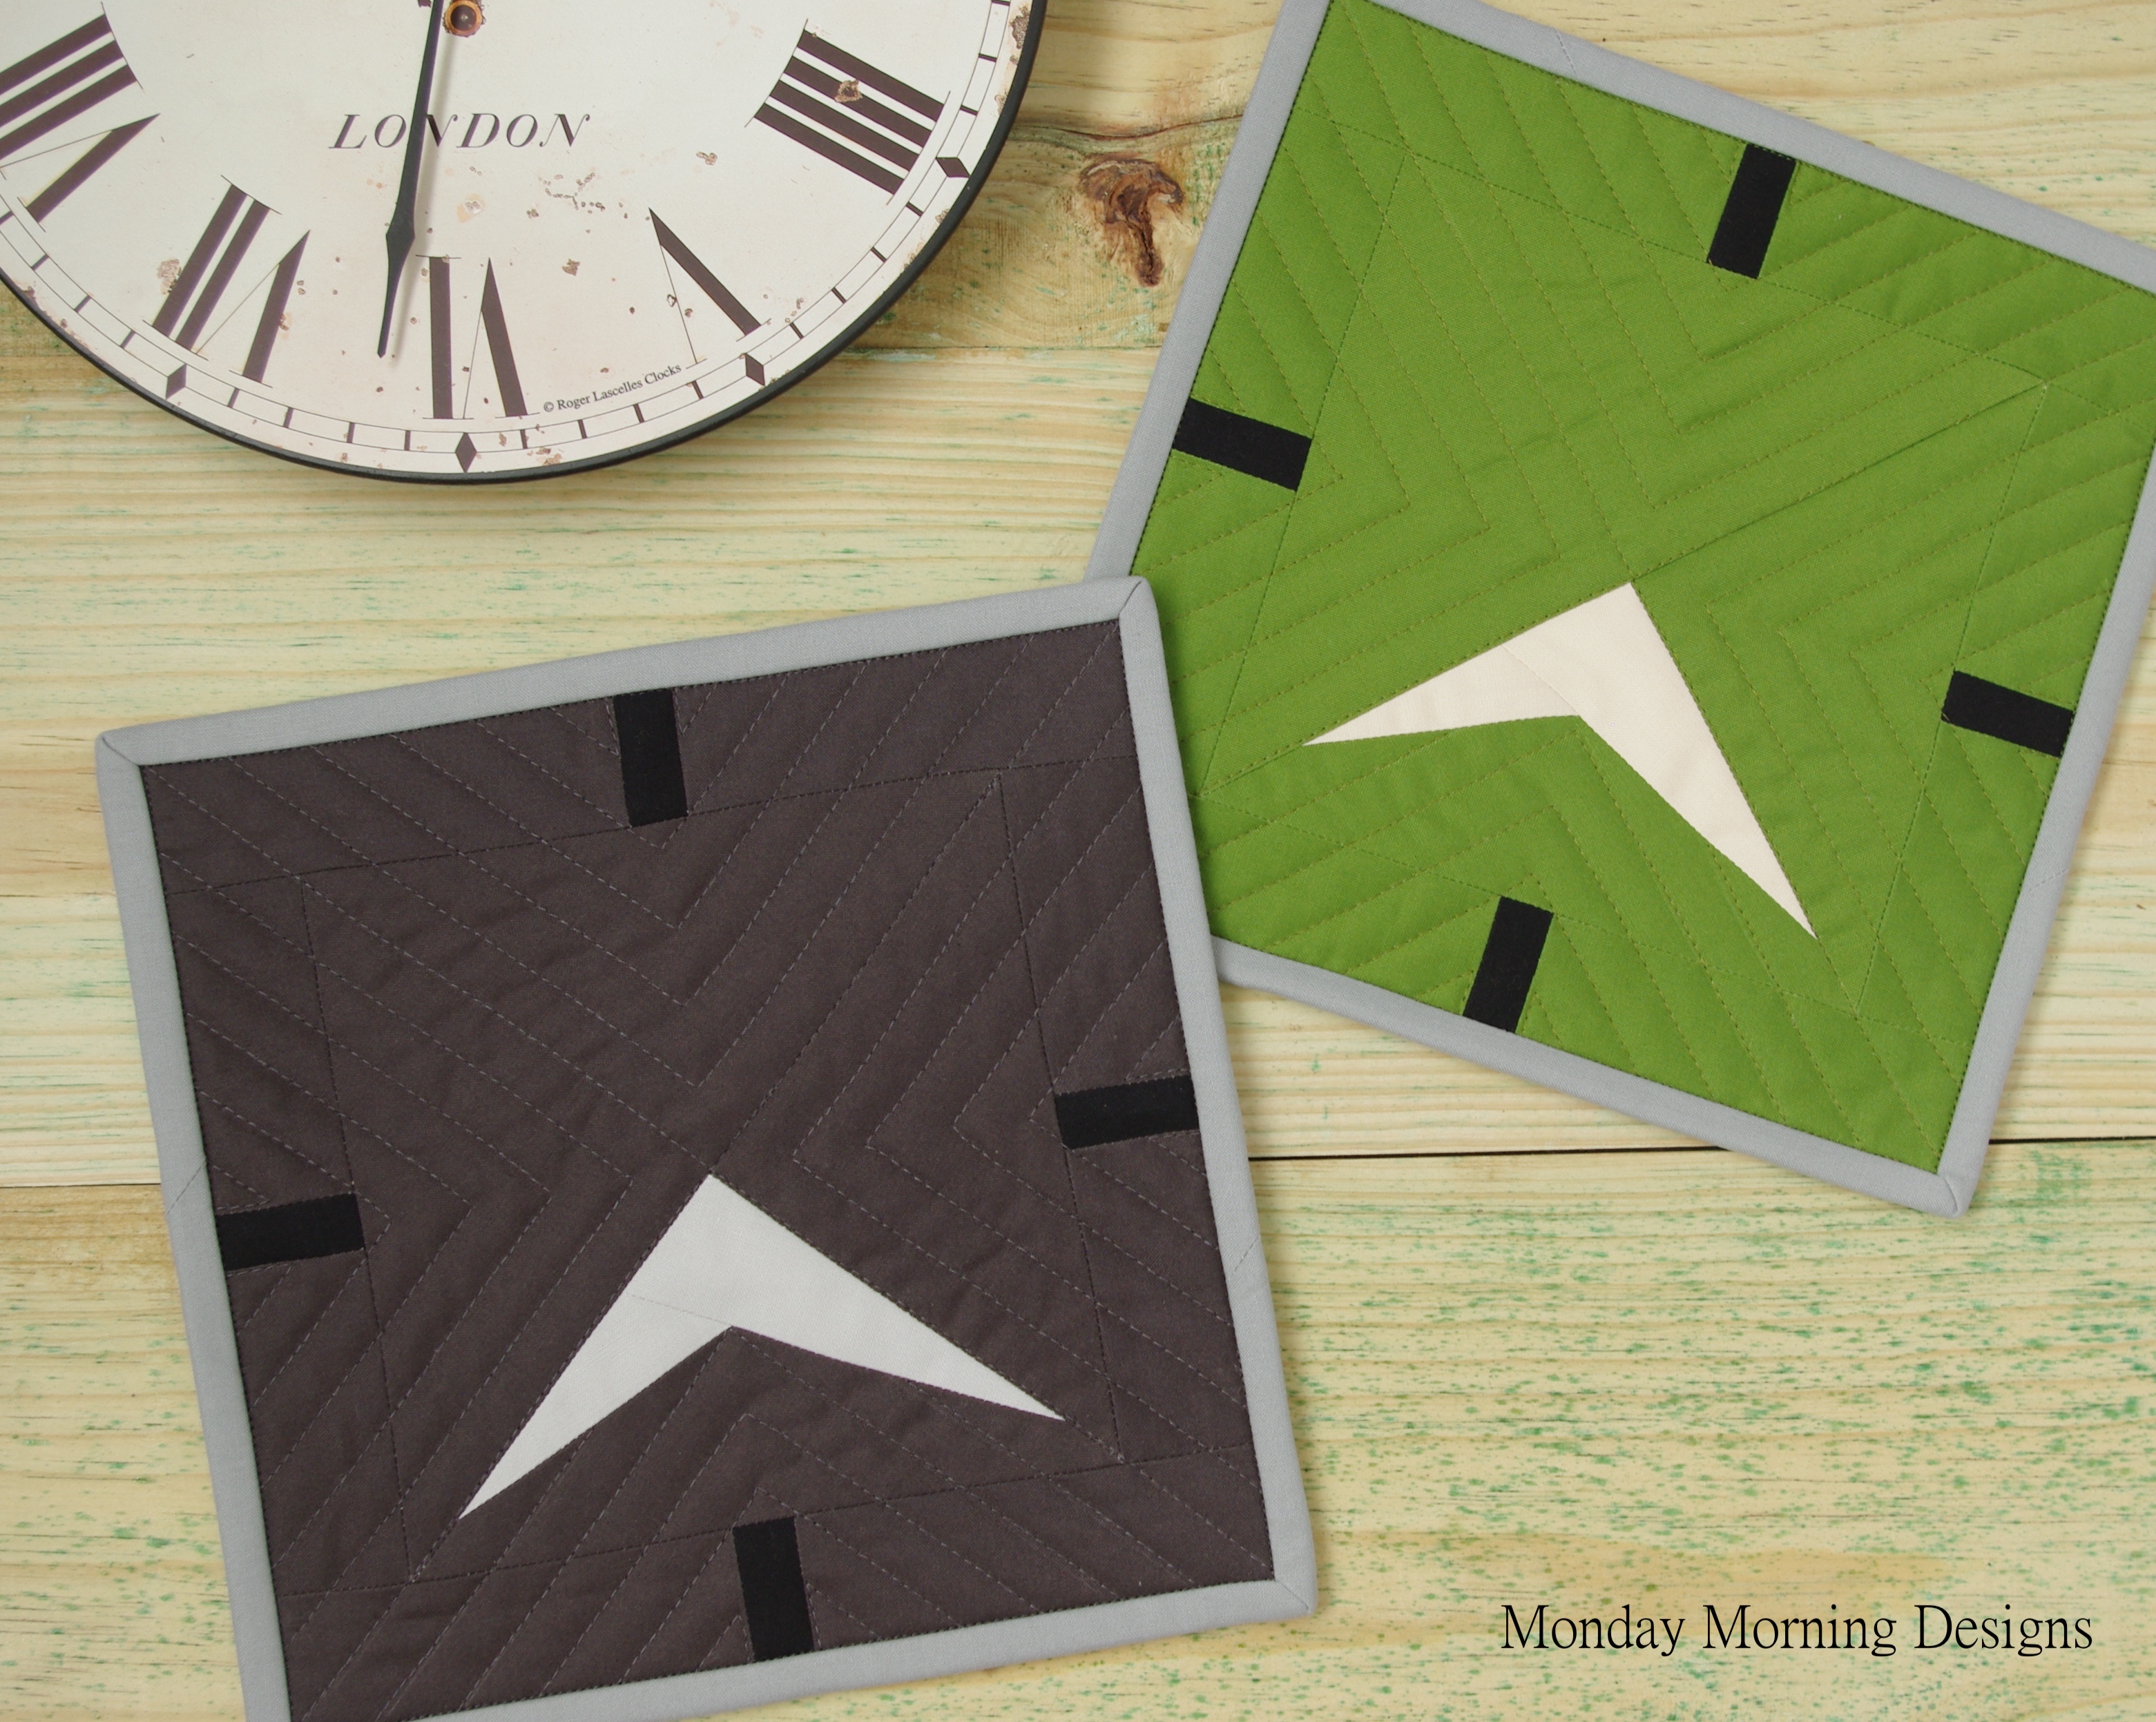
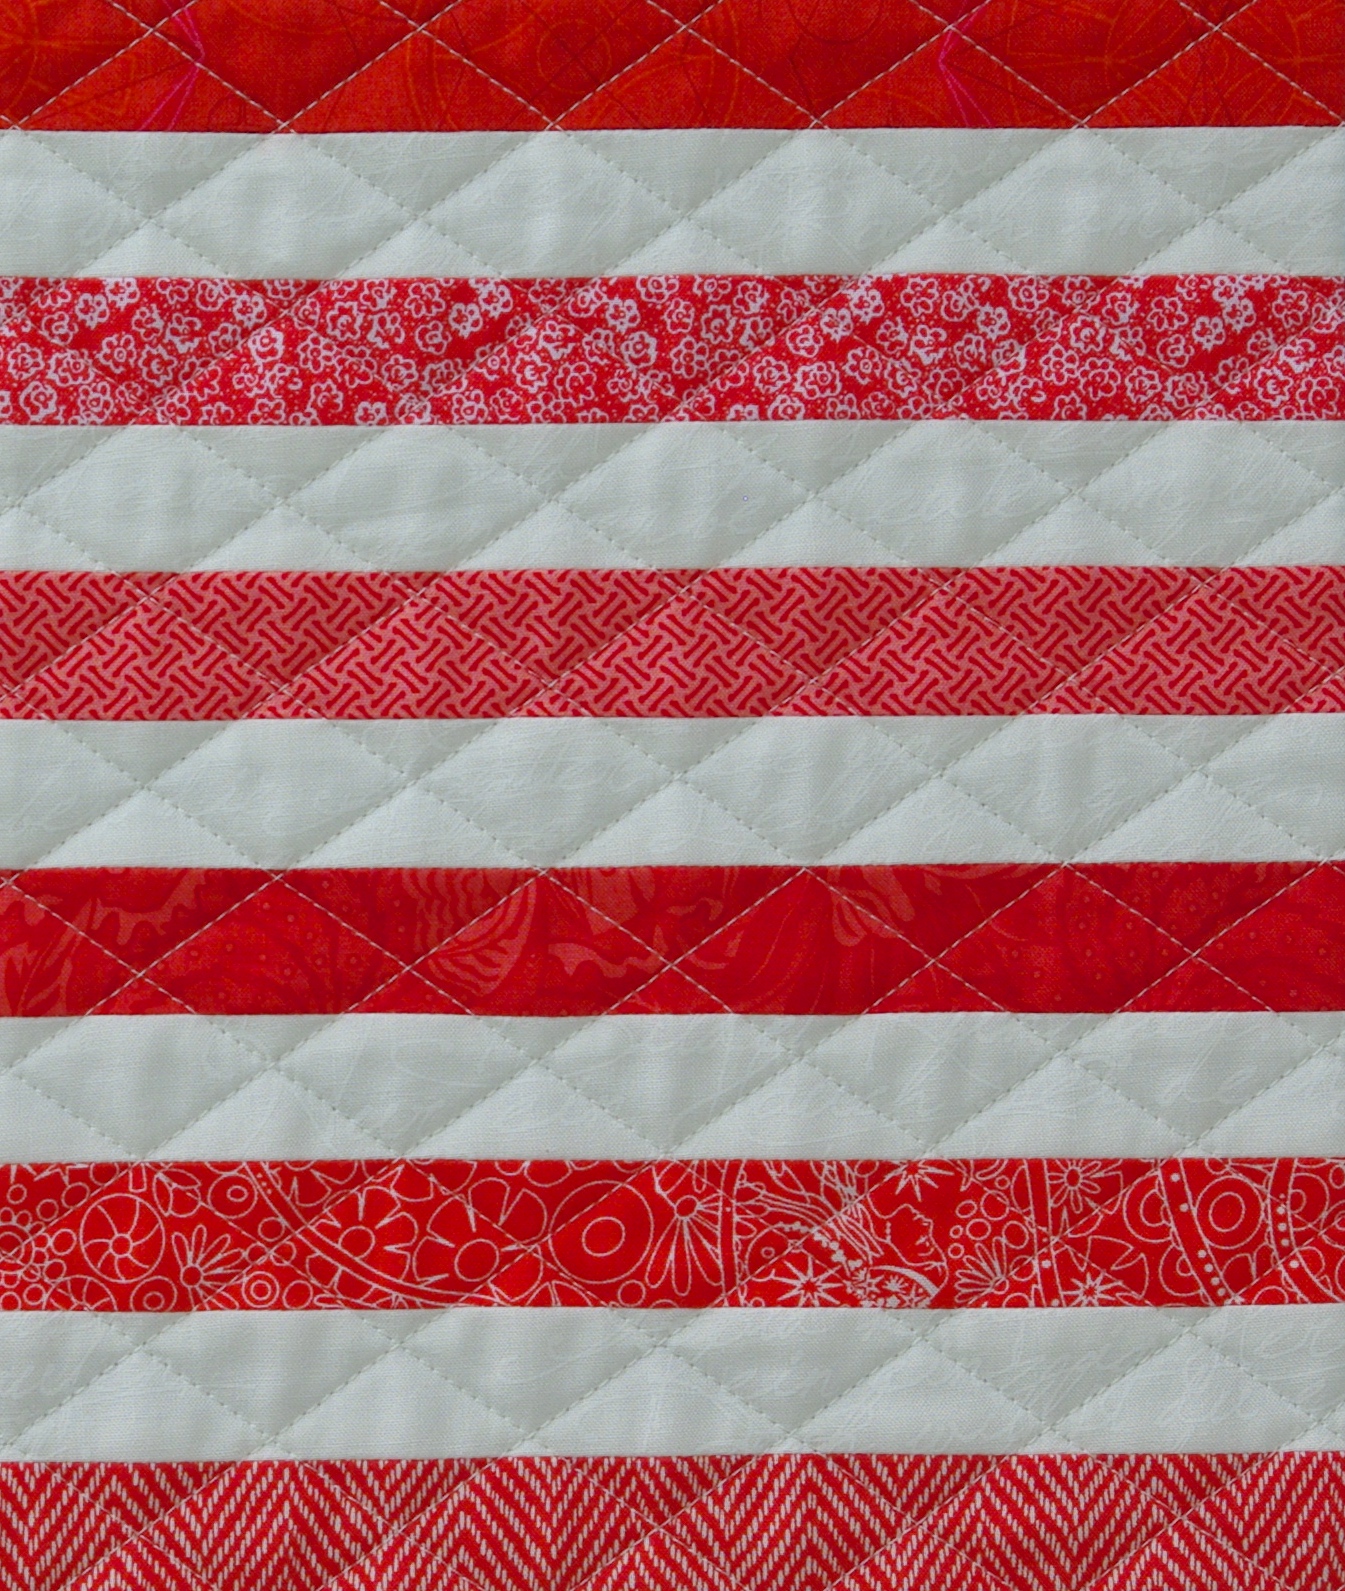
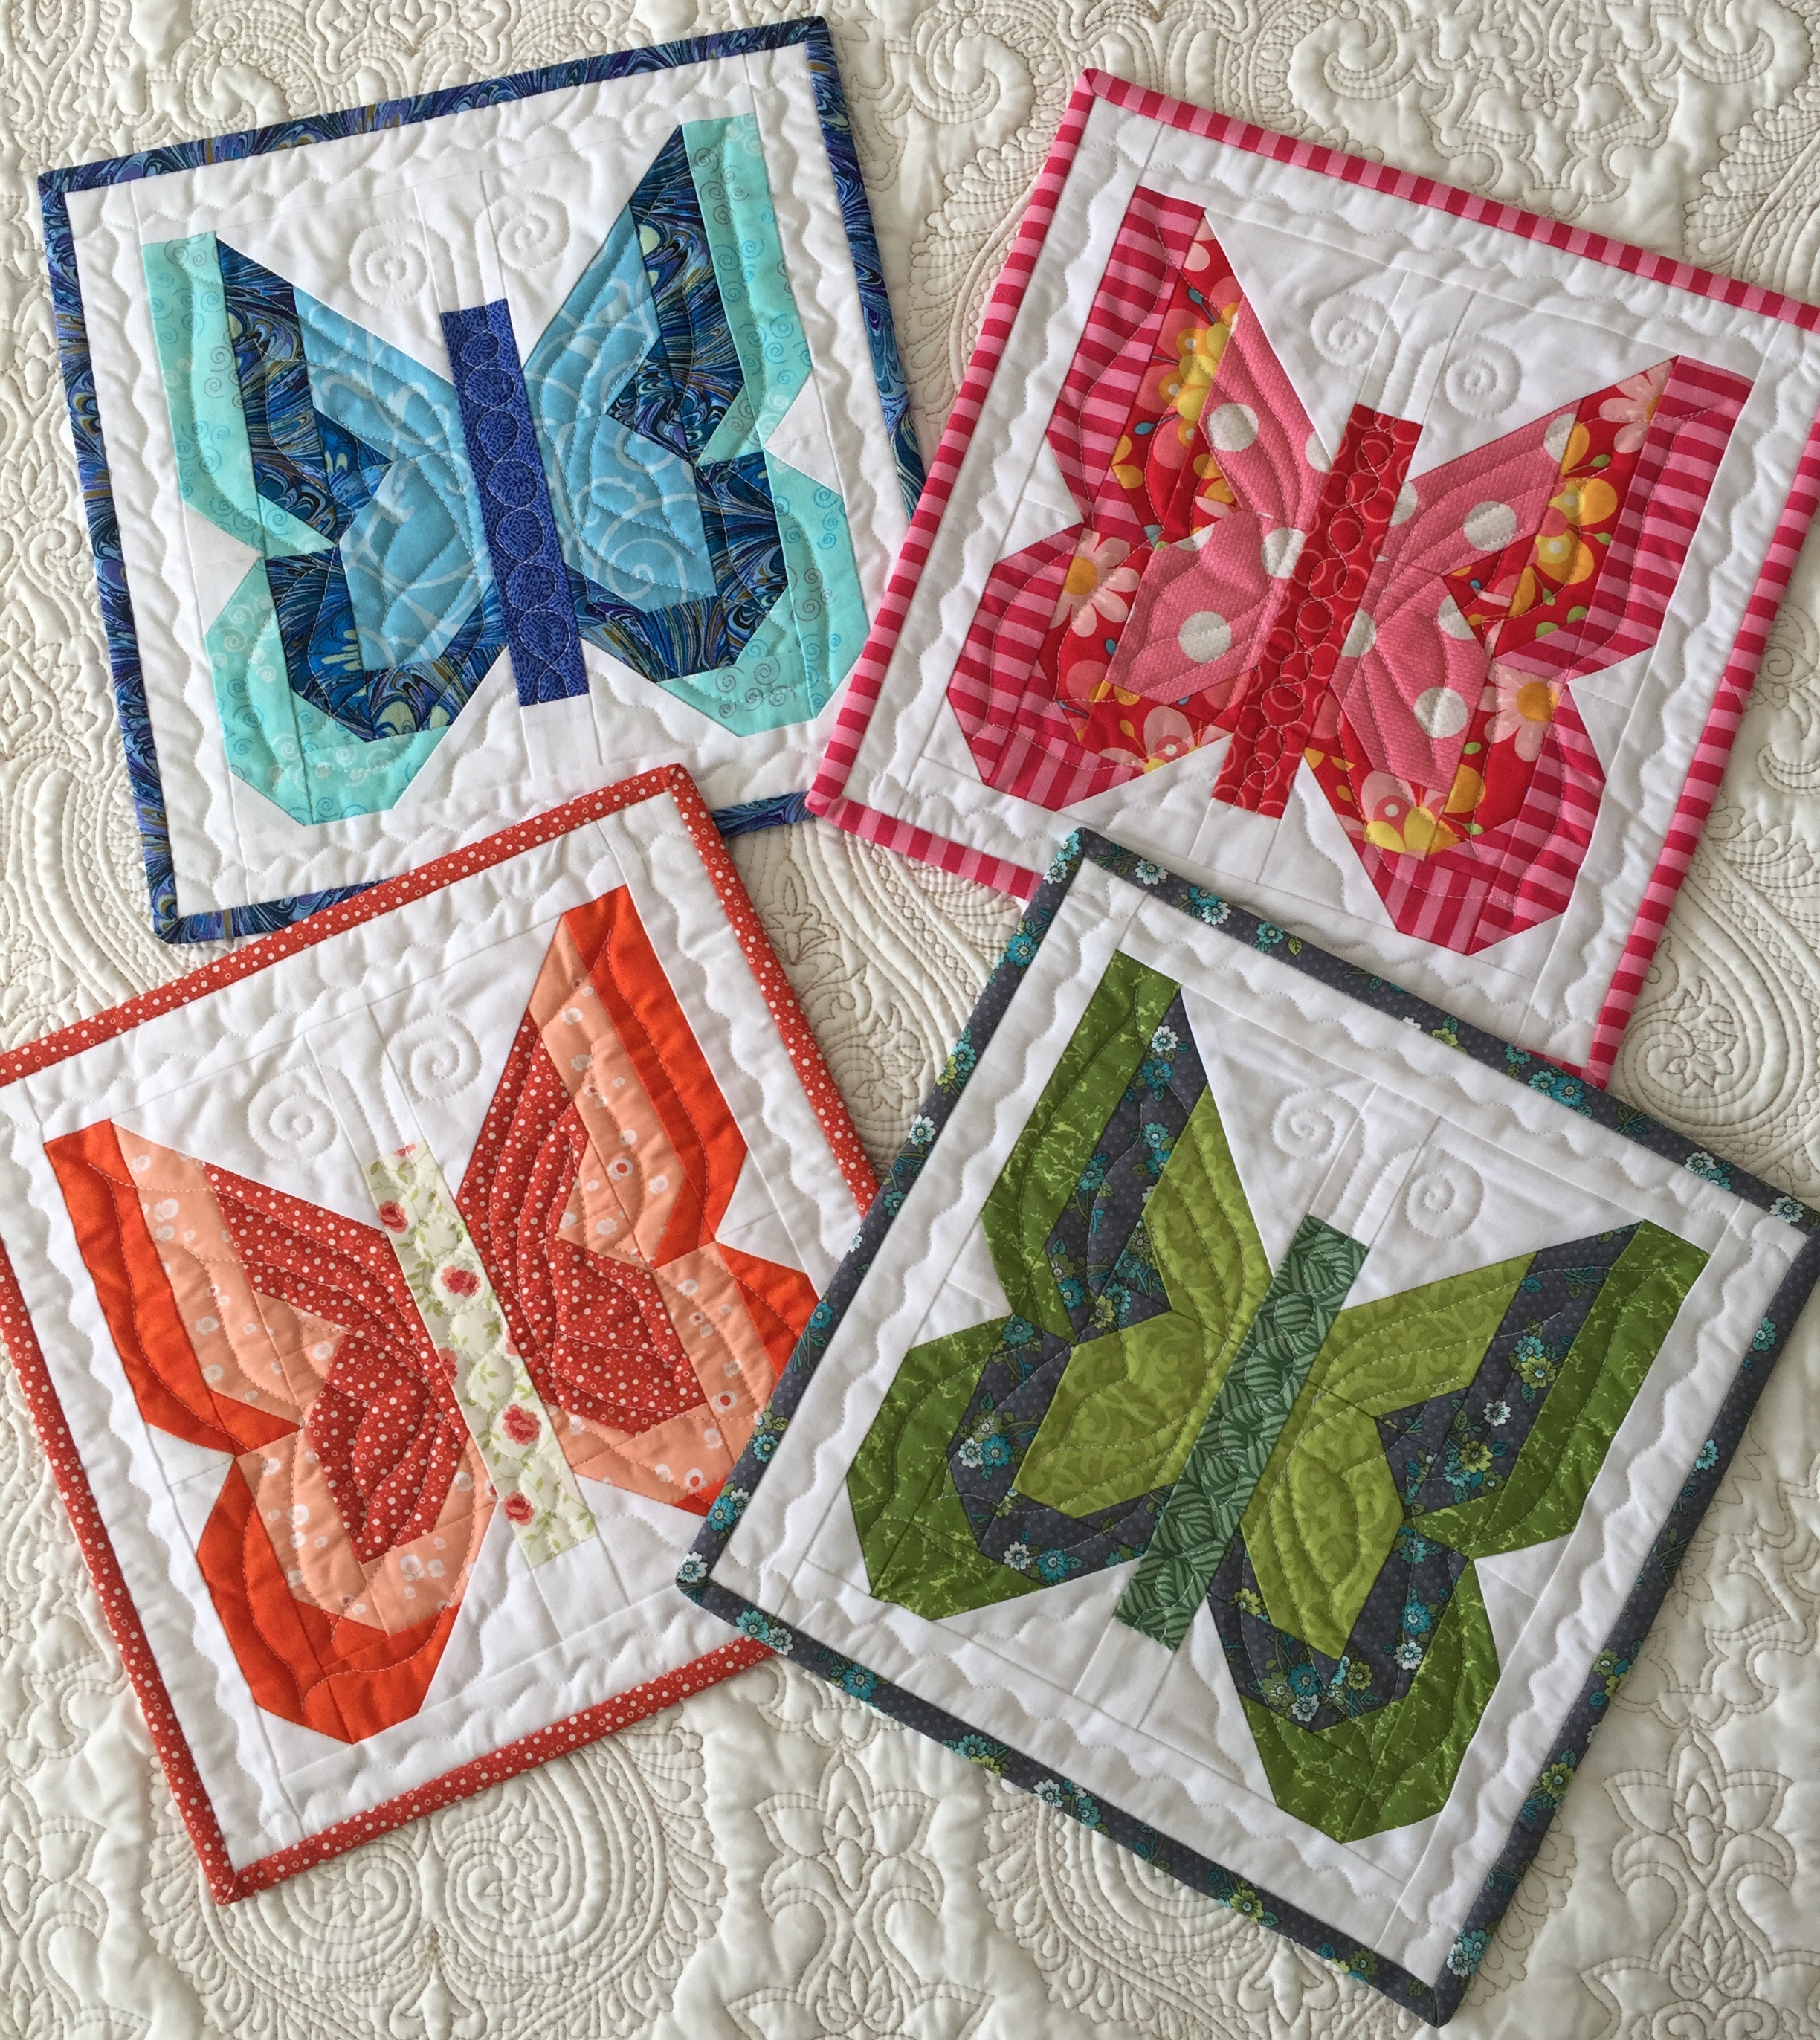
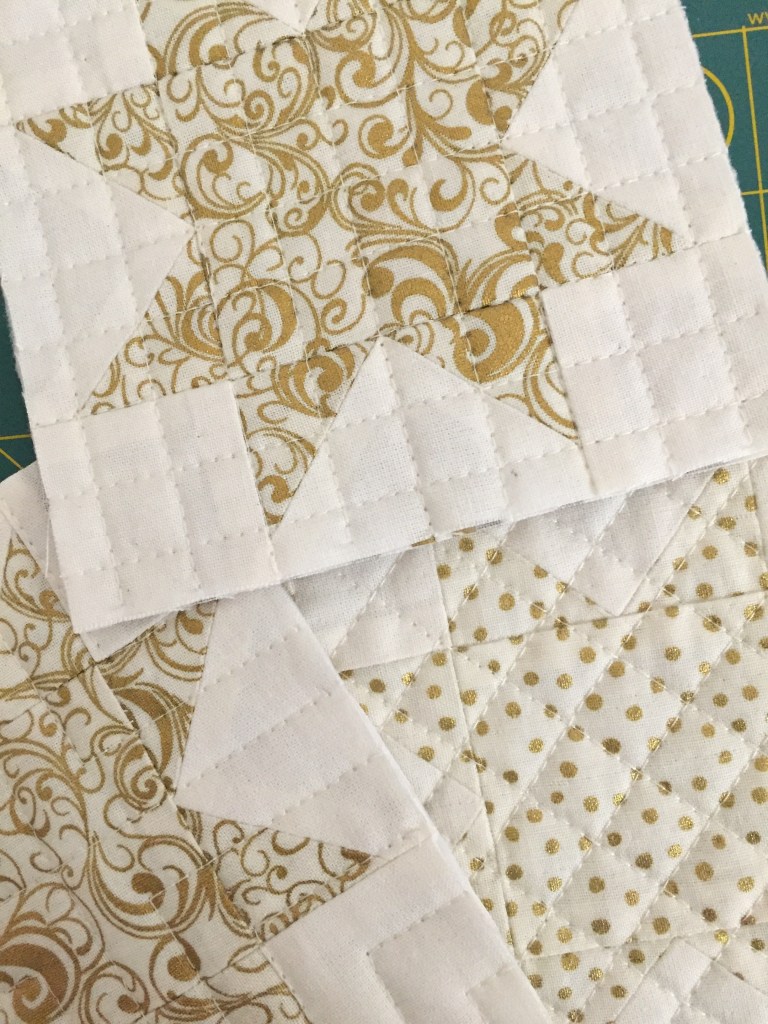
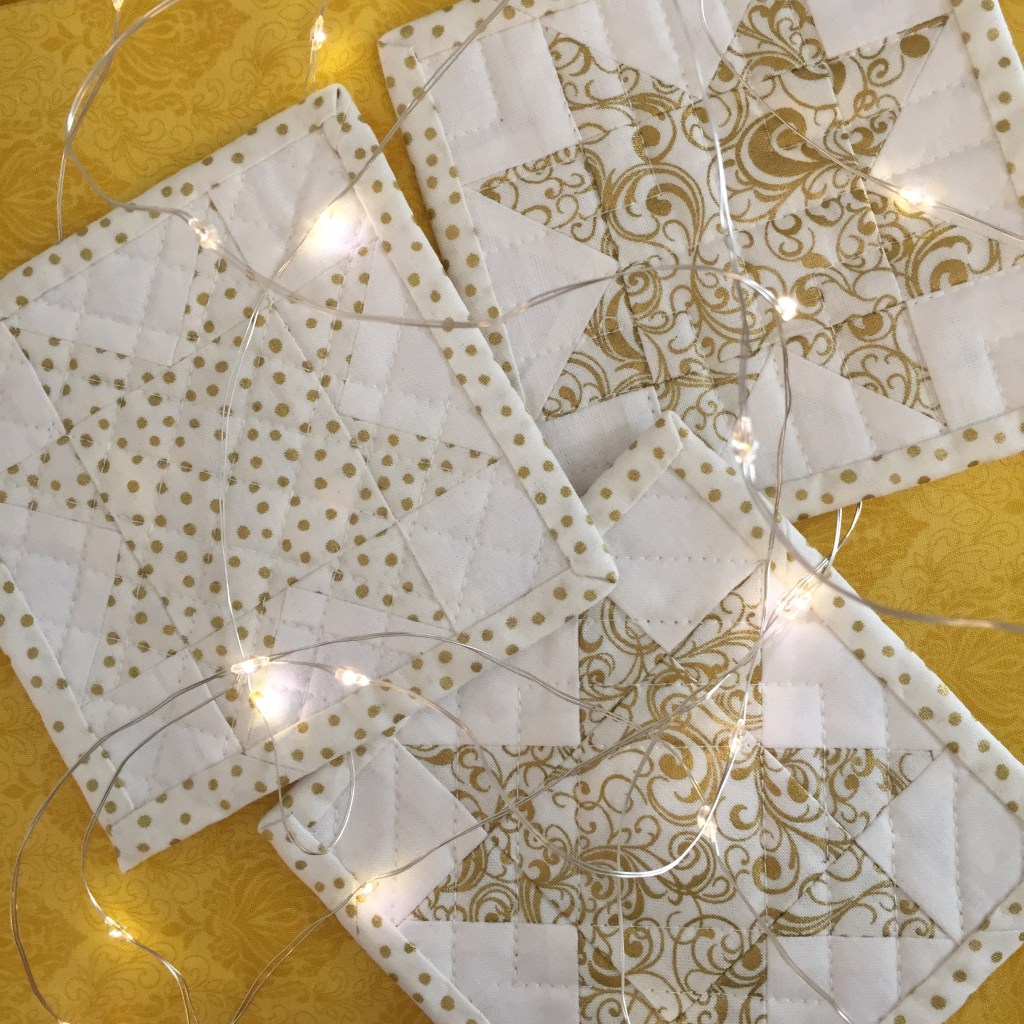
I chose a different quilting pattern for each one. I really like how they turned out!

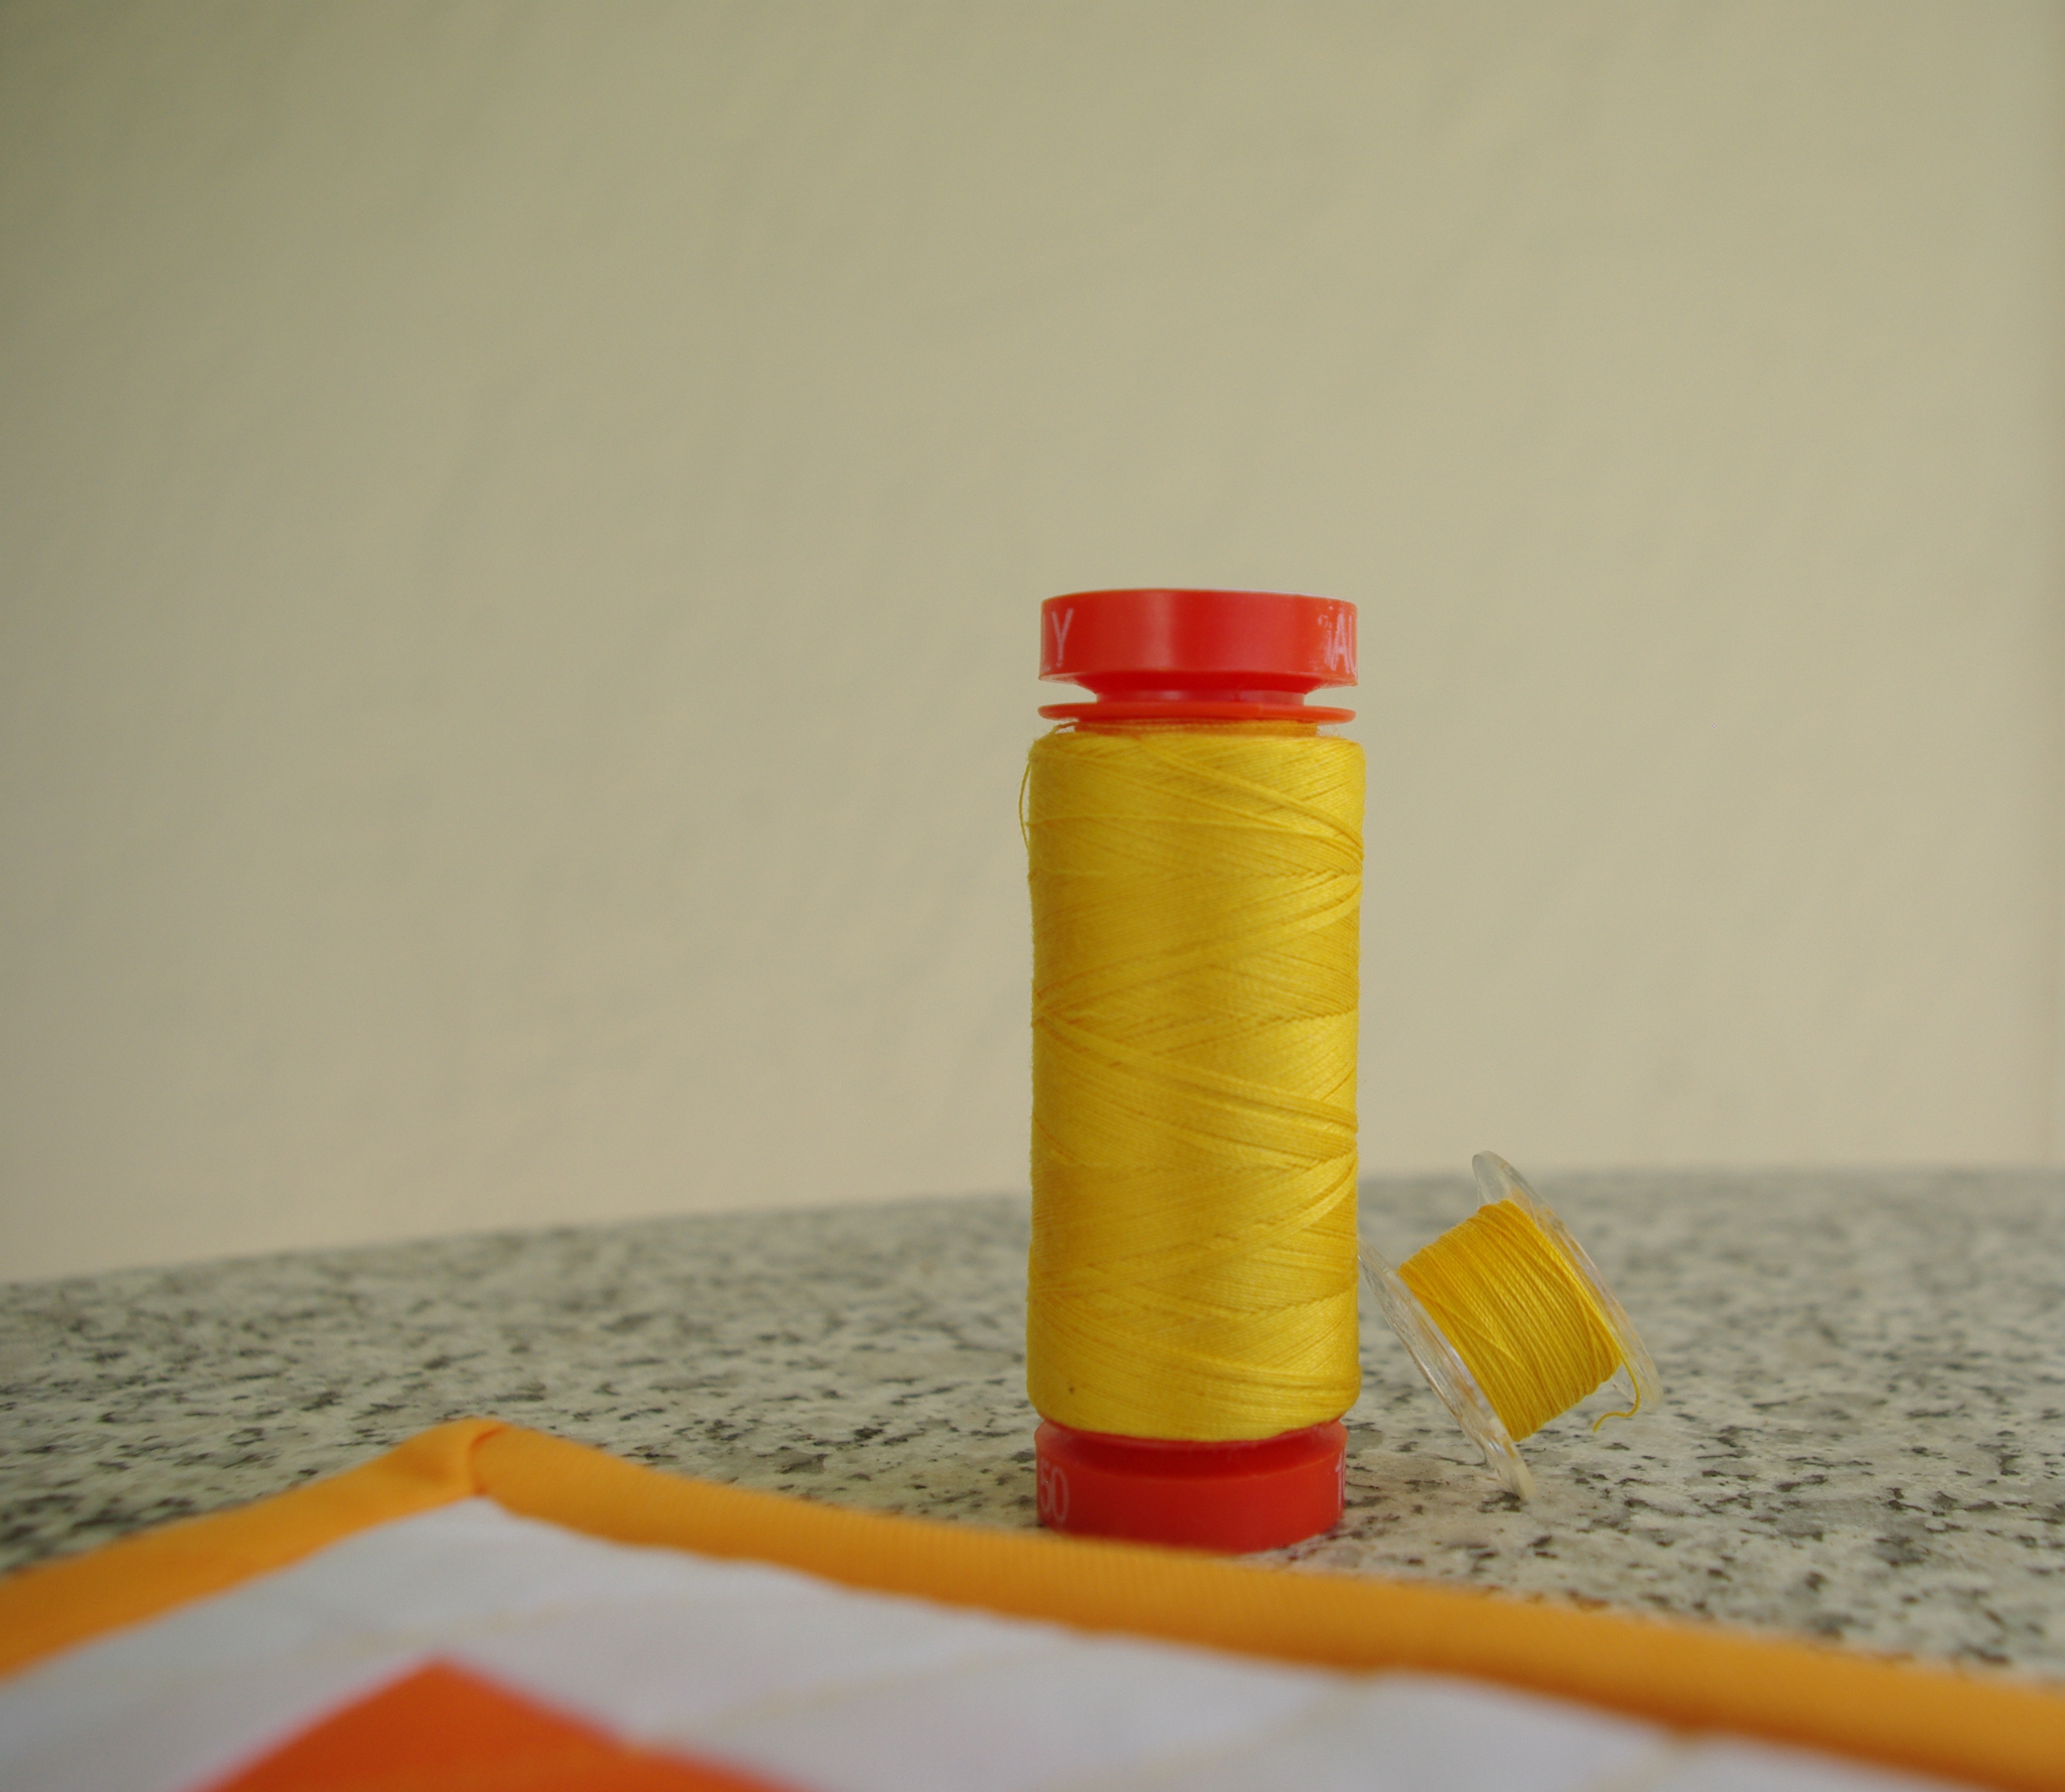
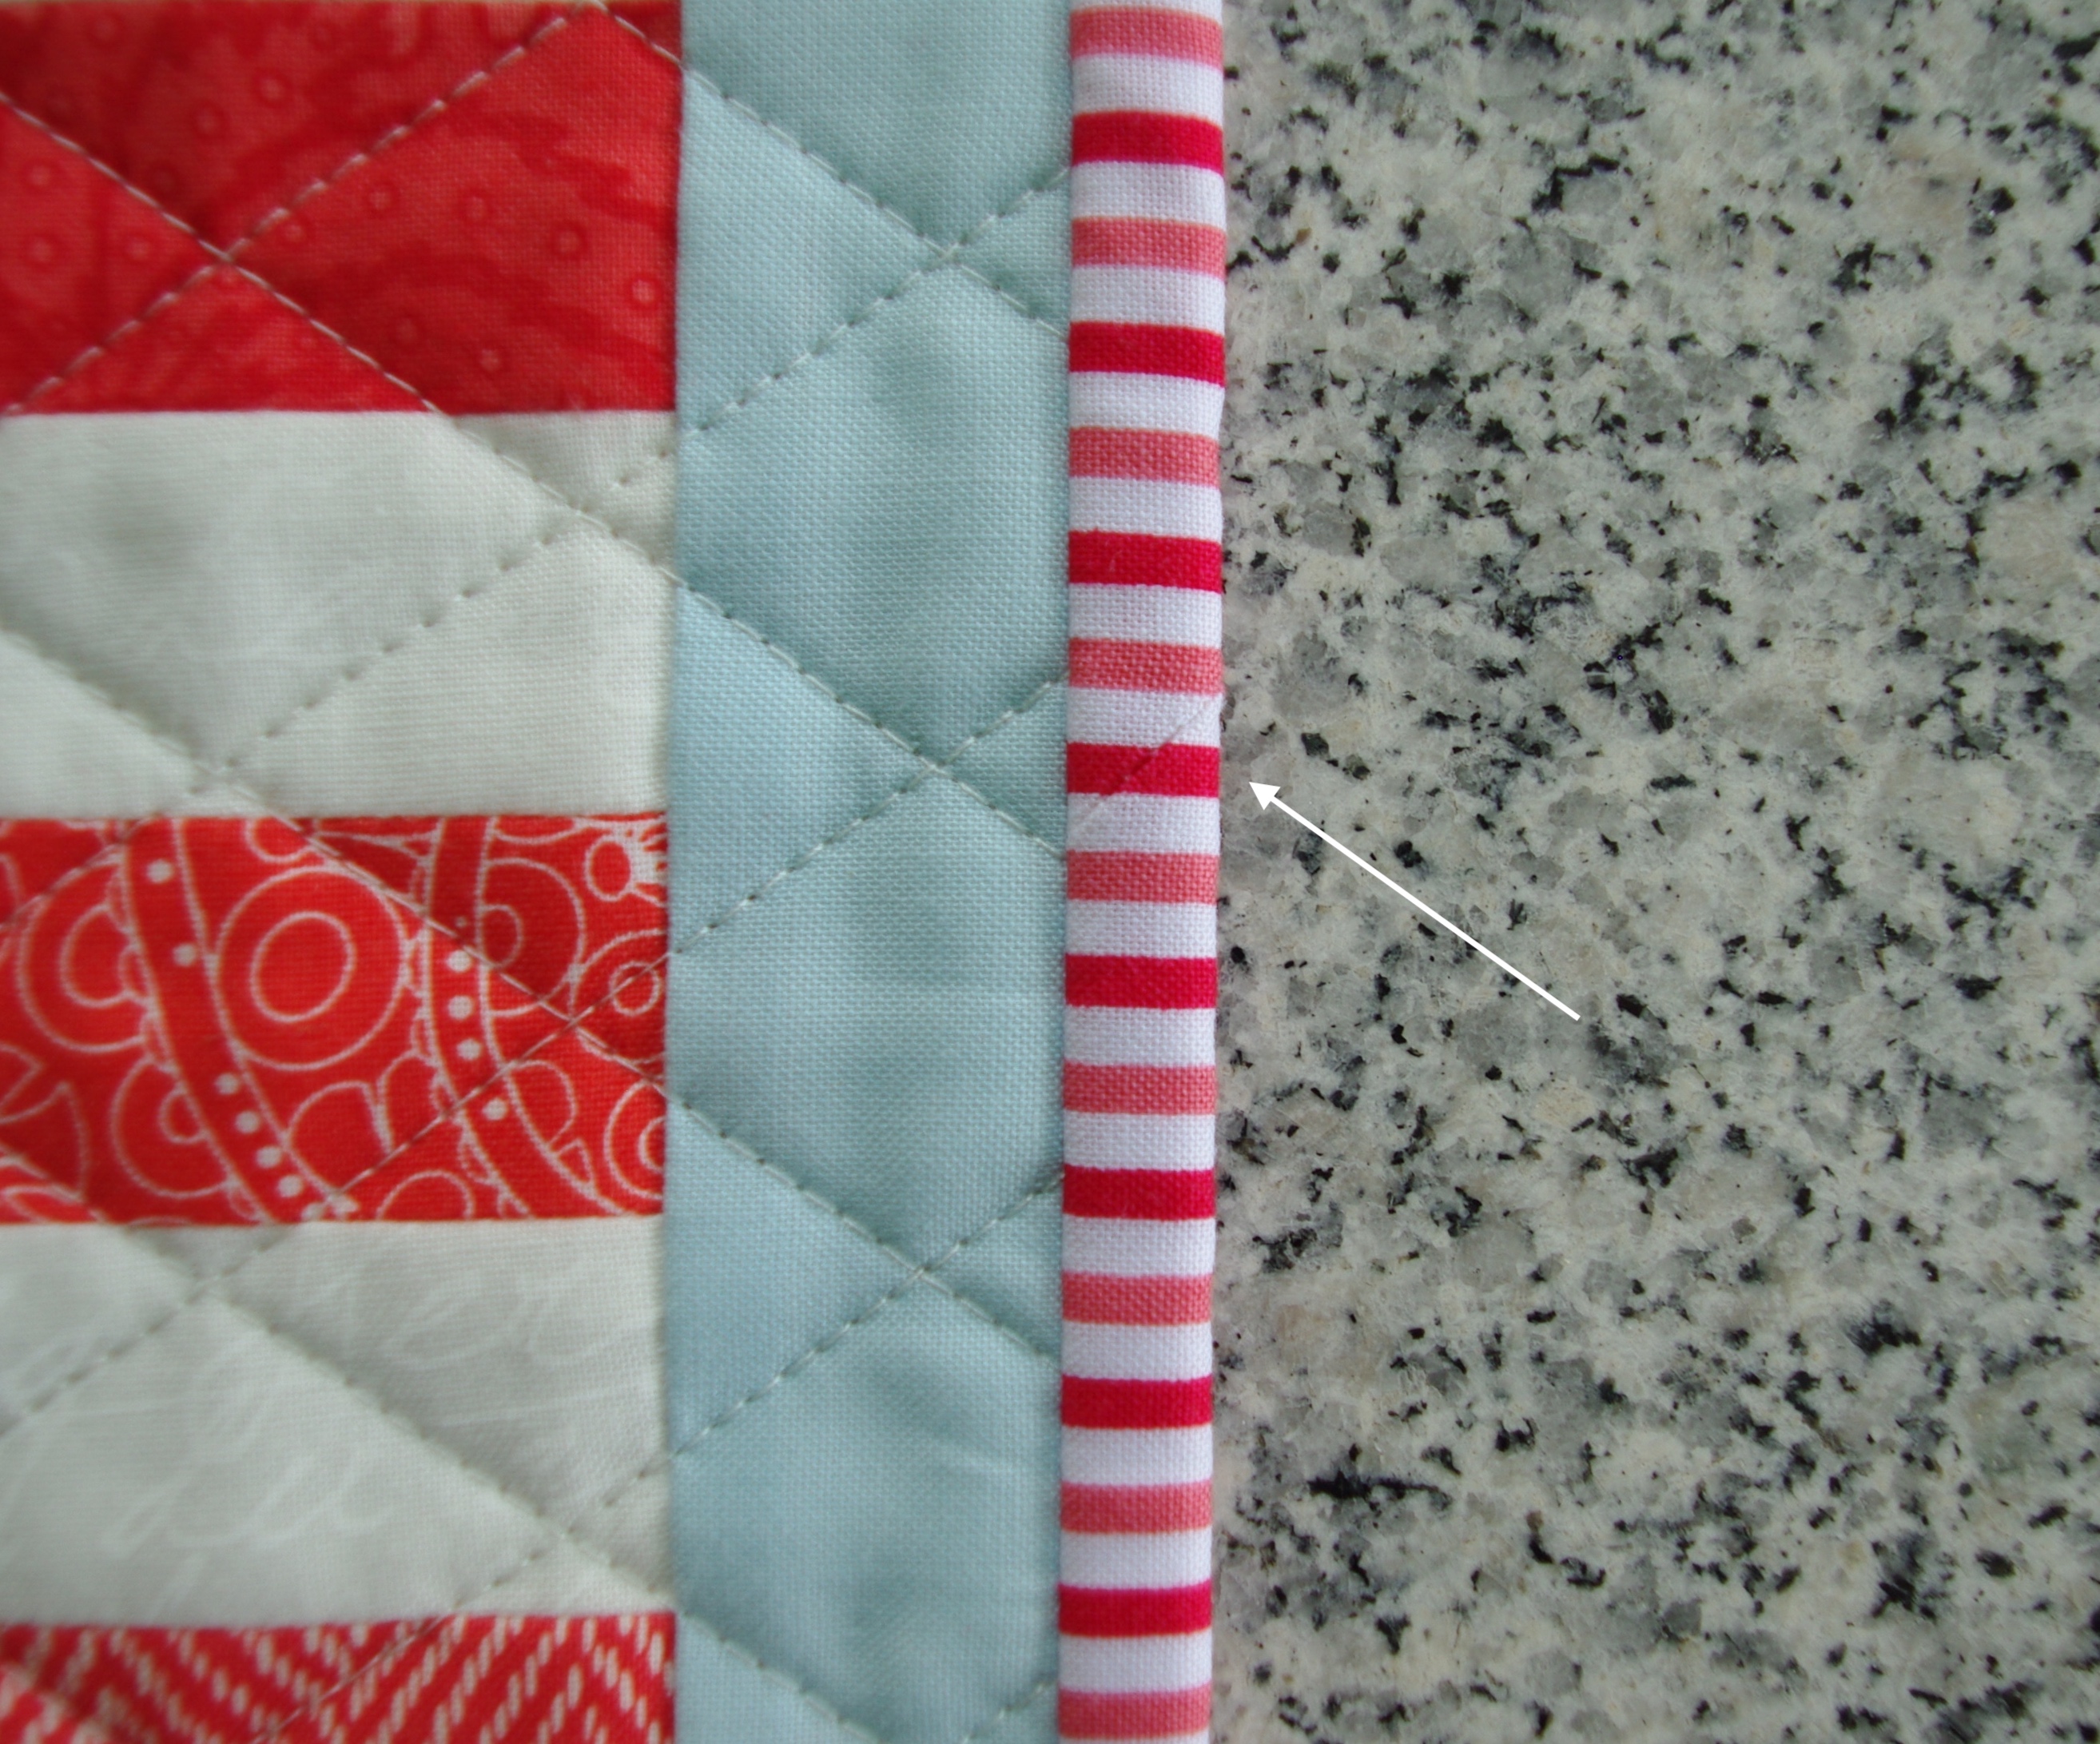
Once your blocks are quilted, it’s time for binding. Since the ornaments are small, and to reduce bulk, I made bias tape using a ¾” bias tape maker. (If you don’t have one, they can be purchased at most sewing stores inexpensively or you can buy bias tape already made). You’ll need enough to go around all four sides including a few inches extra.

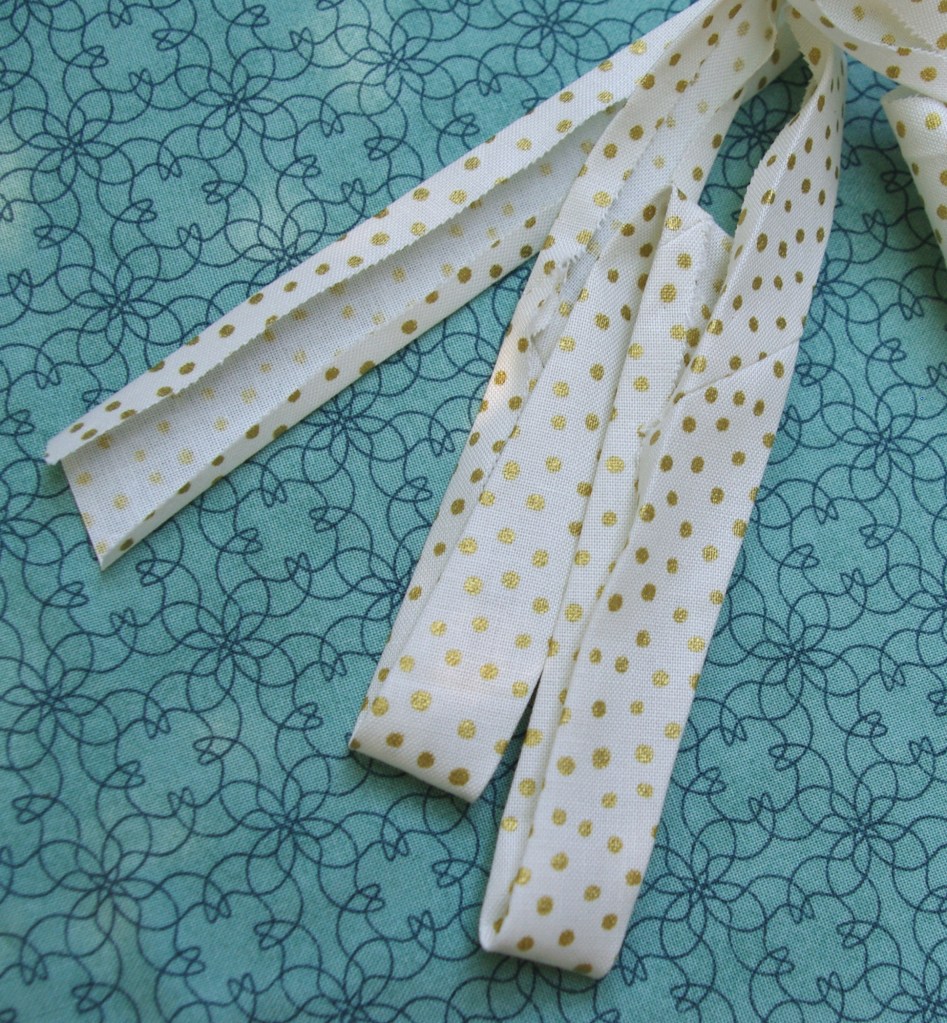
Once made, press the bias tape in half lengthwise before sewing it on; that’ll help to keep it even on each side. I sewed mine on by hand (each side, one at a time) which was easier than trying to line everything up and sew through all the layers at once.

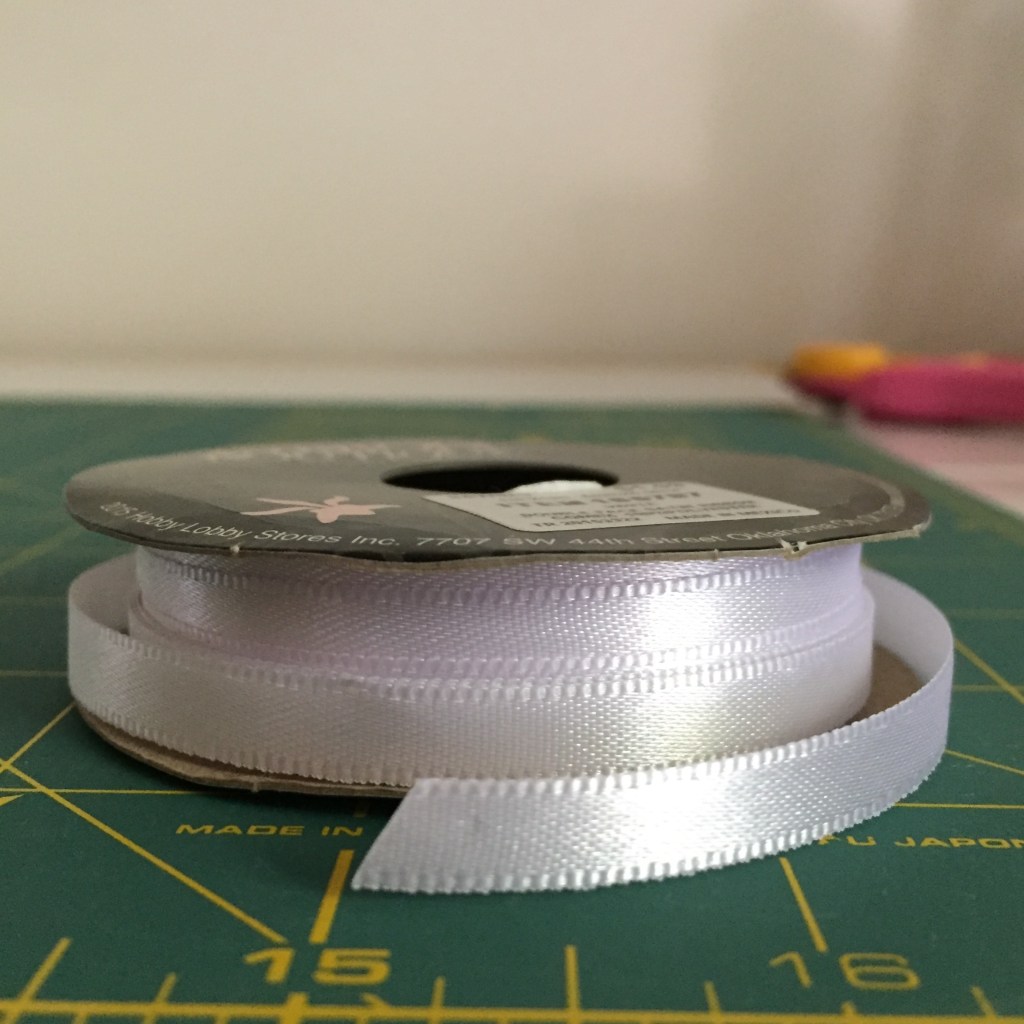
One the binding is attached, the last thing to do is add a hanger. There are a lot of options here…you can use jute, ribbon, cording—whatever you like. I used a lovely white ribbon I had on hand. I looped it and tacked the ends together before stitching it on.

1/4″ double face satin ribbon

And done! Easy to make and fun, too, plus I think they’ll make great gifts!

Enjoy your holiday sewing!

home decor, mini quilts, modern quilts, quilting, quilts, Uncategorized

Tiny Crab Mini Quilt

Every year for Christmas I make my family members something handmade. Sometimes it’s a quilt, sometimes it’s something as simple as a pillowcase. I like to start my holiday sewing early after learning my lesson two years ago when I was finishing gifts at the last minute due to a late start.

Last year I made my daughter a quilt for her bed so this year I planned to make something quite a bit smaller. Since she loves whimsical crabs, I’d been looking for a cute pattern and recently found one by EIlis and Higgs, bought it upon release and started immediately!

The pattern offers two sizes: 6″ square and 12″ square. She wanted the larger one but I thought I’d practice by making the smaller one. I decided on a blue crab and after searching through my scraps I chose two prints from Allison Glass’s Sun Print collection. To set off the vibrant blues, I used a white background.

I’ve got to say—this pattern was so fun! I enjoyed it so much that I made three more crabs and created a little mini quilt for my sewing room door.

A few things to mention about the process—first of all, the fabric pieces are really small, some as small as 1″ x 1″ square and some were as skinny as ¾” wide.

Working with pieces this tiny along with striving to get everything to line up challenged me and I enjoyed the challenge! 🙂

But in all that fun there were a few bumps along the way…for example, when working with such little pieces and keeping them labeled, things got a little heated…

I found my alphabittie melted to my iron! Dang. After that I was a lot more careful. If you make this or any project with small pieces, I have a few recommendations:

I also found that trimming units after sewing made assemby go easier. The pattern gives sizes each sewn unit should measure and having trimmed pieces helps when lining everything up. Plus it eliminates annoying threads along the edges.

I made three tiny crabs using primary colors and green for the fourth. I added a 1 ½” border and my finished mini measures 15 ½” square. I chose a horizontal serpentine stitch for quilting to represent ocean waves. Every time I walk past my sewing room door I smile at their cuteness!

This little project was a great scrap buster, too. While going through my fabric I decided I have too much so I’m now making a controlled scrappy quilt using 2 ½” squares in every variety of color I own. And as far as the Christmas crab mini goes, I can’t post it until after it’s gifted!

home decor, mini quilts, modern quilts, quilting, Uncategorized

Radiant Mini Quilt Published in Quiltmaker

To kick off the summer season, I have a newly published mini quilt pattern that gives off a summery vibe. It’s entitled Radiant because, well, the sun just radiates!

IMGP7651.JPG

I sketched this idea a while back but didn’t get a chance to write the pattern and make it until early spring last year. Right after finishing it, Modern Patchwork put out a call for ‘small’ projects. The timing was perfect so I submitted it for publication consideration. After being accepted, Modern Patchwork was no longer going to be published (sadly) so my mini was moved to the July/August issue of Quiltmaker.

I received my magazine copies yesterday and I have to say I love their layout, it definitely says summer to me! I’m very happy with it. 🙂

As seen in July/August issue of Quiltmaker

There were two things that inspired this design: 1. the sheer heat of the sun 2. fabric. I had purchased a Kona Cotton Citrus Bundle with something else in mind, but it ended being up exactly what I needed for this pattern. I wanted to create an ombre effect using solids ranging from dark to light giving the feeling of warmth radiating from the sun, and it worked. I think any combination of reds, oranges and yellows would do just as well.

IMGP7450
Kona Cotton Citrus Burst

I wanted to quilt circles from the sun outward, but before starting I tested my idea. On paper, I drew a circle (from a coaster) in the corner where the sun was on the quilt. I knew that the further out I’d have to sew, the larger the circles would get, and I had to make sure they’d stay round. It looked like it was going to work so I continued on.

IMGP7608

Testing showed I needed to start my lines off the quilt edge onto the excess batting area so I would have enough lead into the quilt top in order to keep my circles round. It was a bit of extra quilting but it was necessary to get the results I wanted. I used the edge of my walking foot for distancing apart lines, that way I didn’t have to make any markings.

IMGP7607.JPG

For quilting, I used Aurifil 2135, giving a nice warm finish.

IMGP8111
IMGP8097
IMGP8100

This little mini is a quick and easy make; consisting of mostly half square triangles. It measures 15″ W x 12″ H, and it would be a nice bright addition to anyone’s space! It’s also a great skill builder for a beginner quilter.

If you don’t subscribe to Quiltmaker, get your copy today and give it a try! If you like oranges and yellows you’re all set…or if you’re feeling adventurous try it out in your favorite color palette.

IMGP8147

So now that summer’s here, enjoy it!

mini quilts, modern quilts, patterns, PDF pattern, quilting, quilts, Uncategorized

Sunrise Clock Mug Rugs Revisited

In the fall of 2017 I was fortunate enough to experience my first quilting publication. My project, Sunrise Clock Mug Rugs, was published in the September/October issue of Modern Patchwork. I designed a set of four mug rugs depicting a clock face reading approximately 7:25 a.m. For some reason I really clocks and watches, and years ago I had quite the watch collection so that’s more than likely where my inspiration came from. 🙂

Once I had the idea, I played around with it until the design resembled a clock face as close as possible, even down to the binding which represents a silver casing! Technically, the mug rug can read four different times, depending on how you orient it. 🙂 Unfortunately, Modern Patchwork is no longer published (I was sad to see it go) so I’ve decided to offer my Sunrise Clock Mug Rug pattern as a free PDF download.

I made the original four (in the above photo) with brightly colored hands and a white background but the next time around I experimented quite a bit with color. Since I liked how the quilting design looked, I kept it the same on the others as well.

These mug rugs are a quick and fun project that presents a clean, modern aesthetic. They make great gifts, too. I’d love to see other versions, if on Instagram hashtag #sunriseclockmugrug to share yours!

mini quilts, quilting, Uncategorized

Modern Meets Traditional

Isn’t it interesting how colors can make all the difference? Recently my son asked me to make him a mini quilt for his music room. He requested the Dutch Rose block, and for a few good reasons…he liked the center star along with how the formation around it looks ‘folded’ and of course, the block has timeless style! I couldn’t agree more.

8042_pattern_img-1

A while back I made a zippered pillow cover using the Dutch Rose block knowing that the block itself is traditional. I think the soft colors I used in my pillow accented that fact, but for this mini-quilt I wanted a modern, updated look. Masculine, too.

Overall, I find that one of the most fun parts of quilting is choosing fabrics. Sometimes I have very specific ideas, other times I forage through my (limited) stash trying to find what looks good. For this project, I knew to avoid any pastels, pinks and purples. I had just finished a quilt using Sun Print 2018 by Alison Glass for Andover Fabrics and I knew my son would like the rich, deep colors in the collection plus I had plenty leftover. After much deliberation, I narrowed it down to four hoping the combination would work.

I used Kona Cotton White for an extra pop and I quilted it with my go-to pattern, crosshatch, spacing lines 1 ½” apart, using Aurifil cotton 50wt 2024 (White).

IMGP8723

I’ve been stitching that a lot lately, and it never gets old. And I feel the color combination worked—I love it and my son was happy with it, too. I’m tempted to use these colors in a triangle quilt!

In the end, I think I achieved my goal of giving this block a mod update just by using bold, modern colors.

IMGP8713

:.,bcxz

Same block, but what a different feel you get from the colors and fabrics you choose… because that’s what it’s all about, right?

mini quilts, quilts, Uncategorized

Patriotic Flag Mini Quilt

The month of May always brings out patriotism here in the US, with Memorial Day kicking off the summer season then Flag Day and the Fourth of July not too far behind. Right now I have two quilts in the making, a Christmas gift and a new pattern of mine, and I could use a break from larger projects so I set out to find something patriotic that I could finish quickly using left over fabrics.

I usually don’t sew with blue (I don’t know why, I just don’t seem to choose it) but since I made my Americana Stars & Four Patches quilt last year, I had enough blue fabric for something small. Same with red, I don’t use it a lot, but I had some on hand from previous projects plus I got a small fat quarter bundle freebie with some lovely reds included.  🙂

IMGP7940.JPG

After quite a bit of searching, I decided on a free flag tutorial from Cluck Cluck Sew. While she made a lovely pillow, I wanted something for my sewing room door so I added a light blue border and made mine a mini quilt.

IMG_7293.jpg

For the star and stripes, I used a white low volume fabric with handwriting that reminded me of old-fashioned handwritten letters and historic signatures; I thought it was fitting for a flag. It’s kind of difficult to see it unless it’s close up…

IMGP7937IMGP7939

Before I began quilting, I did some ‘thread painting’—my quilting tip that consists of laying out thread on a project to help decide on a quilting pattern. To read more about it, click here. I do tend to gravitate toward crosshatch quilting, especially on rectangular blocks because the end results are diamonds, and I love the look! So yes, I went with crosshatch quilting, yet again.

IMGP7954.jpg
thread painting

When basting a mini quilt, I always use my flower straight pins instead of actual quilting pins. Reasons being: they’re easier to put in and take out, they’re nice and sharp and long, and they seem flatter than other pins.

IMGP7979

I used my guide for quilting accuracy and it gave me very precise results!

IMGP7988.JPG

I was happy to have had enough red and white striped fabric for this project, left over from a Christmas tree skirt. And of course, striped binding is always a favorite.

IMGP8008.JPG

And speaking of binding…how lucky was I to get this tiny stripe to align when I finished off my binding? Absolutely pure luck! Doubt that ever happens again.  🙂

IMGP8022.jpg

For the back, I had this very appropriate fabric from my Stars & Four Patches quilt. As far as backing goes, it’s easy to match up prints, especially on a small project. I have more information on this topic on my Matching Fabric Patterns blog post.

IMGP8019.jpg

And…here’s the finished project!

IMGP7982.JPG

I love everything about this mini—it’s cute, a great size for my sewing room door and I can get it out to enjoy several times a year. Lastly, it was a small but significant scrap buster!

IMGP8000

Happy Memorial Day

mini quilts, quilting, Uncategorized

Mini Mania

Doesn’t everyone pretty much love mini quilts? I’m a big fan because they’re cute, they’re not a huge commitment, they go together fast and they’re fun! I enjoy whipping one up in between bigger projects when I feel I need a break.  While I’m not one to hang them all over my sewing room walls, I do like to decorate my door with one at a time; as seasons and holidays change, I change my door decor. Since I’m ready to put up a Valentine’s Day mini, I thought it would be a good time to post ones I’ve made. I’ve given some away but I still have a small collection, and of course I intend to add more.

First up are my circus minis. I released the patterns for these nearly two years ago (my first patterns). They measure roughly a foot square each and for sure would brighten up anyone’s room!

IMGP5426
Circus Lion Mini

IMGP5506
Circus Elephant Mini

IMGP5376 copy
Circus Tent Mini

I blogged about these in my last entry (more information if you scroll to my last post). I made them as gifts, using a Moda Concrete mini charm pack for each.

I also mentioned this mini in my last entry; I kept it for myself because I absolutely love this Riley Blake collection, Floriography.

IMG_6121

I found this free pattern on Instagram and had to make one for myself. It’s available from The Family Hearth, found here: Full Bloom Mini Quilt Pattern. I used my absolute favorite, Art Gallery Fabrics, Etno by Pat Bravo—that’s why I couldn’t part with it!

IMG_4755
Full Bloom Mini Quilt

These butterfly minis were given to my mom as a gift. I made them out of scraps and free motion quilted them, which actually came out pretty decent since it’s not a strong suit of mine! The pattern is by Lella Boutique.

IMG_3134.jpg
Social Butterfly Mini Quilt

I mentioned these last time too…

My latest finish is this Friendship Star Mini Quilt, found on Pinterest. I couldn’t get the free pattern to download so I made it by looking at the photo. I am going to donate it to my local guild for the quilt show boutique, hopefully it’ll sell, but since I really like the way it came out I wouldn’t mind keeping it for myself…

IMG_6543

That’s it so far. I’m always looking for something cute and fun so if you’ve got any suggestions, please send them my way!